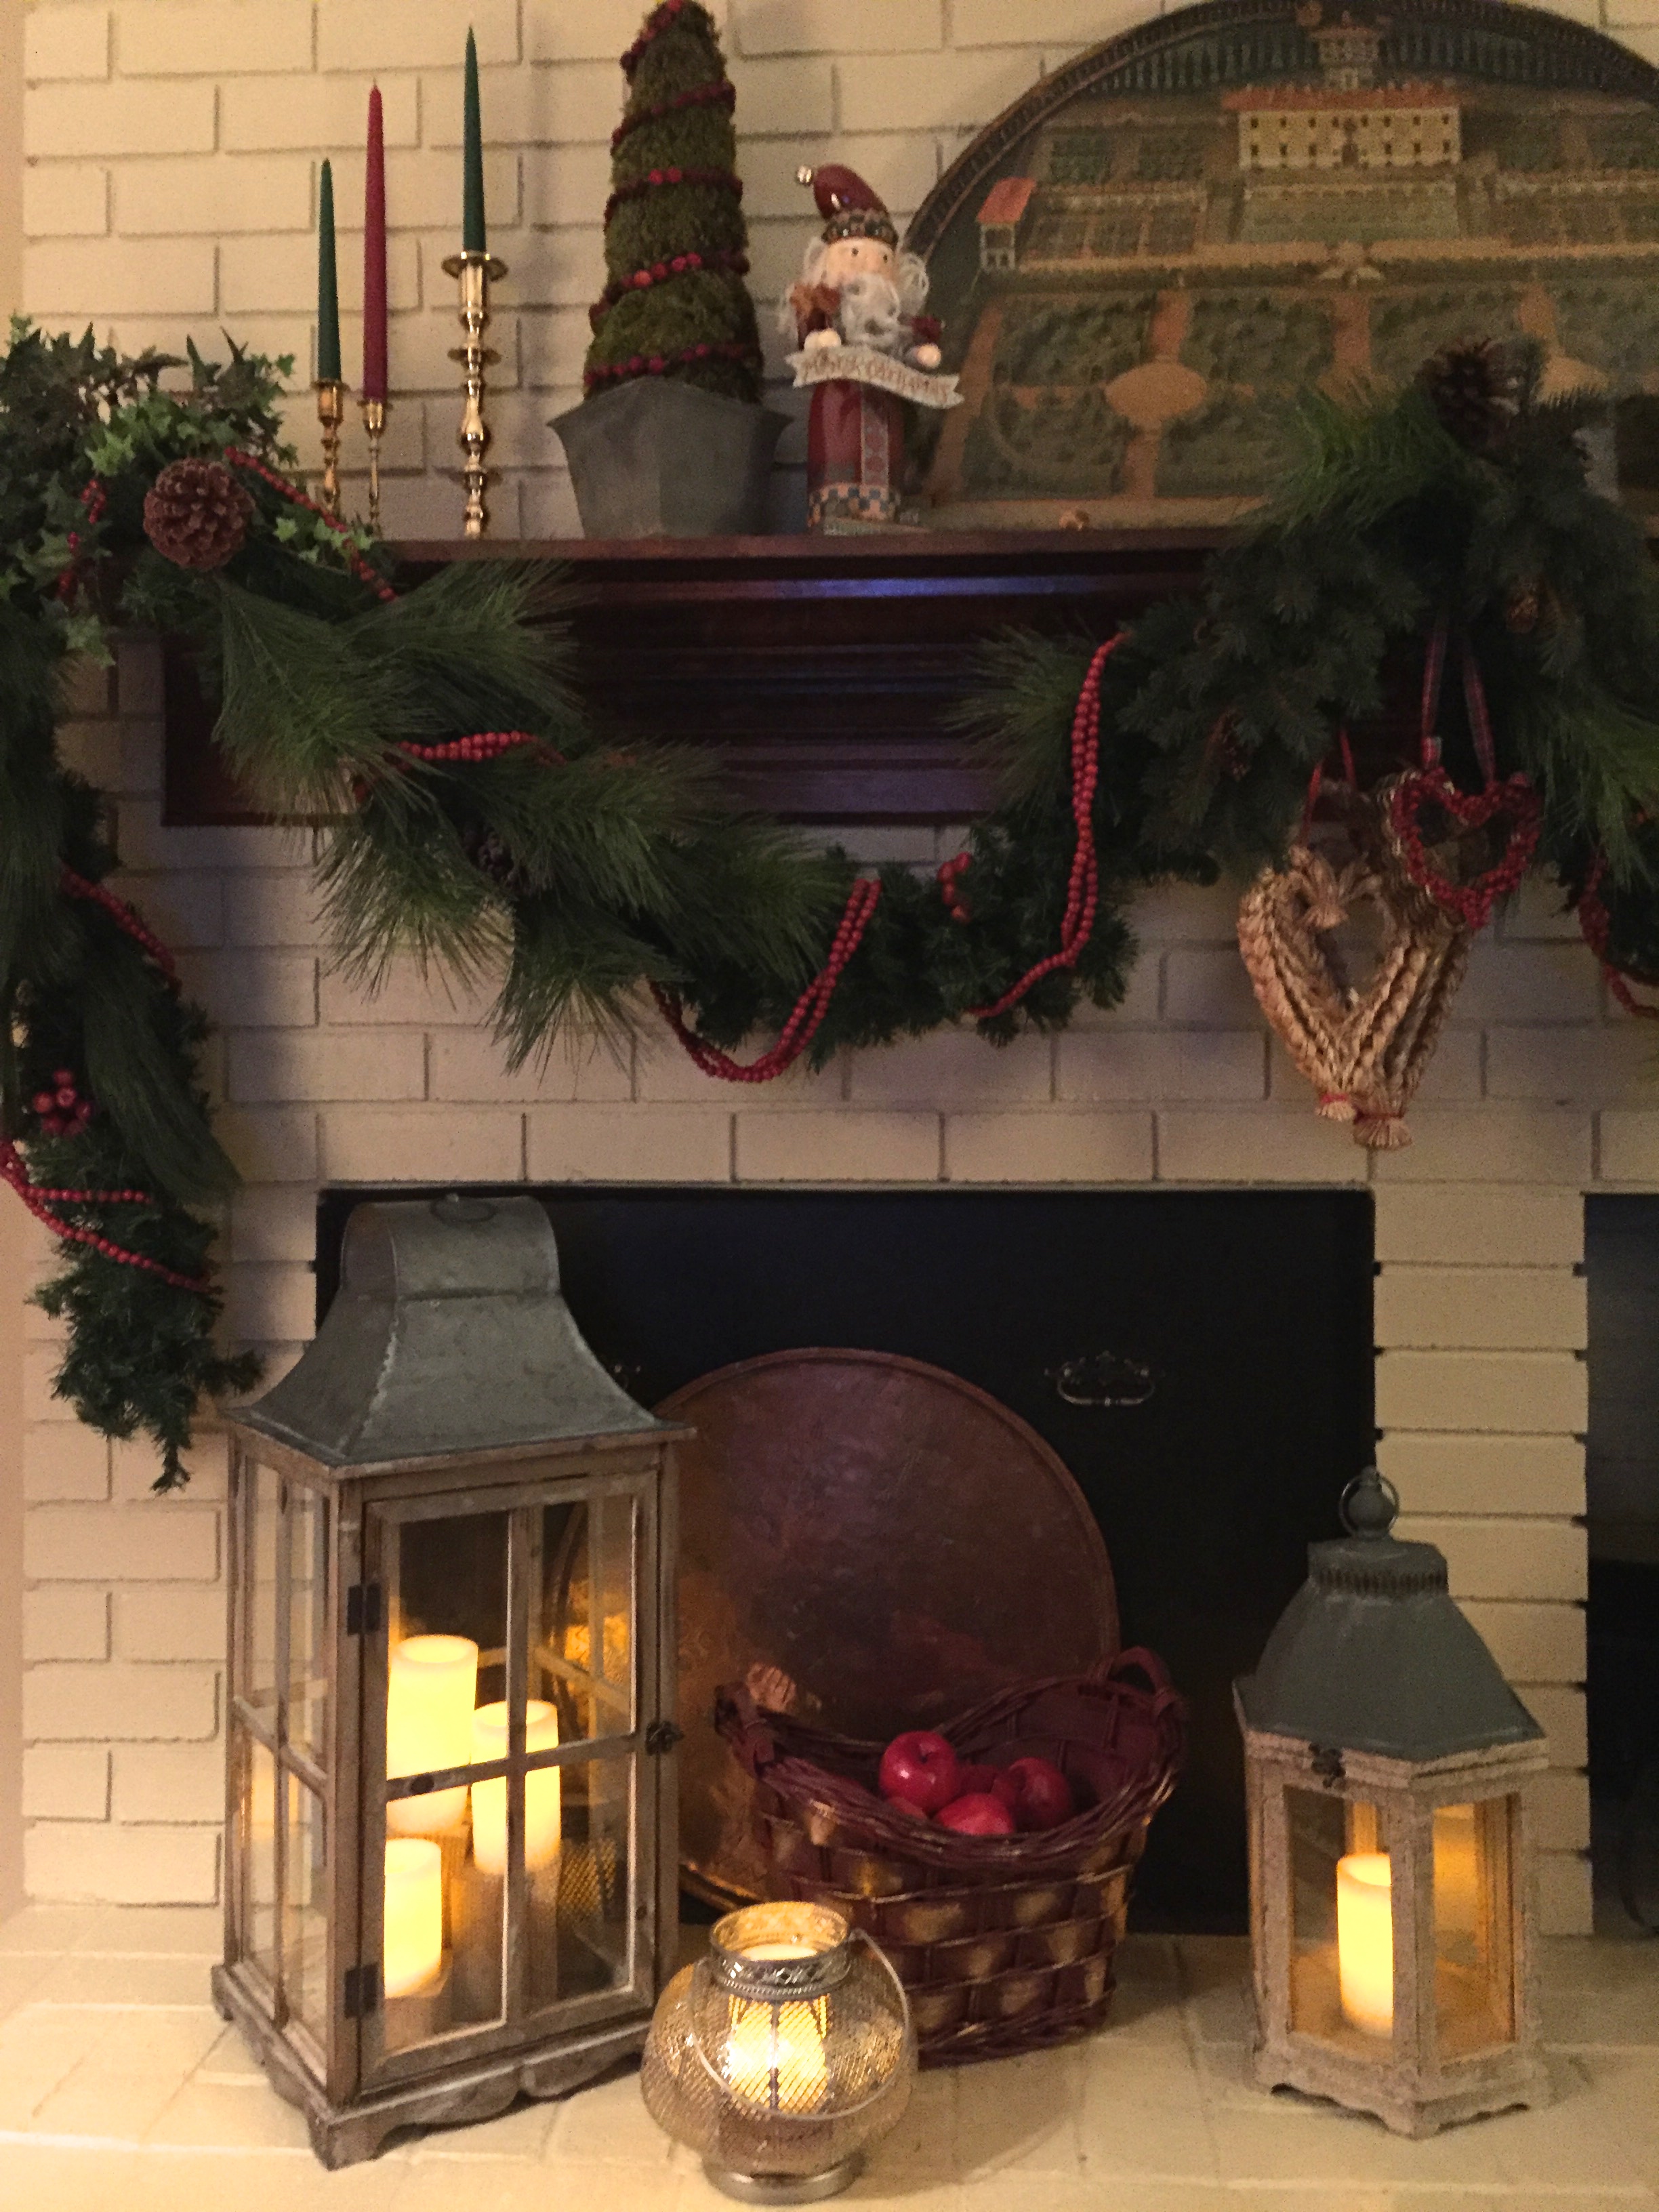
It seems that this Christmas season I have been playing a little too much catch up with the leaf raking. I feel like taking a moment to relax and sharing a few photos of Christmas this year at our home. Much like years past, I used lots of fruit in the Williamsburg style. There are candles and wreaths in each window, and garlands with cranberry chains around the door, stair railings and candle post. It is simple, but fitting to the history of the colonial style of architecture in this area of the east coast. And of course, I love it!
I hope each and everyone of my cherished readers has a warm and happy Christmas, and a healthy new year! I’m looking forward to next year’s gardening, and planning for some interesting new plants to try. May you enjoy each and every new day in 2016!
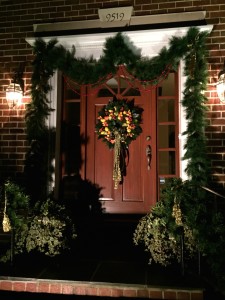
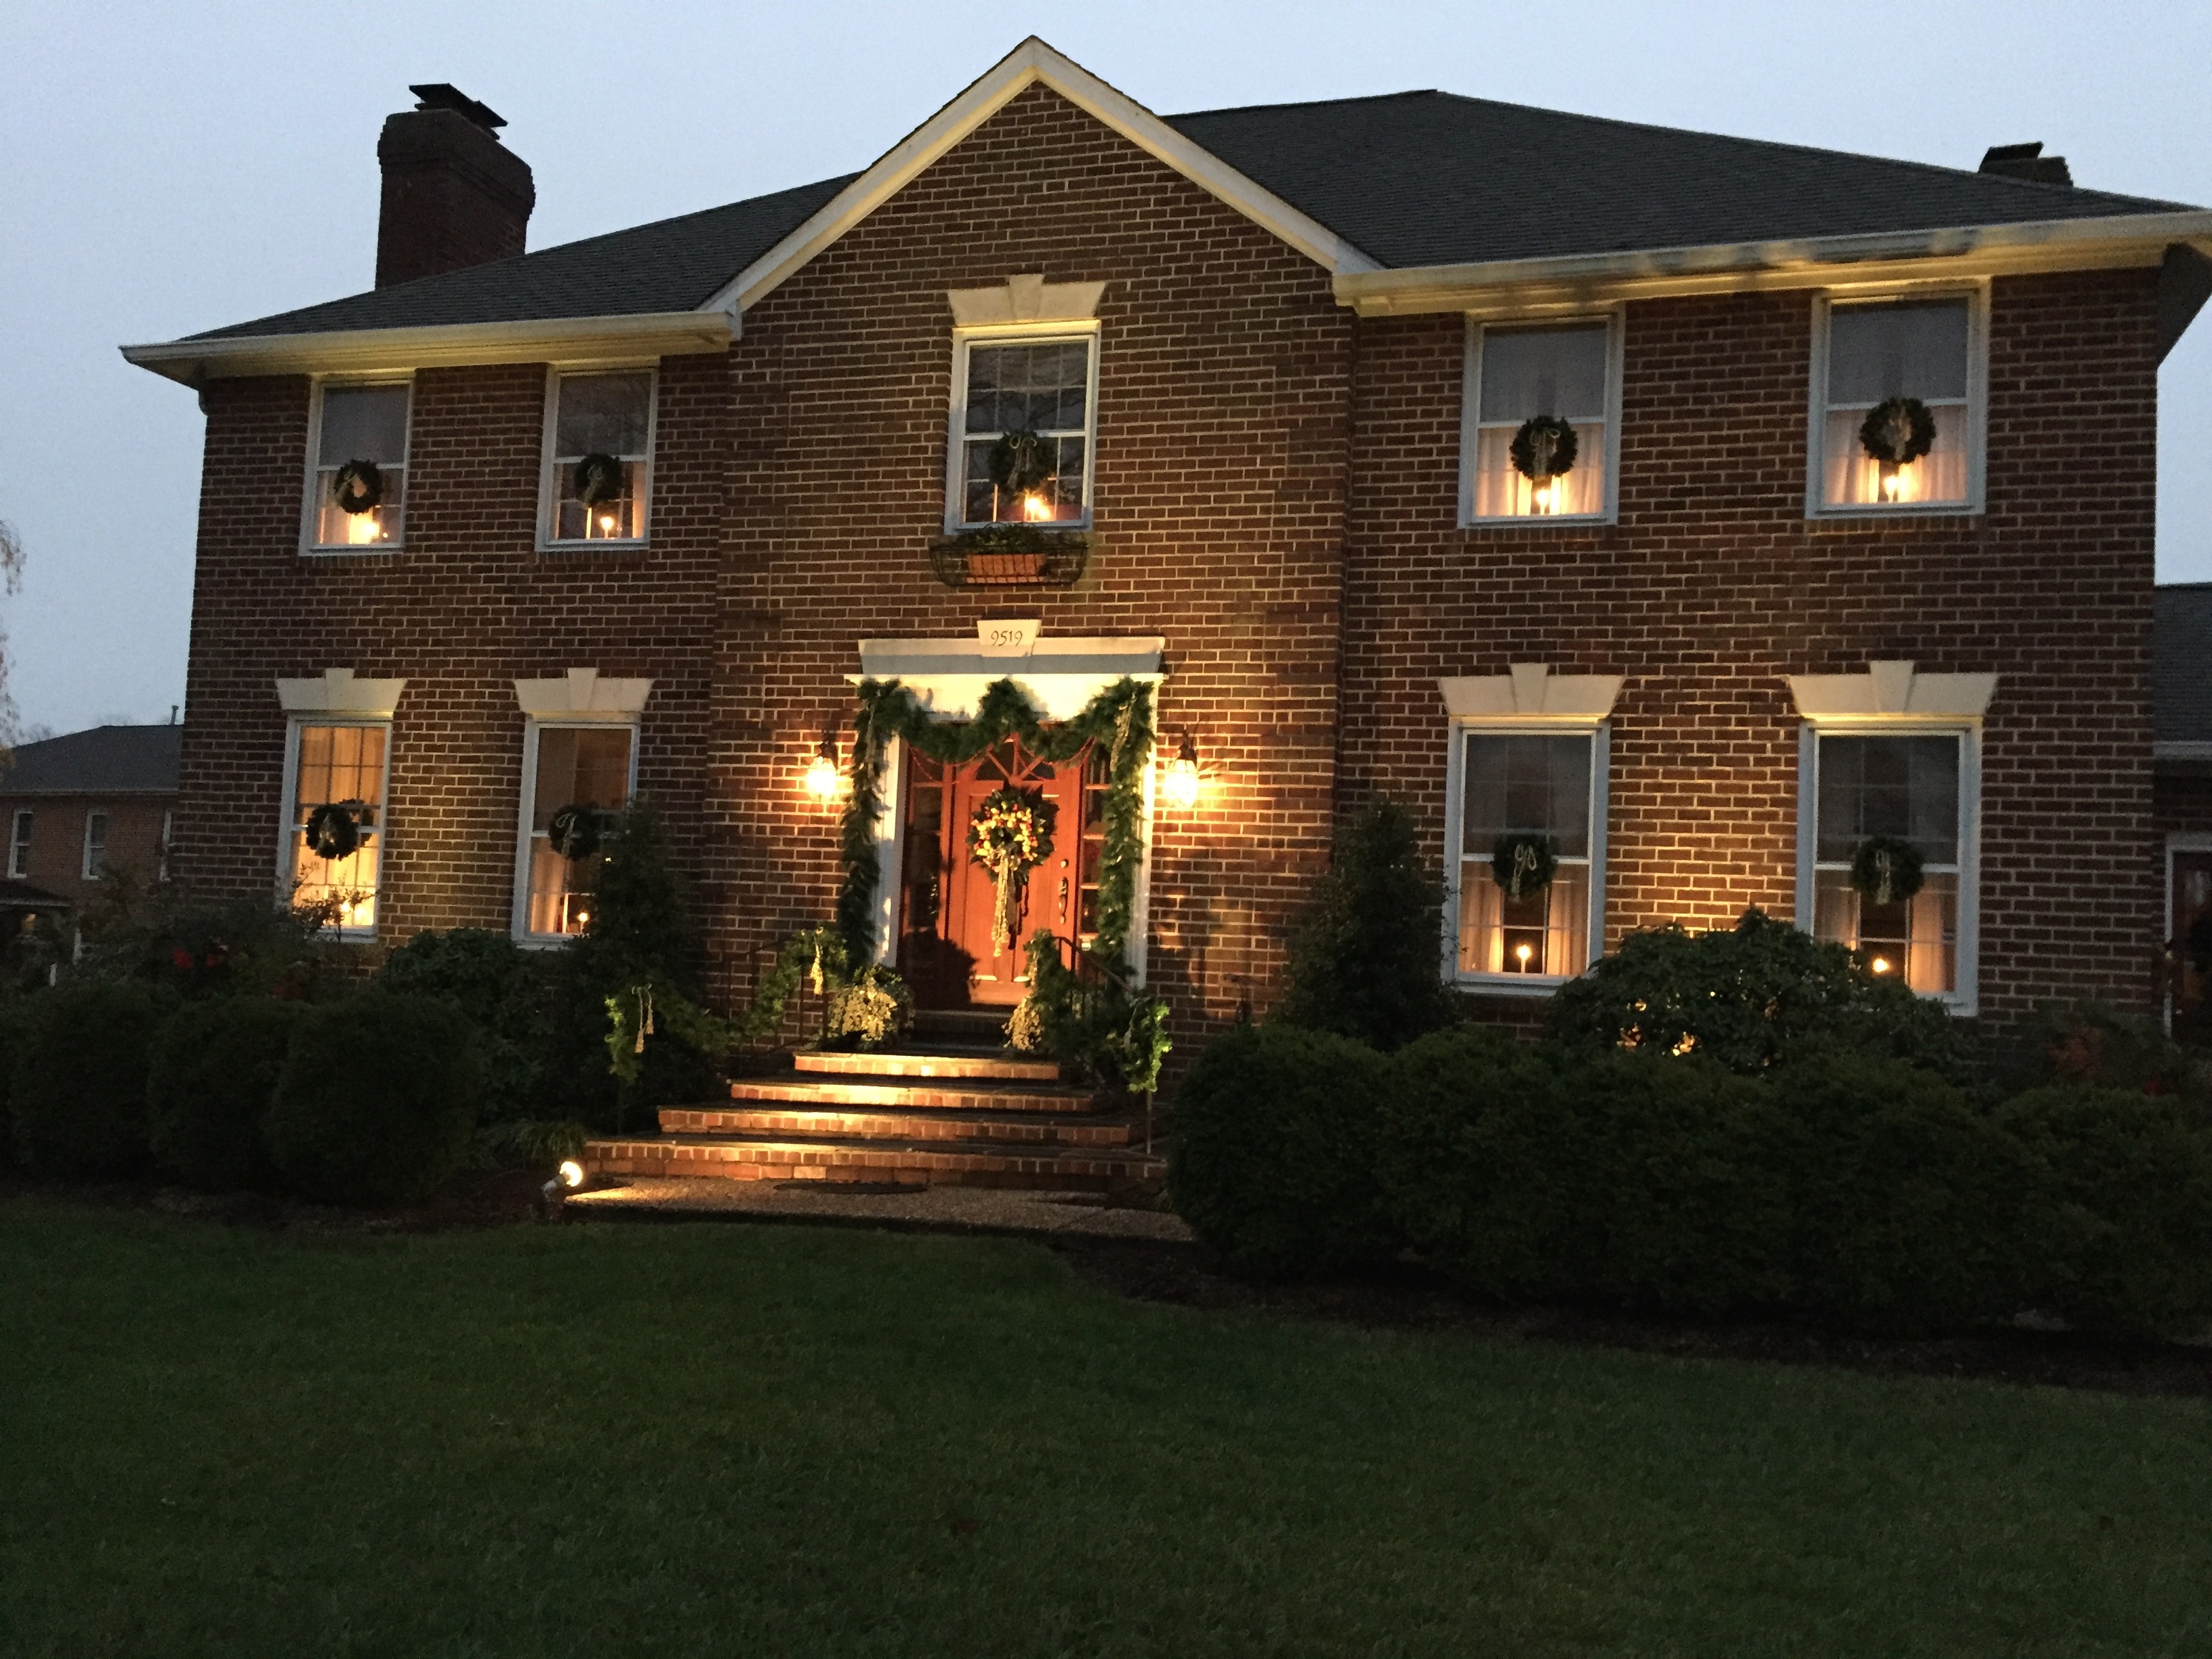
The front door at night, with a Williamsburg style this year. Lots of fruit and cranberry chains.
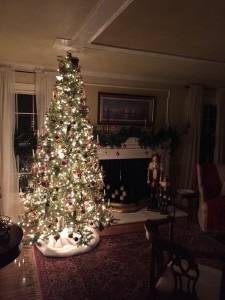
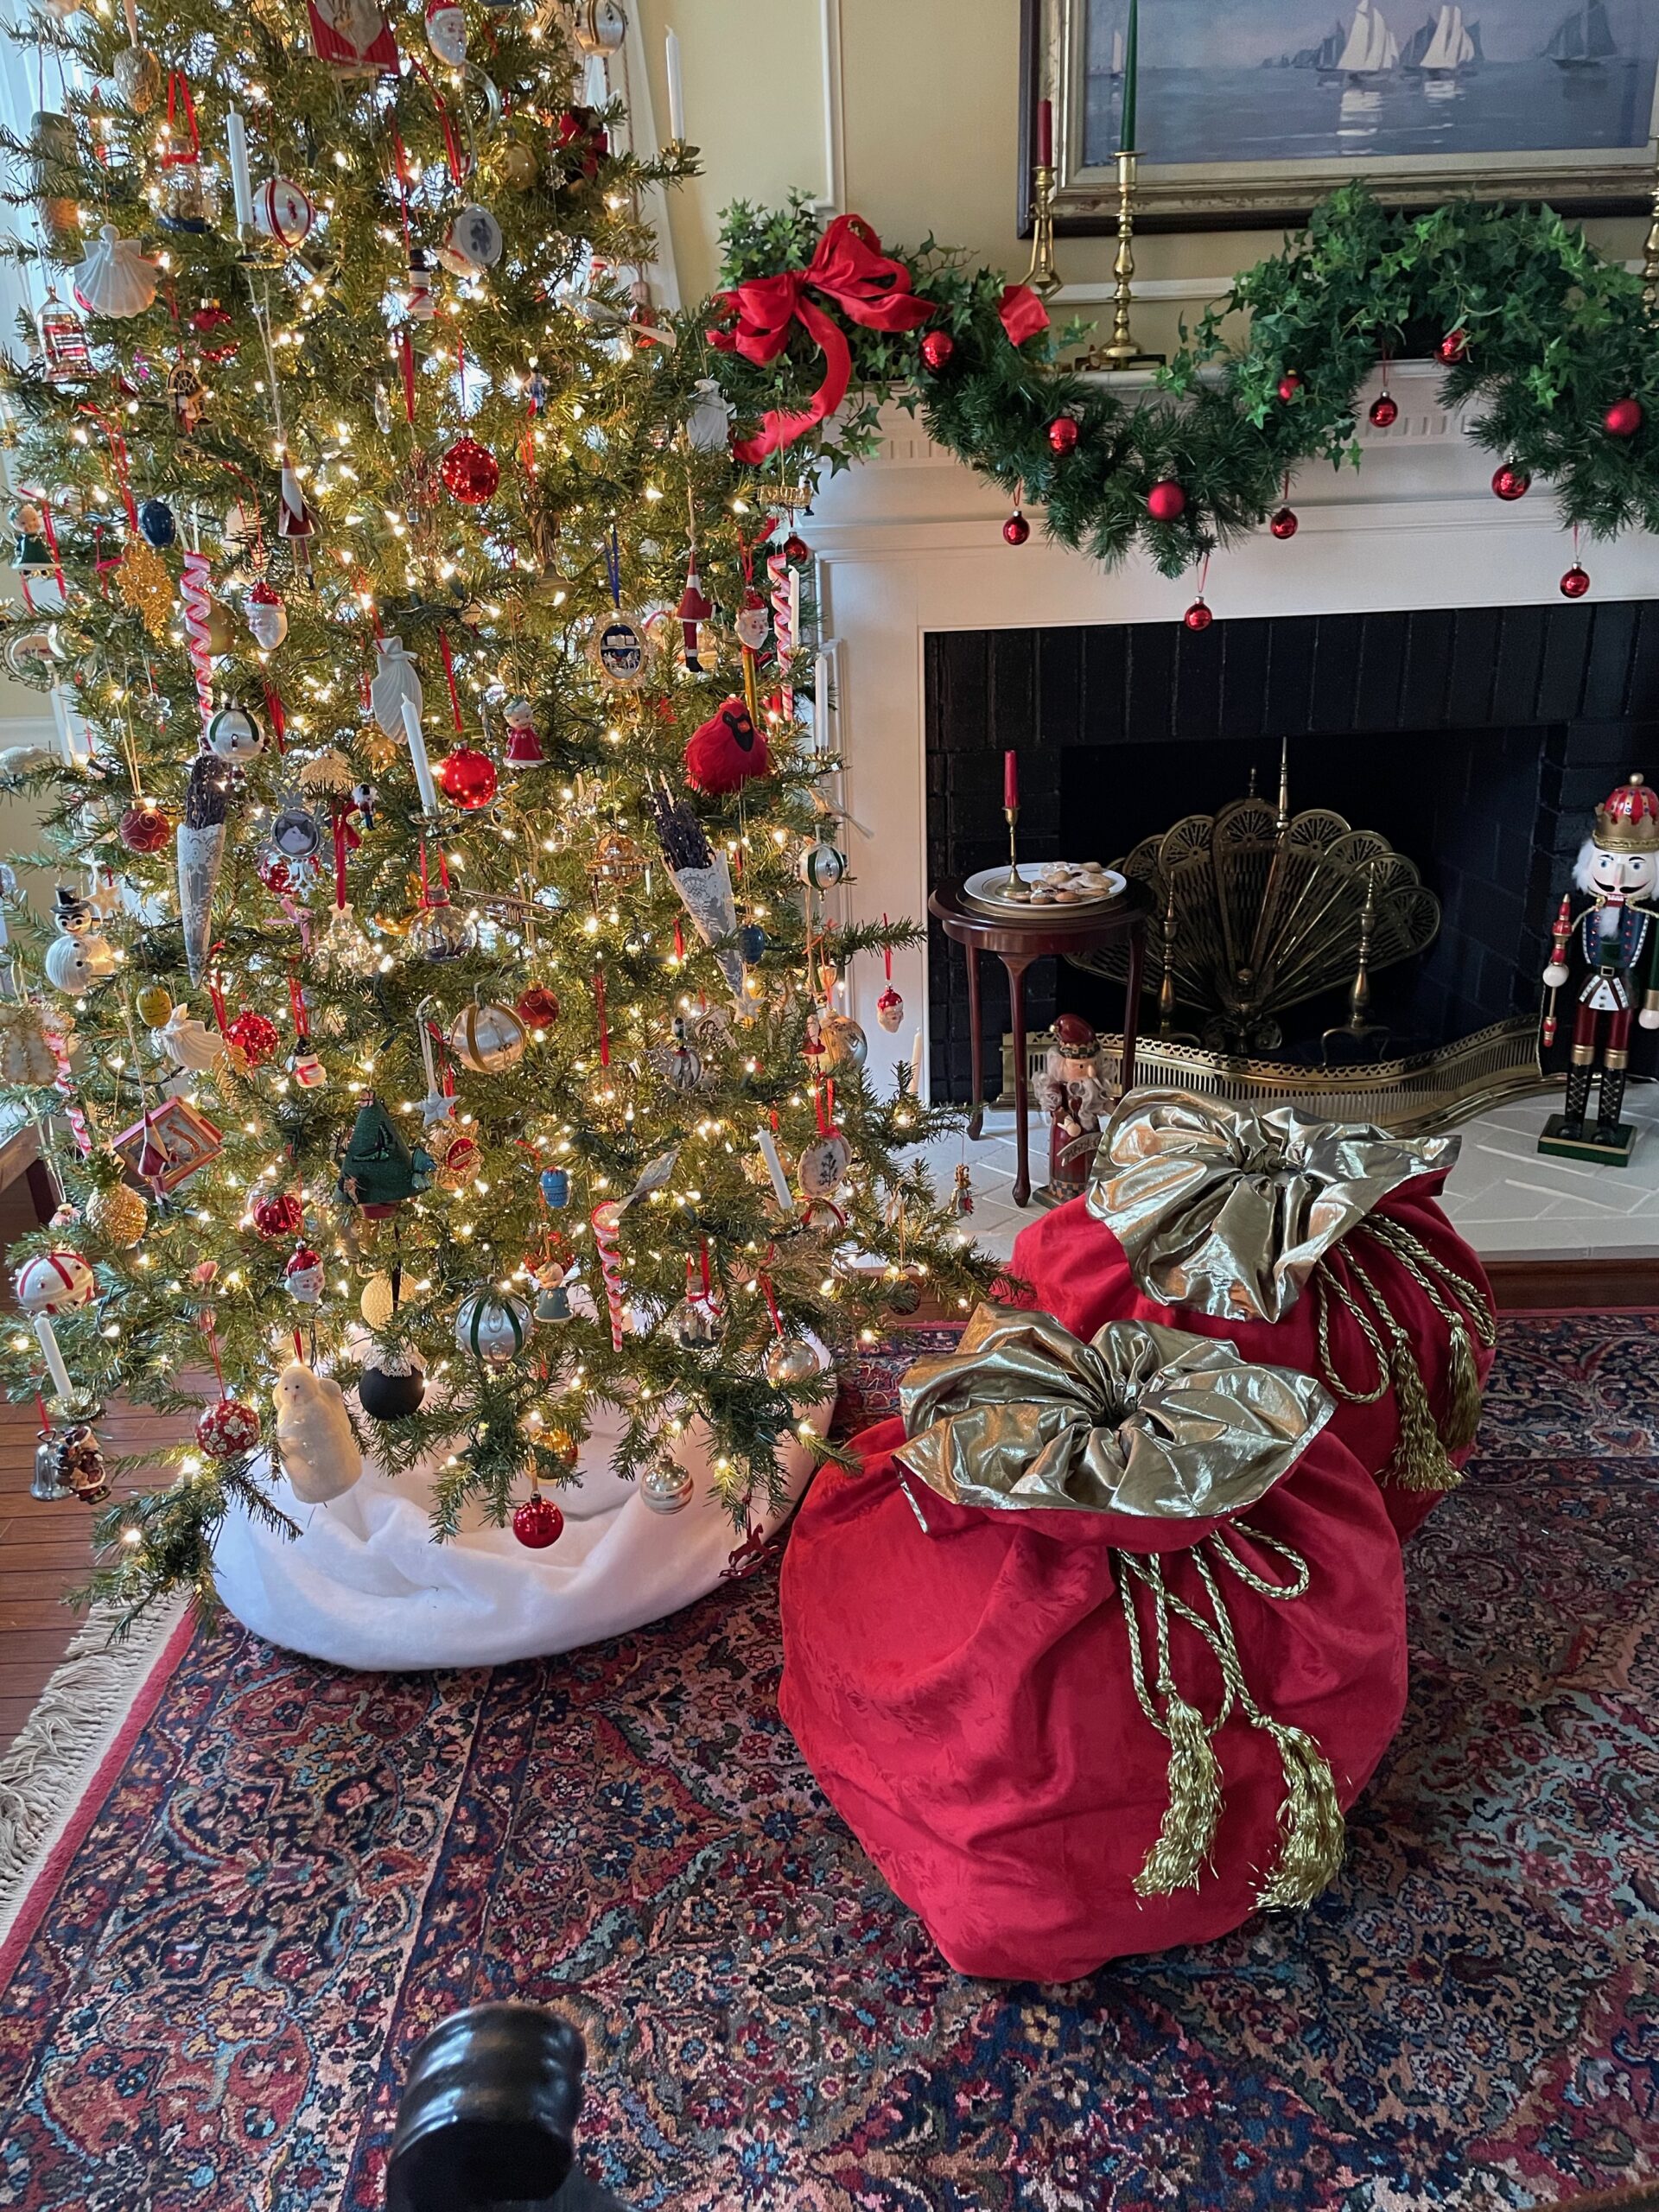
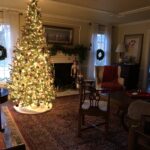
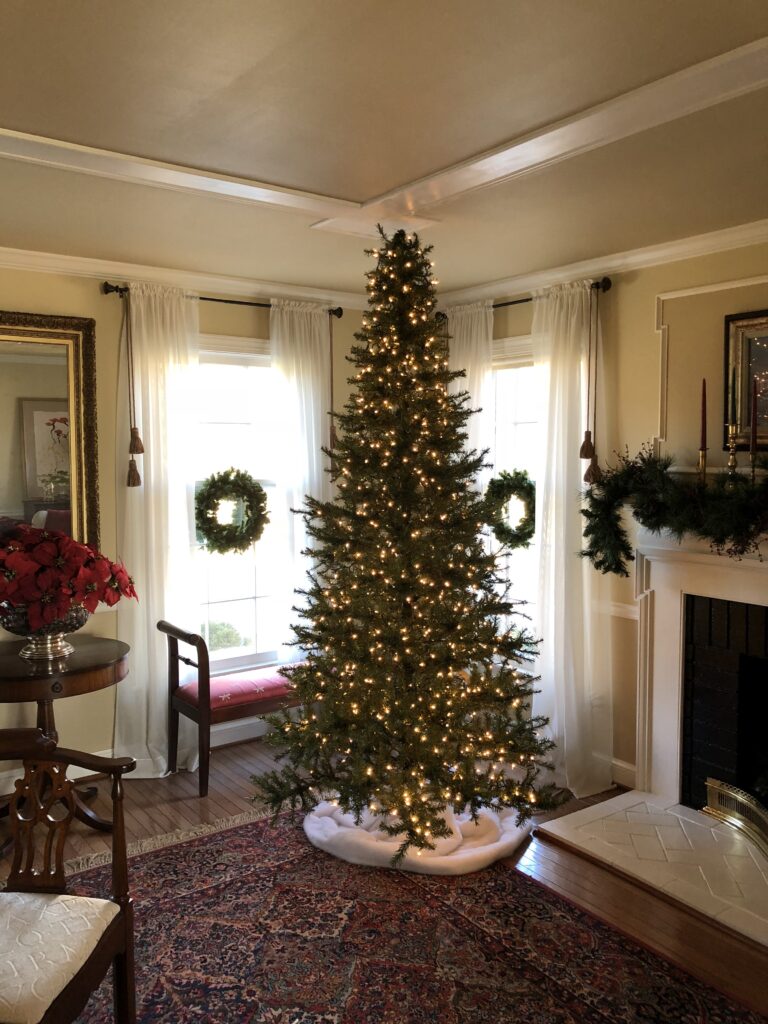
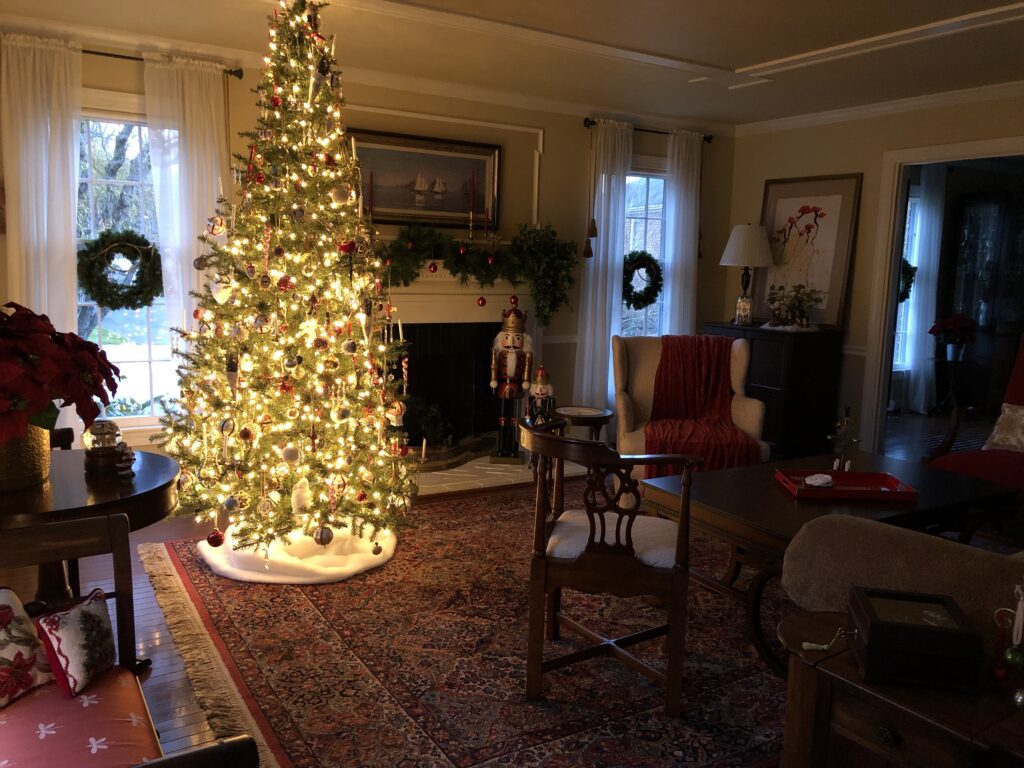
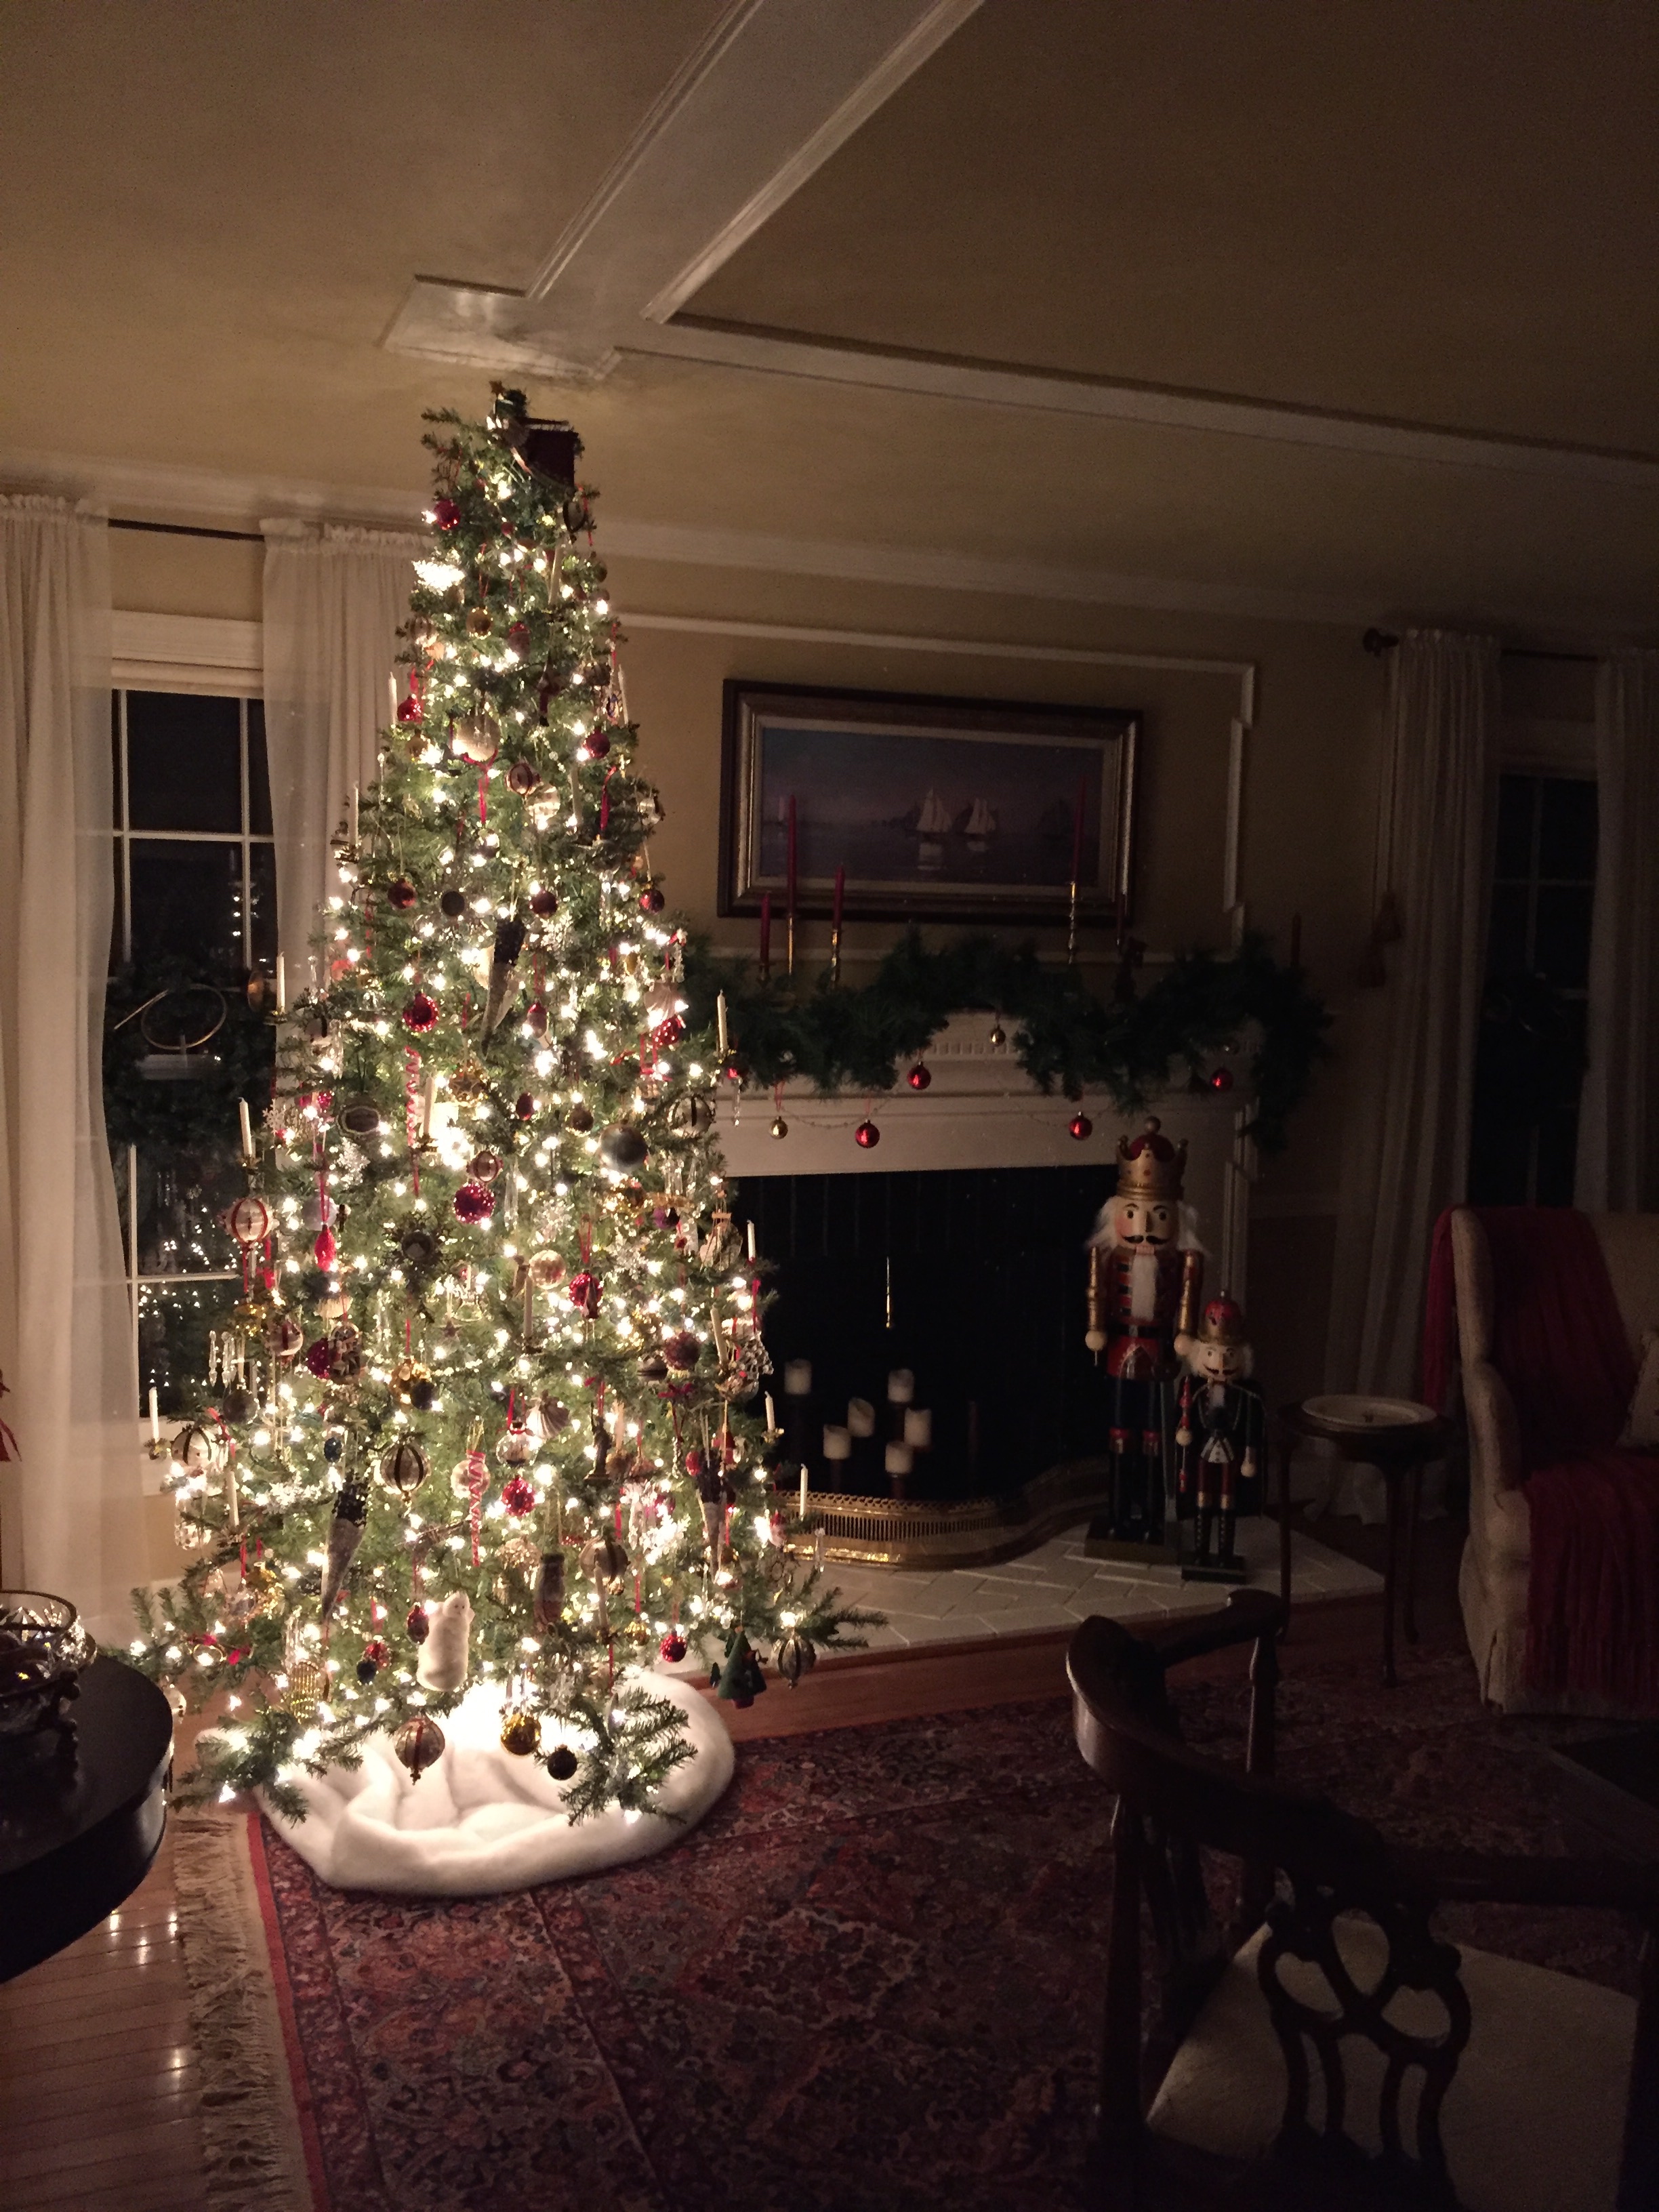
The living room tree all aglow!
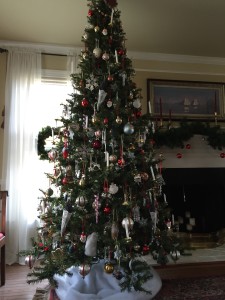
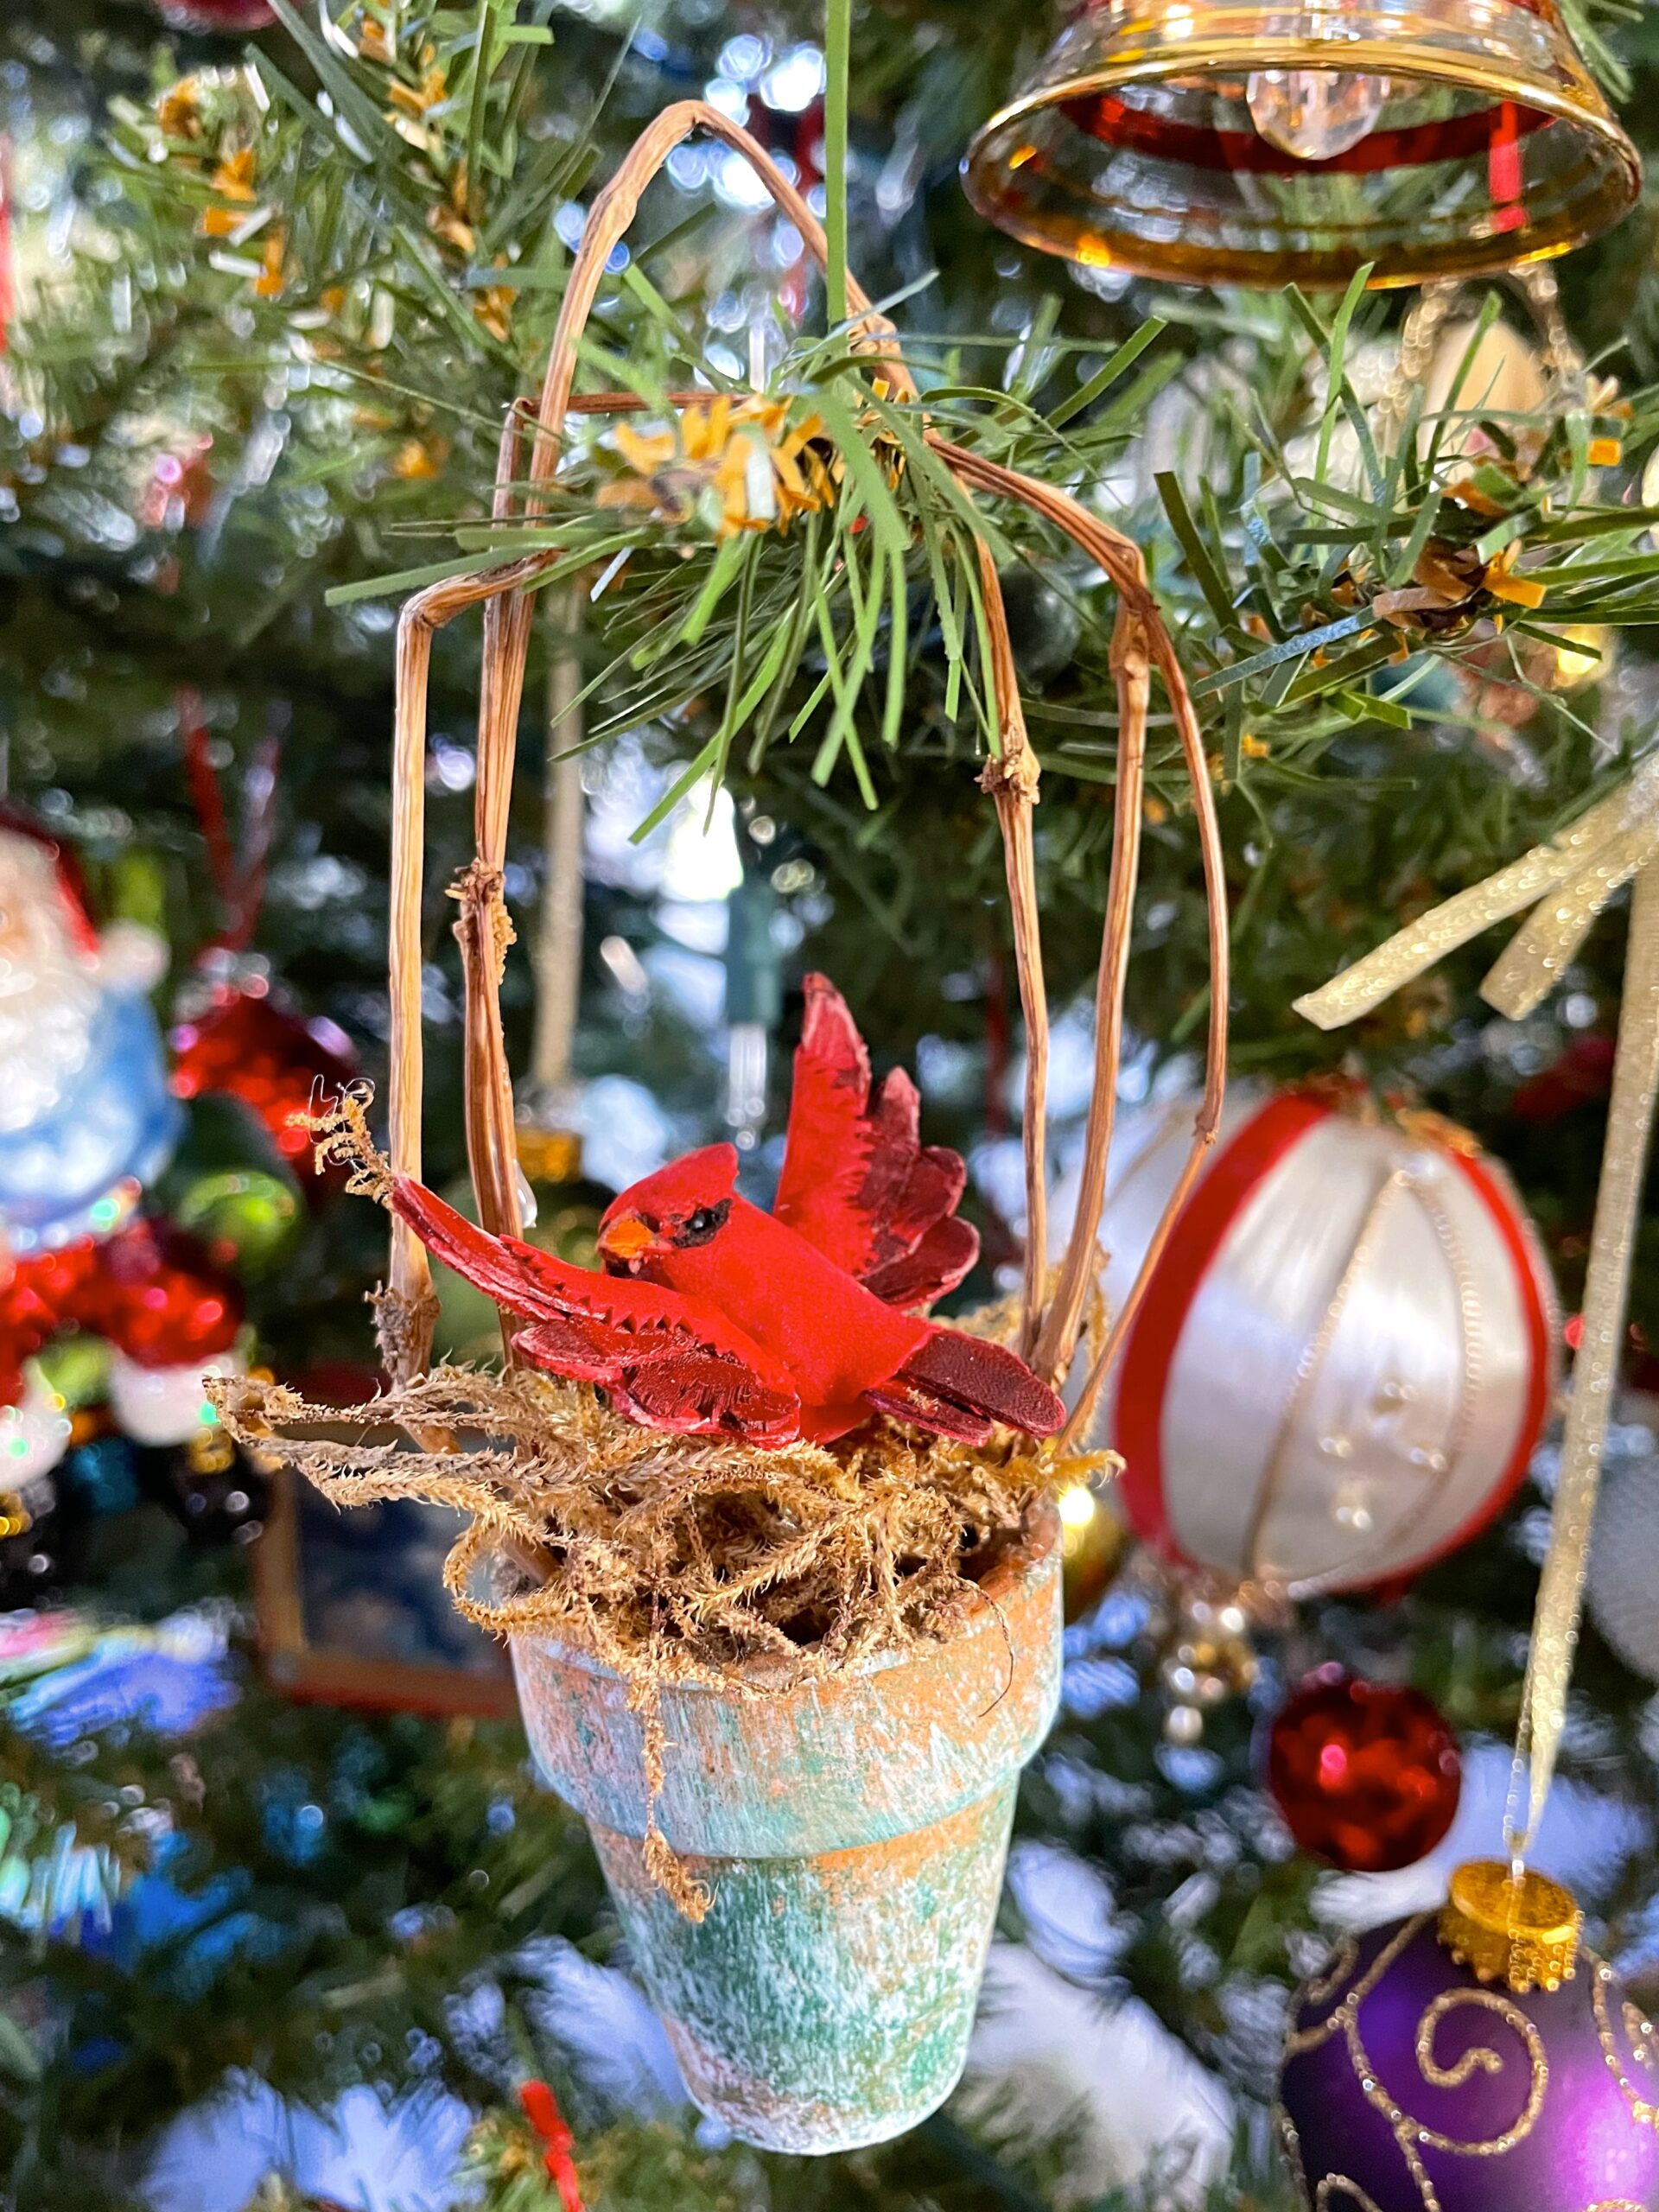
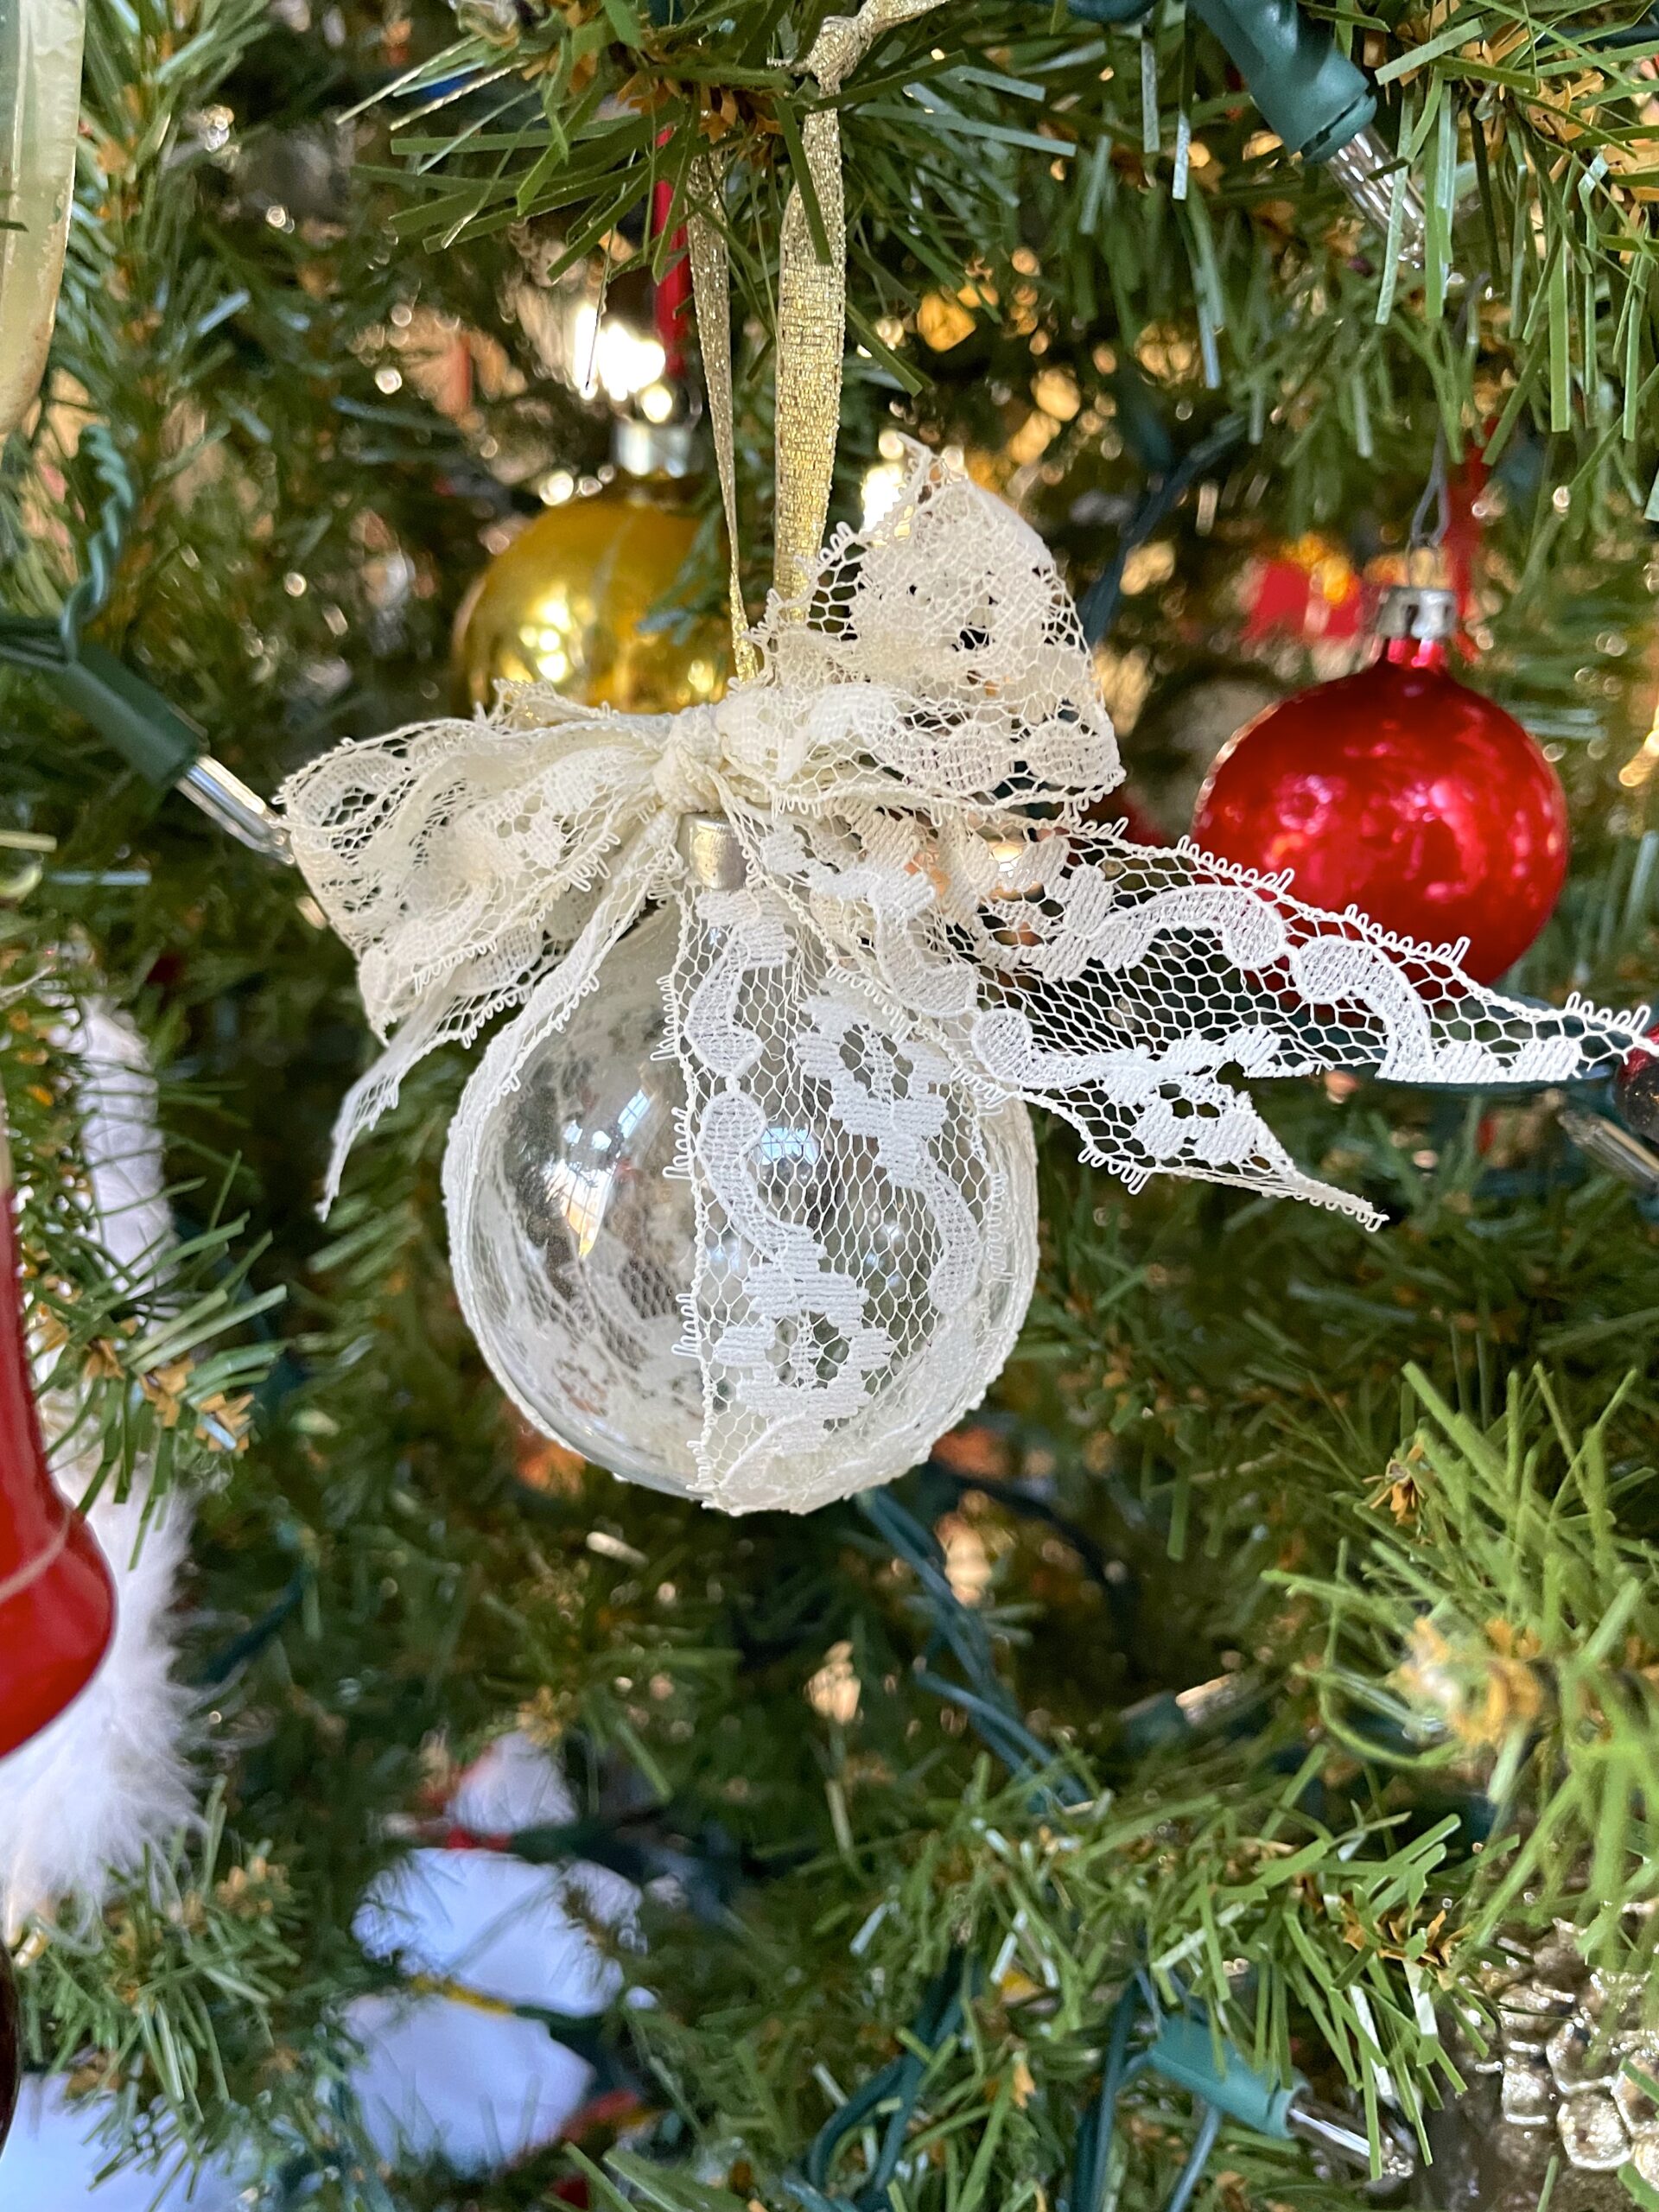
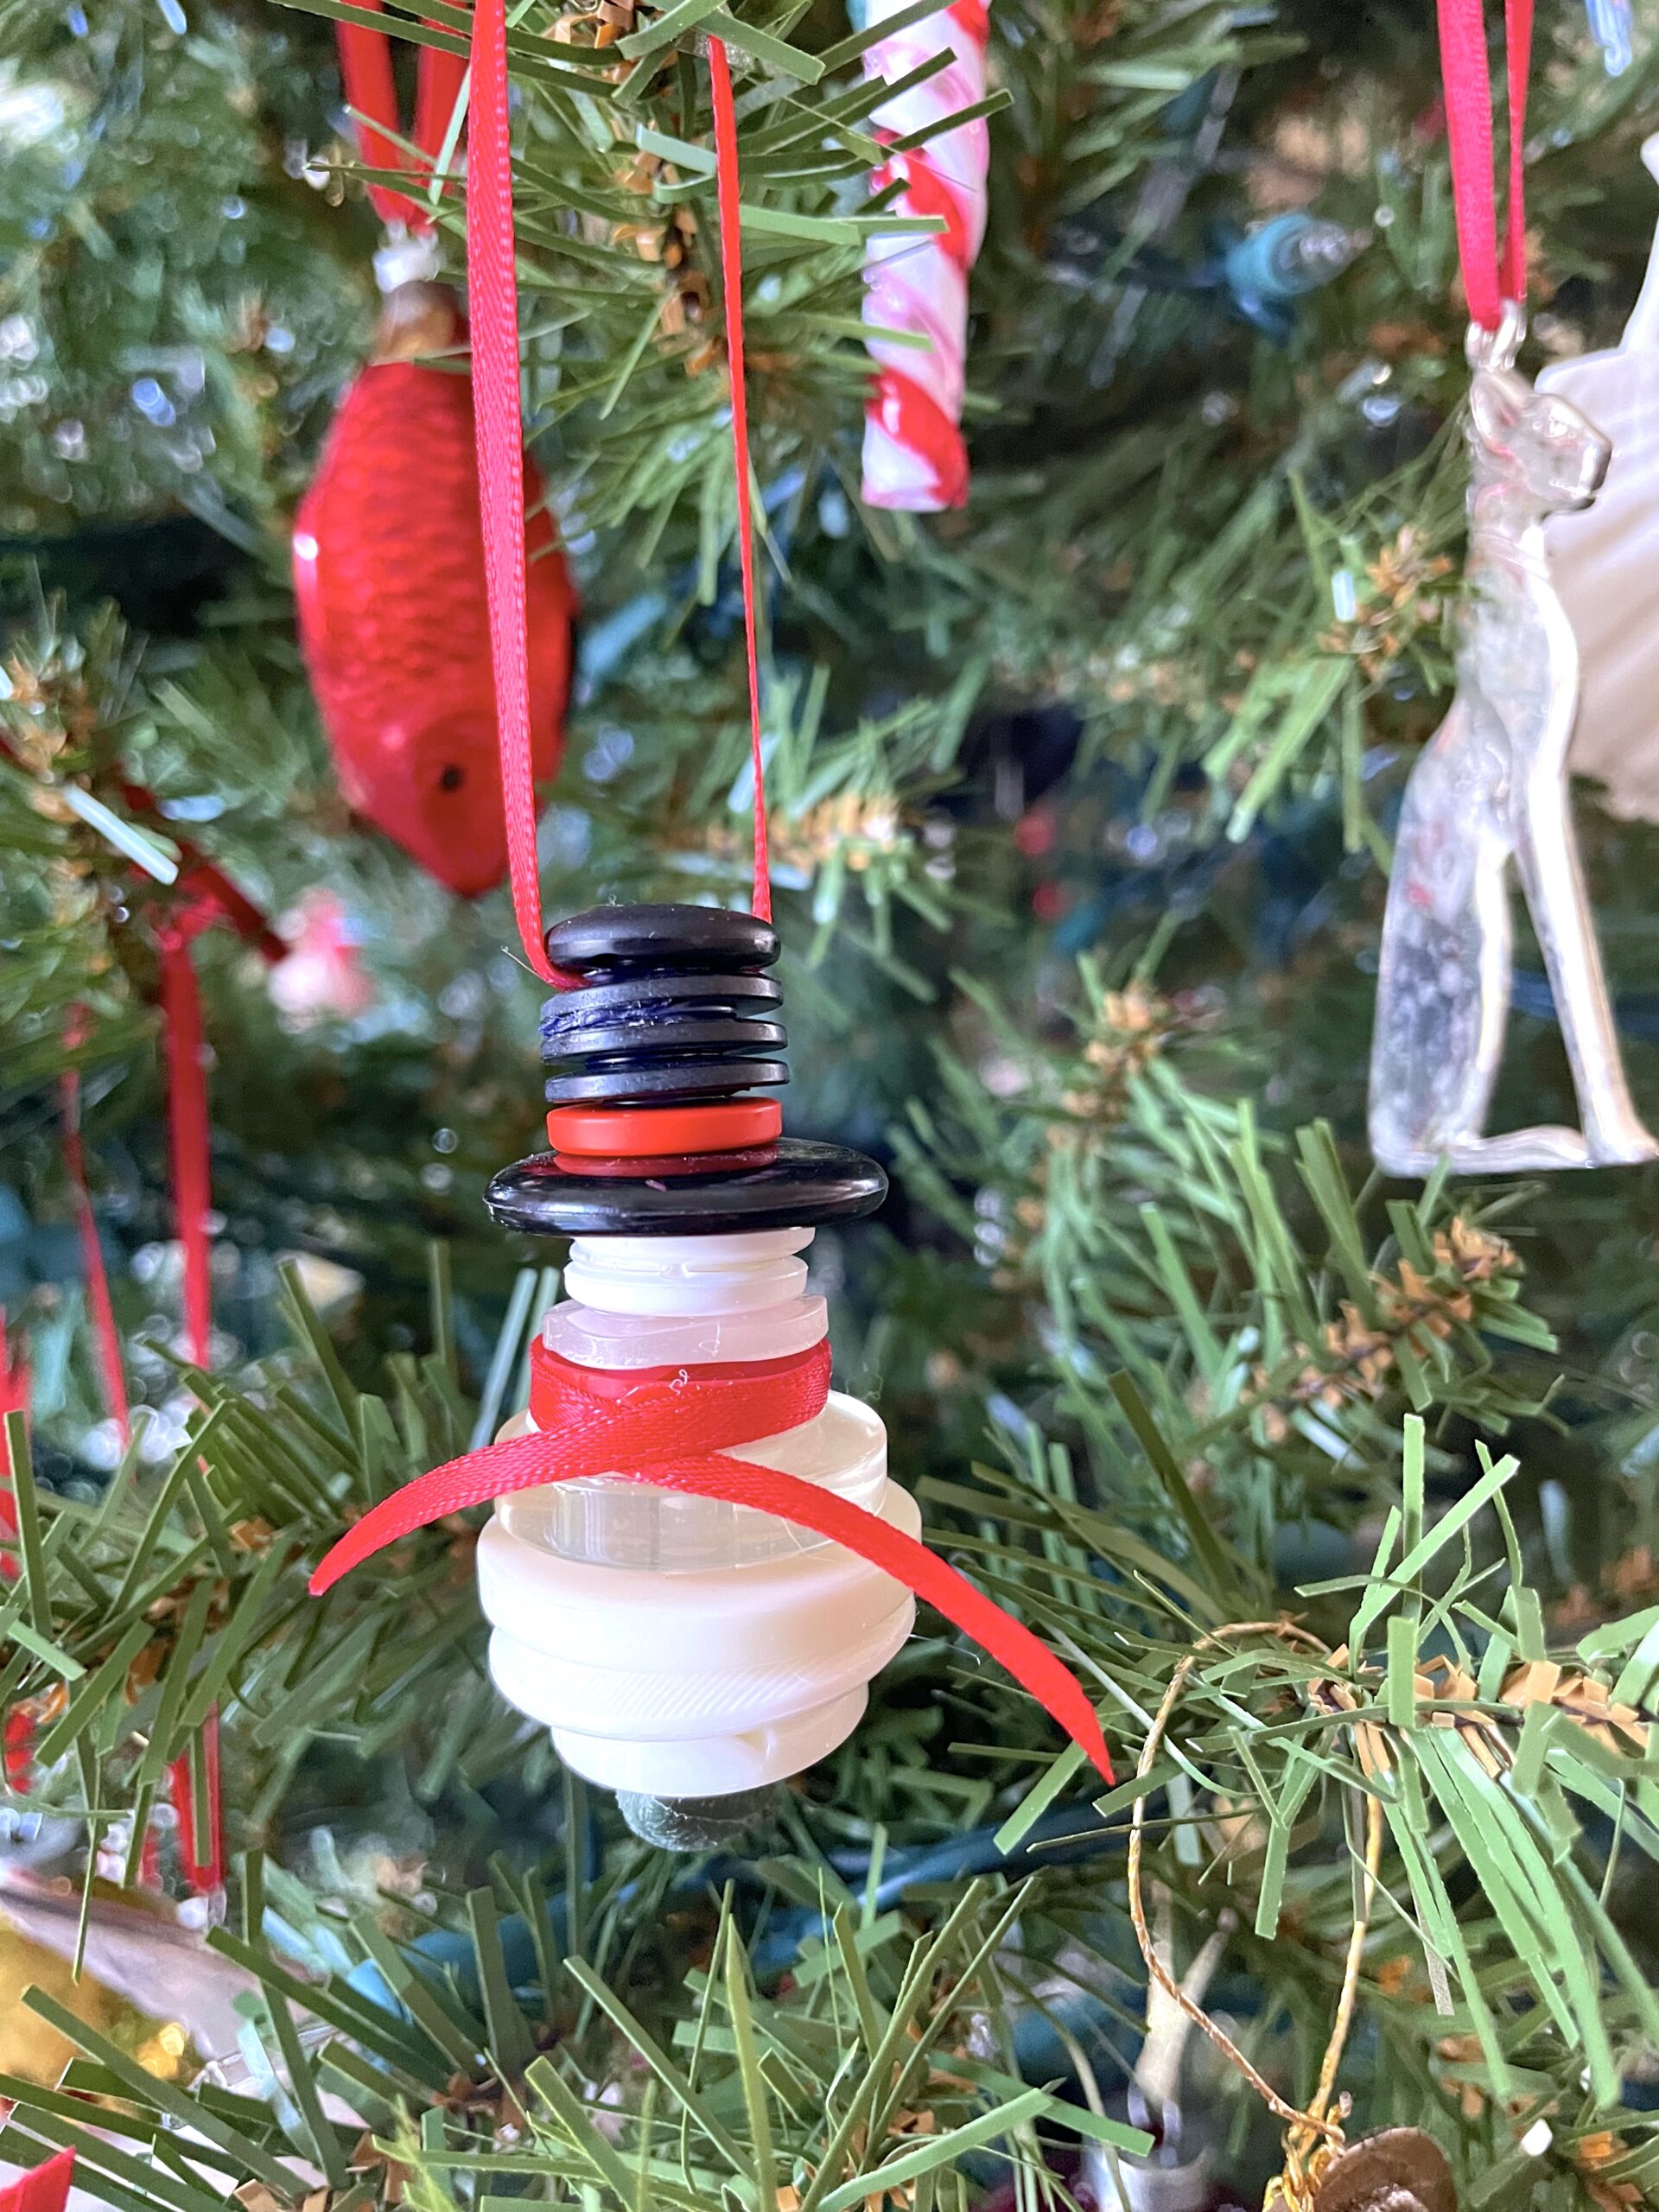
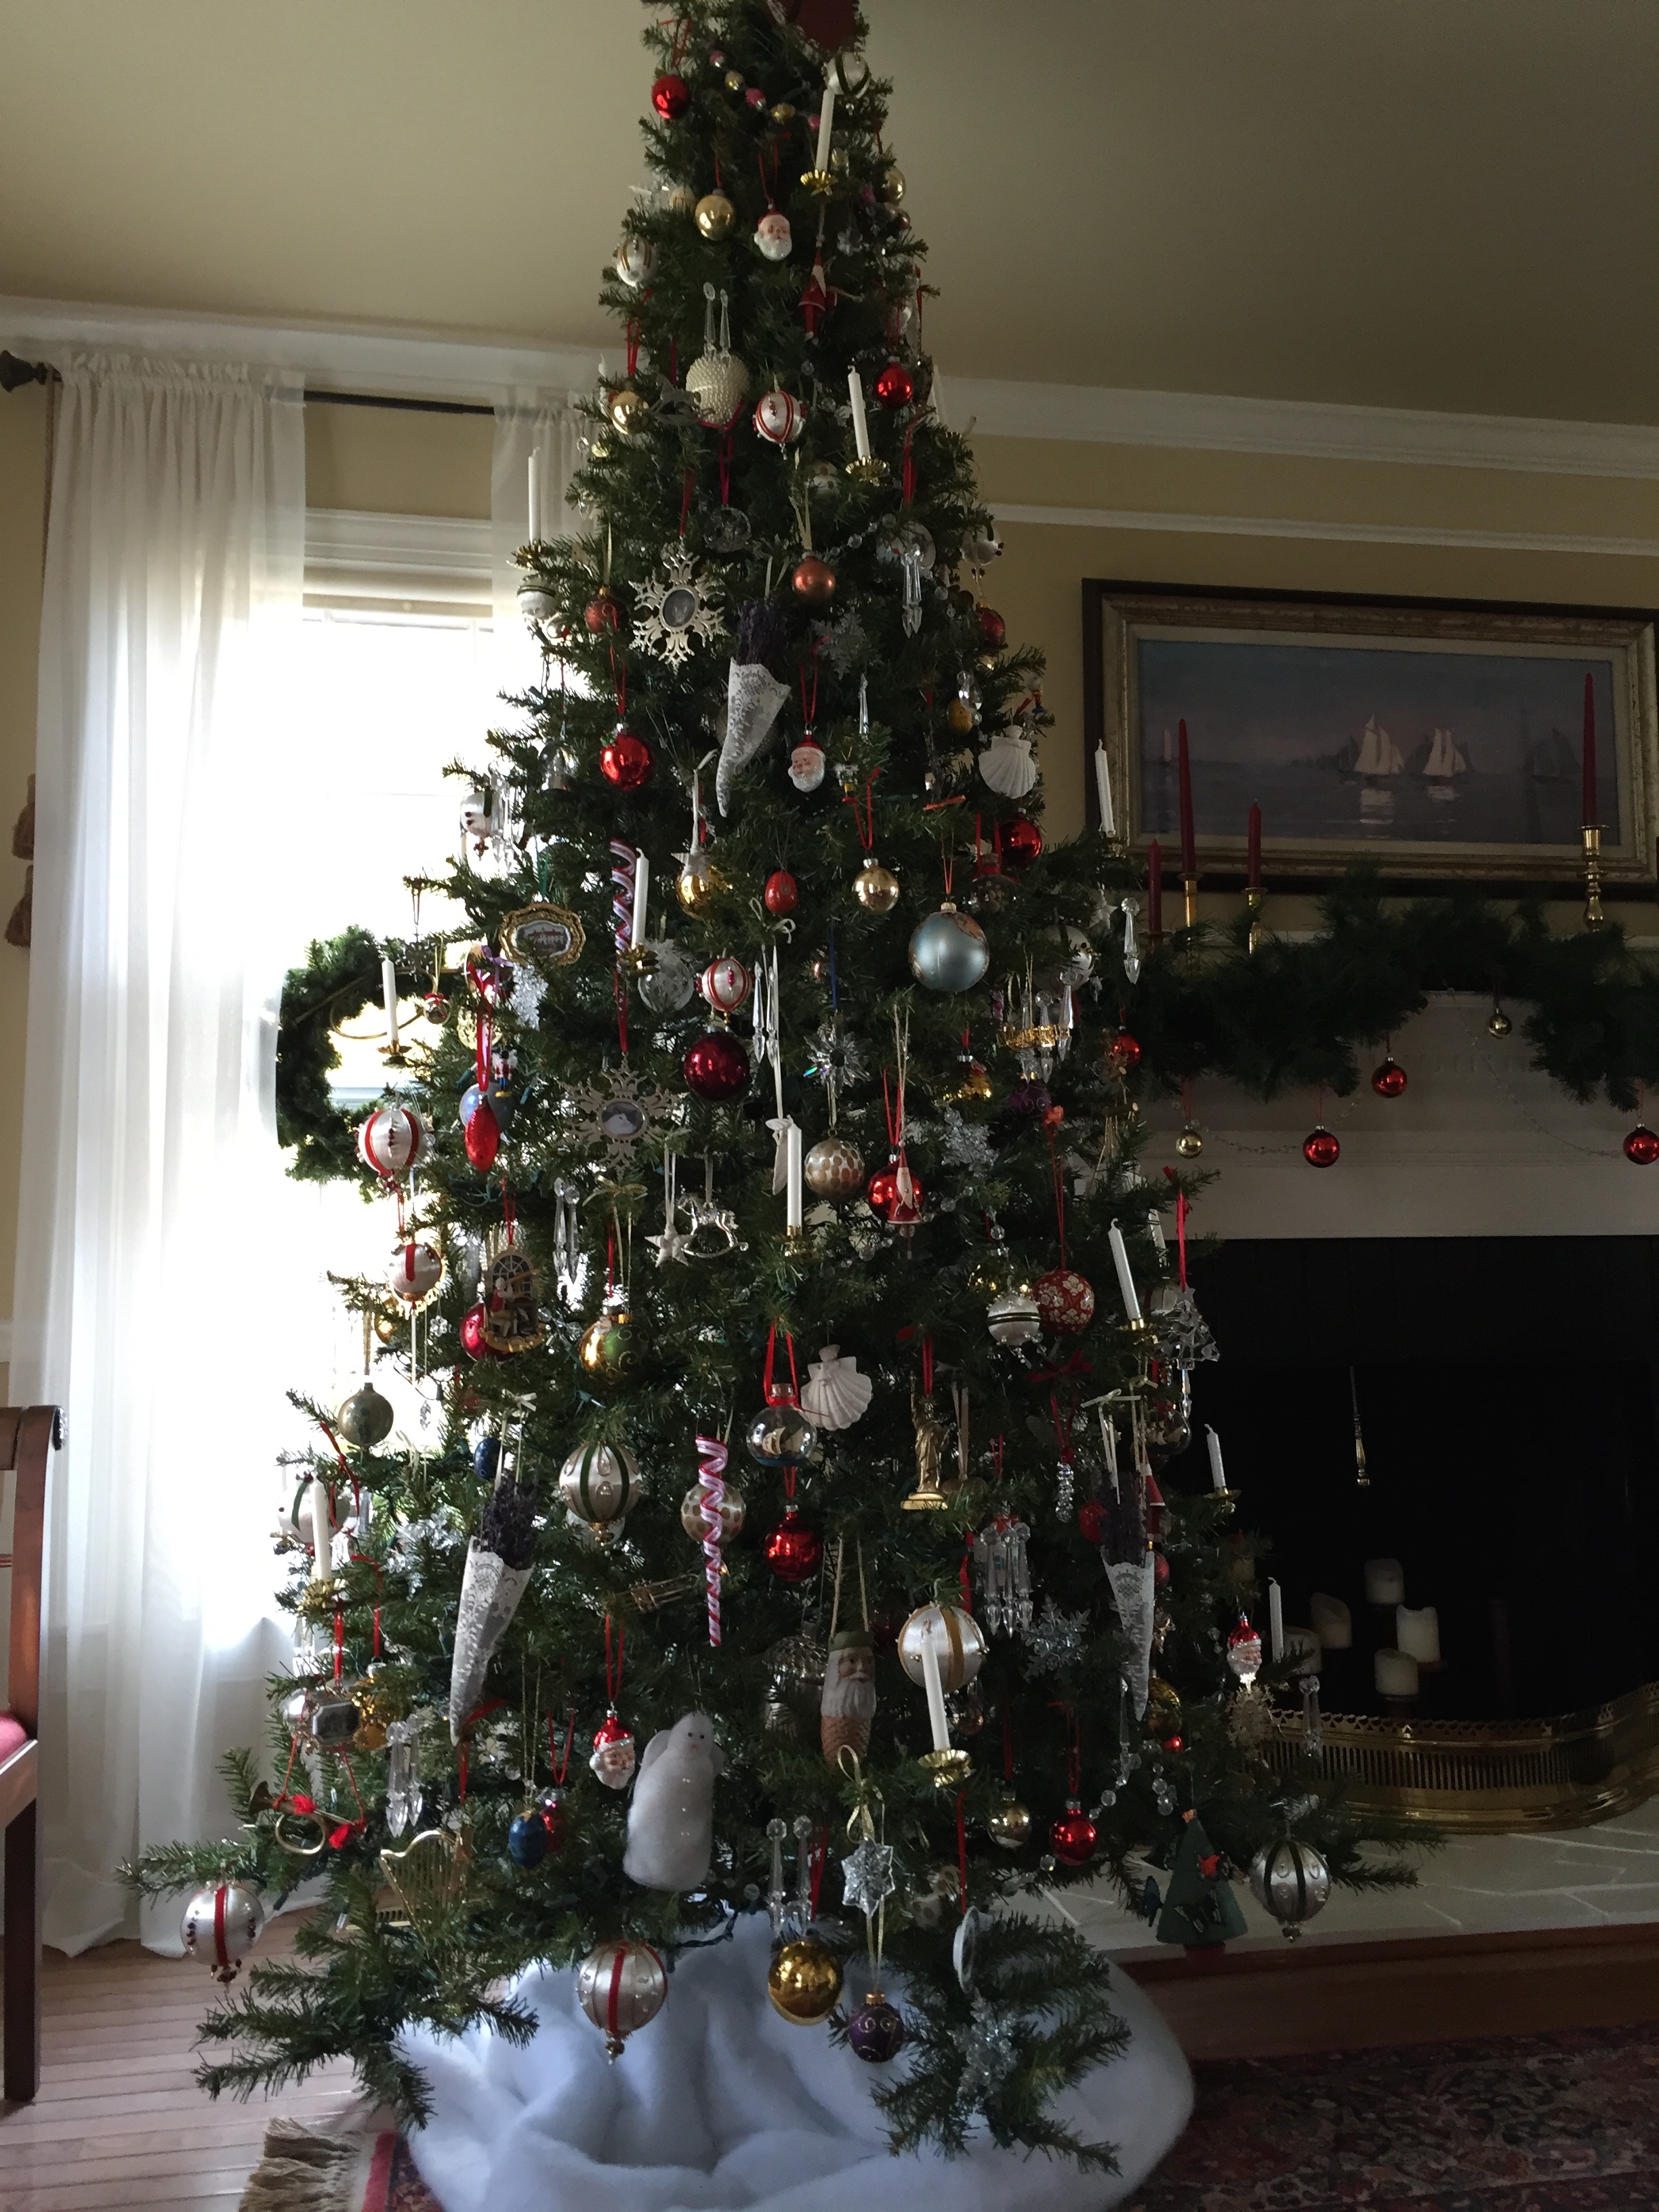
Here is the tree in a daytime shot so you can see the ornaments a little better. And this year my tree is celebrating its 21st birthday!
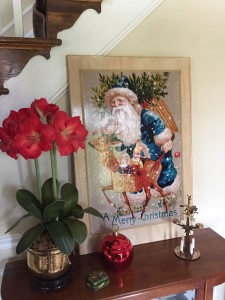
The entry foyer with amaryllis flowers, my favorite Santa and angel chimes.
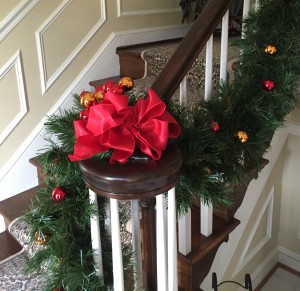
And — to me — the crowning touch is always Christmas bows!

Merry Christmas from our house to yours!