To me Autumn is all about pumpkins, fall leaves, candles, and warm colors. I just love all the different shapes, colors, and varieties of decorative gourds. I have been collecting them for decades now, and I love to use them all over the house, even outside. Most of mine are either paper mâché or resin, and last forever, which is important to the Earthgirl in me to be able to reuse over and over again. While I love decorating for each season, I have to be careful from going overboard, as my entire pumpkin/gourd collection fills two large storage bins when packed away.
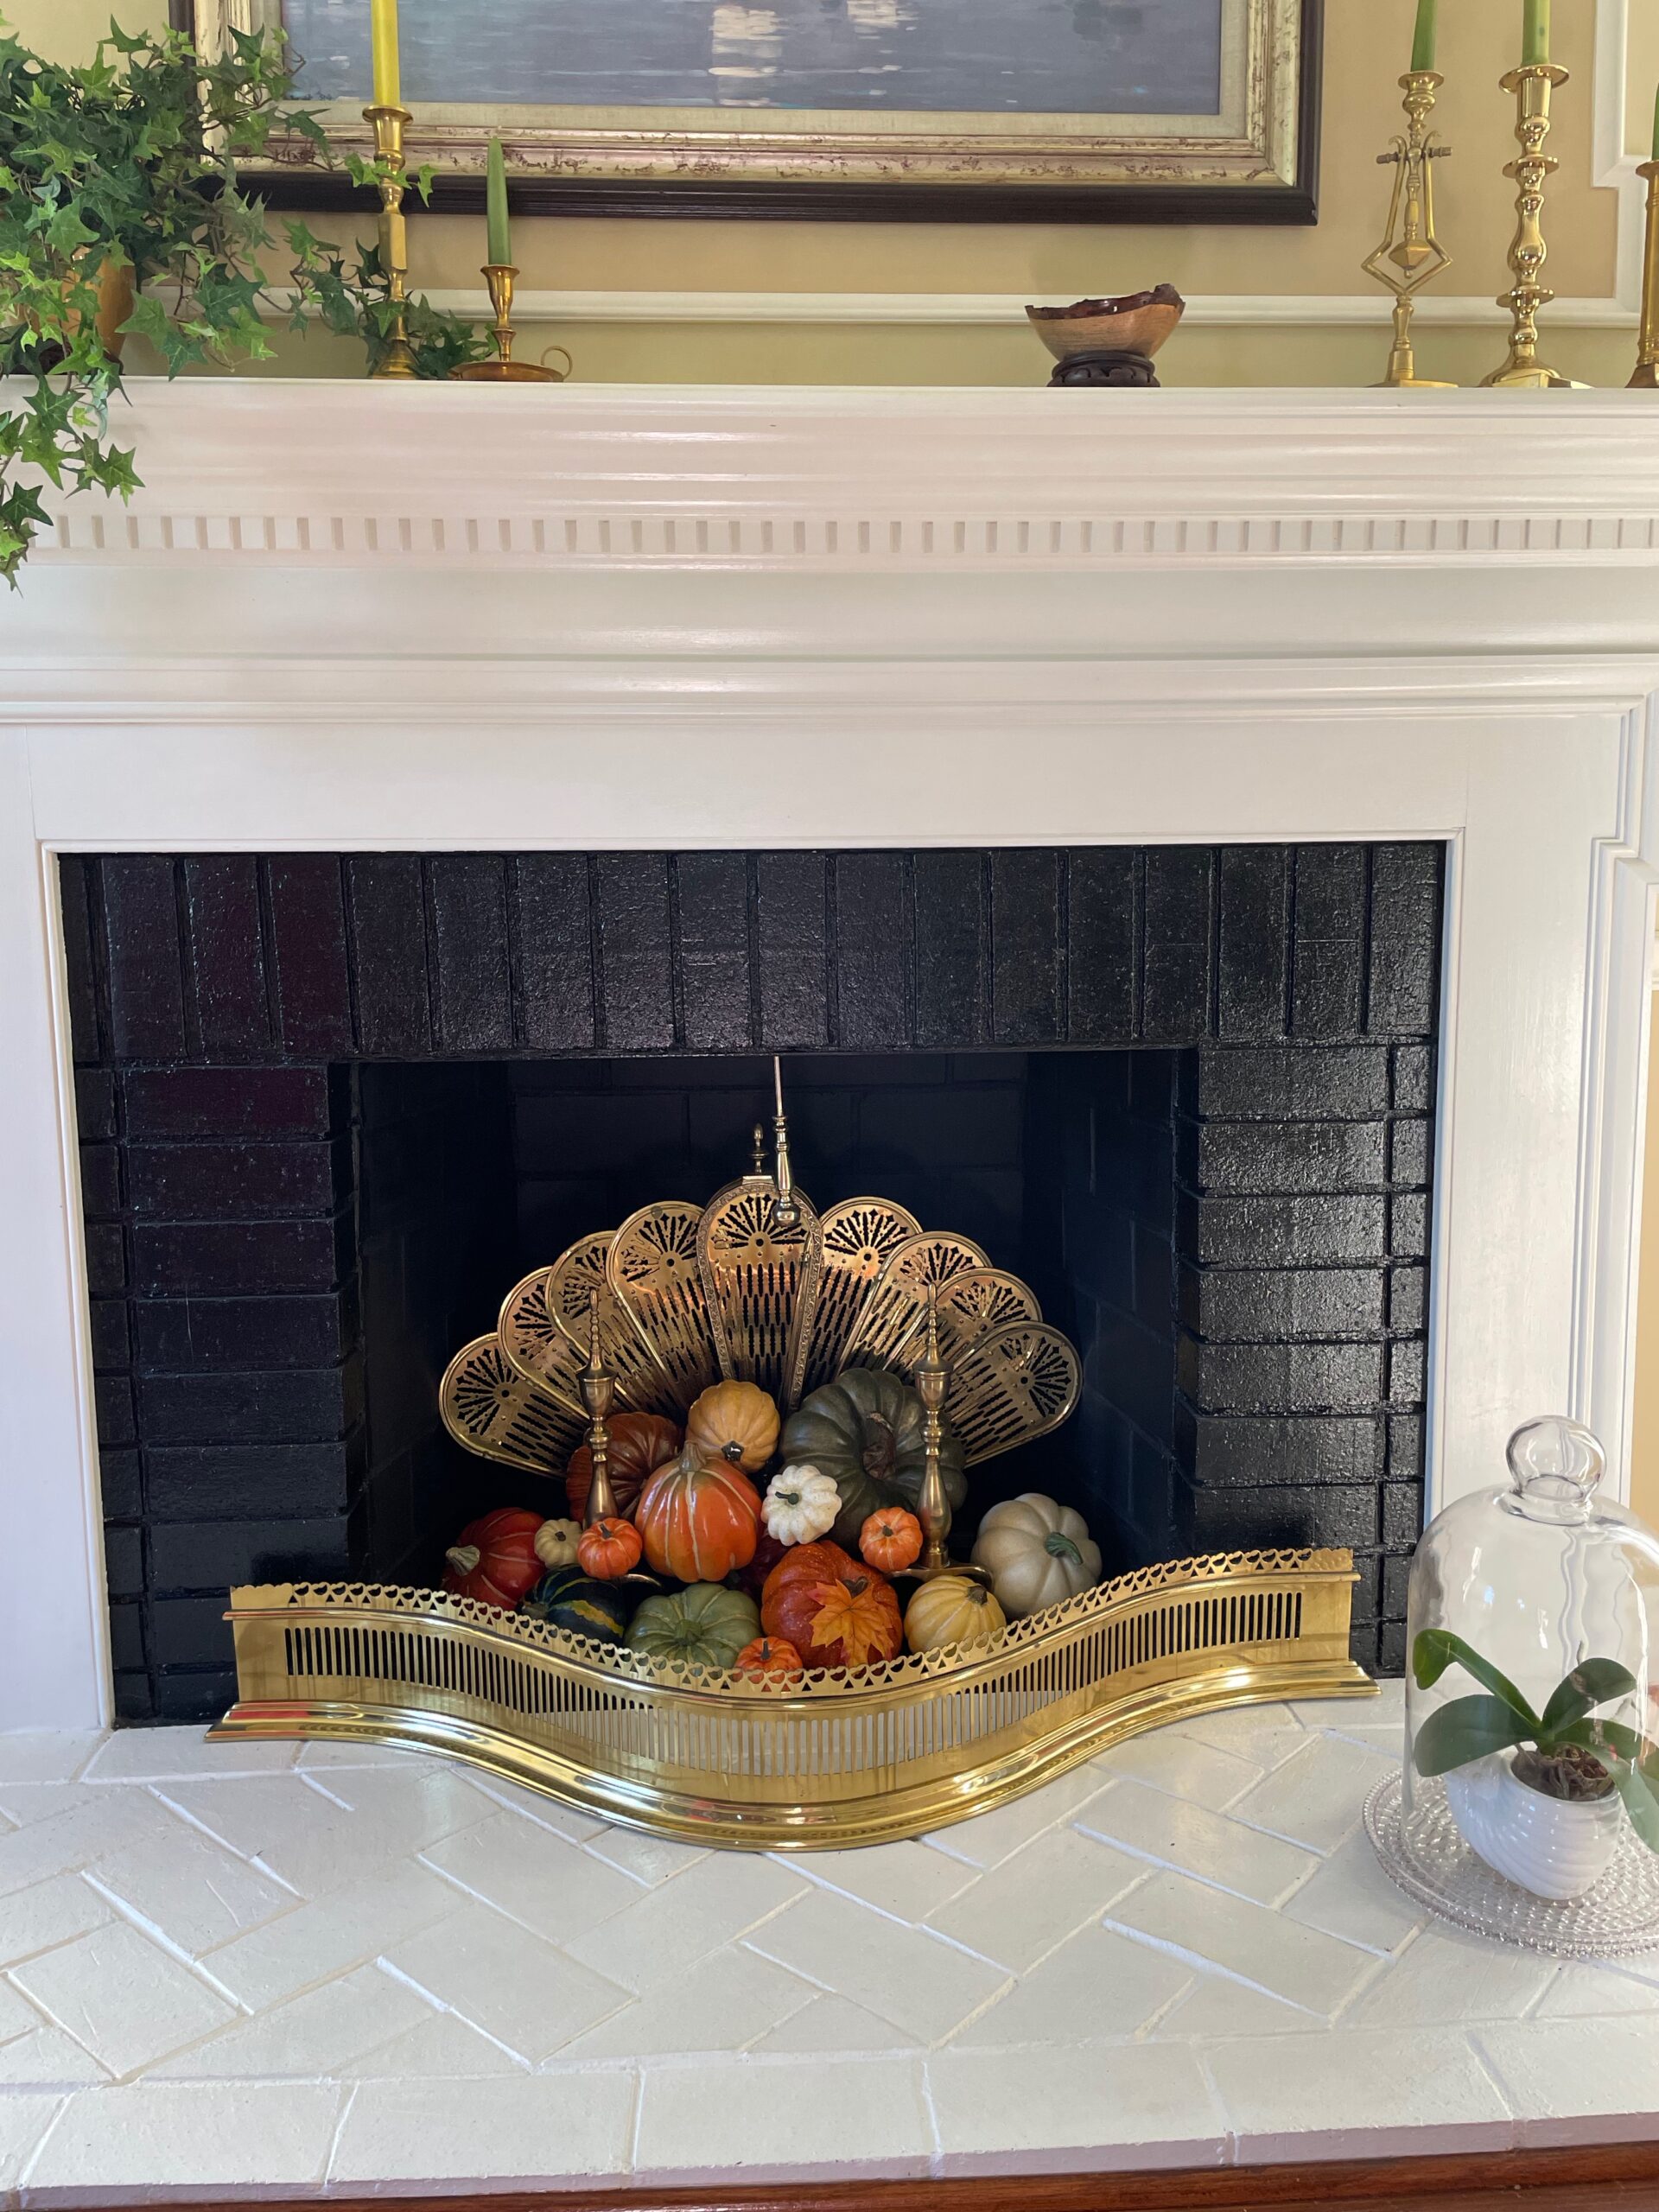
I love to mix them up. Each year I fill bowls with small ones, as well as use them in lanterns, around candles, in stacks, and on fireplace hearths from Labor Day until Thanksgiving. Here are a few photos from this year’s display at our home.

Choosing interesting bowls that have fun colors relating to the season is the key. This vintage one was my grandmother’s, so it’s very special to me.


These two Bordallo green cabbage designs are some of my favorite pottery pieces, and they really set off the pumpkin colors.

Here are two of my favorite paper mâché gourds on the family room mantle. I embellished a few of them with fall leaves to bring together the color scheme. I love them with a mix of candles. The more eclectic the grouping, the better, in my opinion. All of my candlestick holders are either inherited or thrifted from shops, or estate sales– I love them all!
In the photo below are decorative lanterns on the mantle in the game room. Tip: when you decorate the inside of lanterns, be sure to use battery candles so you don’t have a fire risk.

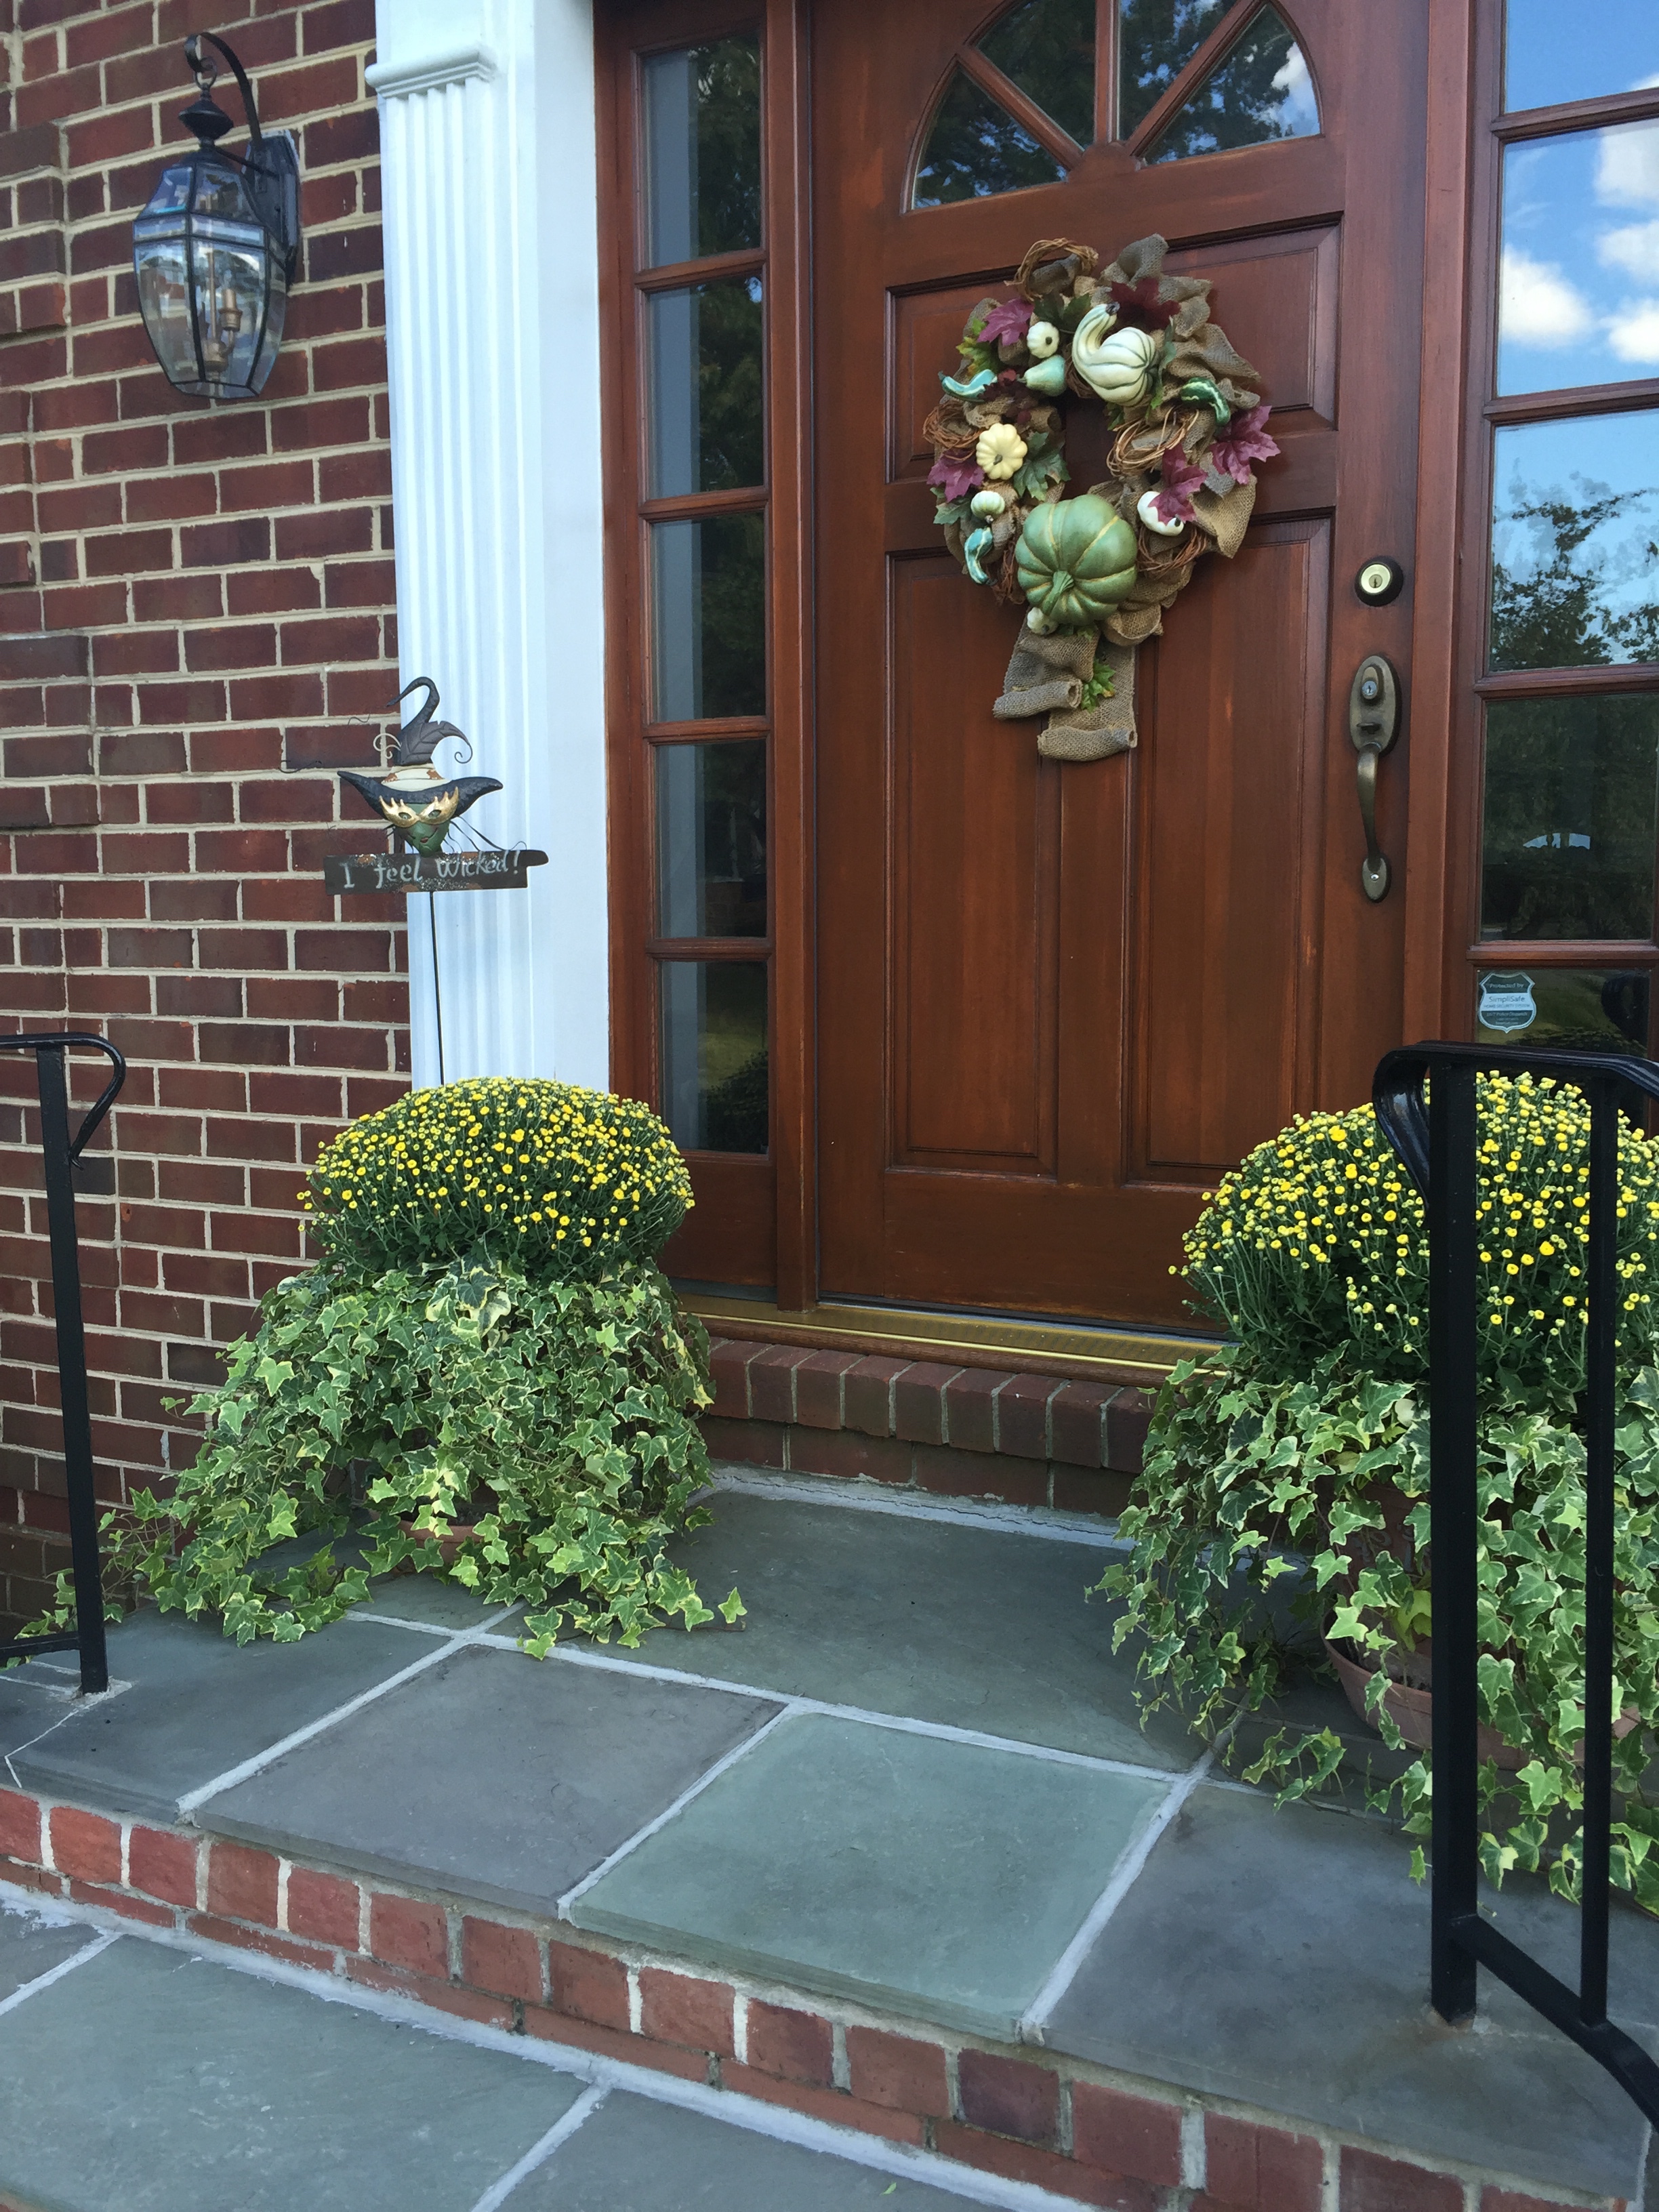
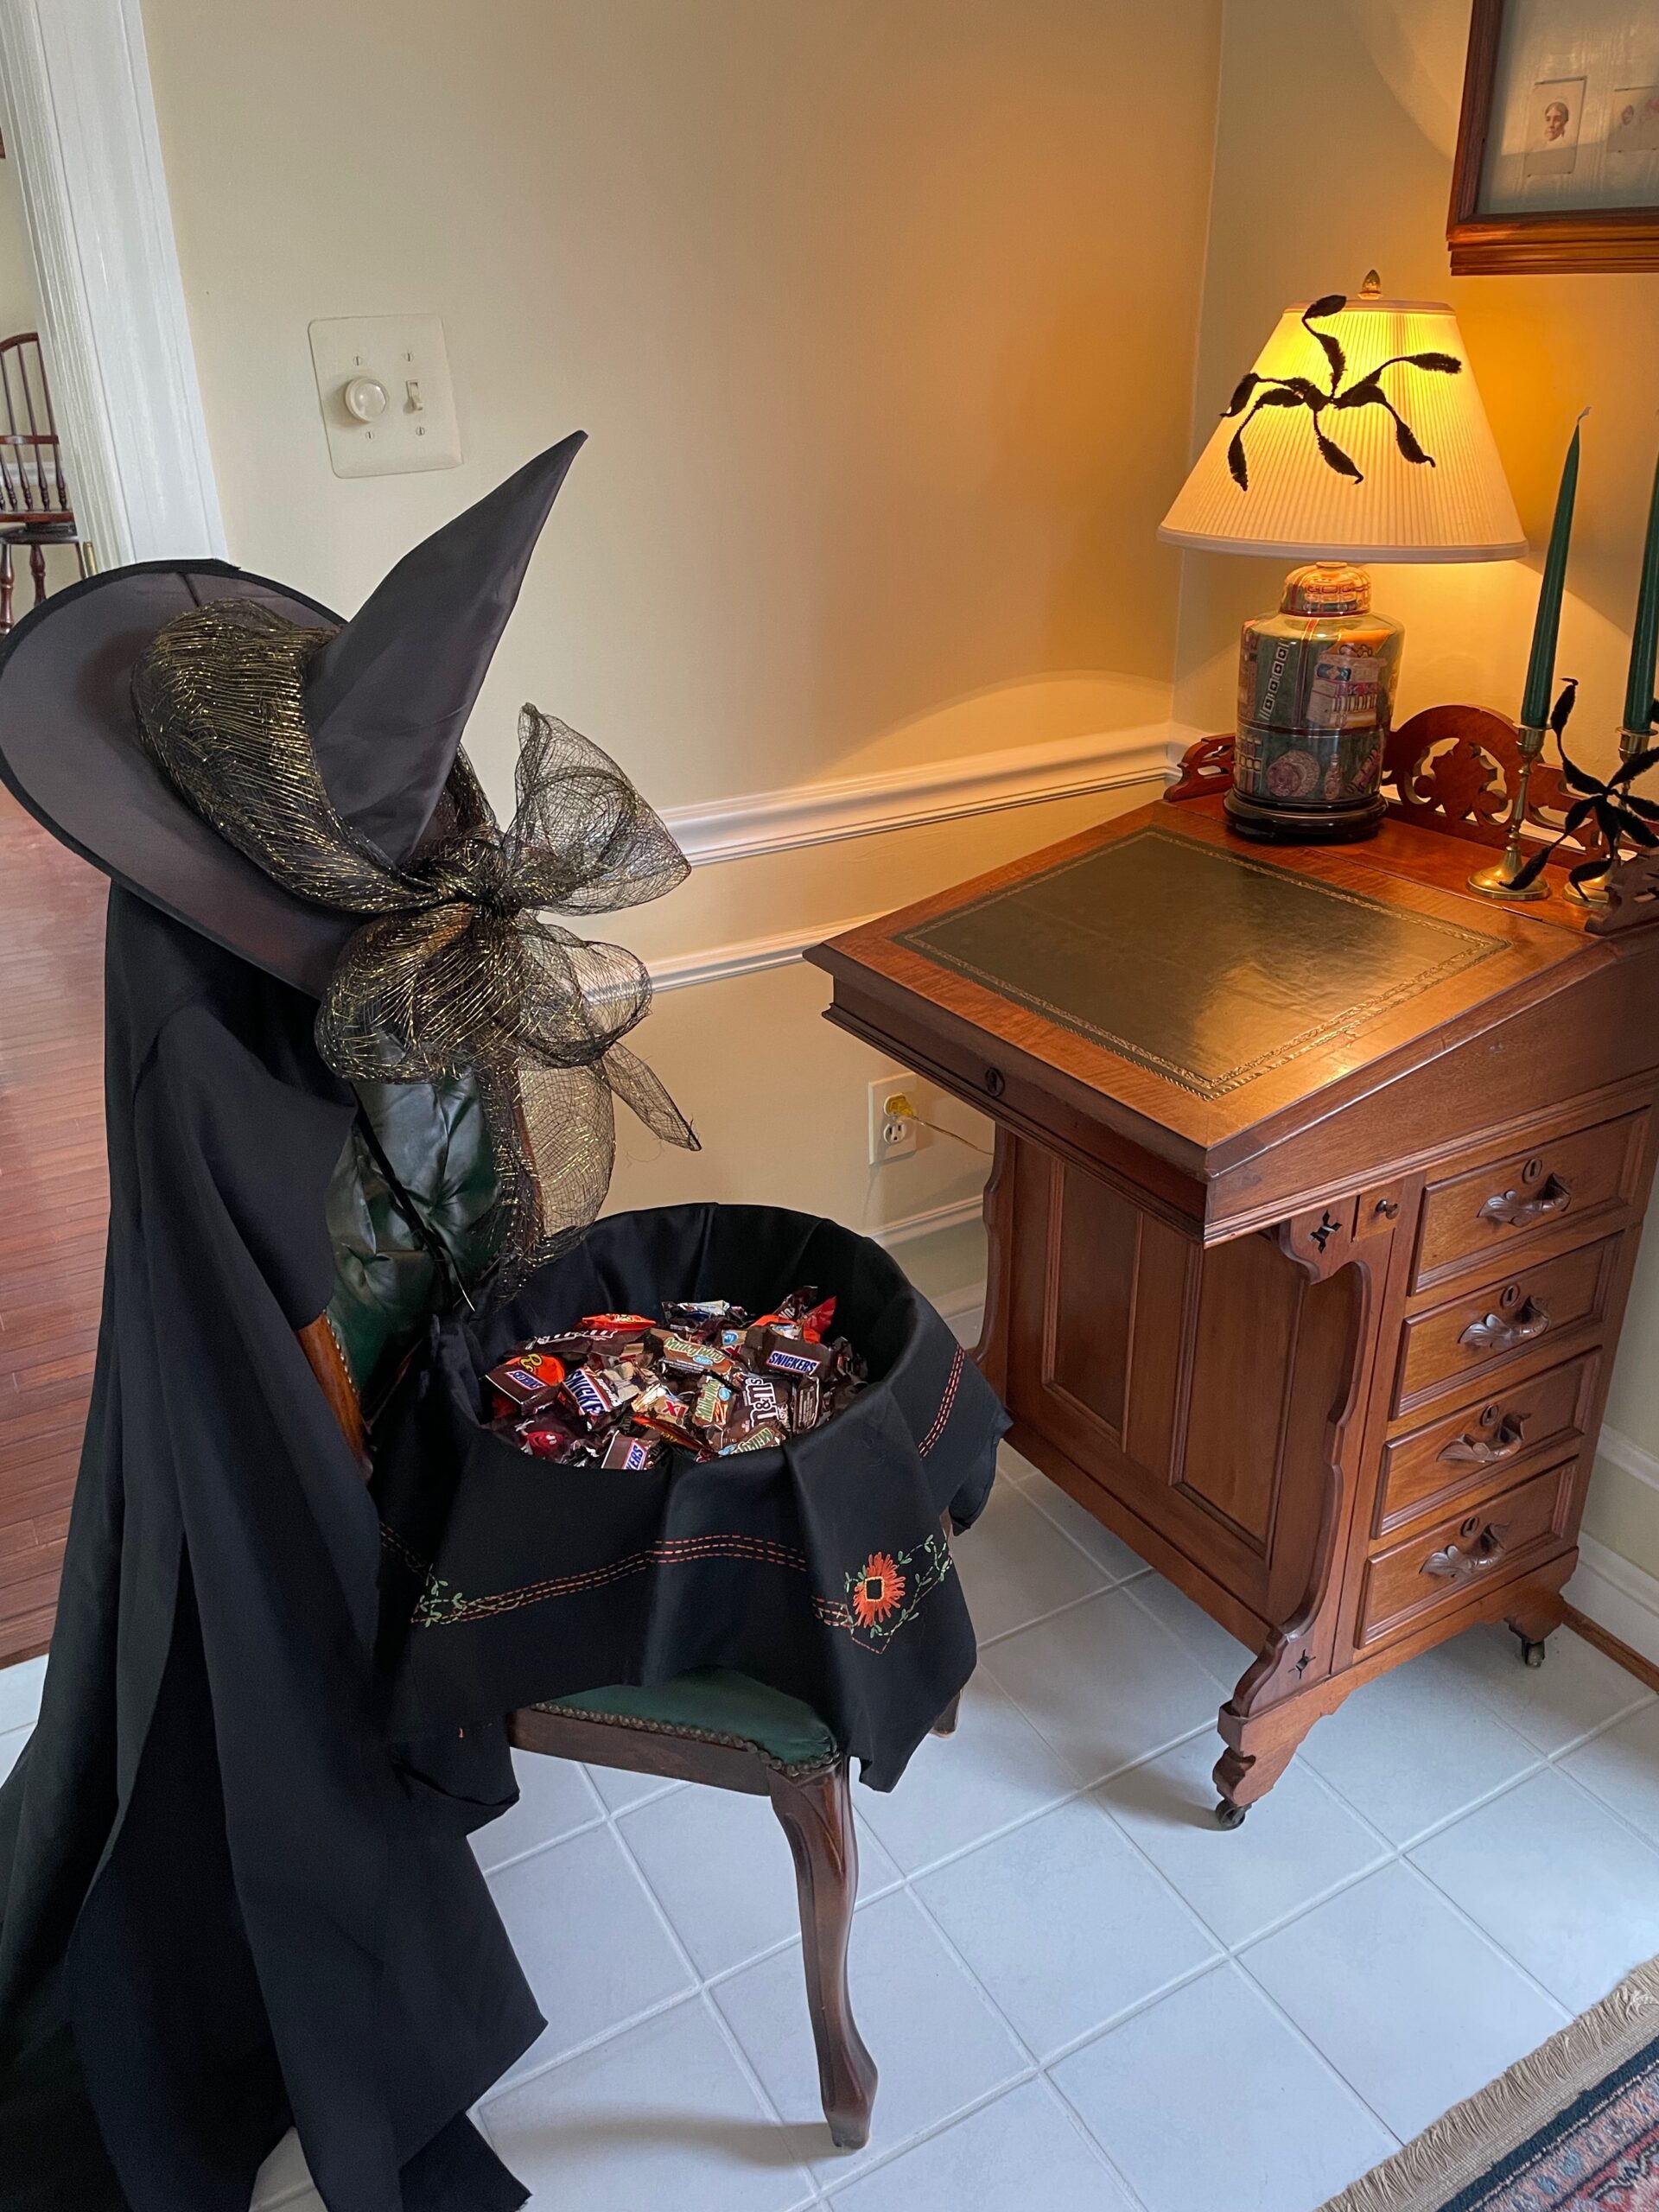
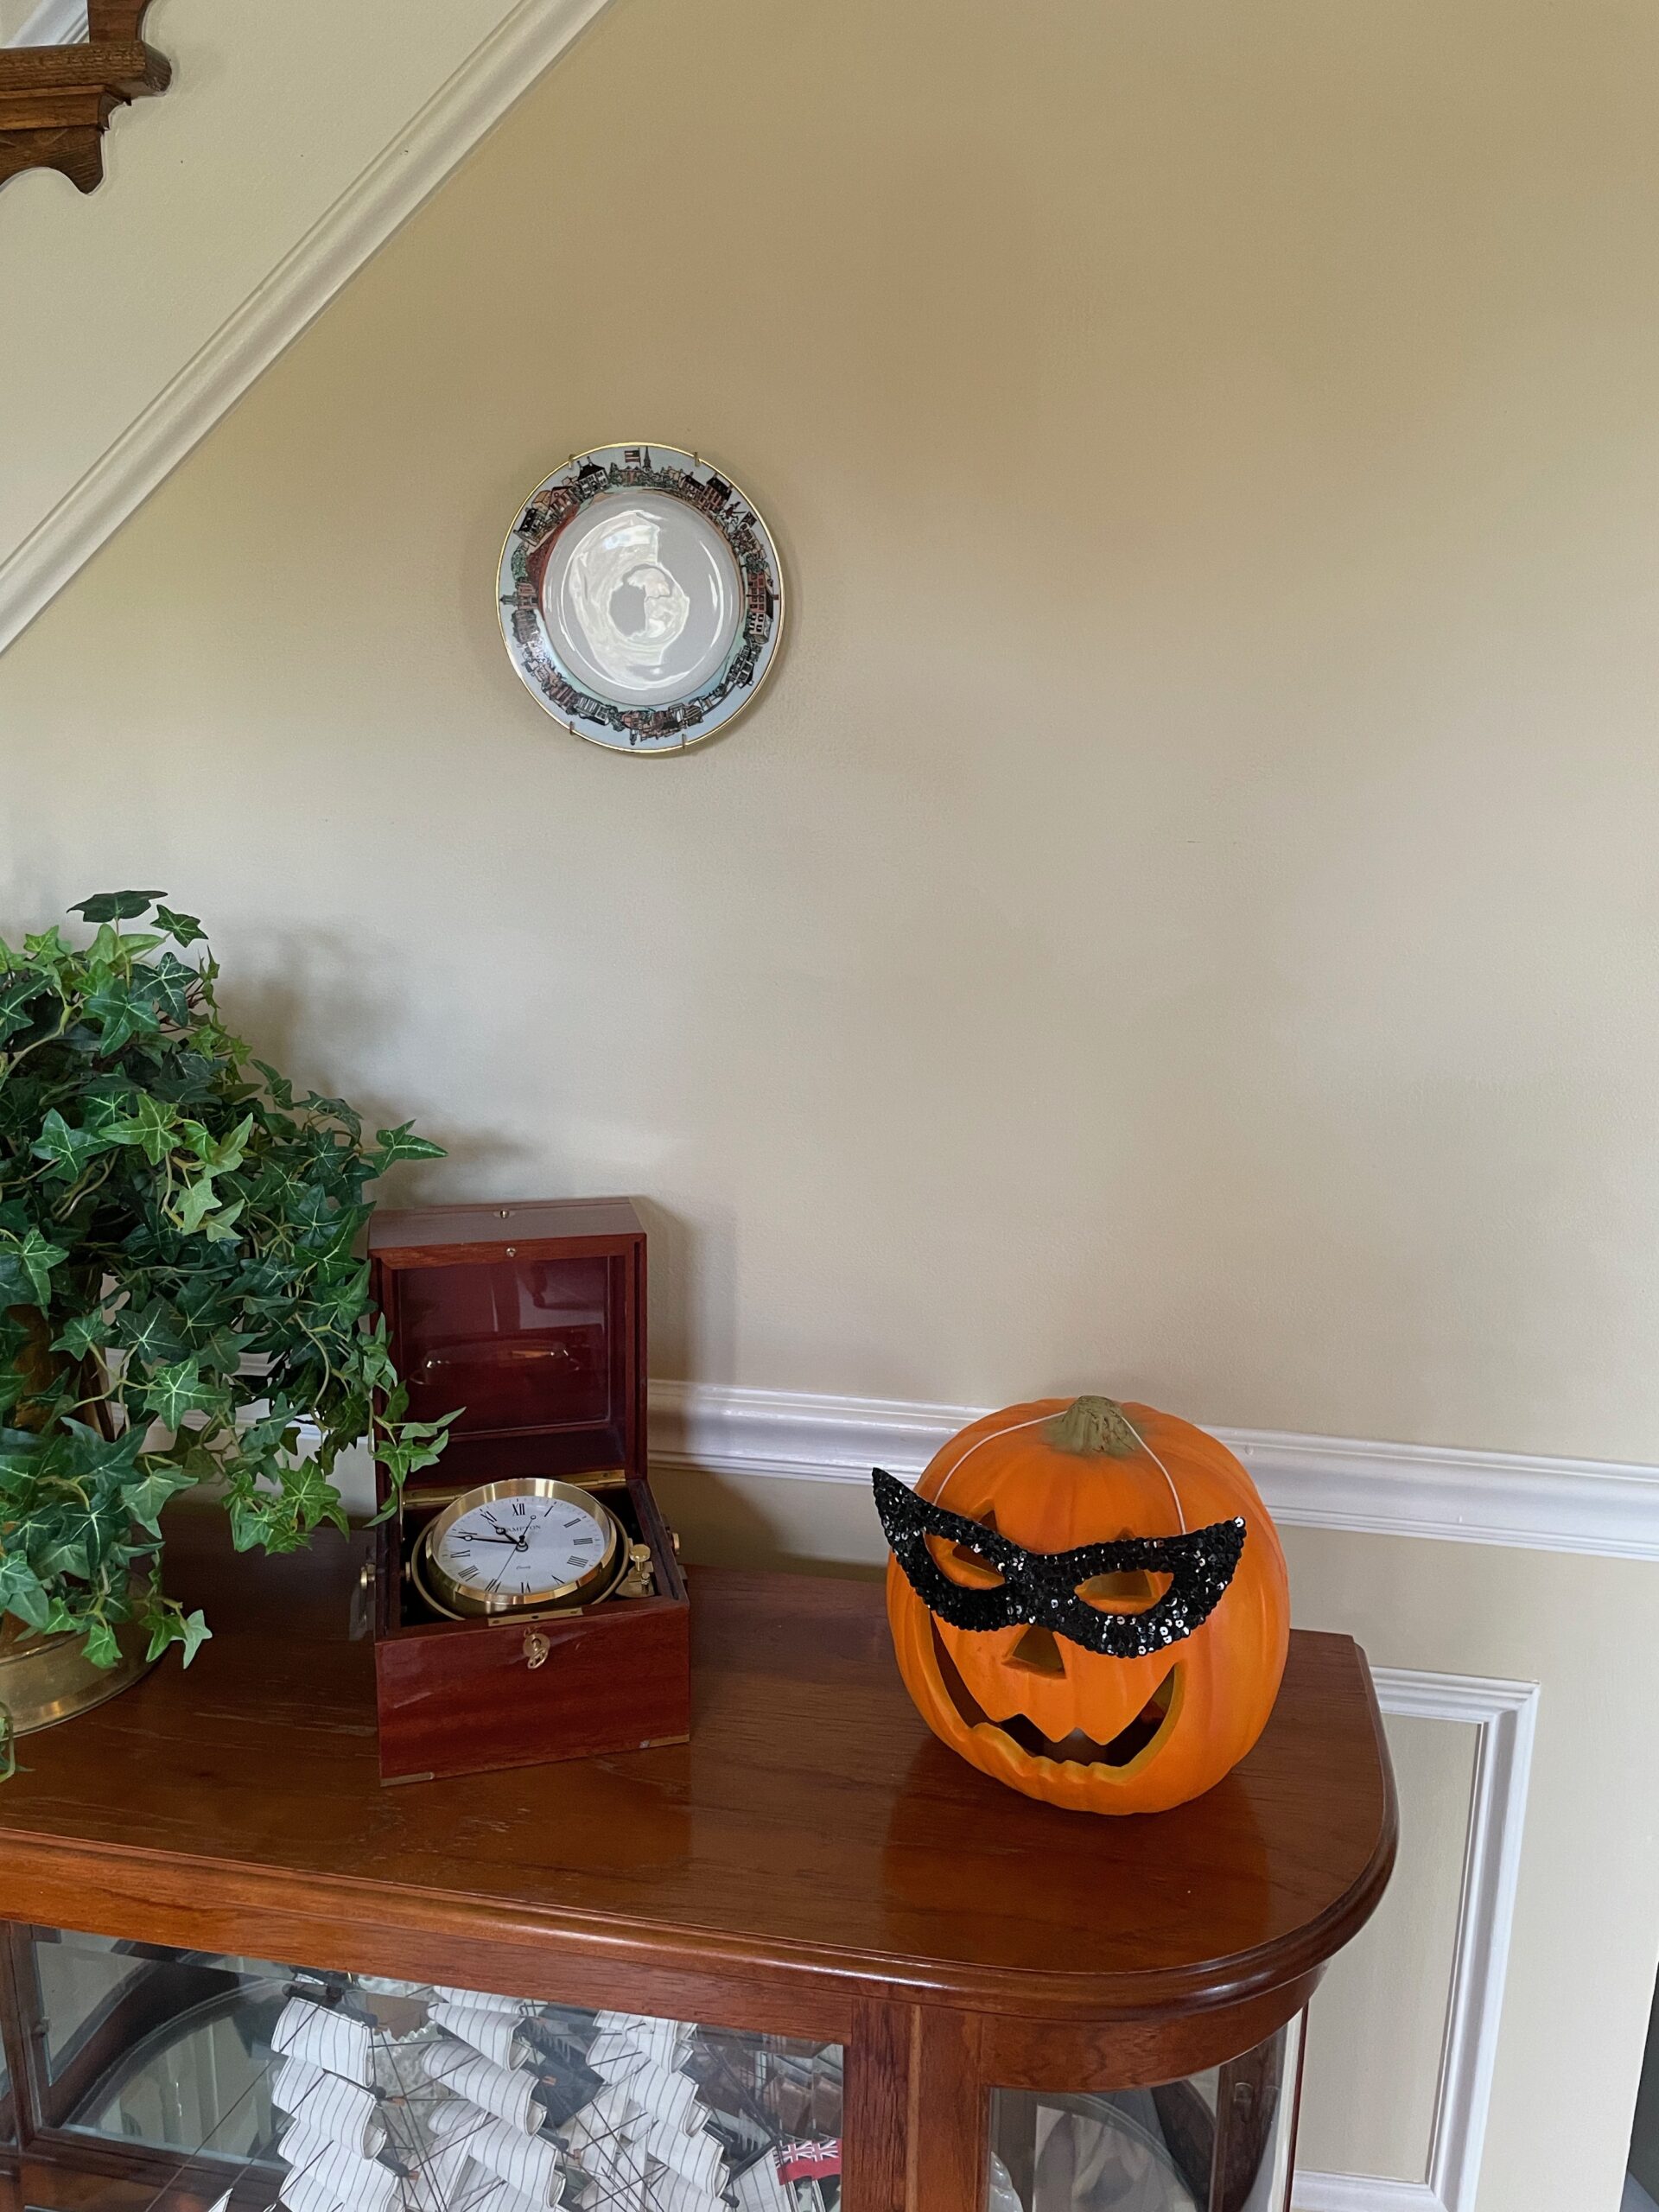
Of course, on Halloween a witch stopped by and helped me hand out candies to the Trick-or-Treaters, and even one of my pumpkins got in the holiday spirit and dressed up!

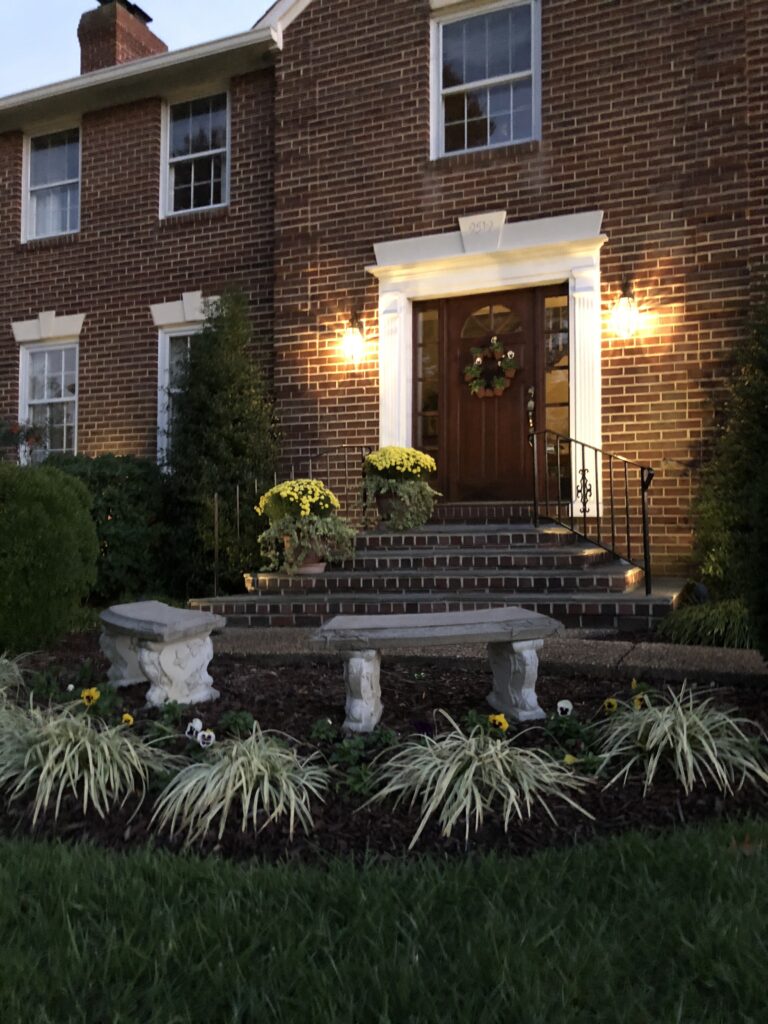
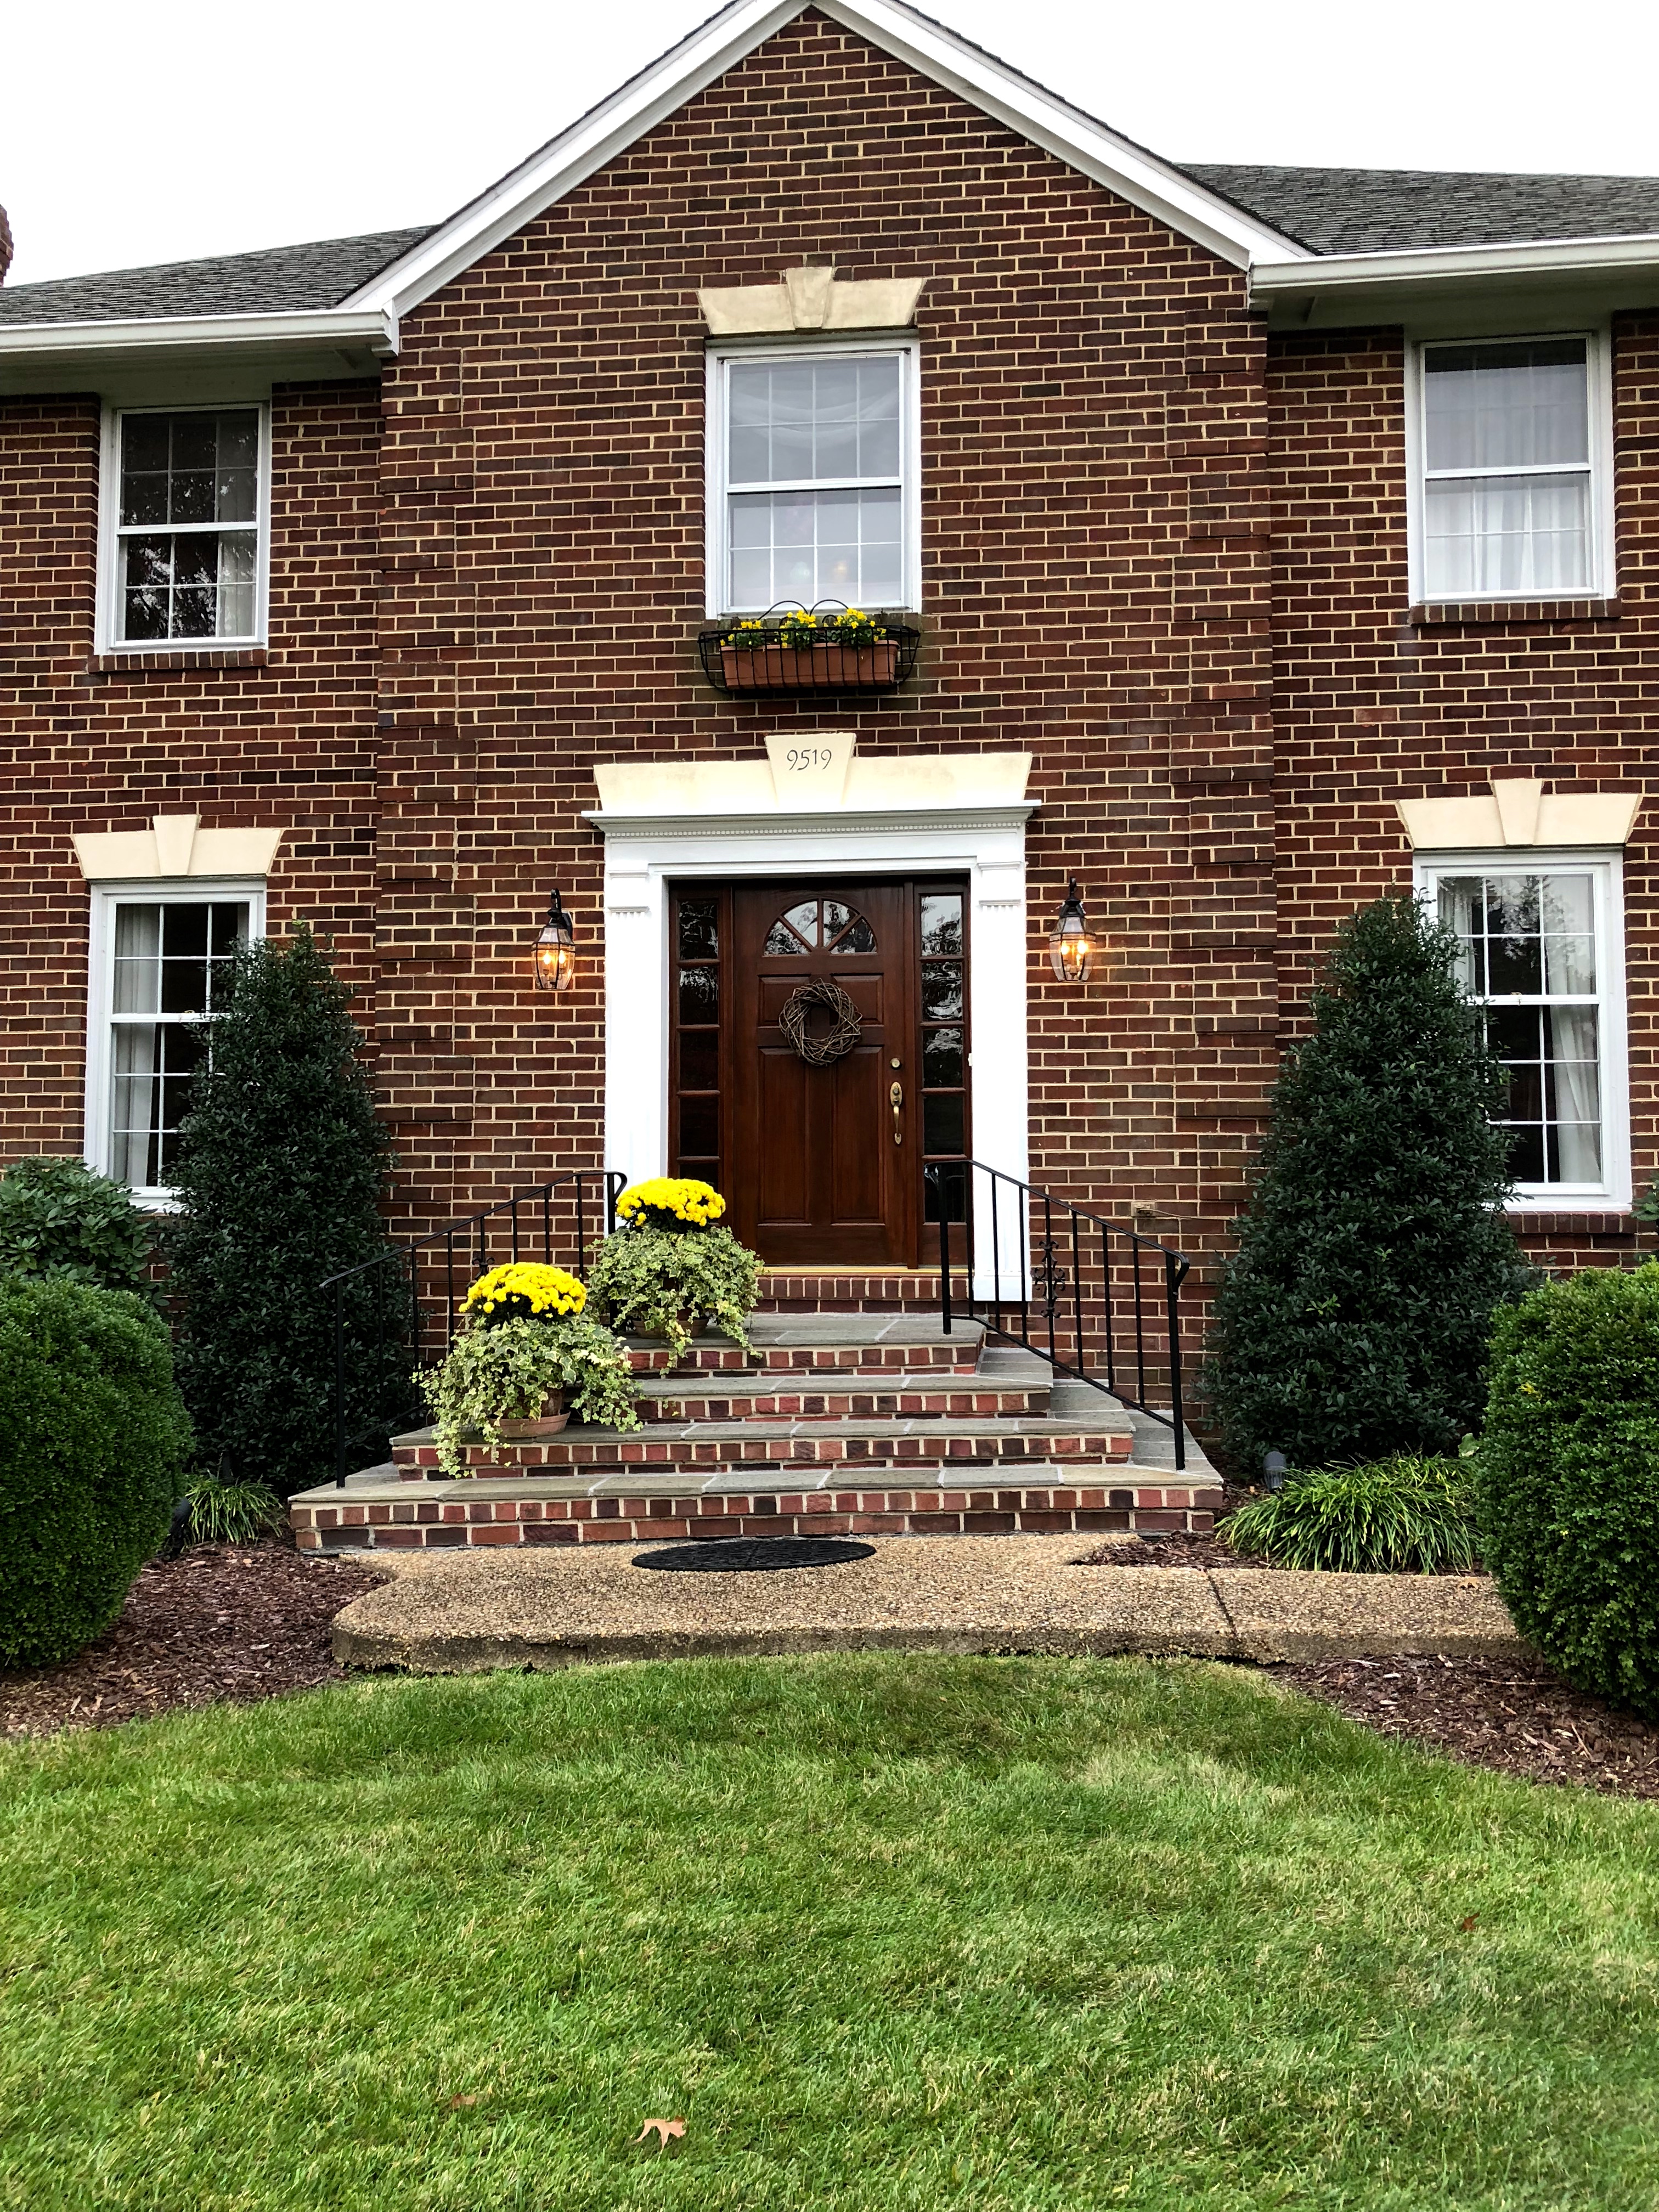
On the front porch, I created a stack of gourds inside old tomato cages for each side of the door. Just turn the cages upside down and bind the ends together with copper wire to form a cone shape, then fill with gourds. I added stakes to hold them in place in the pots during the fall winds. They are large enough to be seen from the street and make a big autumn impact.

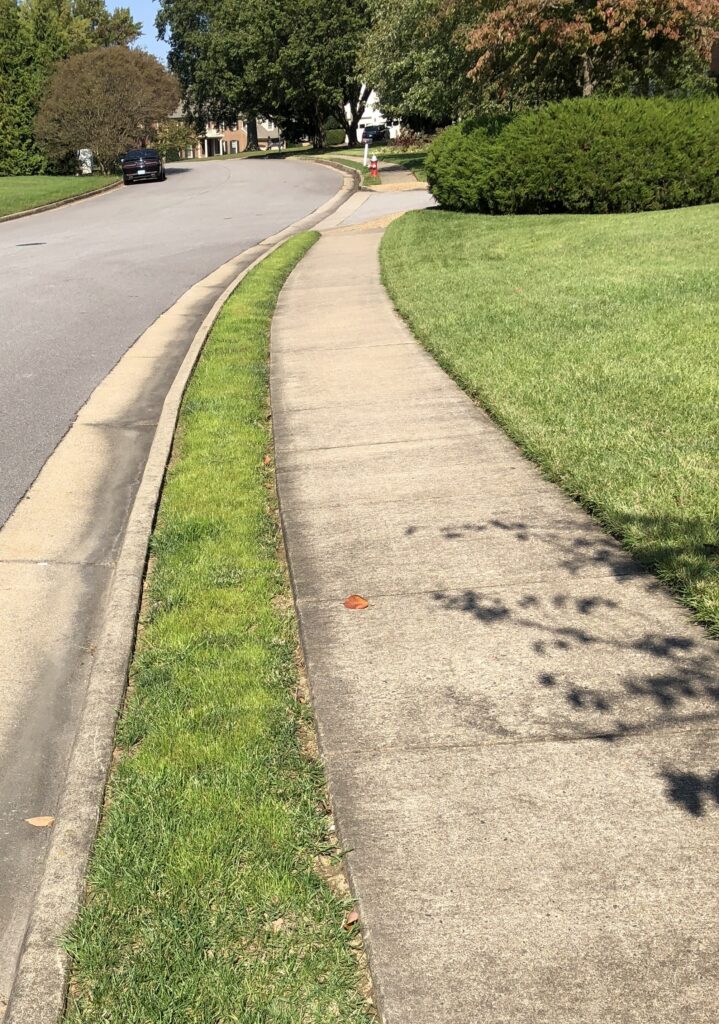
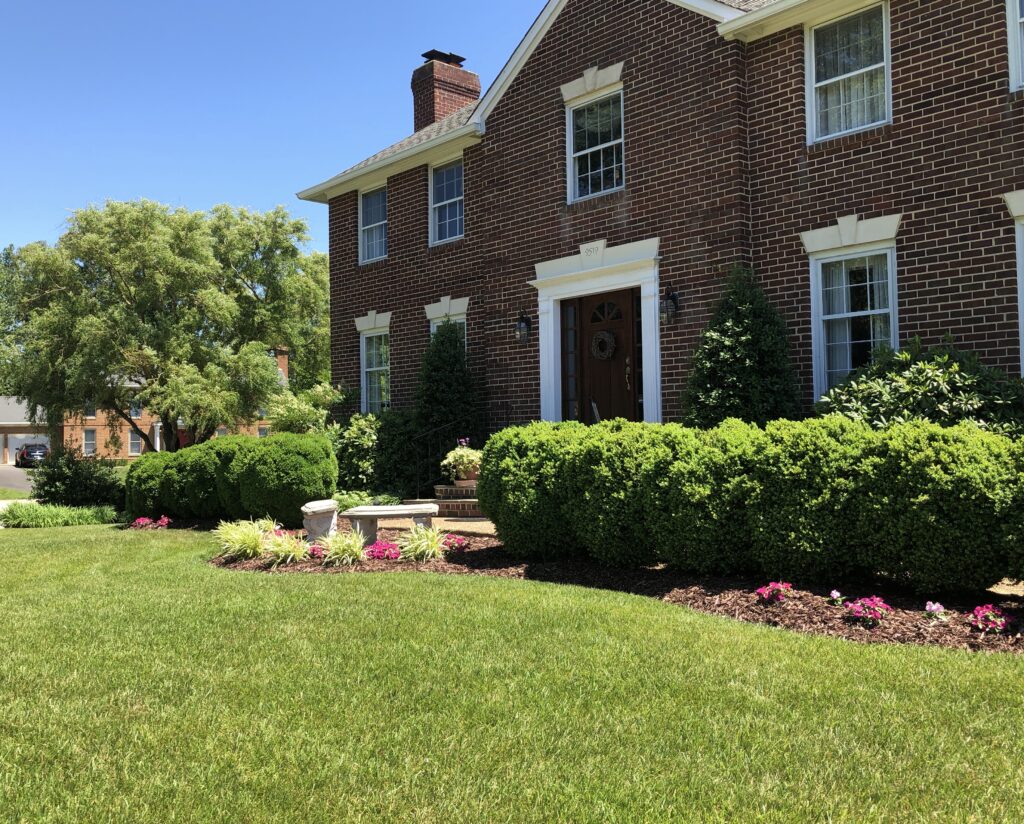
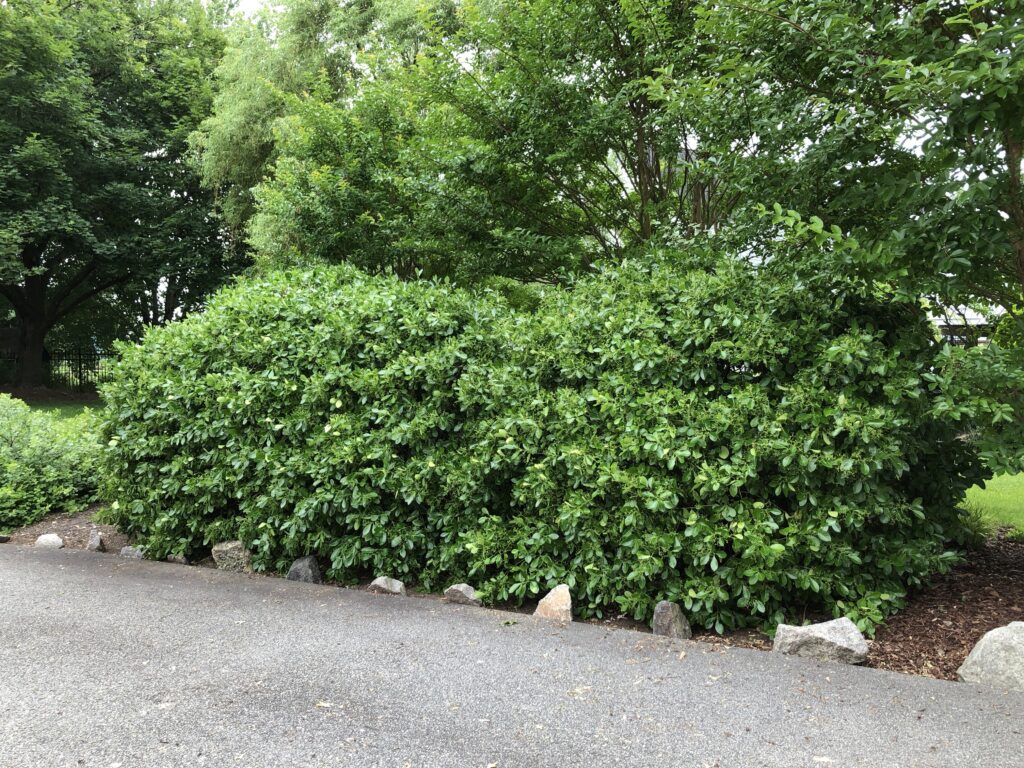
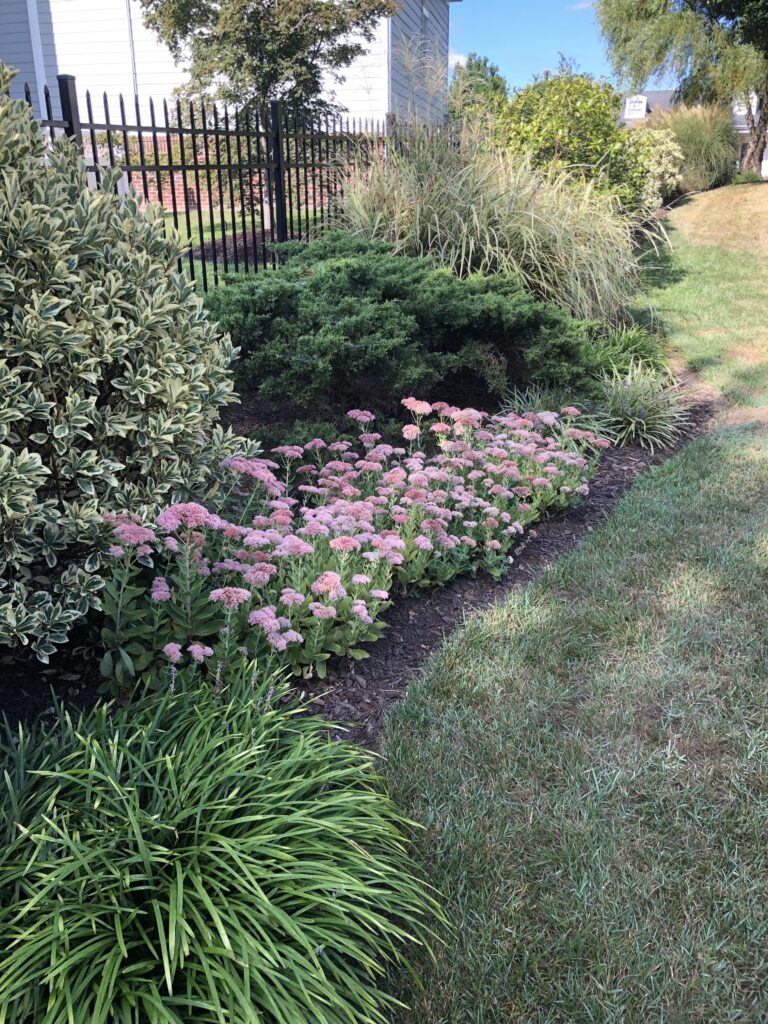
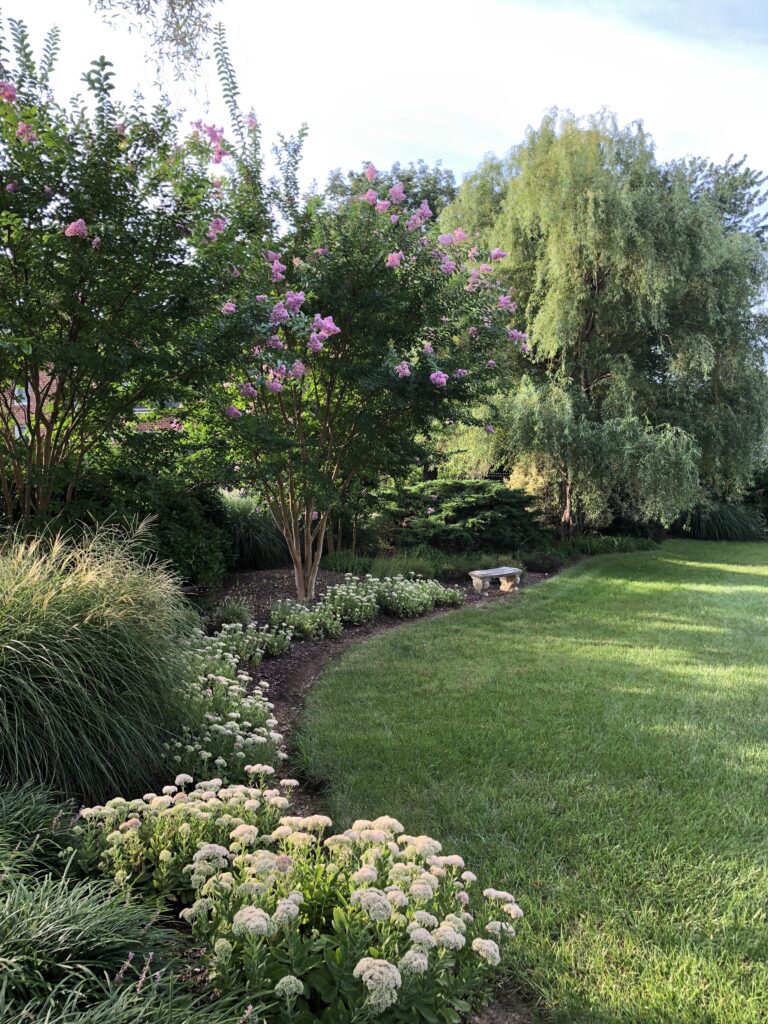
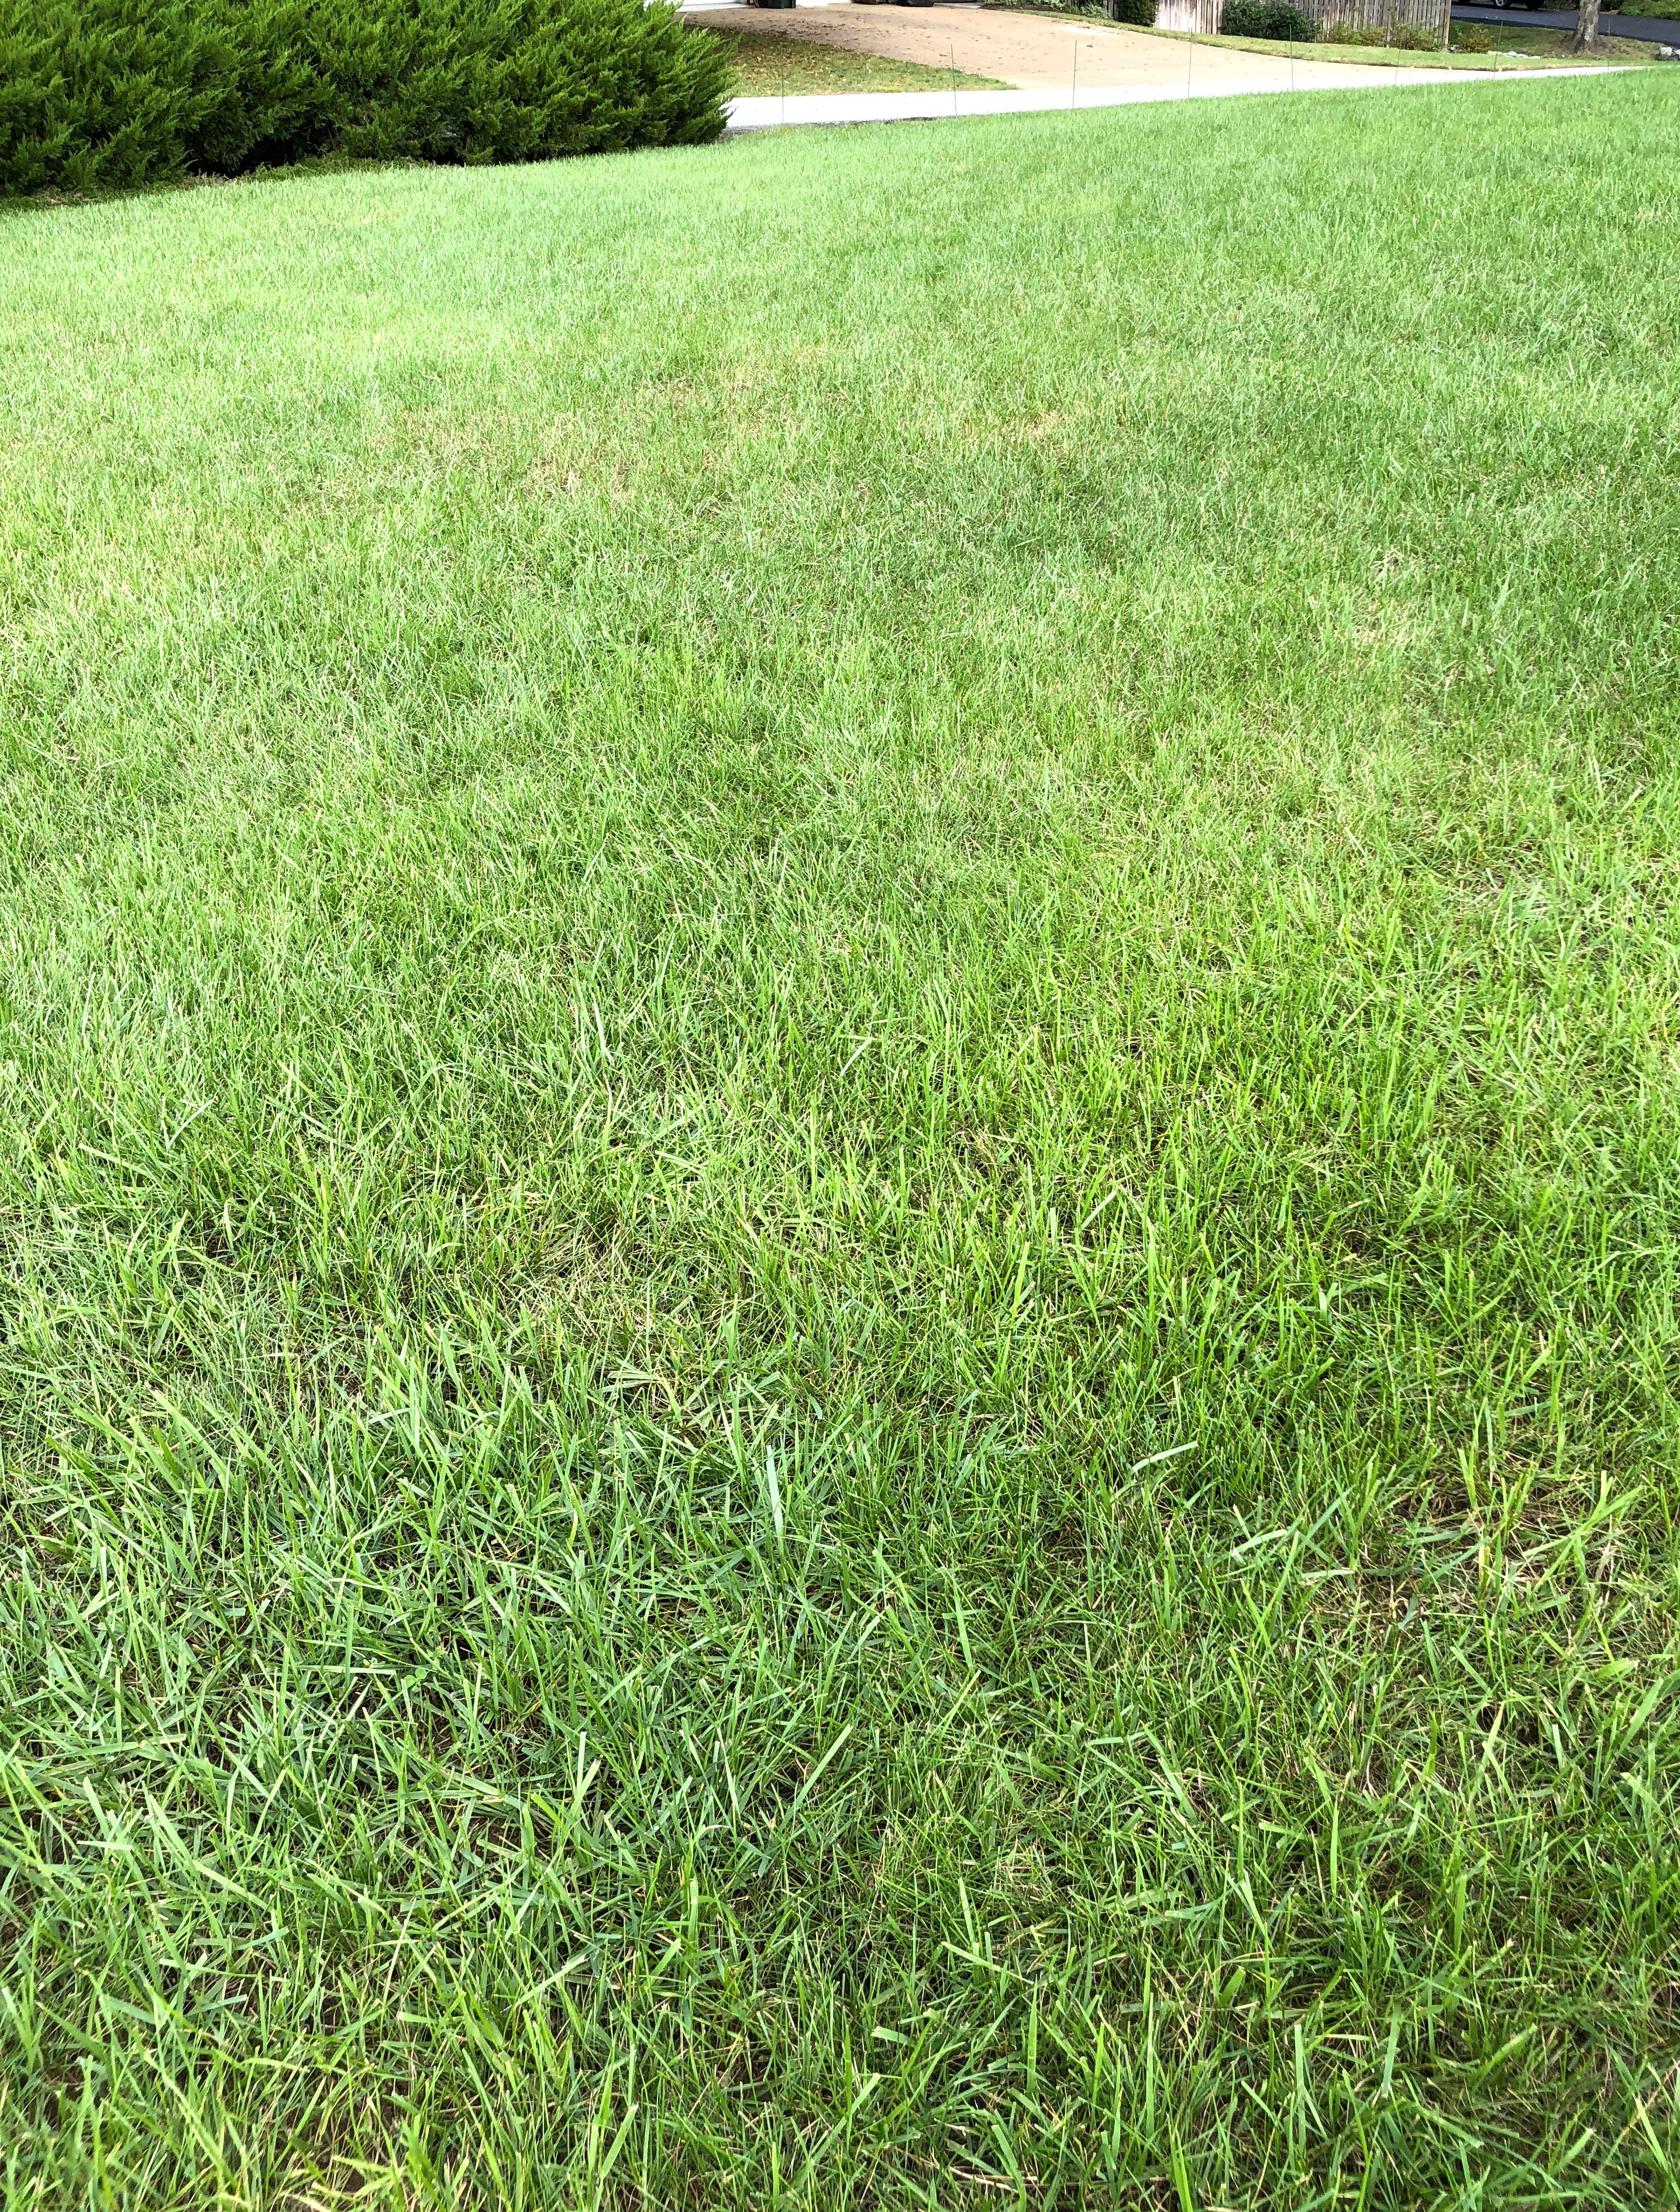
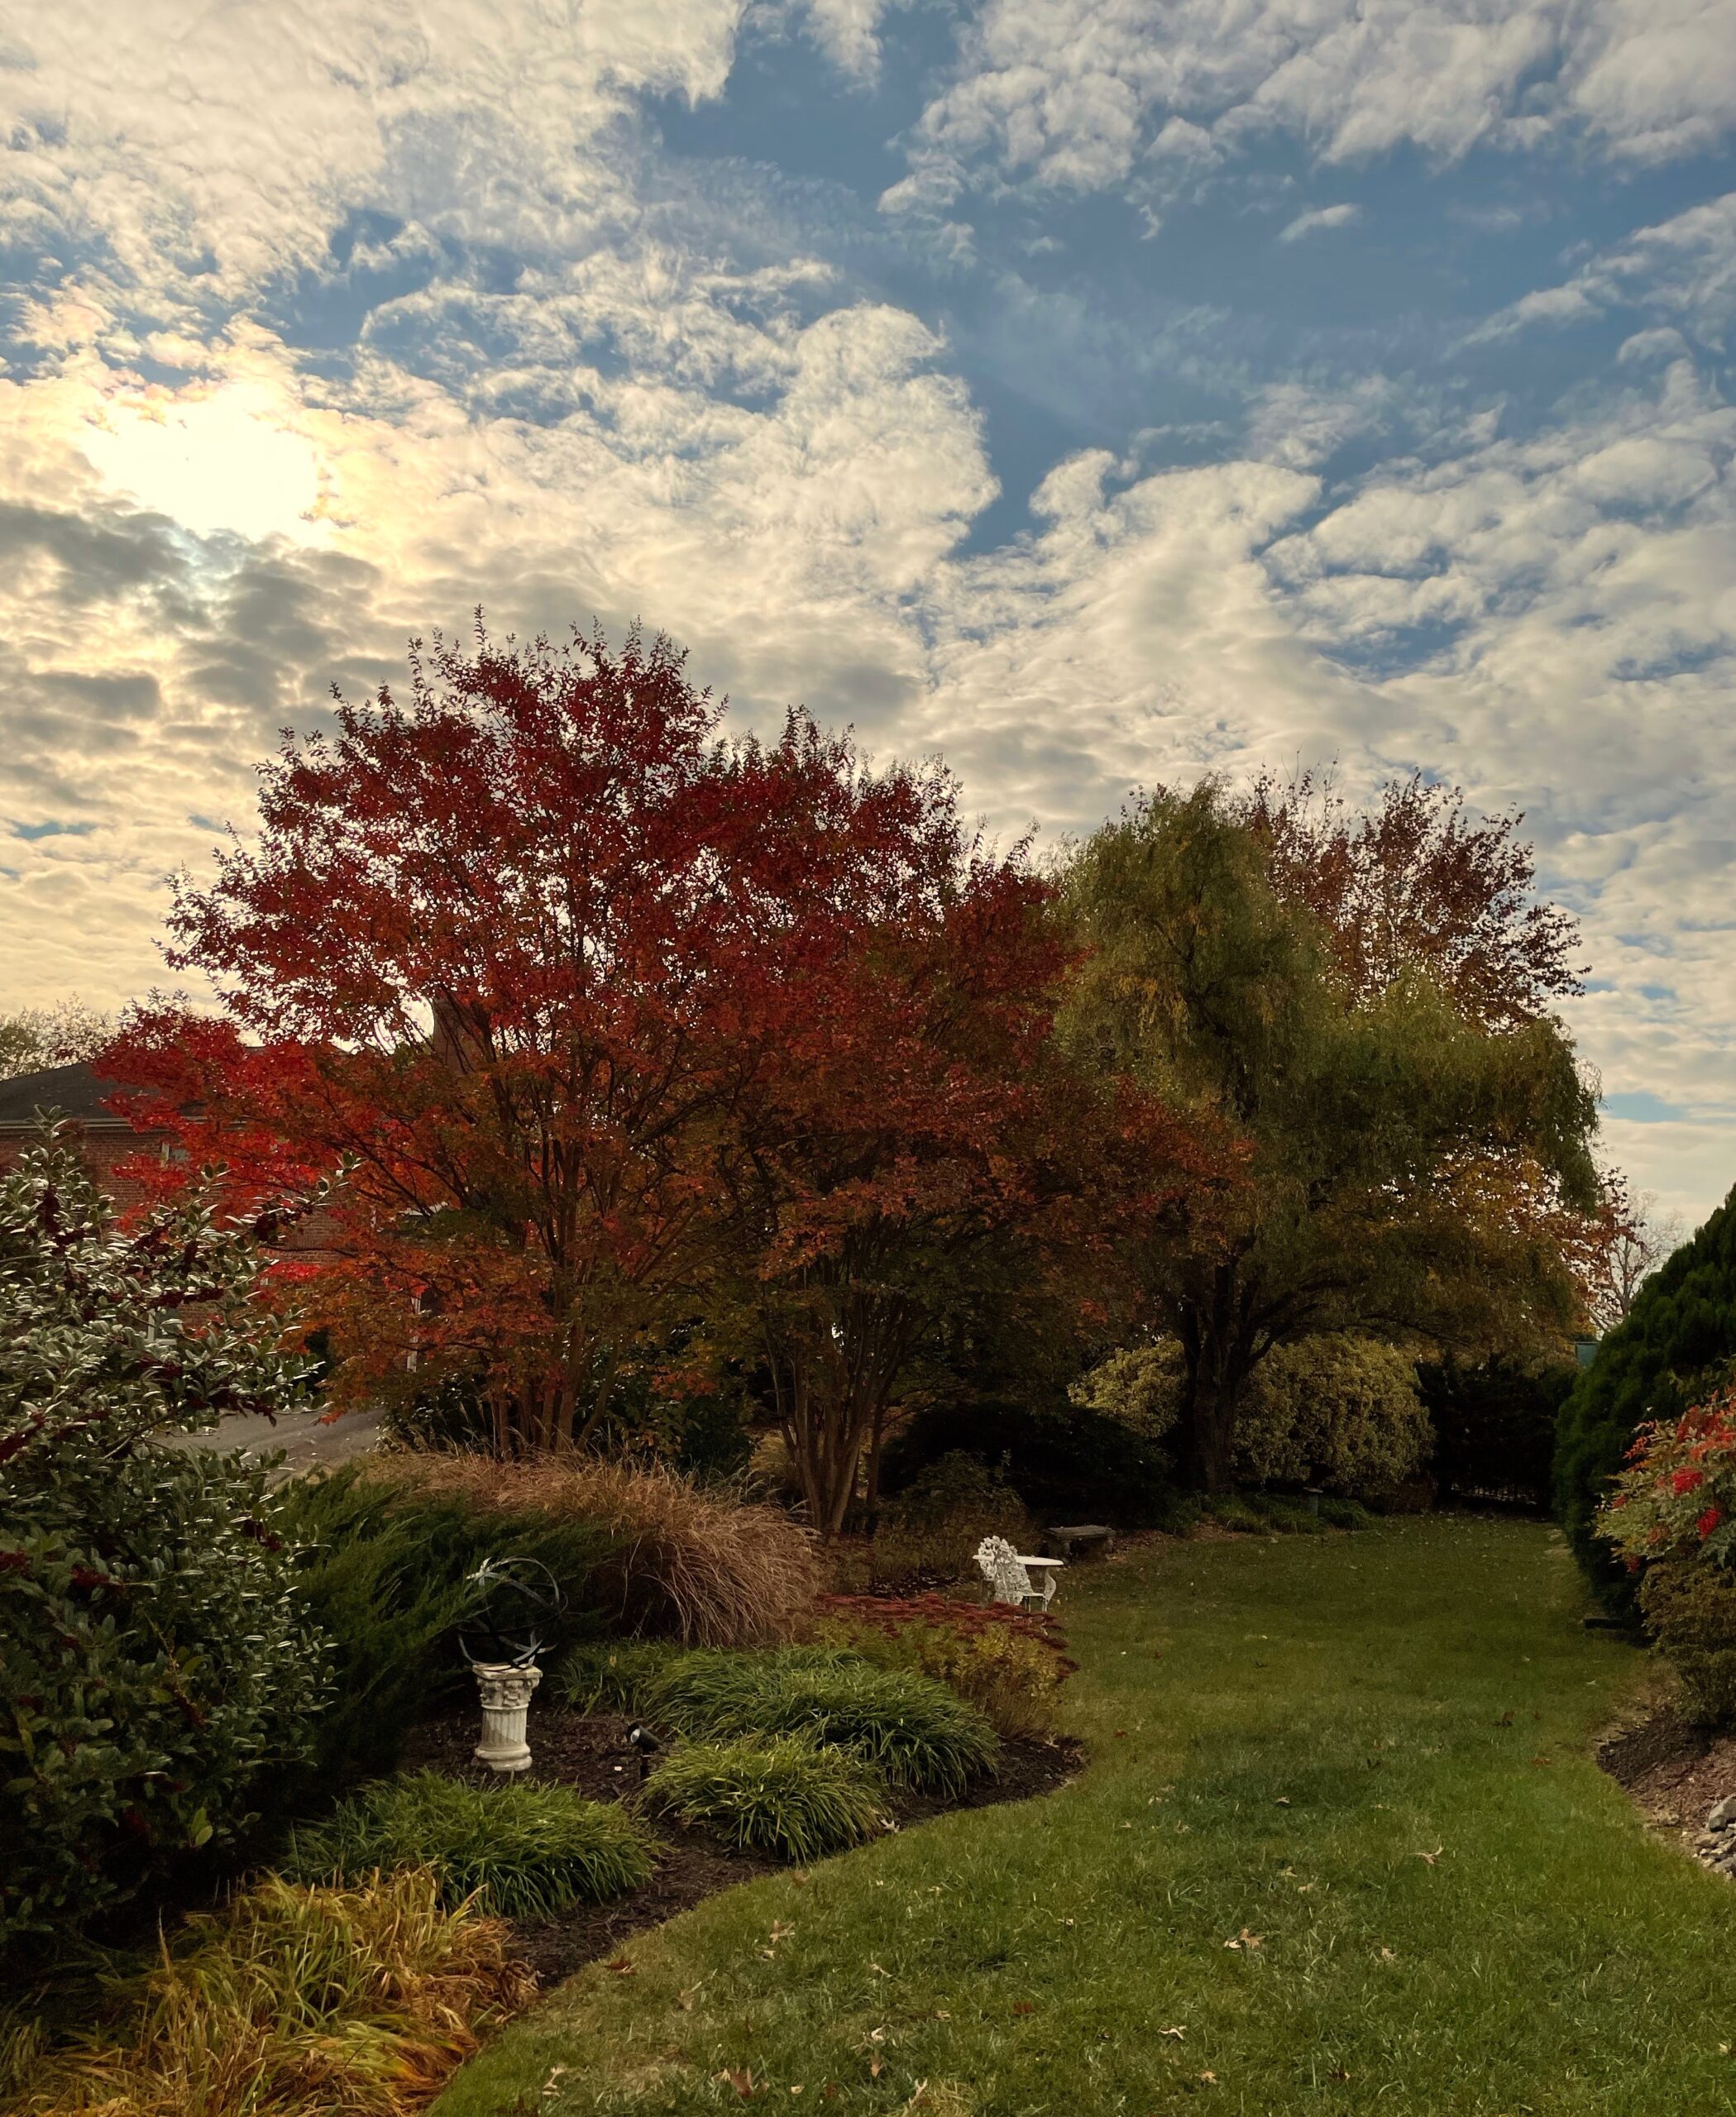
But enough of my gourd obsession for now! Let’s move into the gardens. Here’s the east garden before the leaves started to fall. I love to watch the leaves turn their spectacular colors, but this year, because of the drought, you could blink and miss them. I felt lucky to catch a few pictures.
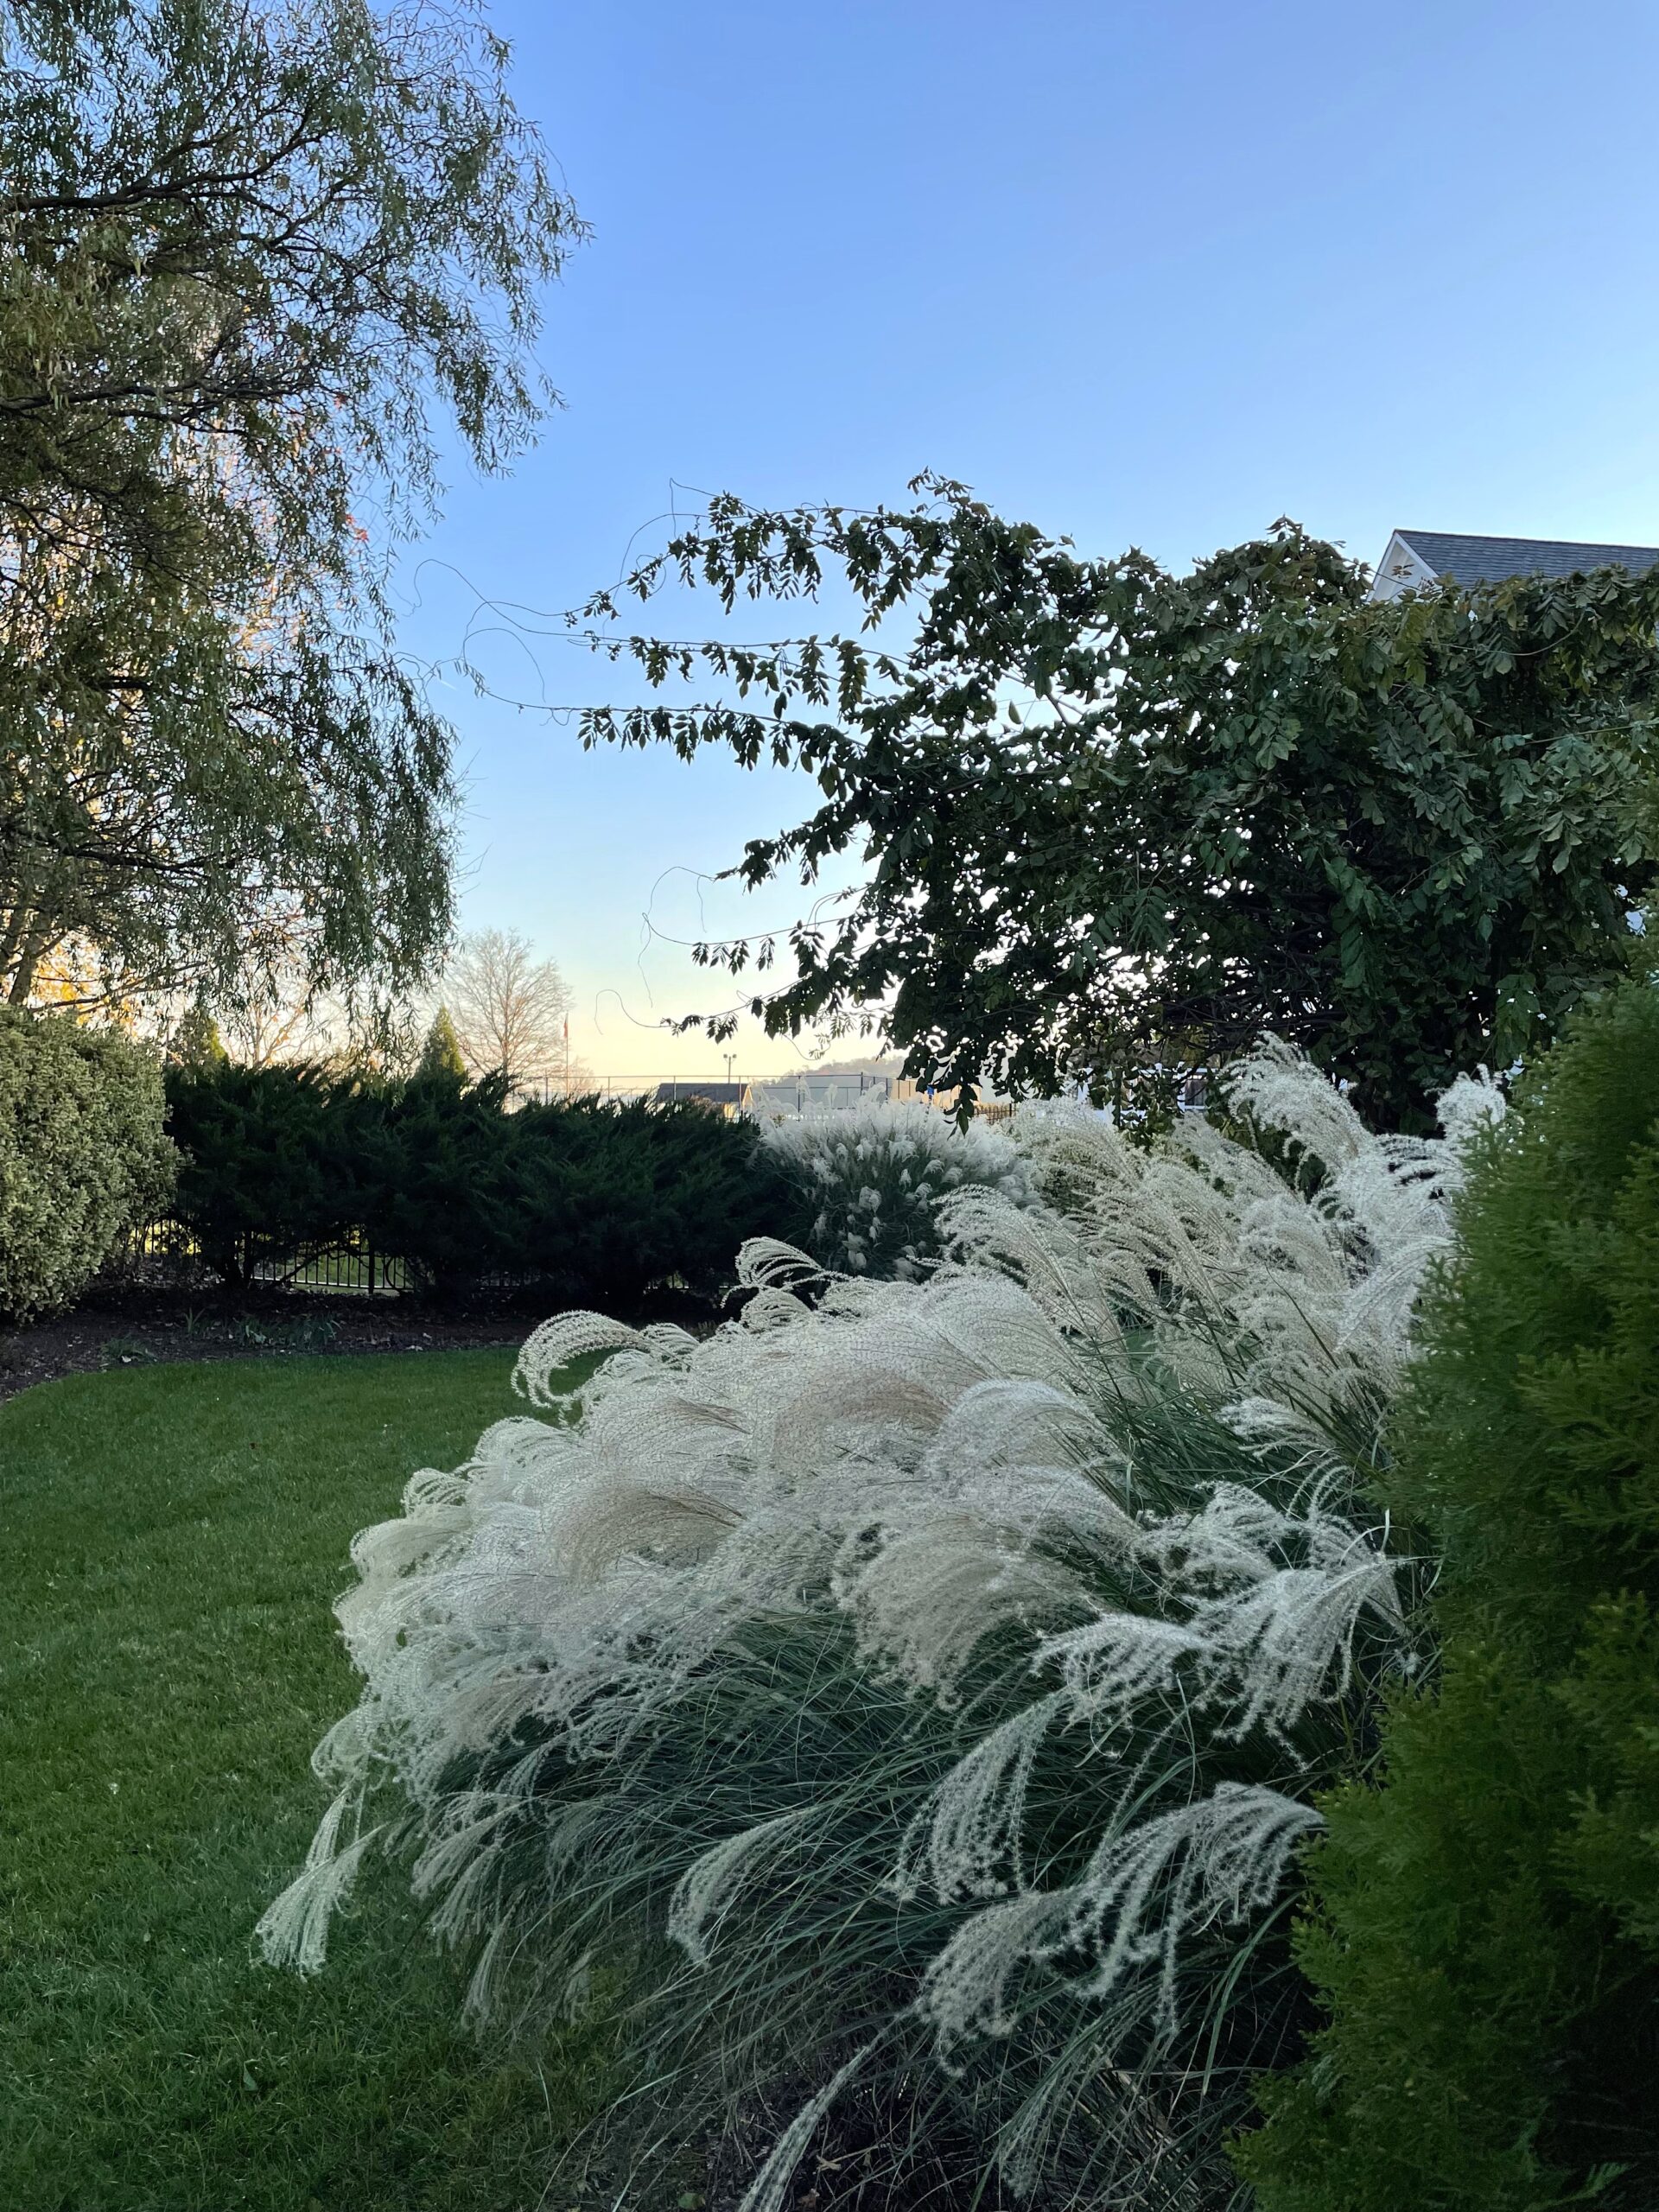
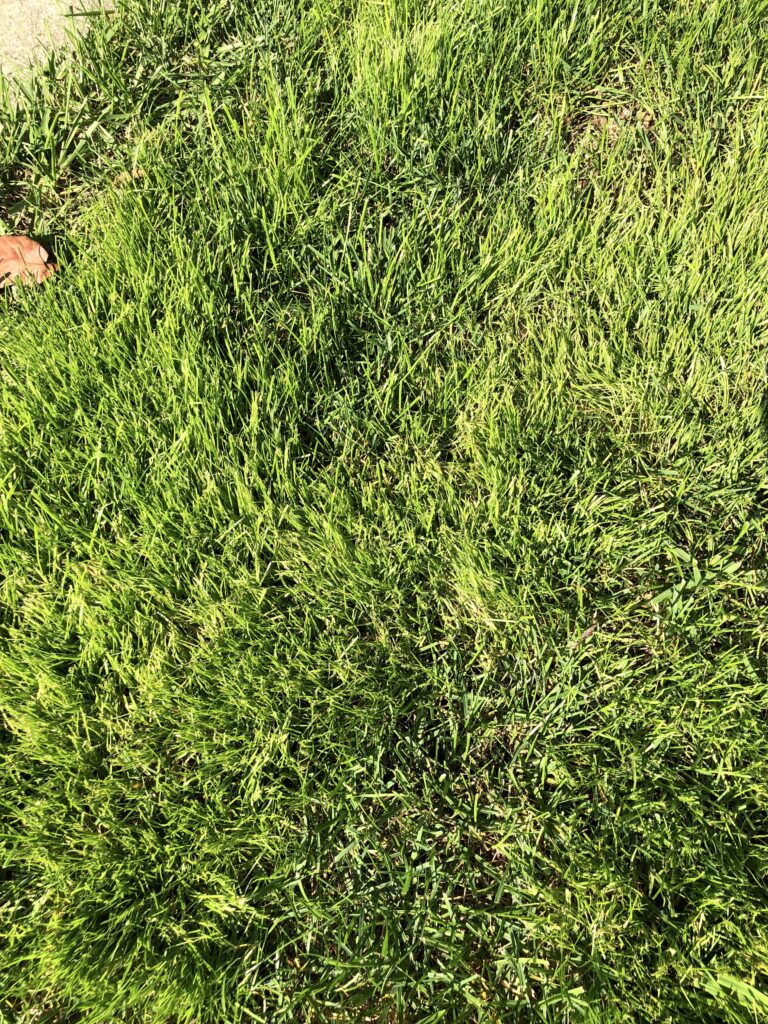
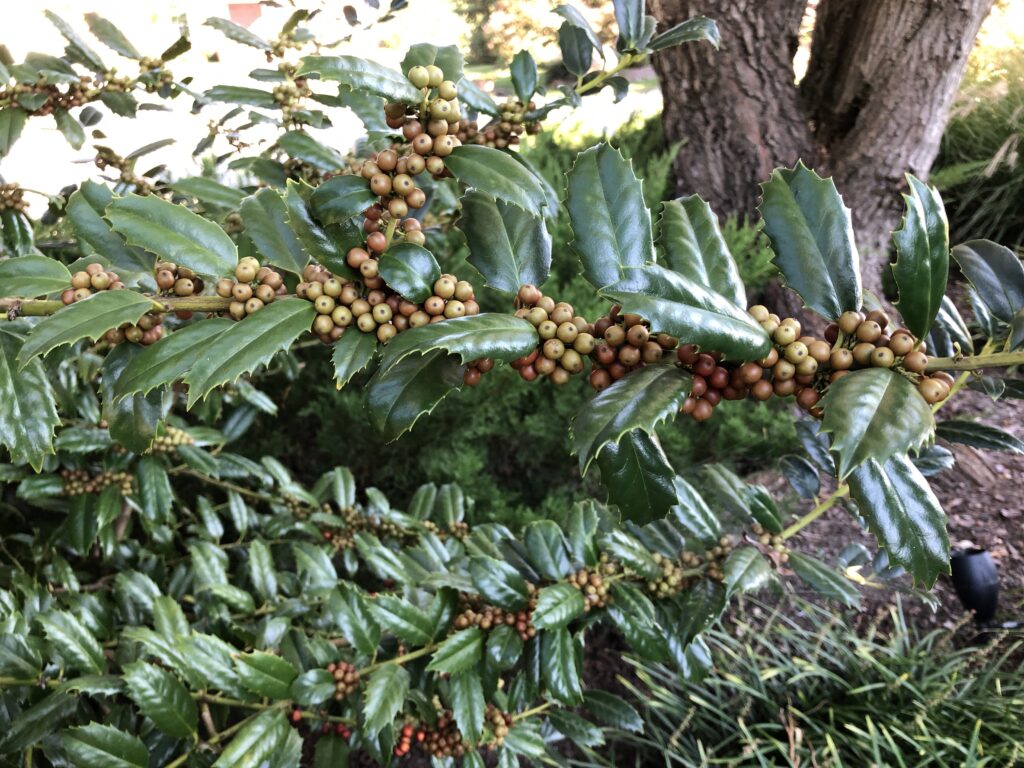
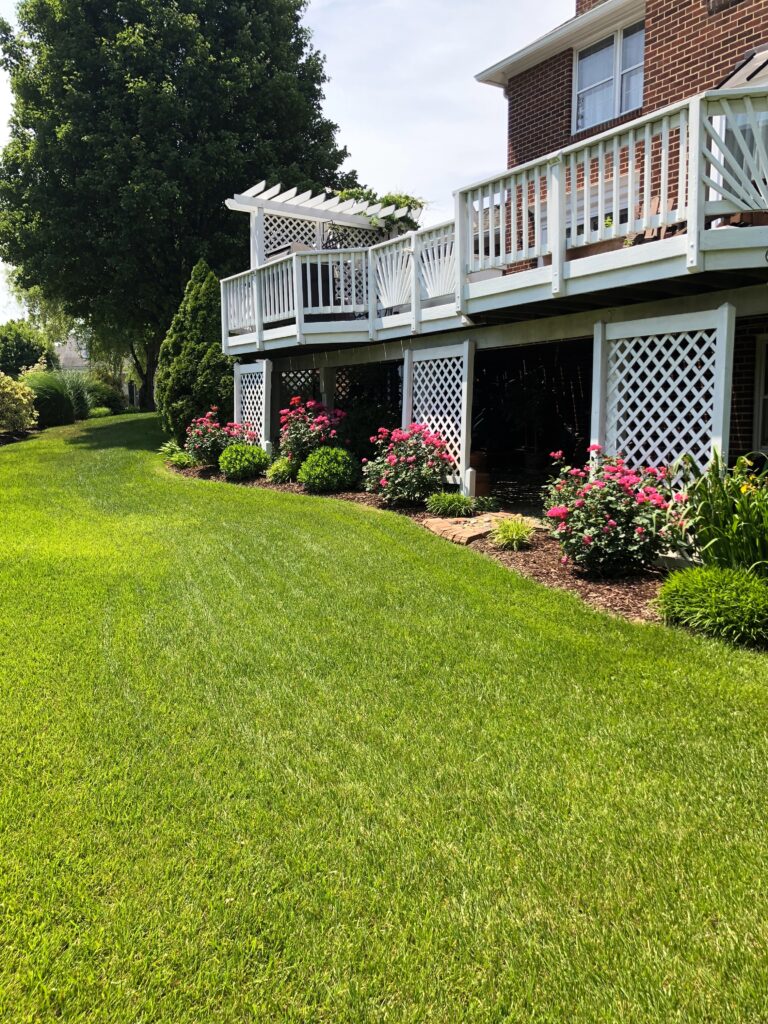
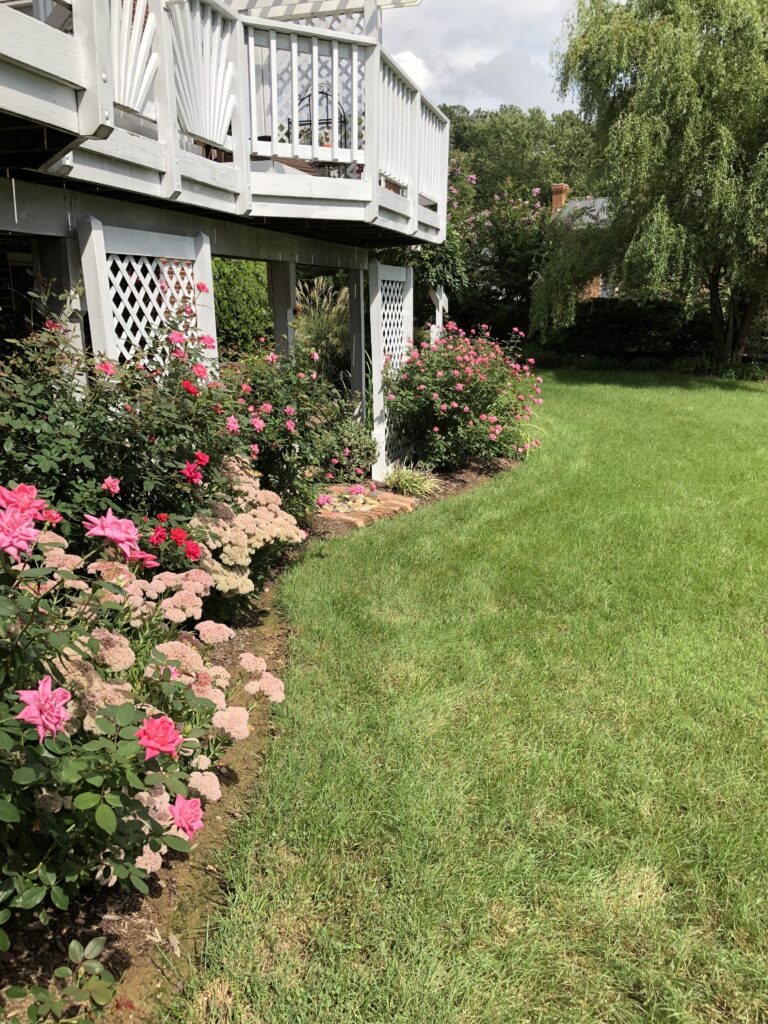
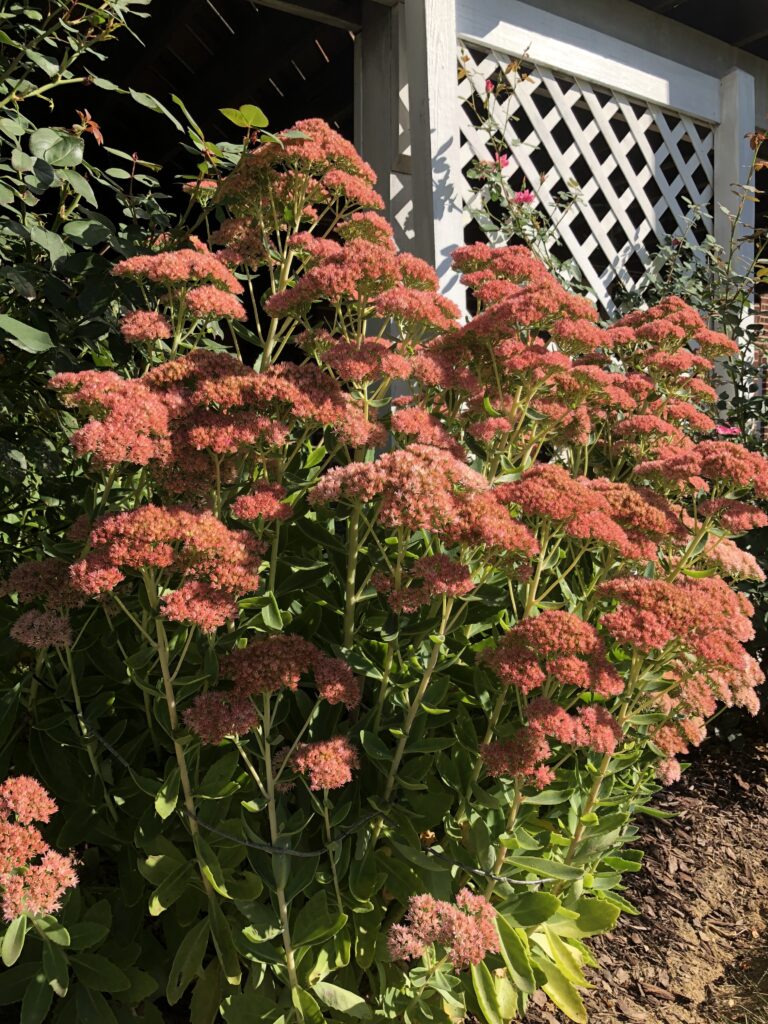
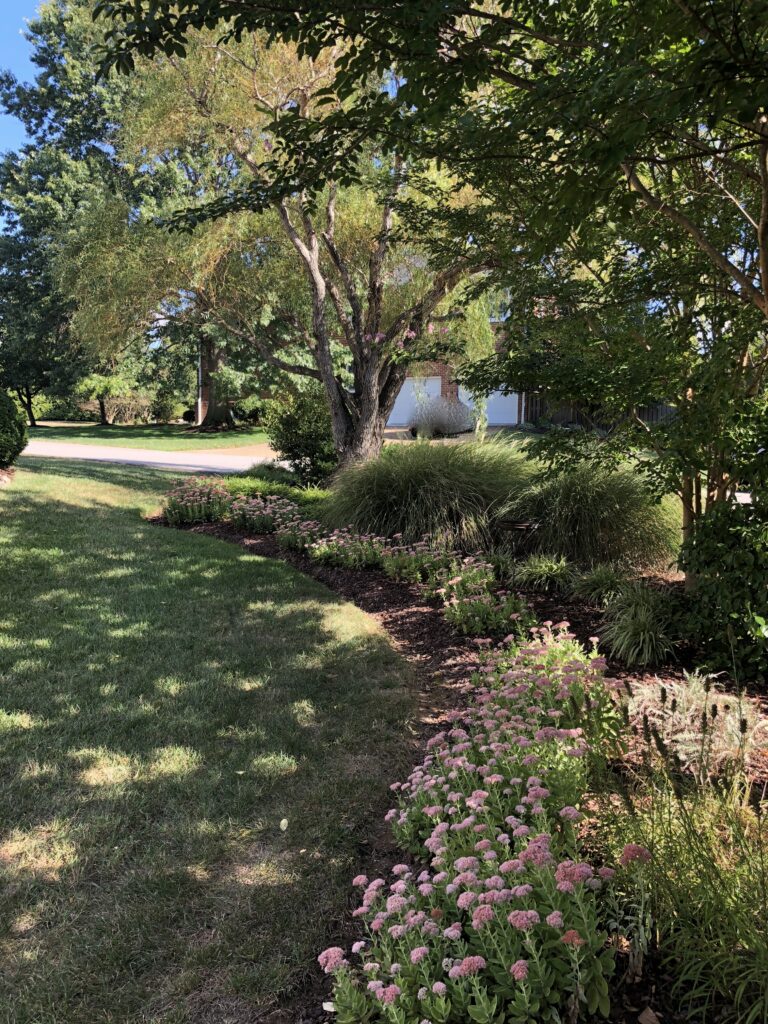
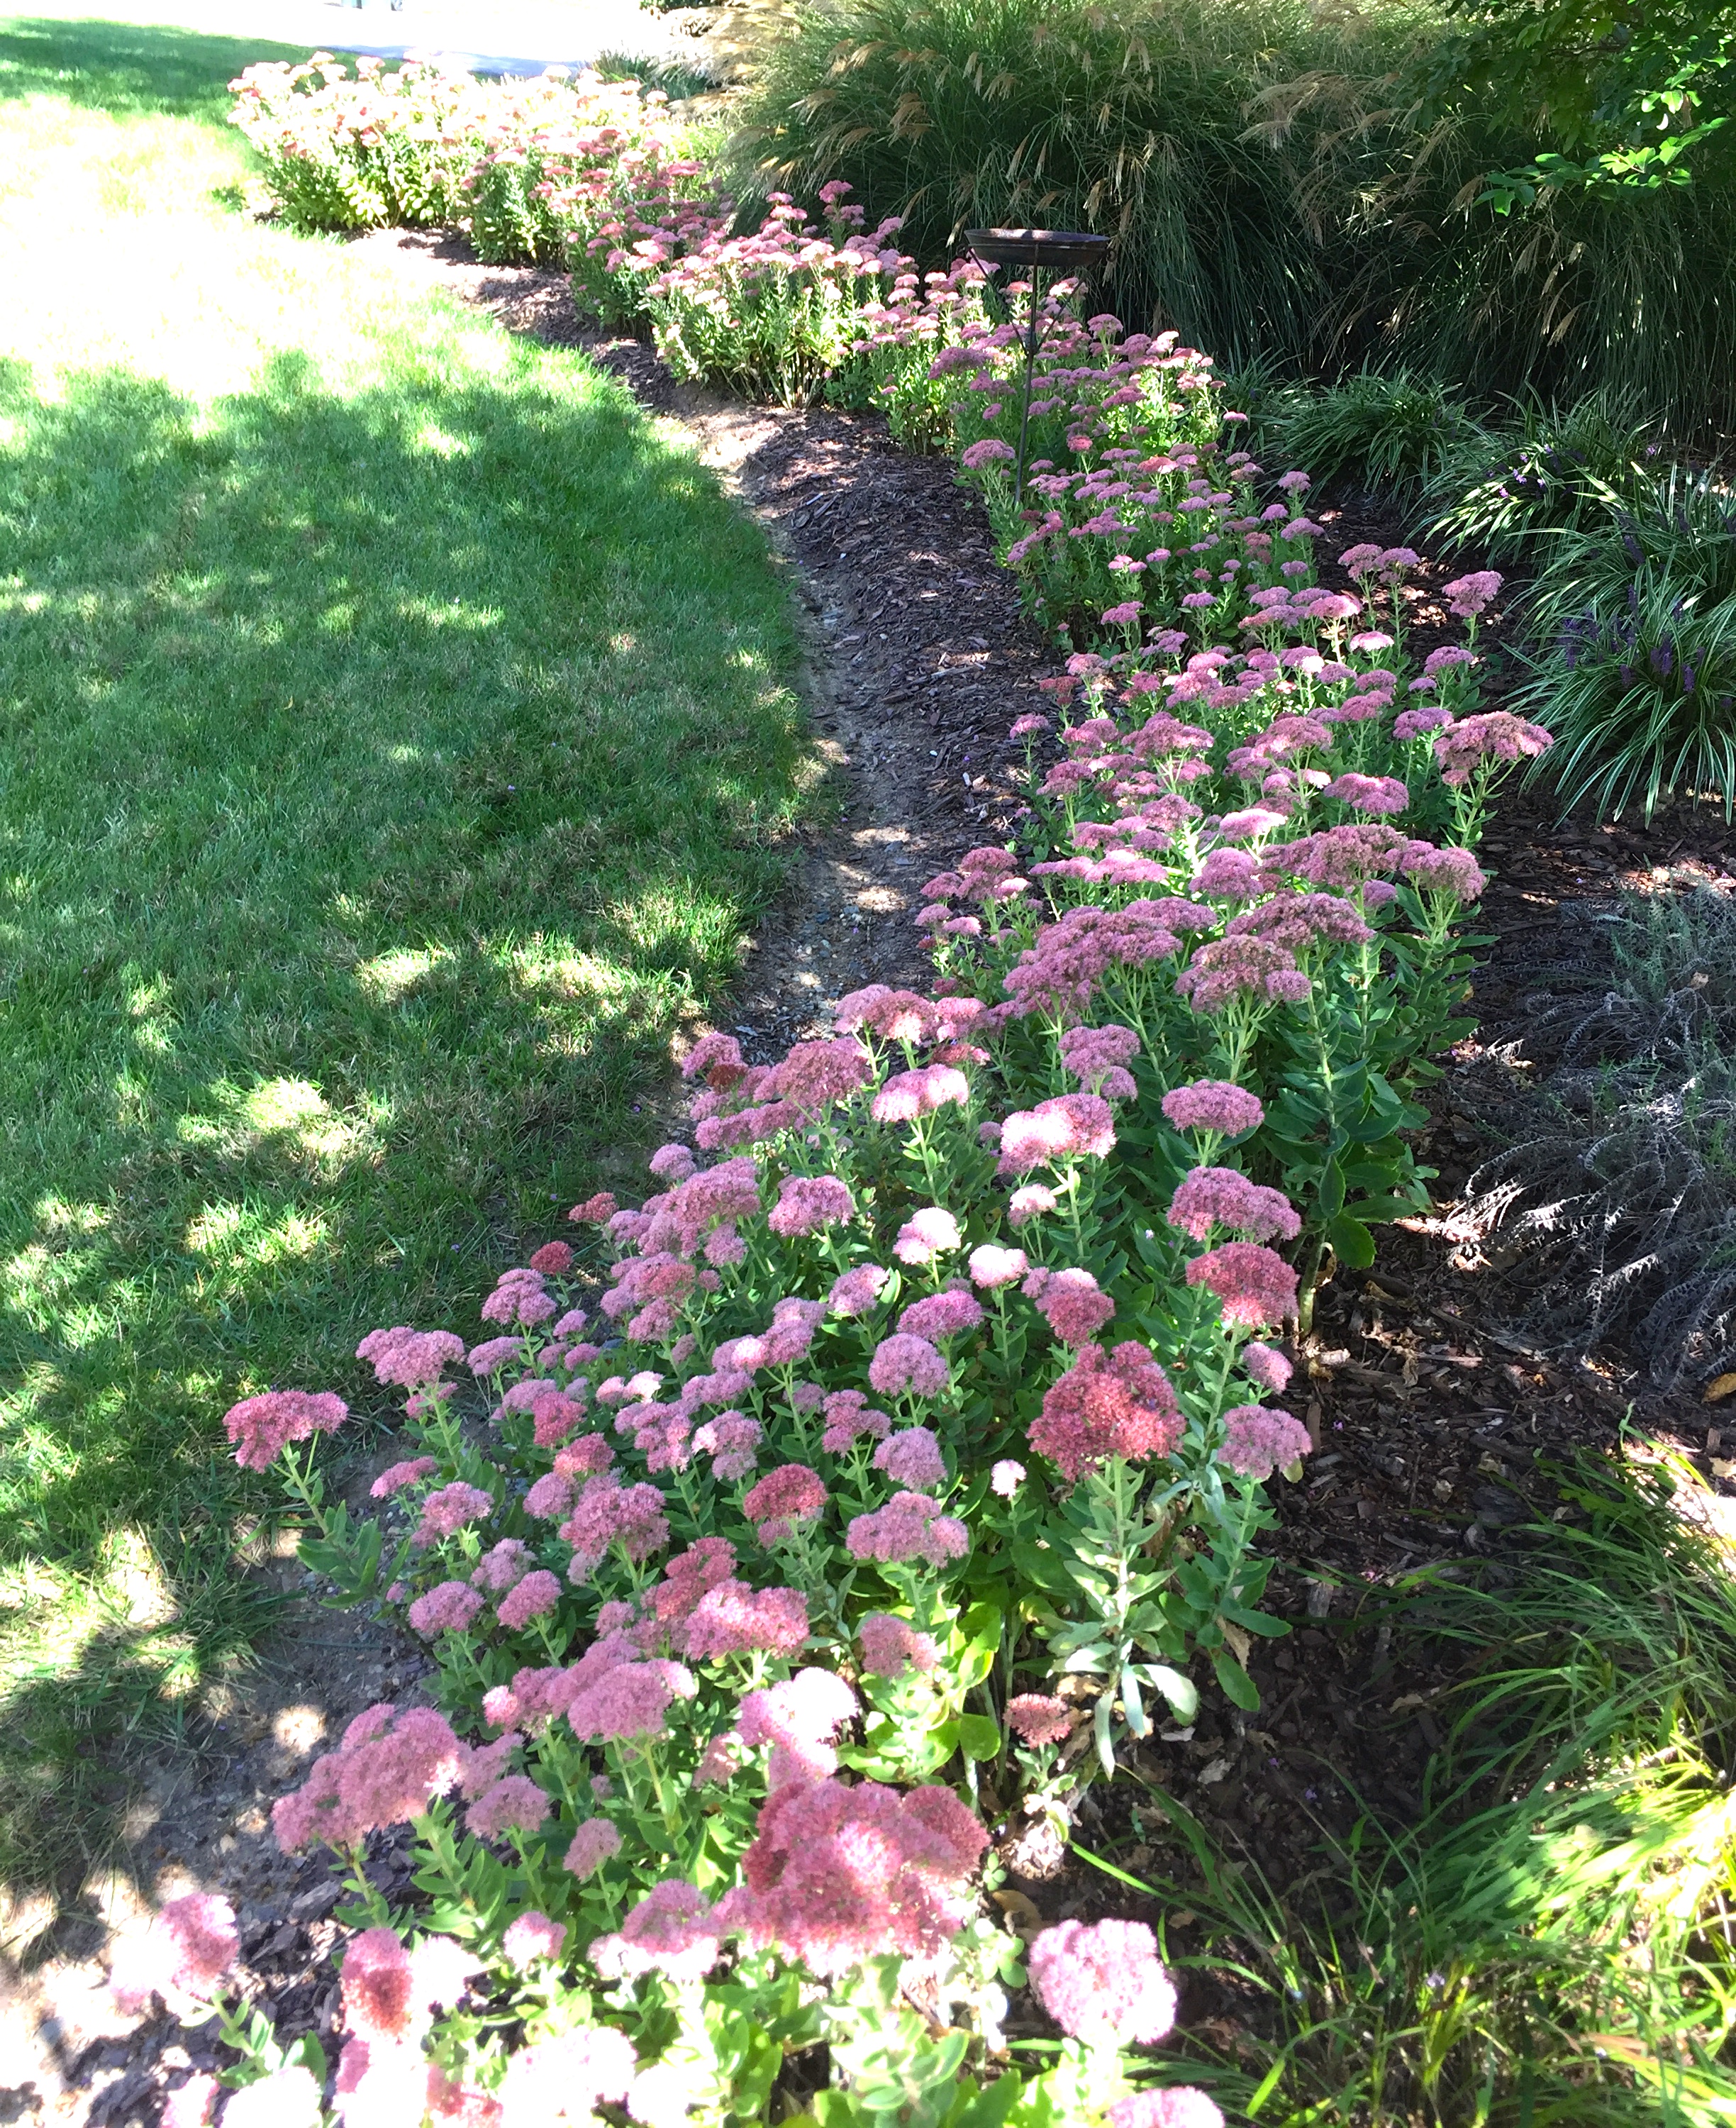
In the back garden, where there are many ornamental grasses with plumes and plants with berries, this is the season that they really come to life. It was a challenge to keep the grasses hydrated this year, so I’m thrilled that they made it through. The nandinas and hollies this autumn are beautiful and loaded with berries, which is a testament to their resilience after such a hard summer.
In this changing climate the poor pear tree is really struggling this season; it hardly produced any of its tiny pears. The birds and squirrels love to eat them, and they’ve been coming around to snack but not finding any. In a normal year, it would not be an exaggeration to say there were close to a million pears on this tree, with hundreds of tiny pears on each of the branches.


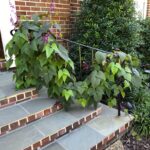
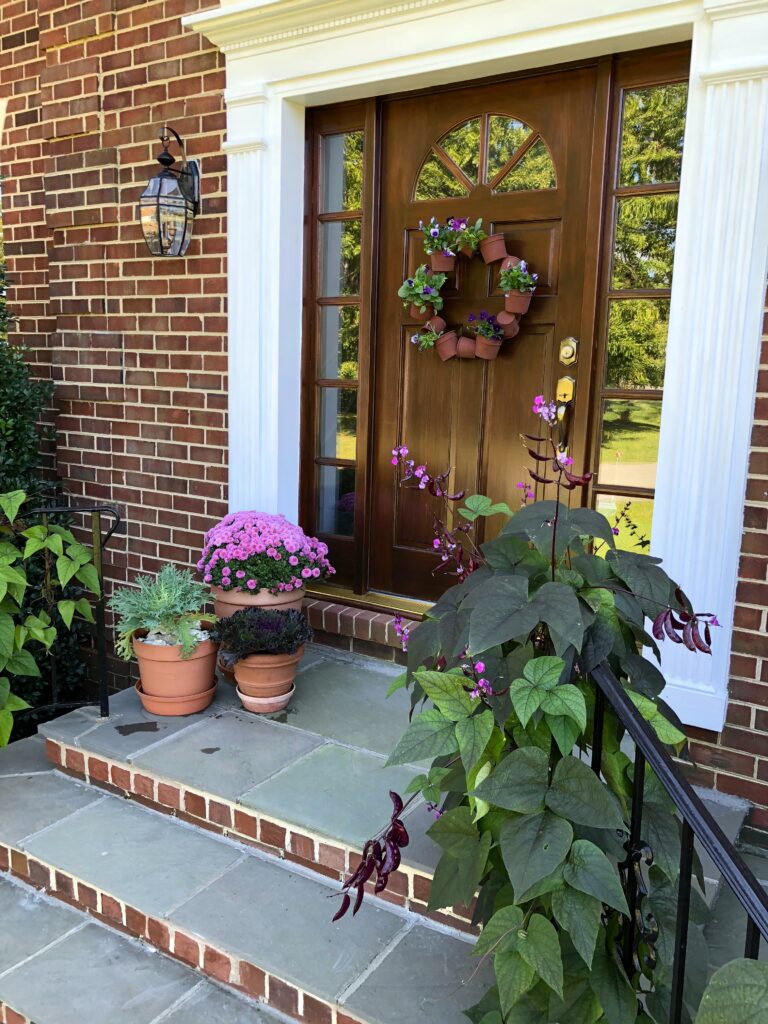
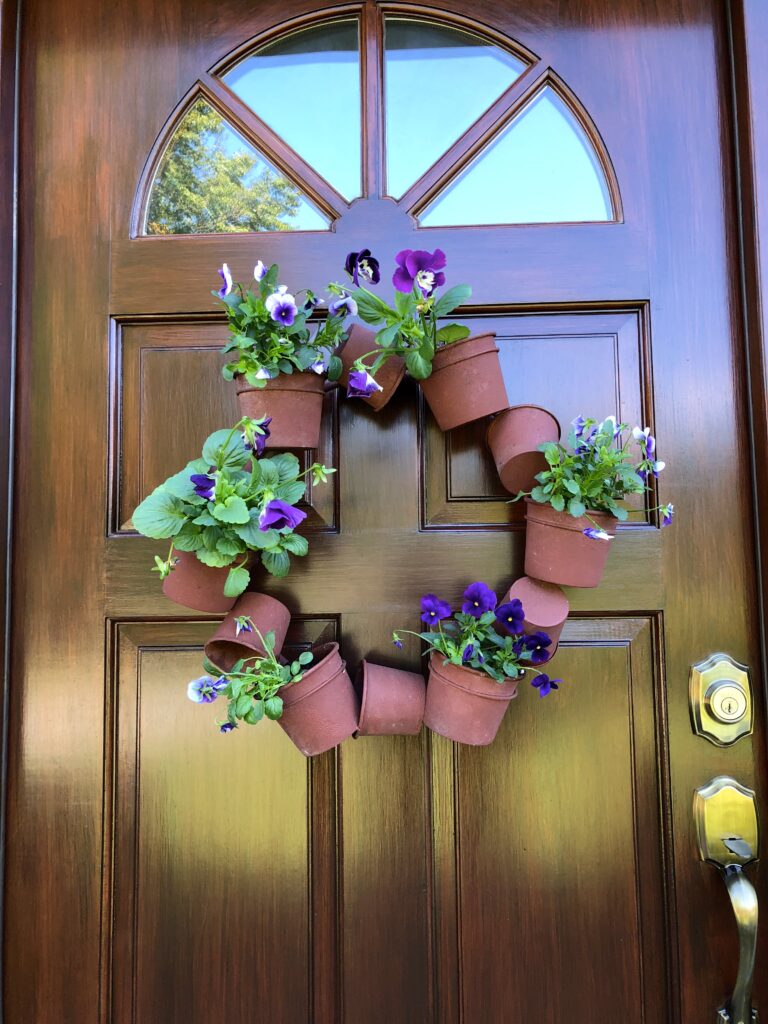
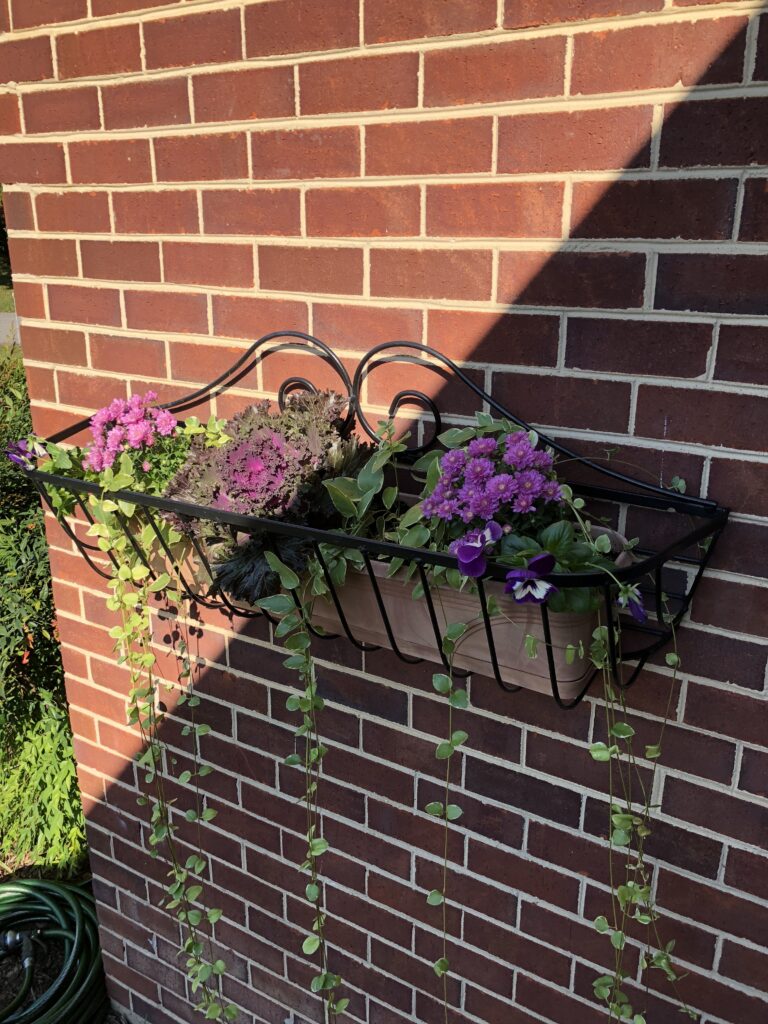
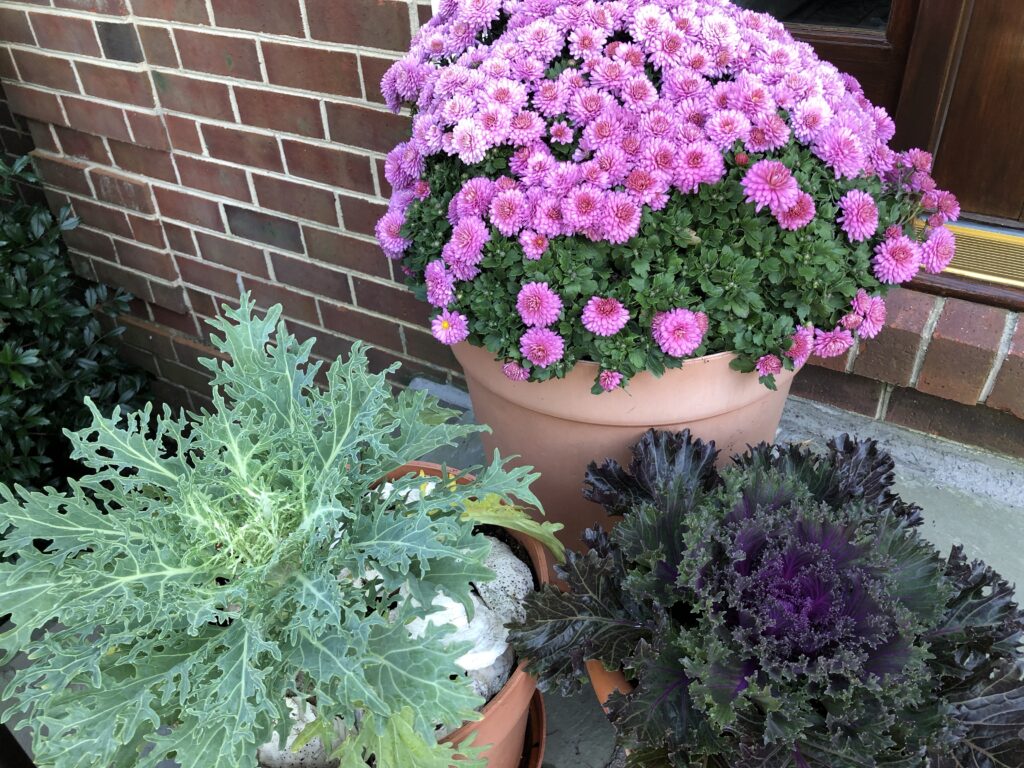
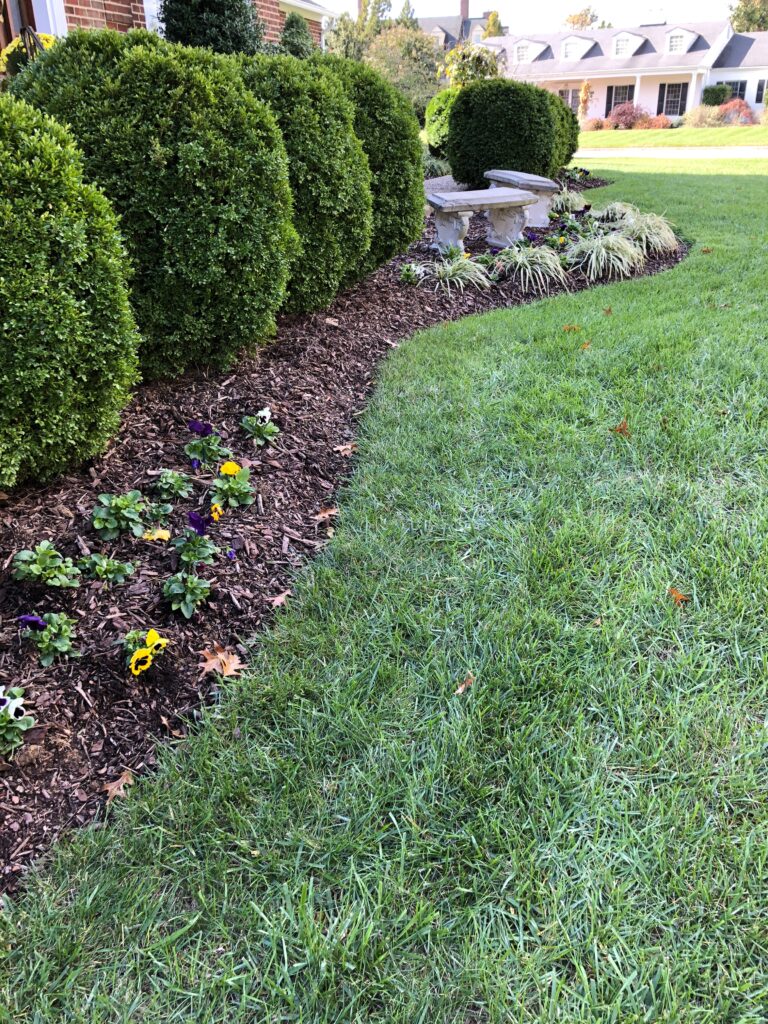
Lastly, on the deck, I opted for violas this fall because they reliably bloom all winter, and even into the spring if I’m lucky. I have them all in pots, so if we are predicted for snow I can easily bring them into the garage and back out when the weather clears.
That’s the end of my tour, I’d love to hear what you are doing in your gardens-
I hope all my readers have a wonderful and healthy Thanksgiving, and as always, Happy Gardening!