Hi All! It’s been more than a minute since I’ve blogged — sorry about that! Life in general has been keeping me busy, and when that happens it is so hard to get a chance to concentrate. Let me catch you up with all that’s been going on. January started out with some absolutely gorgeous sunrises and sunsets, and I was feeling hopeful about getting out into the garden early this year for some cleanup. Then this happened:

Yep, Ice Station Zebra! We were housebound in the thickest ice coating I have seen in years. The ice was six inches to a foot thick. When you walked on it, it didn’t even leave a footprint. I even put on my ice skates thinking the front yard might make a good ice rink, but no, too bumpy and ice too chunky. It took a few weeks to even find where the walkway was to chip our way out of the house with picks and garden forks.
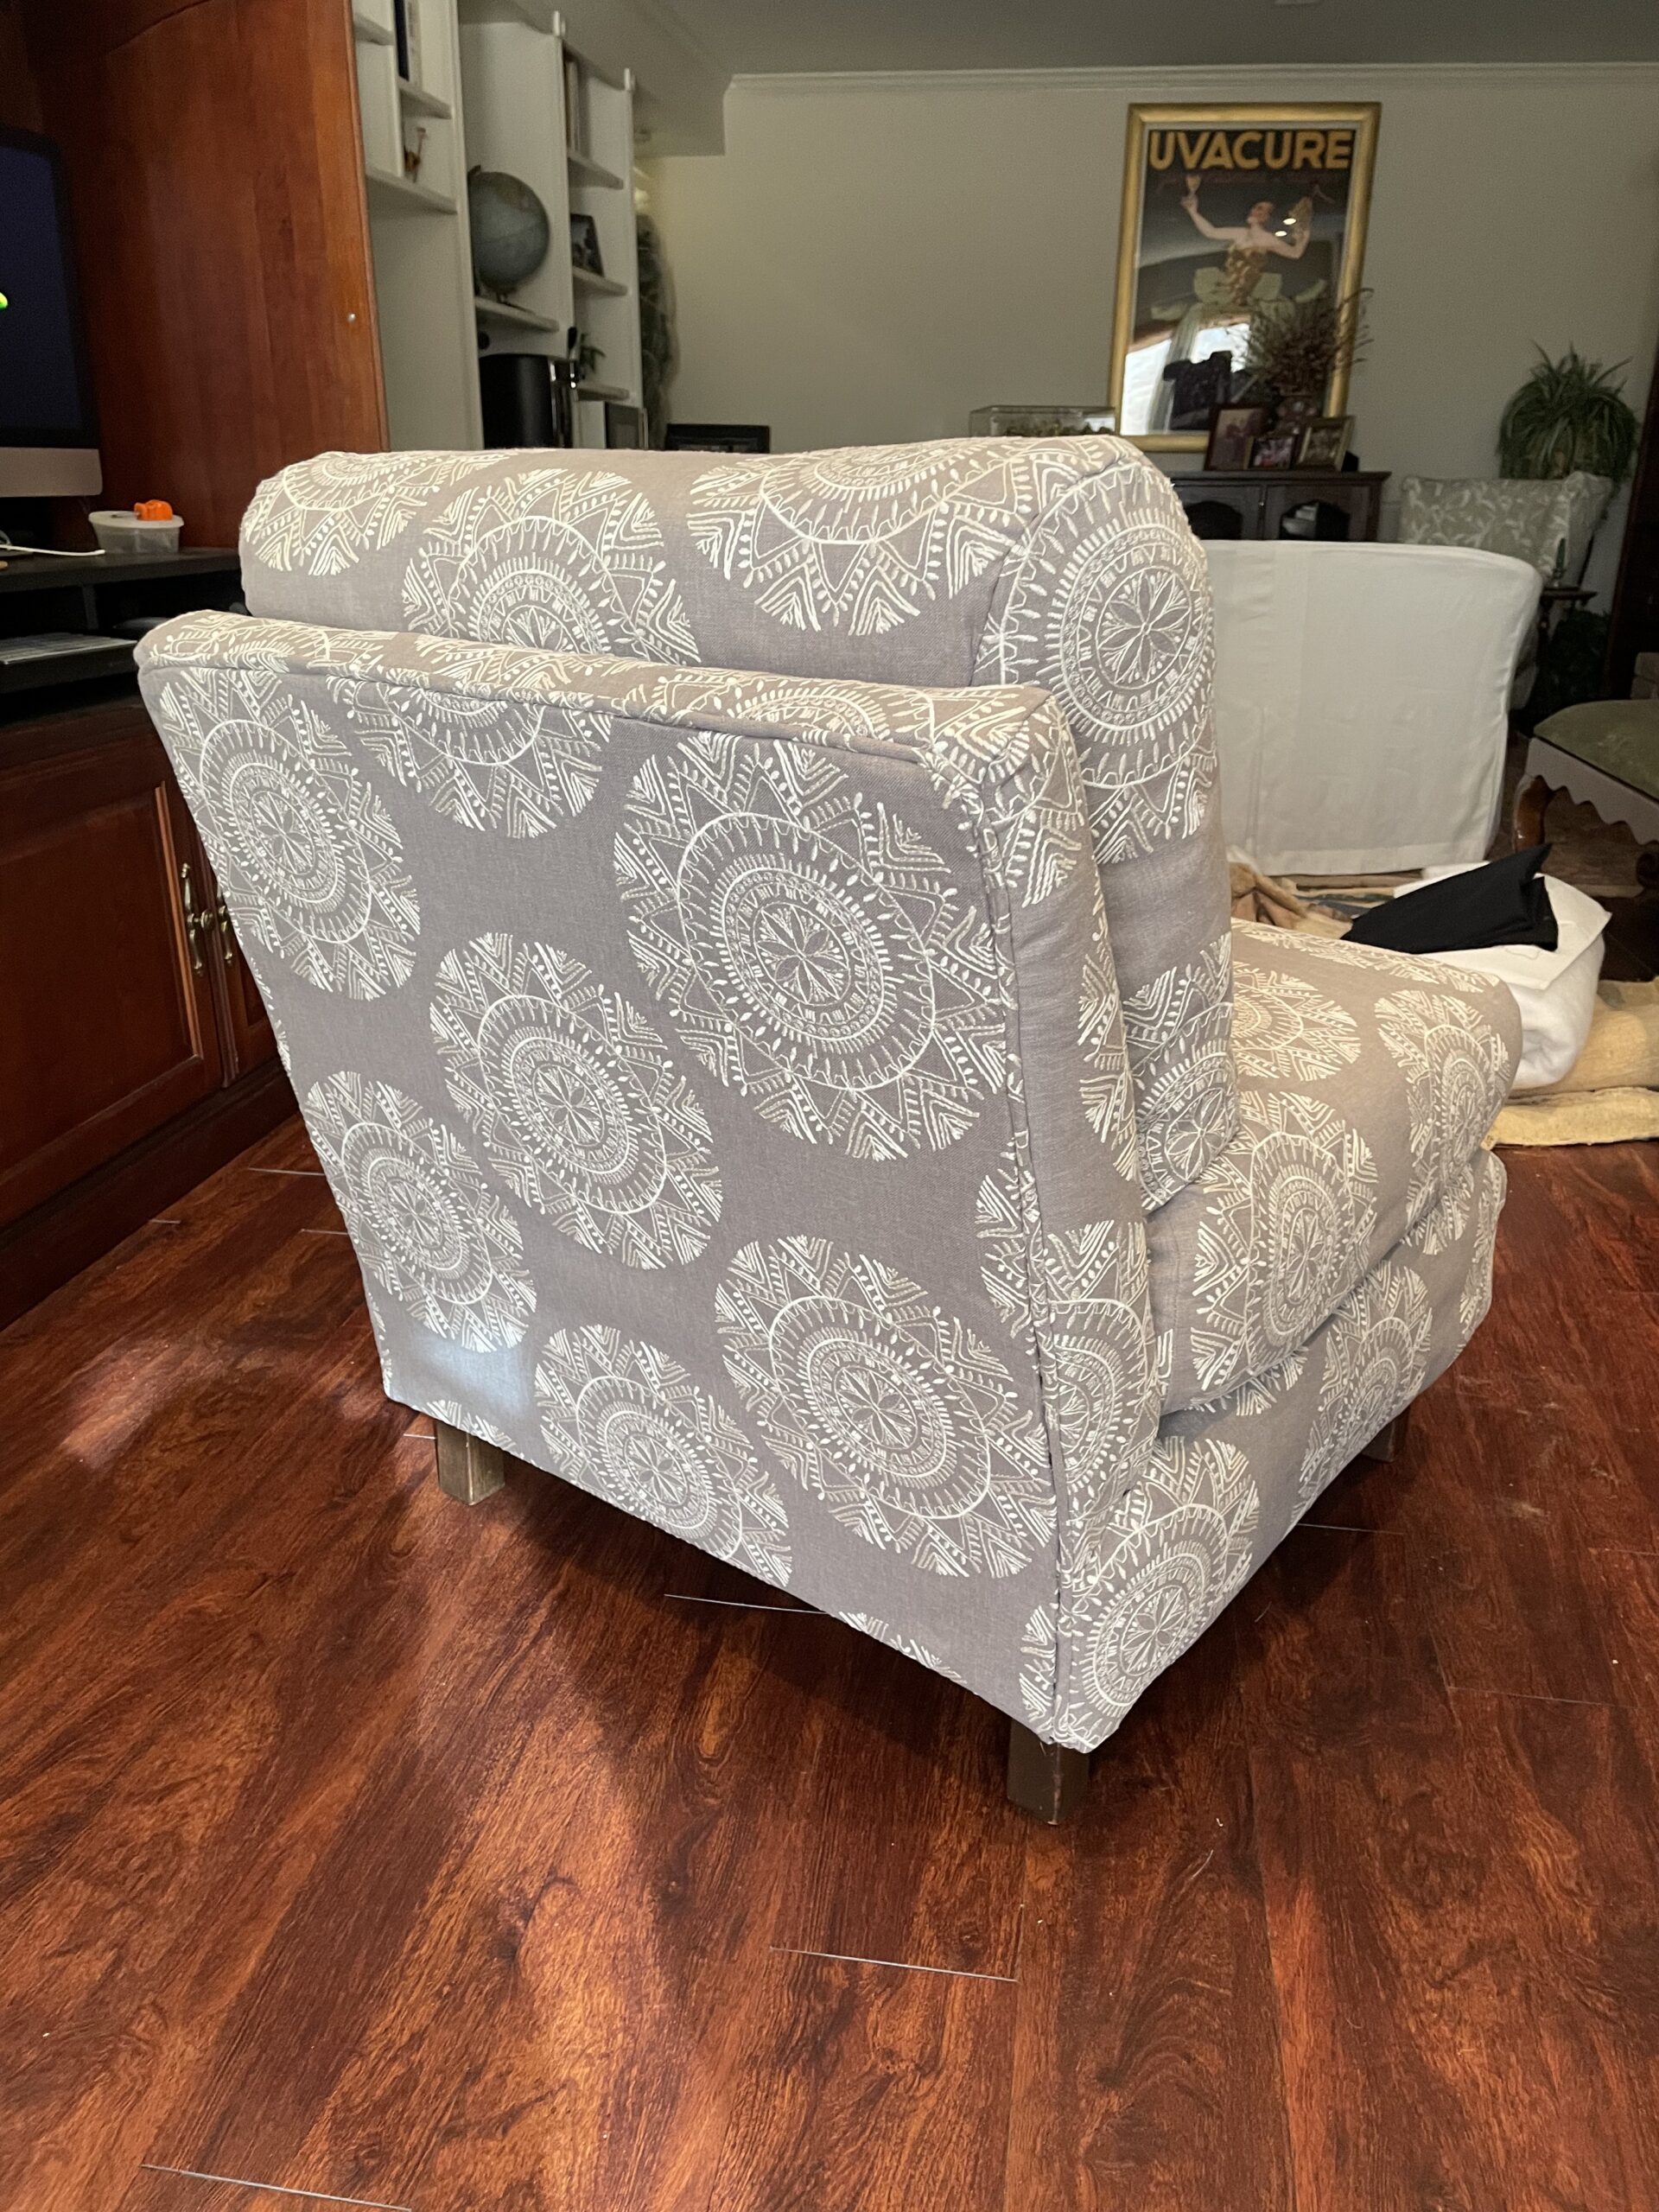
While I was stuck inside fighting cabin fever (LOL), I was lucky to have the chance to pack away all the Christmas decor and launch in on several upholstery projects. Doing my best to be Earth-friendly, I have been following the mantra of updating things we already have, and nothing new but essentials. I slip covered this great chair that was one of the first pieces of furniture my parents bought after they got married. My sister got the chair when my mom downsized. She and her husband were building a new house, so I got to work on re-upholstering it as a house warming gift.
Given how crazy life has been, somehow I didn’t get a final photo of the front — but here’s a photo of the side, so please use your imagination. It came out really perfect for their main bedroom, and I made some pillows to match. This a great Earth-friendly way of reusing, and also making things fit in with the the way we live today.
Once I finished with that project, I made a few things for our own house. I made slipcovers for one of my most treasured pieces, a loveseat, a chair from my grandparents’ home, and an ottoman from my husband’s great aunt. I also made a pillow and slipcovers for two rosewood chairs. Was I on a roll or what?
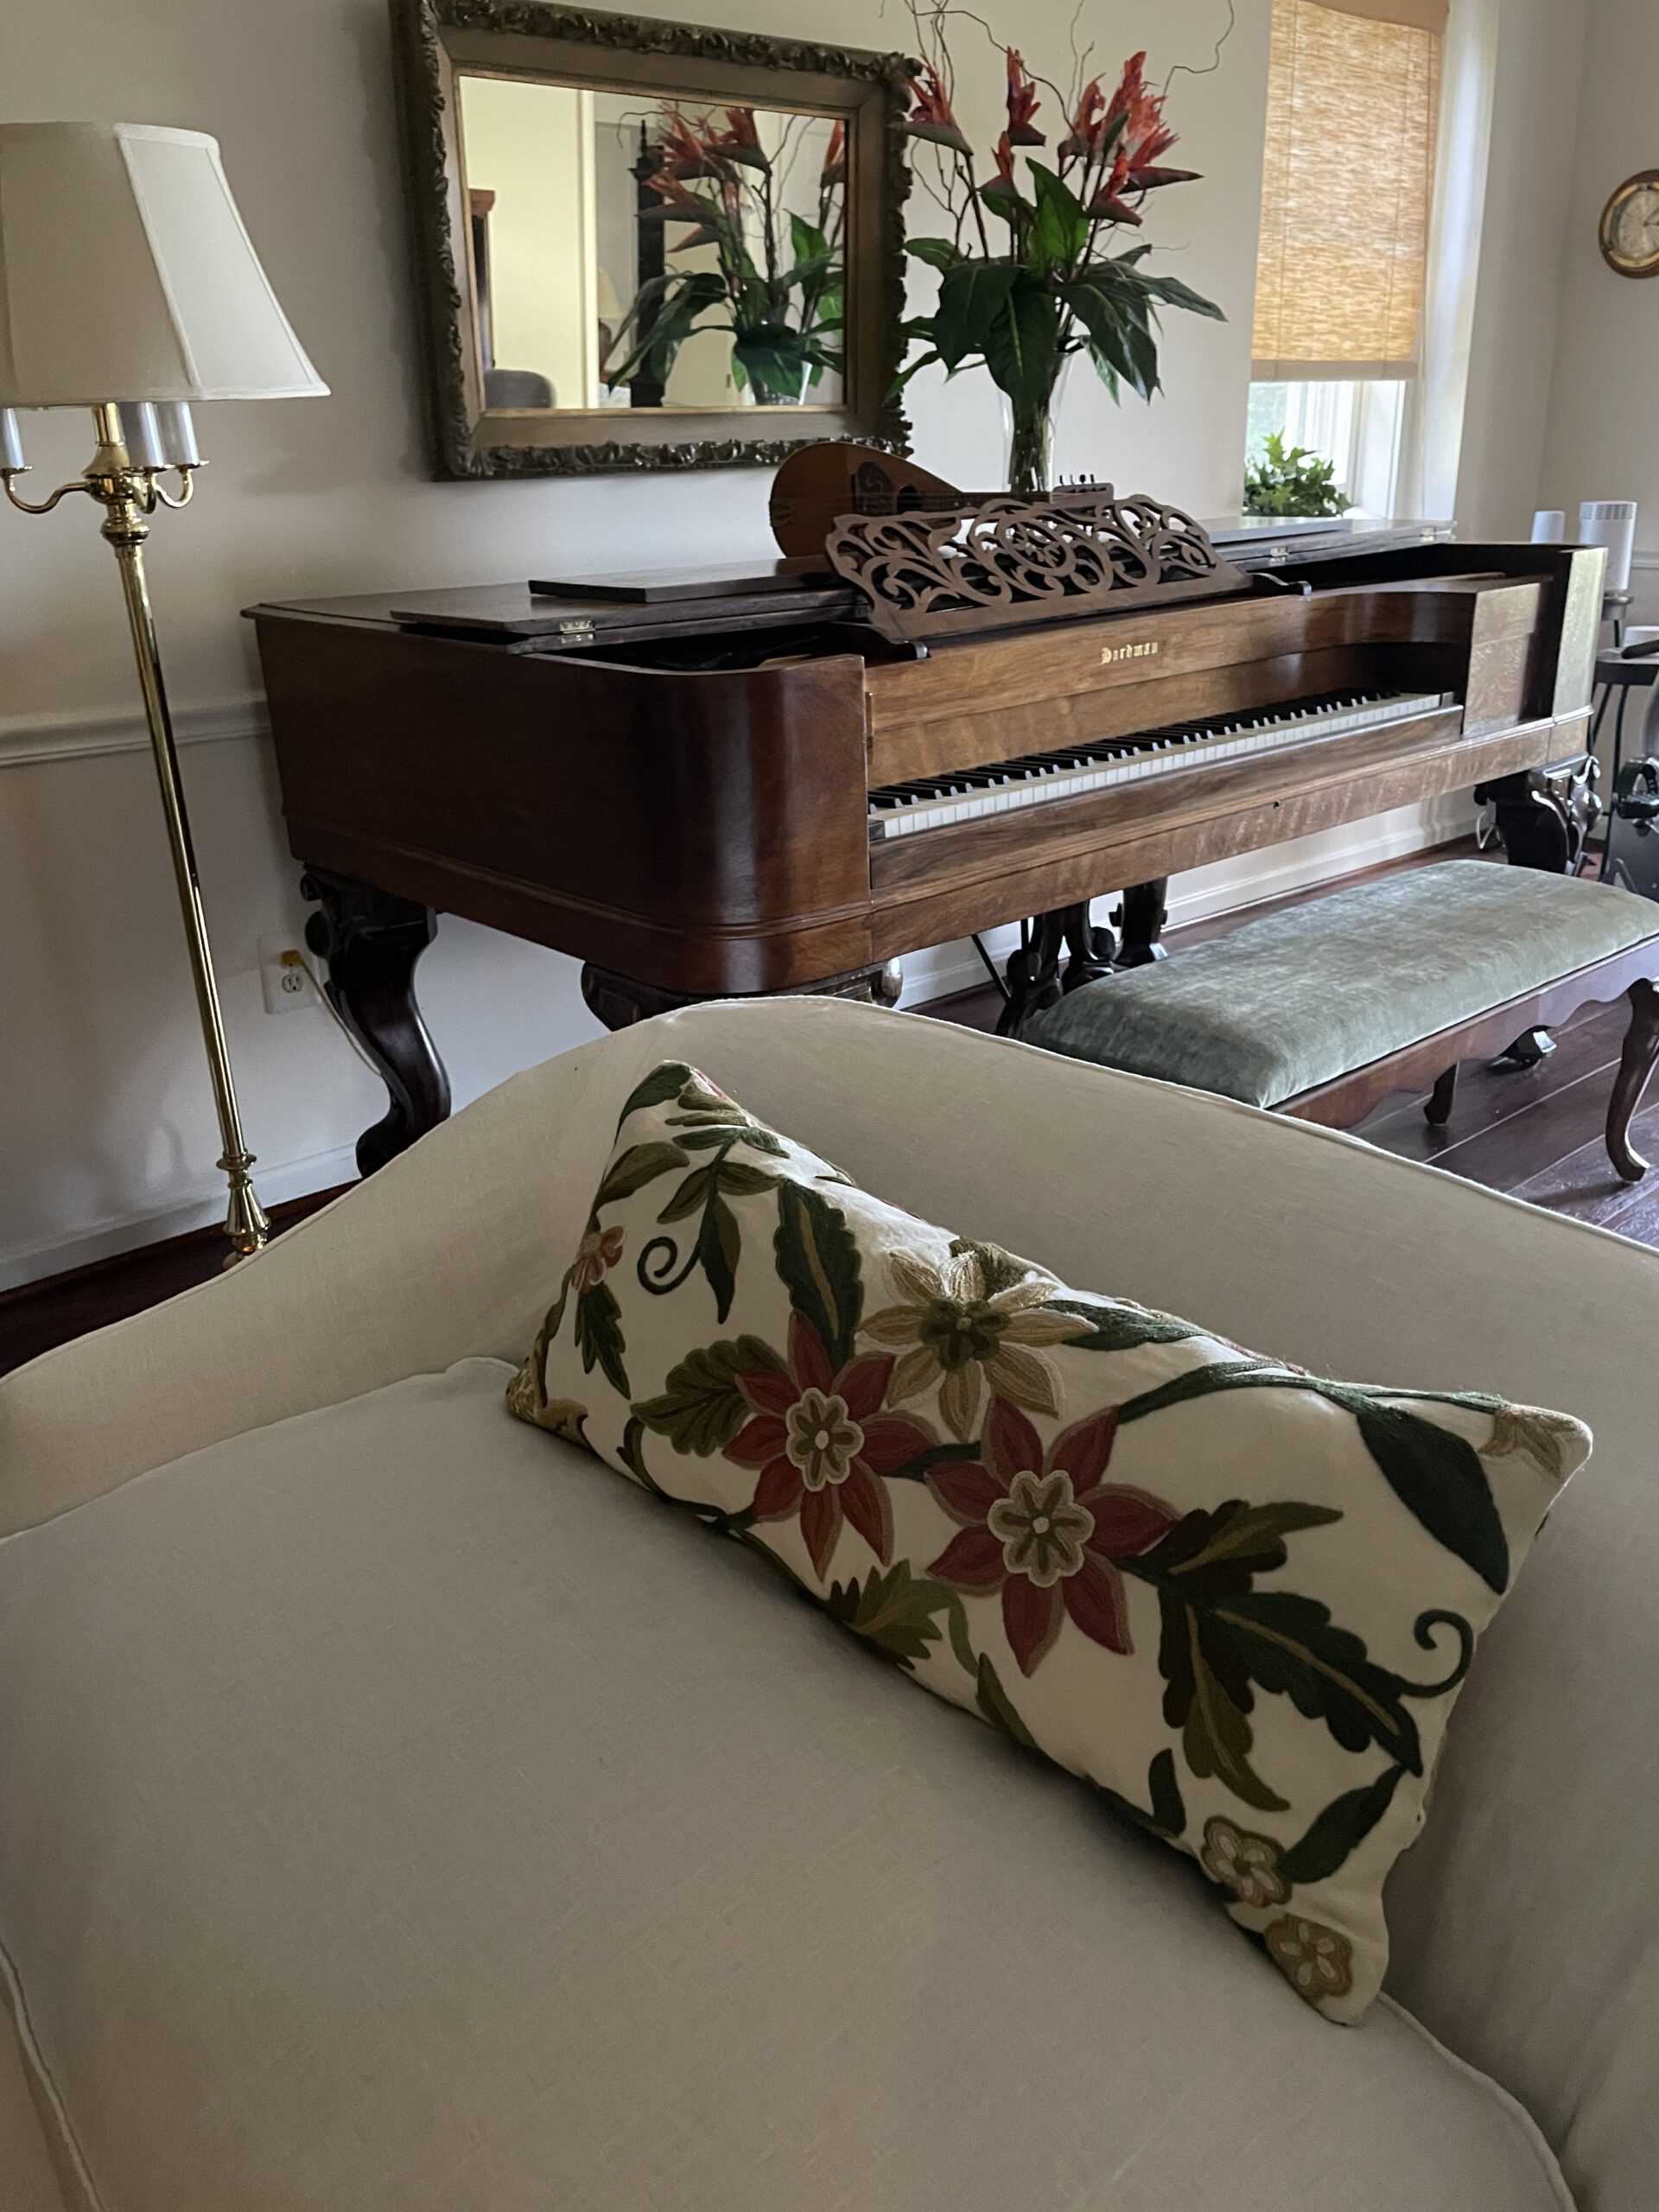
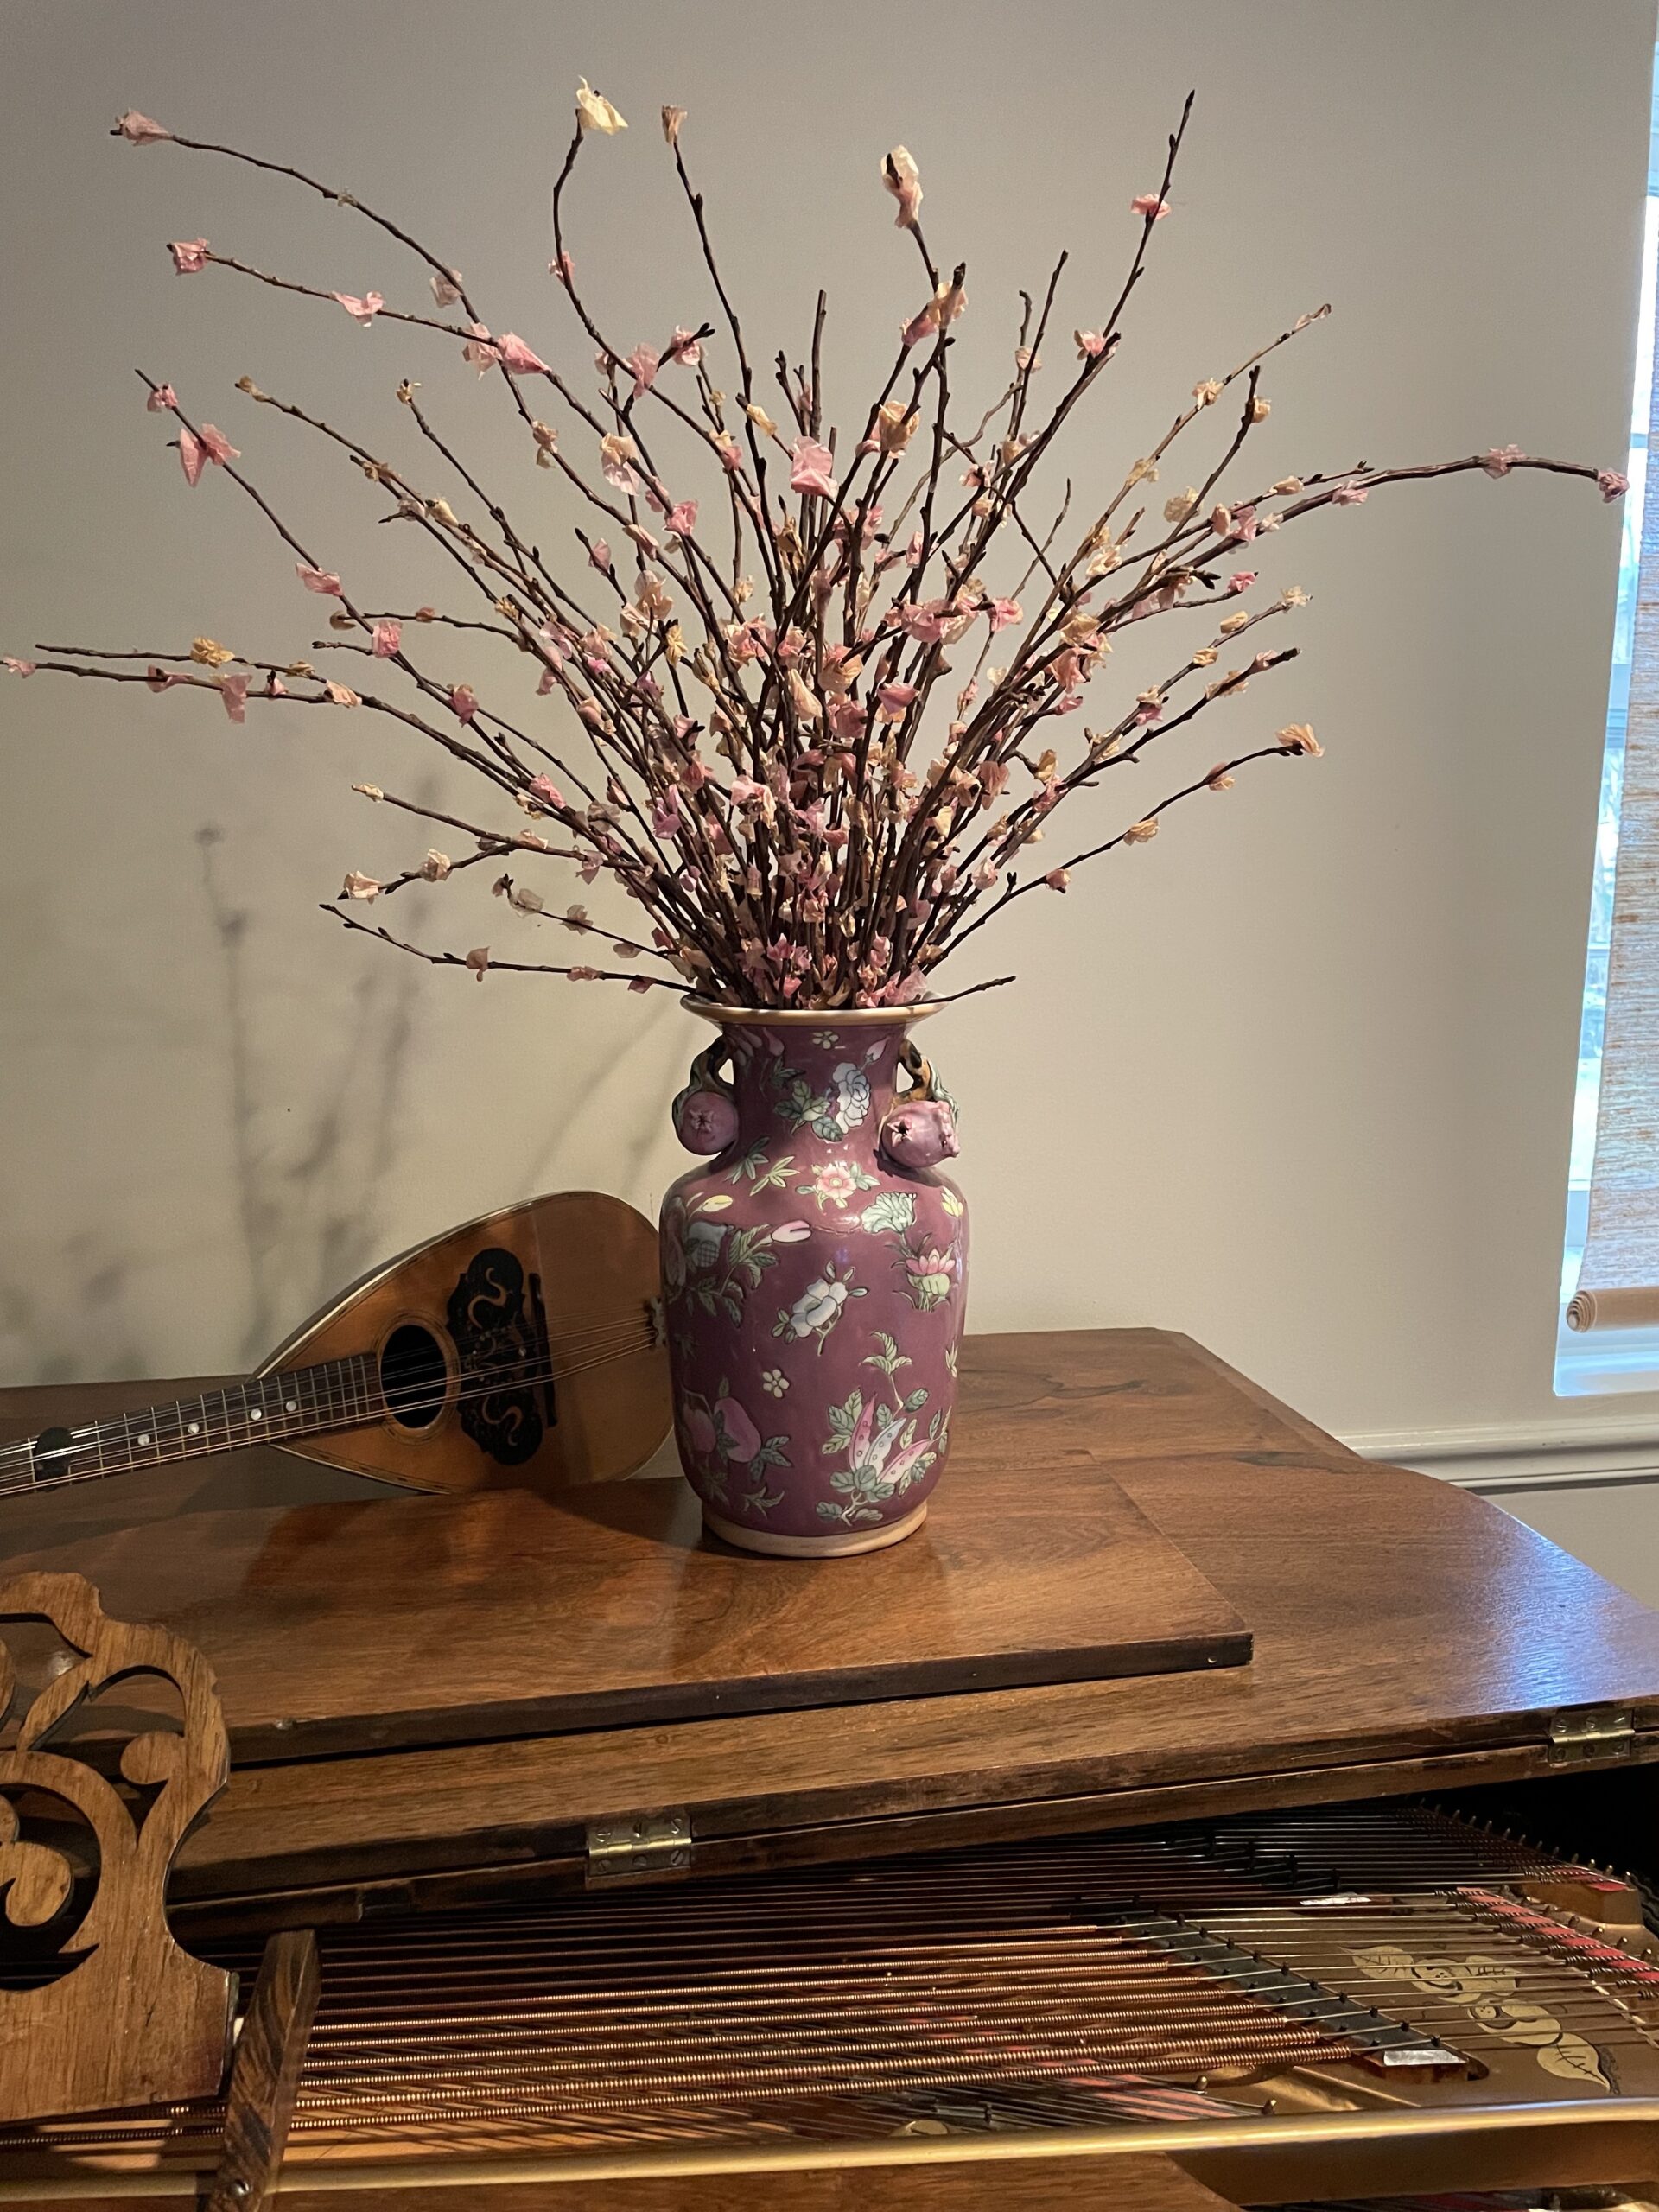
I also covered the piano bench with some gorgeous velvet from my mother-in-law’s fabric stash!
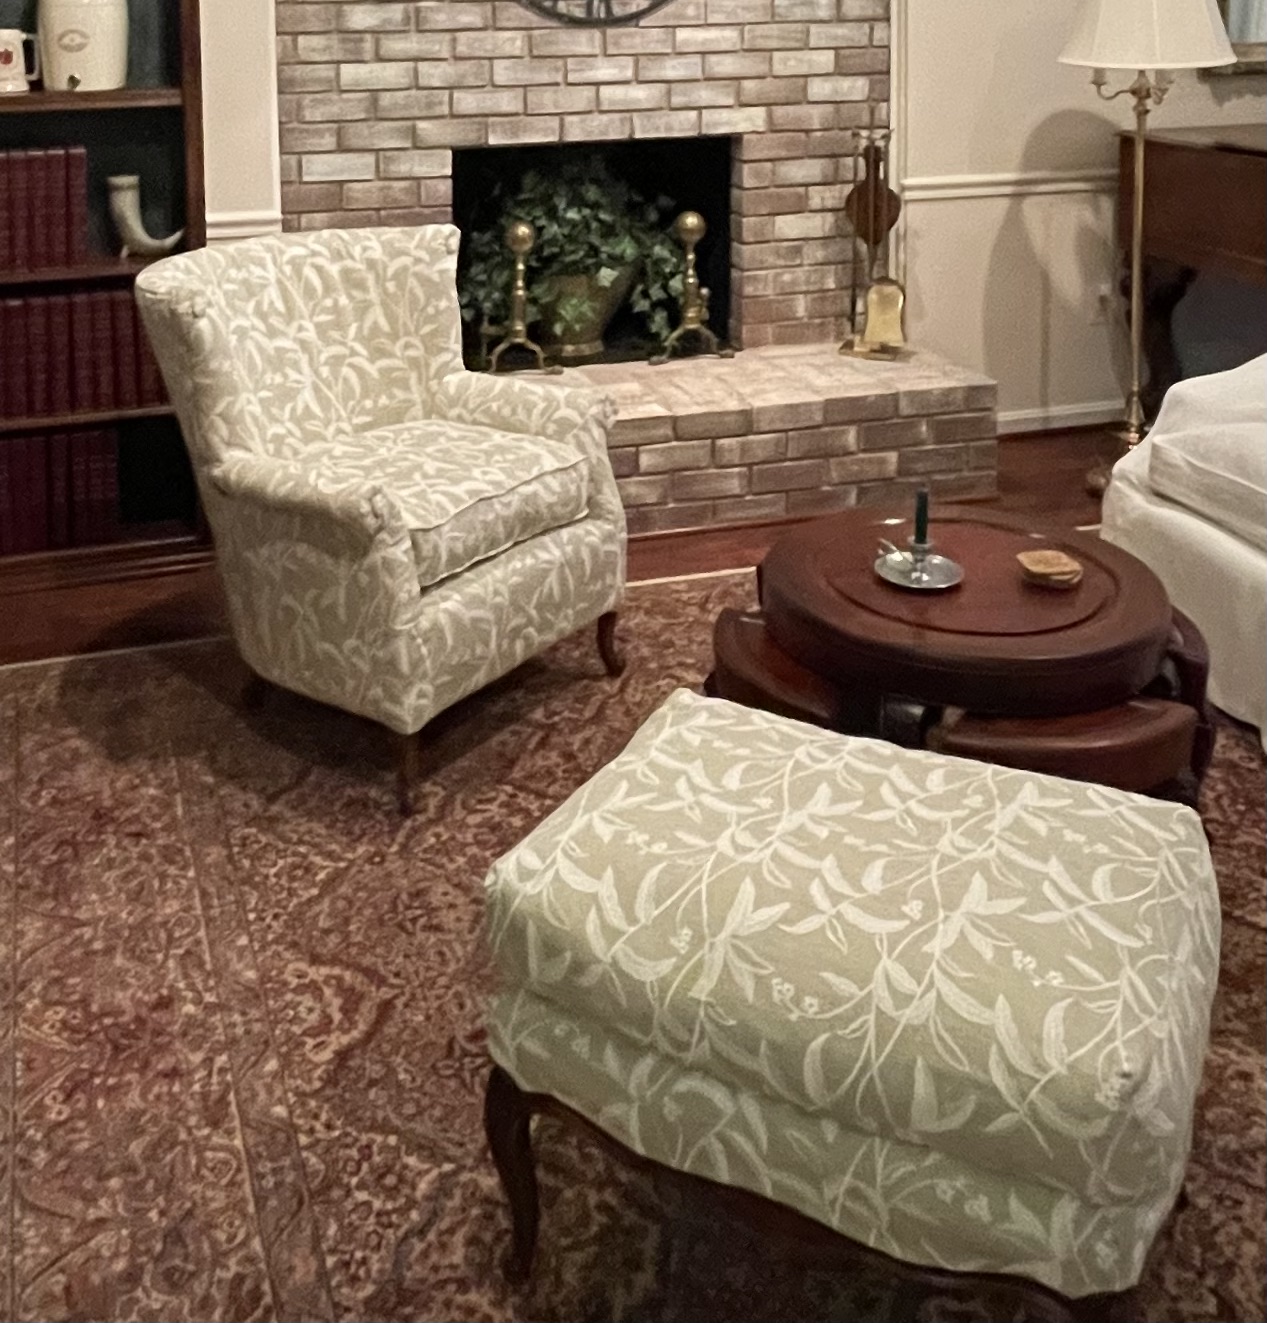
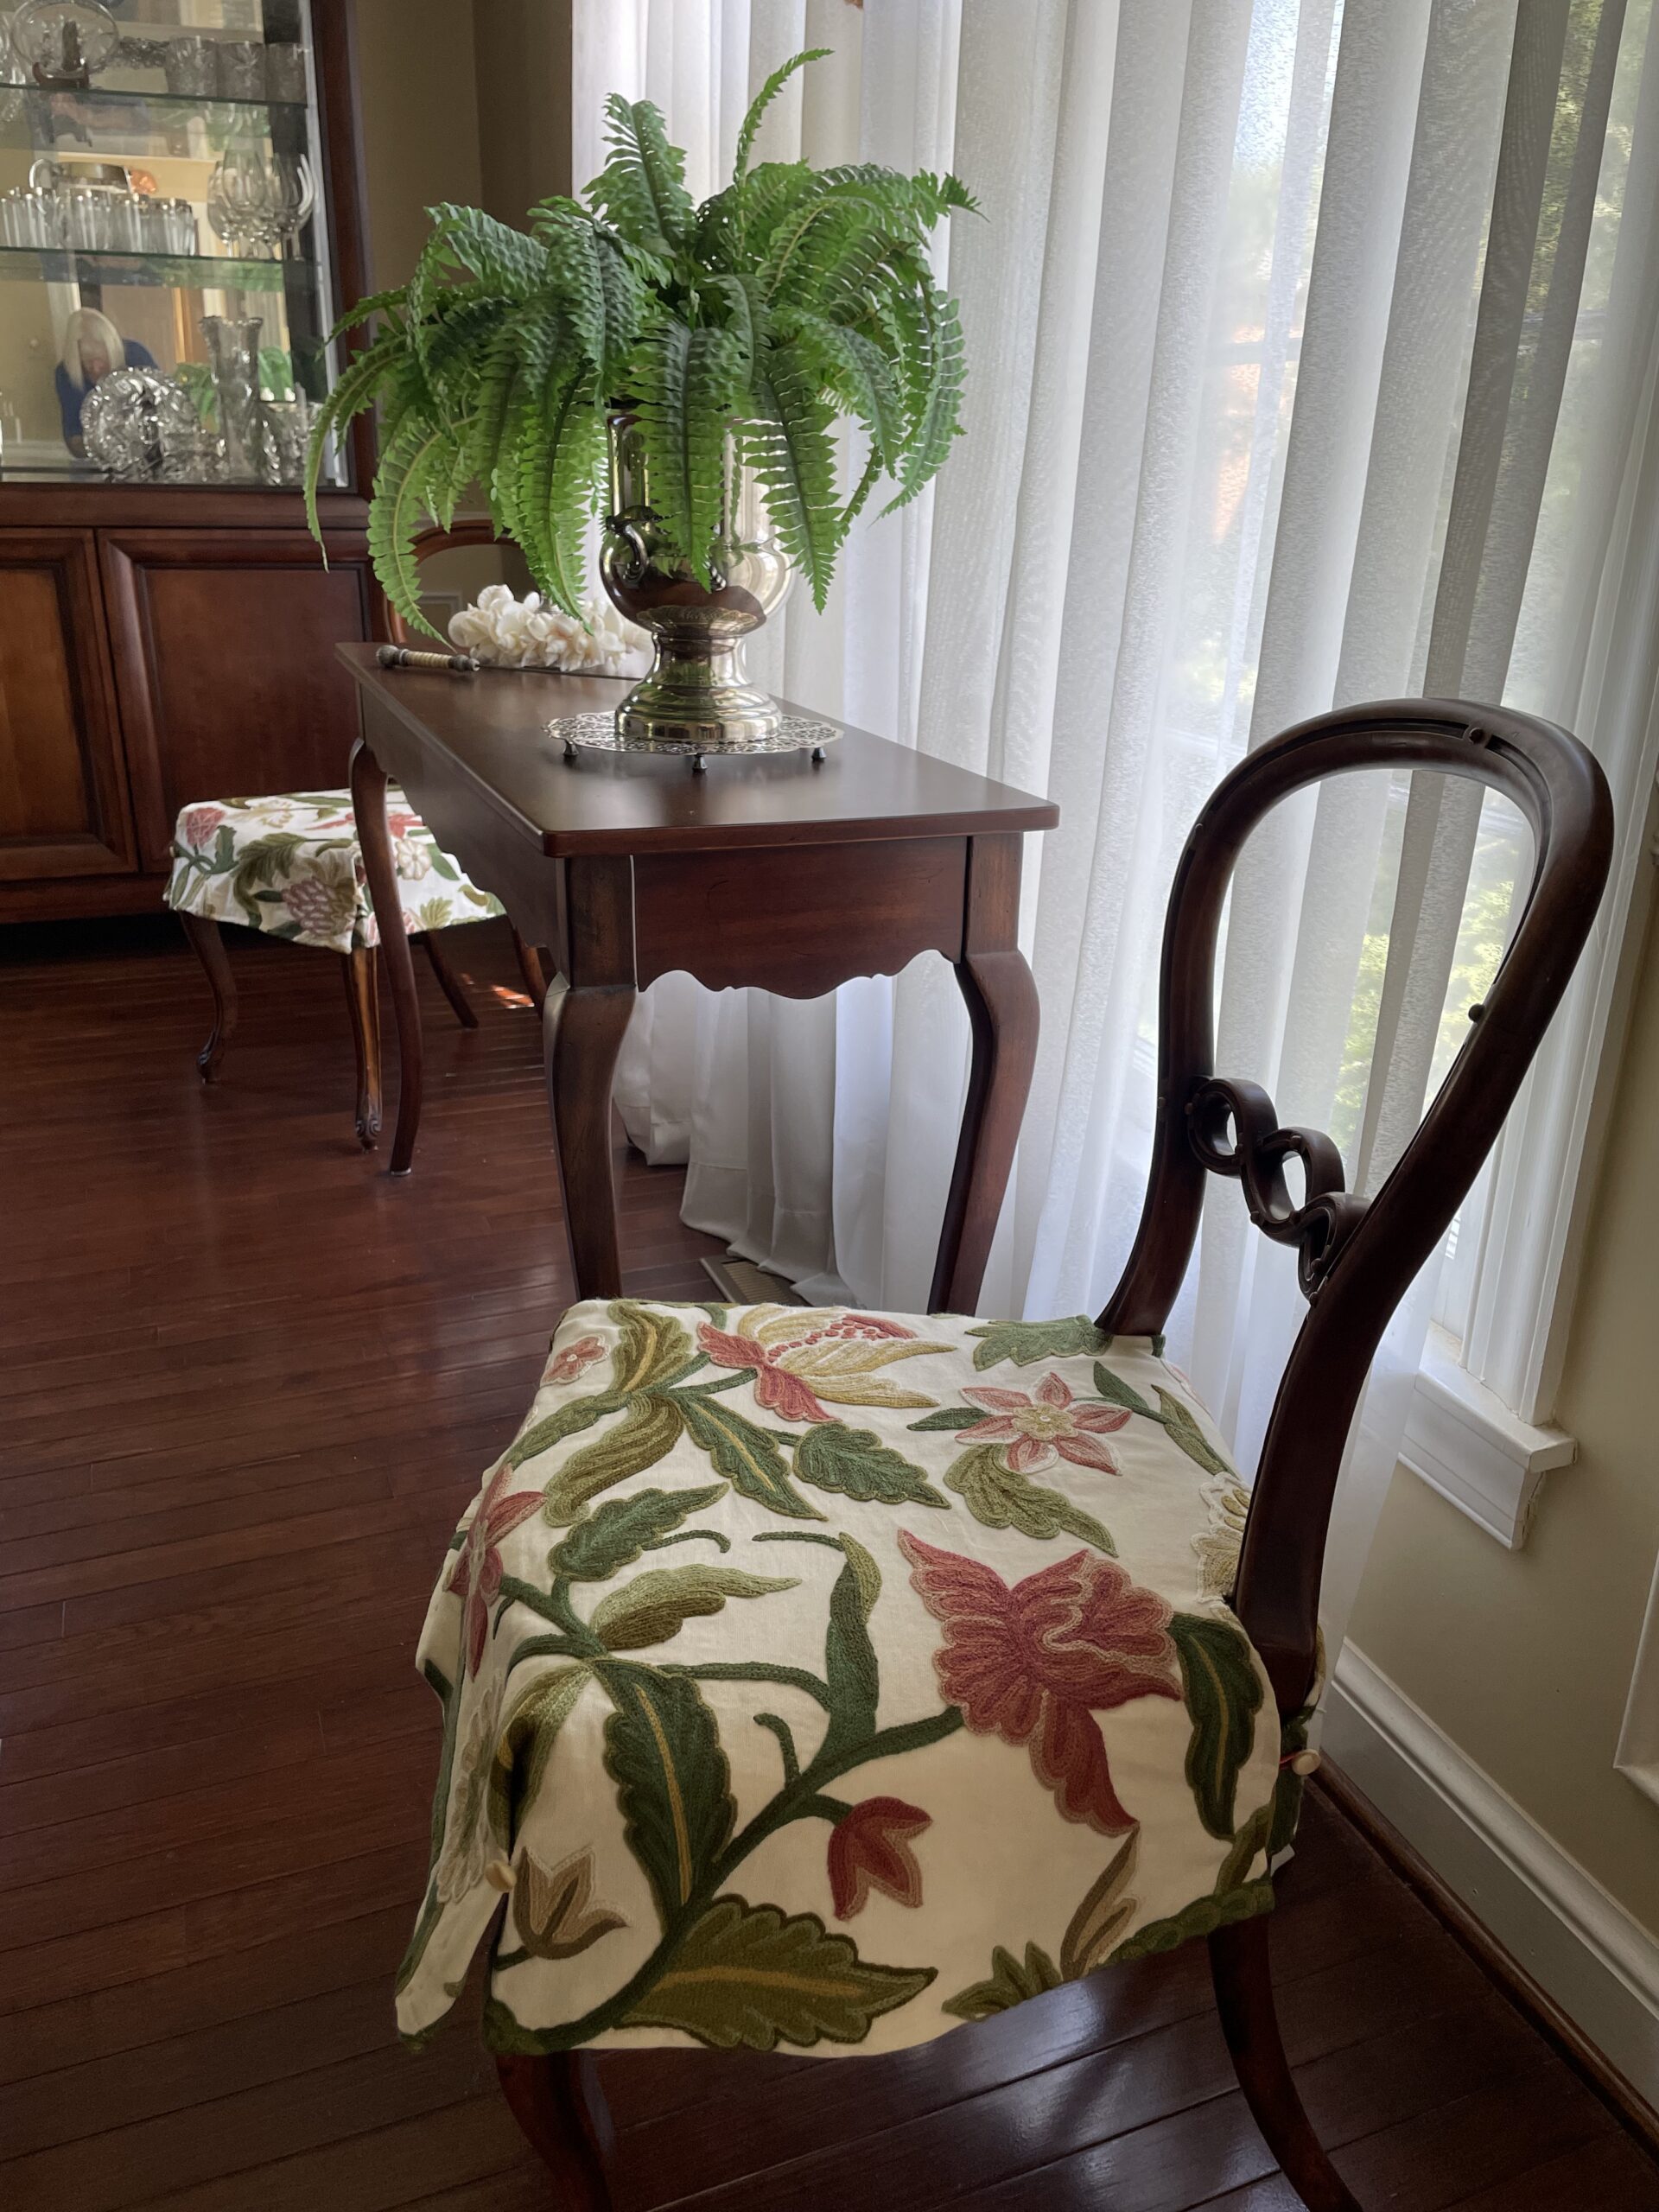
These summertime slipcovers just button on, so they’re easy to swap out for the seasons. I have to say that my sweet “Home Ec” teacher from long-ago high school days, Mrs. Tibbs, was on my mind while I was sewing. She taught us so many practical things that stuck with me, I send my many thanks to her in heaven. As I finished up with these projects, I was hoping to get outside and start my spring clean up in the garden — but the ice stuck around for more than a month! At long last, in late March, I finally got outside, and barely got all the perennials trimmed back, before new growth started to pop out. What a gorgeous spring!
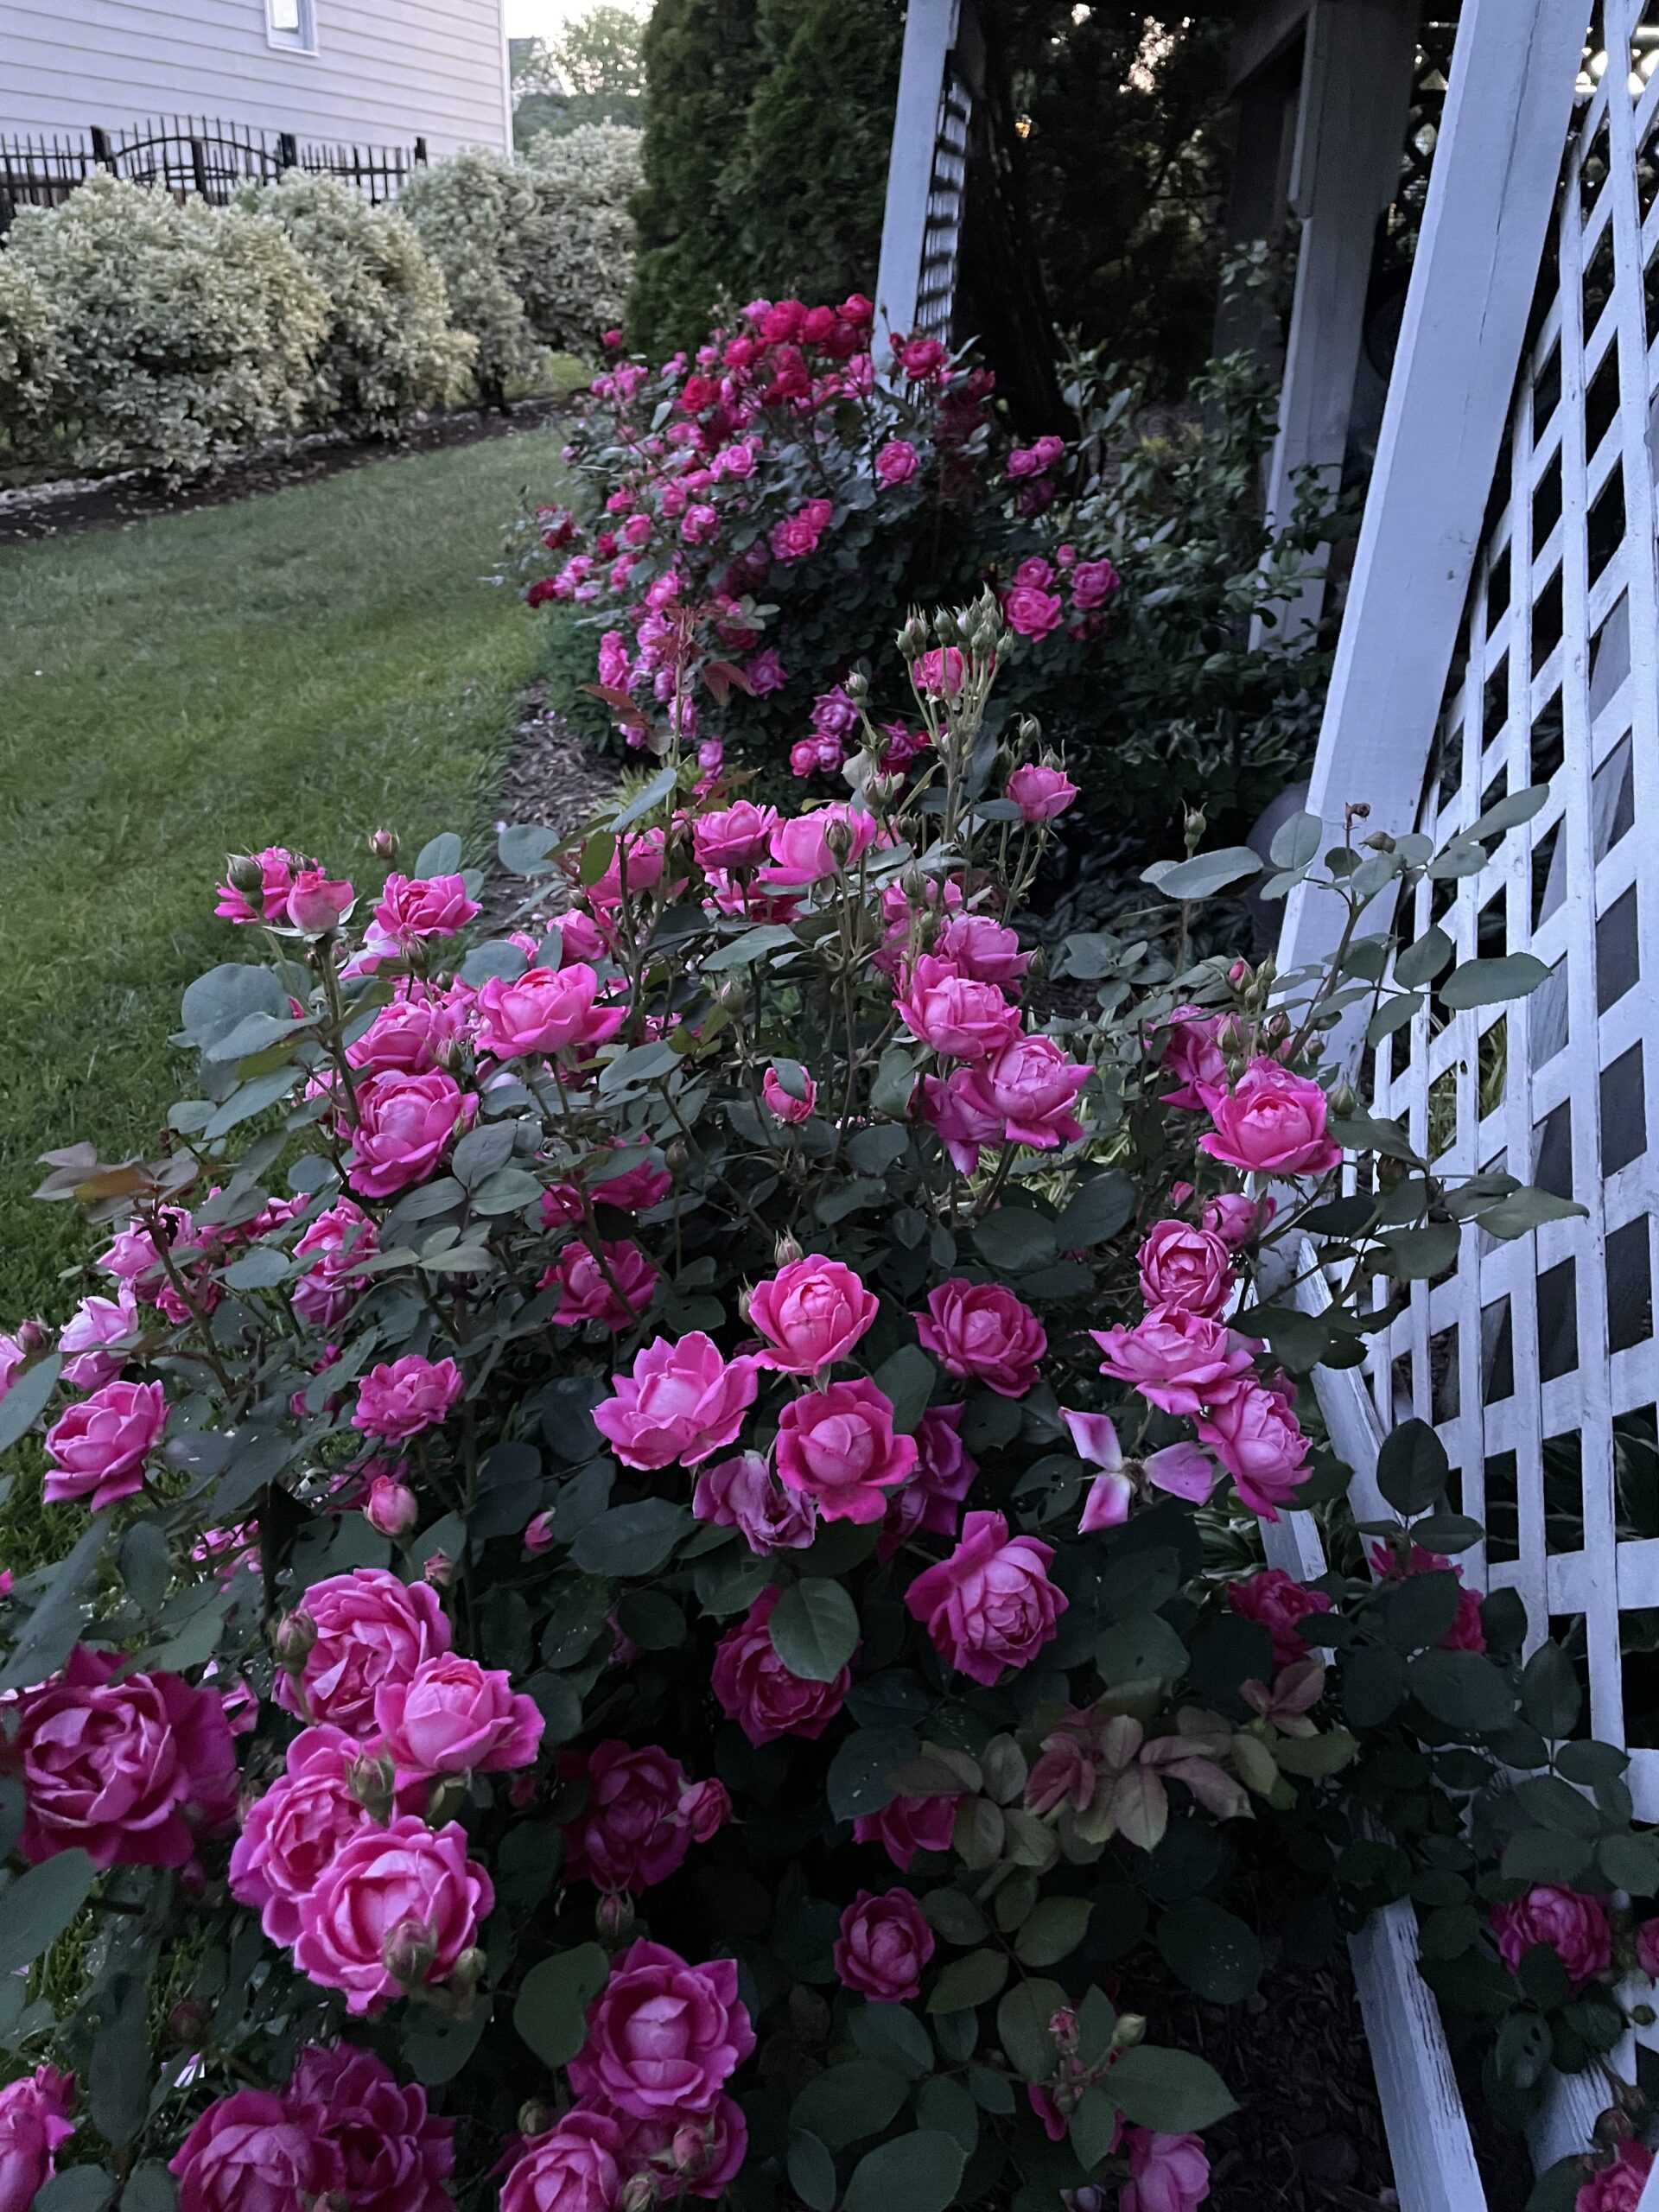
Garden tip #1. Banana Water – The first flush of roses were absolutely perfect. Last summer I started giving them banana water. It made a great difference in the strength of the roses’ branching, color, and health this year. It’s easy to make, too — just put your banana peels in your watering can, fill it with water, let it sit over night (or longer), and water the root zone with it. You can leave the peels in the can for week or two, and keep reusing it. Once the peels have gotten mushy go ahead and dig them into the garden where ever you want to improve the soil. Your plants will love you for it! I always love finding a use for something I would have thrown away otherwise.
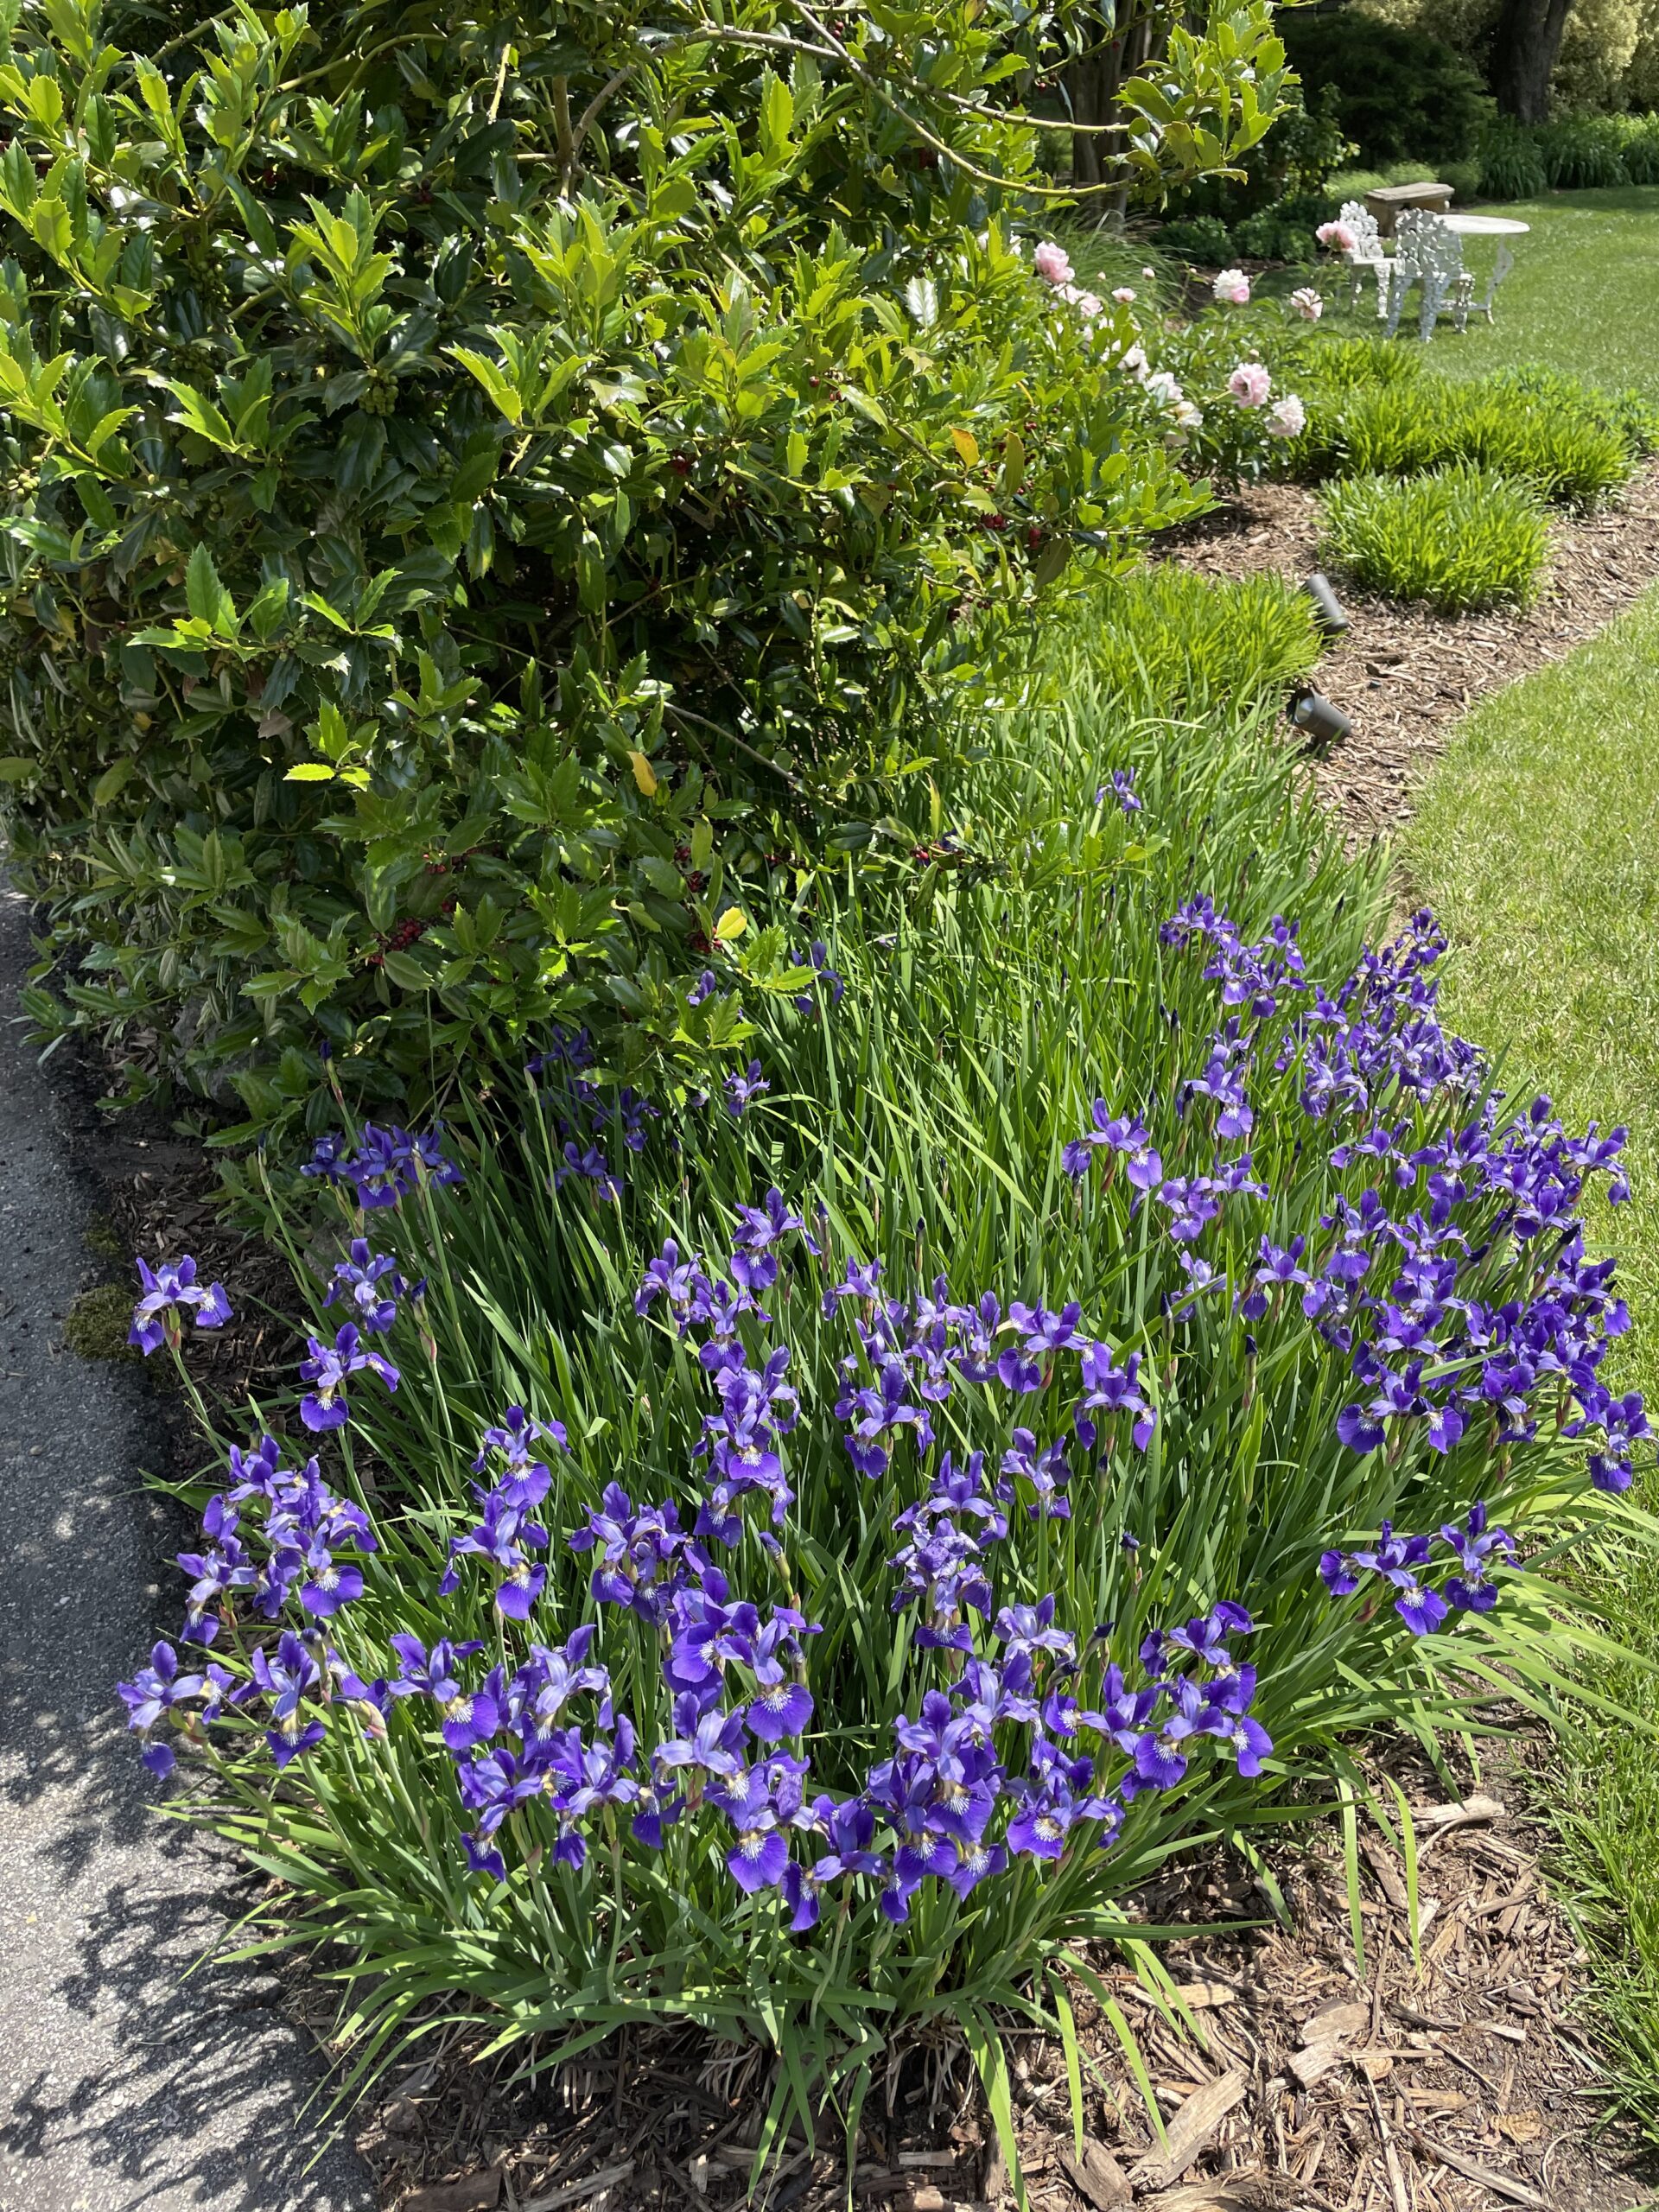
The hollies, iris, and peonies all loved the banana water, too. It’s a really nice shot of potassium for the root zone.
Tip #2. Coffee grounds – I also scatter the morning’s coffee grounds each day under a different plant. I’ve done that for many years now, and I can’t say enough good things about it. It has improved the soil and is better than any slow release fertilizer I’ve ever used.

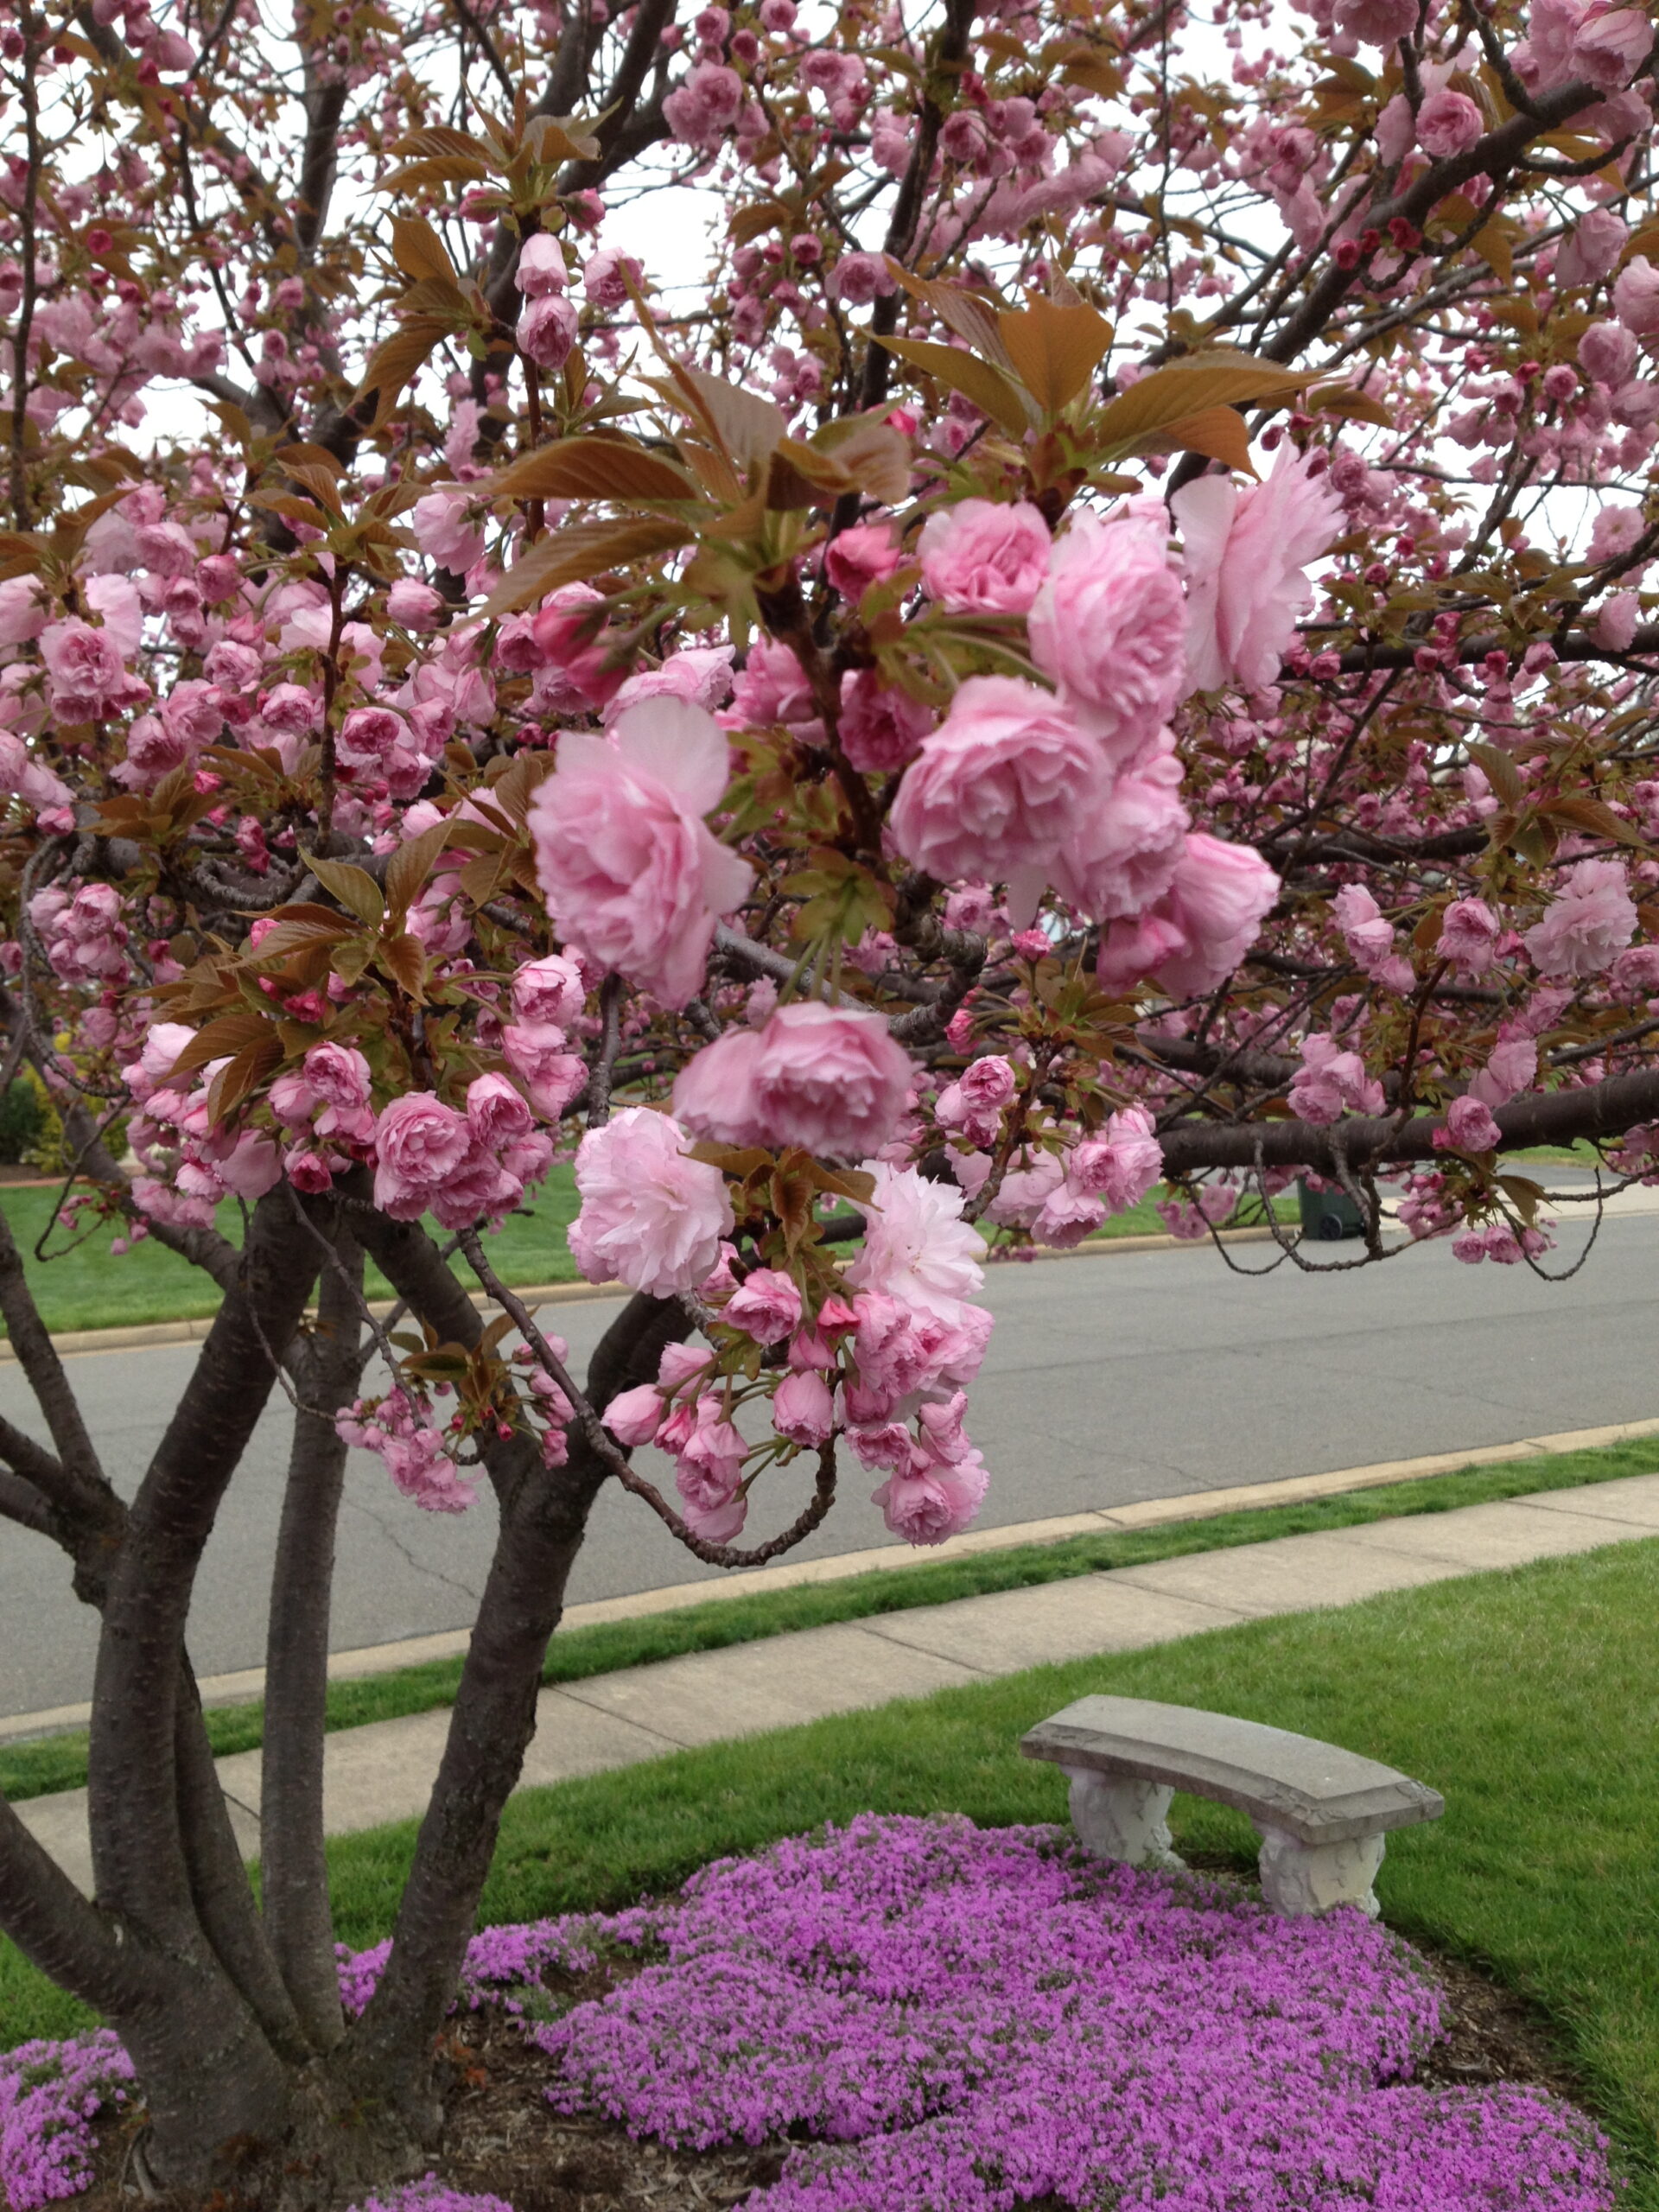
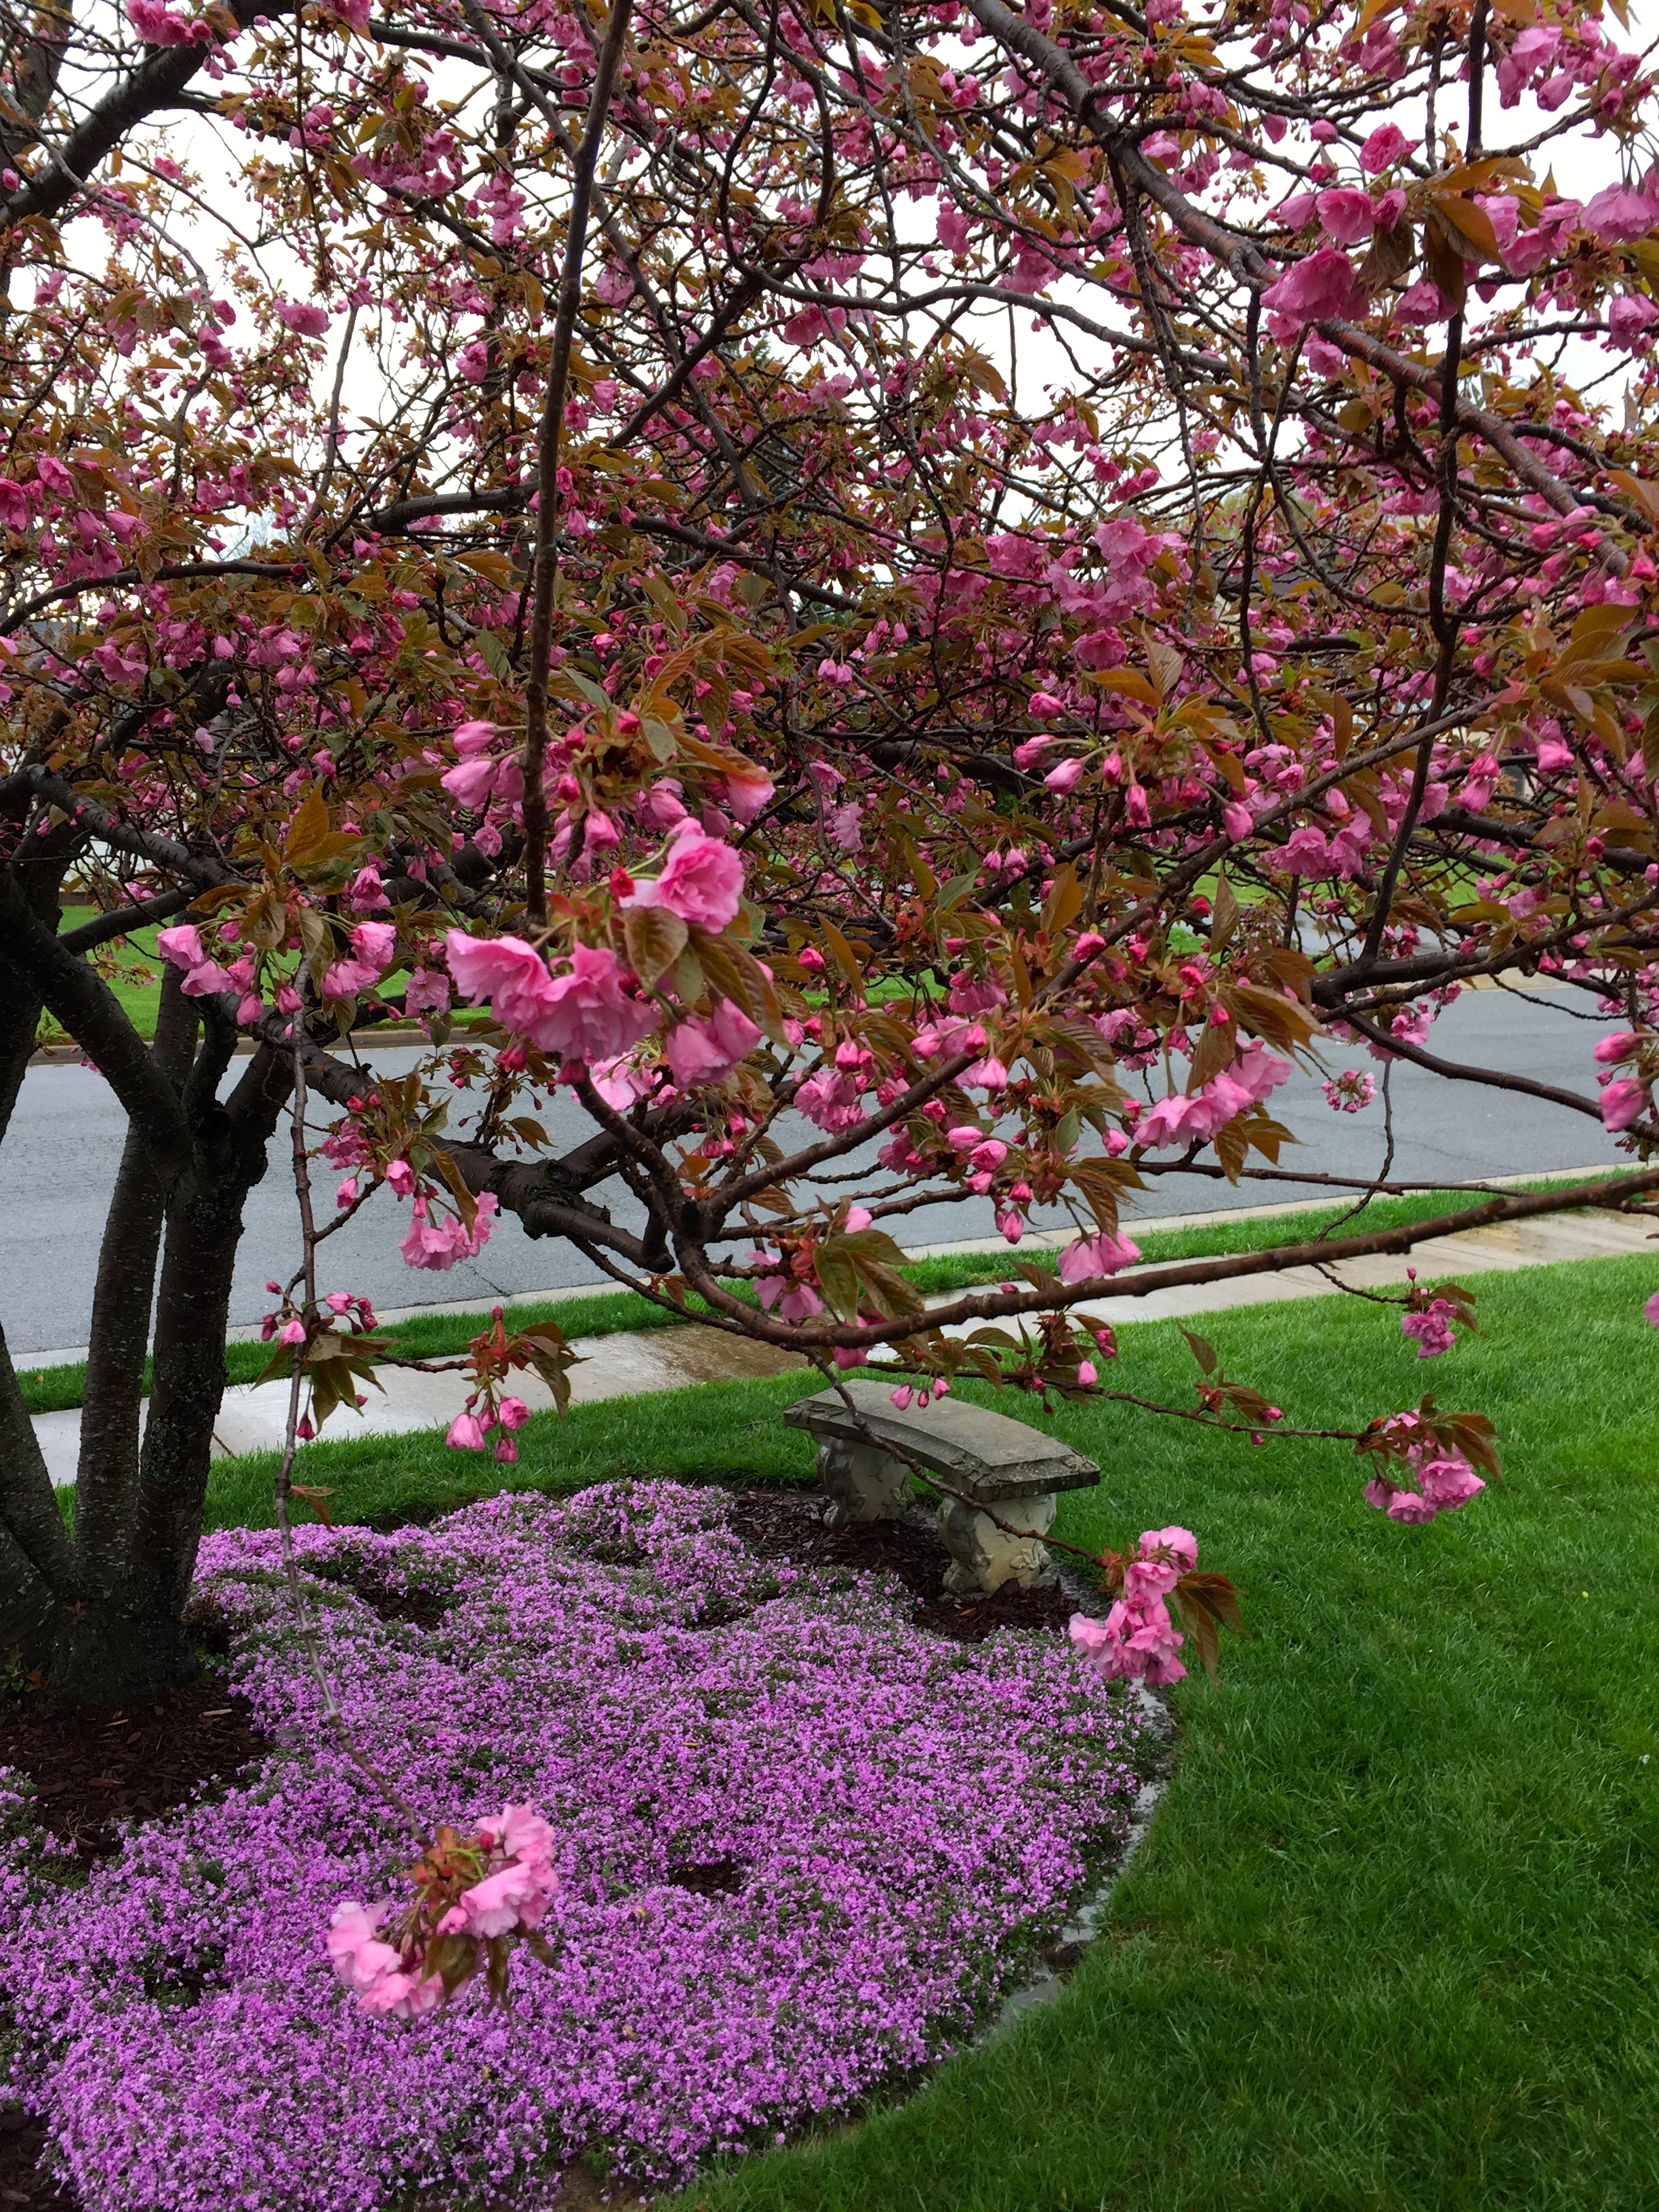
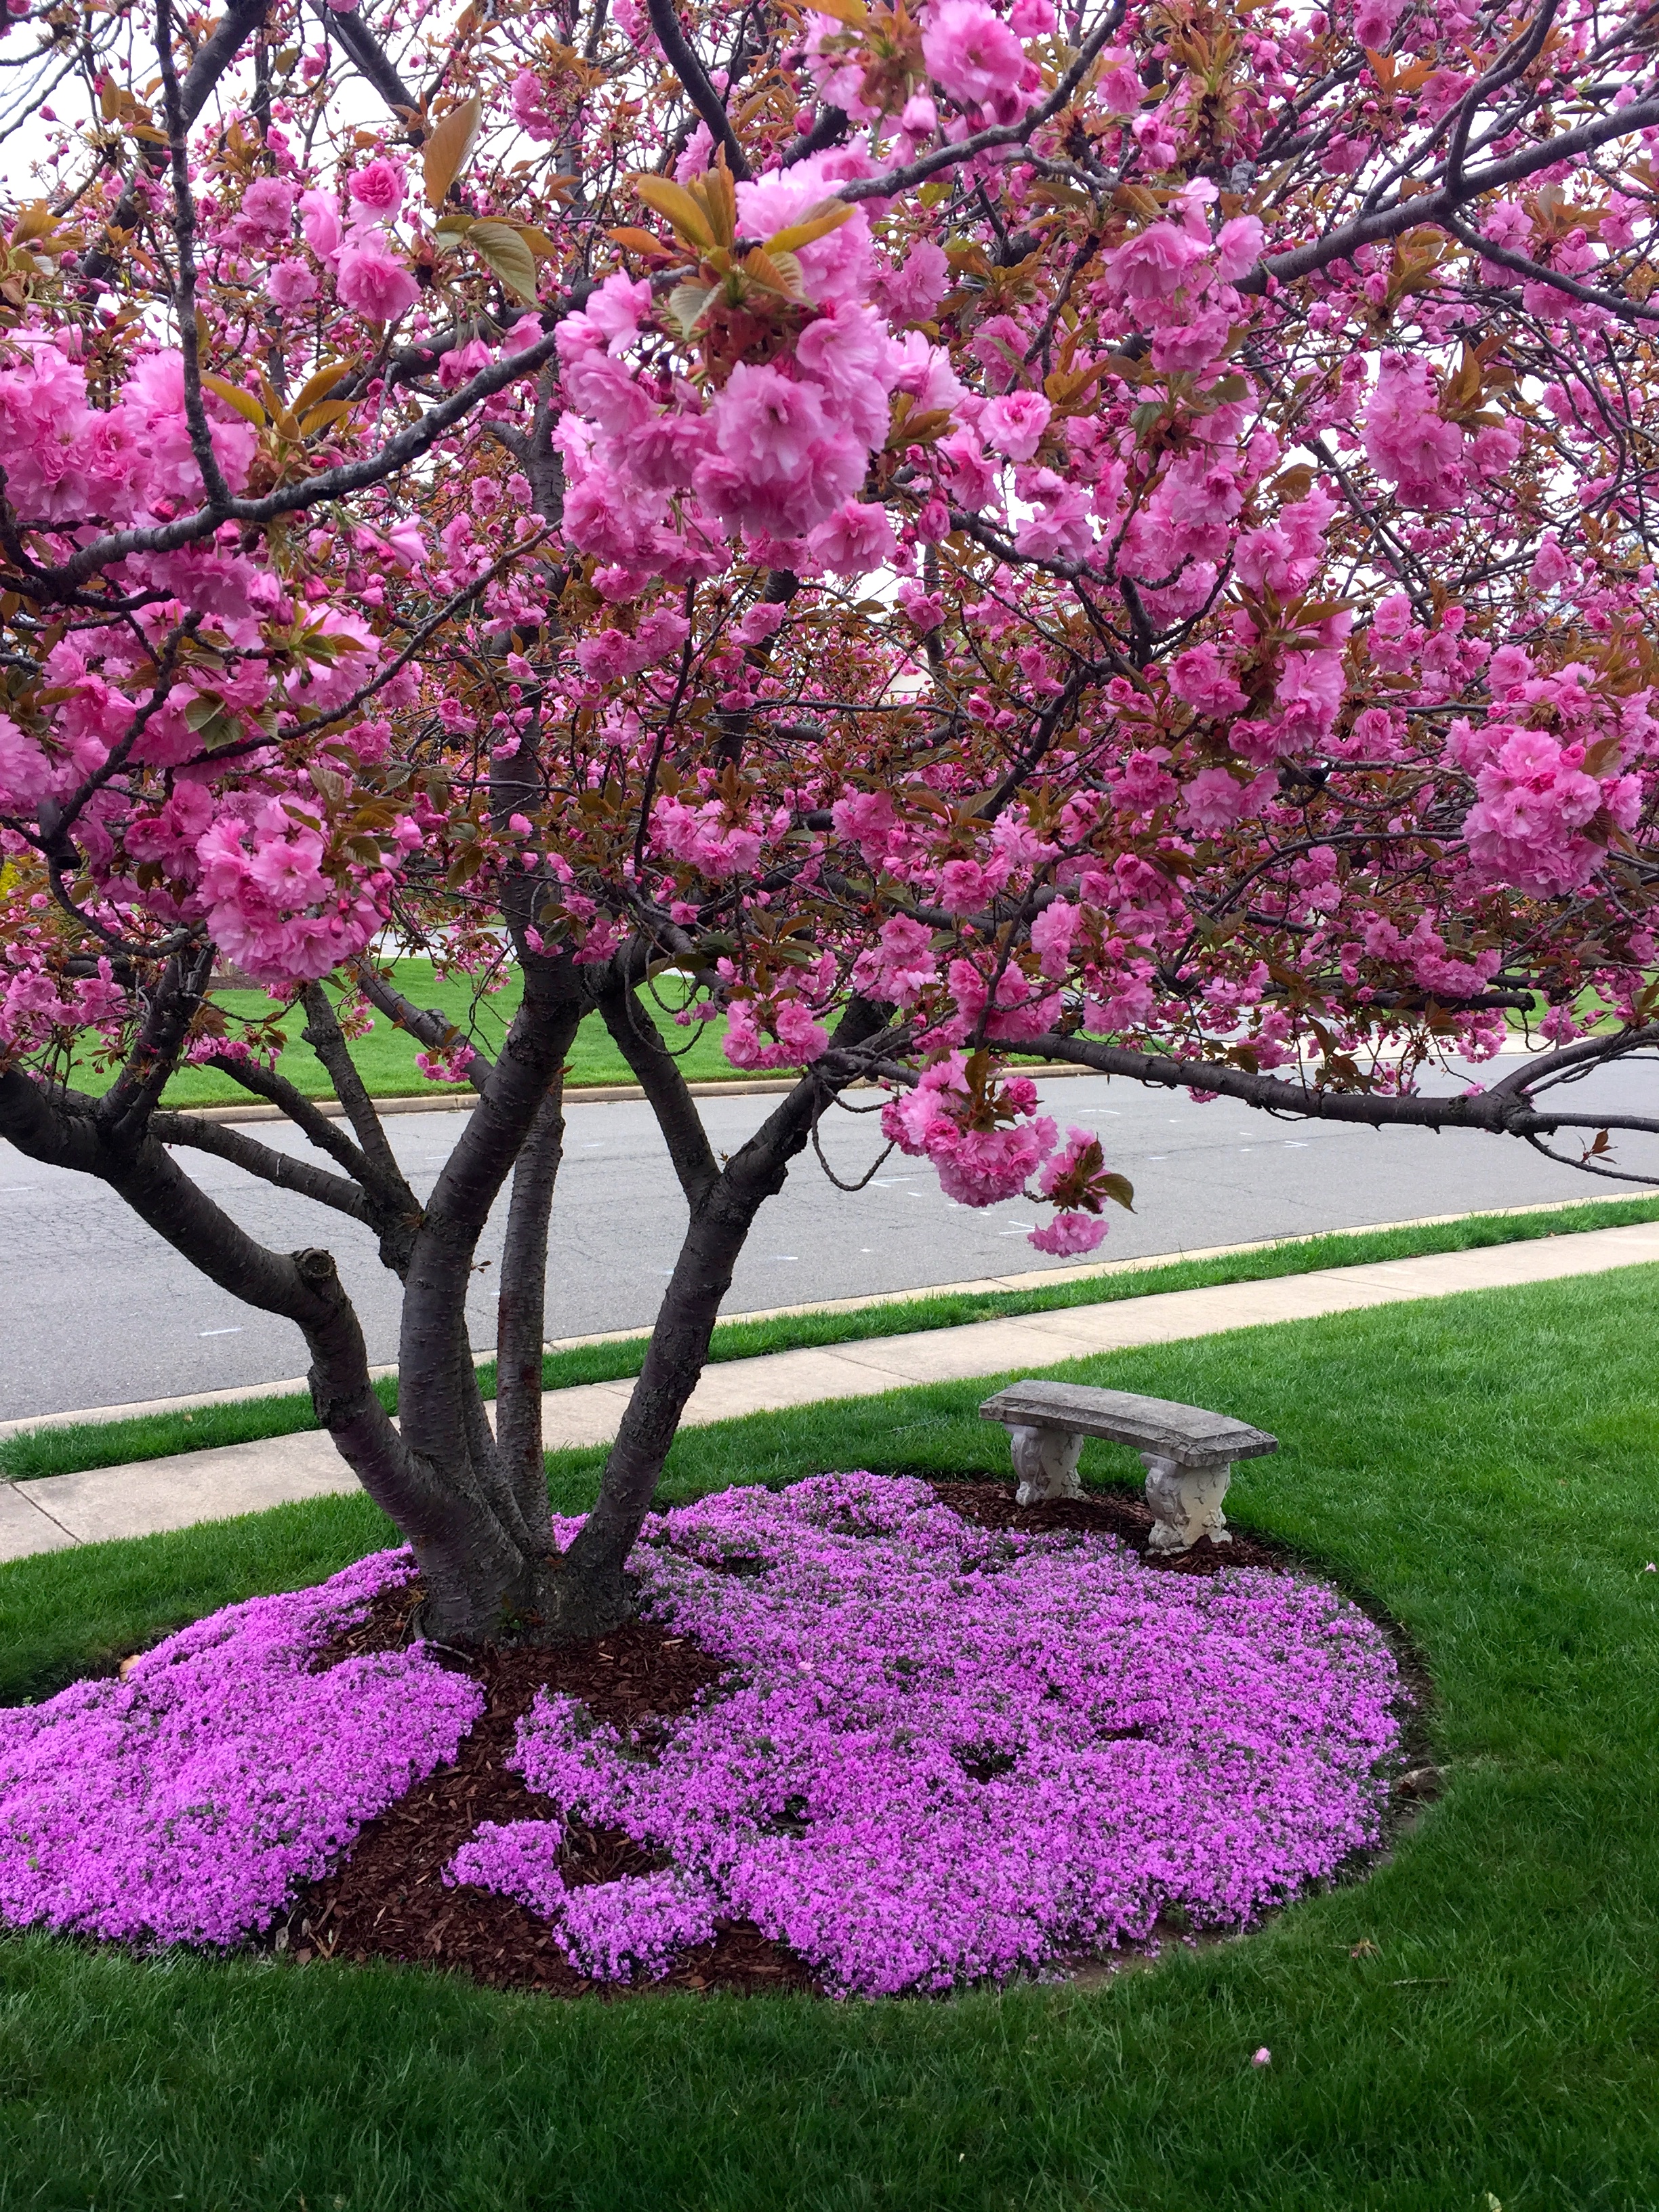
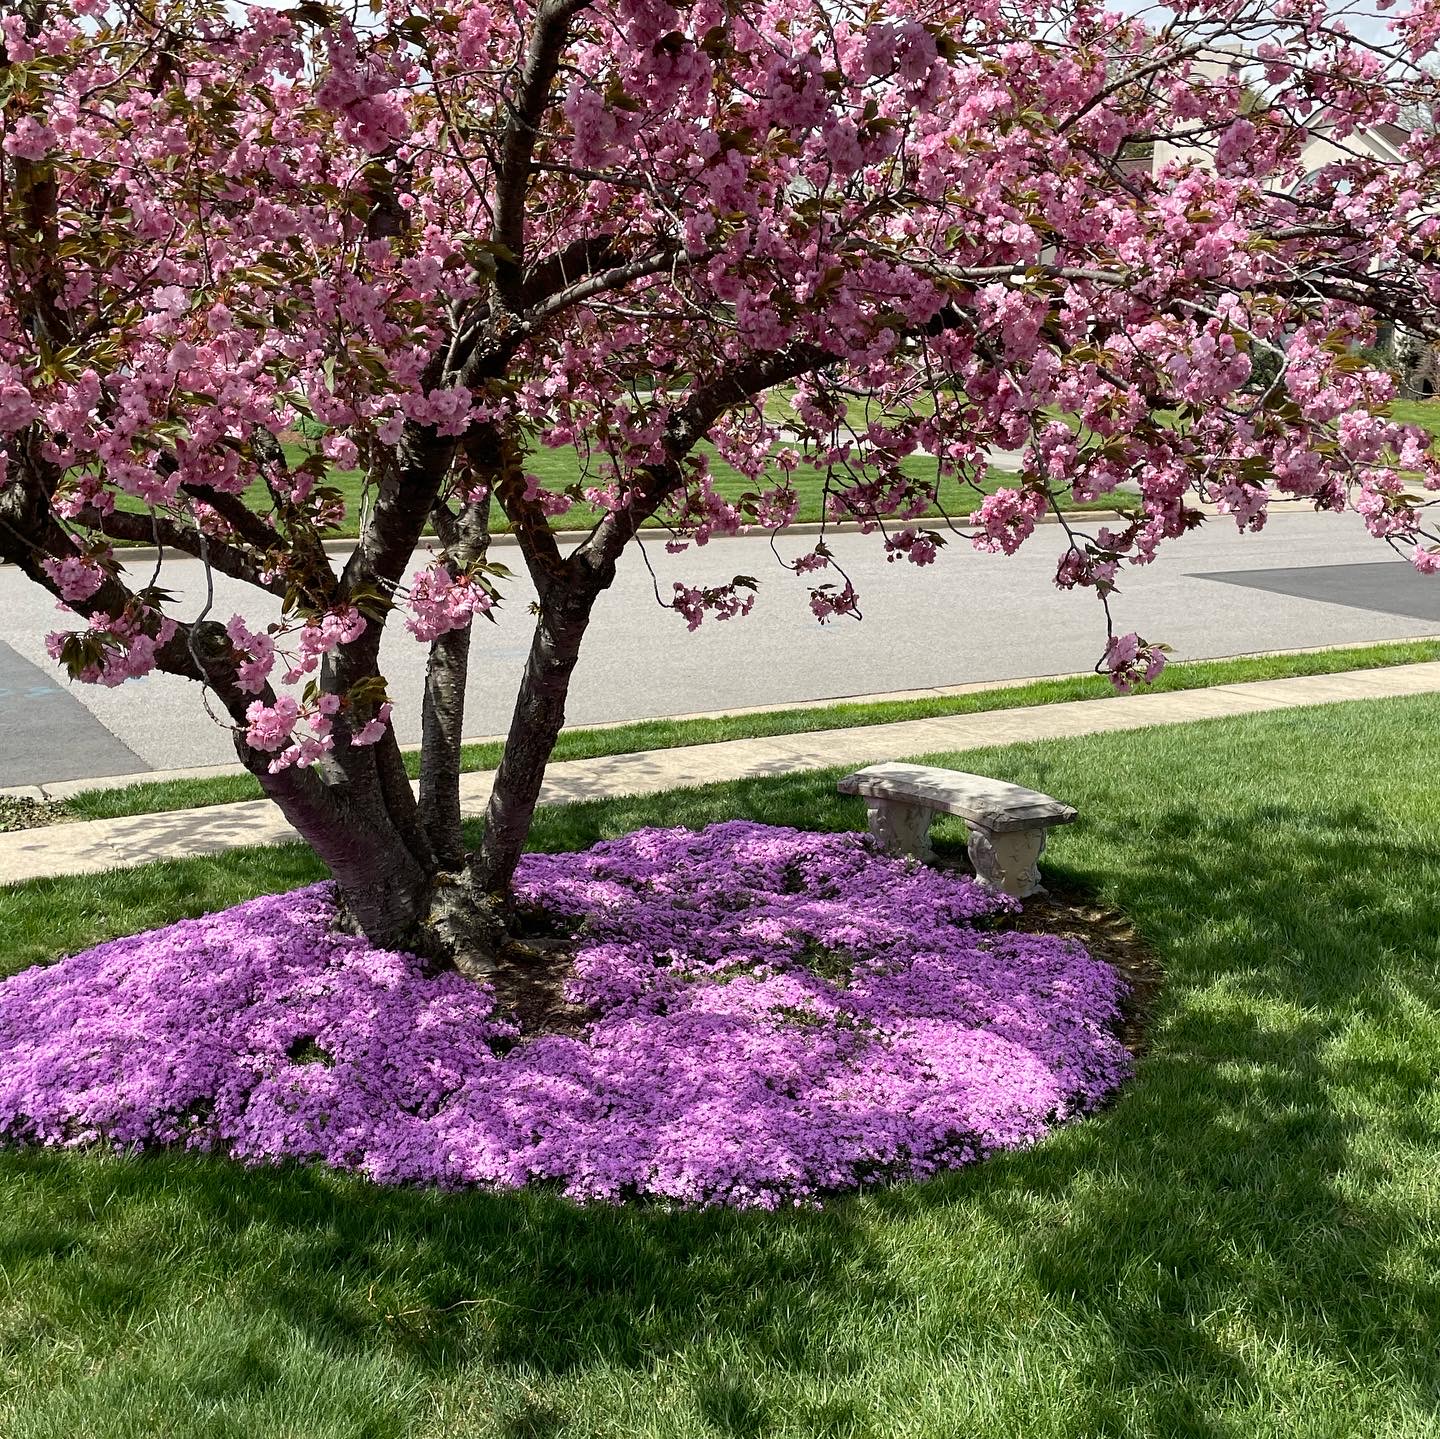
After the intensely bleak winter we had, I was worried that my prized cherry tree wouldn’t make it, but I was thrilled to see that every branch had buds. Despite the devastating fungus that I been battling since we moved here some 26 years ago, her bark is healing nicely. She looked absolutely glamorous for Easter, and we saw more than a few people taking family photos under her pink shade. That made me very happy.
Tip #3. Soapy water (yes, really!) — I had been using an over-the-counter fungicide, literally painting it onto the entire trunk, working it into the crevasses in the bark, but lately I switched to mixing up dish soap and water in my watering can, and pouring that onto each trunk. The tree revived and even thrived with new growth. The soap mixture sticks to the bark and discourages insects, too.
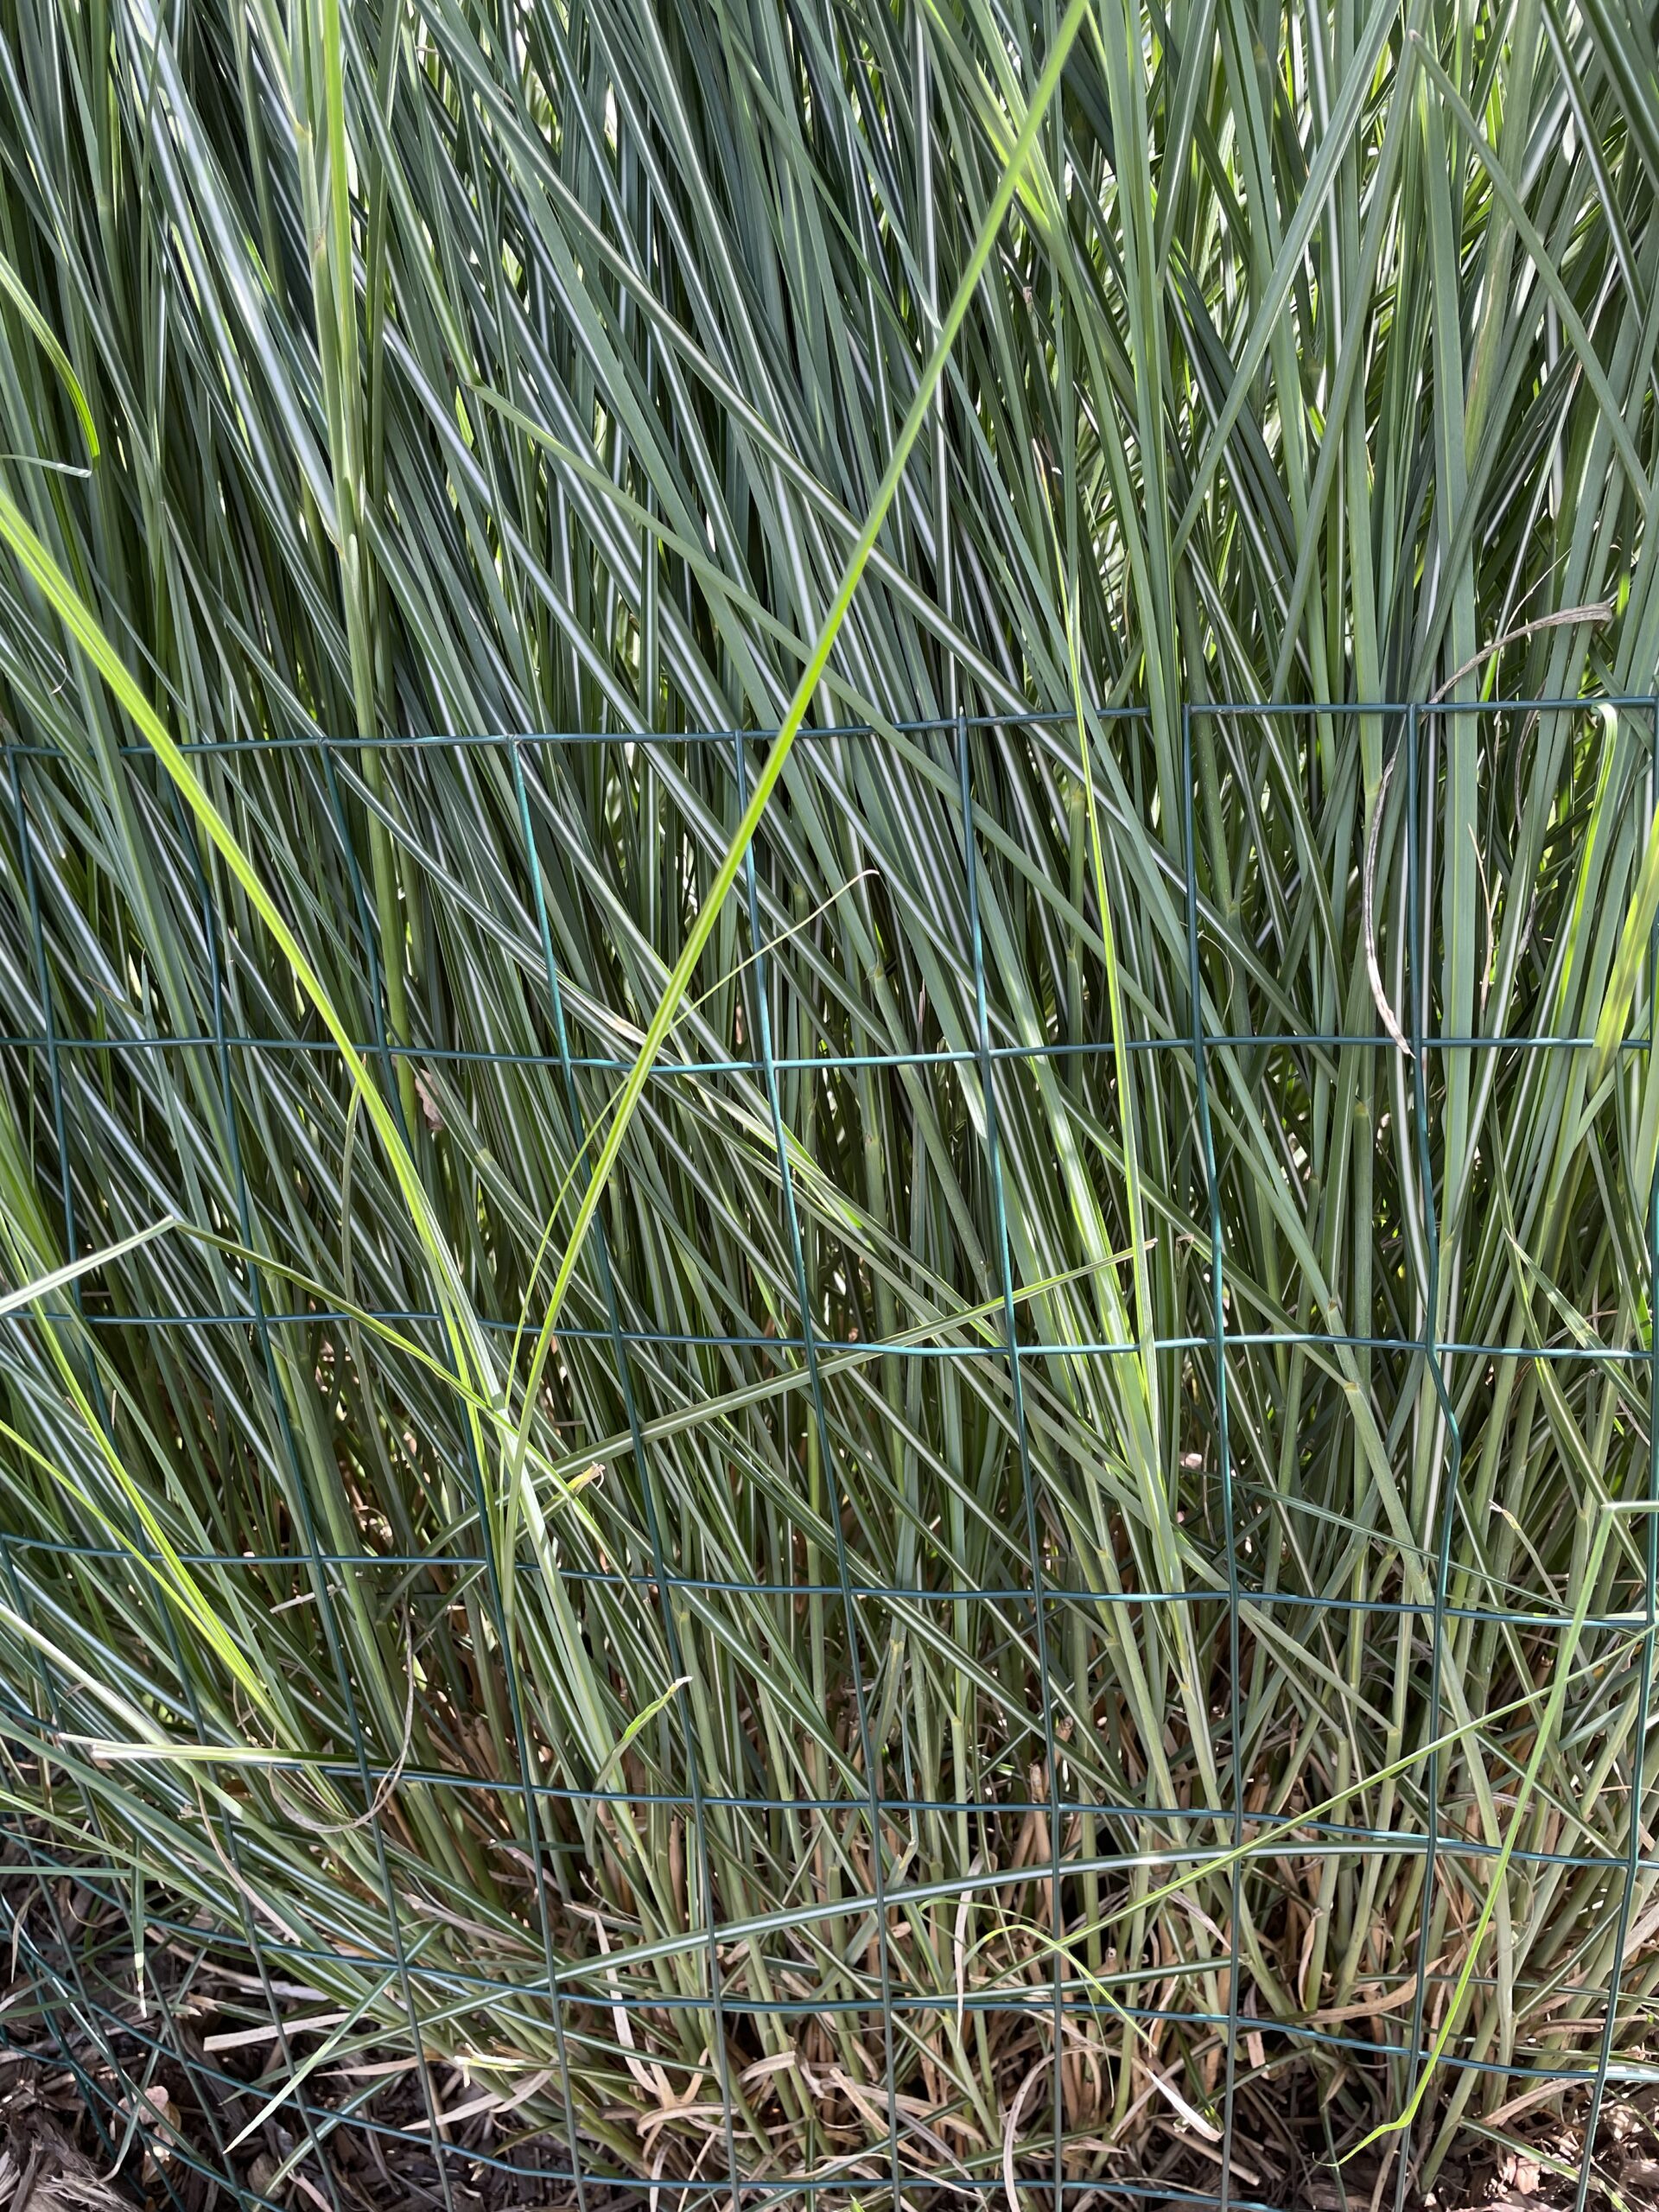
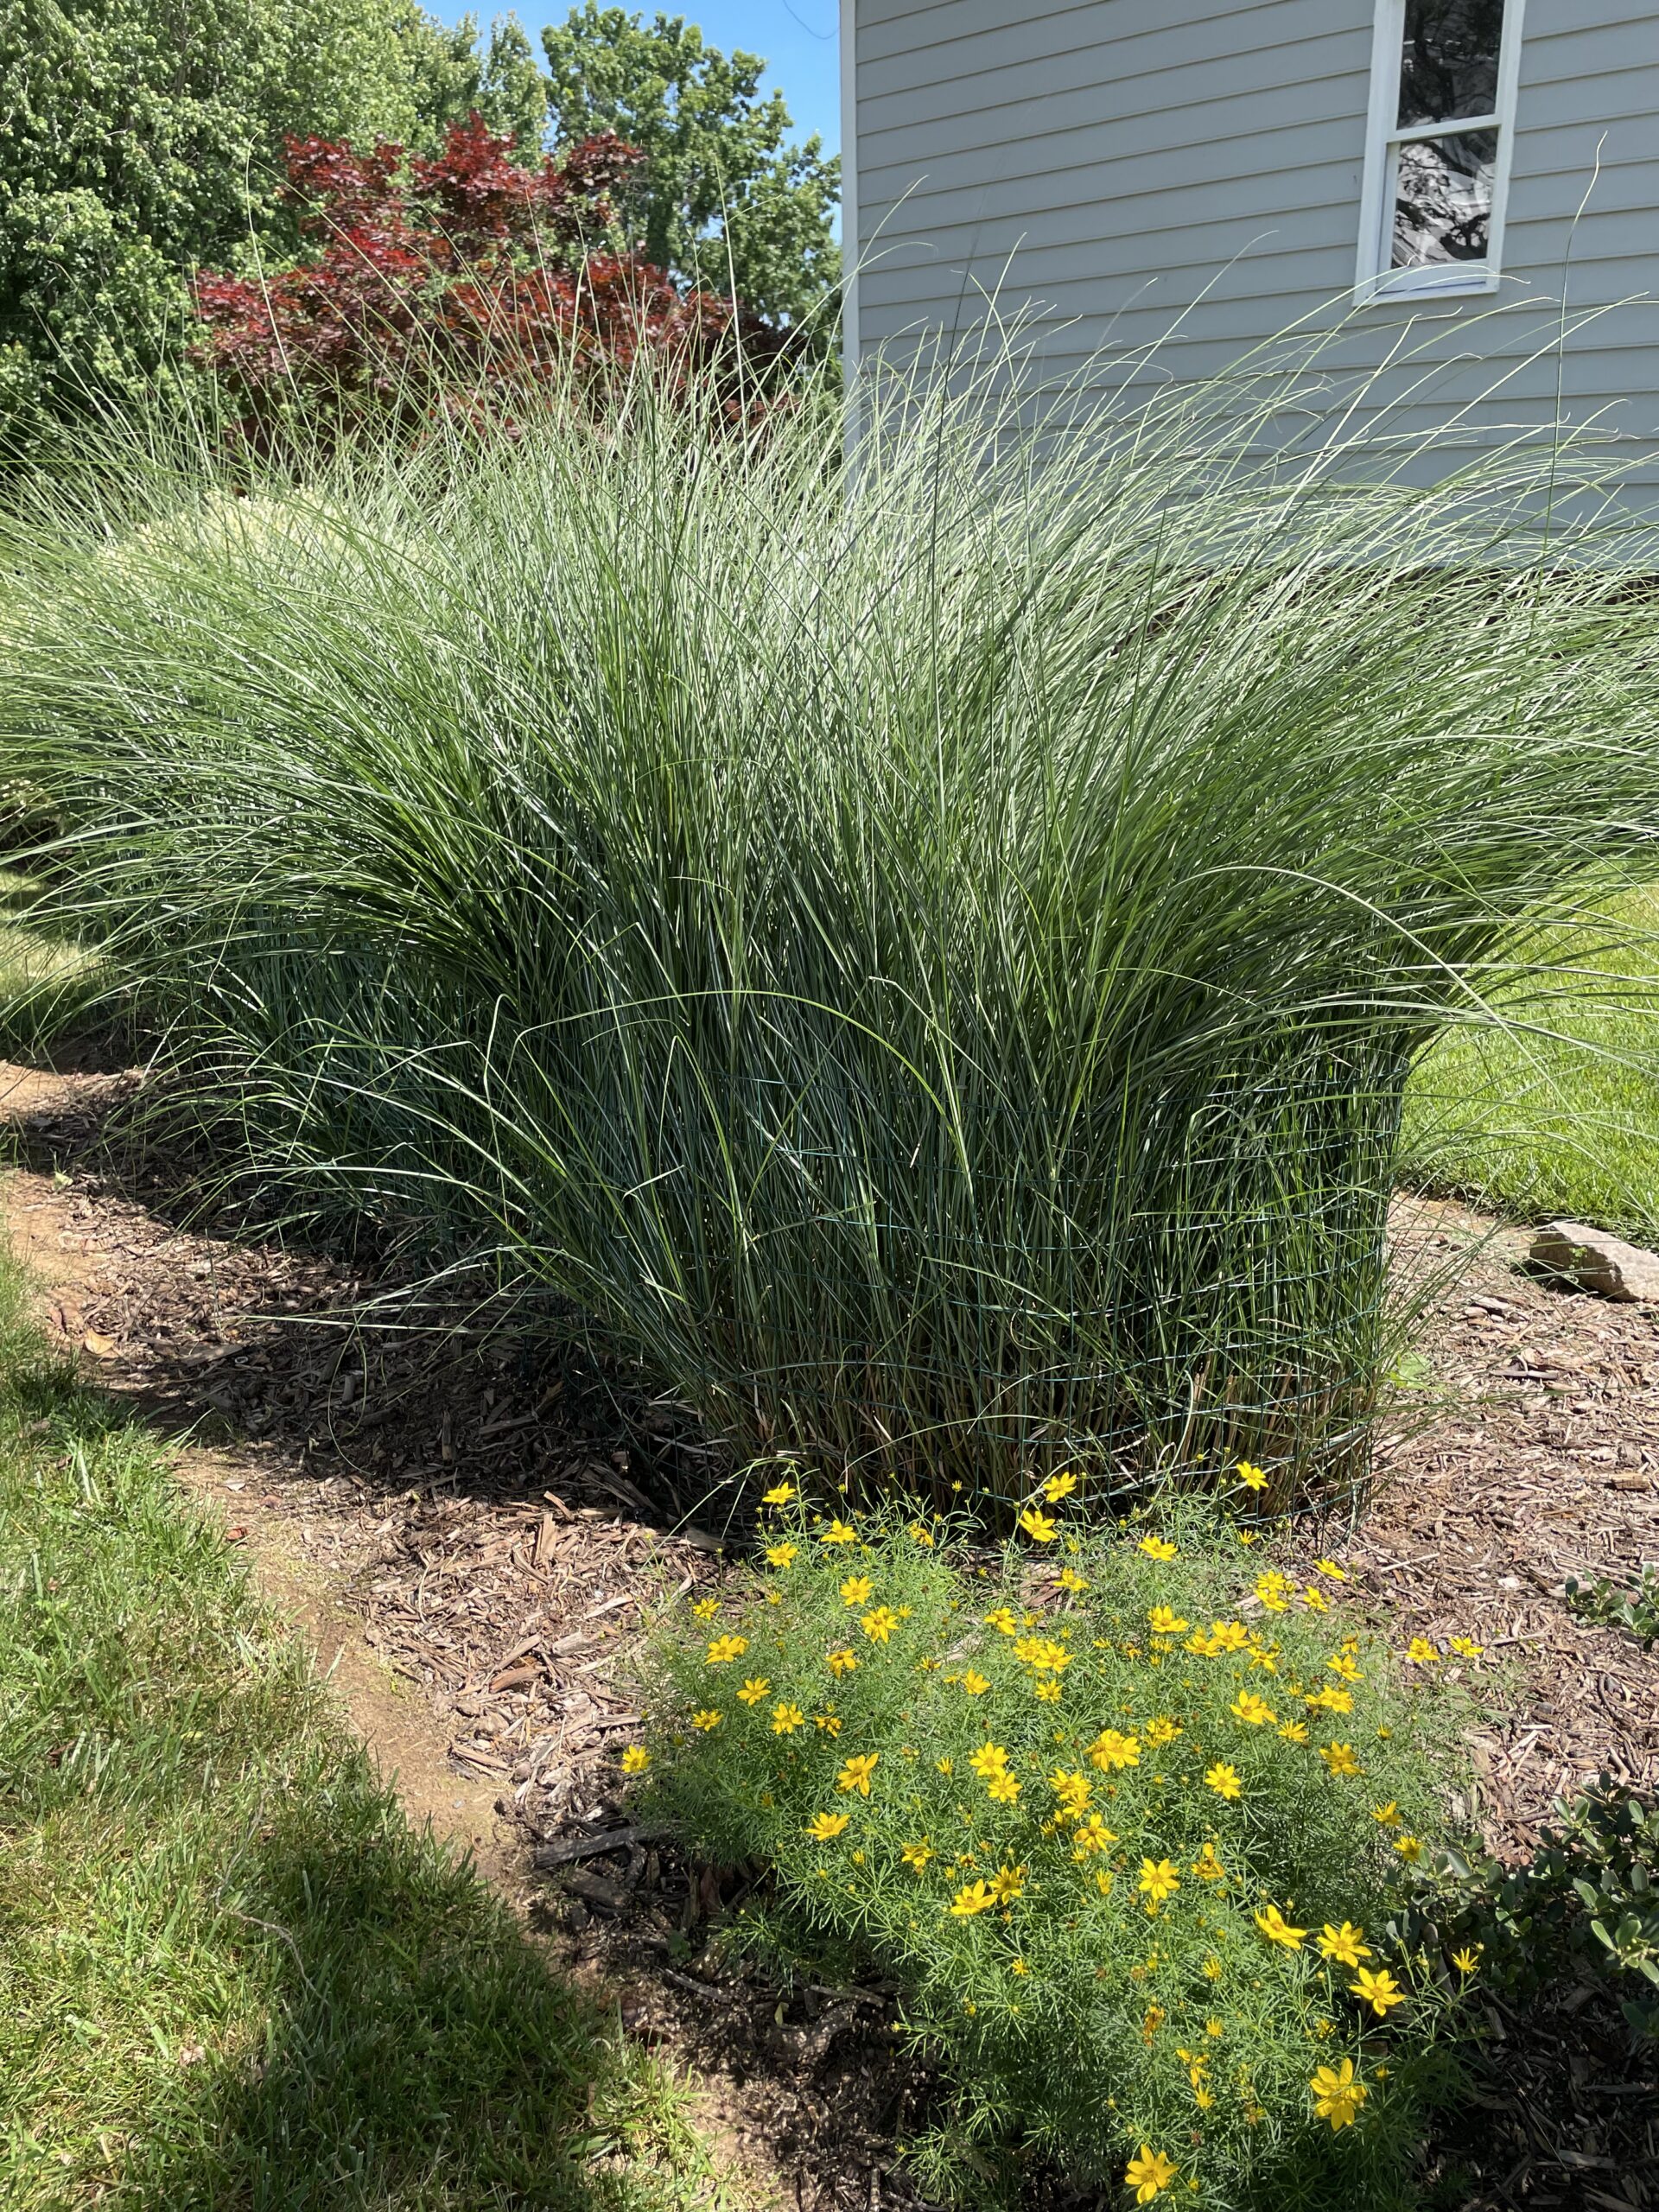
Tip #4. Wire landscape hoops — If you love ornamental grasses as much as I do, but have a hard time getting the mower underneath the mountain of beautiful grass leaves, this tip is for you! After trimming down the grasses in the spring, measure the circumference of the grass and add a few more inches. Cut the length of landscape wire fencing (I like to use the 2 foot high, green coated wire), and make a hoop to go around the grass. Once the grass is around 3 feet high put the hoop on the grass, being careful to get all the long leaves around the edge straight up. This clears the underneath so you can mow right up to the garden edge. The grasses grow another 3 feet on mine and within a couple of weeks you can’t even see the wire hoop. Here’s some photos of mine, up close and at a distance.
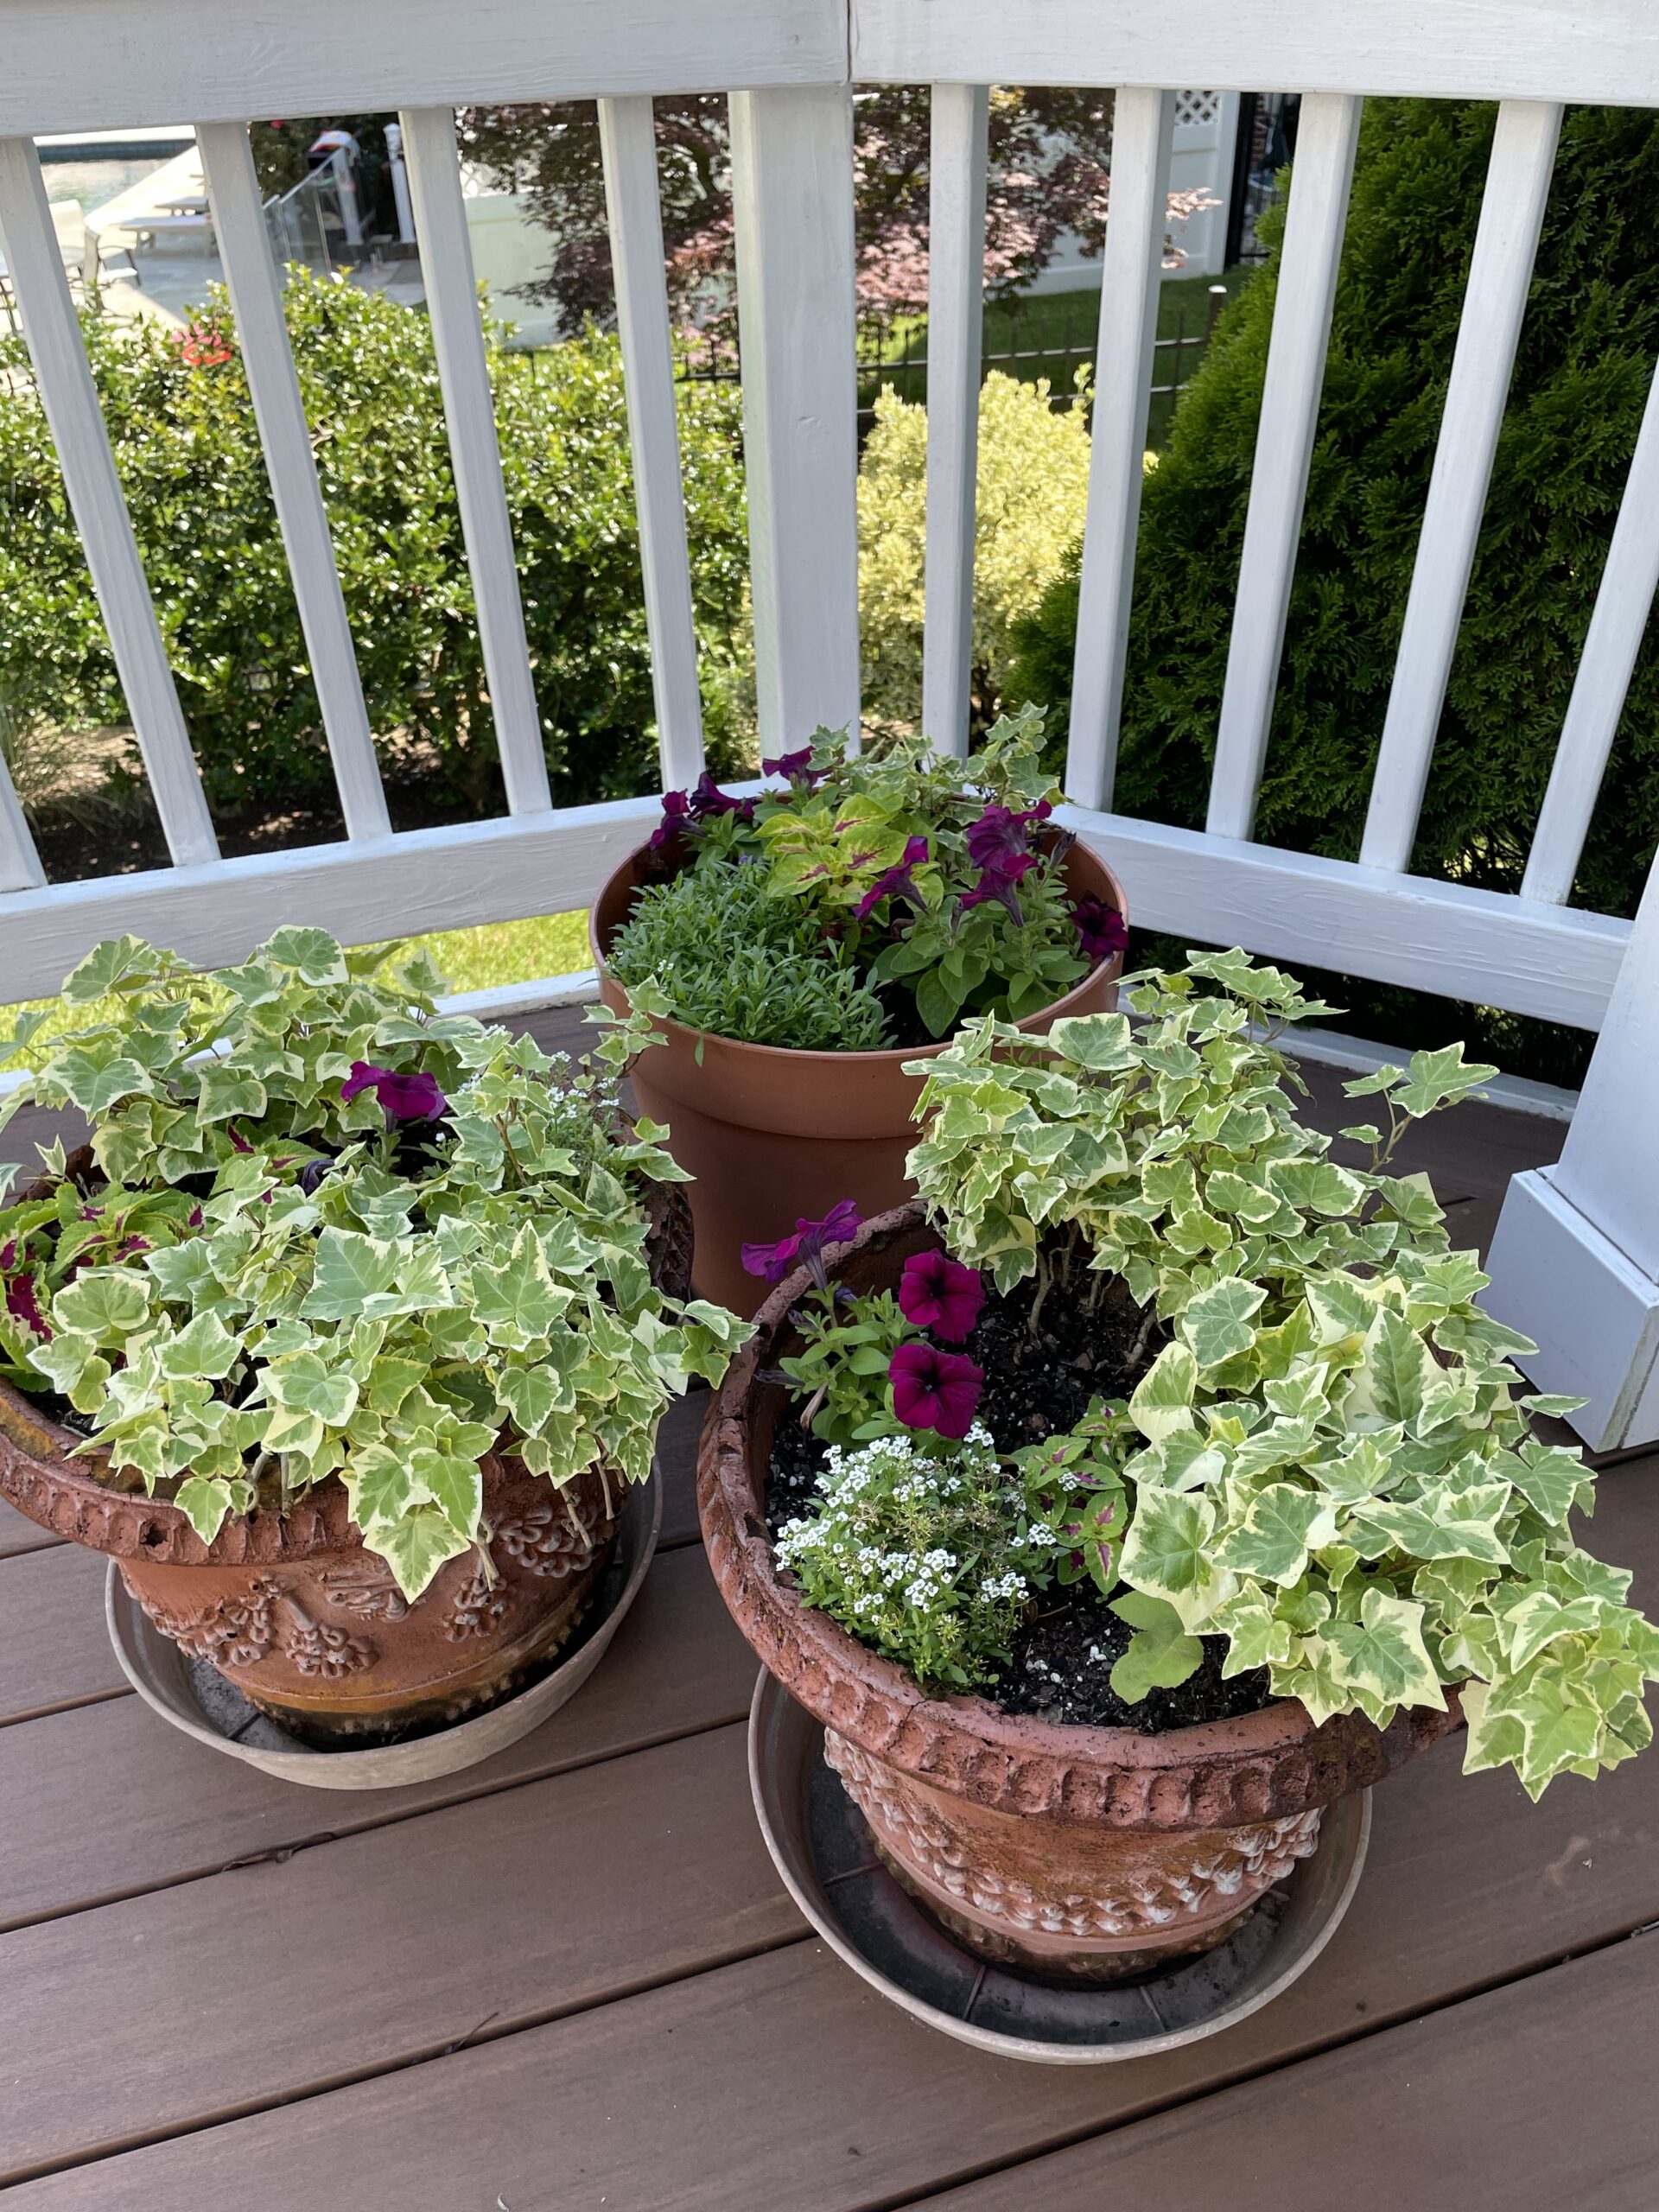
Tip #5. Vick’s Vapo Rub to keep squirrels away — Yes! I have tried everything imaginable to keep these cute but aggressive critters from ruining my flower pots, and nothing had worked. I read on an internet site that smearing the outside edge of the pots with Vick’s works. Since I had tried so many things, I was skeptical, but much to my surprise it’s working! I put a lot of it on the edge and down the side a bit. It does stink, so set the pots a few feet away from chairs, but it works! It also has stopped slugs and even ants from invading, so I’m calling this one a win! Now my flowers are starting to grow back and fill in. Yay!
Well that’s it for now, and I’ll try not to be away so long in the future. Happy Gardening everyone!