Archive for Curb Appeal

Small Edits for a Big Impact

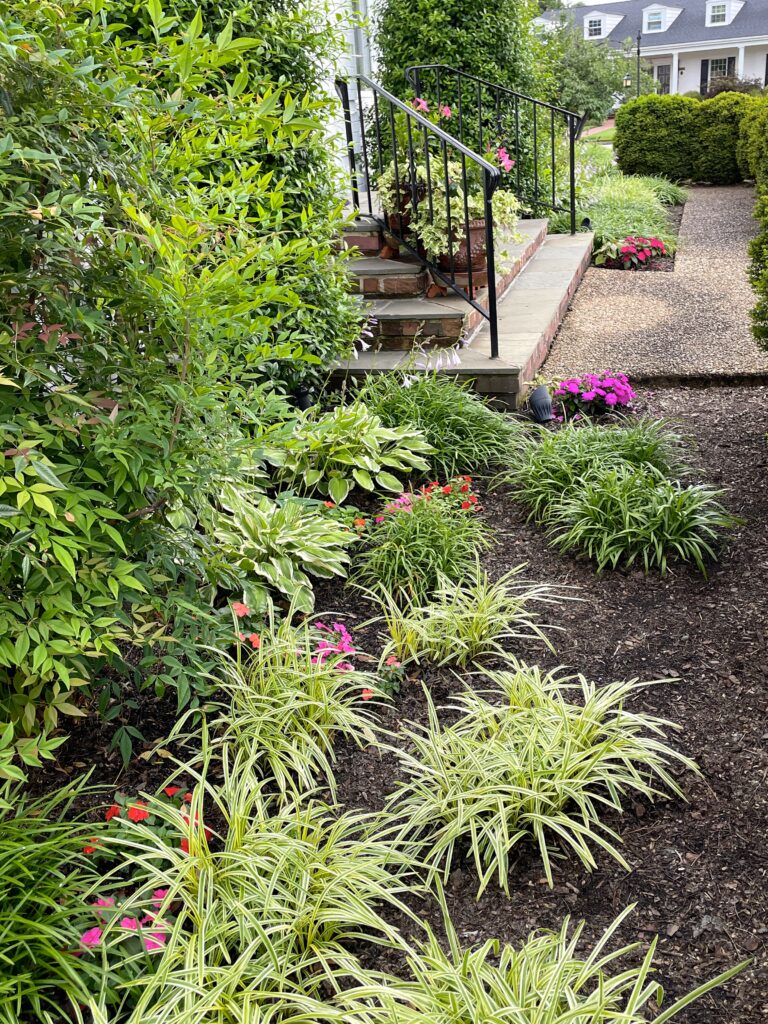
Hello, my gardening friends! It is June already, and I’m sorry to have been out of touch for so long. Life has a way of doing that here and there. Today I’d like to share some quick edits I have been working on this spring that have made a big impact on our home’s curb appeal.

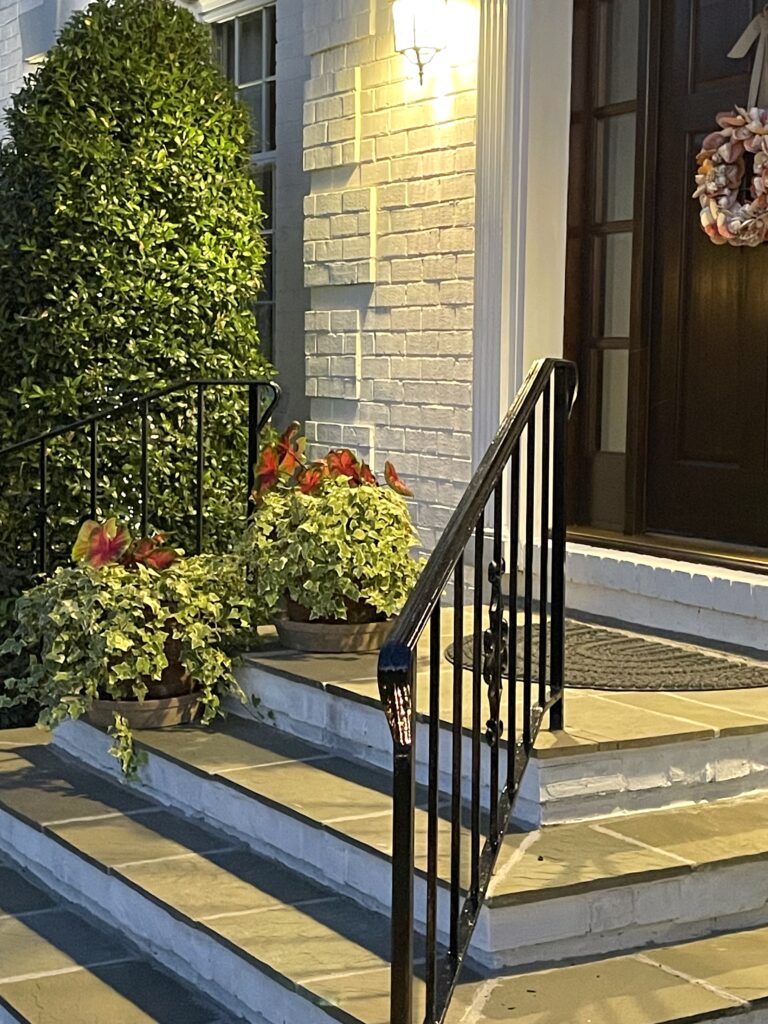
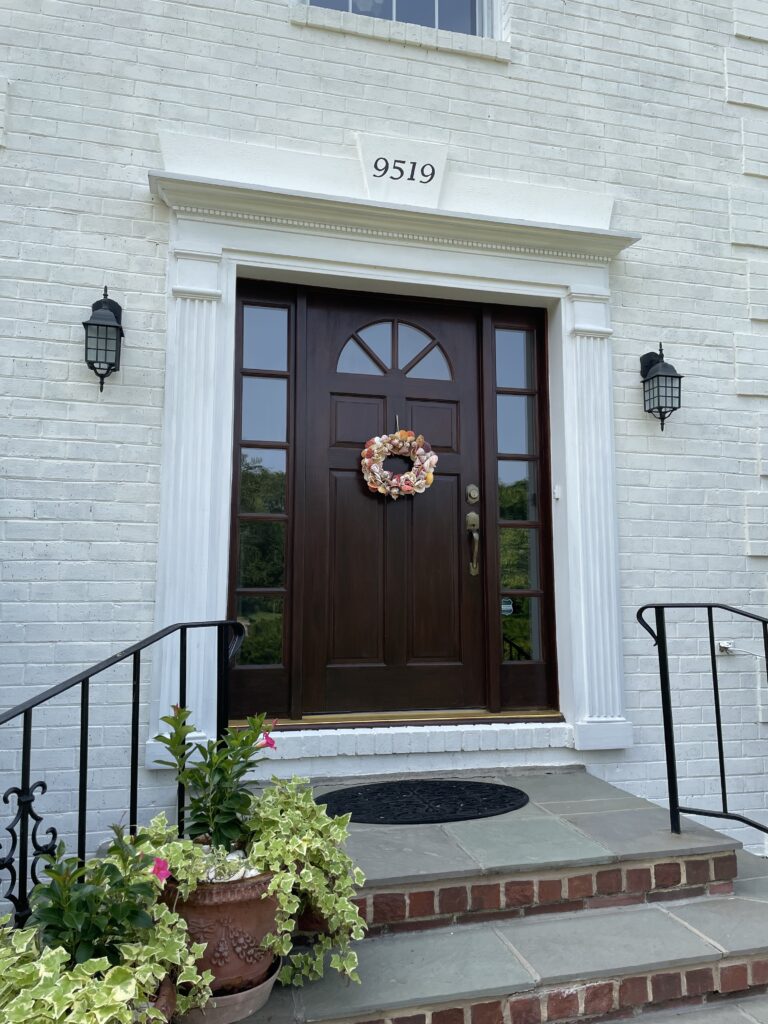
The first thing I did in my line-up of edits was painting the pediments above the windows and front door. Sometimes just highlighting an existing architectural feature of your home can add just the right amount of emphasis. After running out of good weather last year, I was finally able to get to the repairs needed to the bricks and bluestone on the front porch, then followed with lime washing the stair risers on both front porches. Finally, sanding and painting the iron railings added some needed safety and I love how the glossy black railing stand out in front of the white backdrop. These were the finishing steps in the lime washing of the whole house that I started last year. Getting these done brightens up the front entrance immeasurably, and as much as I had fun, it feels great to check the box “done” on this huge project.

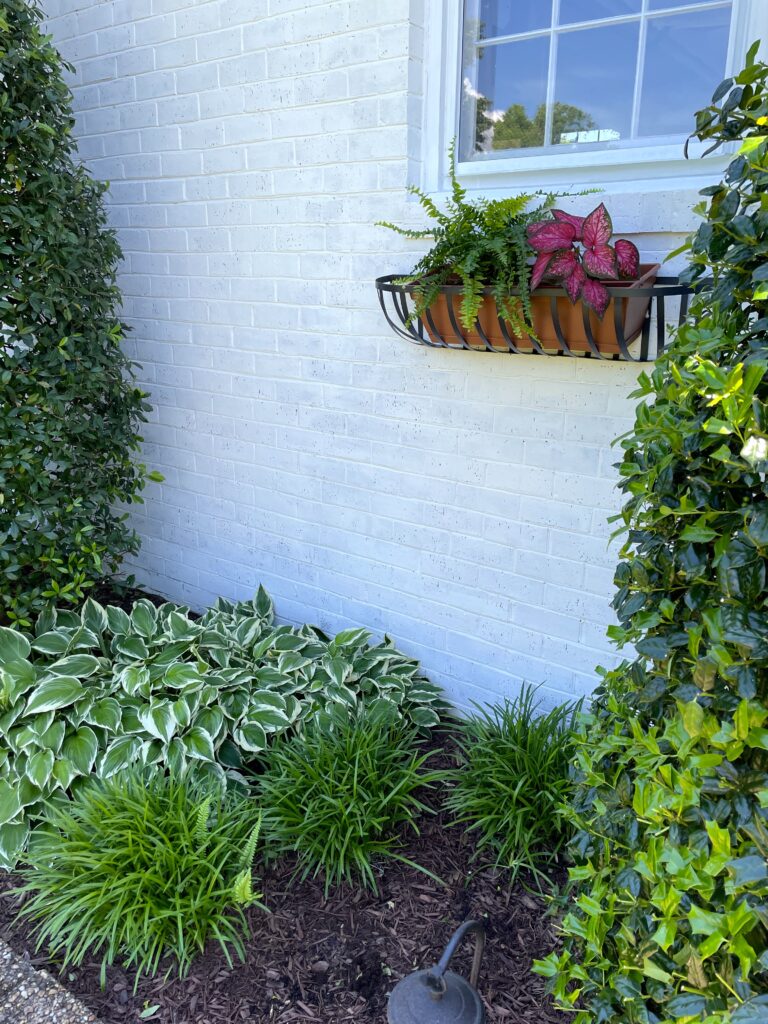
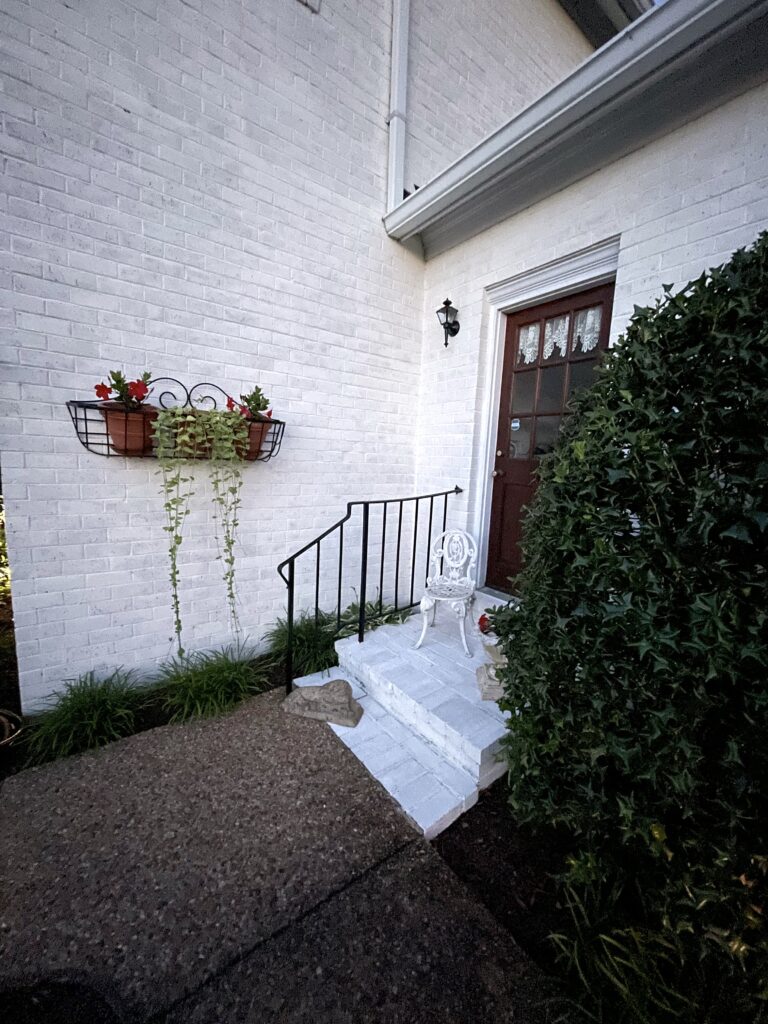
Next up was to add two more window boxes to the front of the house, for a total of four. The two largest ones I’ve had for years — one on the window above the front door and the other at the zig zag of the front walk. I added the two new ones on the front side of the garage. (They were given to me by my sweet daughter of choice! That makes them even more special.) For continuity, I filled each of them with botanicals and flowers in the same color combinations. There are more in pots on each of the front porches. Adding a bright splash of color is one of the quickest and best ways to amp up curb appeal!

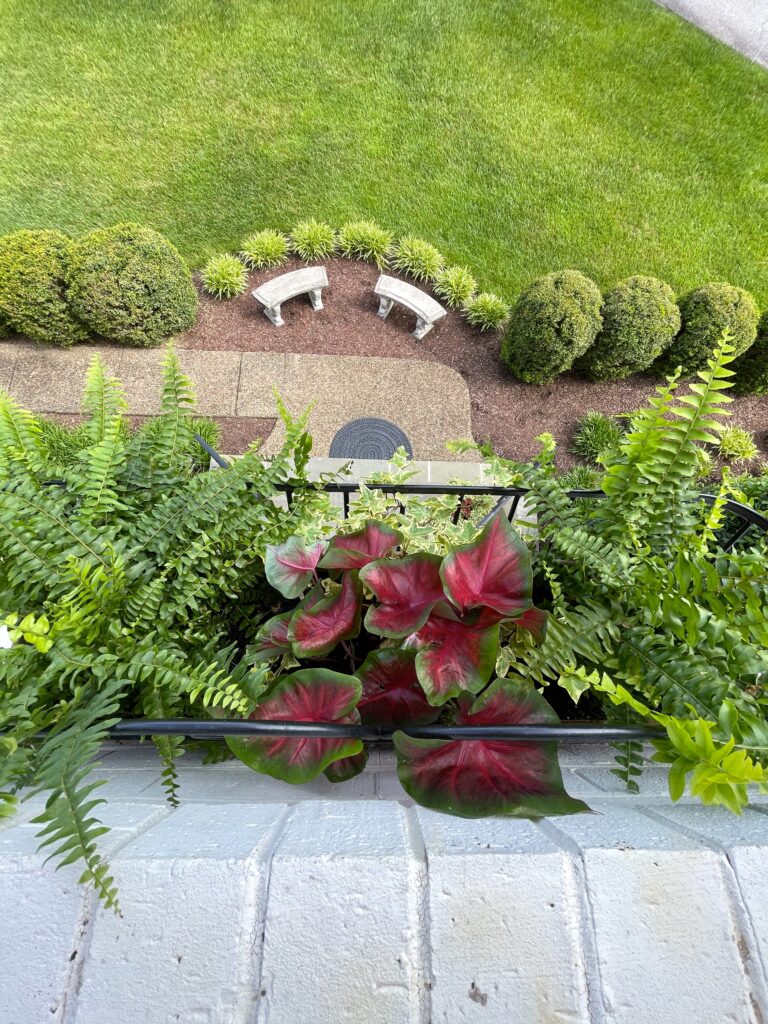
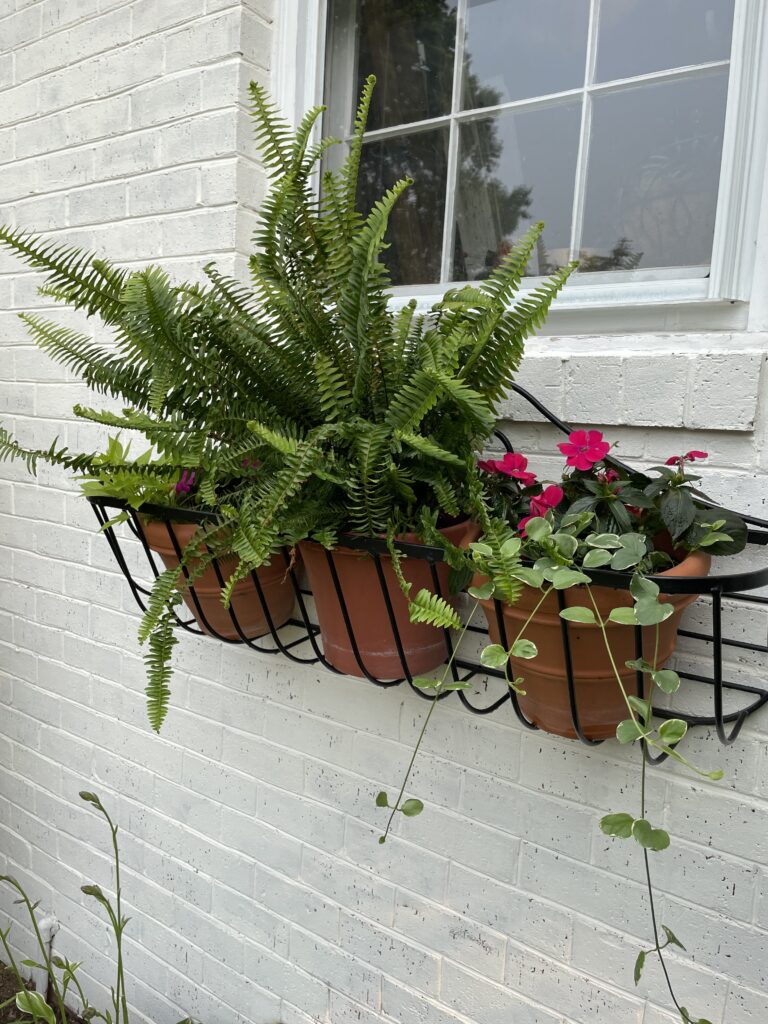
Here’s a bird’s eye view of the window box above the front door. I filled it with Boston fern, caladium, and variegated ivy.

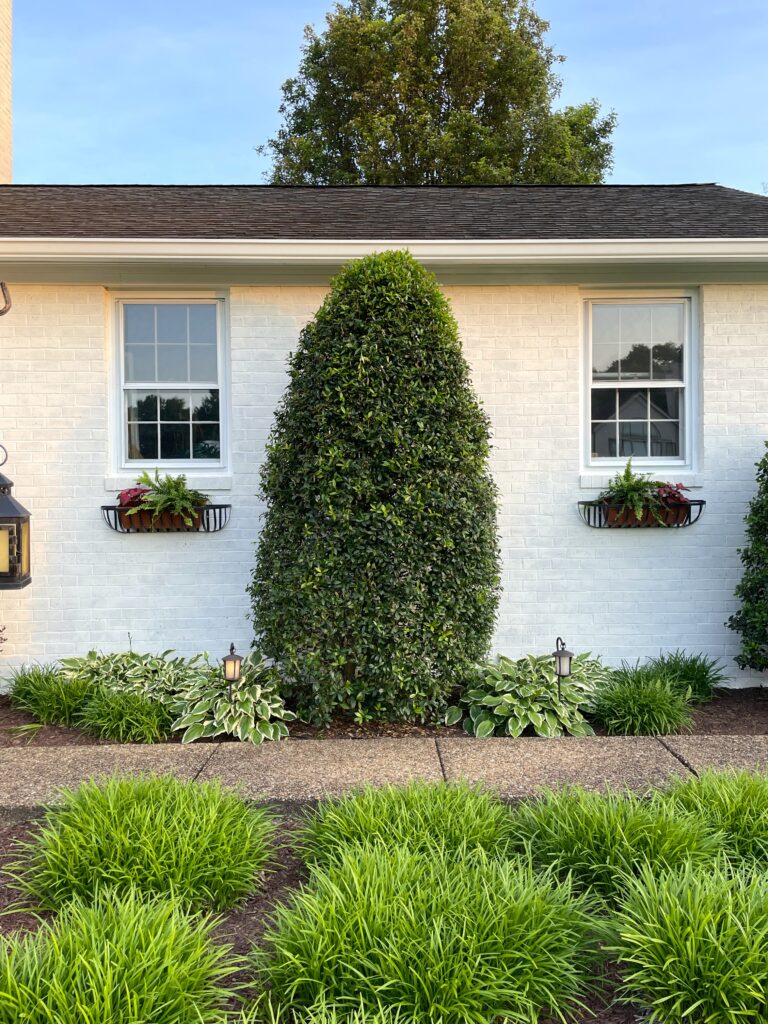
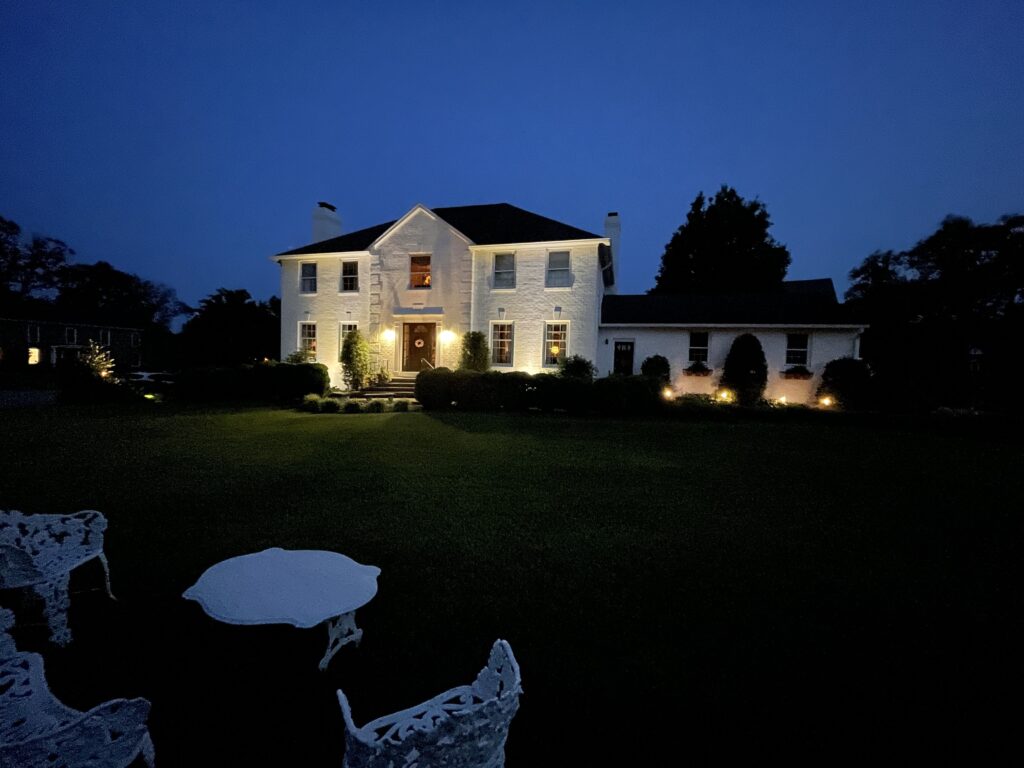
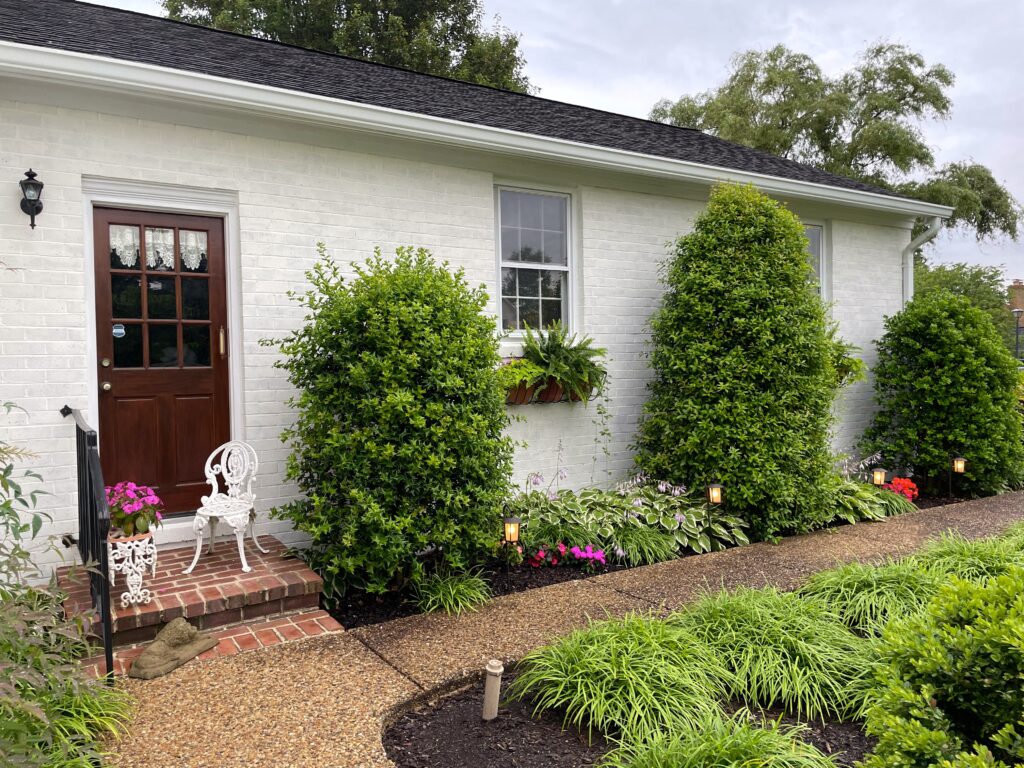
The two window boxes on both sides of the garage were each filled with a Boston fern, and caladium. Here’s a photo from further back, so you can see the effect.

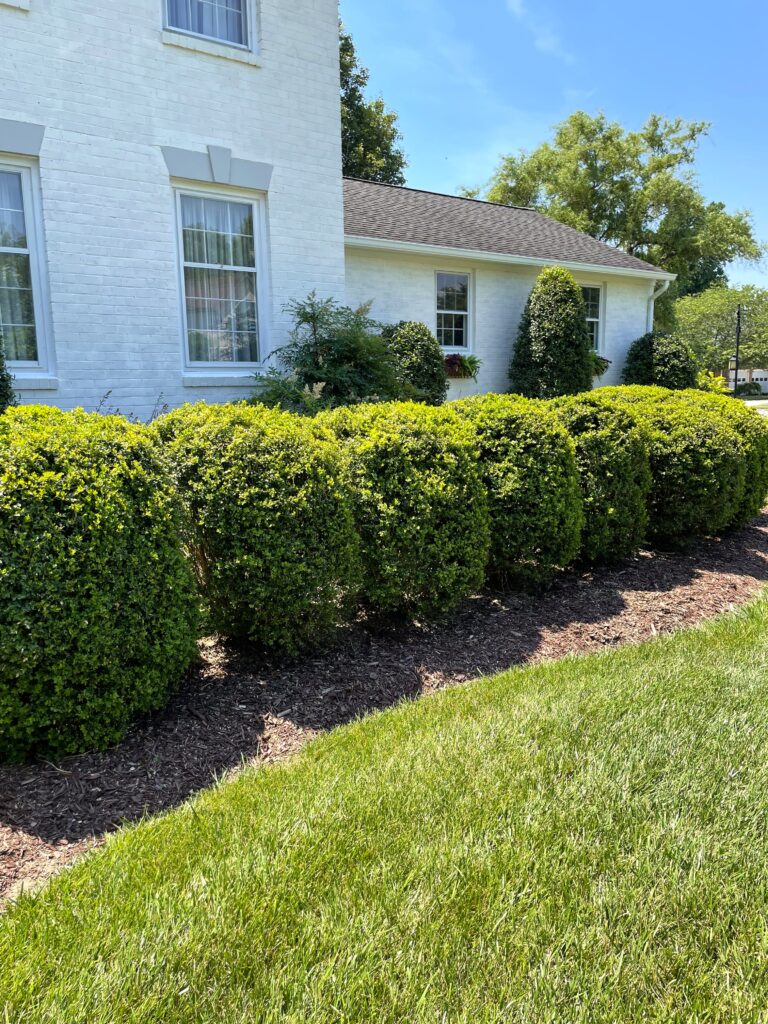
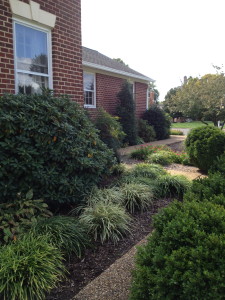
Also this year, I spent a week shaping the boxwoods and hollies. It makes a huge difference in the curb appeal to finally give the boxwoods a uniform height and symmetry! They had damage from snow and burn from chemicals (overspray from a roof cleaning) a few years back, both of which took a while to fill back out to a point where they could be shaped again. It’s a long process to get them uniform, but just take your time, and stand back every few minutes to check your work. It is gratifying to see them all uniform again, after seeing them looking sort of like lumpy blobs as they grew out the damage. And while at it, putting a nice edging on the gardens seals the deal.

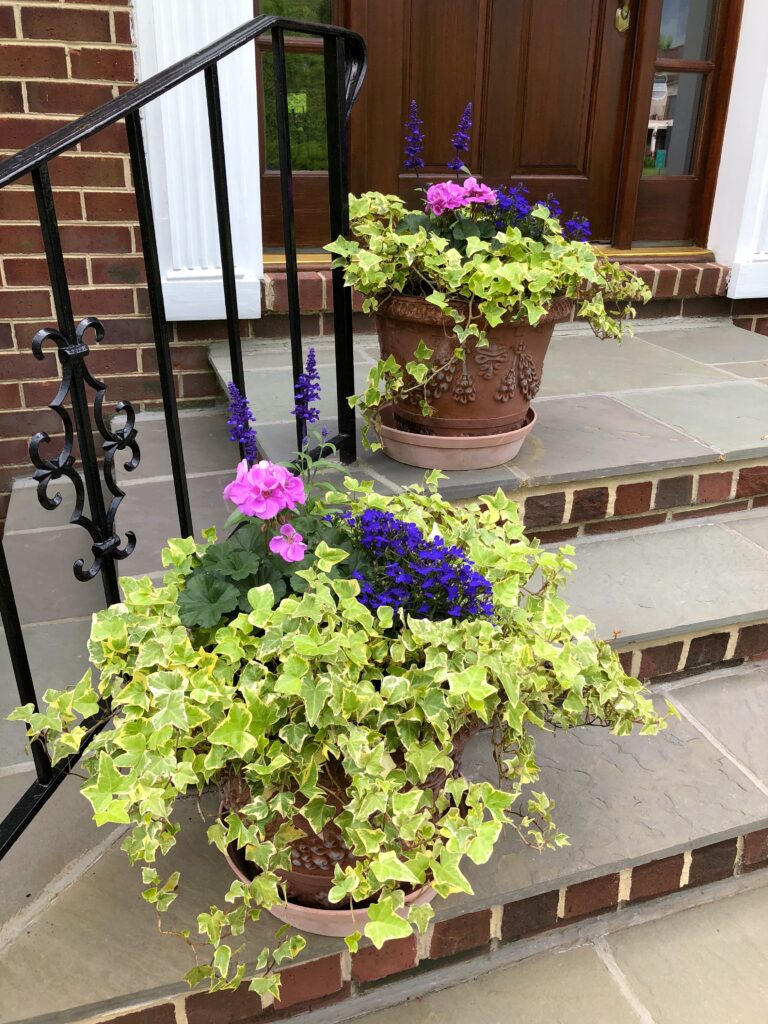
Above is a close up of the big pots on the front porch. Each were filled with caladium and variegated ivy. You might remember these pots from the last several years. I leave the ivy in them and swap out the flowers in the center each season. This ivy has been with me for at least 20 years or so, it creates the perfect “spiller” in a planter, and it’s easy to divide and transplant if it gets too large.

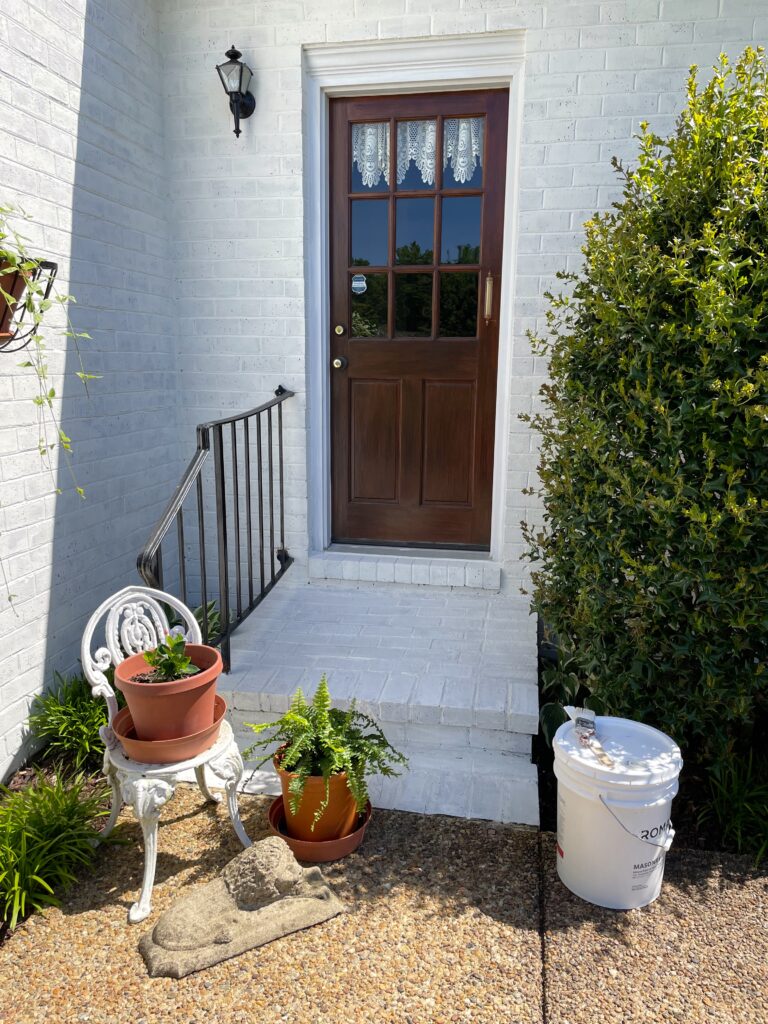
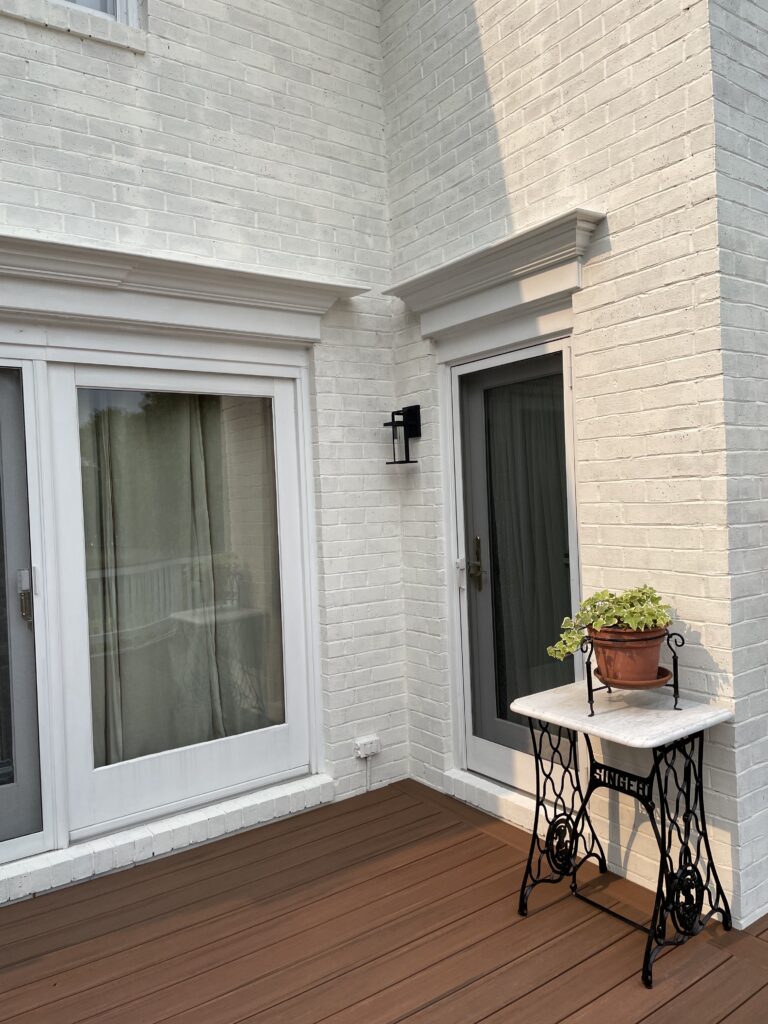
This window box at the zig zag of the front walk and mud room porch has coordinating flowers and trailing vines of mandevilla and vinca. Below is a better shot of the mud room porch. I know I say this a lot but, it’s amazing what a difference paint can make!

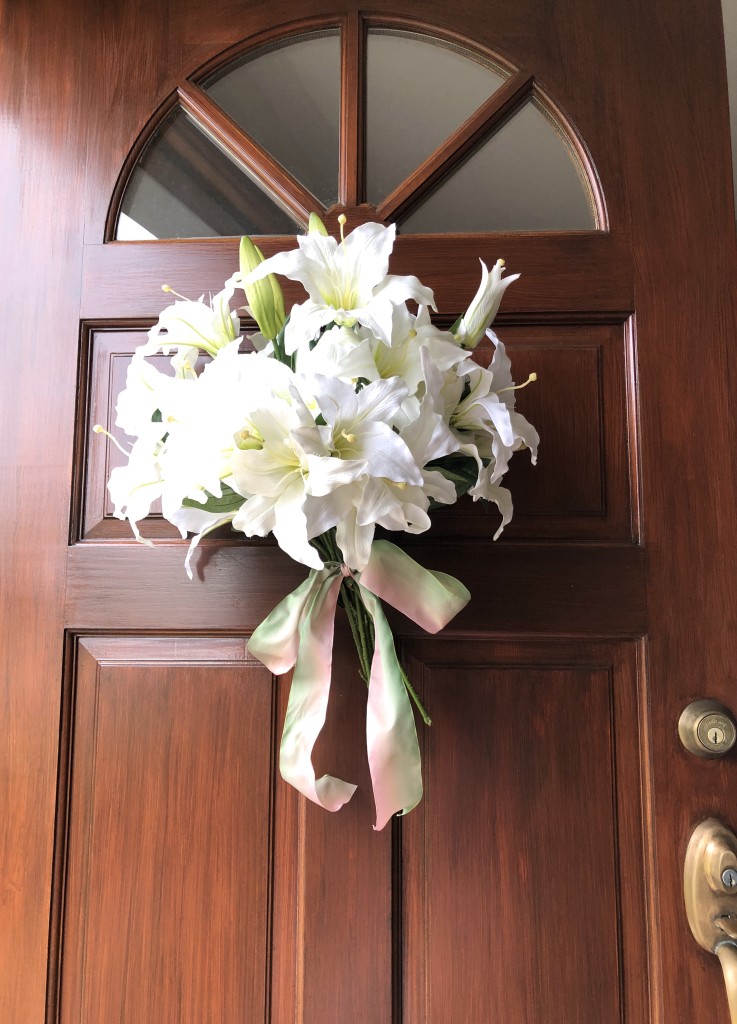
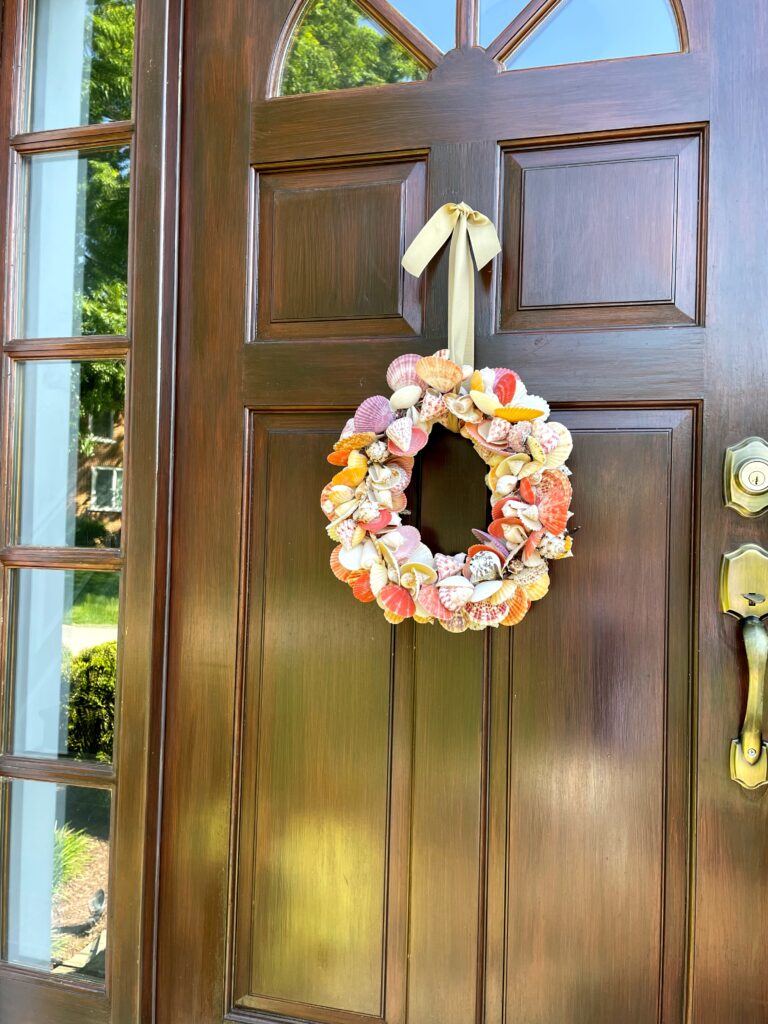
Another quick edit was changing out the wreath on the front door to a summer wreath. Adding a wreath is like adding jewelry. It’s an accessory that can showcase what your interests are. I love this shell wreath. OK — I love anything with shells, LOL!

I hope this leaves you with ideas you might incorporate at your own home. Some time invested a little bit here and a little bit there, and you will have it done! And as always, Happy Gardening!
A House Refresh with Historic Roots

Hello everyone! I have some big changes to show you. After 23 years of living here, we decided that now was the time to do a house refresh. I have been wanting to lime wash the house for years, and my wish finally came true. The house is all brick. It was a very dark reddish brown, and the north-facing side never really was bright enough to show off the plants that surrounded it. Well, now that’s history! Come take a tour of our finished new look —

Our fresh new appearance, with lime wash.

We chose to use a great product from Romabio Paints. Their formula is totally organic, mineral based, and the origins of lime wash go back several thousand years. It stands the test of time and mellows with each passing year in a natural way. The color we chose is Avorio White, which I love because as the hours of the day pass, the color shifts to take on the colors of the setting sun. And after dark, it truly glows.

After dark the new lime wash glows.

Another exciting aspect for me is I now have a light backdrop that shows off the garden. I can use the bright tropical colors of summer in flowers. I’ve filled the garden with magenta, coral, red and purple flowers. It’s so much fun! I’m already planning what colors to use in the autumn, and I am so looking forward to seeing how the house will look decorated for Christmas.

Using tropical colors in the flowers outside really pop with the new light color of the bricks.

The window boxes got more of the same with lots of tropical foliage and flowers!

This is the front of the garage — now the flower colors really show up, and even the doors do, too.

Here’s an in-process photo to see the red brick next to the lime wash. I am really happy how easy this was to apply, and the soft appearance it gives.

We hired a wonderful company — Brushes with Flair — to paint the top floor and very tall chimneys, while I painted the lower floors. The entire job took a couple of weeks to complete. The bricks are painted one at a time, carefully working the paint into all the mortar joints first, so the coverage is a very protective but breathable finish. It was time consuming, but well worth the effort. I chose not to wash it off for instant aging, but to rather let nature age it.

I also enlarged the stenciled numbers above the door to make it easier to read from the street.

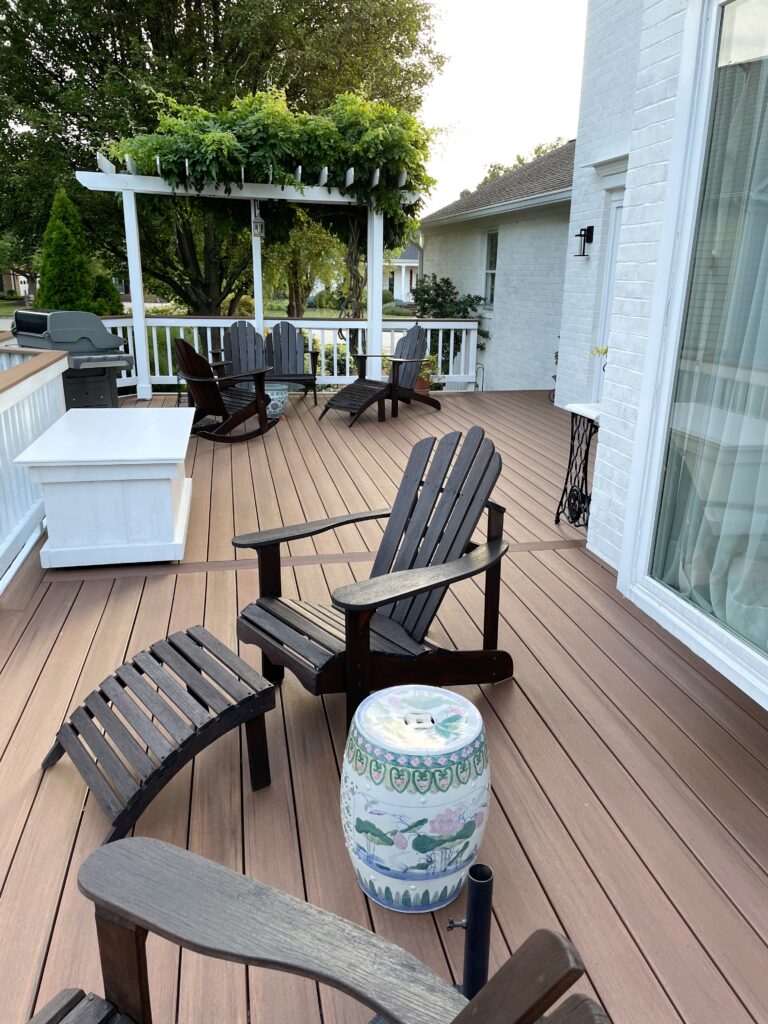
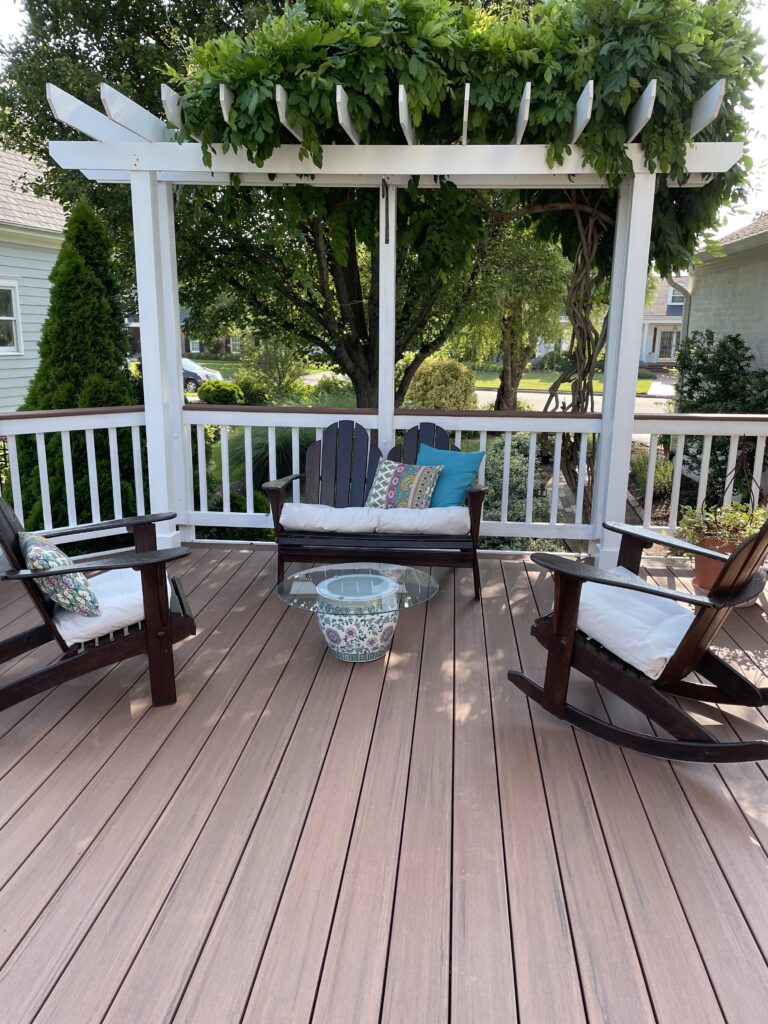
New upgraded decking in a PVC which looks like mahogany.

While were were at it, we also needed to deal with our deck. Until now, the deck was pressure treated wood, which I sealed each year. In the days of old, a new pressure treated deck would last a couple of decades. Although the deck here was only 13 years old, we had to replace many boards over the years due to rot, and we finally gave up on it. We chose a new product from Timbertech that is made from PVC and is warranted to last 50 years. I guess time will tell, but we are grateful not to get splinters like we had from the old decking. The joists were also replaced, and all new bracing for hurricanes underneath, so now we are good for a while! Updating the rails, which looked a bit dated before, made a big difference, and the new LED lights are our new favorites.

We love the new LED lighting. They are much more energy efficient, and we don’t ever have to replace a bulb again!

We are looking forward to enjoying the deck now, if only the heatwave would subside. At least we can look forward to doing so in the fall!

Hope you enjoyed the tour! Wishing everyone a happy and safe summer. Until next time!

My Favorite Picks – 2019’s Best Hardy Plants

What a crazy year this has been! Extremes of all kinds, but through it all there were some clear winners. In this year’s picks I want to talk about some of the hardiest plants in the garden.

Boxwoods have gotten some bad press of late, due to the blight that has been going around, but by following some simple, clean gardening practices, they are one of the best and most beautiful of all the plants in my garden.

I’m going to start with one of my all time favorites, the boxwood. The boxwoods in the photo above are about 45-50 years old and are the true stars of the garden. I prune them in early December each year and use the trimmings for Christmas decorating. Beyond that annual pruning, I hardly need to do anything to them. They have weathered every kind of extreme in their lives and continue to look amazing!

For several years, there has been a disease affecting boxwood plants called boxwood blight. The boxwood blight is passed by using infected tools. Just by cleaning your tools thoroughly before pruning or trimming, you will protect the plants from getting the disease. I clean my pruners with rubbing alcohol prior to using them. Another tip would be to have a pair of pruners dedicated strictly for use on these beauties, but I would still recommend swabbing them between cuts with alcohol to be ultra safe.

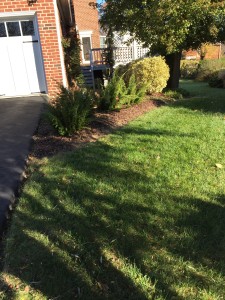
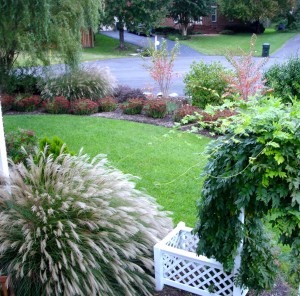
Here’s another surprise entry in this year’s top plants — grass. In the early season, when this photo was taken, we had just gone through the wettest spring ever! Everything was green beyond measure, and then by the end of June, we entered a severe drought. For four months we didn’t really have any measurable rain. I did not water, except for the trees, and let the grass go dormant all through the summer months. It turned completely brown, and the dirt was like dust. I was truly worried that I’d taken the no–watering thing too far. In September, I started watering, although we were still having 95-100 degree days and no rain, my hopes were to at least save the roots. Nothing greened up at all. Then finally as October started, we had 5 beautiful soft rains, and like a miracle, the grass came back into health again, like nothing ever happened!

Which brings me to the point of this story: there’s nothing like real rain! What comes out of a sprinkler just doesn’t compare. When you water in the triple digit heat of the summer, it encourages weeds. Grass doesn’t grow in extreme heat. I will stand by allowing the grass to go dormant in that kind of condition. It’s much kinder to the roots, than to stress grass into trying to grow — which can kill it. Another giant help to the health of this year’s grass was dethatching the lawn and applying a root stimulating turf builder last fall, which gave us a thicker and virtually weed free yard this year. I highly recommend working your way around your yard using a dethatching rake. It’s very hard work, but pays off in a beautiful way, allowing water and nutrients to easily get to the root system.

Here’s the same area again just last week. You would never know how harsh a summer the grass weathered! It’s hard to not water and to watch it go dormant, but it’s the best thing you can do for the health of the root system. Have faith in Mother Nature, she will bring it back in the fall.

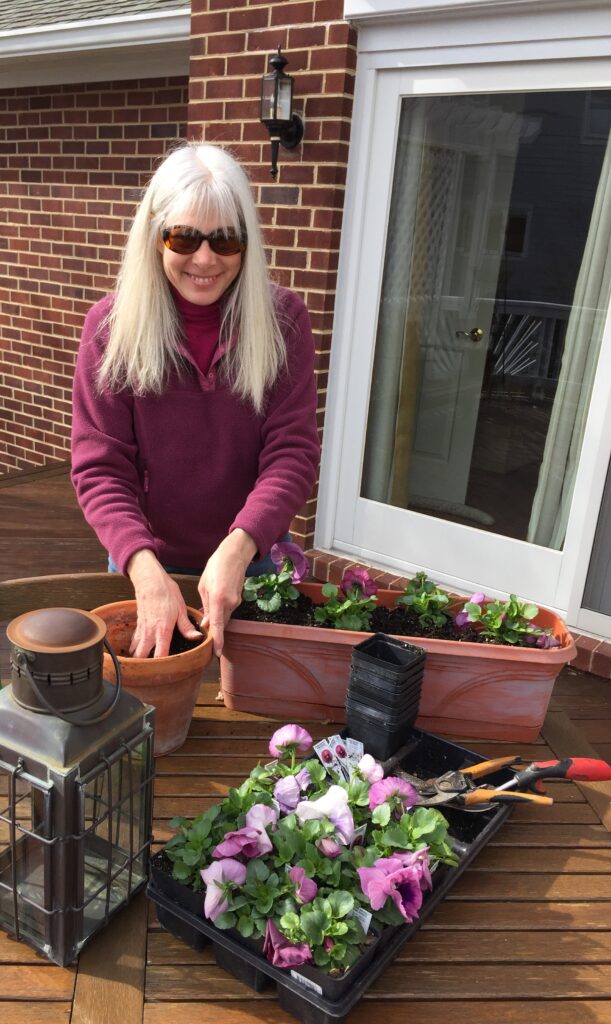
I also want to point out one of my all time tried-and-true flowers: my pansies! After the summer of gorgeous color from the vincas, I wanted to continue with some hardy winter flowers. With any luck they will provide color until the end of April.

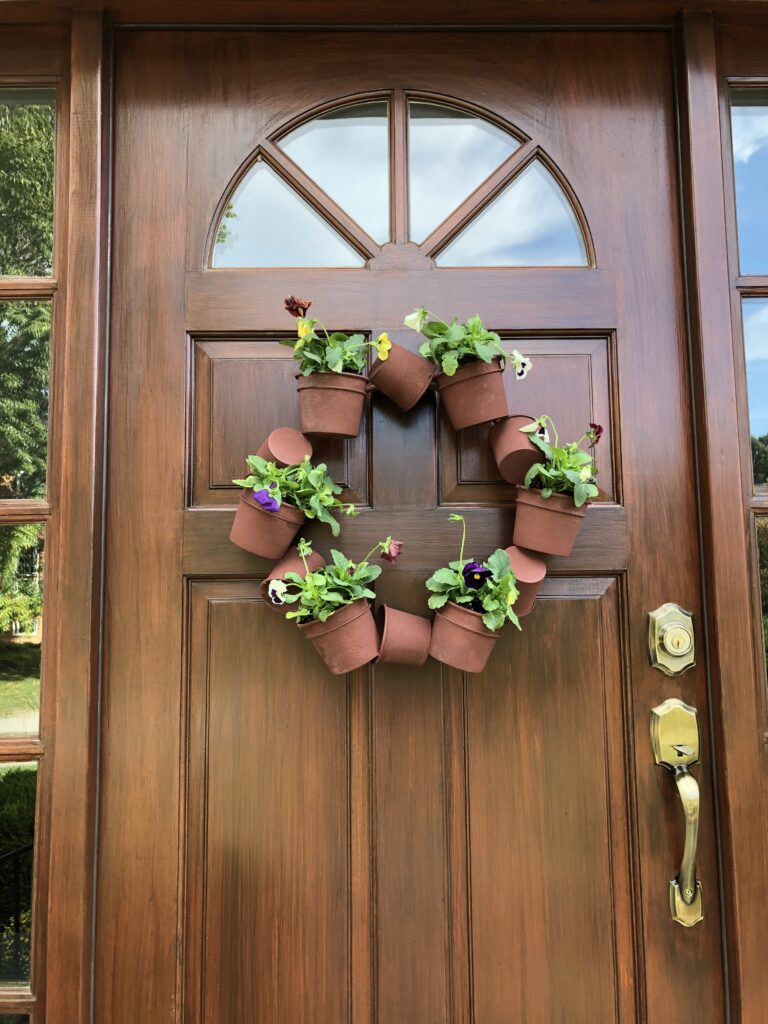
This year the pansies in the ground were joined by the pansies I planted in this wreath that my sister gave me! It really brings the whole Fall theme together! Thank you, Tracy!

The beautiful mums have some competition this year. I was so happy when the weather finally cooled down some, I put in 125 pansies across the front. A fresh start to celebrate the season. And gives the frontage some great fall curb appeal. I was thinking ahead to Christmas when I chose the colors — gold, burgundy red, purple, and white — to complement the traditional fruit wreath I’ll be hanging in December.

I know I’ve given props to the knock out roses in the past, but they were really beautiful again this year. We had a swarm of June bugs that came in with the 100 degree heat in the summer, and they did interfere a bit, but I use a granular three in one formula that kept their dirty work to a minimum. It fertilizes, prevents diseases, and for the most part deters bugs- Bio Advanced- worth a try next year, if you have these issues. (I am not paid to endorse, but this is really great stuff in my opinion.)
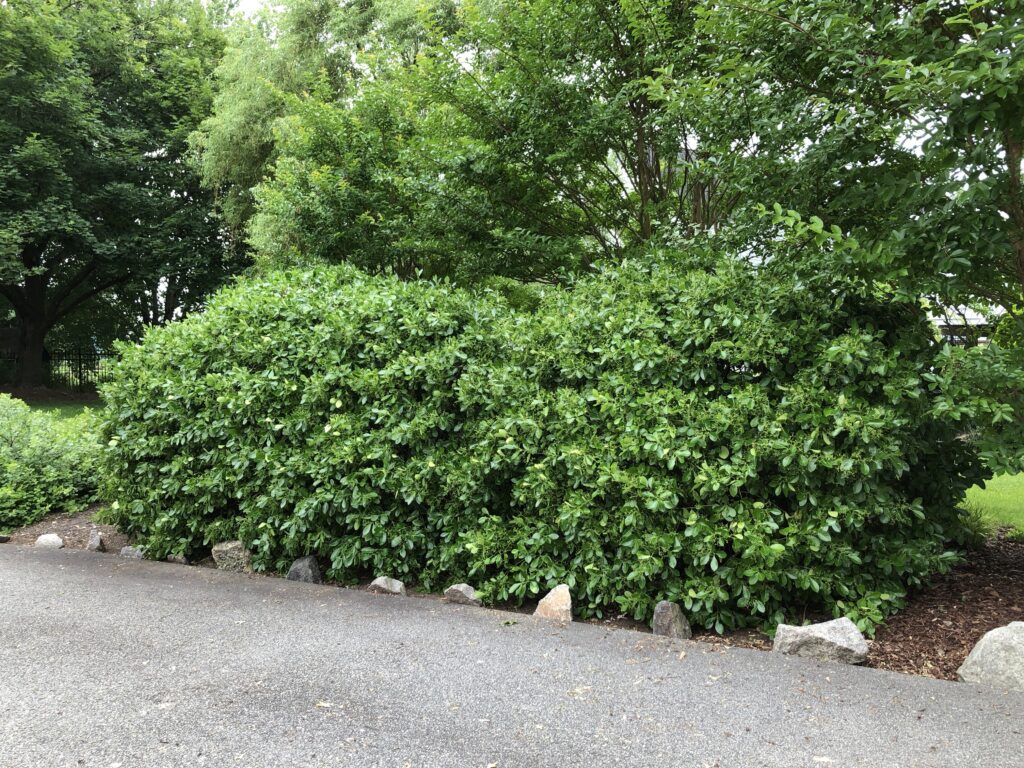
Another stunner this year were these emerald euonymus. They are incredibly easy to grow and maintain, really no special treatment other than to shape them after the spring growth. This is only two plants! They provide privacy to our back yard from the cul du sac and make a gorgeous living fence, don’t you think? They are beautiful year round, too, and are a favorite nesting place for our flock of cardinals and bluejays.

Before I say good night, I hope that next year’s growing season is not as harsh as this one has been, but just in case it is, here’s hoping that we can all adjust to our changing climate by seeking out the most hardy plants. Let me know what changes you are planning; I’d love to hear!

Happy Fall, everyone!

A New Start to 2019

Hello my gardening friends! I have some big news. I am now being hosted by a new company after having way too many technical difficulties with my previous host. I will open comments and questions again and improve this blog with many new ideas. I hope it will be more helpful and encouraging to my readers. So please leave a comment, I’d love to hear from you. (The first time you leave a comment it will go into moderation to make sure you’re not spam, but after that it’s an open forum.) I’d love it if you want to share my posts as well — the more people in discussion, the more tips and ideas! As always, I’ll be here at LisaEarthGirl.com and for those on Facebook at LisaEarthGirl.

As some of you already know, since my mishap last November, falling from a ladder while working on a tree, breaking my ankle and a rib, I had a bit of a slow start to this year. I was very lucky that I didn’t get hurt worse. (Coincidentally it happened on the same day and hour as our esteemed Justice R.B.G. had a mishap and broke her ribs.) I am back physically, thank goodness, and learned to be extra careful on ladders on windy days! I also would like to warn against leaning a ladder on branches that can sway in the wind! Safety first. Best tip I can give!

Learning a lesson the hard way to be more careful on ladders

The cycle of renewal has happened in a big way here. With all the rain that we had over the last year and a half, the garden is lush with new growth. Everything has sprouted with beautiful, fresh new leaves and lots of flowers everywhere. Many trees and bushes bloomed way out of their normal sequence — some early and some late — but it has been a gorgeous month and a half here in the mid-Atlantic. Vibrant colors everywhere!

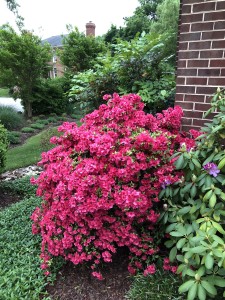
Here’s a tip for one of America’s favorite plants, the flowering Azalea: When pruning and feeding, wait until after blooming, but finish before the 4th of July. This gives the plant time to set new buds and new growth before the frosts and freezes of the next winter.

The vivid new growth this spring is everywhere!

Last week I took a field trip with a friend to one of our local State Parks — Green Spring Gardens. We discovered many gardening ideas, and plants that were in full bloom a full month earlier than their usual bloom time! It was a refreshing way to spend the day, and fun to see school children so interested by what they were seeing. Fun for all ages, really! Why not pack a picnic and enjoy a hike at your local park someday soon?

A beautiful day at Green Spring Garden State Park. What a wonderful place to visit, perfect for all ages!

My biggest gardening concern so far this year is for some of my favorite mature bushes and trees to overcome the amount of rain from last year: the pink honeysuckle bush, the stellar cherry blossom tree, cardinal hollies, and the aristocrat pear. Last year’s losses were two prized cyprus bushes that drowned along the fence border garden. The change in climate and a neighbor’s poor drainage have proven deadly. The challenge continues with attempts to combat the excess water. I’ll keep you posted with some remedies to help keep the excess water away.


I always like to echo the colors I already have in the garden in my flower pots by the entrance. This year’s choices are blue salvia, lavander geraniums, and purple lobelia surrounded by variegated ivy. These all do very well in this area.

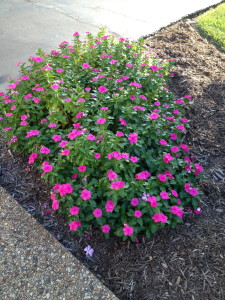
I’m back in my own garden now, preparing for the season ahead. I’ve almost finished with the mulching, weeding, and trimming back perennials. The grass has turned green again, and that alone makes a great backdrop for everything else. To celebrate the beautiful weather, I planted my annual flowers last week in flower pots and areas that are protected close to the house. In past years we have still had the odd late frost, but this year the long range forecast is showing we are much warmer. I used some of my favorites that do well in my micro climate on the banks of the Potomac — vinca, impatiens, salvia, lobelia and geraniums.

I’d like to start up a new segment on each blog from now on on plant I.D.- I’ll start with one that stumped me for years. I’ll encourage others to join in with plants from your garden.

Just for fun — here’s a plant I.D.- I used to call this the “Mystery Bush”, it looks very similar to many other plants, (wigelia and choke cherry had been previous guesses) but I’ve finally identified it as a pink honeysuckle bush. It started life as a volunteer in a friend’s yard, and she gave me a cutting. It has gorgeous flowers, which then turn to bright red berries, and in the fall gorgeous colored leaves — a true plant for all seasons! It has grown into a beautiful, mature 7 foot tall bush, with an 8 foot diameter. With too much water and rainfall last year, I’m fighting to not lose it this season.

It’s good to finally be back, and I hope that everyone is out and enjoying their corner of the world. Happy Gardening!

Front Garden Renovation – Adding Curb Appeal

Here is my "before" photo of the front entrance garden. I am looking to fill in the area between boxwoods, and soften the edge of the garden.

Here is the “before” photo of the front entrance garden. I want to fill in the area between the boxwoods with a seating area that will soften the straight edge of the walkway by adding curves.


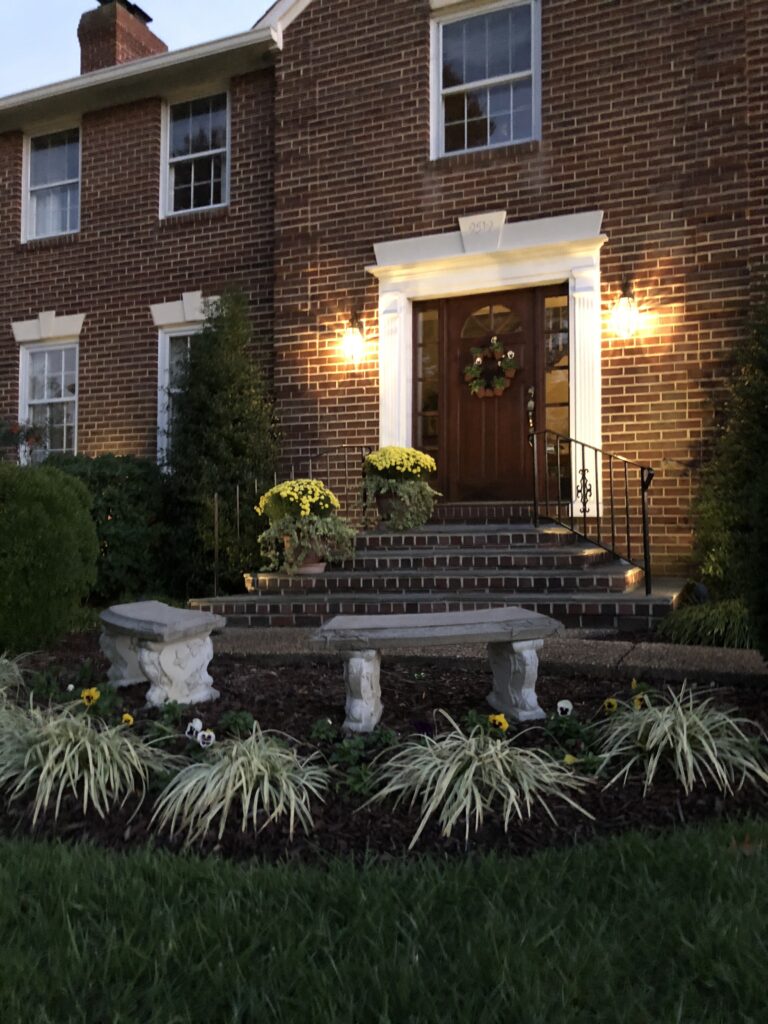
Long ago, when I first designed the front yard of our house, I left a 15 foot wide gap between the boxwood bushes that wrap the front of the house. This was supposed to be very temporary. My intent was to change the path of the front walkway and bring it up the middle of the lawn instead of from the driveway on the side. Well, as years slipped by, I have had much more pressing projects. The front pathway took a back seat, but it’s time to get started with a new plan. I’ve changed my mind on moving the location of the walkway for now, but I still want to soften up the existing straight line of the boxwood garden. To improve curb appeal, I added some seating and space for seasonal color by the front entrance.  I’ll show you how I went about it, step by step.


Then for the hard part-- cutting the edge with a scallop edger, and turning all the turf over with a rounded shovel. I prefer this to a cultivator, because you have far less grass growing back up, almost none!

First, I laid out a long rope to define where I wanted to expand the edge of the garden bed and marked the new edge with landscape paint. Then, the hard part — cutting the edge with a scallop edger, and turning all the turf over with a rounded shovel. This is back breaking work, but I prefer this to a cultivator — you have far less grass growing back up, almost none! You can see already how the curvy edge softens up the row of boxwoods.


Here's another angle from the side that shows the new edge.

Here’s another angle from the side that shows the new edge. Once it had rested for a few days, I broke up the shovelfuls of turf to smooth it out. Over time the turned grass will degrade, providing nutrients for the new garden area.


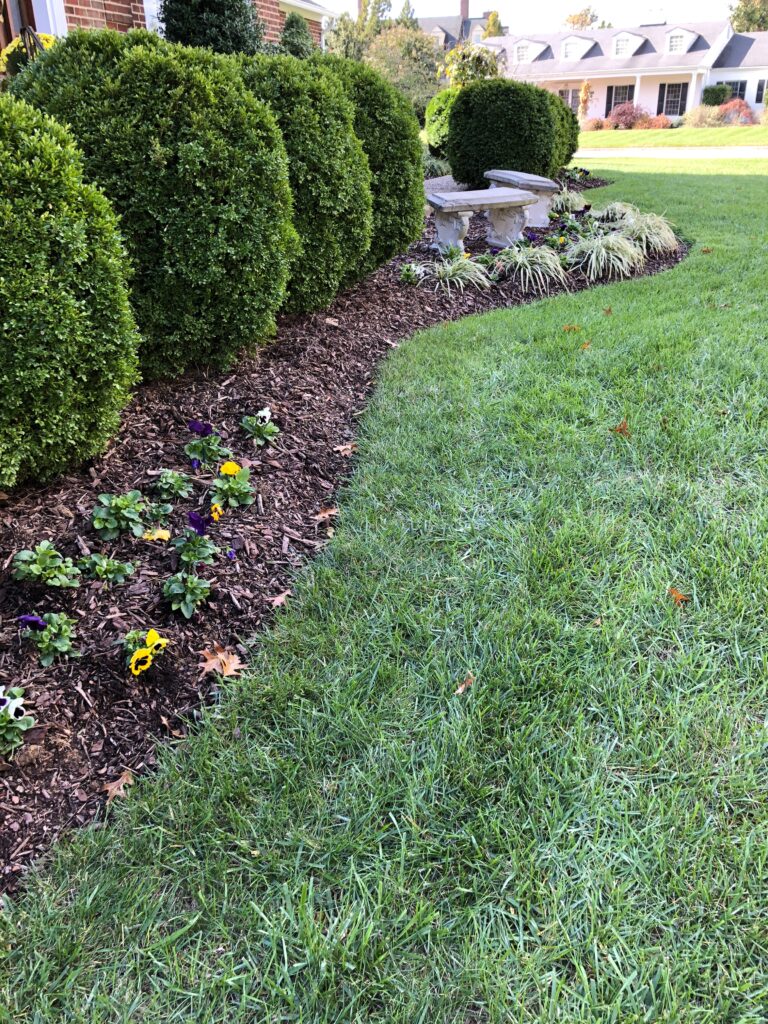
I added some stone benches that we already had, transplanted some pachasandra and some annuals, and finished it out with a nice topping of mulch. Over time the pachasandra will fill out and create a nice border. I'm planning to add some flagstone pieces to the front side and fill in with some more pachasandra between the stones, in the fall when the weather is cooler.     I added some stone benches that we already had, transplanted some pachasandra and some annuals, and finished it out with a nice topping of mulch. Over time the pachasandra will fill out and create a nice border. I'm planning to add some flagstone pieces to the front side and fill in with some more pachasandra between the stones, in the fall when the weather is cooler.

Here is the “after” shot: I added stone benches, transplanted  pachysandra and annuals, and finished it out with a nice topping of mulch. You already hardly notice the straight line of the walkway.  I’m planning to add some flagstone pieces to the side bordering the walkway and fill in with more pachysandra between the stones in the fall when the weather is cooler. Until then, I’m happy with the progress, and the more welcoming look!


I’m not quite finished with it, but already I’m much happier with the amped-up curb appeal, and a new place to sit in the garden. I’ll post another photo in the fall when I add some flagstone pieces to transition from the walkway to the benches. I’ll transplant more ground cover to fill it in when the weather cools off. Hope you all have a safe and wonderful 4th of July! Happy gardening!


Spring 2018: I’m back – thank you for waiting!

Welcome Spring!

Welcome Spring!

Hi all! It’s been a looong while since I’ve written a blog, and I have lots of catching up to do and some explaining as well. It seems that this entire last year has been a mess of frustration with construction and neighbors. Every one of the homes on my street has had multiple pieces of huge equipment visit for weeks on end, causing all kinds of mayhem and thoughtless behavior, making it impossible to get a worthy photo for my blog. So thank you all for putting up with my absence for so long. I will do my best to show you what I’ve been up to lately…

I wasn't kidding when I said that there has been HUGE equipment parked all around my property! definitely doesn't make for a pretty photo.

HUGE equipment parked all around my property 7 days a week, all year, definitely doesn’t make for a pretty photo.

And then there were 4 chemical spills by thoughtless neighbors, very illegal.

Thoughtless contractors and neighbors dumped illegal chemicals and detritus. Storm water management officials to the rescue. They explain to the offenders the right way to dispose chemicals, so that they don’t impose a health risk to the environment. Thank you beyond measure!


Even our feral kitty Stomper was greatly upset-

Even feral kitty Stomper was greatly upset…

Since I couldn't work outside, I got of projects completed inside. The flooring on the main level was all refinished, 2 bathrooms re tiled, and kitchen was updated quite a bit. How I missed the garden!

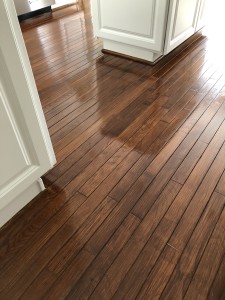
Since I couldn’t work outside, I  completed projects inside. I refinished the flooring on the main level. This is actually a deck finish! The nice thing about it is that it has UV blockers, and very little odor. We also re-tiled two bathrooms and updated the kitchen appliances.

Last fall I worked on repairing some of the damage to what used to be a beautiful view. 17 very large bushes were carefully transplanted by me, and when spring came, I was thrilled to see that they all survived the transplant and are looking healthy.

Last fall I worked on repairing some of the damage to what used to be a beautiful view. I carefully transplanted 17 large bushes, and when spring came I was thrilled to see that they all survived the winter and are looking healthy.

It was also touch and go for the last couple of years with this pyracantha. It had one after another issue- fungus killed half of it, then scale, whitefly, powdery mildew all took a great toll. After radically pruning and treating it with horticultural oil, and then spraying it with  a mixture of milk and water, it is now a picture of health! So glad for small miracles!

It was touch and go for the last couple of years with this pyracantha. It had one issue after another  — fungus killed half of it, then scale, whitefly, and powdery mildew all took a great toll. After radically pruning and treating it with horticultural oil, and then spraying it with a mixture of milk and water, it is now a picture of health! These are all earth friendly remedies. So glad for small miracles!

There were some beautiful moments last week when the sun popped out. The flowers all opened up on the same day! After such a nasty winter, I can even begin to say how much I appreciated it!

There were some beautiful moments last week when the sun popped out. The flowers all opened up on the same day! After such a nasty winter, I can’t begin to say how much I appreciated it! Each morning I add the coffee grounds to the base of a different plant to provide some natural feeding. By the end of the year, I’ve made it all around the garden. The plants love it!

And another couple of beautiful old faithfuls that never disappoint!

And another couple of beautiful old faithfuls that never disappoint!

Growing so fast you can literally watch the new foliage burst open to welcome warmer weather.

Growing so fast you can literally watch the new foliage burst open to welcome warmer weather.

The violas and pansies are having their last hurrah during this needed rain. I'm ready to be back out in the garden and have some more projects underway to show you next time. Here's hoping for some return to civility around this neighborhood, and for some lovely time outside-

The violas and pansies are having their last hurrah during this needed rain. I’m ready to be back out in the garden and already have some more projects underway to show you next time. Here’s hoping for some peace and quiet to return to this neighborhood and for some lovely time outside.


Happy Easter, Happy Gardening!
Wishing all my readers a joyful Spring-

Wishing all my readers a joyful Spring-

Happy Fall-

Wishing all my readers a happy and healthy Fall!

Wishing all my readers a happy and healthy Fall!

Save

Save

Springtime Garden Reveal 2017

IMG_4756

Happy Spring- welcome to the garden!

Hi all! I think I am finally ready to show you some of the garden areas I have been working on since last fall. My goal was to open up the areas that had gotten a bit too crowded and simplify the overall design. While we walk through the yard, I’d like to show some tricks and tips that might help solve similar dilemmas that many of us deal with.

Closeup on the front corner of my yard. A row of juniper does double duty shielding the windows from headlights of vehicles rounding the corner, as well as defining the edge.

Closeup on the front corner of my yard. A row of juniper does double duty shielding the windows from headlights of vehicles rounding the corner, as well as defining the edge of the property.

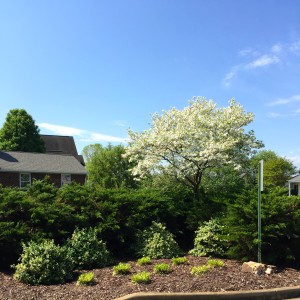
I have never shown a closeup of this garden area on the blog before. It is the front corner of my front yard, where the cul-du-sac meets the street. Here on the corner a low wall of juniper bushes are very strategically placed. As cars round the corner at night into the cul-du-sac, this blocks the headlights, shielding the windows from the bright headlights. All you need is 3 or 4 foot high evergreen bushes in order to protect the house from an oncoming vehicle’s headlights. No one wants to feel like a search light is spraying the inside of your home, and this does the trick! This garden is layered with euonymous and liriope on the street side, and anchored in at the corner with a dogwood tree. We have an up-light that shines at night into the canopy of tree, which right now looks like a cloud of beautiful white blossoms.

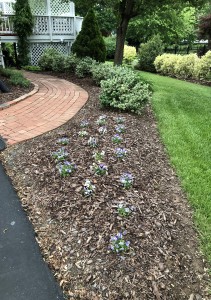
Front walk has been opened up by removal of some larger bushes and layering in lower plant material in foreground.

Front walk has been opened up by removal of some larger bushes and layering in lower plant material in foreground.

Here is the updated front walk. I cleared out some of the jungle of large plants on either side of the Nellie Stevens holly and highlighted it by relocating the hostas to either side in a semi circle to add some visual depth  and light to that side of the walk. The liriope on the lawn side of the walk were all divided and will stay low. They will add some seasonal interest in the late summer with their purple flowers. These carry through the front of the other two garden beds on either side of the front door to create a nice flow from one garden to the next.

Here's the walkway from the other direction. You can see how it has a zig zag (not the best layout) I smoothed out the visual flow by running the liriope through all three of the front garden beds.

Here’s the walkway from the front stoop. The zig zag is not the best layout. I smoothed out the visual flow by running the liriope through all three of the front garden beds.

I inherited the layout of the walkway, but if I were to design it myself, I would have brought this odd zig zag section forward to match up with the rest of the walkway and made the whole walkway 4 to 5 feet wide. It’s always nice to be able to walk side by side with someone on a front walk, and being on the north side of the house, it would have been smarter to bring the walk out of the shadow of the house. If I ever win the lottery this is one of the things on my wish list – LOL!


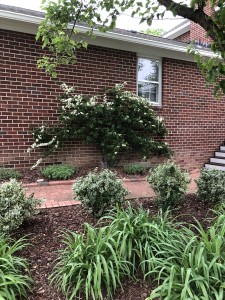
Rounding  the corner the azalea is in full bloom right now, underplanted with a sea periwinkle to move your eye around to what's next.

Rounding the corner the azalea is in full bloom right now, underplanted with a sea ofperiwinkle to move your eye around to what’s next in the side garden.

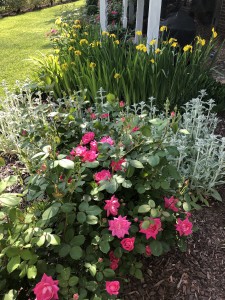
This side of the east garden was opened up a bit removing some of the iris and lambsears and exending a few new waves of color into the existing design. In a couple of weeks this will be teaming in color.

This side of the east garden was opened up a bit removing some of the iris and lamb’s ears and extending a few new waves of color into the existing design. In a couple of weeks this will be teaming in color.

Moving around to the east side of the garden I have done a lot of work. There were many of the older perennials that needed dividing, and some areas requiring removal, like the lamb’s ears which never was happy in that location and the beautiful iris which were overwhelming their area. All is smoothed out, and in a few weeks this area will be teaming with color. I have simplified many of the waves of color on this side, and interspersed some of them with liriope and periwinkle which will provide more year round interest. I also want to suggest to those looking to brighten up an area that placing lighter colors or variegated plants in the dark recesses under trees will draw your eye in and create more dimension. Repeating the plant material, colors and varying the numbers of plants in a group is also helpful to pull your eye through.

One more thing worth mentioning in this region of the country and other drought-prone areas: limit the amount of lawn that is in your yard. For example, in my yard the side and back are fairly hilly, so the lawn is kept to a minimum through there, and treated more like a wide pathway flowing through the yard and the garden beds are much wider. In the front, the yard is flat, so we have kept a larger patch of lawn for activities– perfect for throwing a Frisbee, or a game of croquet. This limits the amount of water, nutrients needed, and even helps with the amount of time you need to spend mowing — bonus!

Moving around into the back garden, I’m really happy to see that all the roses I transplanted are really flourishing in the full sun. This is where I have amped up the flower power, and have sedum, orchids, astilbe, hellebores, ginger, lamb’s ears, yarrow, iris, peonies, lily of the valley and hummingbird vine. Many of these were started from gifts from my gardening friends! The idea was to have something blooming for as much of the year as possible. The only time there is a void is February, and don’t worry, I’m on it. I think I’ll add some crocus bulbs in the fall to make it year round. Will I ever be done? No, but that’s the fun for me!


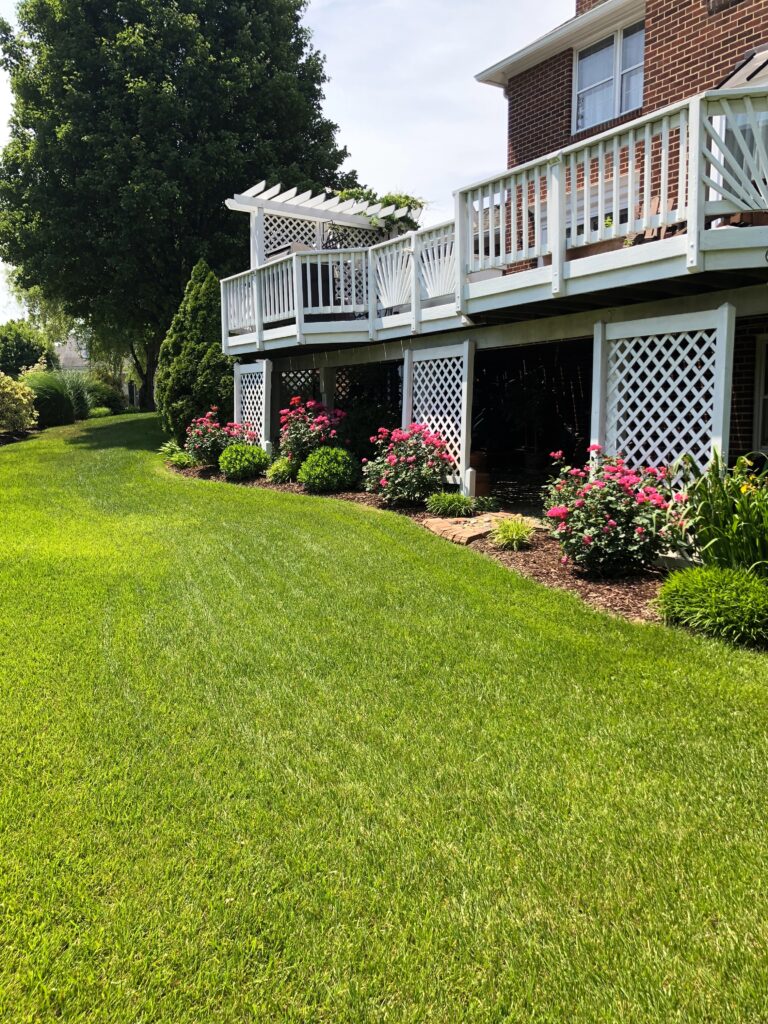
A view of the newly revamped back yard border. It now has flowers blooming almost all year.

A long view of the newly revamped back yard border. It now has flowers blooming almost all year. It is half in full sun, and half in shade under the deck, so I’m able to have a wide variety of plant material.

Don't forget-- April showers bring May flowers! Here's a rainbow from the back deck from our last April shower-

Don’t forget — April showers bring May flowers! Here’s a rainbow from our last April shower – bring on the May flowers! Happy gardening!


Save

Save

Save

Save

Save

Save

Save

Save

Save

Save

Save

A moment in time – waiting for the cherry tree to bloom!

Anxiously waiting for the cherry tree to bloom.

Anxiously waiting for the cherry tree to bloom.


Every year I’m working against the clock to have the yard looking at its peak when the cherry tree blooms. This year we have had an inordinate number of warm days, and I have almost finished — well, at least the front yard. It’s hard work, but the weeding, edging, mulching (90 bags!) and lots and lots of pruning are almost completed. We have lots of people who drive by and a few who take Easter pictures here when the tree blooms coincide with Bunny Day. I think this year I was lucky that this tree is a little behind the Tidal Basin cherry trees in D.C. The cold snap and late ice and snow storm that collided with them didn’t harm mine, just delayed it a few days. For those who are as in love with these trees as I am, this is a Kwansan variety. Its double flowers are magical!


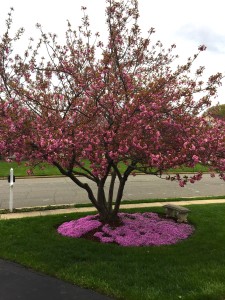
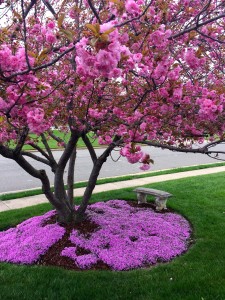
The “Charleston pink” phlox that surrounds the tree is at its peak right now, and the tree is hours away from exploding with color, so this is just a teaser and I will post another photo when the tree is blooming — until then, Happy Spring!


Update, April 6th –  The tree has started to open. I’ll post a photo each day until it’s fully open. We had an incredible Spring storm that blasted through here just now with intense wind and the darkest clouds I’ve ever seen. Everyone in its path — stay safe!

You can see now how many flowers have opened in just a day. More to come!!!

You can see now how many flowers have opened in just a day. More to come in tomorrow’s update!


Update, April 7th – She is now in all her glory! It’s always worth the wait. I feel so happy to have her in my garden.

Full bloom! Always worth the wait! Happy Easter everyone-

Full bloom! Always worth the wait! Happy Easter everyone…

One more close up for posterity! How I love this tree-

One more close up for posterity! How I love this tree!


Save

Save

Save

Save

Save

Happy Thanksgiving to All

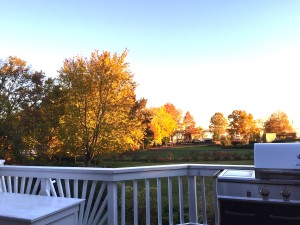
This was the view of autumn leaves from my deck this year. They were so beautiful, but now a mountain of fallen leaves are in need of raking.

This was the view of autumn leaves from my deck this year. They were so beautiful! Now I have a lot of raking in my future.

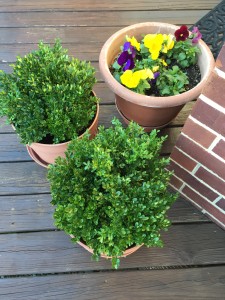
Now that the mums have finished blooming, I have filled in the pots with boxwood trimmings from my yard. They make beautiful "plants" all winter long.

Now that the mums have finished blooming, I have filled in the pots with boxwood trimmings from my yard. They make beautiful “plants” all winter long.

I’m finishing the last of the winterizing and want to share a few tips that will add polish to the holiday curb appeal, and make the perfect backdrop for seasonal decorations. These will make a big difference for just a weekend’s worth of effort. And as an added bonus, it’s also a great way to work off some of that turkey with all the trimmings that we love so much!

First up is finishing the leaf raking and weed removal. Reach in and pick out all the leaves that have gotten stuck in the bushes and then do a final pass in the mulched areas of the garden and your lawn. This alone will make a huge difference in the appearance, but we aren’t going to stop there! Next, give the mulch a rake to loosen it up, and add extra if needed. Winter mulch tip: As you are stirring up the mulch, make sure to leave a space of a few inches between the mulch and the wall of your home. This will discourage the unwanted “guests” (mice!) from burrowing there.

Fill in gaps in the garden by creating "instant plants," just push small branches into the soil- simple as that.

Fill in gaps in the garden by creating “instant plants,” just push small branches into the soil. Simple as that!

Here is a row of "instant juniper" plants, where I removed the summer annuals. You'd never know they aren't actually growing!

Here is a row of “instant juniper” plants, where I removed the summer annuals. You’d never know they aren’t actually growing!

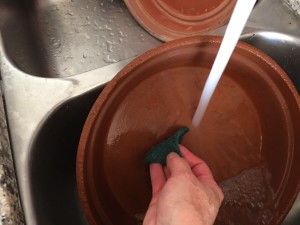
Perfect time of the year to give the clay pots a good cleaning before storing them away for the winter months.

Perfect time of the year to give the clay pots a good cleaning before storing them away for the winter months.

Not all of the "instant" plants are used outside- the extra ivy is in a bucket of water and will root over the winter. Ivy is a really good air filter indoors, so I love to have some inside!

Not all of the “instant” plants are used outside. This extra ivy is in a bucket of water and will root over the winter. Ivy is also a good air filter, so I love to have some inside!

Now that you have pulled out the spent summer flowers and have areas that might be looking a bit too spare, here’s one of my favorite tricks of the trade: I trim the bushes in the yard and use those trimmings to create “instant plants.” Just take the branches and push them into the soil about 6 to 8 inches. I use about a dozen small branches to create each “plant.” On either side of the driveway where I grow vinca in the summer, there are now juniper. They look great, you’d never know they weren’t actually growing. I also do this in the pots and window boxes to create small boxwood “plants.” This trick lasts for months, usually into February, and since I trimmed the branches from my own yard, its free!

Speaking of planters and pots, this is the perfect time to give the clay pots a scrub and dry them in the sun before putting them away for the winter months. I like to use a scrub brush or a kitchen scrubbie with regular dish soap for this job. They easily get rid of the grime on the pots and make quick work of the job. Find a good place for winter storage where they won’t freeze. The clay can be very susceptible to cracking apart when it freezes. The same scrub is perfect for all the yard tools as well. A tip for the shovels and rakes: Once they have been cleaned, a light coating of cooking oil or spray will help guard against rust over the winter.

The final crowning jewel to get your home ready is clean windows. Now that your yard looks so nice you will want to have fresh, sparkling windows to view all your hard work!

Enjoy!

Time for a nice hot cider…

Bringing Autumn Inside the Home

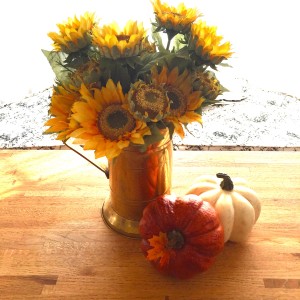
Sunflowers are one of my favorite fall flowers- I love to have them on the kitchen table to enjoy.

Sunflowers are one of my favorite fall flowers. I love to have them on the kitchen table to enjoy.

I hope this finds everyone enjoying the beauty of autumn. I feel like the rich colors of the season — golds, oranges and reds — are always so heartwarming.

It inspires me to bring those colors inside my home and display as many of my favorite pumpkins, gourds and fall flowers as I can. I use real, dried and artificial ones in bowls, baskets and flower pots all over the house. The more the merrier for me.

I’ll be the first to admit that I have a bit of an obsession for those cute little gourds. I’ve been collecting them for years and love putting them out each fall. This year’s decoration is more casual and simple here at the house. Here are some photos of some of my favorites — hope you enjoy the autumn tour!

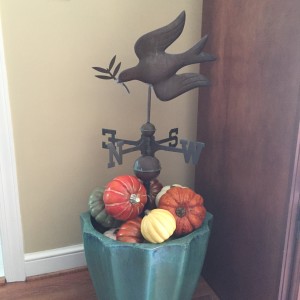
I love to change up the weathervane for each season. This time of year I surround it with gourds.

The weather vane gets something different for each season. This time of year I surround it with gourds.

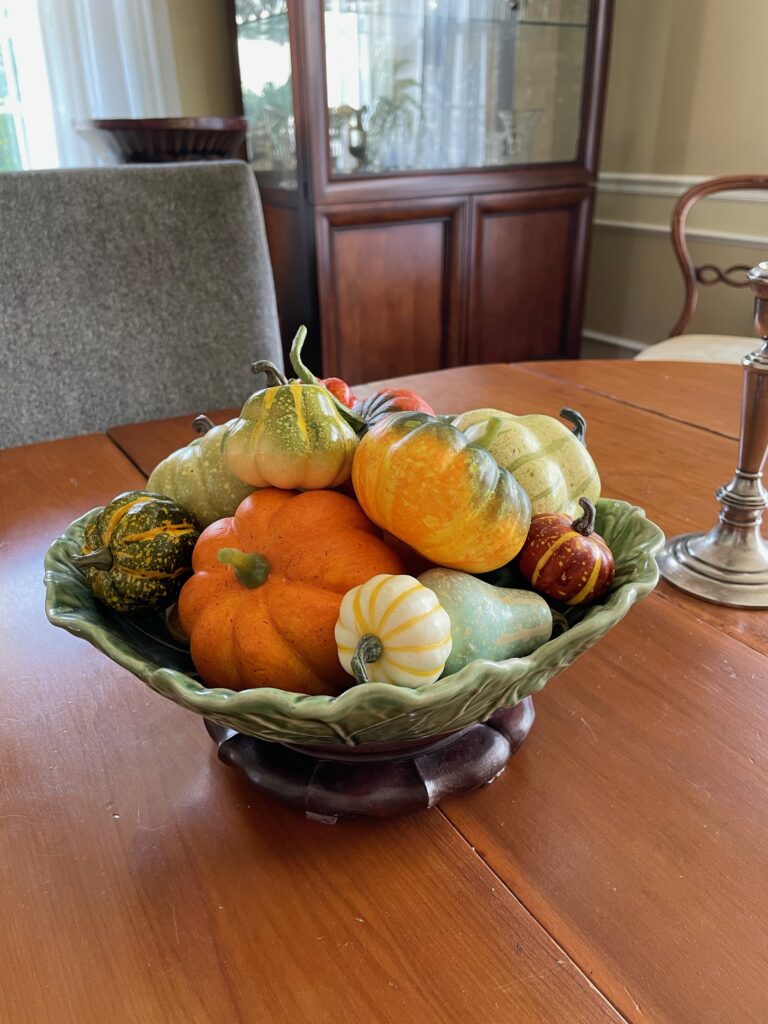
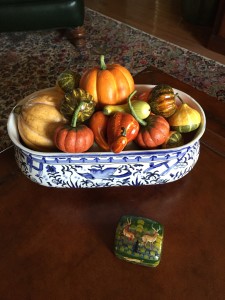
My collection of paper mache gourds are used to fill all kinds of containers which I use on tabletops and as centerpieces. Whenever I see new gourd varieties this collection grows!

My collection of paper mache gourds are used to fill containers which I use on tabletops and as centerpieces. Whenever I see new gourd varieties this collection grows!

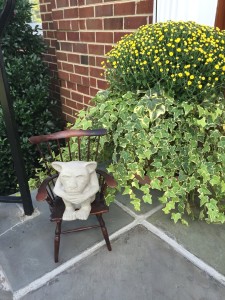
I like to have some flowers by all the entry doors to welcome visitors. This year I used beautiful deep yellow mums by the front door. My favorite gargoyle welcoming visitors, too!

I like to have some flowers by all the entry doors to welcome visitors. This year I used beautiful deep yellow mums by the front door. My favorite gargoyle is welcoming visitors, too!

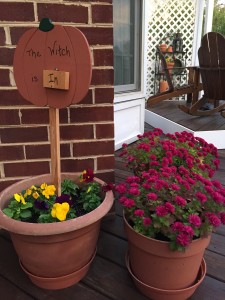
By the kitchen door I have pansies, violas & mums in yellow, plum and burgundy colors. Most of my friends and family use this door so I always like it to look cheery.

By the kitchen door, I have pansies, violas and mums in yellow, plum and burgundy colors. Most of my friends and family use this door so I always like it to look cheery.

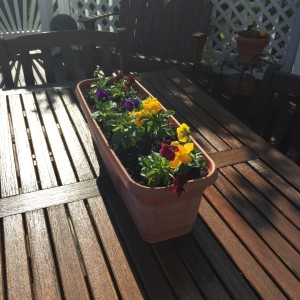
More pansies fill containers on the deck for entertaining outside.

More pansies fill containers on the deck to look festive for entertaining outside.

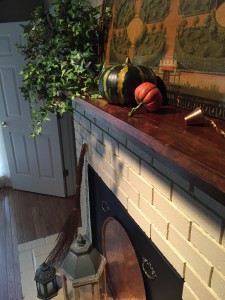
Back inside on the mantle in the family room I love to display the pumpkins with lanterns, ivy and more candles.

Back inside, on the family room mantle  I love to display the pumpkins with lanterns, ivy and more candles.

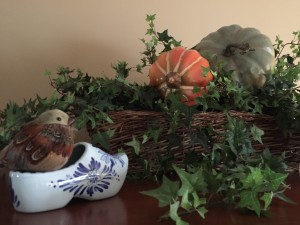
Adding a few of my chubby birds in the family room, too!

Adding a few of my chubby birds into the mix in the family room, too!

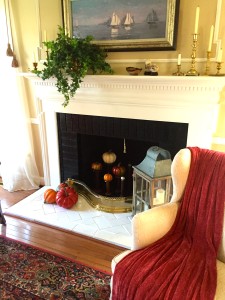
The living room fireplace has a fun new twist this year with the addition of some antique spools that I'm using to display pumpkins on top of. Reminds me of my dear friend who gave them to me every time I see them!

The living room fireplace has a fun new twist this year with the addition of some antique spools on which I display small pumpkins. Reminds me of my dear friend who gave them to me every time I see them!

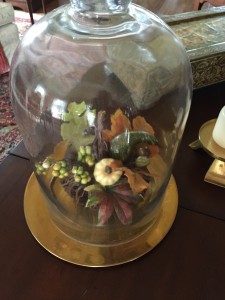
A grapevine pumpkin with a spray of fall leaves and berries under a garden cloche sits on the coffee table.

A grapevine pumpkin with a spray of fall leaves and berries under a garden cloche sits on the coffee table.

Simply piled on a platter to add color in the dining room.

Pumpkins piled simply on a platter add color on the dining room mantle.

Who wants soup? I love all the pumpkin bowls and tureens at home shops the last few year. These have a lid to keep things hot.  I've used them to bake pumpkin custard, too- yum!

Who wants soup? I added these to my collection a few years ago. They have a lid to keep things hot. I’ve used them to bake pumpkin custard in, too – yum!

In years past we created much more elborate arrangements- this one was made by my Mom & I for her garden club event, but I'm feeling like a simpler style this year.

In years past, we created much more elaborate arrangements. This one was made by my Mom and me for her garden club event, but this year I’m feeling like a more casual style fits my mood.

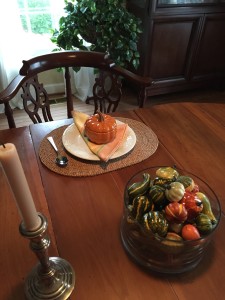
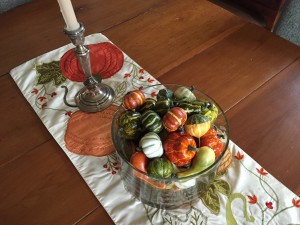
And last, but not least a favorite table runner with pumpkins, and a trifle bowl full of gourds on the dining room table. I wish everyone a very happy and healthy Thanksgiving and hope this will insipe you to bring some autumn into your home!

And last, but not least a favorite table runner with a pumpkin motif, and a trifle bowl full of gourds on the dining room table. It’s not fancy, and I like the simpleness for everyday. Here’s wishing everyone a very happy and healthy Thanksgiving and hope this will inspire you to bring some autumn bounty into your home!


This Heat Is Good for Something — Weeds!

With all the heat and rain, we are getting lots of unsightly weeds.

BEFORE: With all the heat and rain, we are getting lots of unsightly weeds.

With the temperatures in the triple digits these days, I am seeing lots of weeds coming out of the cracks in the pavement, especially along the gap where the curbing meets the asphalt.

I have a super easy, inexpensive and totally earth friendly way of getting rid of them — VINEGAR! In the heat of the day (the hotter and sunnier the better), just spray it on the weeds. The weeds will be dead the next day. (I buy a huge jug from the warehouse store — about $2.99 — which lasts the whole summer.) I prefer to scrape them out with the edge of a shovel, never to see them again. If you choose not to remove them, they will eventually disintegrate on their own.

AFTER: One day after spraying with vinegar- all weeds are dead and gone!

AFTER: One day after spraying with vinegar — all weeds are dead and gone! Much better.

Happy Weeding!

Happy Weeding!

The alternative is expensive weed killer, which is very toxic to wildlife and the waterways, so I urge everyone to give vinegar a try. It works great for me, and I hope it will for you, too.

Now if I could just find a great way to keep the wire grass from growing into my garden without having to dig it out — that would be fantastic!

It’s the Little Things — Fall Spruce Up

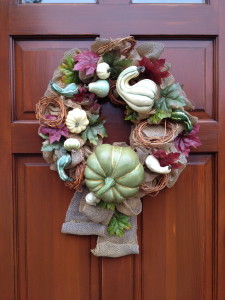
Front and center- adding a seasonal wreath to your front door for a welcoming touch.

Front and center — add a seasonal wreath to your front door for a welcoming touch.

Sometimes it’s the little things that make the greatest impact. This time of the year I like to give some extra attention to some of the detail in the yard and on the house before the holiday season starts. These last few days before the cold weather sets in can be busy, so I want to share a few things you can do for some maximum impact and added curb appeal.

A fresh edging sets the tone for the walkways and gardens.

A fresh edging sets the tone for the walkways and garden beds.

First and foremost: Give your entire yard a good edging. This makes everything look great, and you don’t need to buy anything fancy. I use a scallop edger about every five years – really! Then, I edge by hand a couple of times each summer. No weed-whackers needed! Personally, I like the look of my natural edges better, and weed-whackers can cause so much damage to tree trunks and bushes if not carefully handled.

Give walkways a good sweeping or even a powerwashing to get them ready for holiday visitors.

Give walkways a good sweeping or even a power washing to get them ready for holiday visitors.


I like to spruce up the walkways by giving a good sweeping after I edge and pulling the weeds that have grown between sections. Don’t forget to clean up curbs and gutters as well, so all that “stuff” doesn’t wash into the storm drains. If I had time I’d pull out the power washer, but I know that’s going to have to wait.


Next, it’s the time of the year to trim down the spring/summer blooming perennials, and tidy the garden beds for winter. I do just the trimming now and clean out the leaves when the last have fallen. Follow that with a sprinkle of pre-emergent weed control, and you will have very few weeds come spring.

The colors of Autumn- Enjoy!!!!!

The colors of Autumn- Enjoy!!!!!


It’s also a good time to bring in house plants before we have a frost. And speaking of frost — don’t forget to turn off the water to your outside spigots, drain the hoses, and buried irrigation lines. So much to get done!!


Now, sit back and watch the beauty of Autumn unfold!

Great New Fall Tips and Some Reminders

It’s that time of the year when all of the nurseries are full of gorgeous

Do you love mums as much as I do? I have a great new tip for you today!

Do you love mums as much as I do? I have a great new tip for you today!

Chrysanthemums, and I’ve just gotten back from the store with one of the best ideas that I have seen in a long time!


First, the problem: I am always trying to stake up certain flowers (Mums, Daisies, Sedums, etc.) that seem prone to split open in wind and rain, only to end up with string showing, and the flowers breaking anyway.

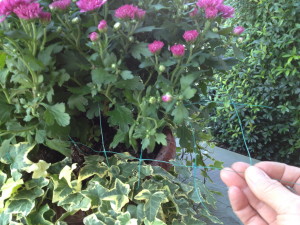
By adding some plastic mesh as your mums are growing it will keep them from splitting open in the rain.

By adding some plastic mesh over the top as your mums are growing, it will keep them perfectly spaced and protect them from splitting open in the rain.


The solution: covering plants with green plastic mesh as they are growing. The flower buds grow through the mesh and hide it, but the mesh keeps them nicely spaced and completely safe from splitting open. Such a simple idea! This gardener is going to use it a lot from now on!


The mesh can't be seen at all, even from a foot away.

The mesh can’t be seen at all, even from a foot away.


I’m surprised that I’d never seen this done before. Also nice because you can use the mesh over and over, not to mention it’s really inexpensive. Win, win!

The new garage doors will keep the garage warm enough to double as a greenhouse.

The new garage doors will keep the garage warm enough to double as a greenhouse.


After 33 years of hard use, the garage doors and openers needed replacing, and I am so happy at the great new choices available now. Our garage has to serve many functions, as do most garages these days, so we opted for a new door that is maintenance free, double walled steel with insulation sandwiched between. This will keep the garage much warmer in the winter, which is great since one of those functions is doubling as a greenhouse to keep some of the potted plants safe in the winter months.

Someday I would love to have a greenhouse, but until then the plants will have to share space with Snowflake and Silver (our cars – LOL!), and my old bike, lawnmower, and you know – all the other stuff that ends up in garages! I am very happy with the installation company and would be very glad to send information to anyone interested in replacing their garage doors.

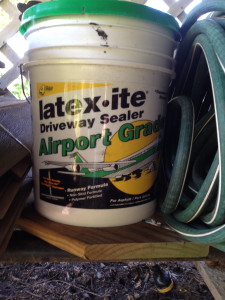
This is the brand of driveway topcoating I used to resurface this last Spring. It has held up nicely, and I like it best out of all the varieties I have tried.

This is the brand of driveway topcoating I used to resurface this last Spring. It has held up nicely.


I have been asked again what I used to topcoat the driveway, so I’m adding a picture of the container. This is a reminder that now is a perfect time of year to do this chore. Also, as a gauge, it takes about two containers for my driveway, which is approximately 25′ x40′. I have tried so many different types of coating, but I recommend the thinnest variety. I find it sinks into the hairline cracks and divots best to seal them.


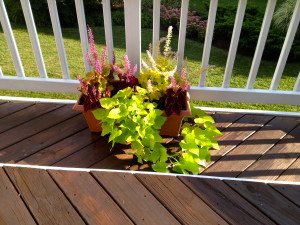
I'm naming the coleus as my favorite "Plant of the Summer." It grows exceptionally well in containers, and the color ranges are so vivid and beautiful.

Coleus — my favorite “Plant of the Summer.” It grows exceptionally well in containers, and the color ranges are so vivid and beautiful.


With the summer coming to an end, I am giving my award for this year’s “Plant of the Summer”: to the coleus I grew in planters. It has looked amazing even in the heat, and the colors are so vivid. I am always interested in trying new colors and combinations, and I love the look with this sweet potato vine.

Speaking of vines, my pumpkins were mostly eaten by the chipmunks, but I did manage to harvest two last week.

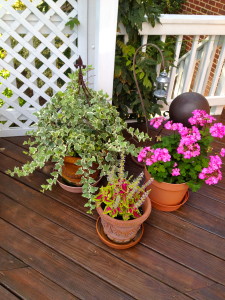
One more variety of the coleus I grew in pots, this one is bright pink with lime green borders.

One more variety of the coleus I grew in pots, this one is bright pink with lime green borders.


What has been your favorite plant this summer?

Summer’s Here!

Lots of rainfall this year has given us a fabulous flower display.

Lots of rainfall this year is giving us a fabulous flower display.

Next week is the summer solstice, which means we now have the longest days of the year. That means more gardening time! The flowers in my garden are looking fabulous this year due to the incredible amount of rain we’ve had so far. We’ve been very lucky — I haven’t even had to water anything yet, except for the transplants and annuals. We are expecting a heatwave though, so that’s about to change.

I want to bring you up to date on some things I’ve been up to lately. First, I’d like to say thank you to Karen, a friend who included me in her office plant swap. It was so good, we had another, just to share some more! I love to see what plants people bring to these events, because it shows what is growing best in our region. I was lucky to swap for some elephant ear, black-eyed Susan and a Jalapeno seedling. Karen also brought some prized delights from her garden — orchid, snow on the mountain, begonias and more! Thankfully all are doing well.

Plant swap tip- If possible try to include a picture of the item, so that people will know what it looks like.

Plant swap tip: If possible, include a picture of the item so your “swapee” will know what it looks like.

I brought lots of white iris and ornamental grass, and have a long list of items I will divide in the fall to share. Plant swaps are truly great ways to try new plants and to give away your extras — and they are always fun. Good tip: It helps to print out a picture of the plants you are giving away if they aren’t in bloom. (I have found that I have forgotten what color something is when I’m back home, so I think others probably have, too.) It also helps to wrap small plants in damp newspaper if they are prone to drying out quickly. I always water everything as soon as I’m home, and try to get everything planted quickly thereafter.

This is also the time of the year that I like to tackle the maintenance of the hardscape around the property. The driveway was in need of a new coat of sealer, the front door needed varnishing, and the front porch needed some repair and new mortar. Those were big jobs, and I’m a little worse for the wear, but what a difference it makes to have them freshened up! I will leave you with some photos of the after-shots, and don’t forget to set your sundials to the correct time on the 21st at Noon!

Happy Summer!

Some earthquake repair and fresh coat of sealer make the driveway look like new!

Some earthquake repair and a fresh coat of sealer make the driveway look like new!

Even the door got a fresh coat of varnish to get ready for Summer.

Even the door got a fresh coat of varnish to get ready for Summer.

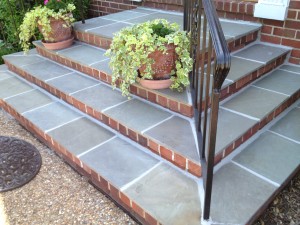
Many stones and bricks were reset, and new mortar updates the front steps.

Many stones and bricks were reset, and new mortar updates the front steps.


Setting the Scene for Fall

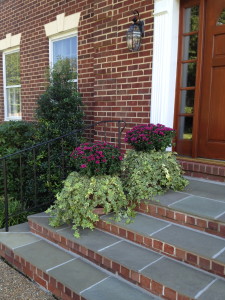
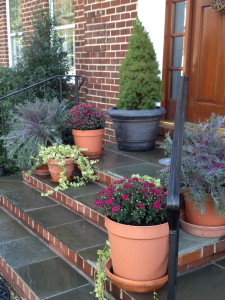
This year's Fall colors on my porch are deep pinks, purples and teals.

This year’s Fall colors on my porch are deep pinks, purples and teals.

I am getting the gardens ready for Fall, and it has been a beautiful weekend for doing the last bit of weeding and edging. Although the chores are not much fun, I rewarded myself by getting some gorgeous additions for the front entrance: ornamental kale, mums, violas, eucalyptus and some variegated ivy that I will use to add some punch.

This year there are some very interesting colors in the selections at the nurseries. I was inspired by a really beautiful kale, and I am pulling various shades of purples, deep pinks and a teal green from it and adding some bright accents with the ivy and the violas.

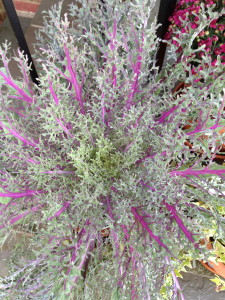
This ornamental kale was my inspiration for the Fall colors I chose this year.

This ornamental kale was my inspiration for the Fall colors I chose this year.

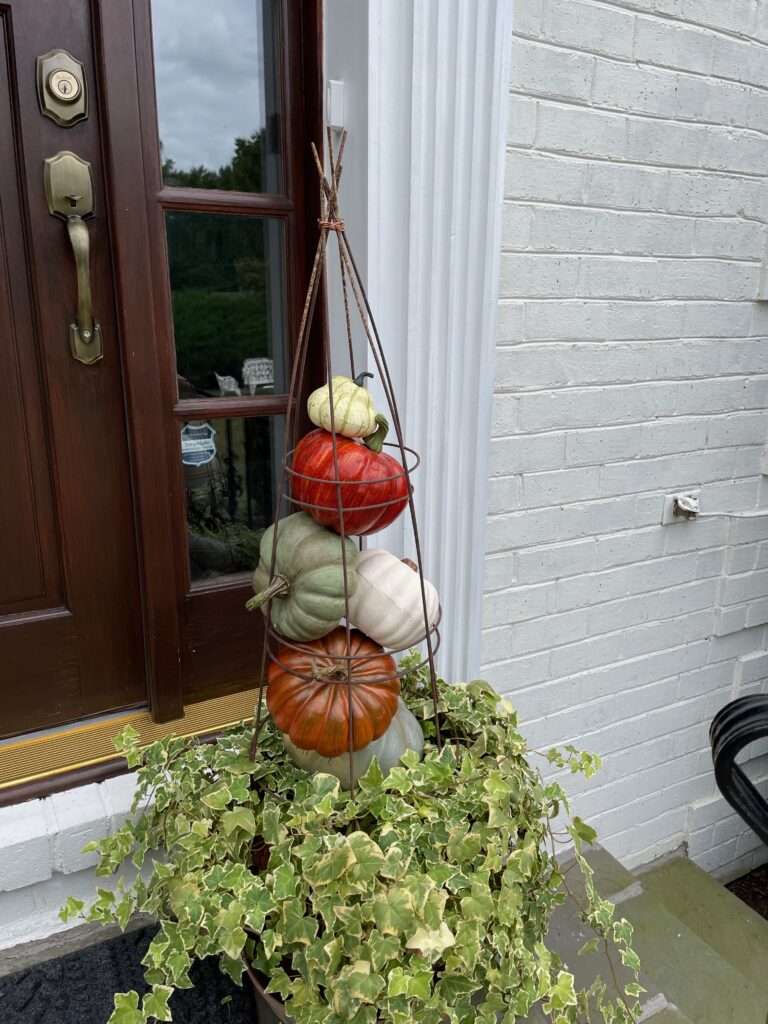
As the season progresses, I will add pumpkins and gourds for Halloween, and for Thanksgiving I’ll add some Indian corn. Here again, the choices are amazing — the gourds I’ve seen have so many beautiful greens and ivories, not just the traditional oranges and yellows of yesteryear.

Normally by this time of year summer annuals would be in decline, but our strange year once again is proving to be different.

Normally by this time of year summer annuals would be in decline, but our strange year once again is proving to be different.

It seems that we are having a very late Autumn in the mid-Atlantic region. Barely anything has changed color, and most of the summer annuals are still blooming well. Because of this, I am going to break one of my cardinal rules.  I am normally not one for mixing seasons, and I like to give each season its special time to shine, but it makes it hard for me to remove the summer flowers when they are all still looking so pretty. (I know, I get too attached to my babies… I mean my flowers, LOL!) In order to make the summer flowers work in the design, I bring in texture and color that will coordinate with the vinca and the mandevilla vine which are still thriving. They are both deep pink, so I especially like the combination with the kale! This is normally where I would have installed pansies, so when the frost arrives (and the vincas pass on to flower heaven), I will replace them with some pansies or violas. I love to have some flowers on each side of the driveway to welcome us home year ’round since that is the entrance most used.

Lanterns on sheppard's hooks are a great portable way of lighting a pathway- or anywhere else!

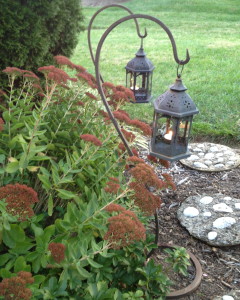
Lanterns on shepherd’s hooks are a great portable way of lighting a pathway — or anywhere else!

I have been so taken with gorgeous candle lanterns from magazines and in pictures that I have seen lately. I love to make the garden come alive with light especially on Halloween and when guests are expected, so I will be adding all my lanterns here and there along the walkways. In addition, there is some beautiful uplighting in the trees and against the house, which have been in place now for many years. I just love the look, and it really shows off the trees at night in a very interesting way! If safety is a concern, battery-powered candles can be substituted in lanterns for real ones. Another easy way of adding lighting is with solar lights, no wiring involved. It seems technology is really improving at a rapid clip in this field, and there are some really pretty styles now, unlike the clunkers of a decade ago.

Fall is a season full of beauty, and it’s so nice to have some cool fresh air again. I hope you can find some time to get out and enjoy what Mother Nature is giving us. Please let me know what is inspiring you this season.  Happy gardening!
 

Happy Fall!

Happy Fall!

The Bottom Line in Curb Appeal

A beautiful pot of seasonal color will draw a buyers eye to the front door.

A beautiful pot of seasonal color on the front porch will draw a buyer’s eye to the front door.

I have family and friends in real estate and am a bit of a real estate junkie myself, so I love keeping up with what’s important to maximize the value of one’s house. I have just read a fantastic newsletter sent by a very top-notch realtor friend, Kim. Her newsletter had an article regarding how much appearance and quality landscaping can improve the overall value of your home – about 15%! In very simple math, that’s $150,000 for a $1 million home. That’s a lot of $$$$$! If that doesn’t make you want to run for a shovel, I don’t know what would!

It would not surprise anyone to know that neat and tidy are prerequisites before putting a house on the market, but why wait? Why not enjoy the beauty all along? Most of what Kim discussed is quite simple — even those people who consider themselves “plant killers” with “black thumbs” can do these things which translate into BIG dividends down the road. With no further ado, here they are:

Nice landscaping will lead to a contract 6 weeks faster on average!

Nice landscaping will lead to a contract 6 weeks faster on average!

1. Wash down your front walk, front porch, mailbox and polish address numbers.
2. Put out a new front door mat.
3. Put a fresh coat of paint or stain on your front door.
4. Replace all dead bushes, and trim others which are in need.
5. Edge and mulch existing gardens.
6. Mow grass.
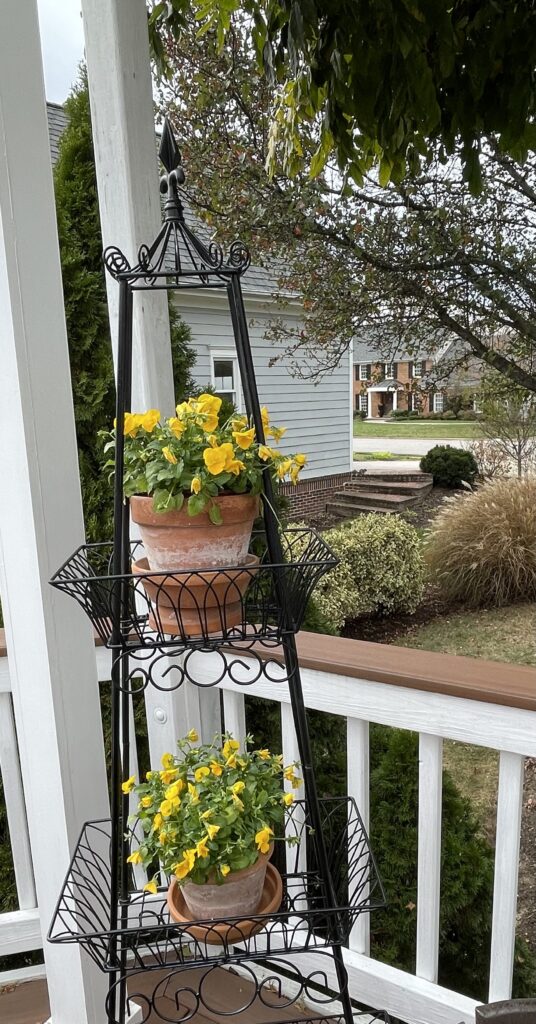
7. Place a seasonal pot of flowers next to the door for a splash of color.

I would also add this: When choosing your plants, think about your design. Most people who would be potential buyers are likely to first drive by to check out the neighborhood. If a “drive by” takes no more than 15 to 20 seconds, an uncomplicated design that draws your eye to the front door is best. It has been proven that great landscaping will not only sell a house for more money, but also up to six weeks faster!

For an uncomplicated look repeating plant types will improve flow and give a professional touch.

For an uncomplicated look repeating plant types will improve flow and give a professional touch.

Here’s another interesting tip from the newsletter for making your property look more spacious: Put a flower bed in each of the corners of your lot. It makes the center of your property appear larger.

These are the basics for making the most of your curb appeal. None of them are hard to do, and just think of how much you have just increased the value of your property! Now you can just sit back and enjoy!

A big thank you to Kim Peele of Century 21 Alexandria office for the inspirational newsletter, and to Tracy Whitley of Long & Foster Glen Allen Office for the photo.

Sharing Buttons by Linksku