Archive for Editing the garden

Small Edits for a Big Impact

Hello, my gardening friends! It is June already, and I’m sorry to have been out of touch for so long. Life has a way of doing that here and there. Today I’d like to share some quick edits I have been working on this spring that have made a big impact on our home’s curb appeal.
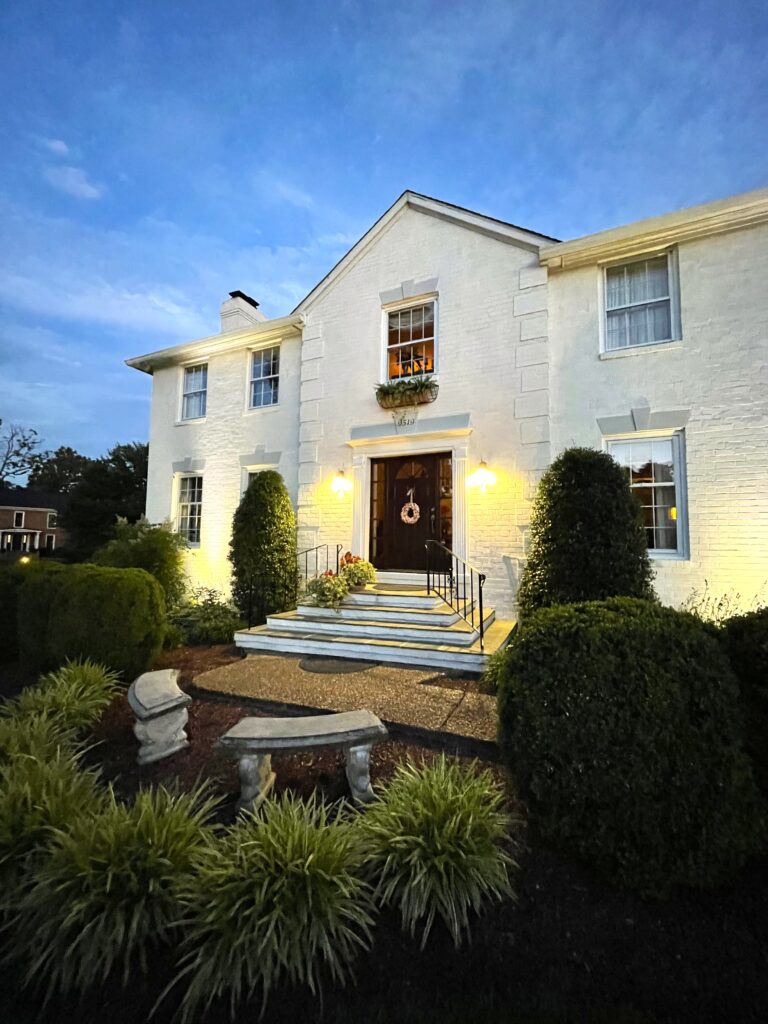
The first thing I did in my line-up of edits was painting the pediments above the windows and front door. Sometimes just highlighting an existing architectural feature of your home can add just the right amount of emphasis. After running out of good weather last year, I was finally able to get to the repairs needed to the bricks and bluestone on the front porch, then followed with lime washing the stair risers on both front porches. Finally, sanding and painting the iron railings added some needed safety and I love how the glossy black railing stand out in front of the white backdrop. These were the finishing steps in the lime washing of the whole house that I started last year. Getting these done brightens up the front entrance immeasurably, and as much as I had fun, it feels great to check the box “done” on this huge project.

Next up was to add two more window boxes to the front of the house, for a total of four. The two largest ones I’ve had for years — one on the window above the front door and the other at the zig zag of the front walk. I added the two new ones on the front side of the garage. (They were given to me by my sweet daughter of choice! That makes them even more special.) For continuity, I filled each of them with botanicals and flowers in the same color combinations. There are more in pots on each of the front porches. Adding a bright splash of color is one of the quickest and best ways to amp up curb appeal!
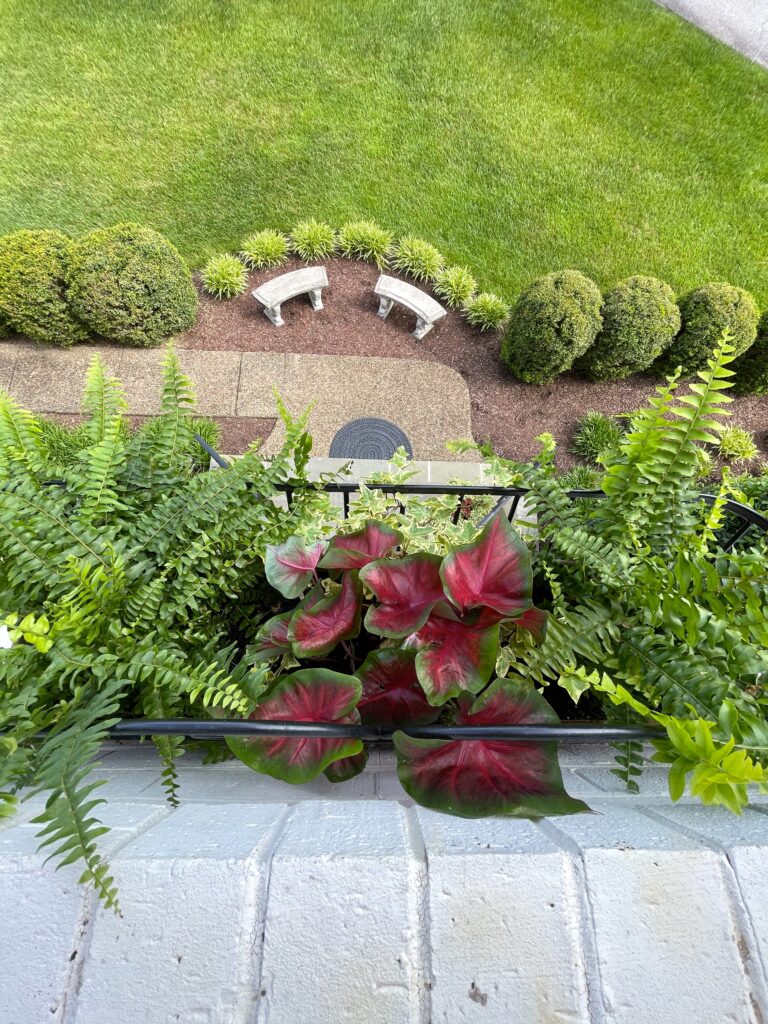
Here’s a bird’s eye view of the window box above the front door. I filled it with Boston fern, caladium, and variegated ivy.
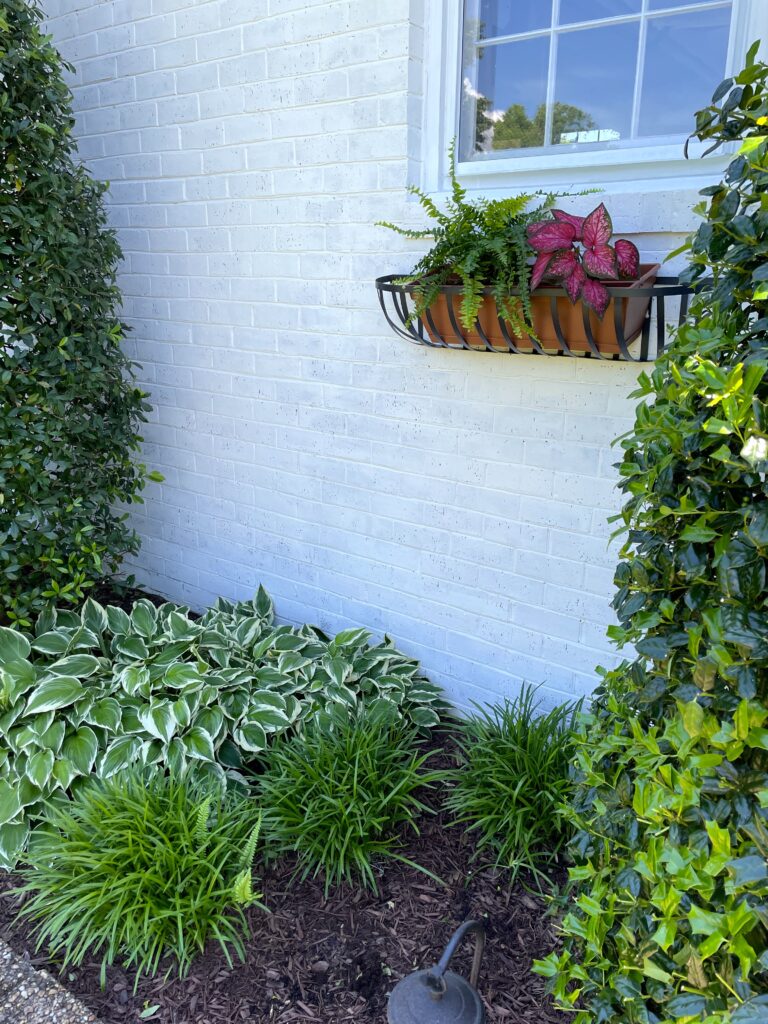
The two window boxes on both sides of the garage were each filled with a Boston fern, and caladium. Here’s a photo from further back, so you can see the effect.
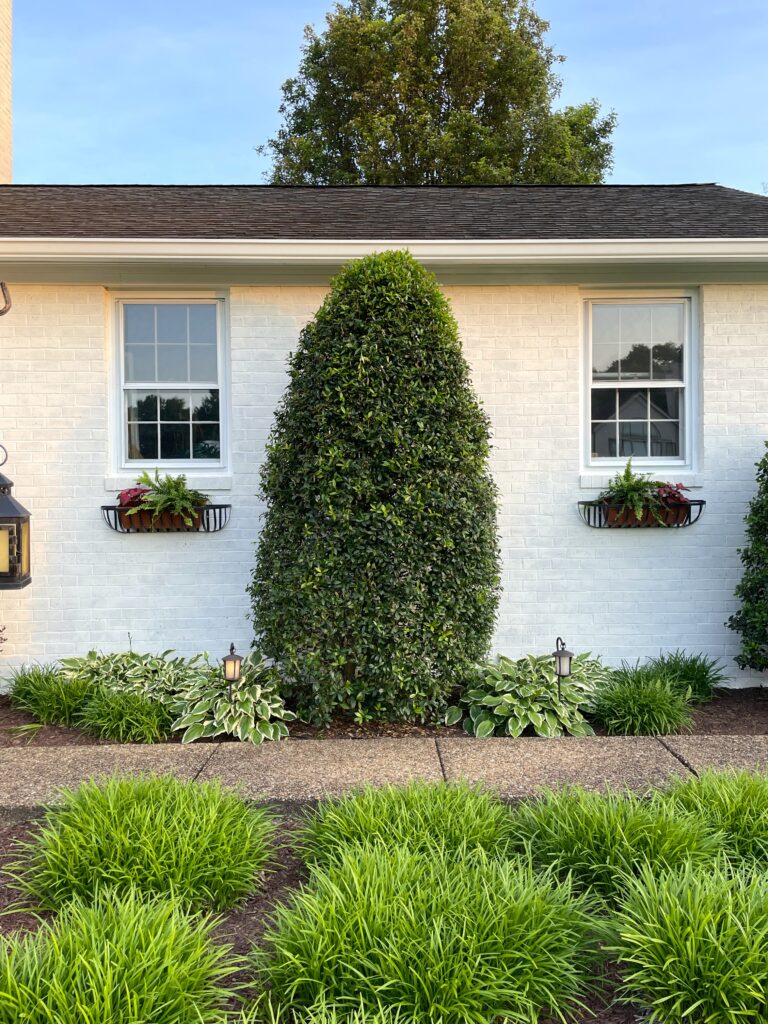
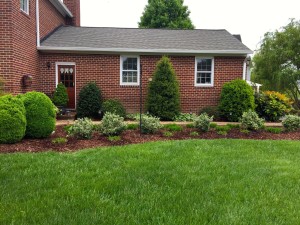
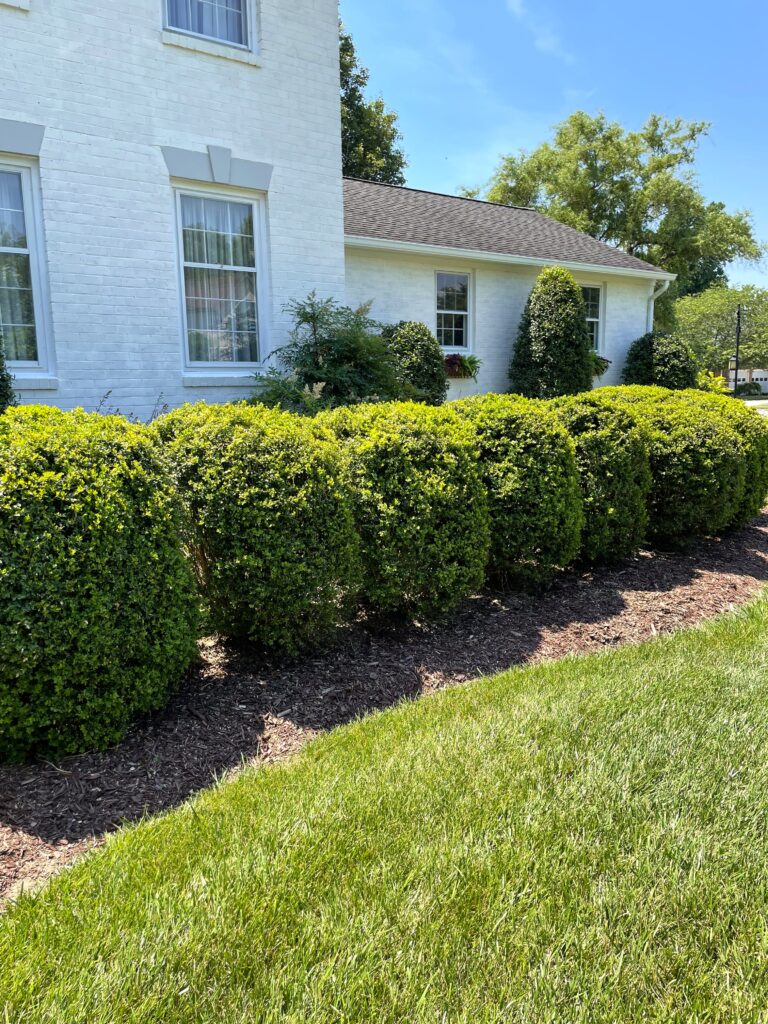
Also this year, I spent a week shaping the boxwoods and hollies. It makes a huge difference in the curb appeal to finally give the boxwoods a uniform height and symmetry! They had damage from snow and burn from chemicals (overspray from a roof cleaning) a few years back, both of which took a while to fill back out to a point where they could be shaped again. It’s a long process to get them uniform, but just take your time, and stand back every few minutes to check your work. It is gratifying to see them all uniform again, after seeing them looking sort of like lumpy blobs as they grew out the damage. And while at it, putting a nice edging on the gardens seals the deal.
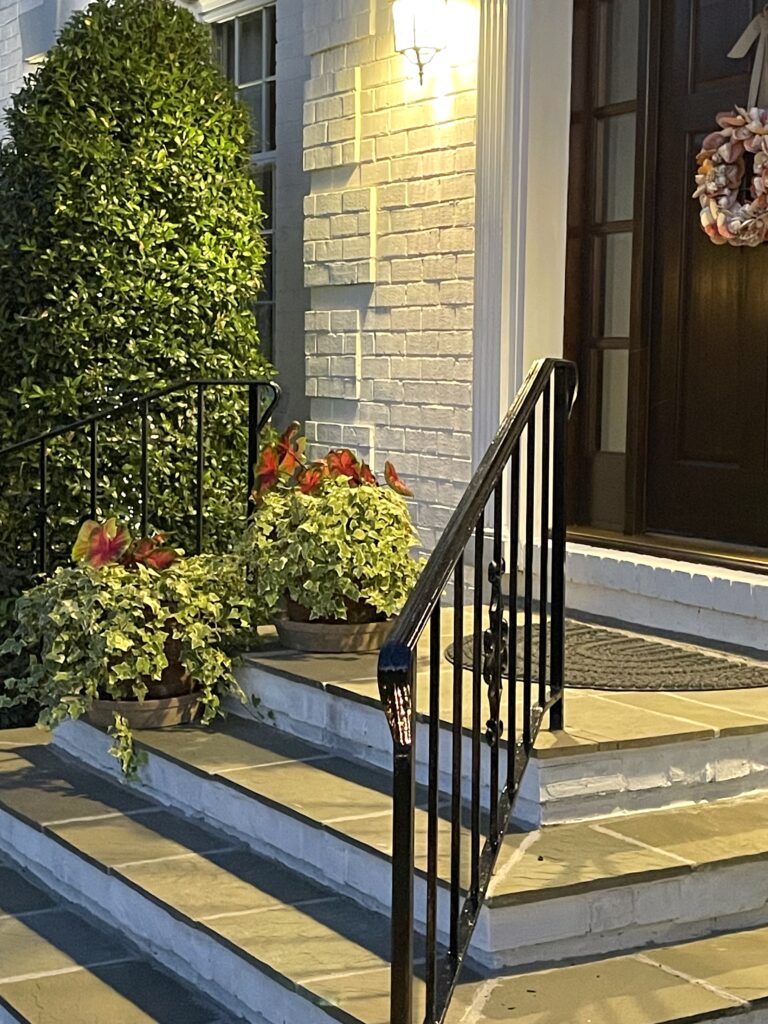
Above is a close up of the big pots on the front porch. Each were filled with caladium and variegated ivy. You might remember these pots from the last several years. I leave the ivy in them and swap out the flowers in the center each season. This ivy has been with me for at least 20 years or so, it creates the perfect “spiller” in a planter, and it’s easy to divide and transplant if it gets too large.
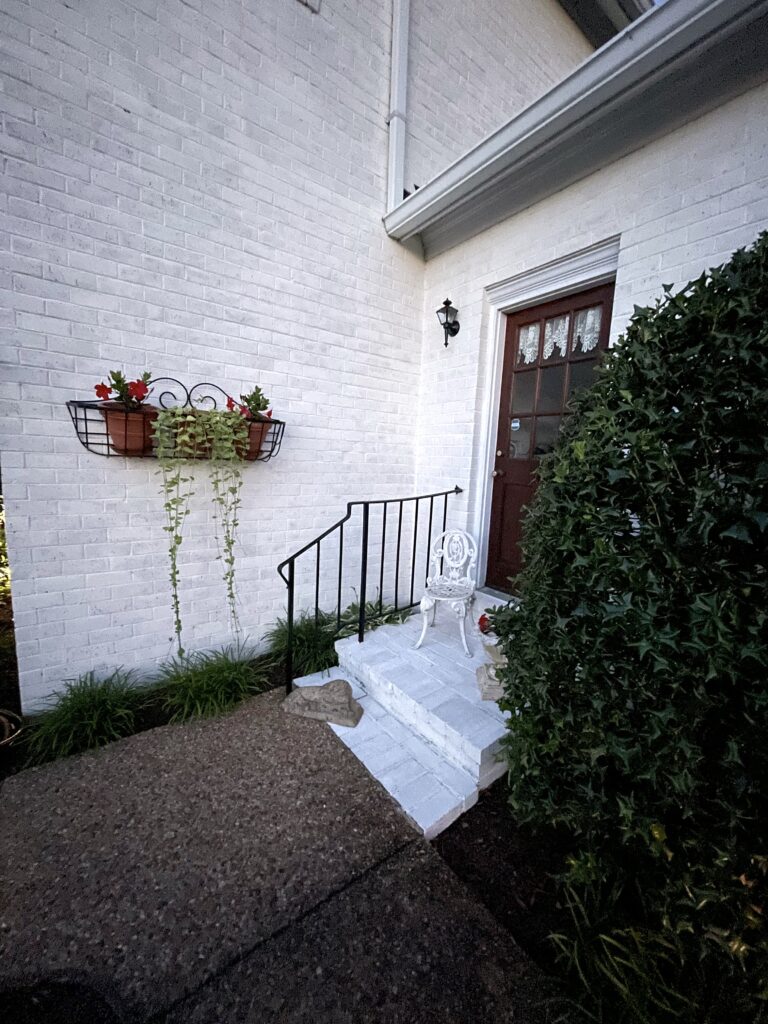
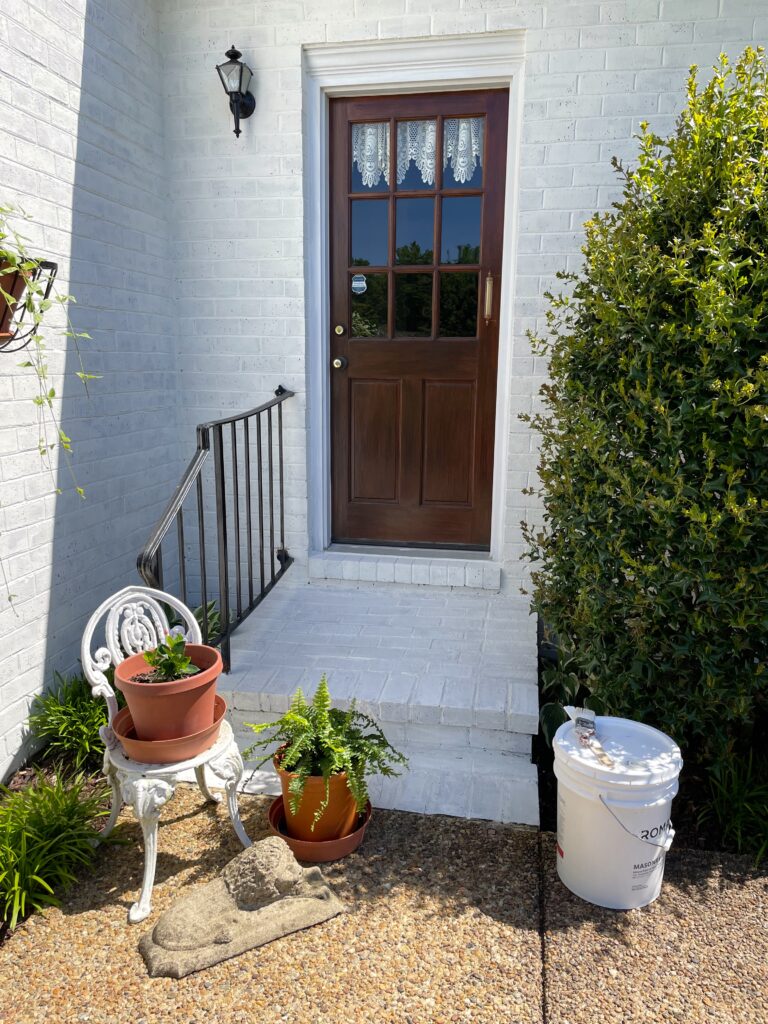
This window box at the zig zag of the front walk and mud room porch has coordinating flowers and trailing vines of mandevilla and vinca. Below is a better shot of the mud room porch. I know I say this a lot but, it’s amazing what a difference paint can make!
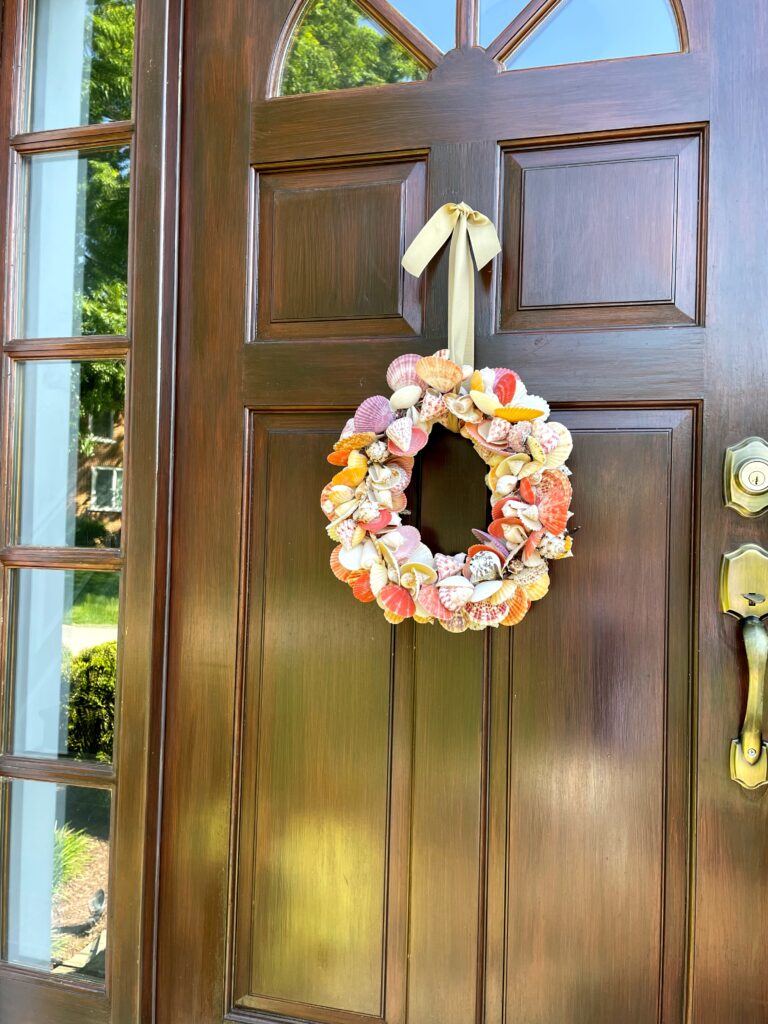
Another quick edit was changing out the wreath on the front door to a summer wreath. Adding a wreath is like adding jewelry. It’s an accessory that can showcase what your interests are. I love this shell wreath. OK — I love anything with shells, LOL!
I hope this leaves you with ideas you might incorporate at your own home. Some time invested a little bit here and a little bit there, and you will have it done! And as always, Happy Gardening!

Springtime Garden Reveal 2017

IMG_4756

Happy Spring- welcome to the garden!

Hi all! I think I am finally ready to show you some of the garden areas I have been working on since last fall. My goal was to open up the areas that had gotten a bit too crowded and simplify the overall design. While we walk through the yard, I’d like to show some tricks and tips that might help solve similar dilemmas that many of us deal with.

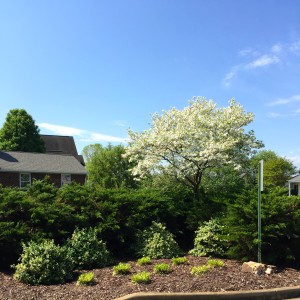
Closeup on the front corner of my yard. A row of juniper does double duty shielding the windows from headlights of vehicles rounding the corner, as well as defining the edge.

Closeup on the front corner of my yard. A row of juniper does double duty shielding the windows from headlights of vehicles rounding the corner, as well as defining the edge of the property.

I have never shown a closeup of this garden area on the blog before. It is the front corner of my front yard, where the cul-du-sac meets the street. Here on the corner a low wall of juniper bushes are very strategically placed. As cars round the corner at night into the cul-du-sac, this blocks the headlights, shielding the windows from the bright headlights. All you need is 3 or 4 foot high evergreen bushes in order to protect the house from an oncoming vehicle’s headlights. No one wants to feel like a search light is spraying the inside of your home, and this does the trick! This garden is layered with euonymous and liriope on the street side, and anchored in at the corner with a dogwood tree. We have an up-light that shines at night into the canopy of tree, which right now looks like a cloud of beautiful white blossoms.

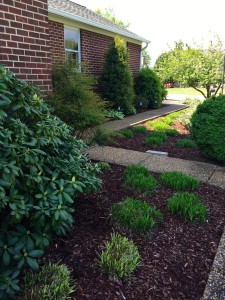
Front walk has been opened up by removal of some larger bushes and layering in lower plant material in foreground.

Front walk has been opened up by removal of some larger bushes and layering in lower plant material in foreground.

Here is the updated front walk. I cleared out some of the jungle of large plants on either side of the Nellie Stevens holly and highlighted it by relocating the hostas to either side in a semi circle to add some visual depth  and light to that side of the walk. The liriope on the lawn side of the walk were all divided and will stay low. They will add some seasonal interest in the late summer with their purple flowers. These carry through the front of the other two garden beds on either side of the front door to create a nice flow from one garden to the next.

Here's the walkway from the other direction. You can see how it has a zig zag (not the best layout) I smoothed out the visual flow by running the liriope through all three of the front garden beds.

Here’s the walkway from the front stoop. The zig zag is not the best layout. I smoothed out the visual flow by running the liriope through all three of the front garden beds.

I inherited the layout of the walkway, but if I were to design it myself, I would have brought this odd zig zag section forward to match up with the rest of the walkway and made the whole walkway 4 to 5 feet wide. It’s always nice to be able to walk side by side with someone on a front walk, and being on the north side of the house, it would have been smarter to bring the walk out of the shadow of the house. If I ever win the lottery this is one of the things on my wish list – LOL!


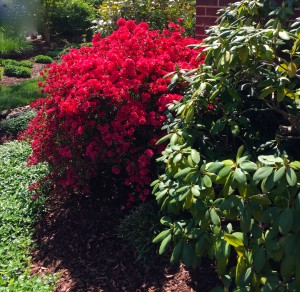
Rounding  the corner the azalea is in full bloom right now, underplanted with a sea periwinkle to move your eye around to what's next.

Rounding the corner the azalea is in full bloom right now, underplanted with a sea ofperiwinkle to move your eye around to what’s next in the side garden.

This side of the east garden was opened up a bit removing some of the iris and lambsears and exending a few new waves of color into the existing design. In a couple of weeks this will be teaming in color.

This side of the east garden was opened up a bit removing some of the iris and lamb’s ears and extending a few new waves of color into the existing design. In a couple of weeks this will be teaming in color.

Moving around to the east side of the garden I have done a lot of work. There were many of the older perennials that needed dividing, and some areas requiring removal, like the lamb’s ears which never was happy in that location and the beautiful iris which were overwhelming their area. All is smoothed out, and in a few weeks this area will be teaming with color. I have simplified many of the waves of color on this side, and interspersed some of them with liriope and periwinkle which will provide more year round interest. I also want to suggest to those looking to brighten up an area that placing lighter colors or variegated plants in the dark recesses under trees will draw your eye in and create more dimension. Repeating the plant material, colors and varying the numbers of plants in a group is also helpful to pull your eye through.

One more thing worth mentioning in this region of the country and other drought-prone areas: limit the amount of lawn that is in your yard. For example, in my yard the side and back are fairly hilly, so the lawn is kept to a minimum through there, and treated more like a wide pathway flowing through the yard and the garden beds are much wider. In the front, the yard is flat, so we have kept a larger patch of lawn for activities– perfect for throwing a Frisbee, or a game of croquet. This limits the amount of water, nutrients needed, and even helps with the amount of time you need to spend mowing — bonus!

Moving around into the back garden, I’m really happy to see that all the roses I transplanted are really flourishing in the full sun. This is where I have amped up the flower power, and have sedum, orchids, astilbe, hellebores, ginger, lamb’s ears, yarrow, iris, peonies, lily of the valley and hummingbird vine. Many of these were started from gifts from my gardening friends! The idea was to have something blooming for as much of the year as possible. The only time there is a void is February, and don’t worry, I’m on it. I think I’ll add some crocus bulbs in the fall to make it year round. Will I ever be done? No, but that’s the fun for me!


A view of the newly revamped back yard border. It now has flowers blooming almost all year.

A long view of the newly revamped back yard border. It now has flowers blooming almost all year. It is half in full sun, and half in shade under the deck, so I’m able to have a wide variety of plant material.

Don't forget-- April showers bring May flowers! Here's a rainbow from the back deck from our last April shower-

Don’t forget — April showers bring May flowers! Here’s a rainbow from our last April shower – bring on the May flowers! Happy gardening!


Save

Save

Save

Save

Save

Save

Save

Save

Save

Save

Save

Sharing Buttons by Linksku