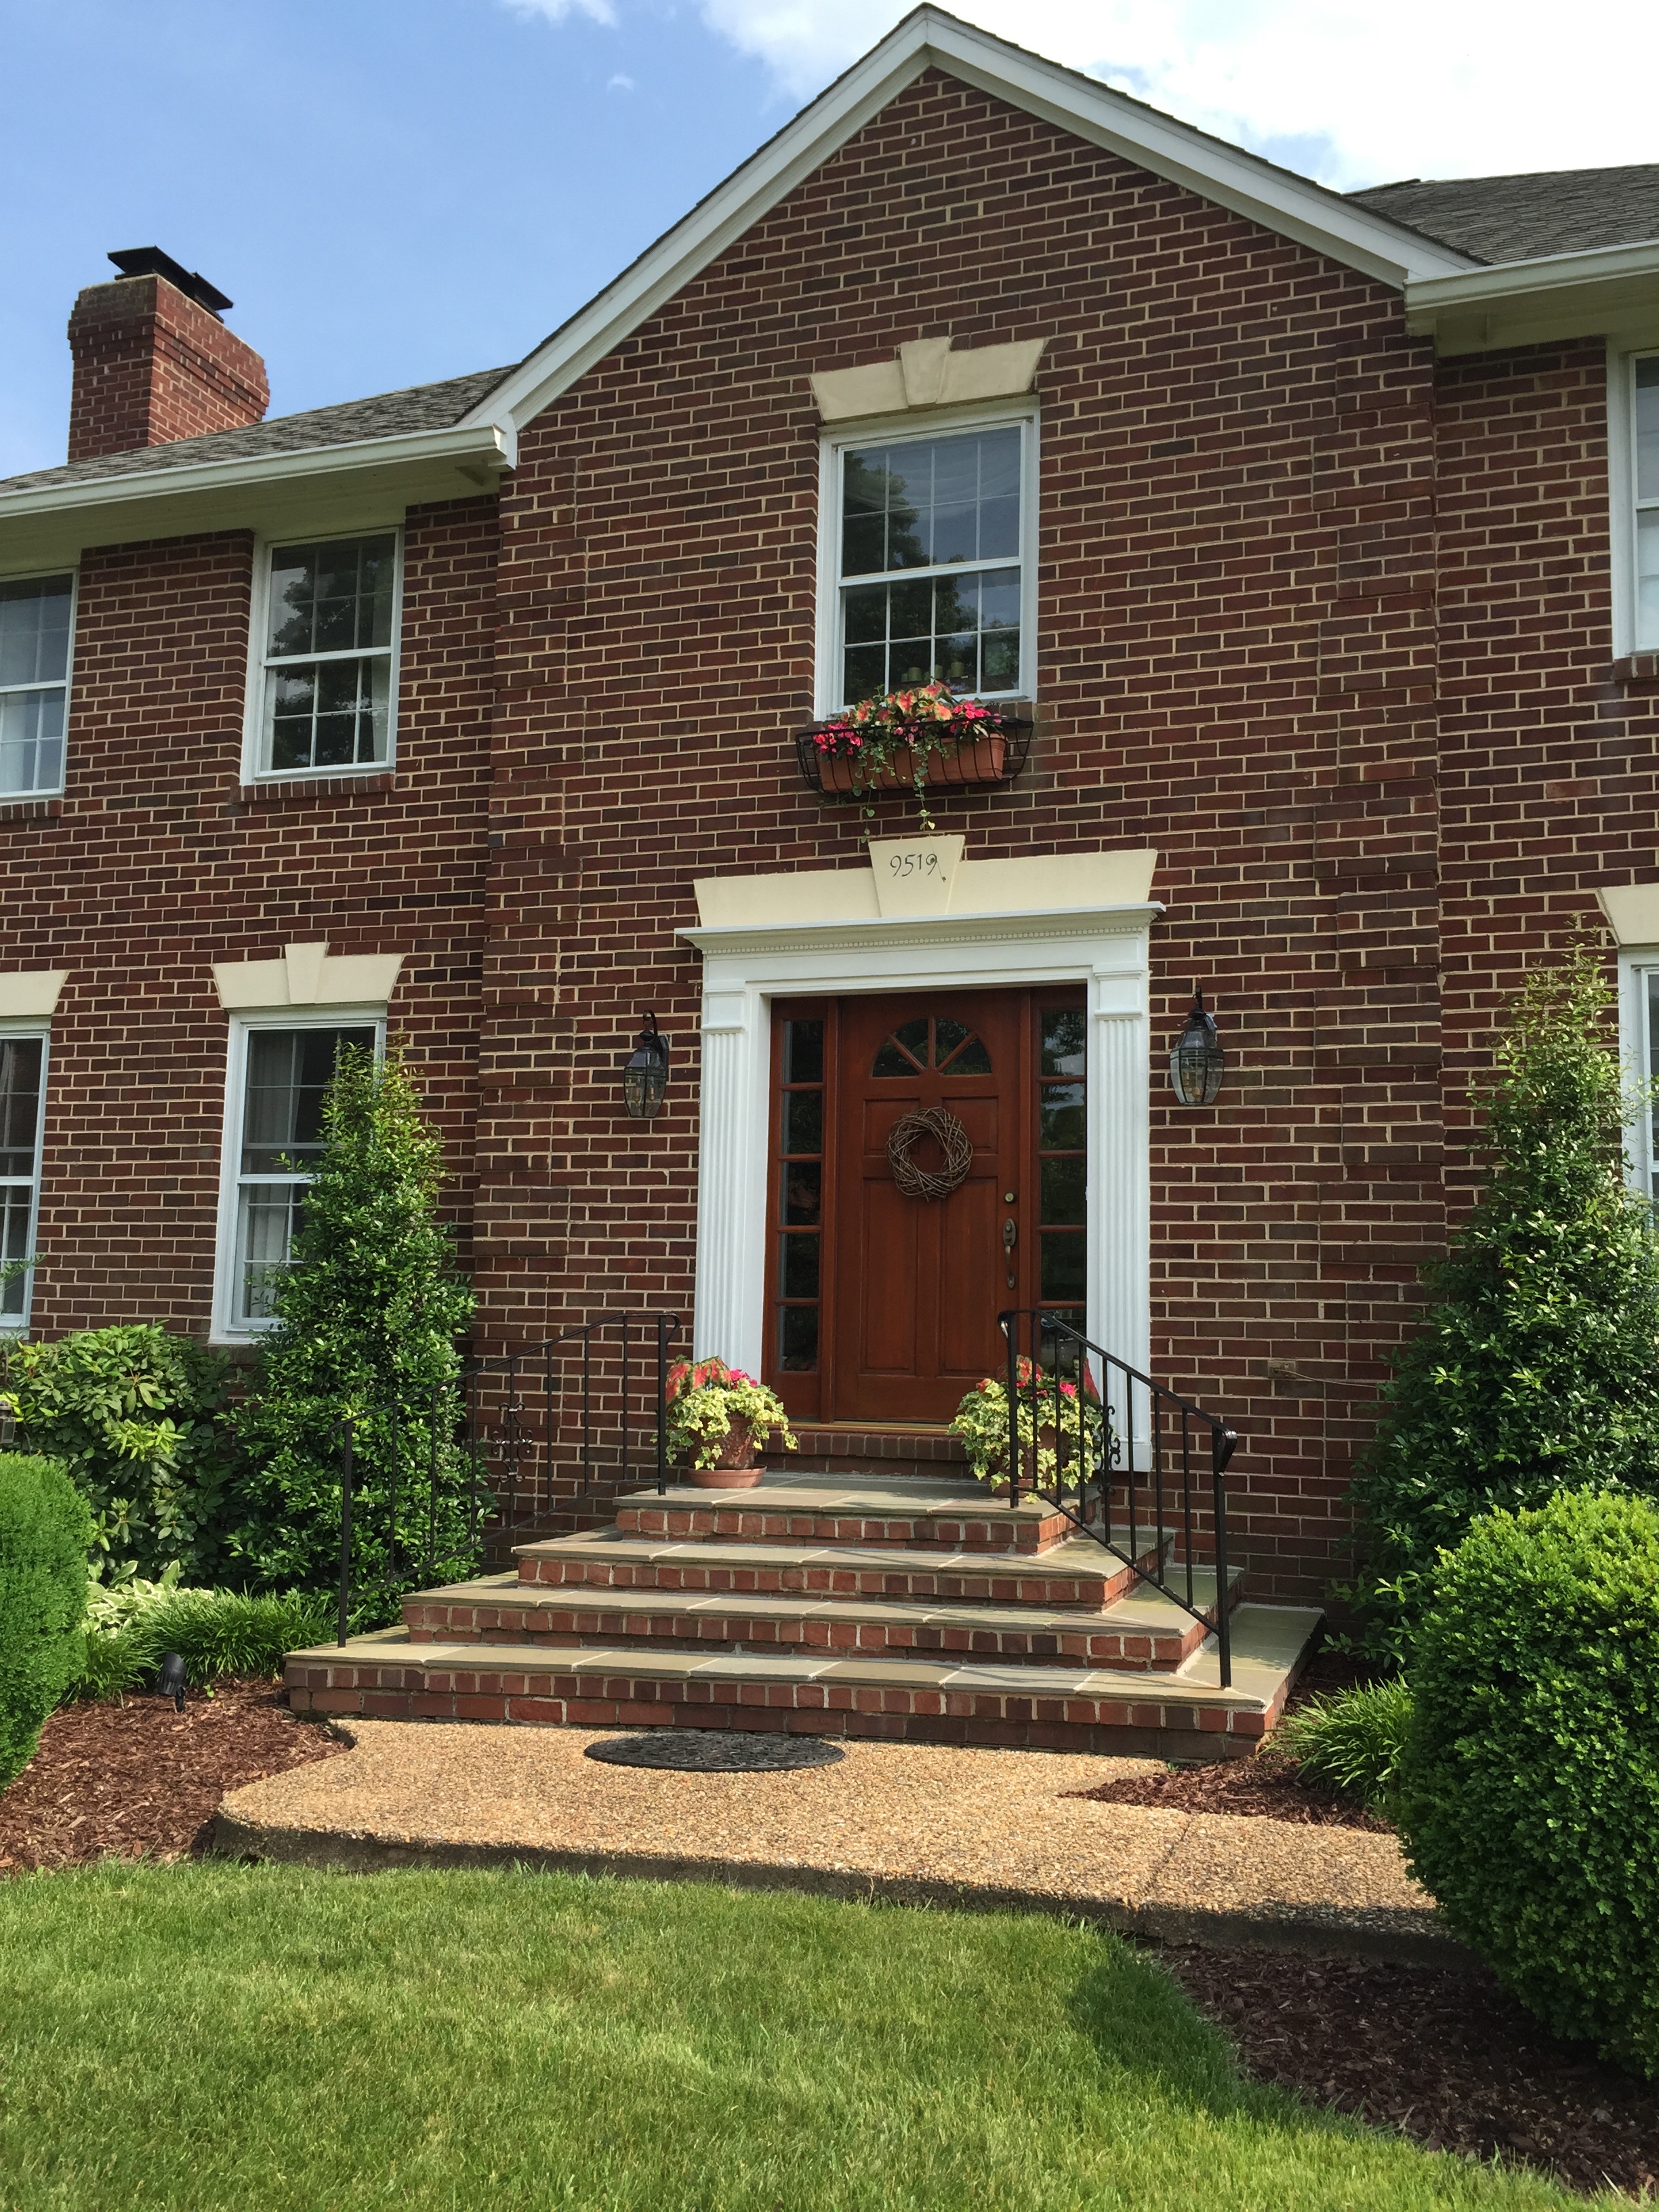
Hello, my gardening friends! It is June already, and I’m sorry to have been out of touch for so long. Life has a way of doing that here and there. Today I’d like to share some quick edits I have been working on this spring that have made a big impact on our home’s curb appeal.
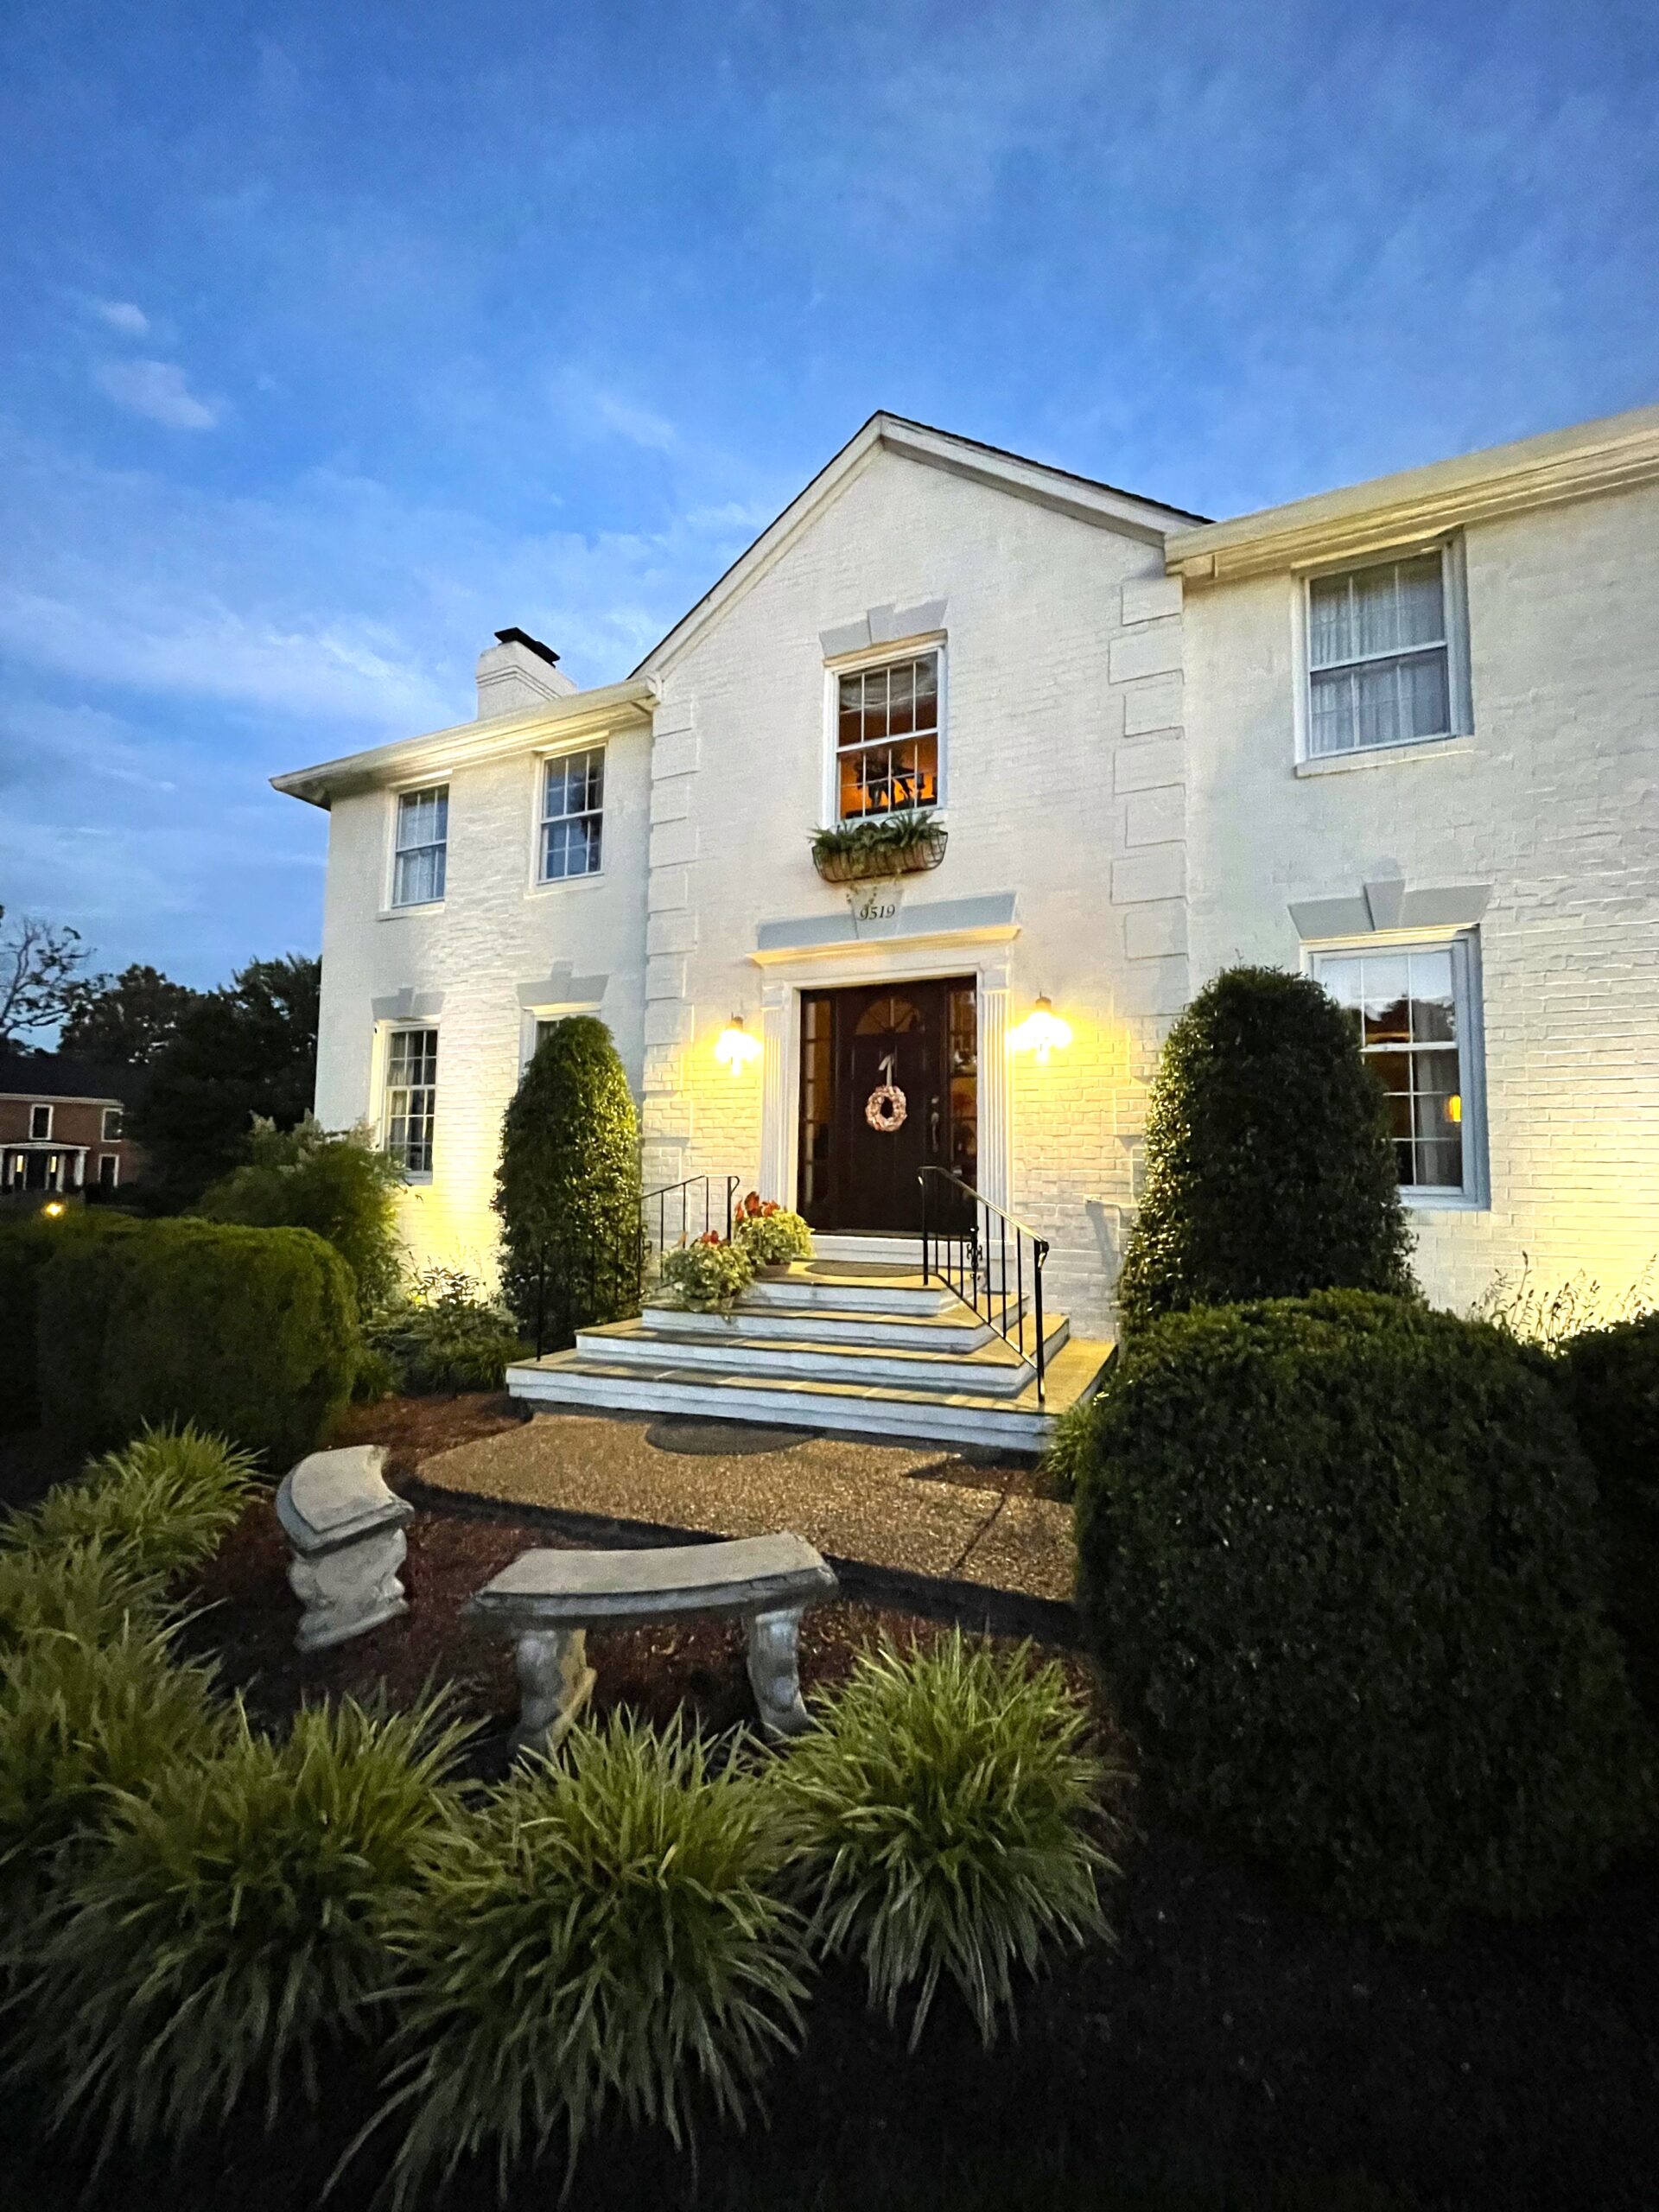
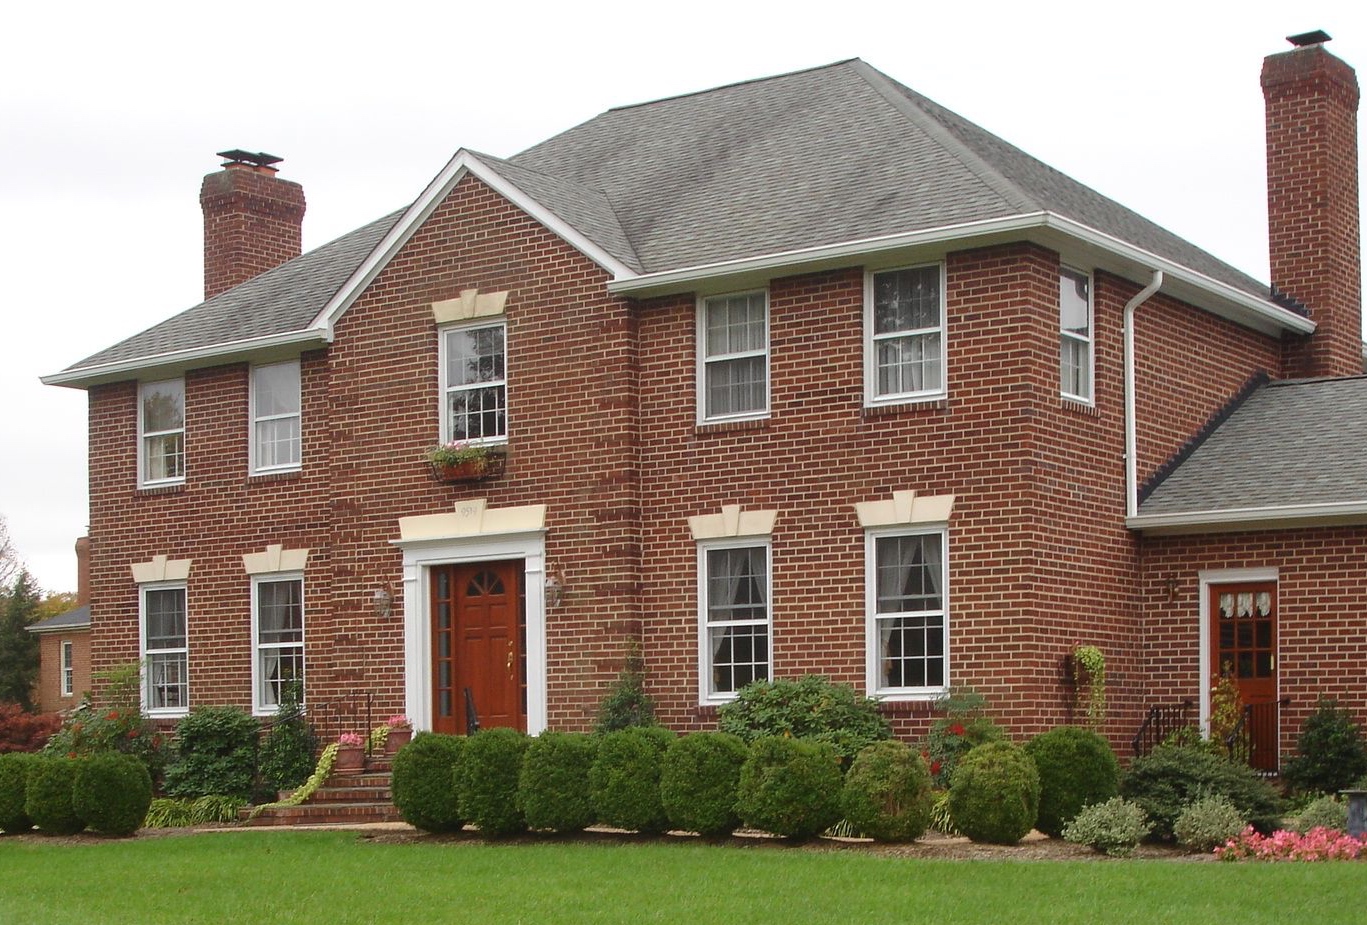
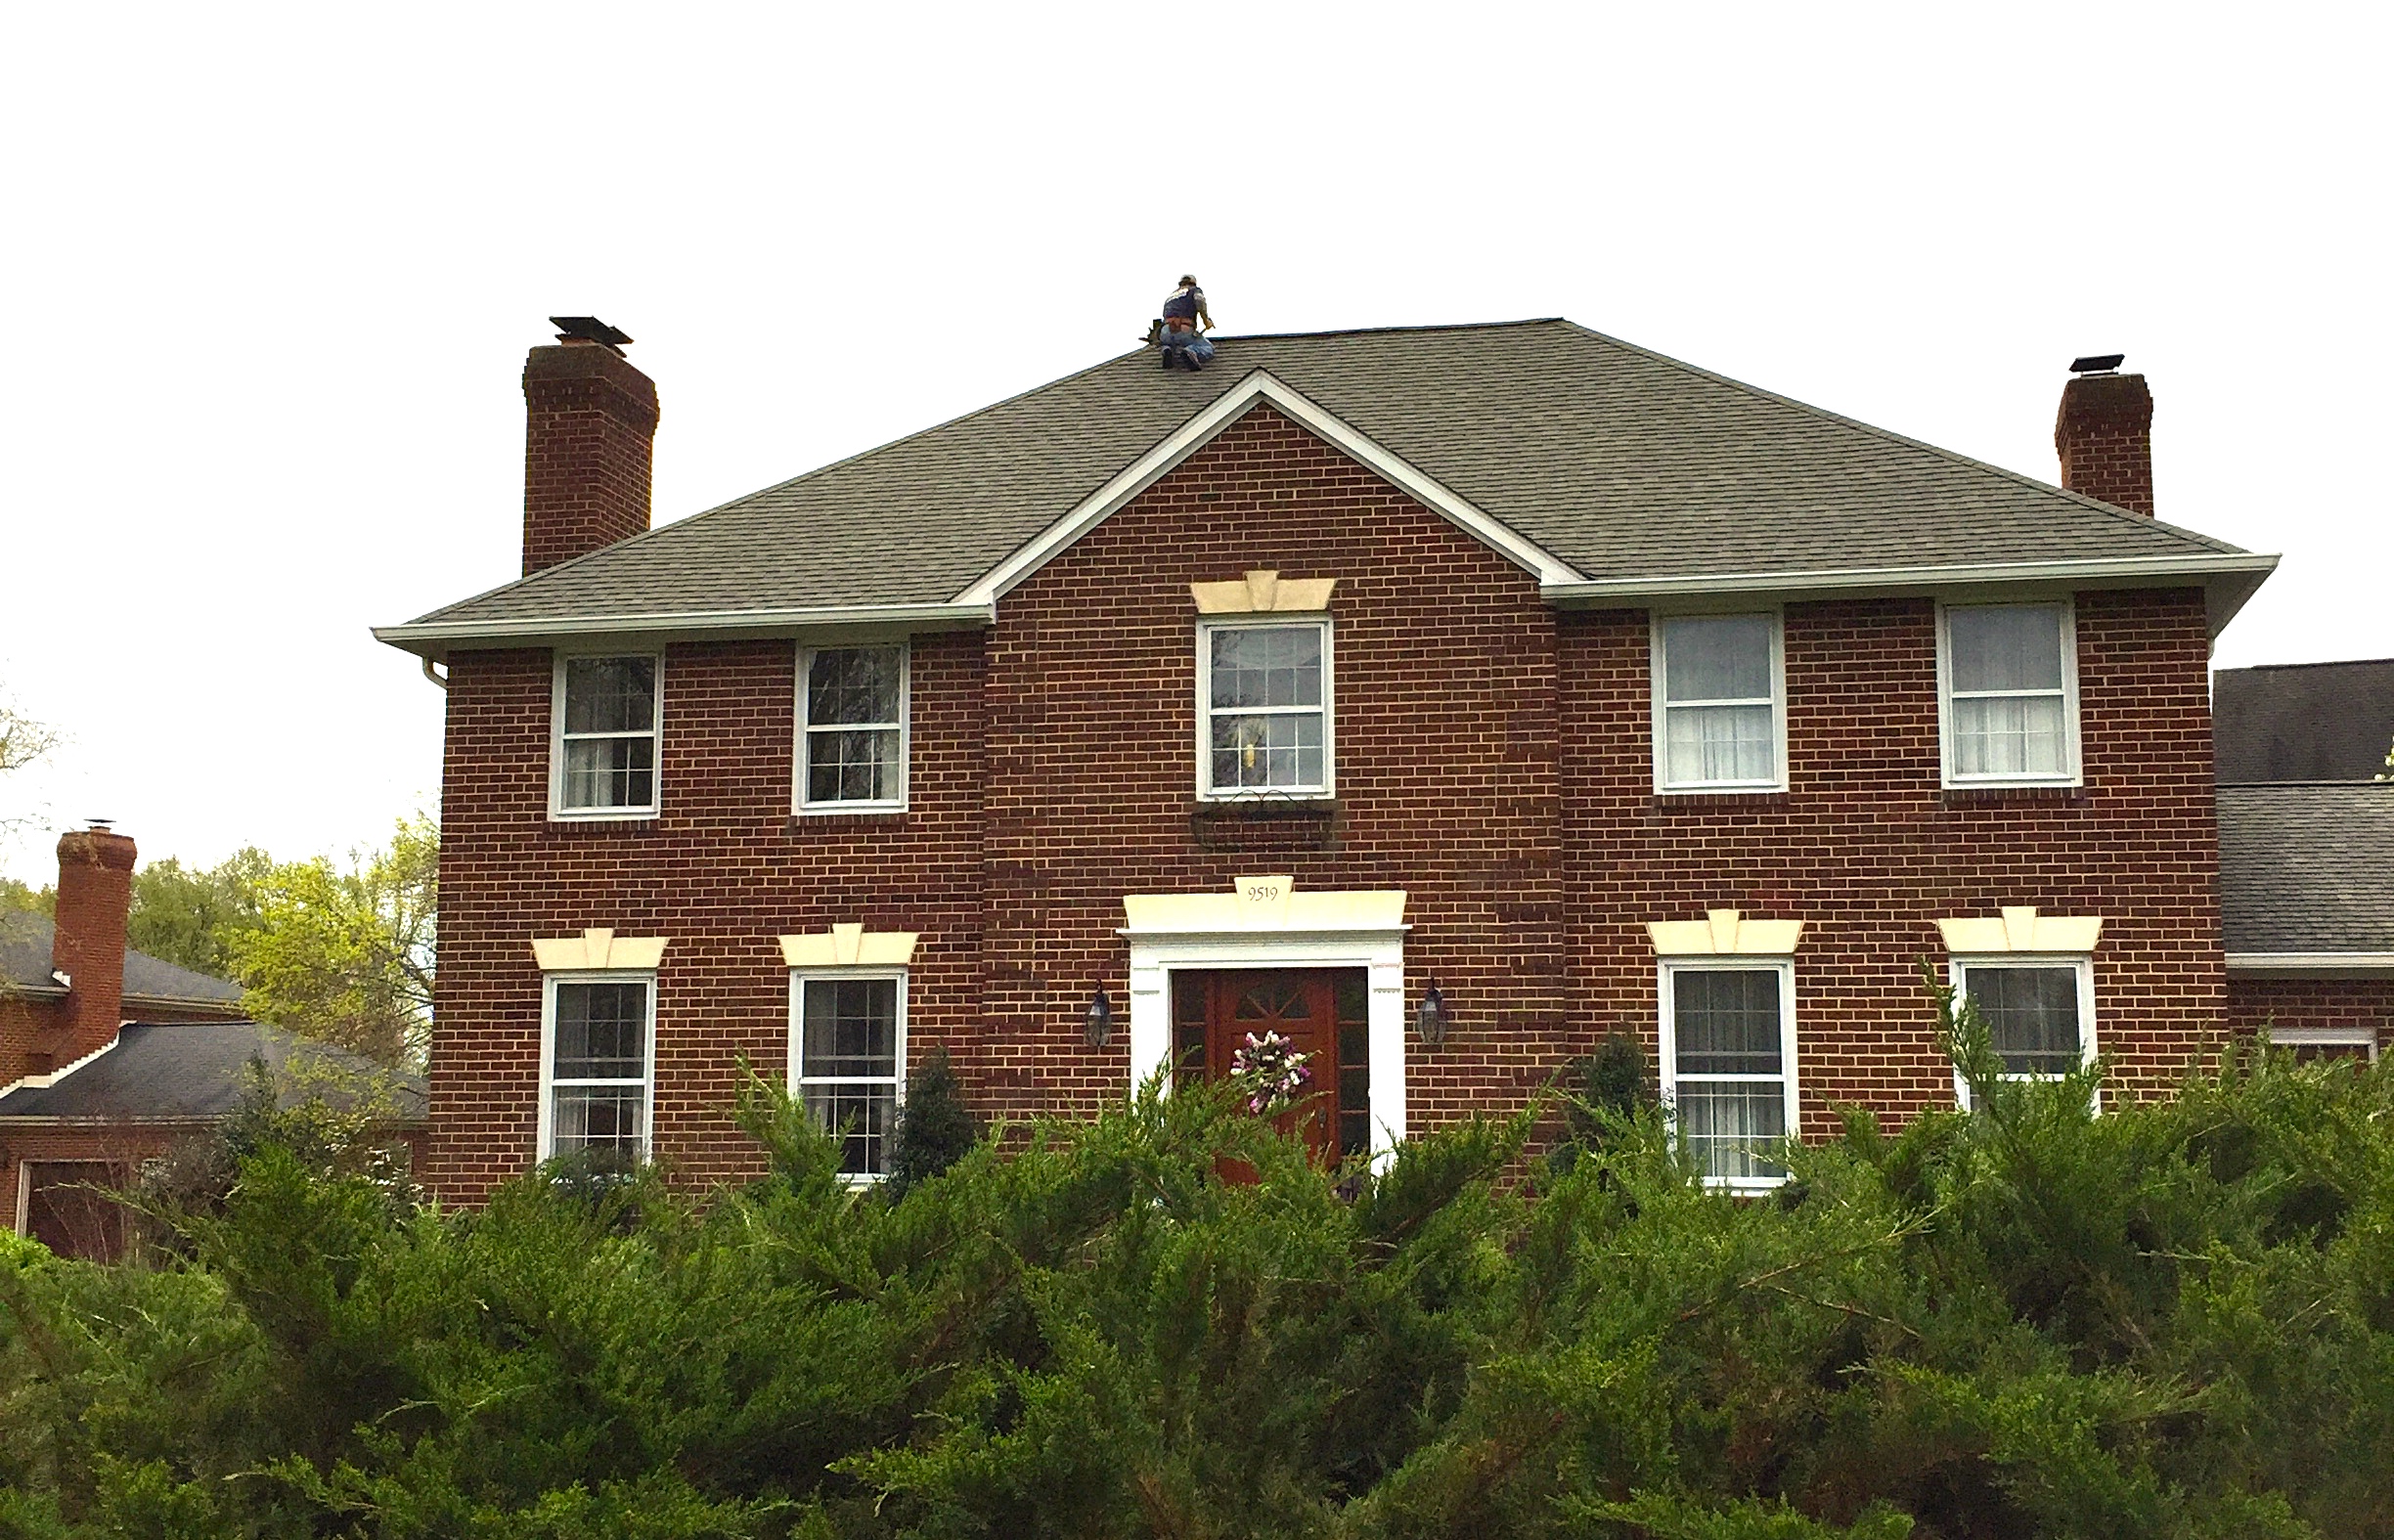
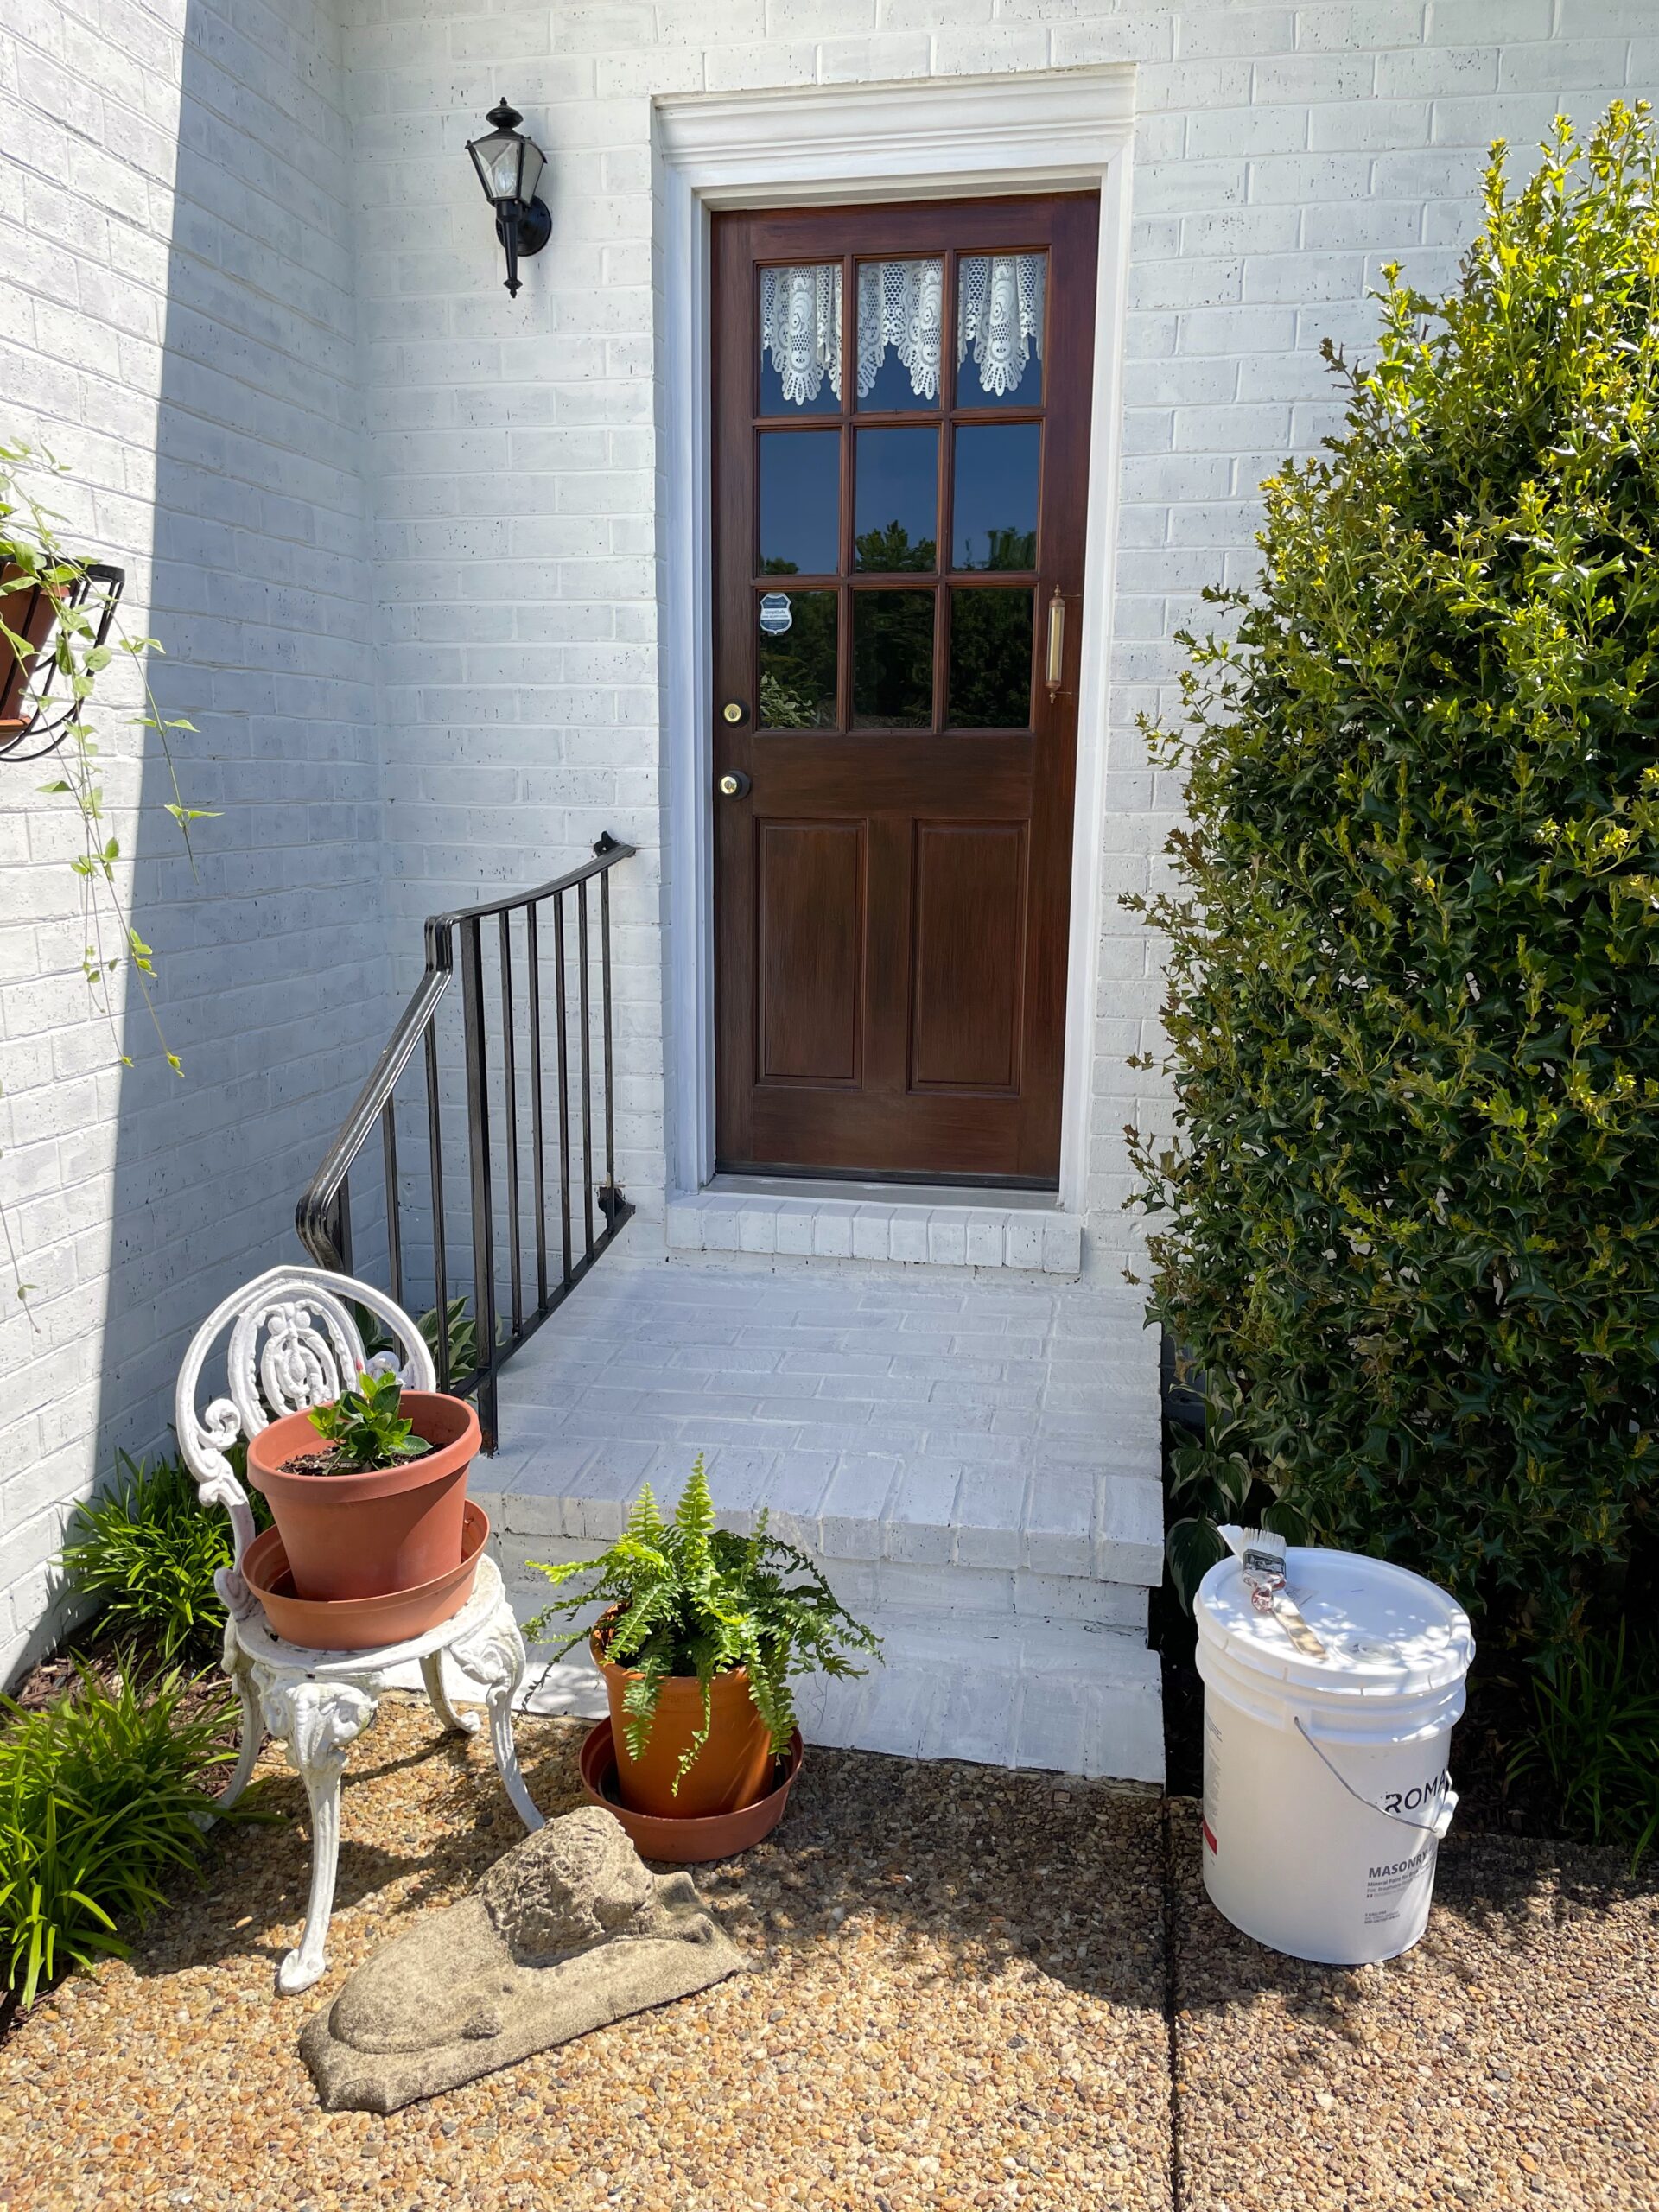
The first thing I did in my line-up of edits was painting the pediments above the windows and front door. Sometimes just highlighting an existing architectural feature of your home can add just the right amount of emphasis. After running out of good weather last year, I was finally able to get to the repairs needed to the bricks and bluestone on the front porch, then followed with lime washing the stair risers on both front porches. Finally, sanding and painting the iron railings added some needed safety and I love how the glossy black railing stand out in front of the white backdrop. These were the finishing steps in the lime washing of the whole house that I started last year. Getting these done brightens up the front entrance immeasurably, and as much as I had fun, it feels great to check the box “done” on this huge project.
Next up was to add two more window boxes to the front of the house, for a total of four. The two largest ones I’ve had for years — one on the window above the front door and the other at the zig zag of the front walk. I added the two new ones on the front side of the garage. (They were given to me by my sweet daughter of choice! That makes them even more special.) For continuity, I filled each of them with botanicals and flowers in the same color combinations. There are more in pots on each of the front porches. Adding a bright splash of color is one of the quickest and best ways to amp up curb appeal!
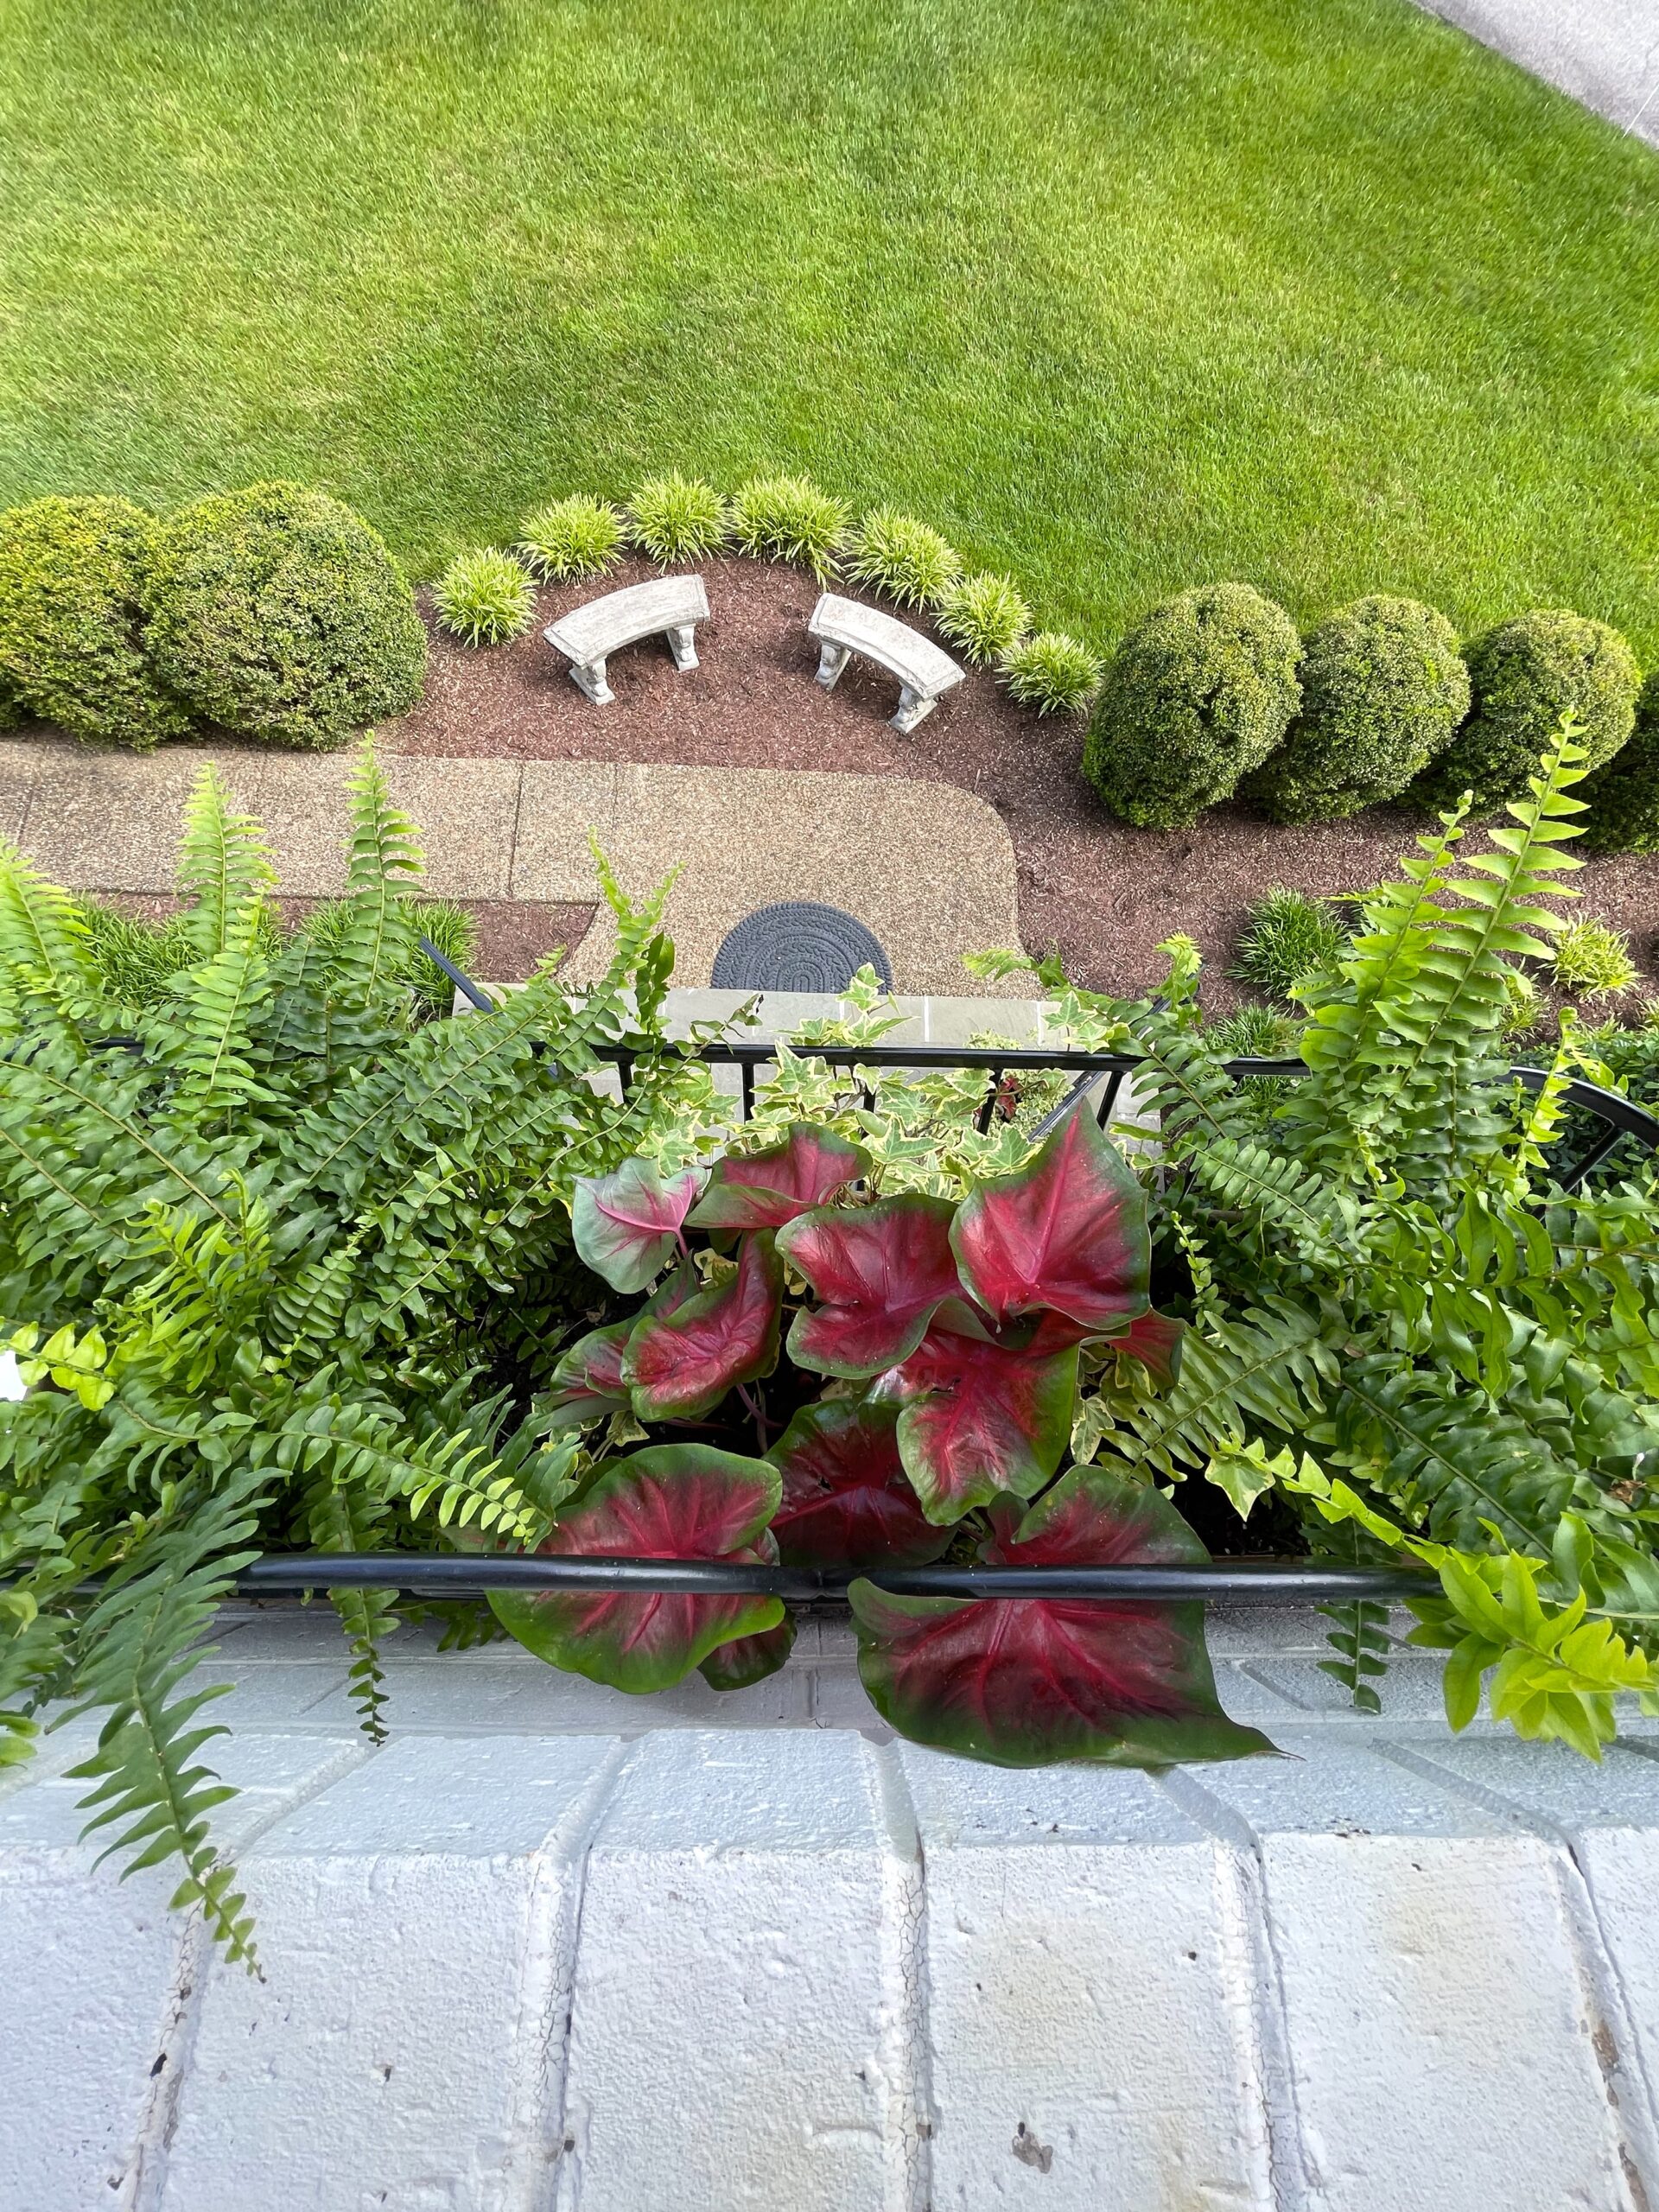
Here’s a bird’s eye view of the window box above the front door. I filled it with Boston fern, caladium, and variegated ivy.
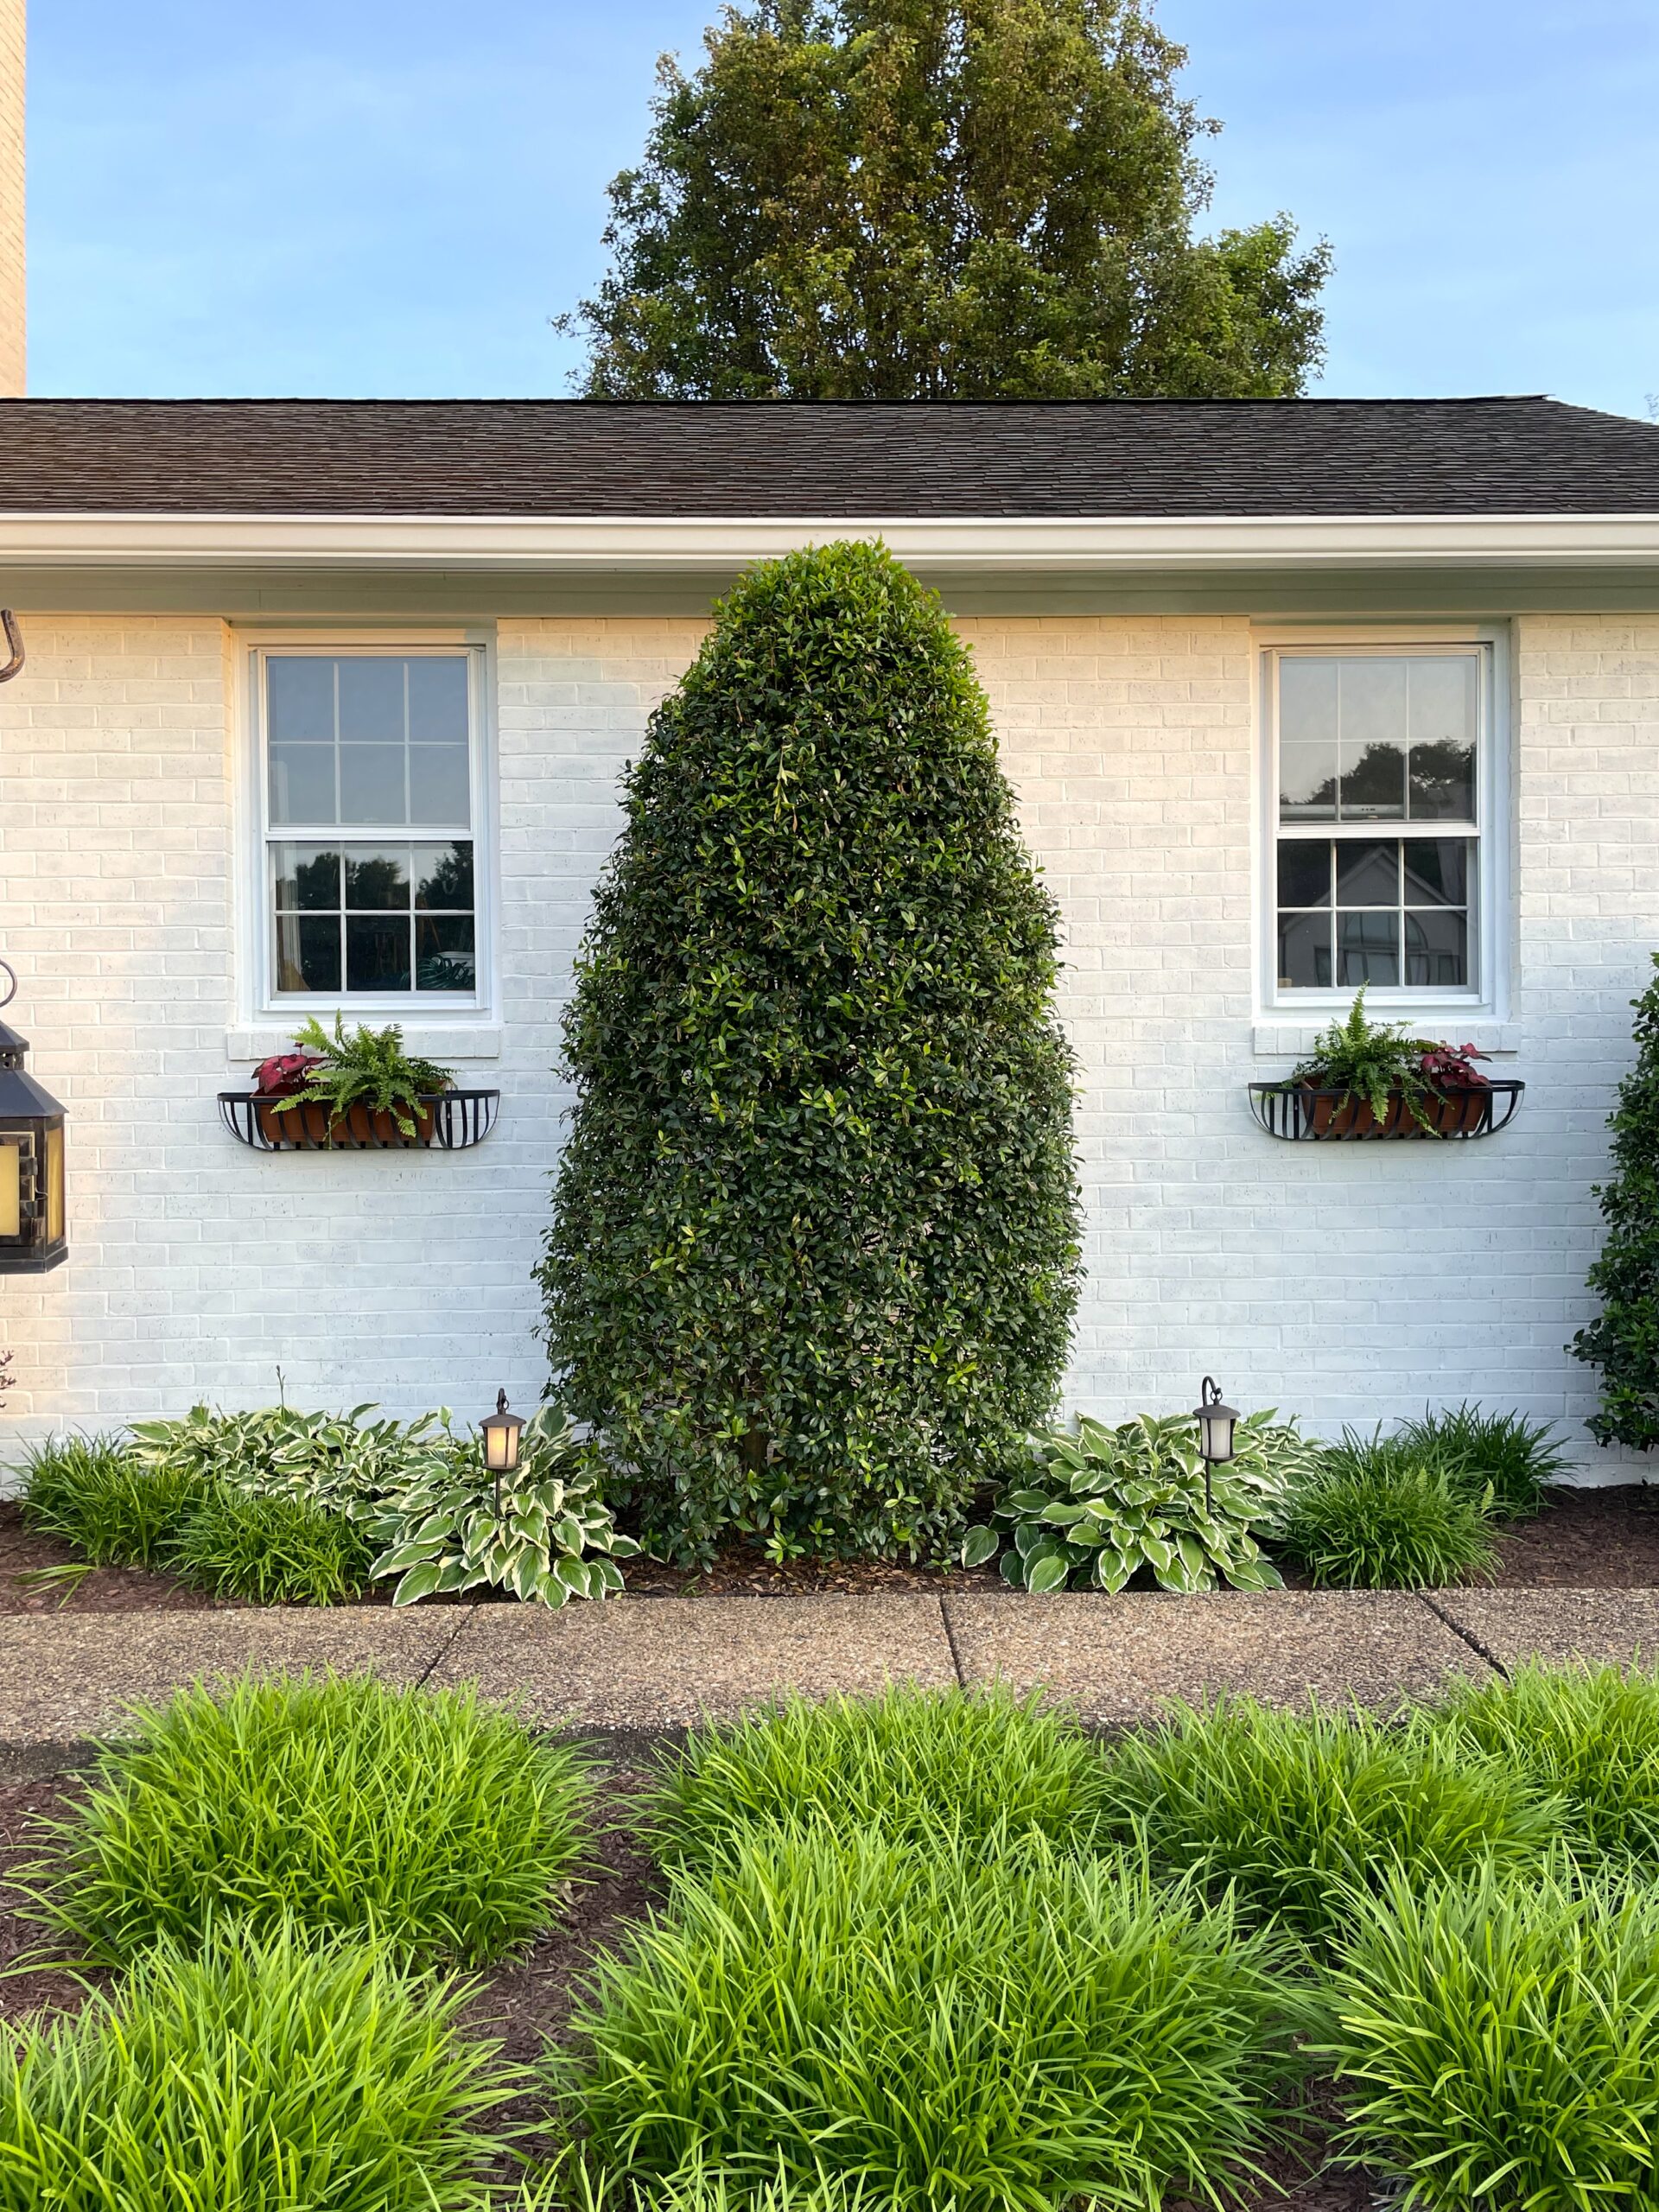
The two window boxes on both sides of the garage were each filled with a Boston fern, and caladium. Here’s a photo from further back, so you can see the effect.
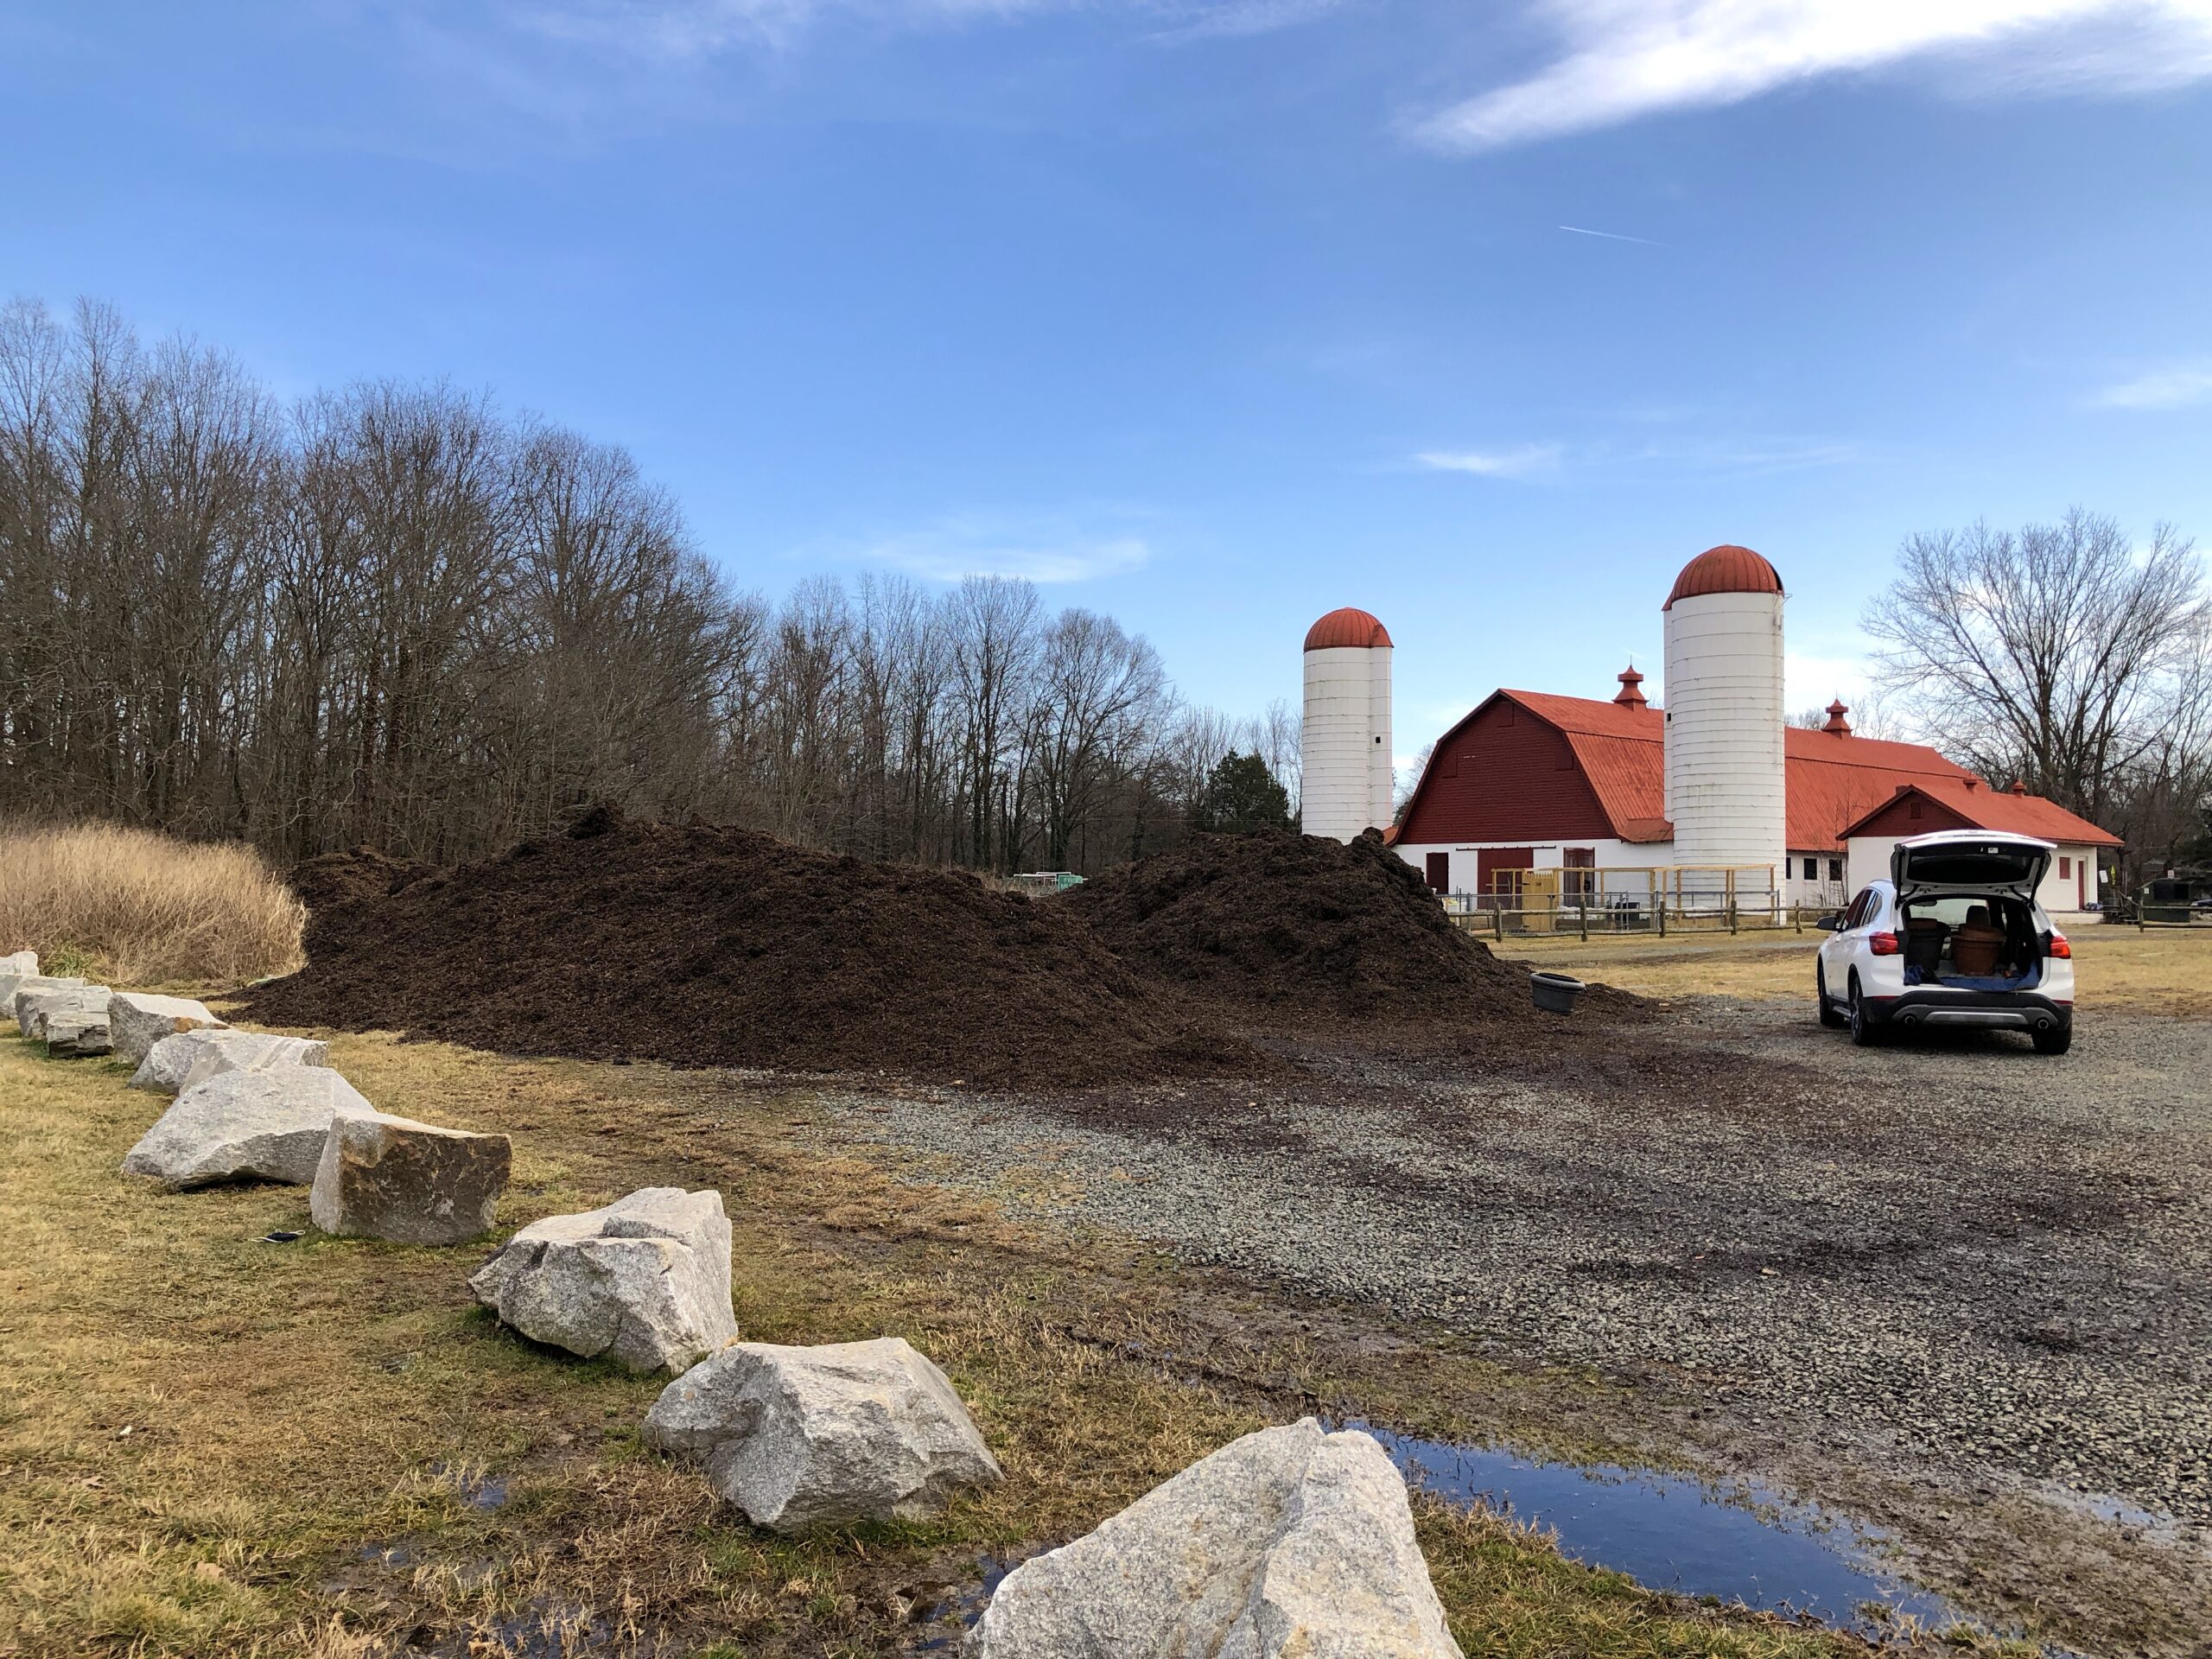
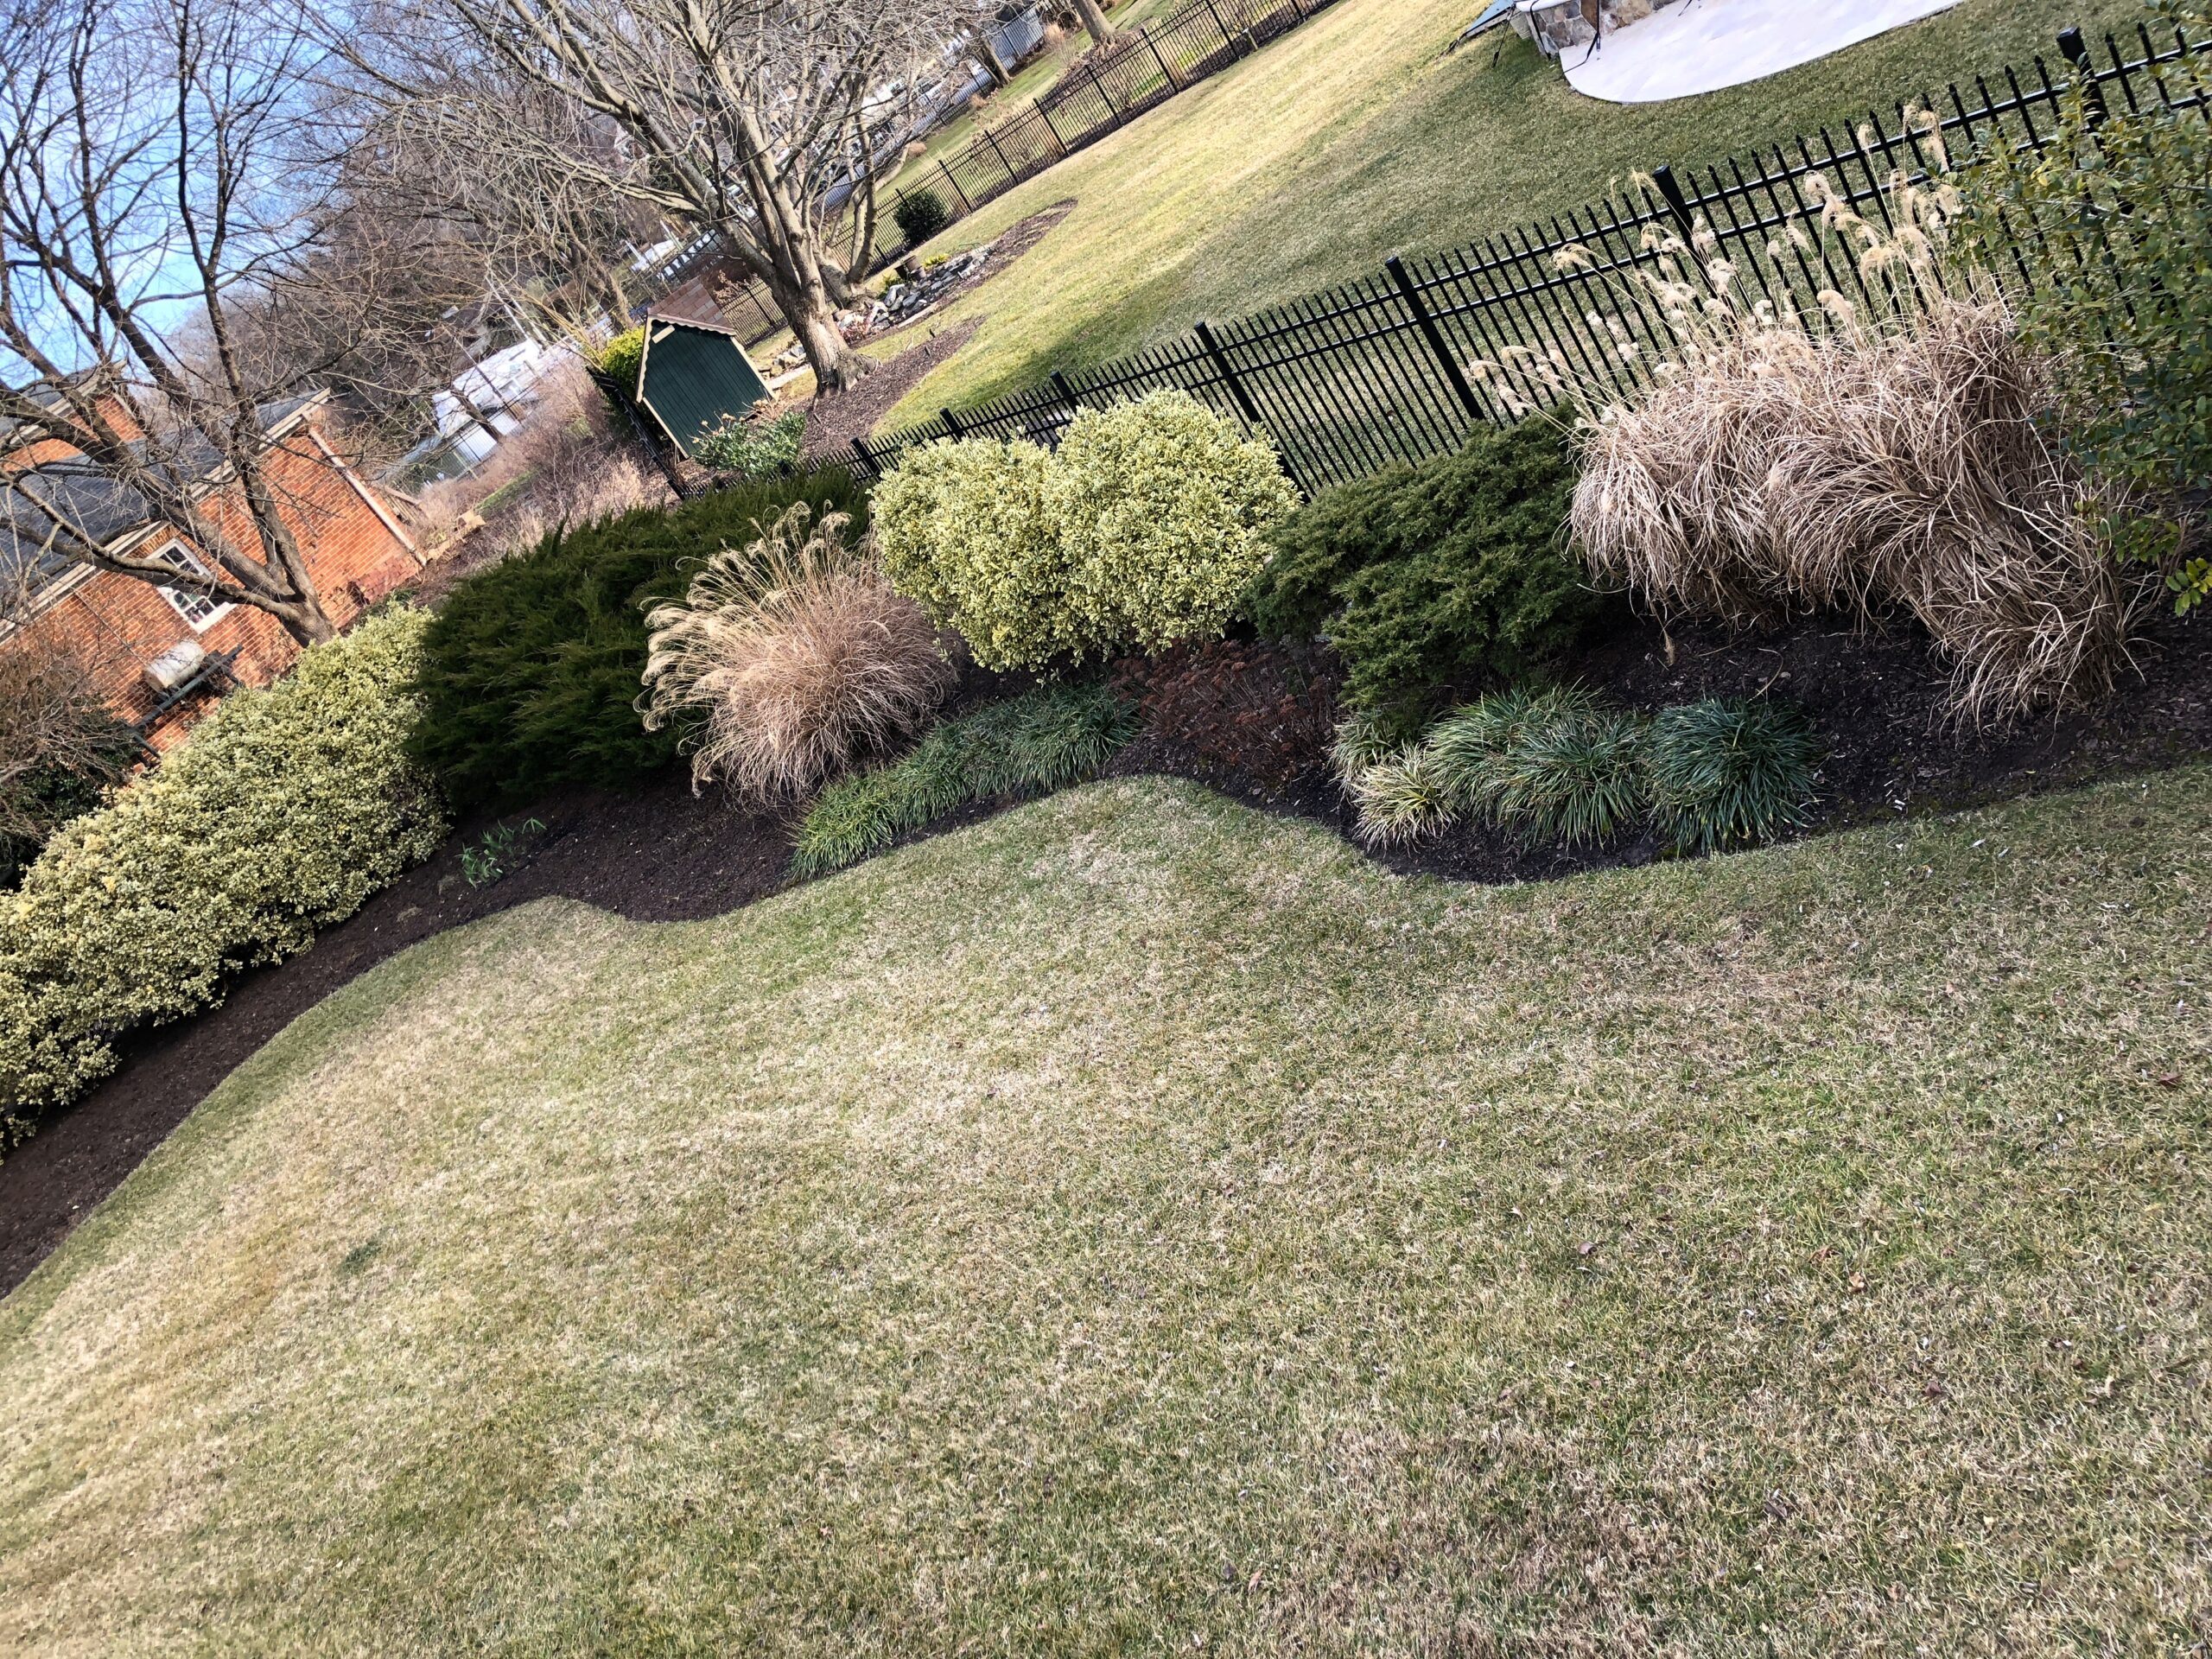
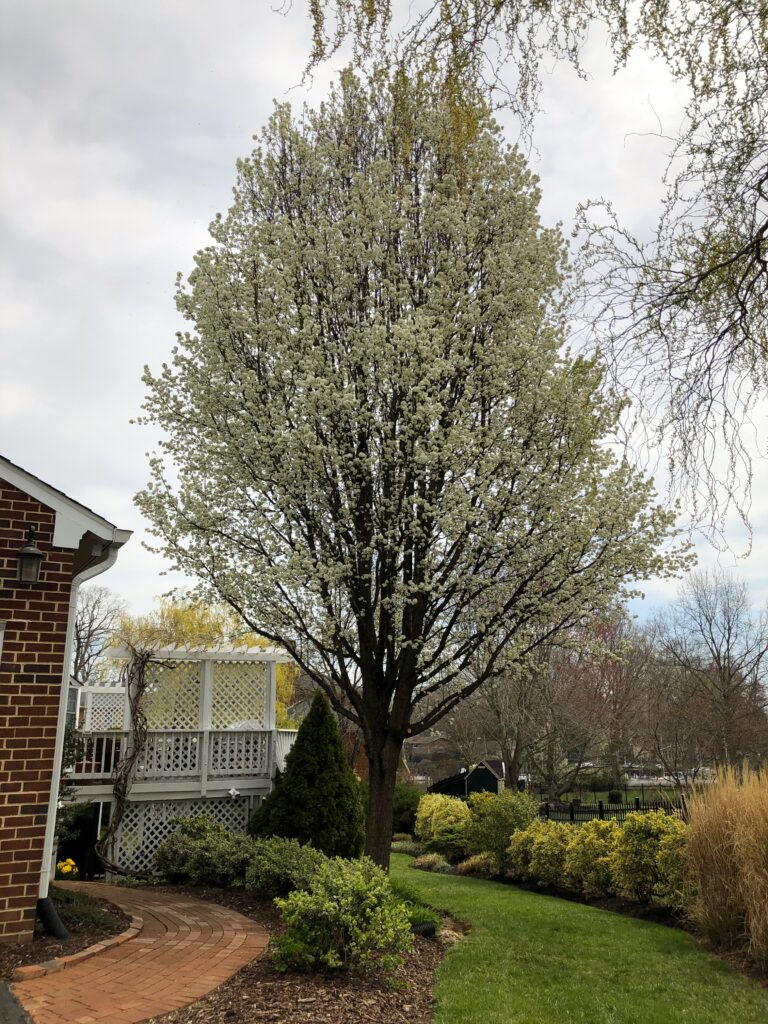
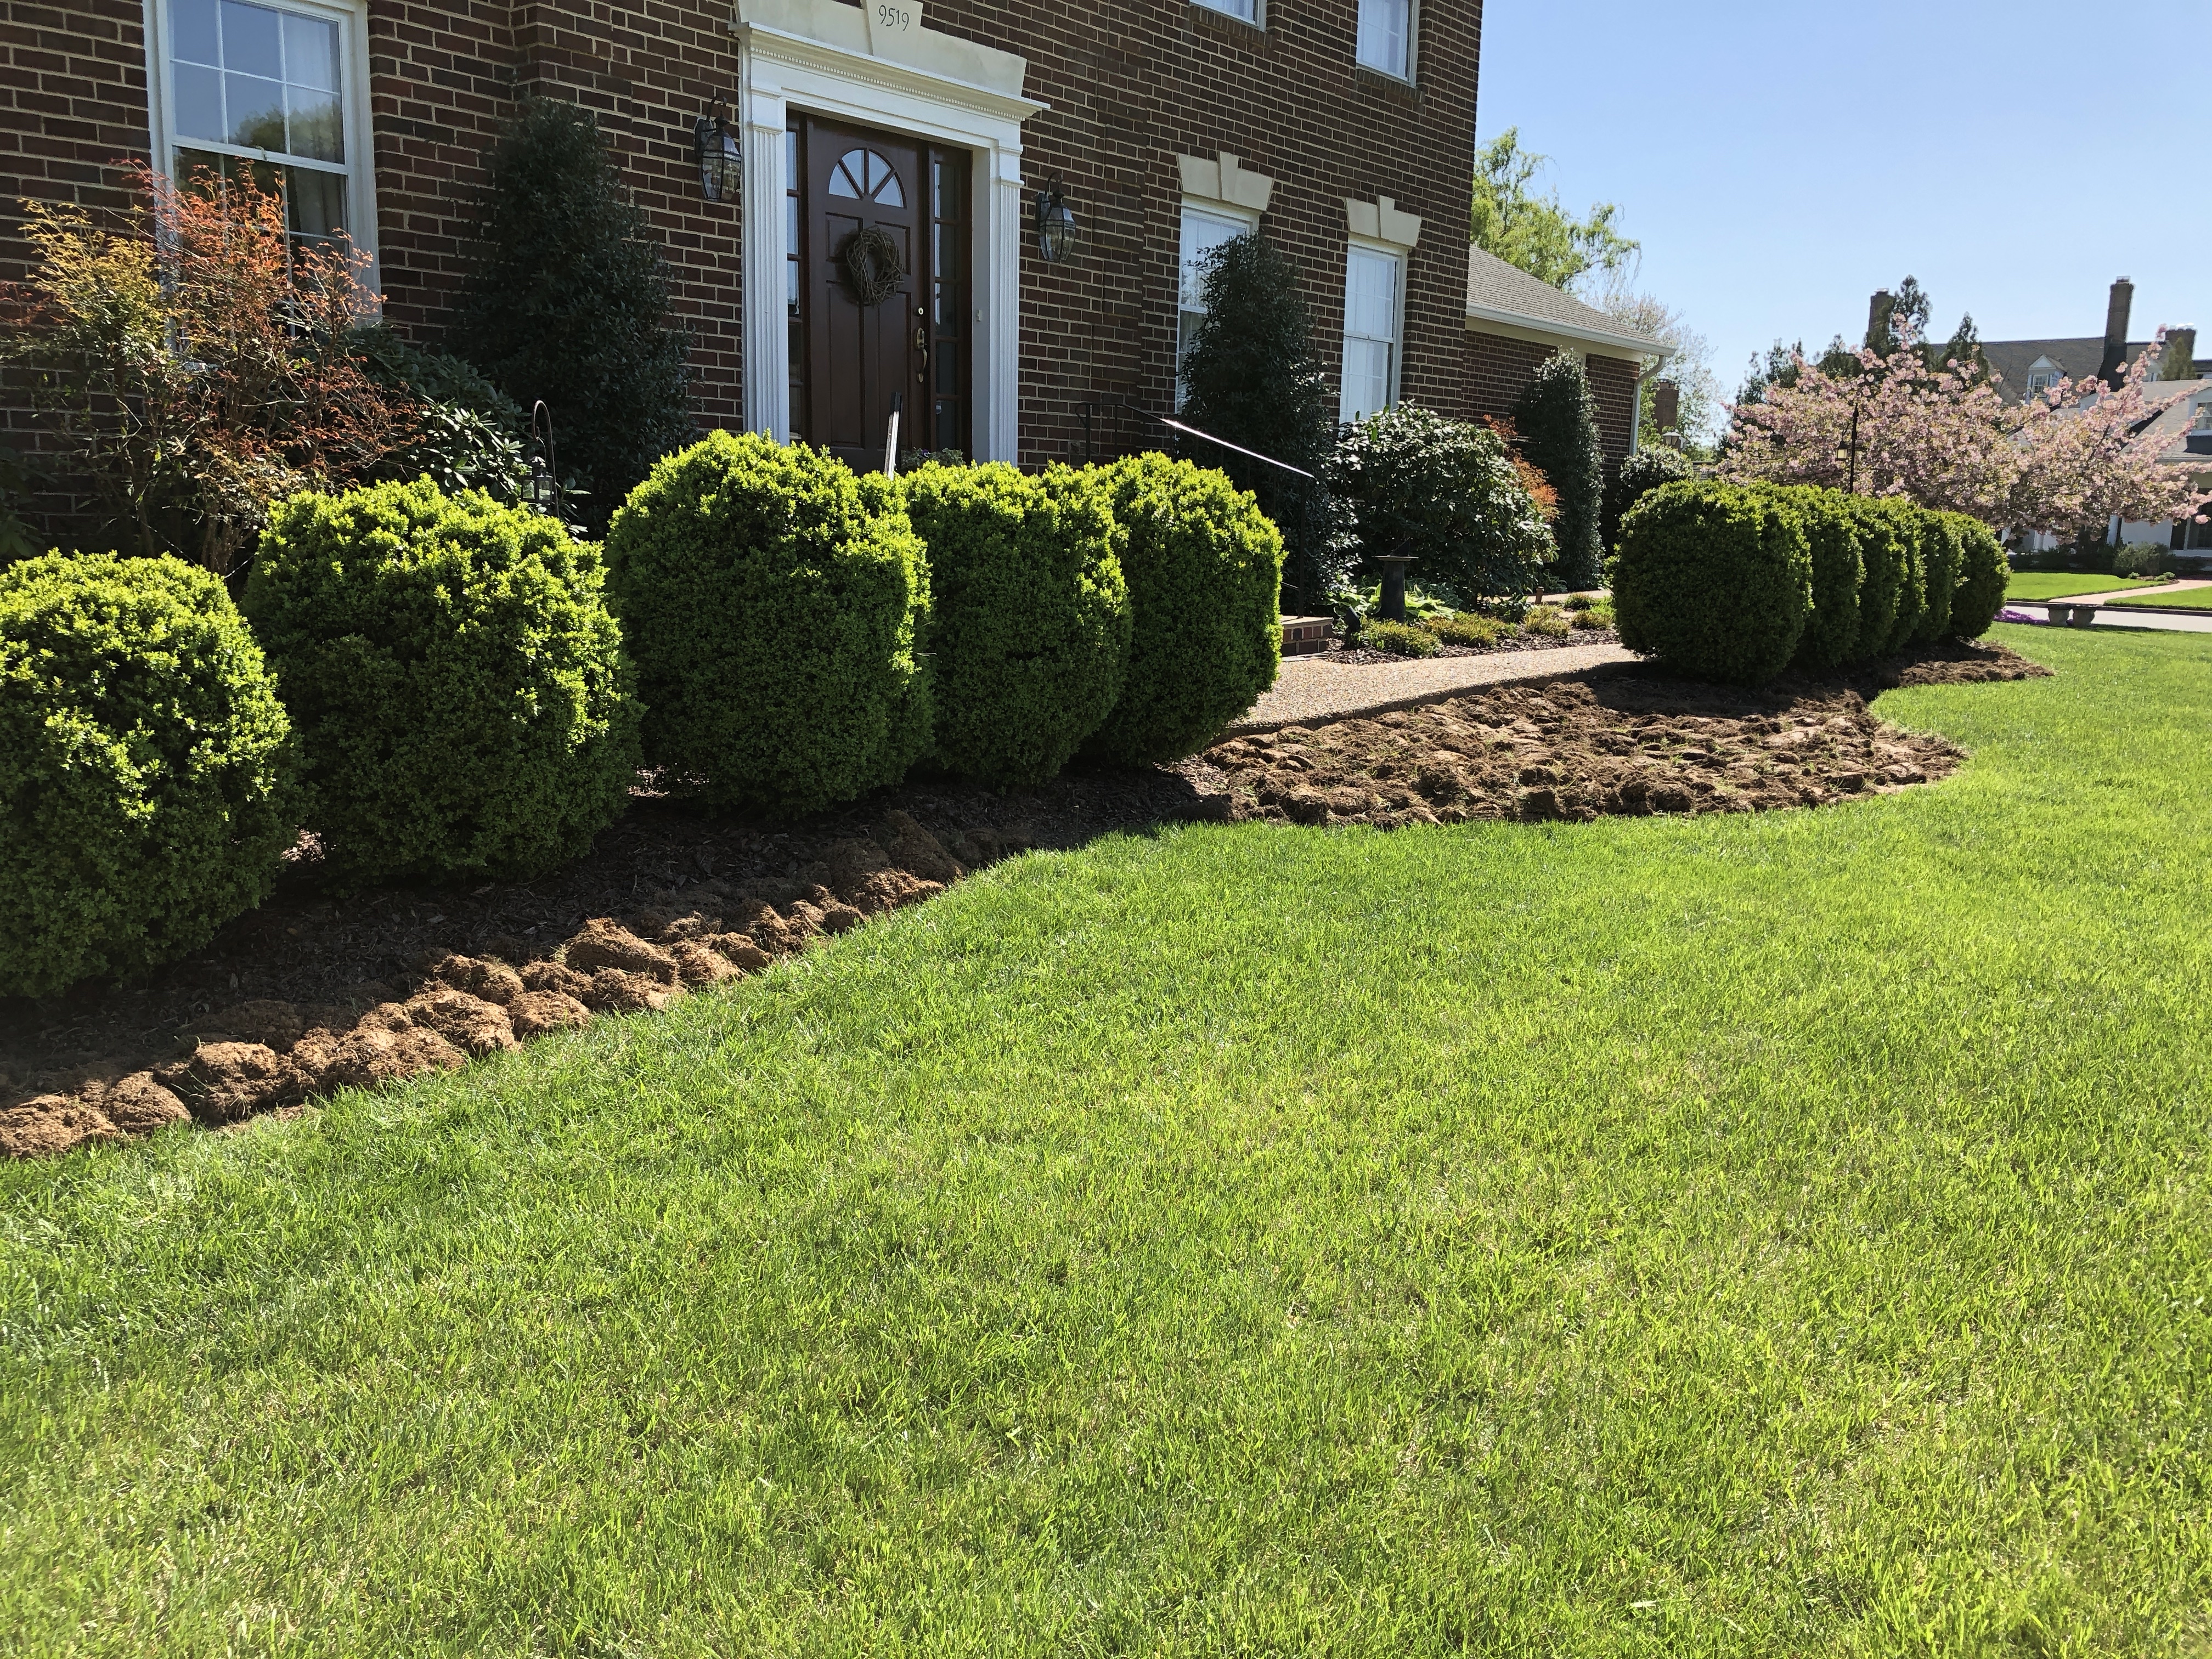
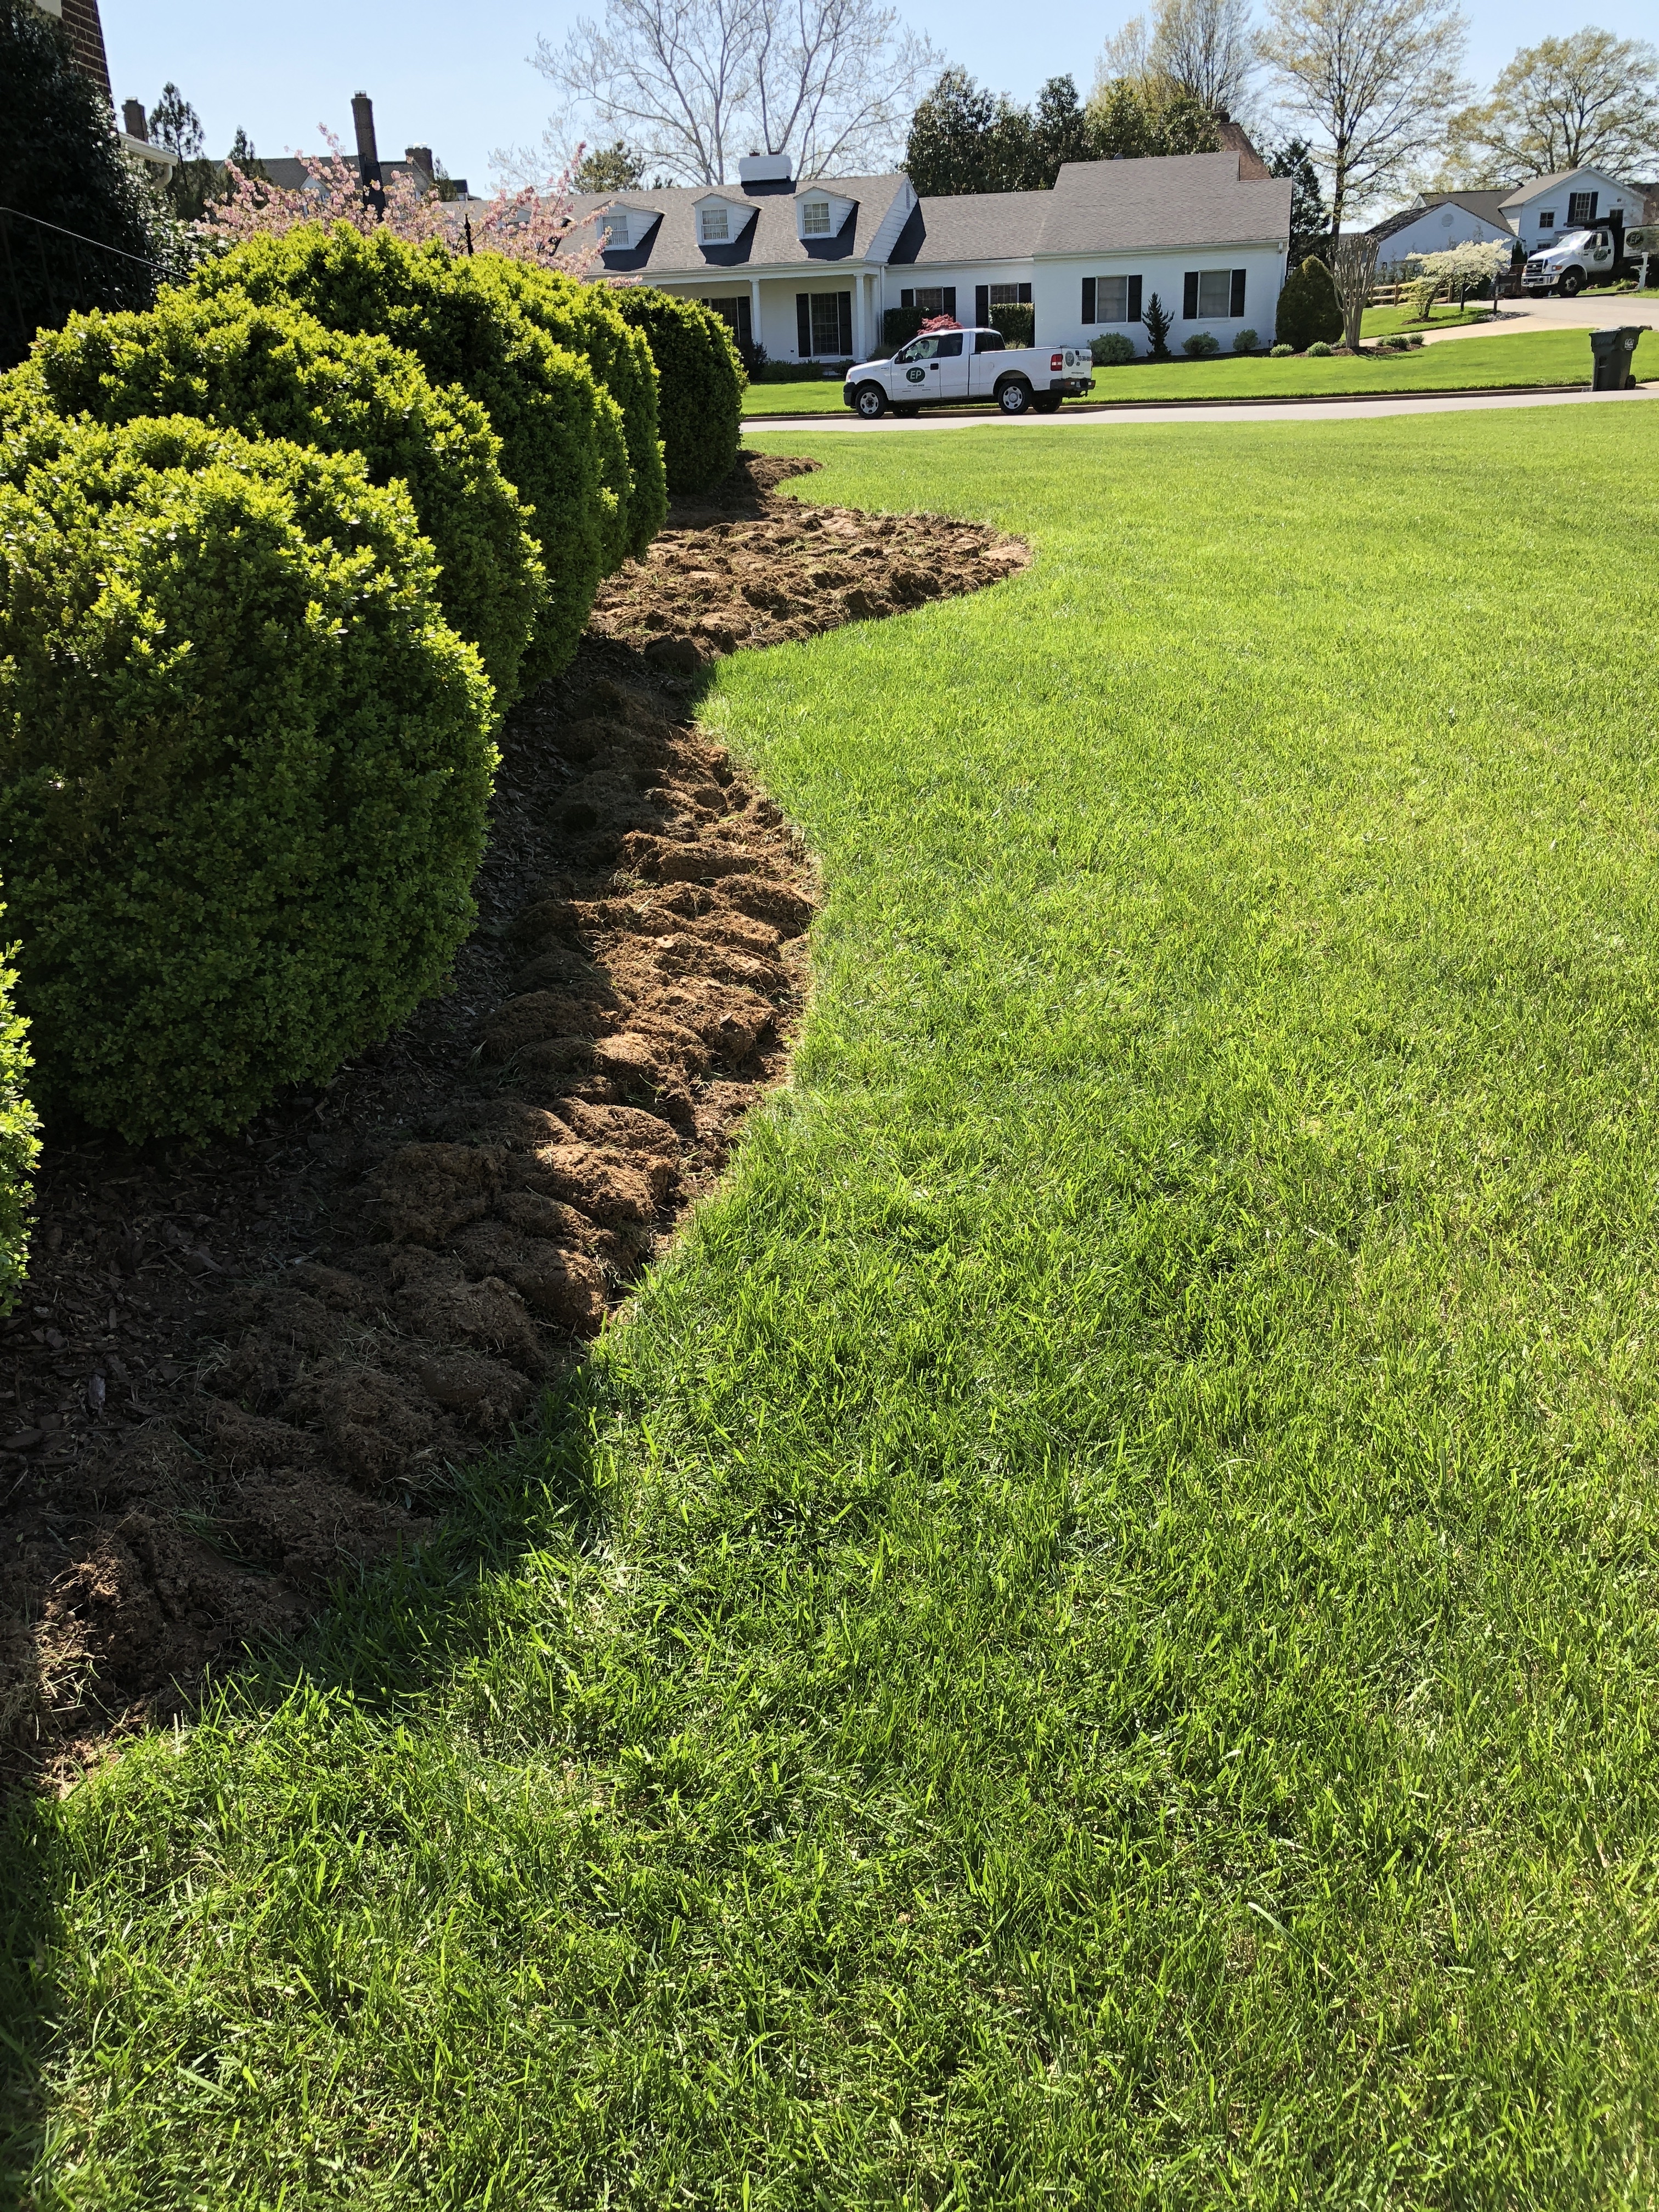
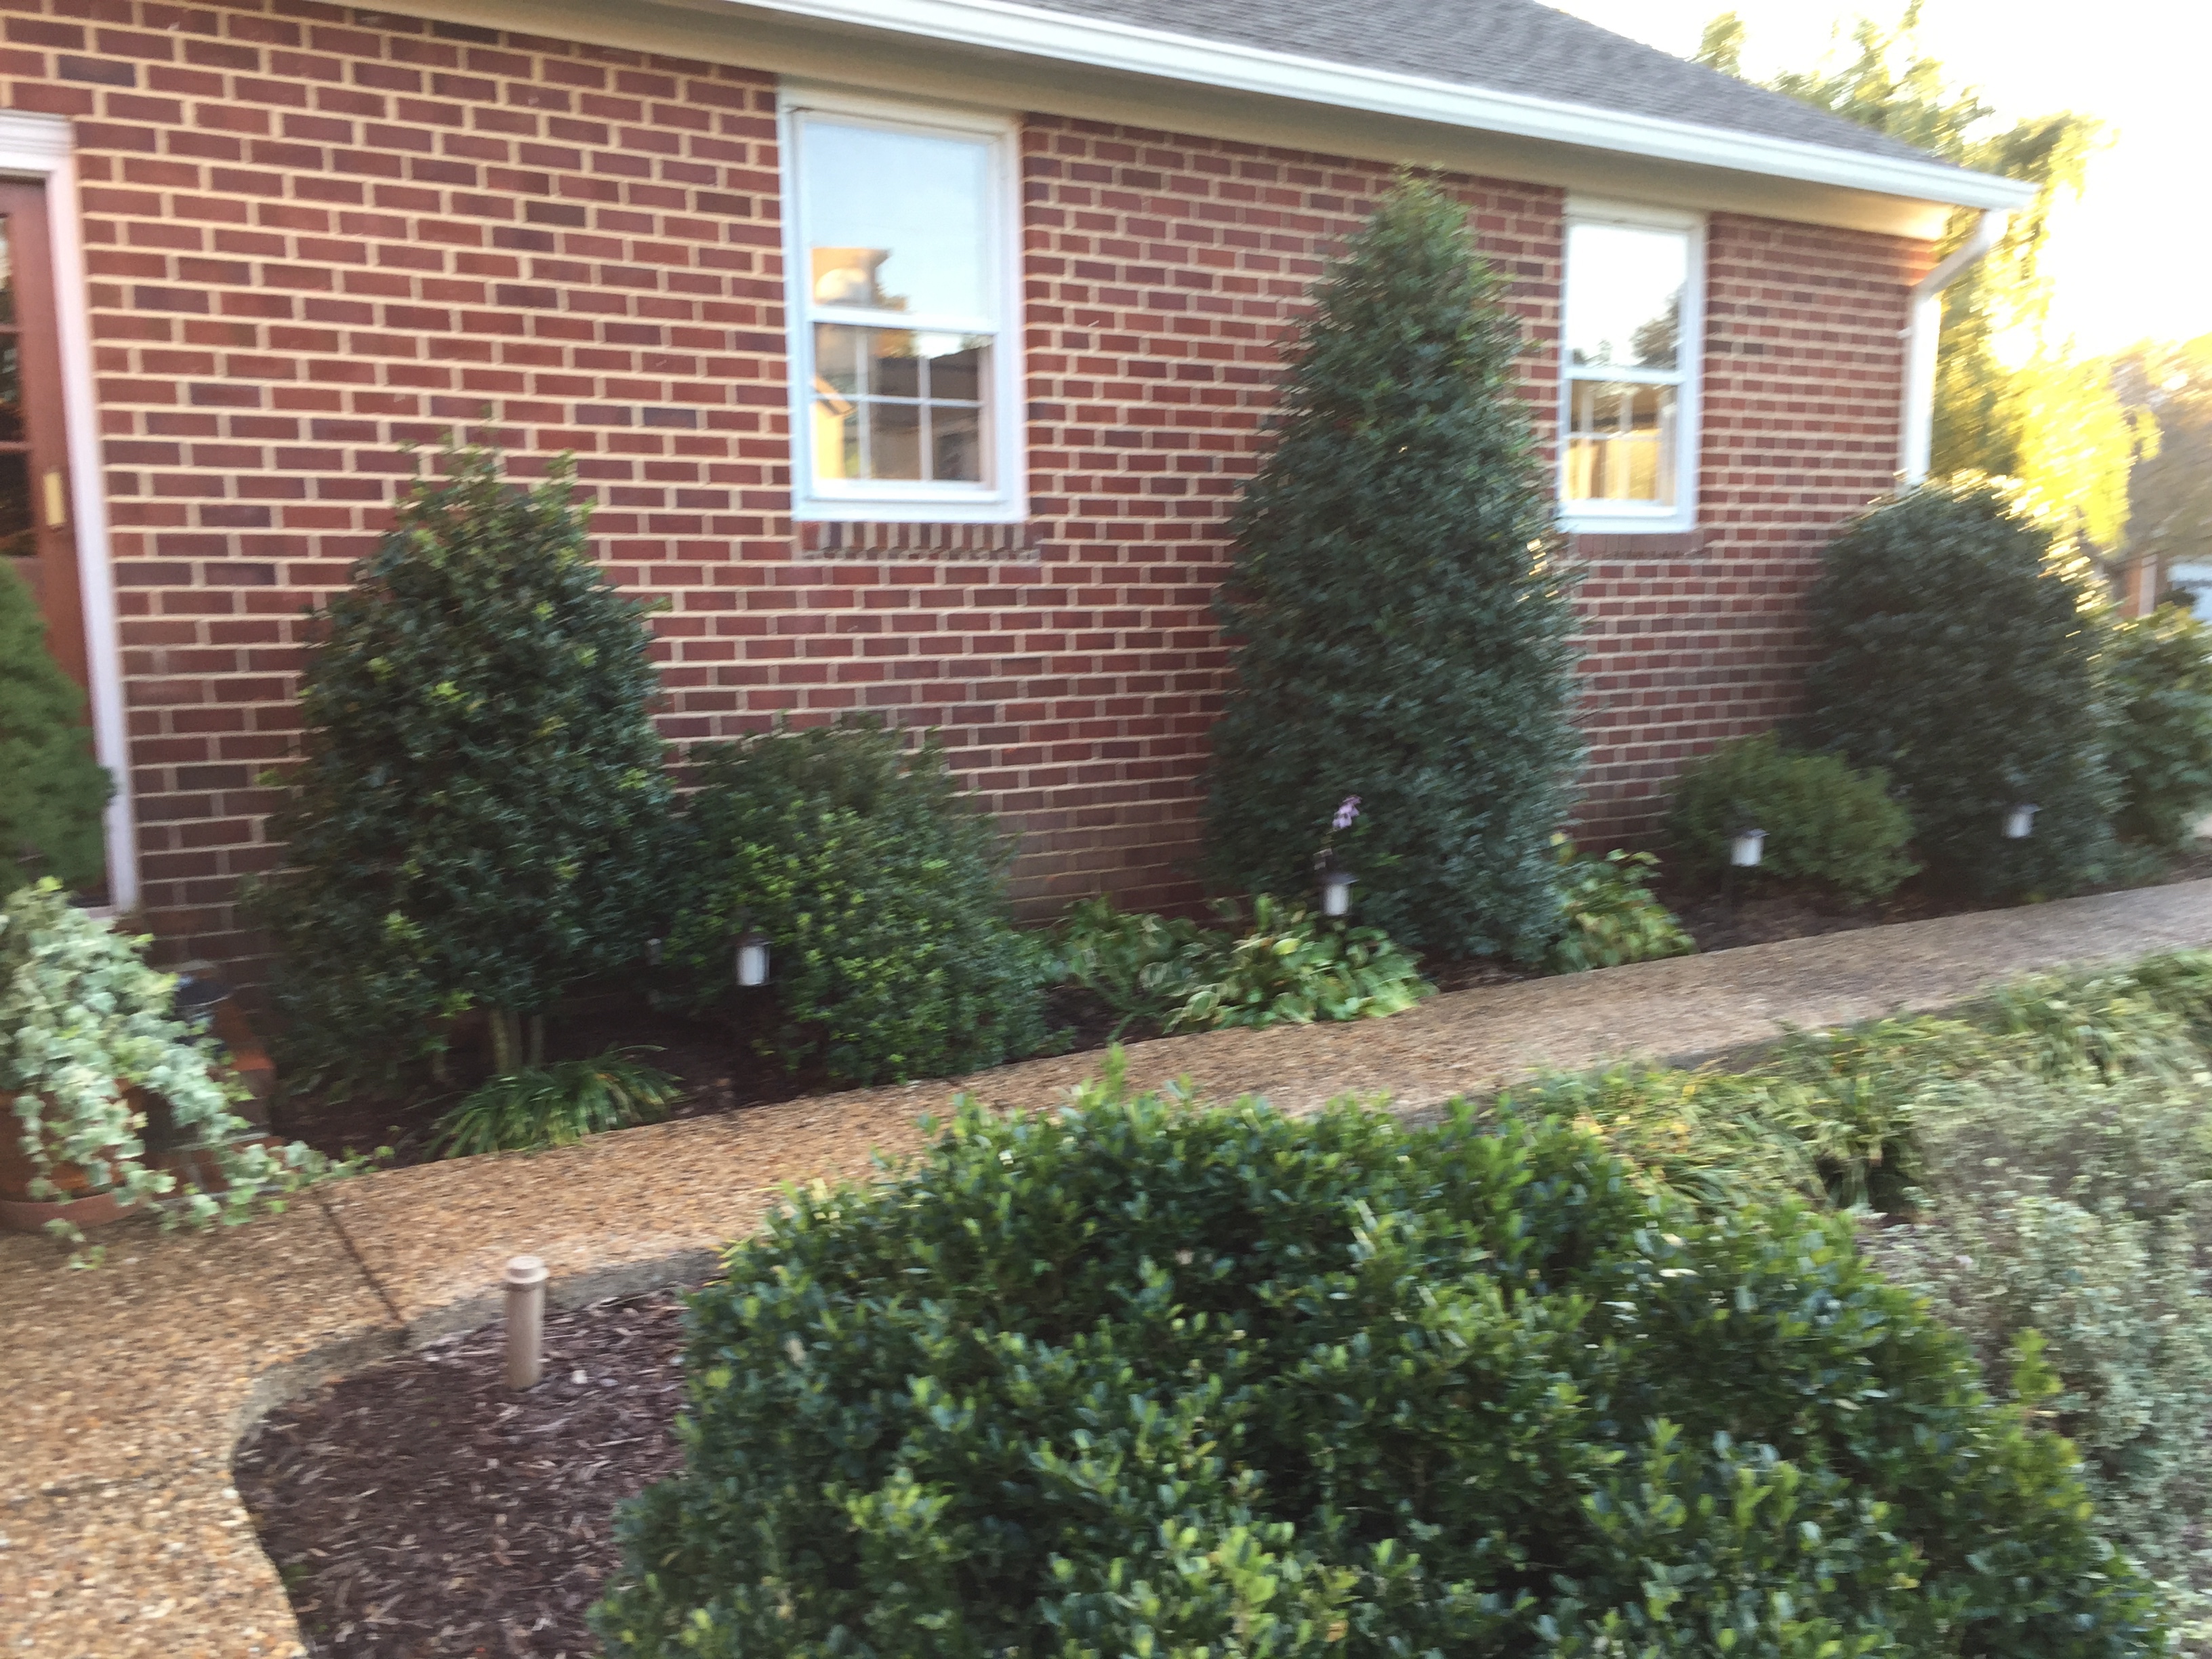
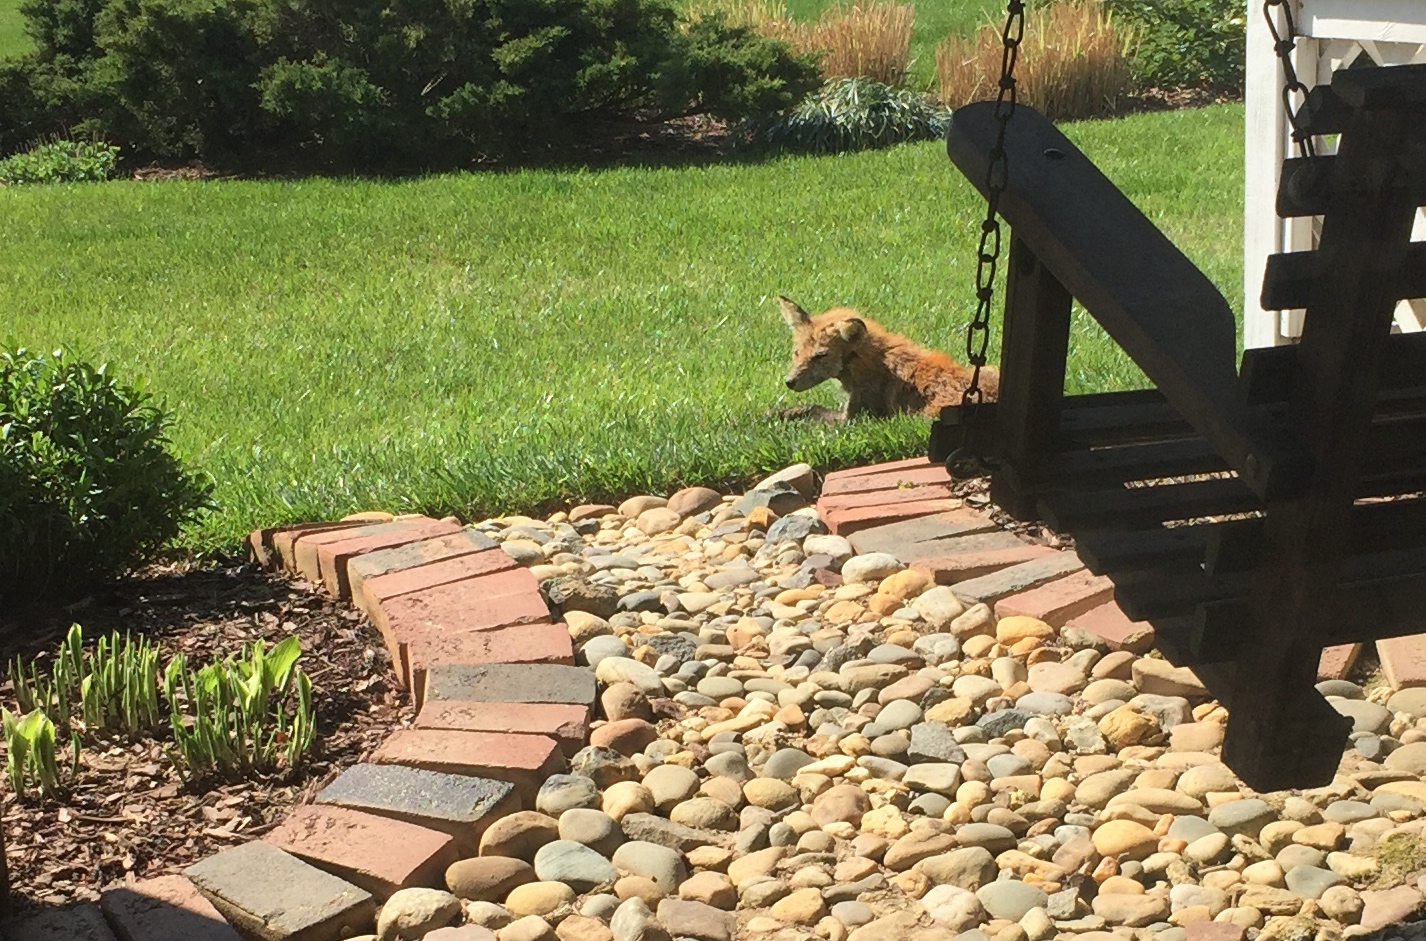
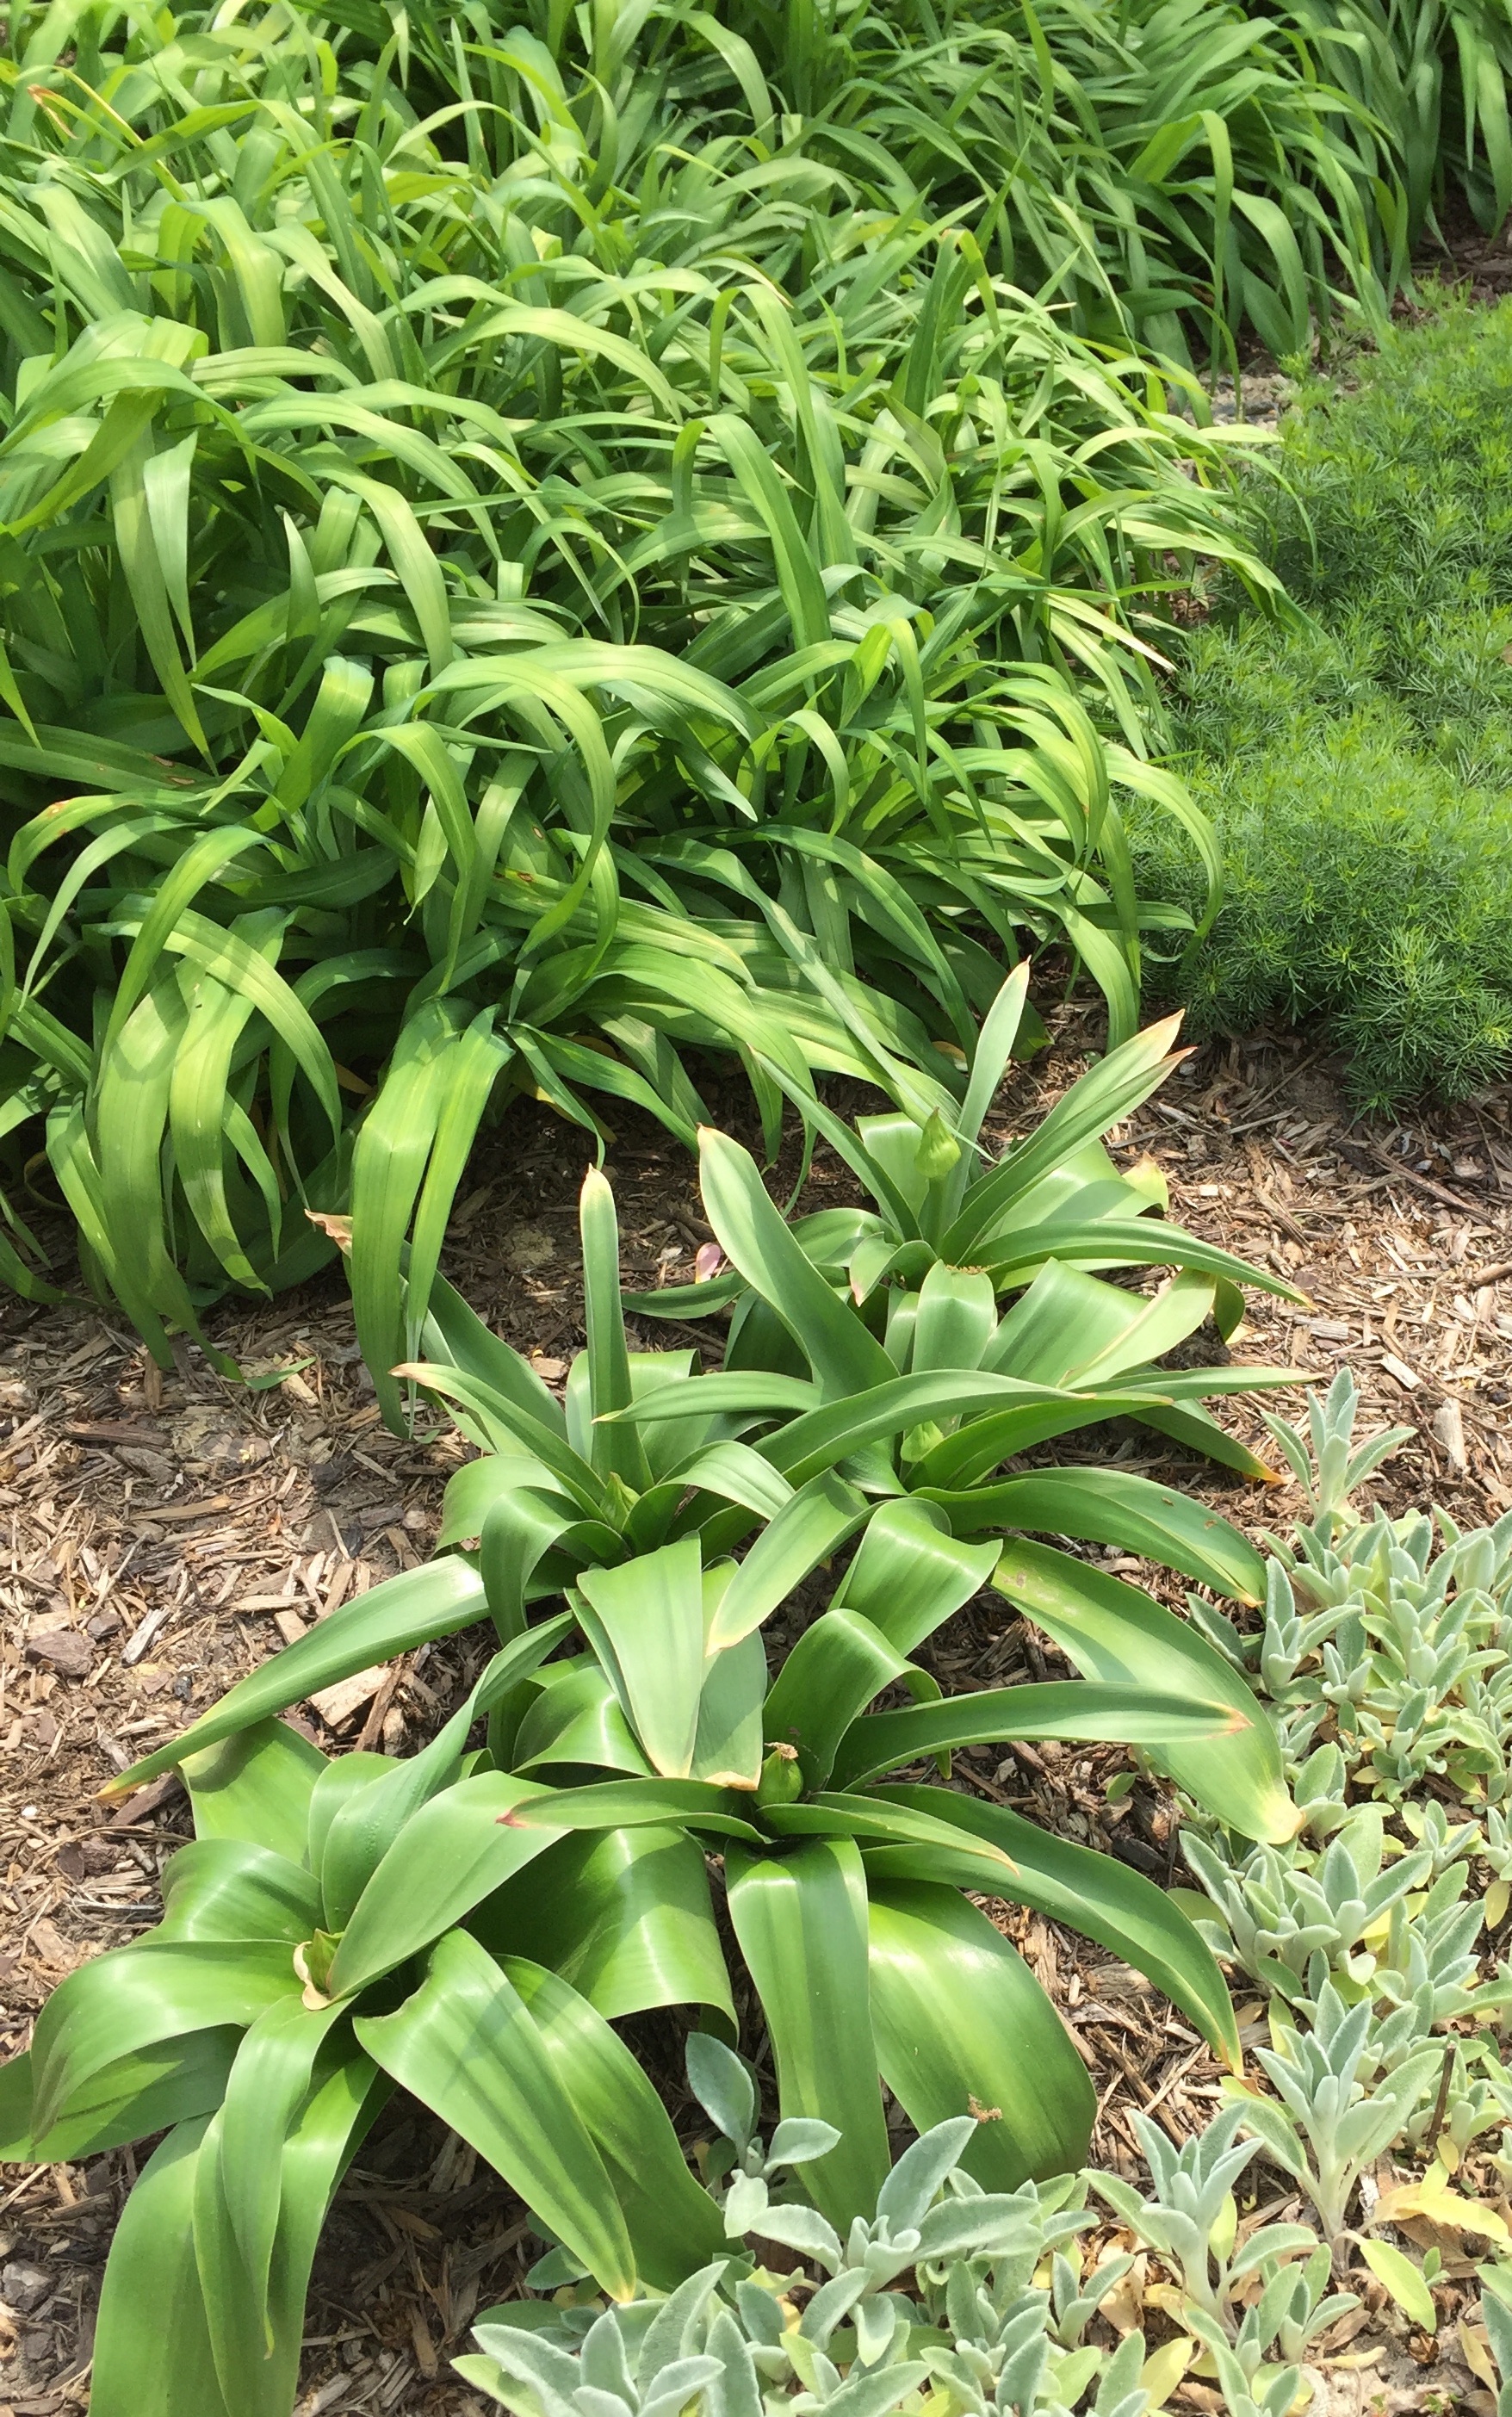
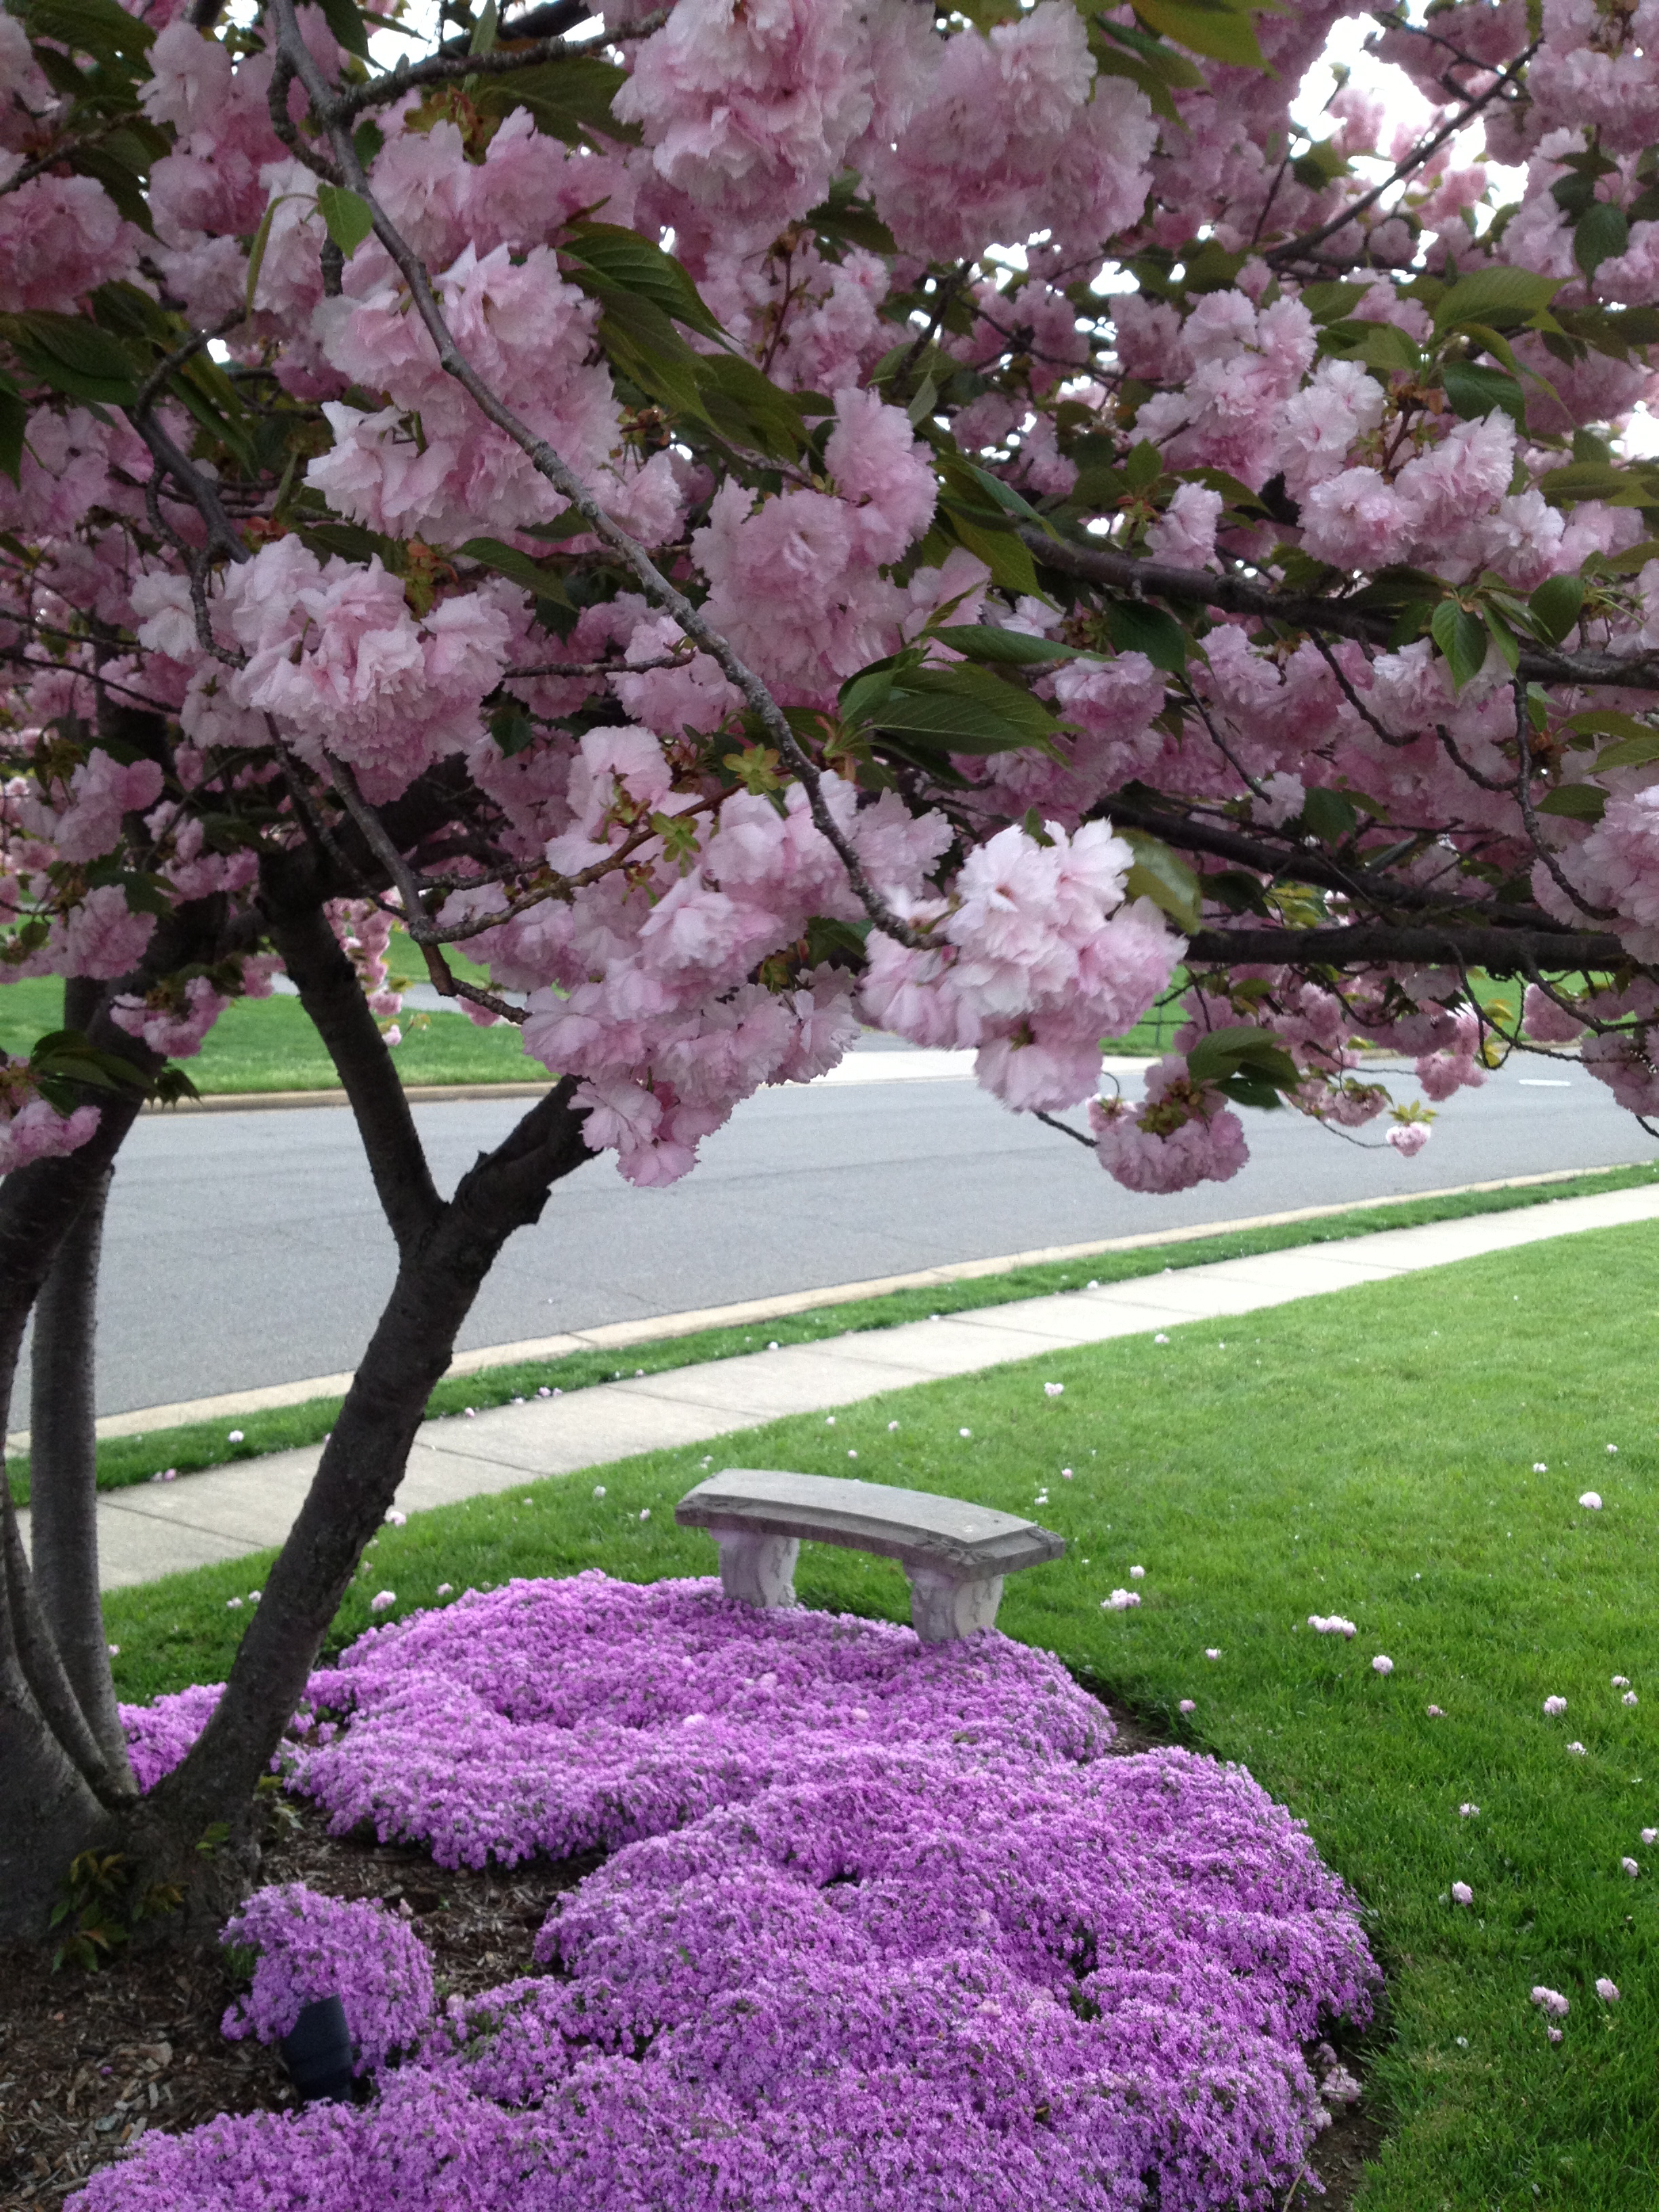
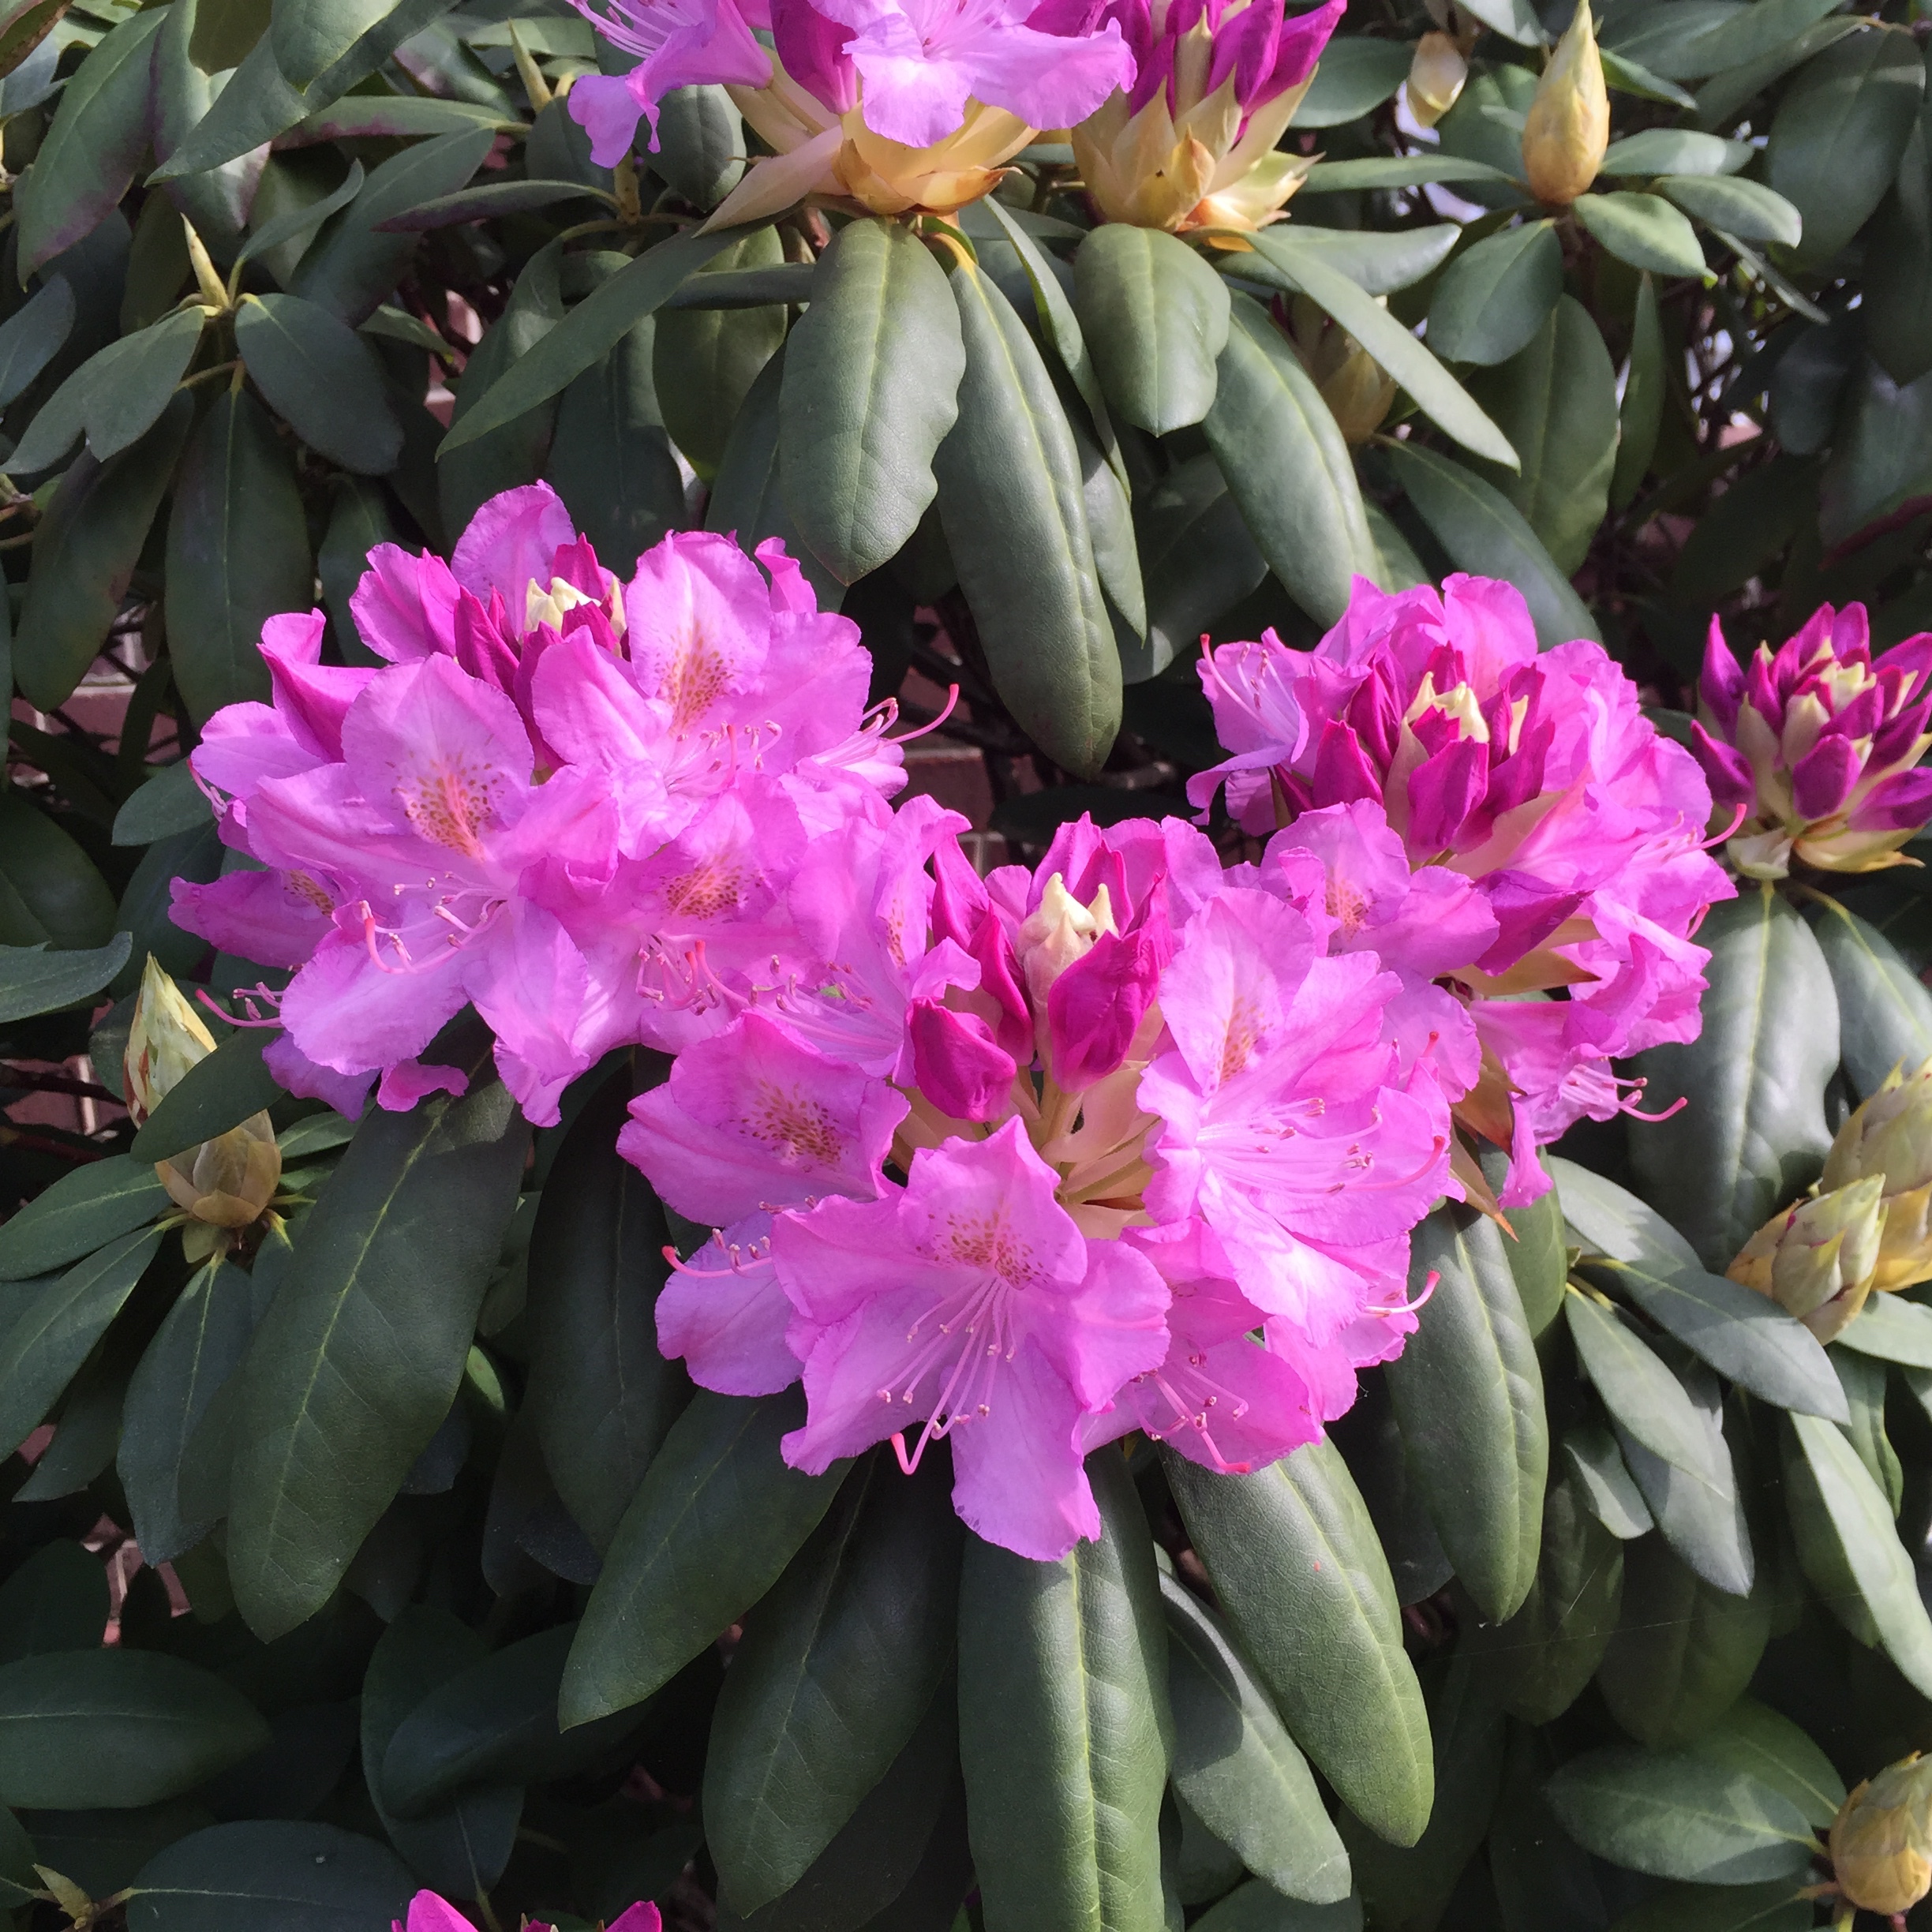
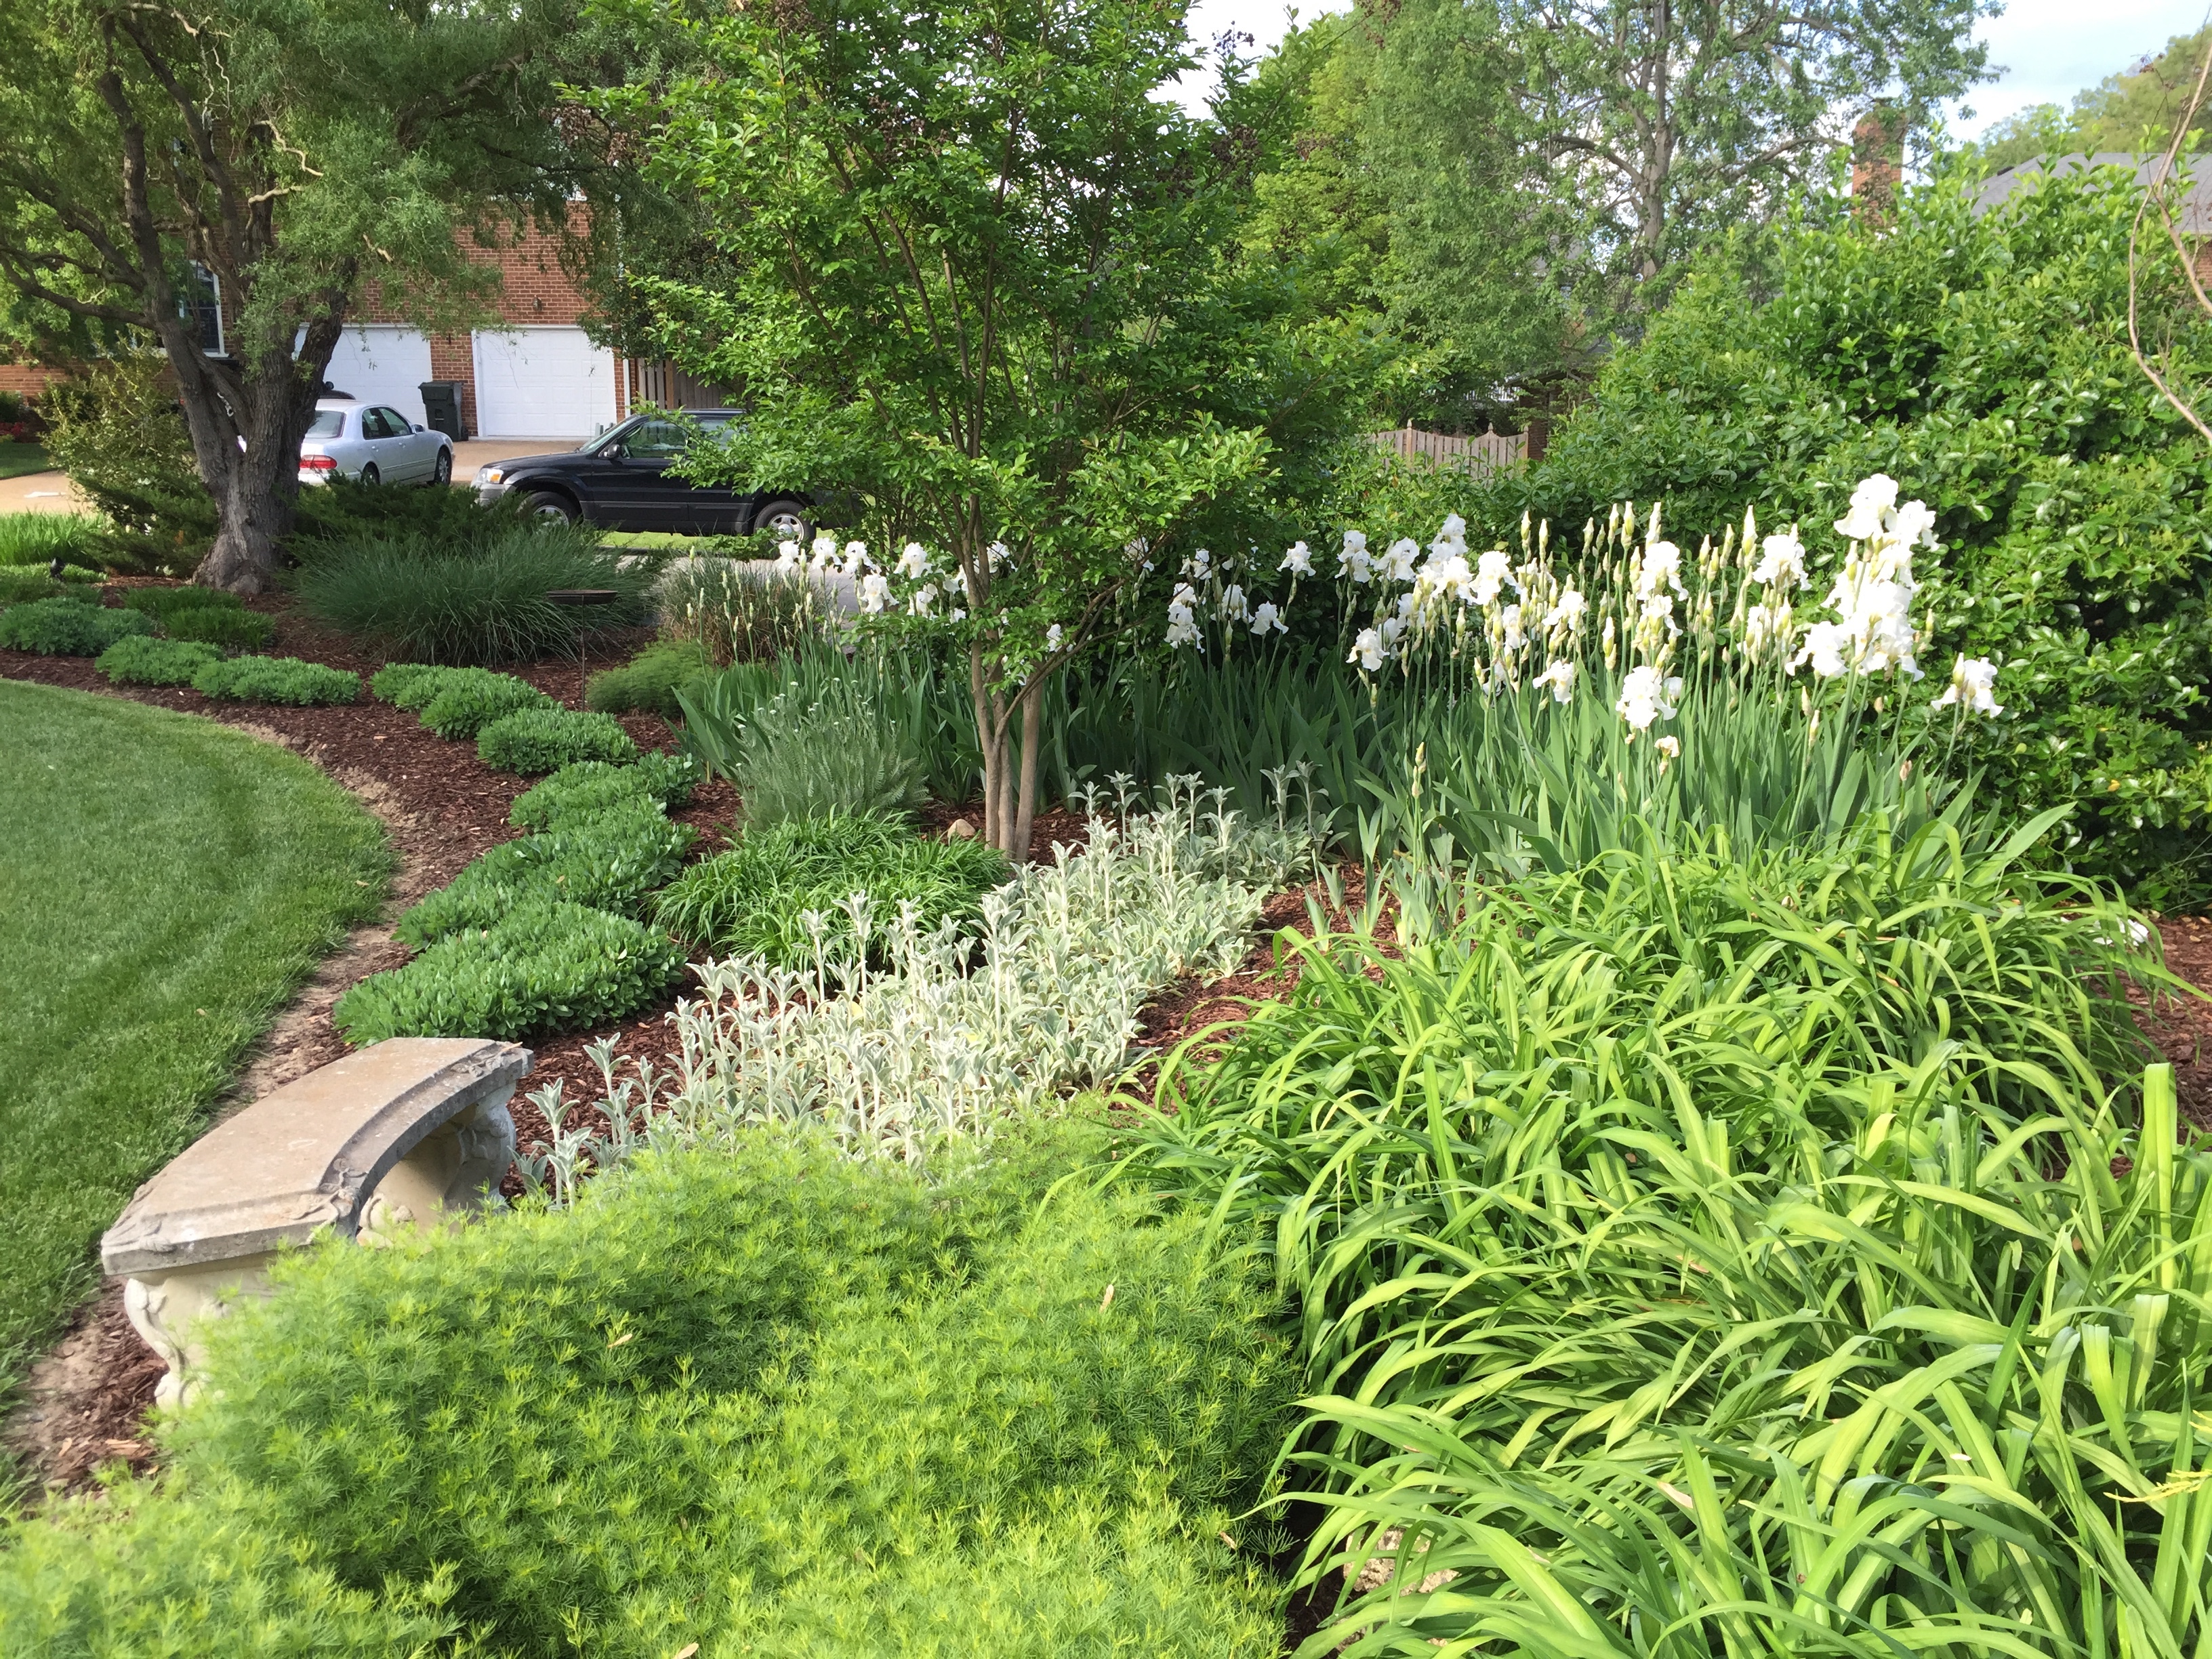
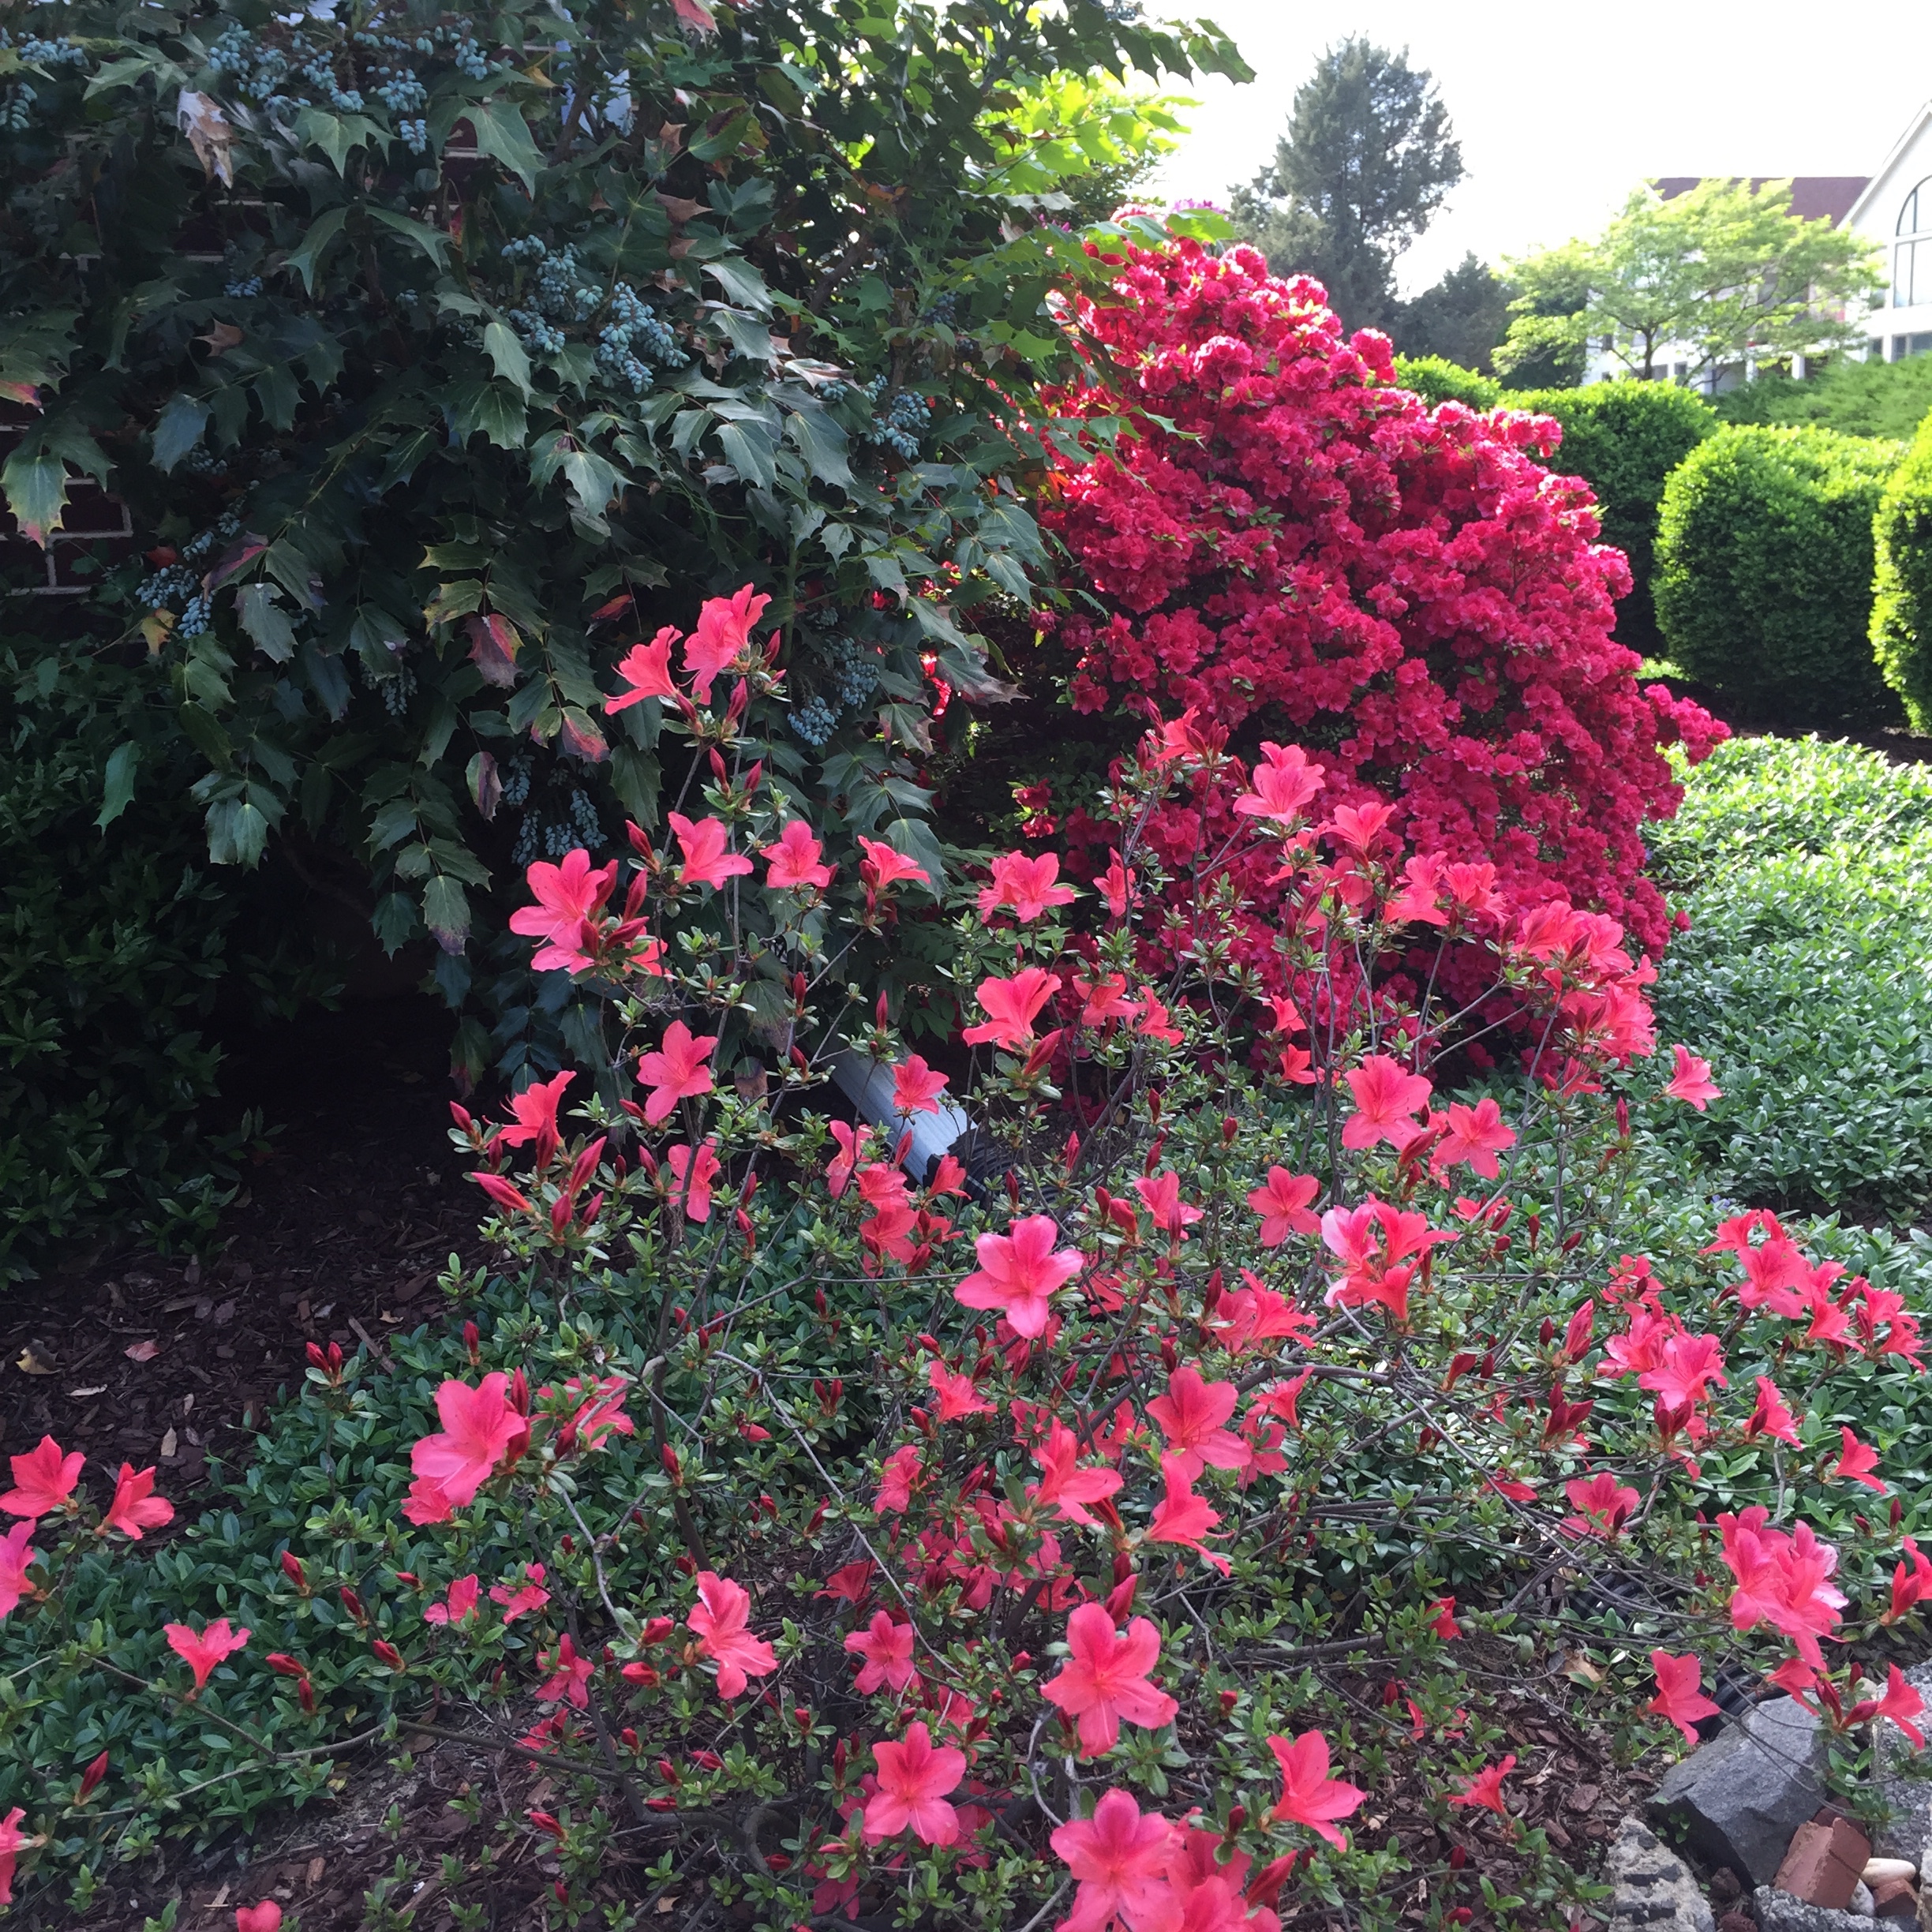
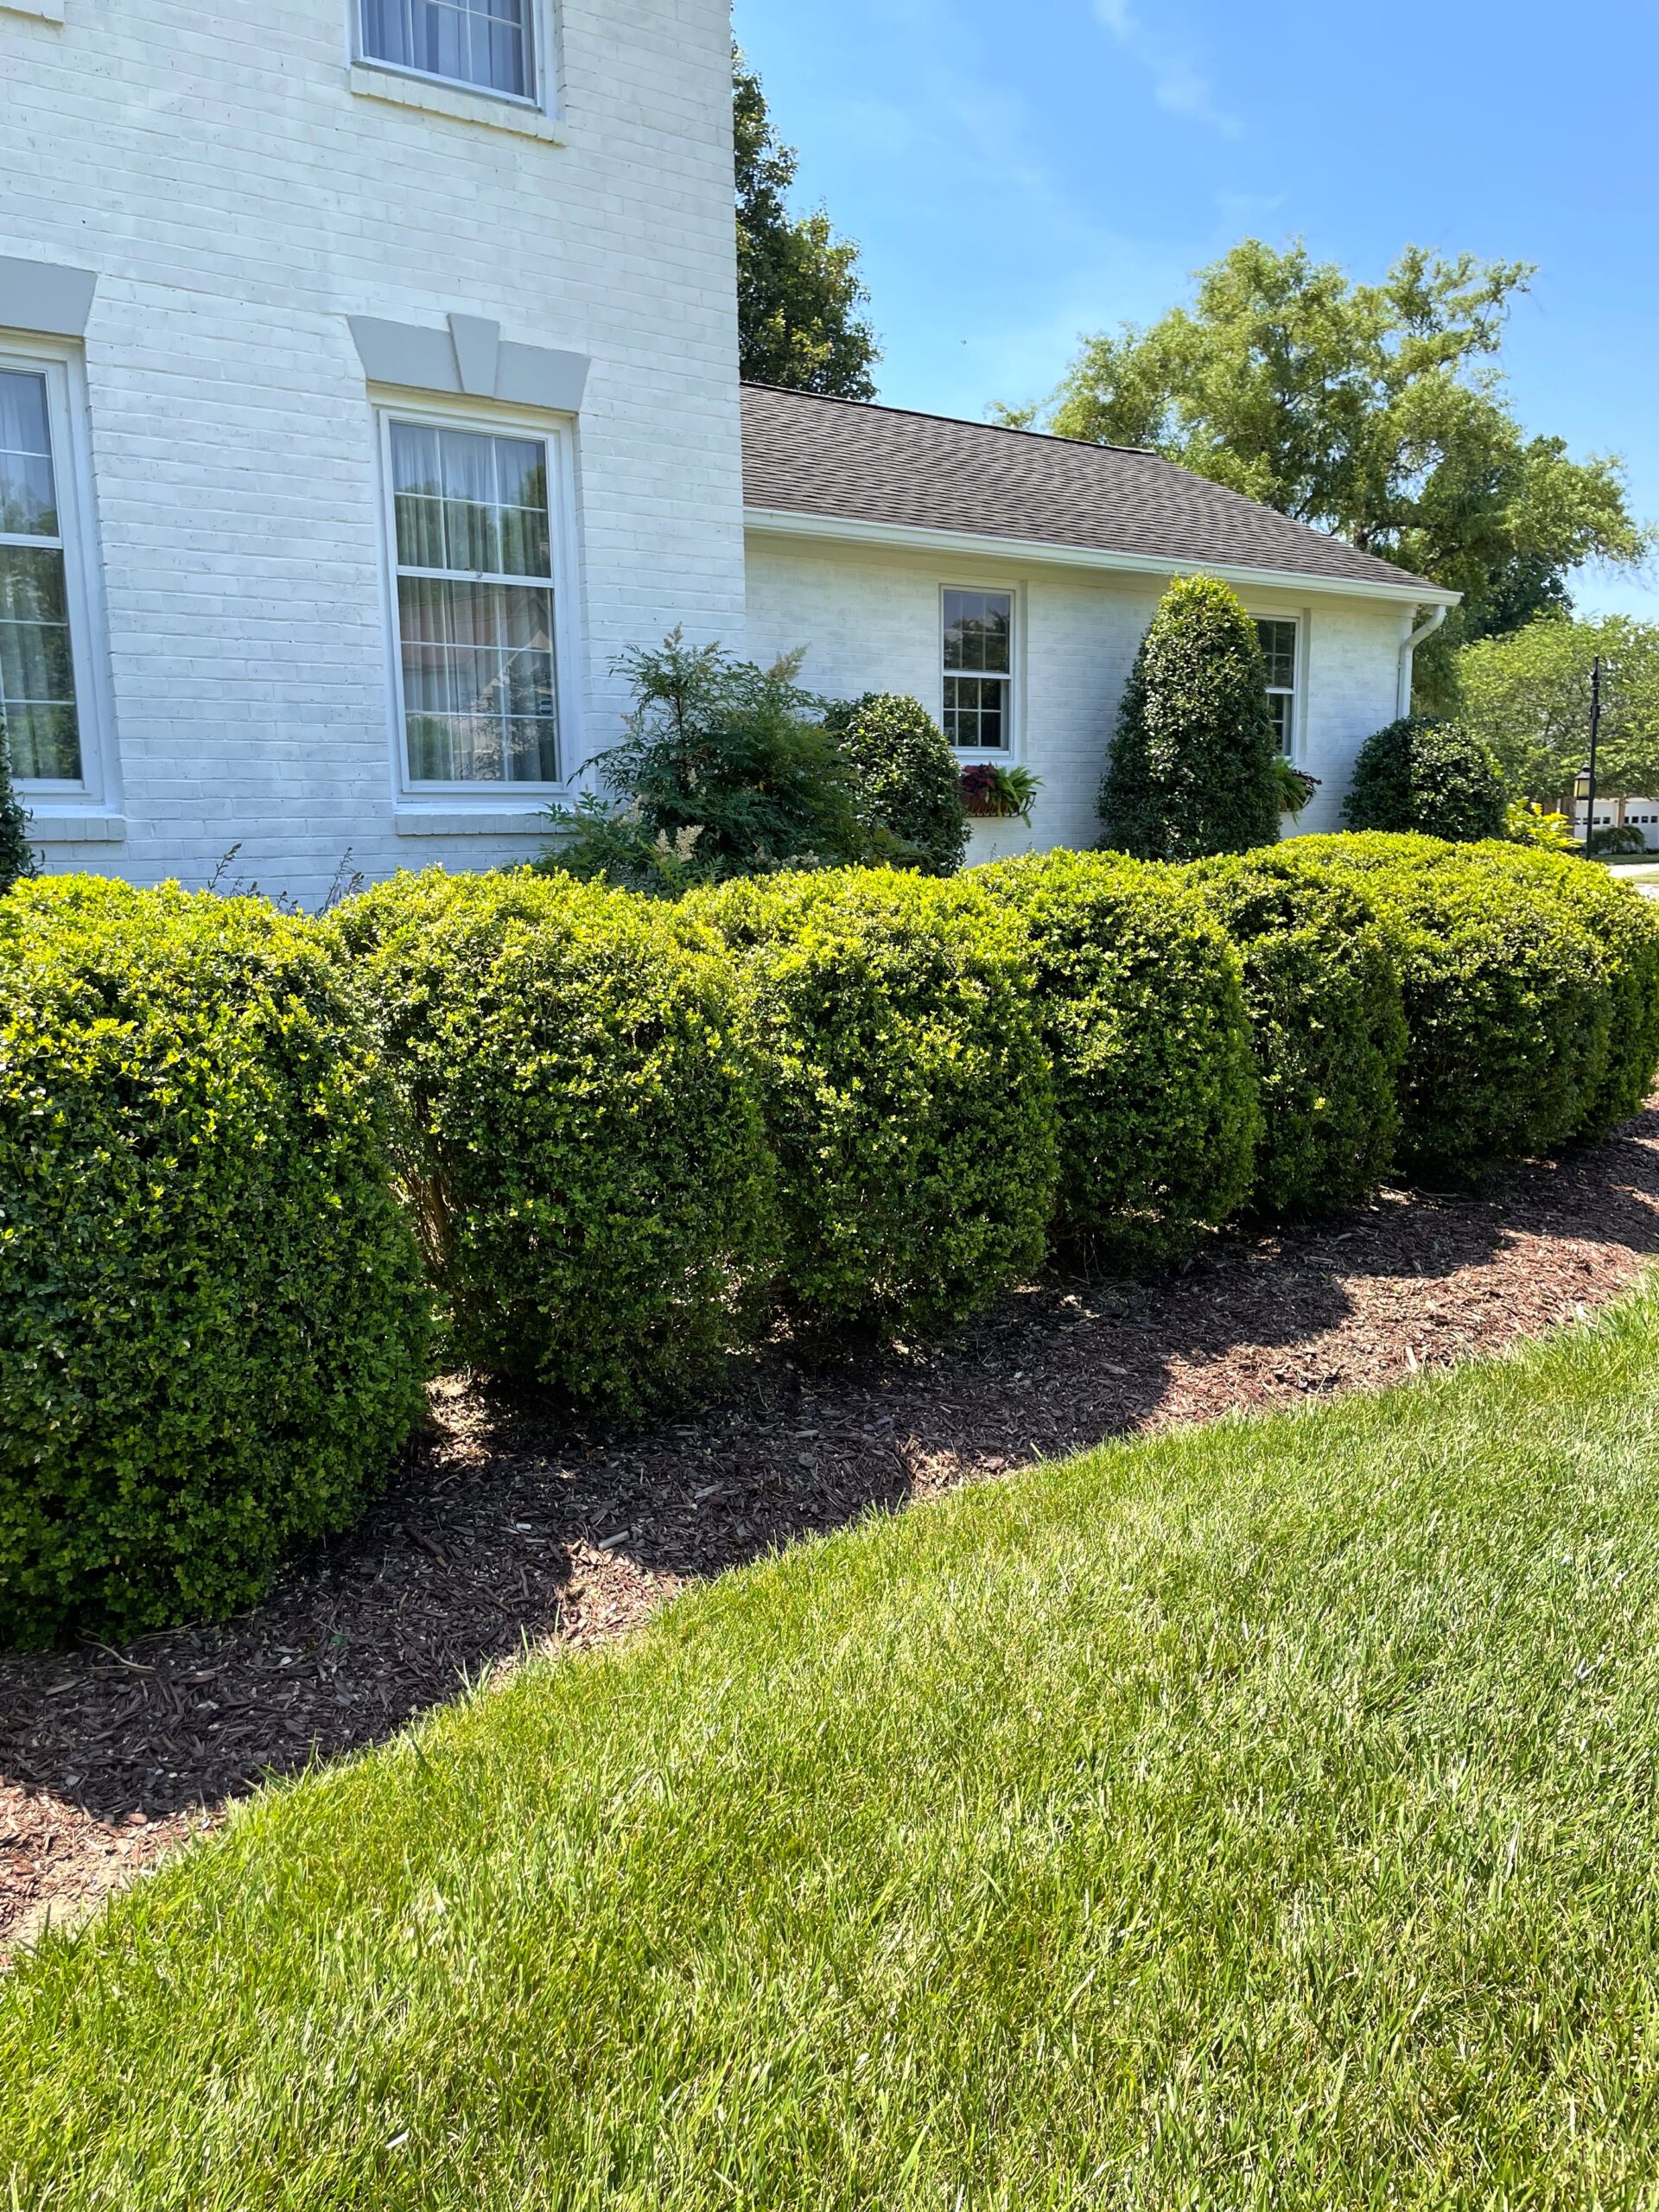
Also this year, I spent a week shaping the boxwoods and hollies. It makes a huge difference in the curb appeal to finally give the boxwoods a uniform height and symmetry! They had damage from snow and burn from chemicals (overspray from a roof cleaning) a few years back, both of which took a while to fill back out to a point where they could be shaped again. It’s a long process to get them uniform, but just take your time, and stand back every few minutes to check your work. It is gratifying to see them all uniform again, after seeing them looking sort of like lumpy blobs as they grew out the damage. And while at it, putting a nice edging on the gardens seals the deal.
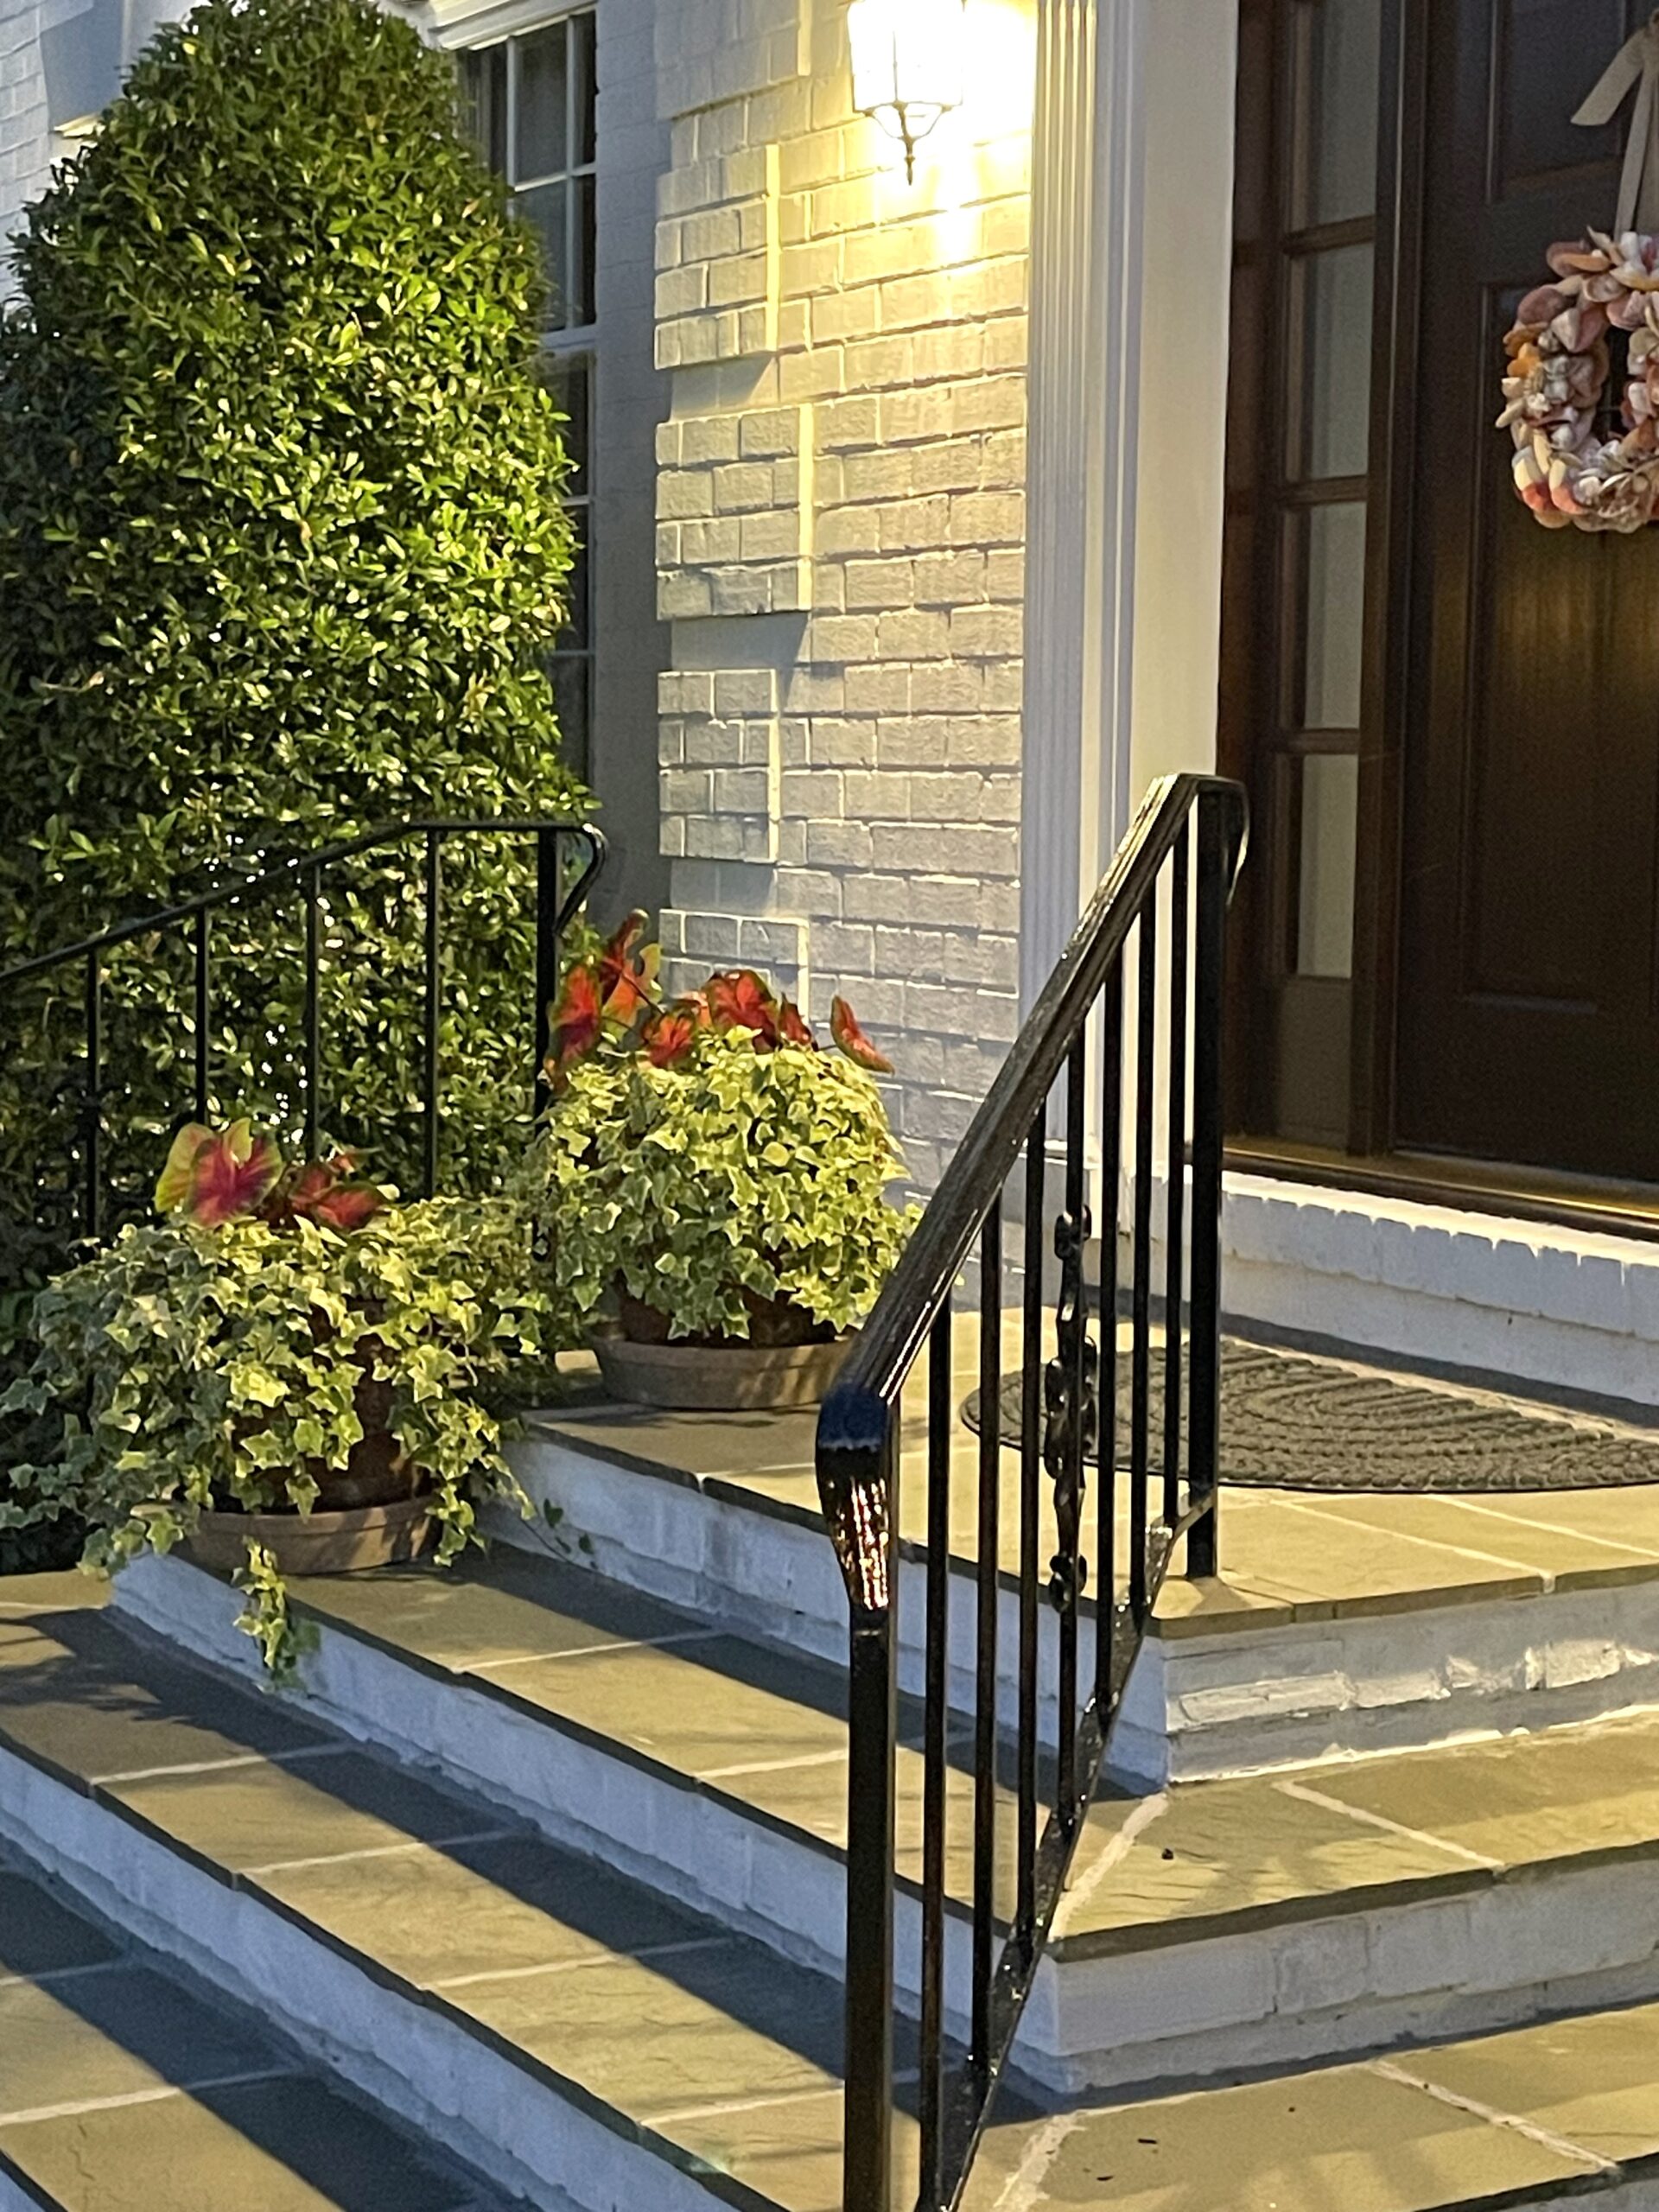
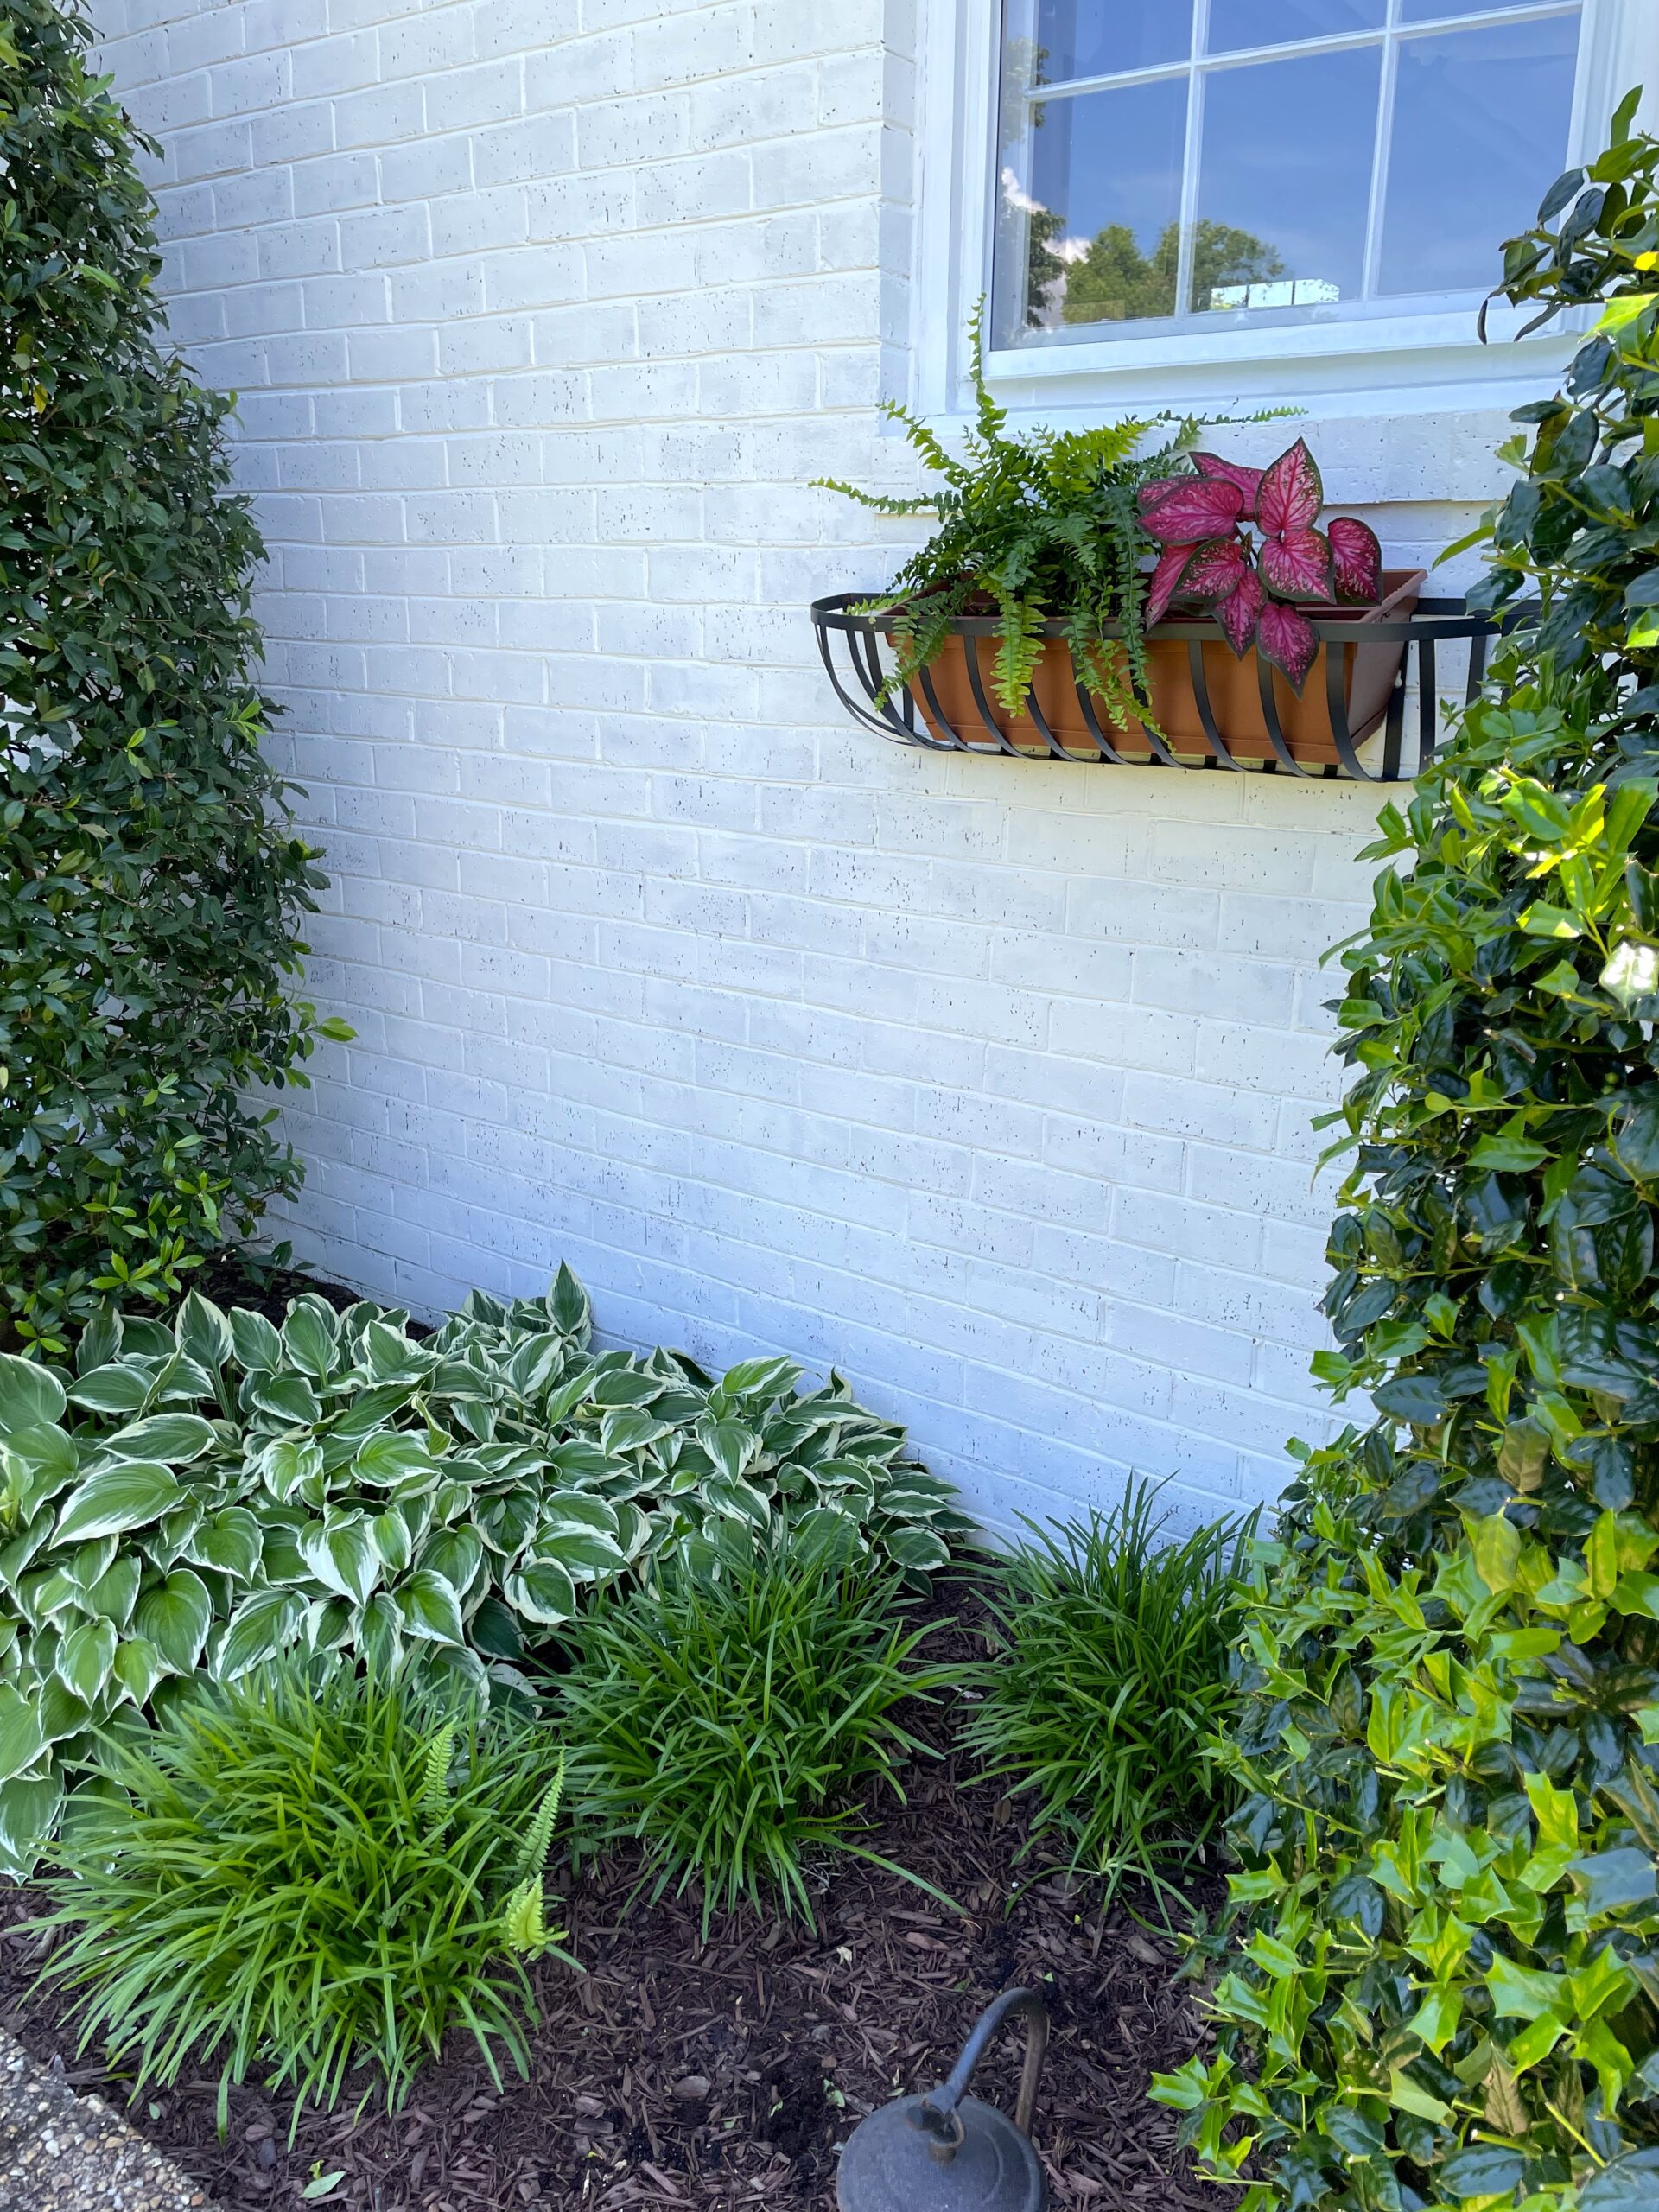
Above is a close up of the big pots on the front porch. Each were filled with caladium and variegated ivy. You might remember these pots from the last several years. I leave the ivy in them and swap out the flowers in the center each season. This ivy has been with me for at least 20 years or so, it creates the perfect “spiller” in a planter, and it’s easy to divide and transplant if it gets too large.
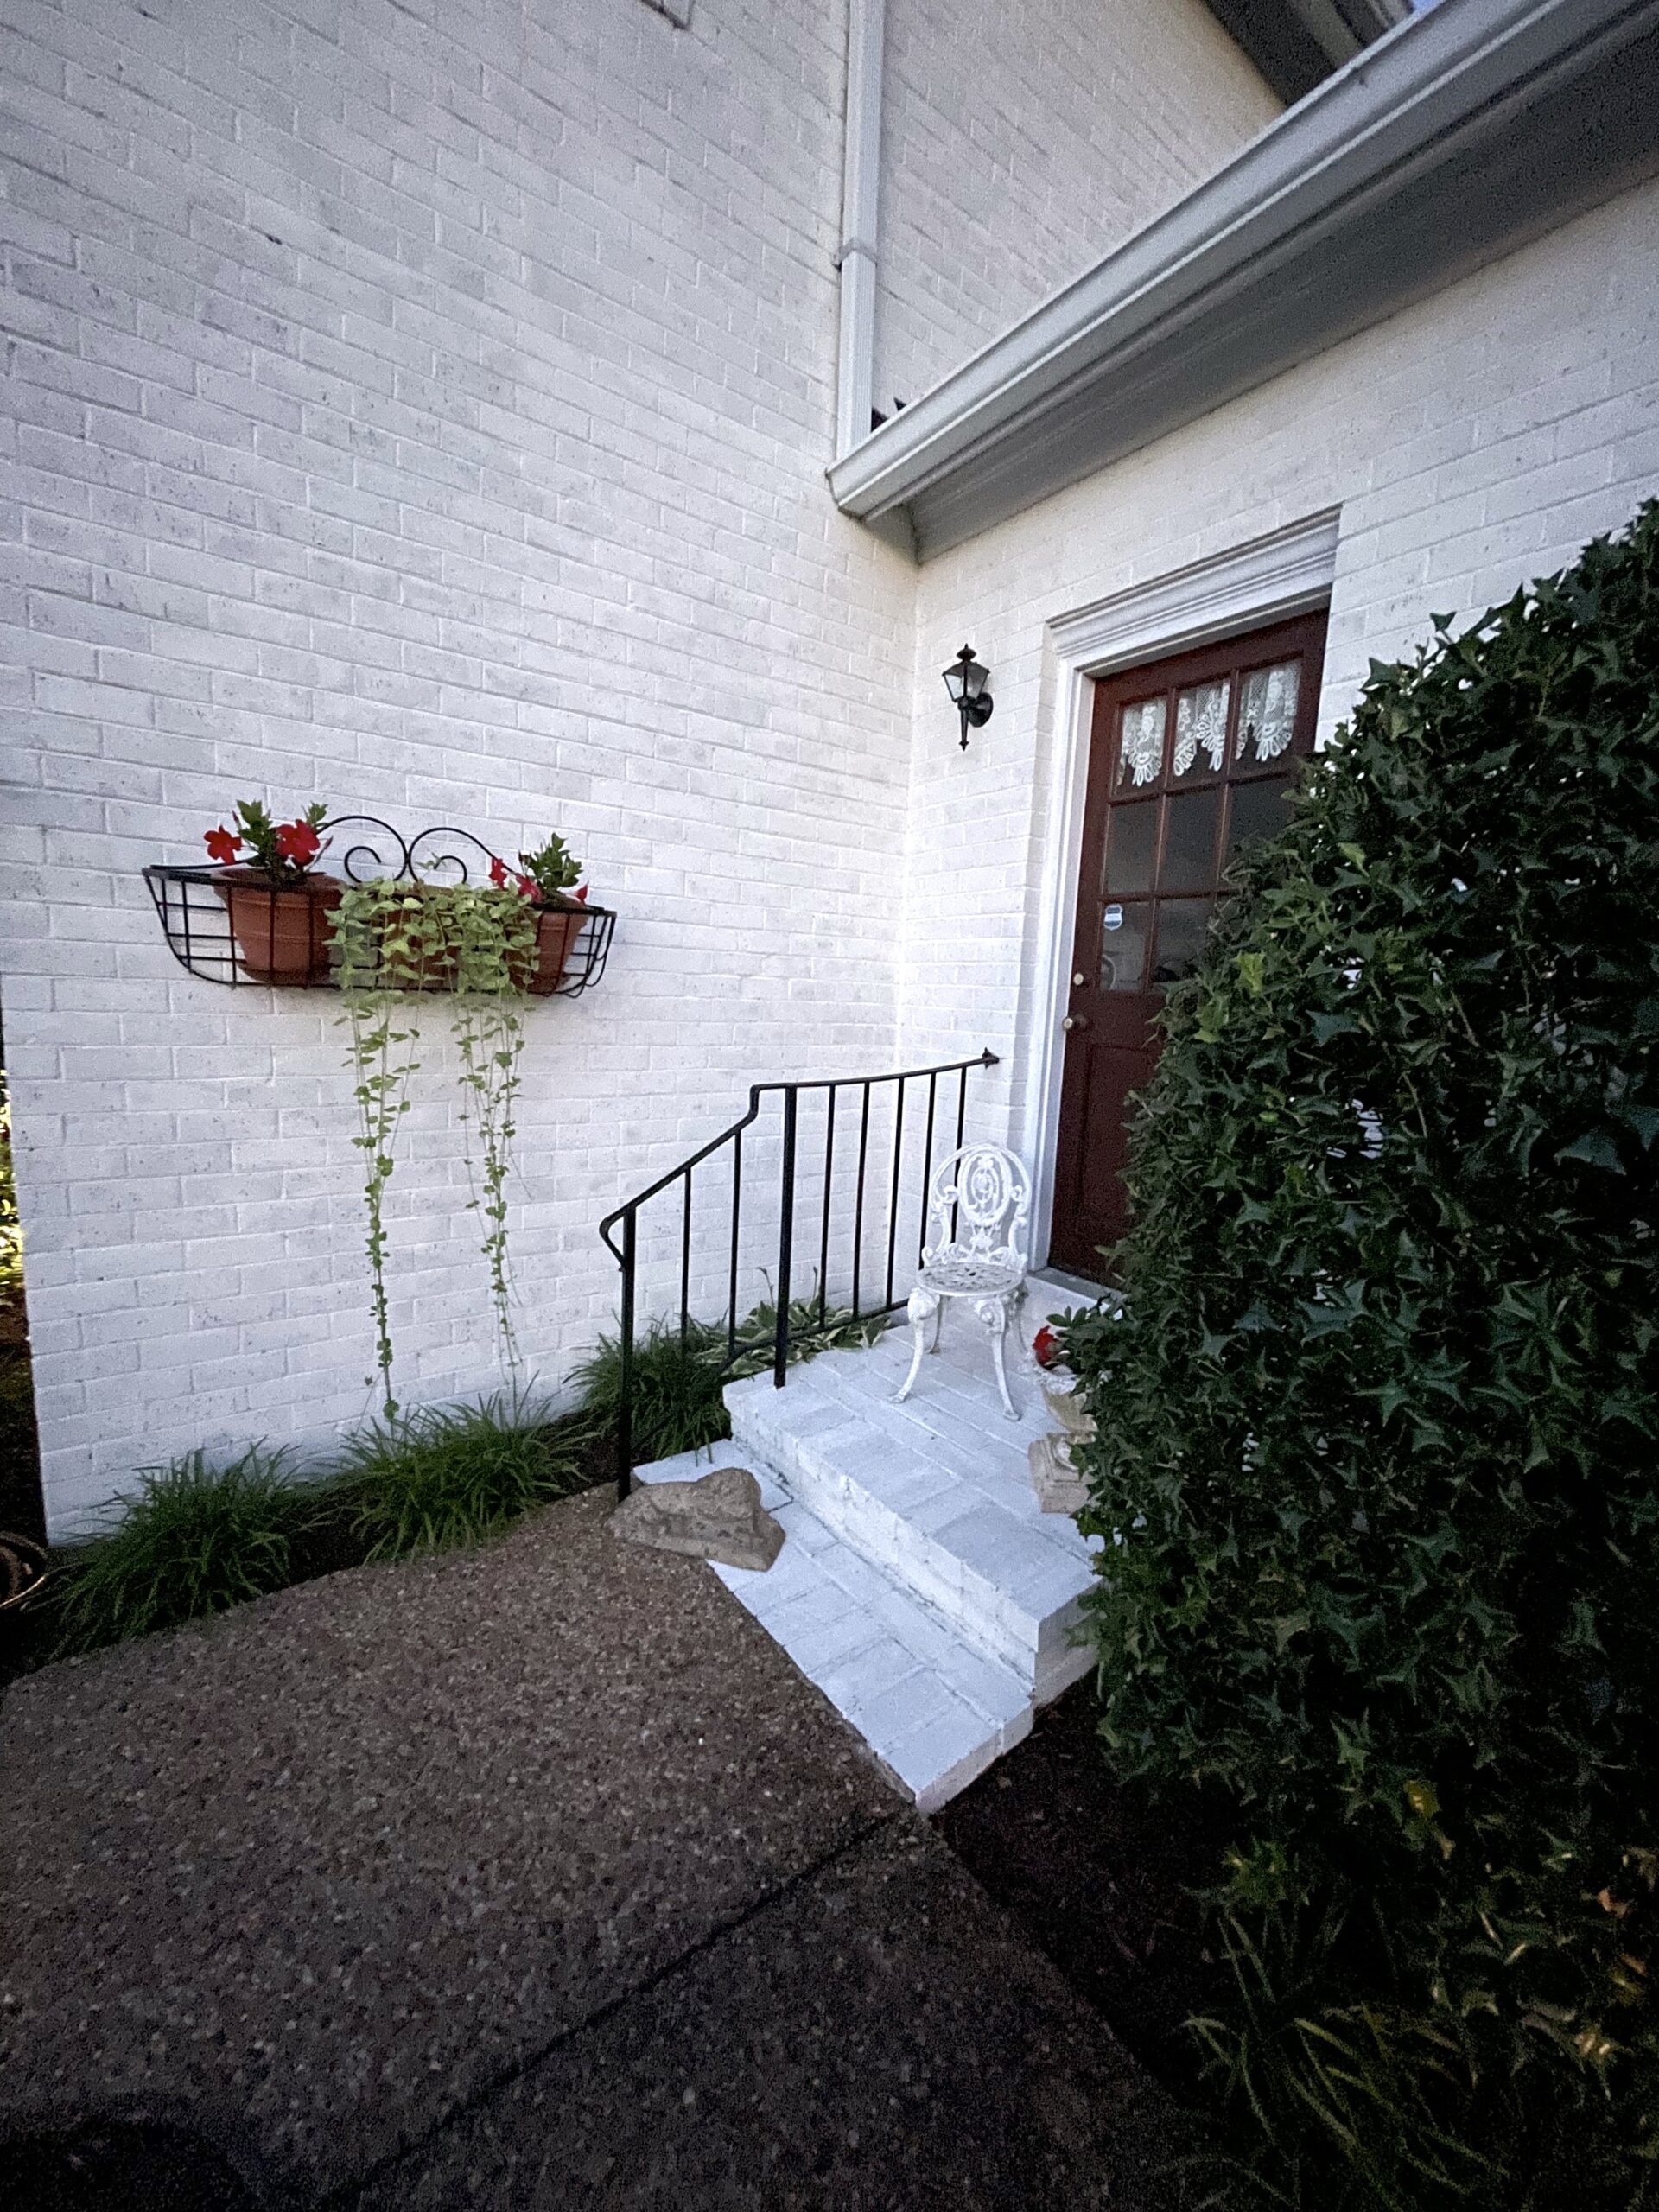
This window box at the zig zag of the front walk and mud room porch has coordinating flowers and trailing vines of mandevilla and vinca. Below is a better shot of the mud room porch. I know I say this a lot but, it’s amazing what a difference paint can make!
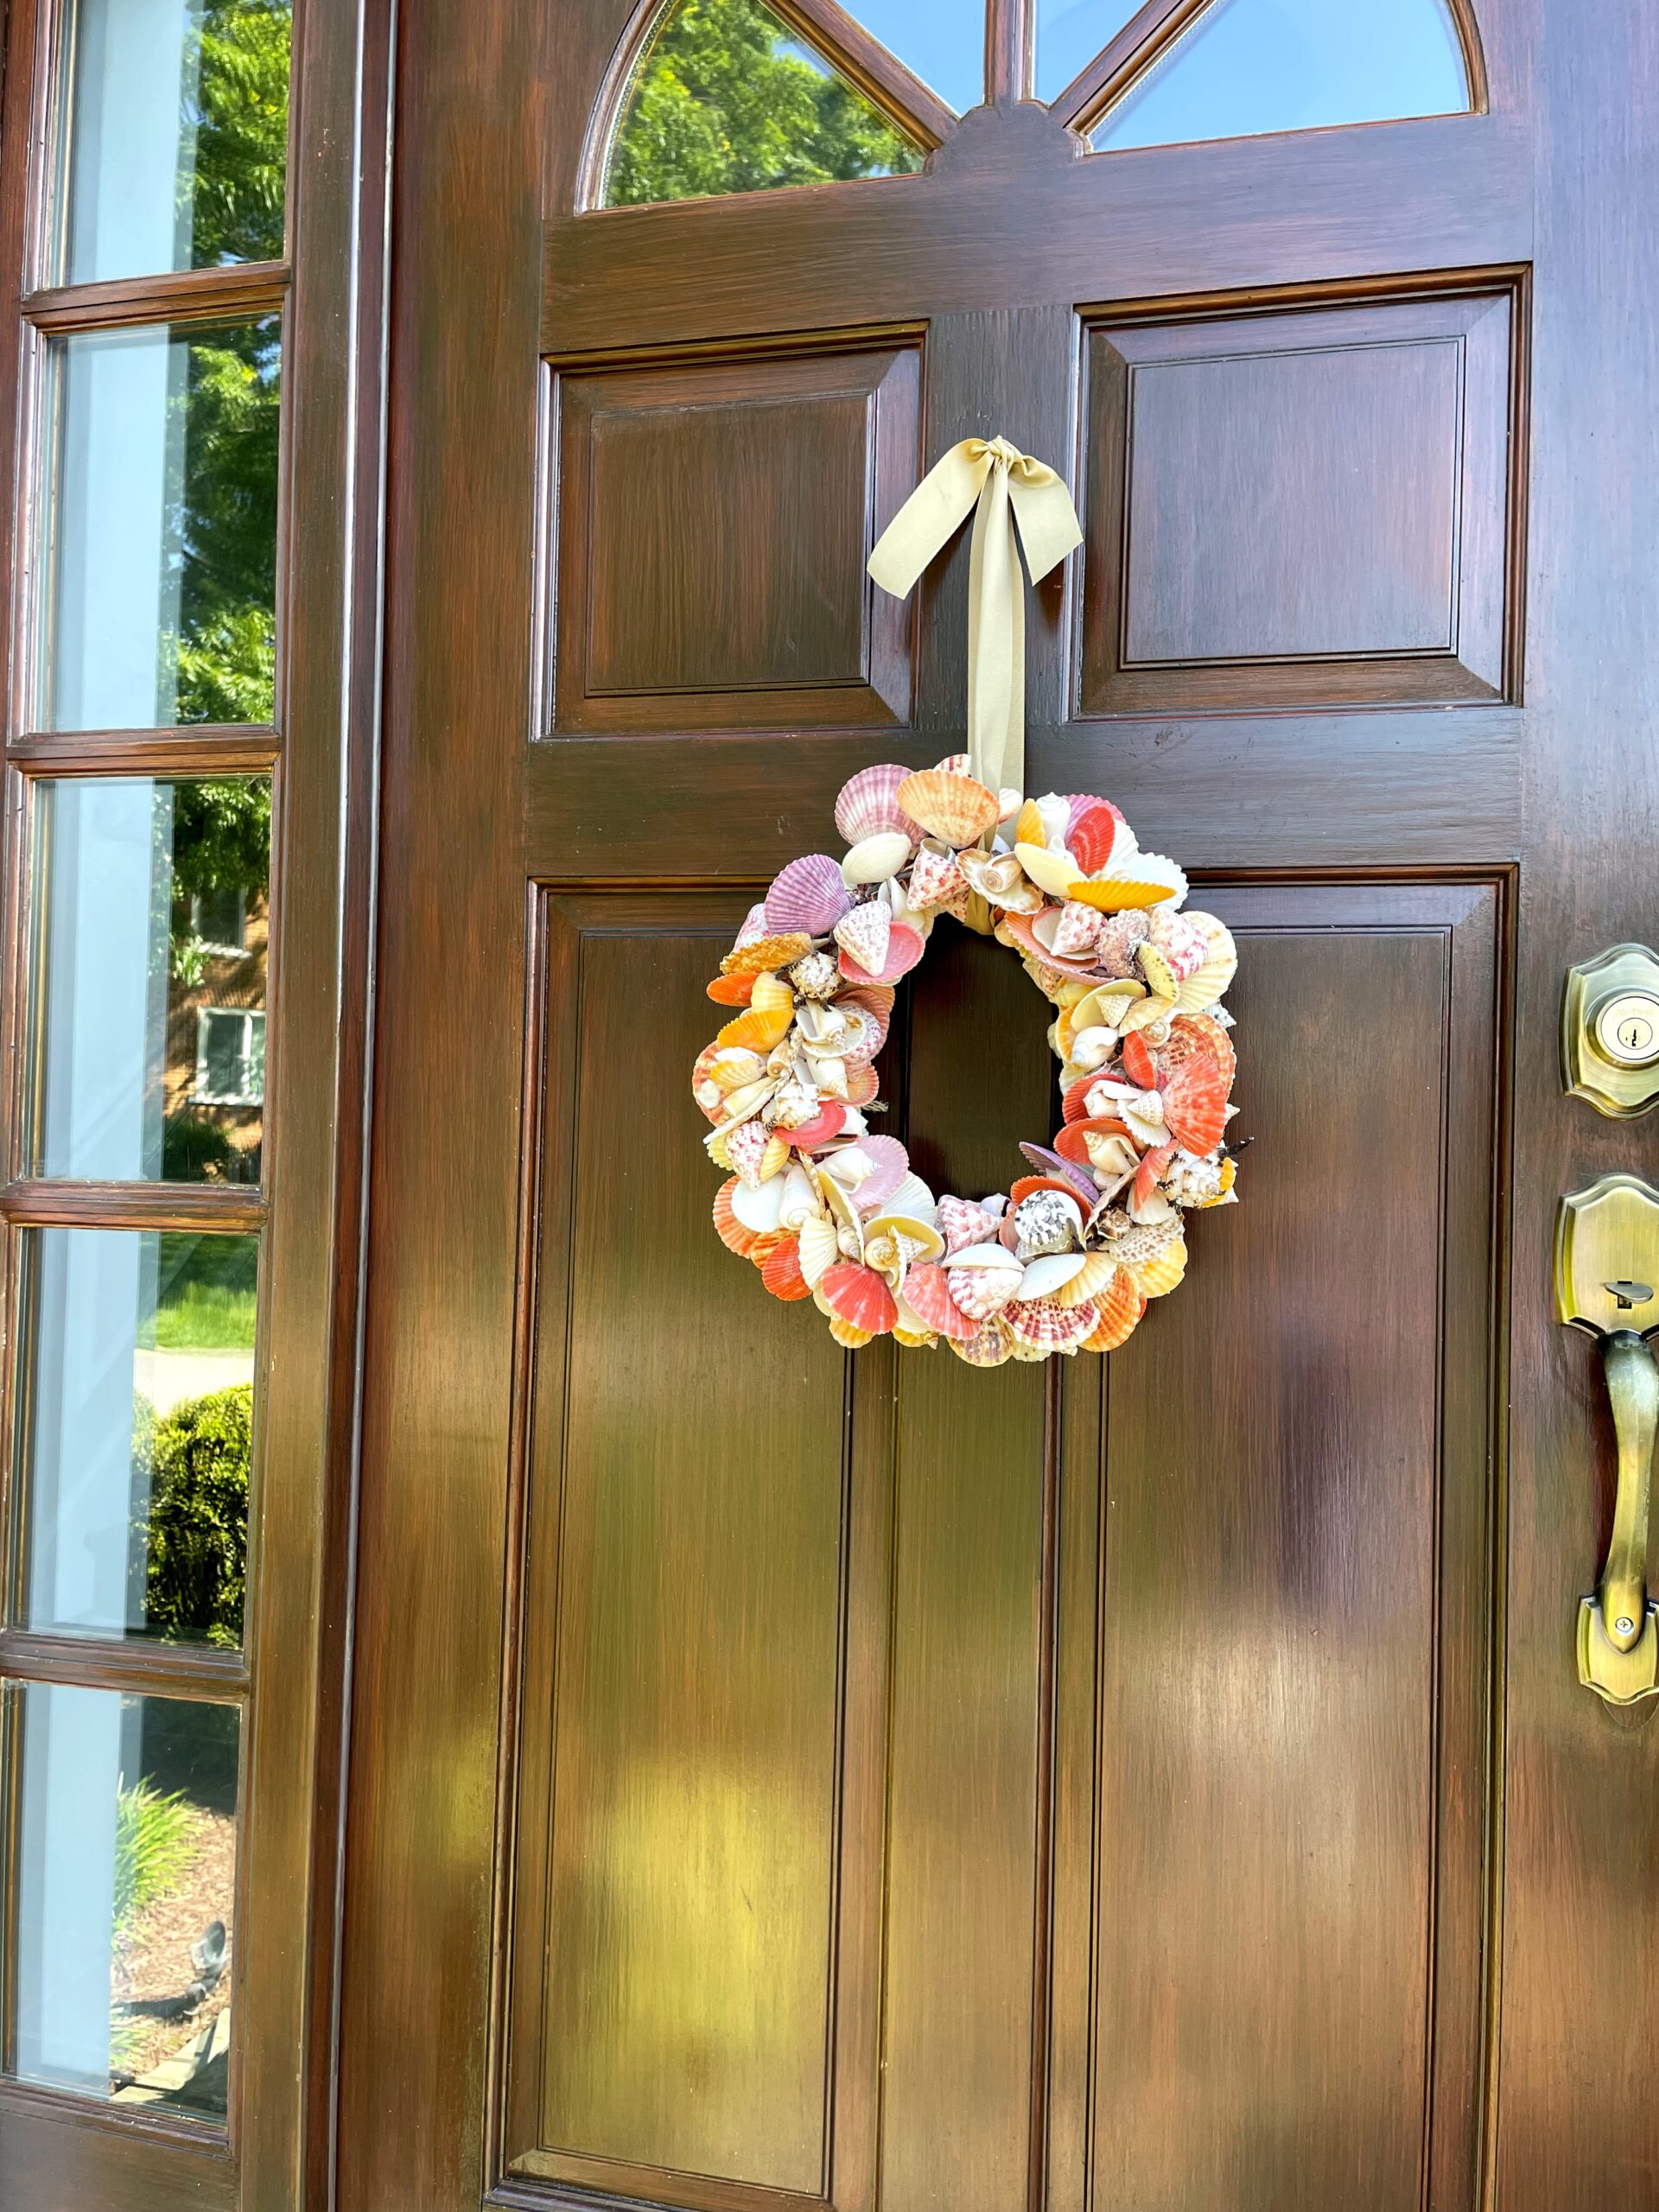
Another quick edit was changing out the wreath on the front door to a summer wreath. Adding a wreath is like adding jewelry. It’s an accessory that can showcase what your interests are. I love this shell wreath. OK — I love anything with shells, LOL!
I hope this leaves you with ideas you might incorporate at your own home. Some time invested a little bit here and a little bit there, and you will have it done! And as always, Happy Gardening!