Archive for Garden Tools

My Favorite Picks – 2019’s Best Hardy Plants

What a crazy year this has been! Extremes of all kinds, but through it all there were some clear winners. In this year’s picks I want to talk about some of the hardiest plants in the garden.

Boxwoods have gotten some bad press of late, due to the blight that has been going around, but by following some simple, clean gardening practices, they are one of the best and most beautiful of all the plants in my garden.

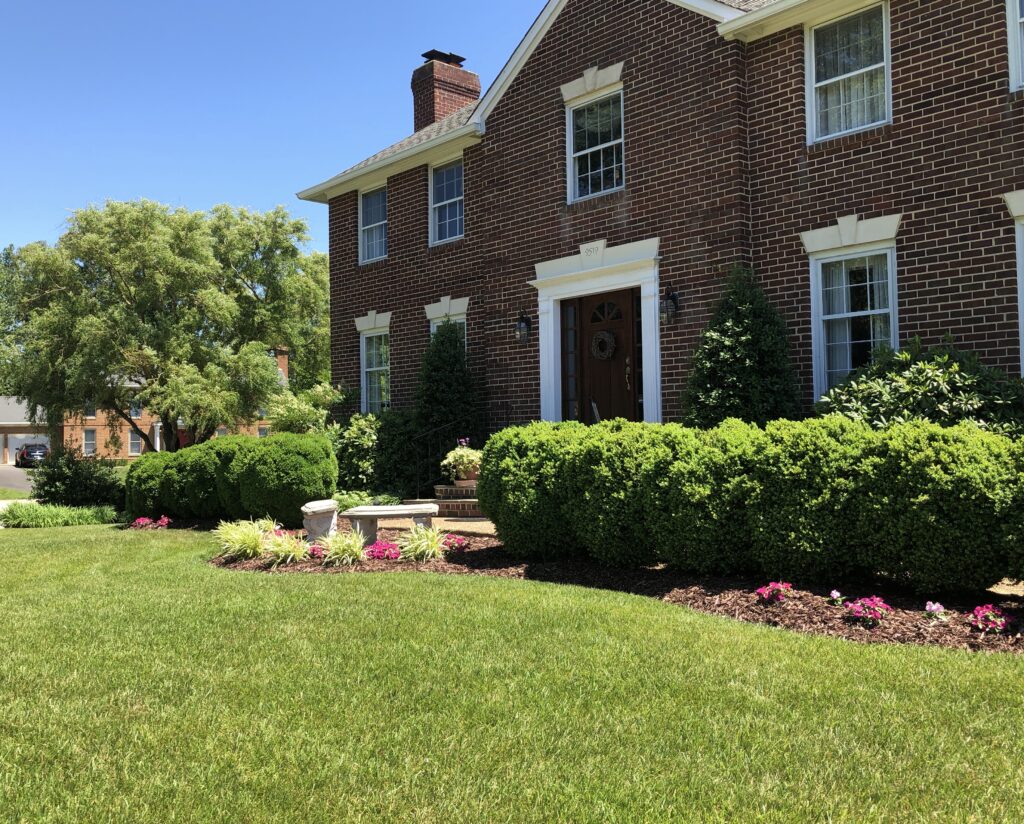
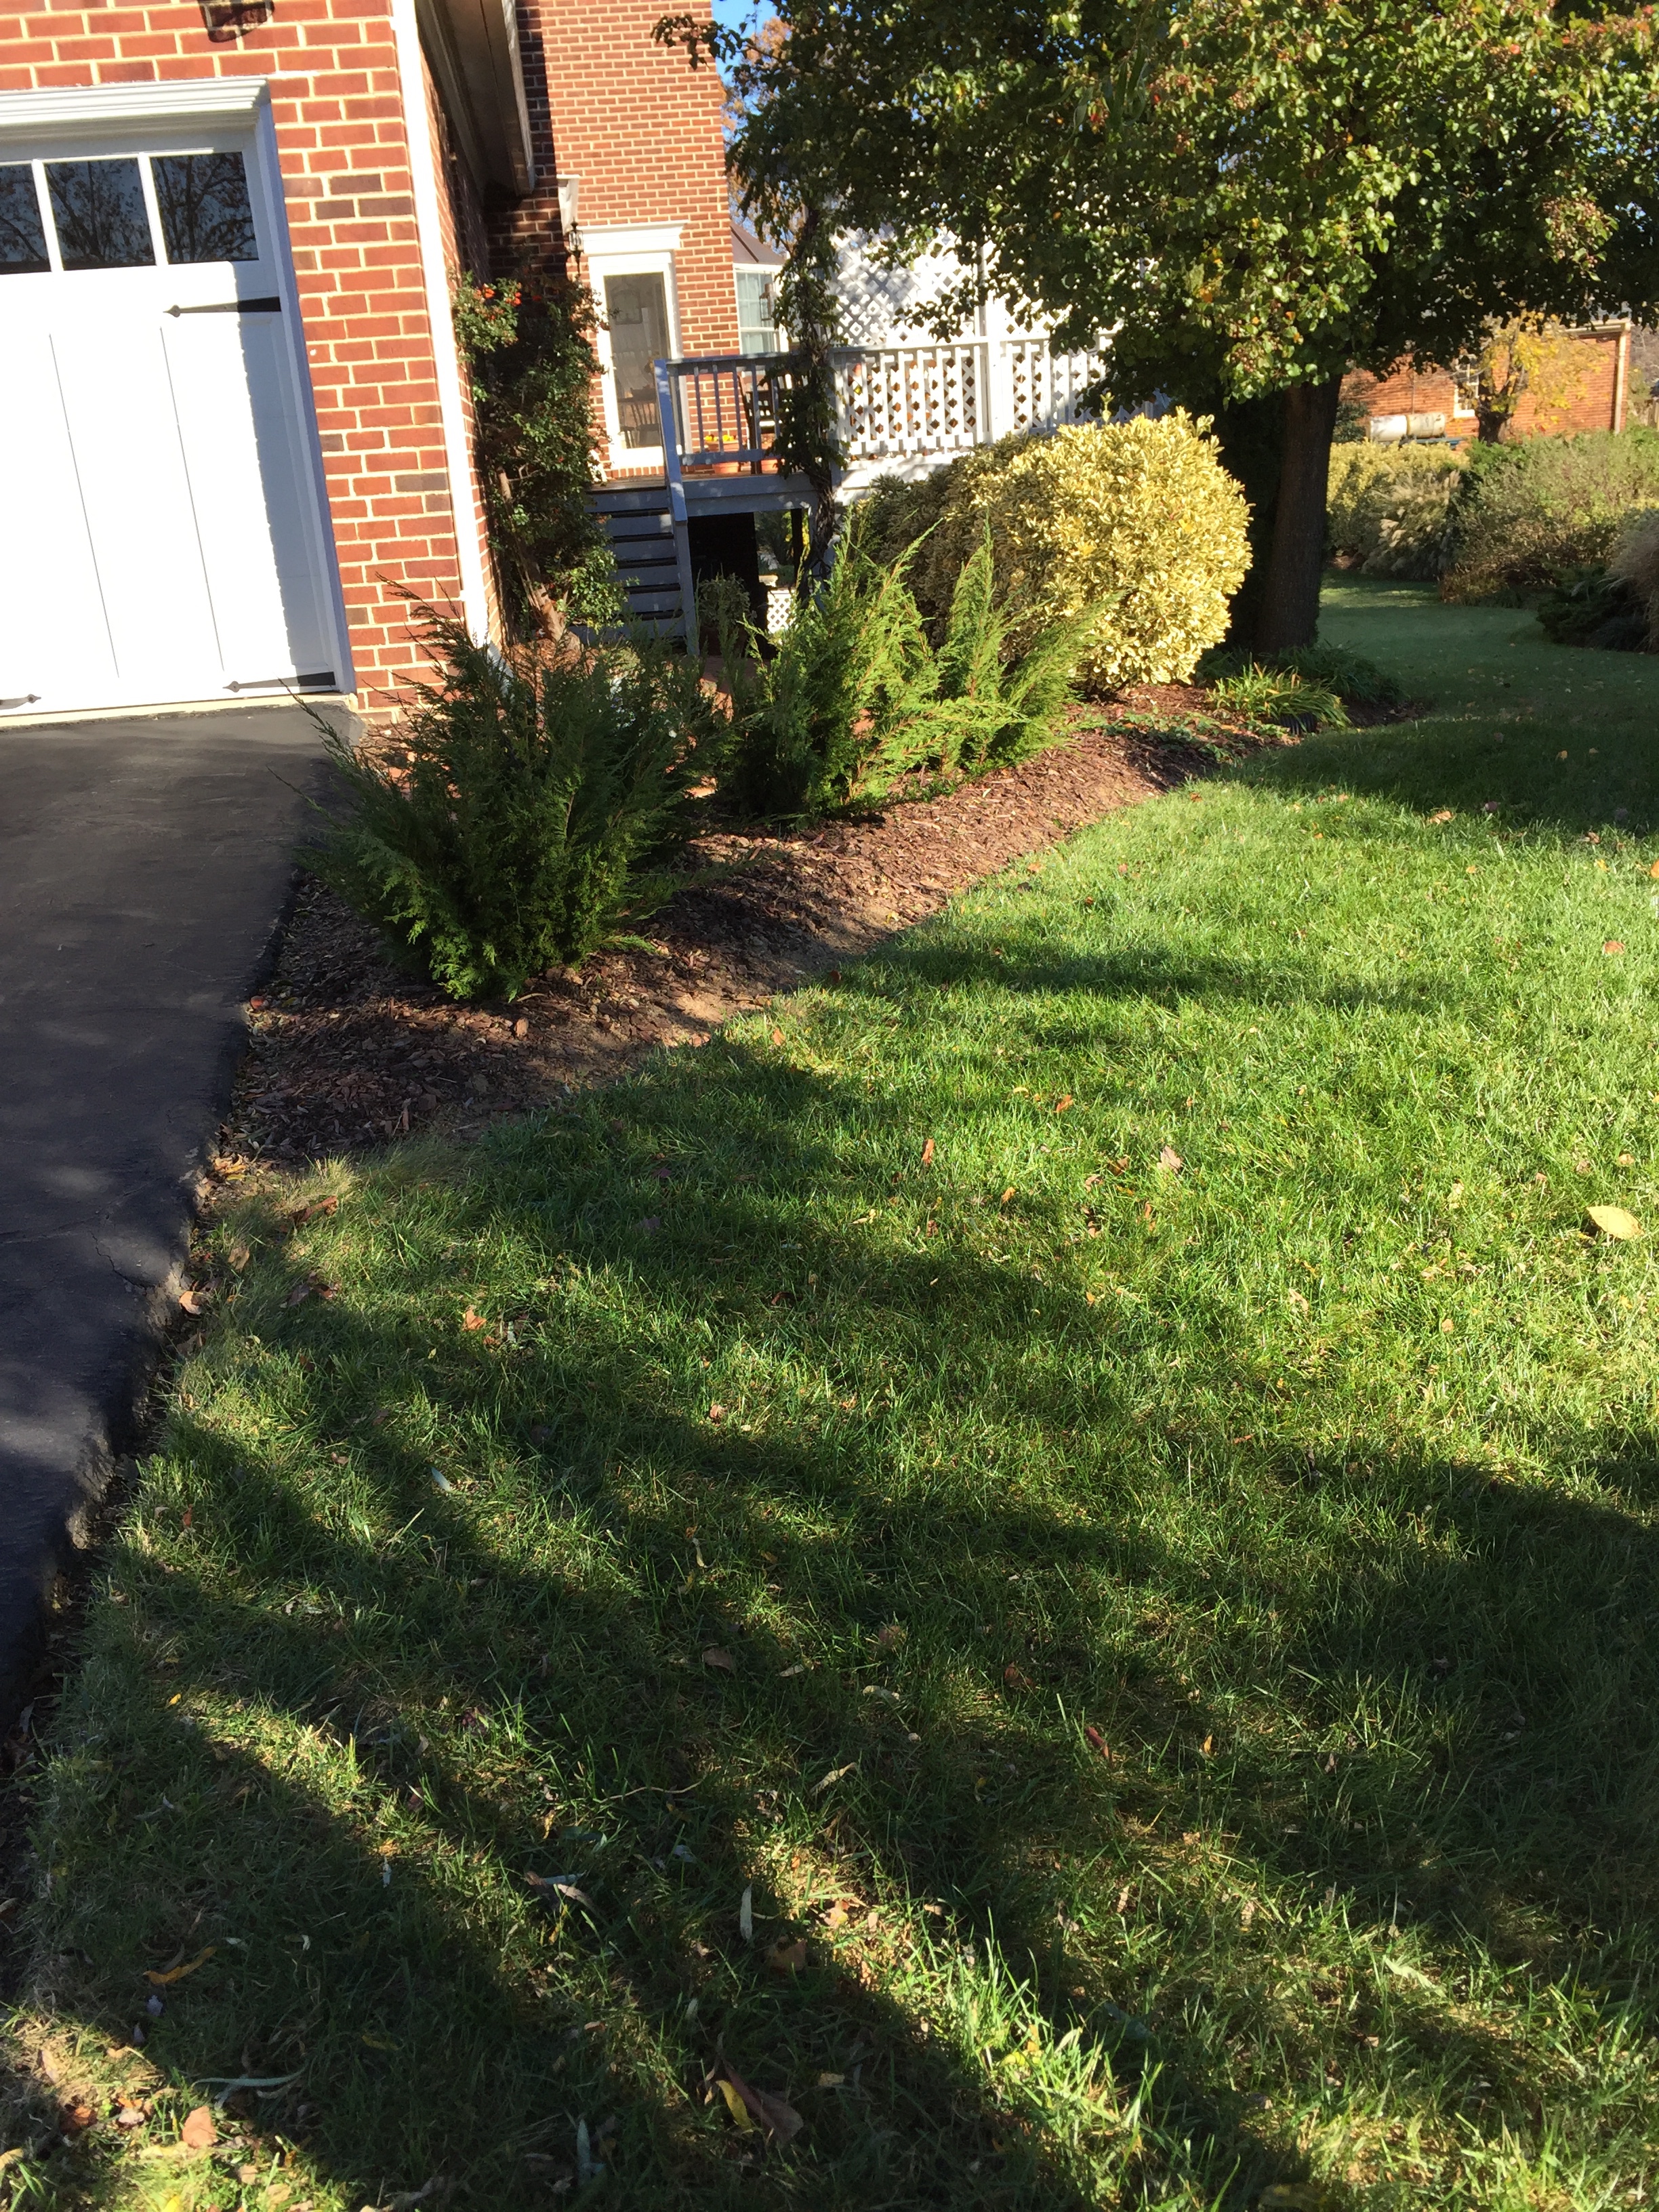
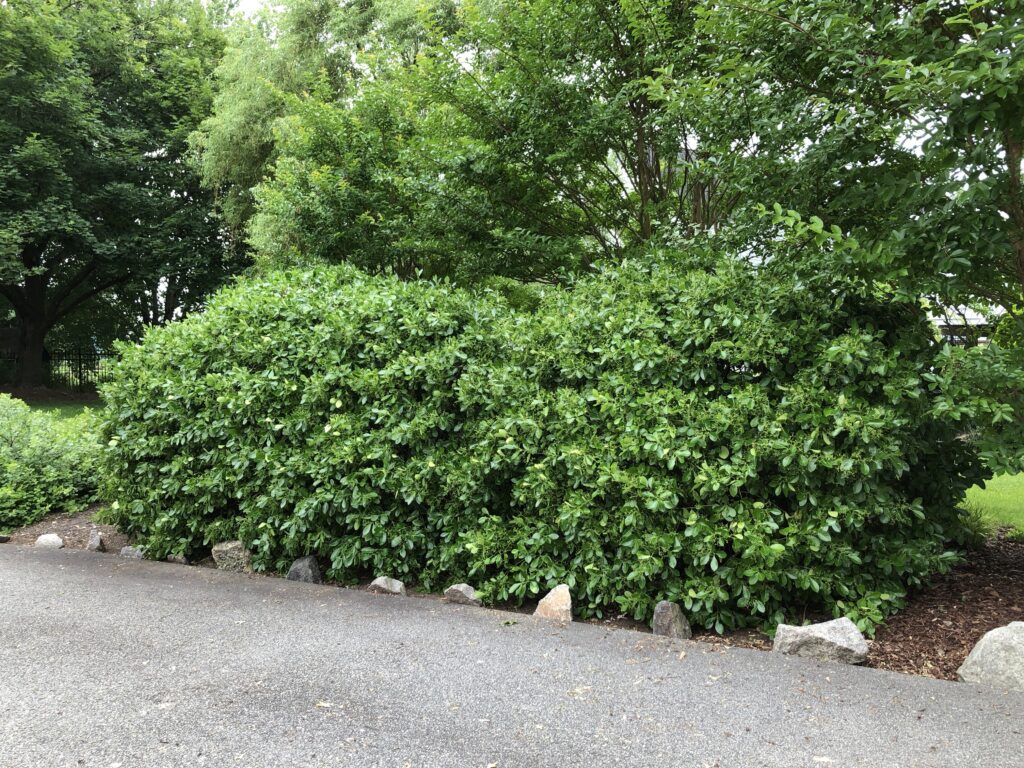
I’m going to start with one of my all time favorites, the boxwood. The boxwoods in the photo above are about 45-50 years old and are the true stars of the garden. I prune them in early December each year and use the trimmings for Christmas decorating. Beyond that annual pruning, I hardly need to do anything to them. They have weathered every kind of extreme in their lives and continue to look amazing!

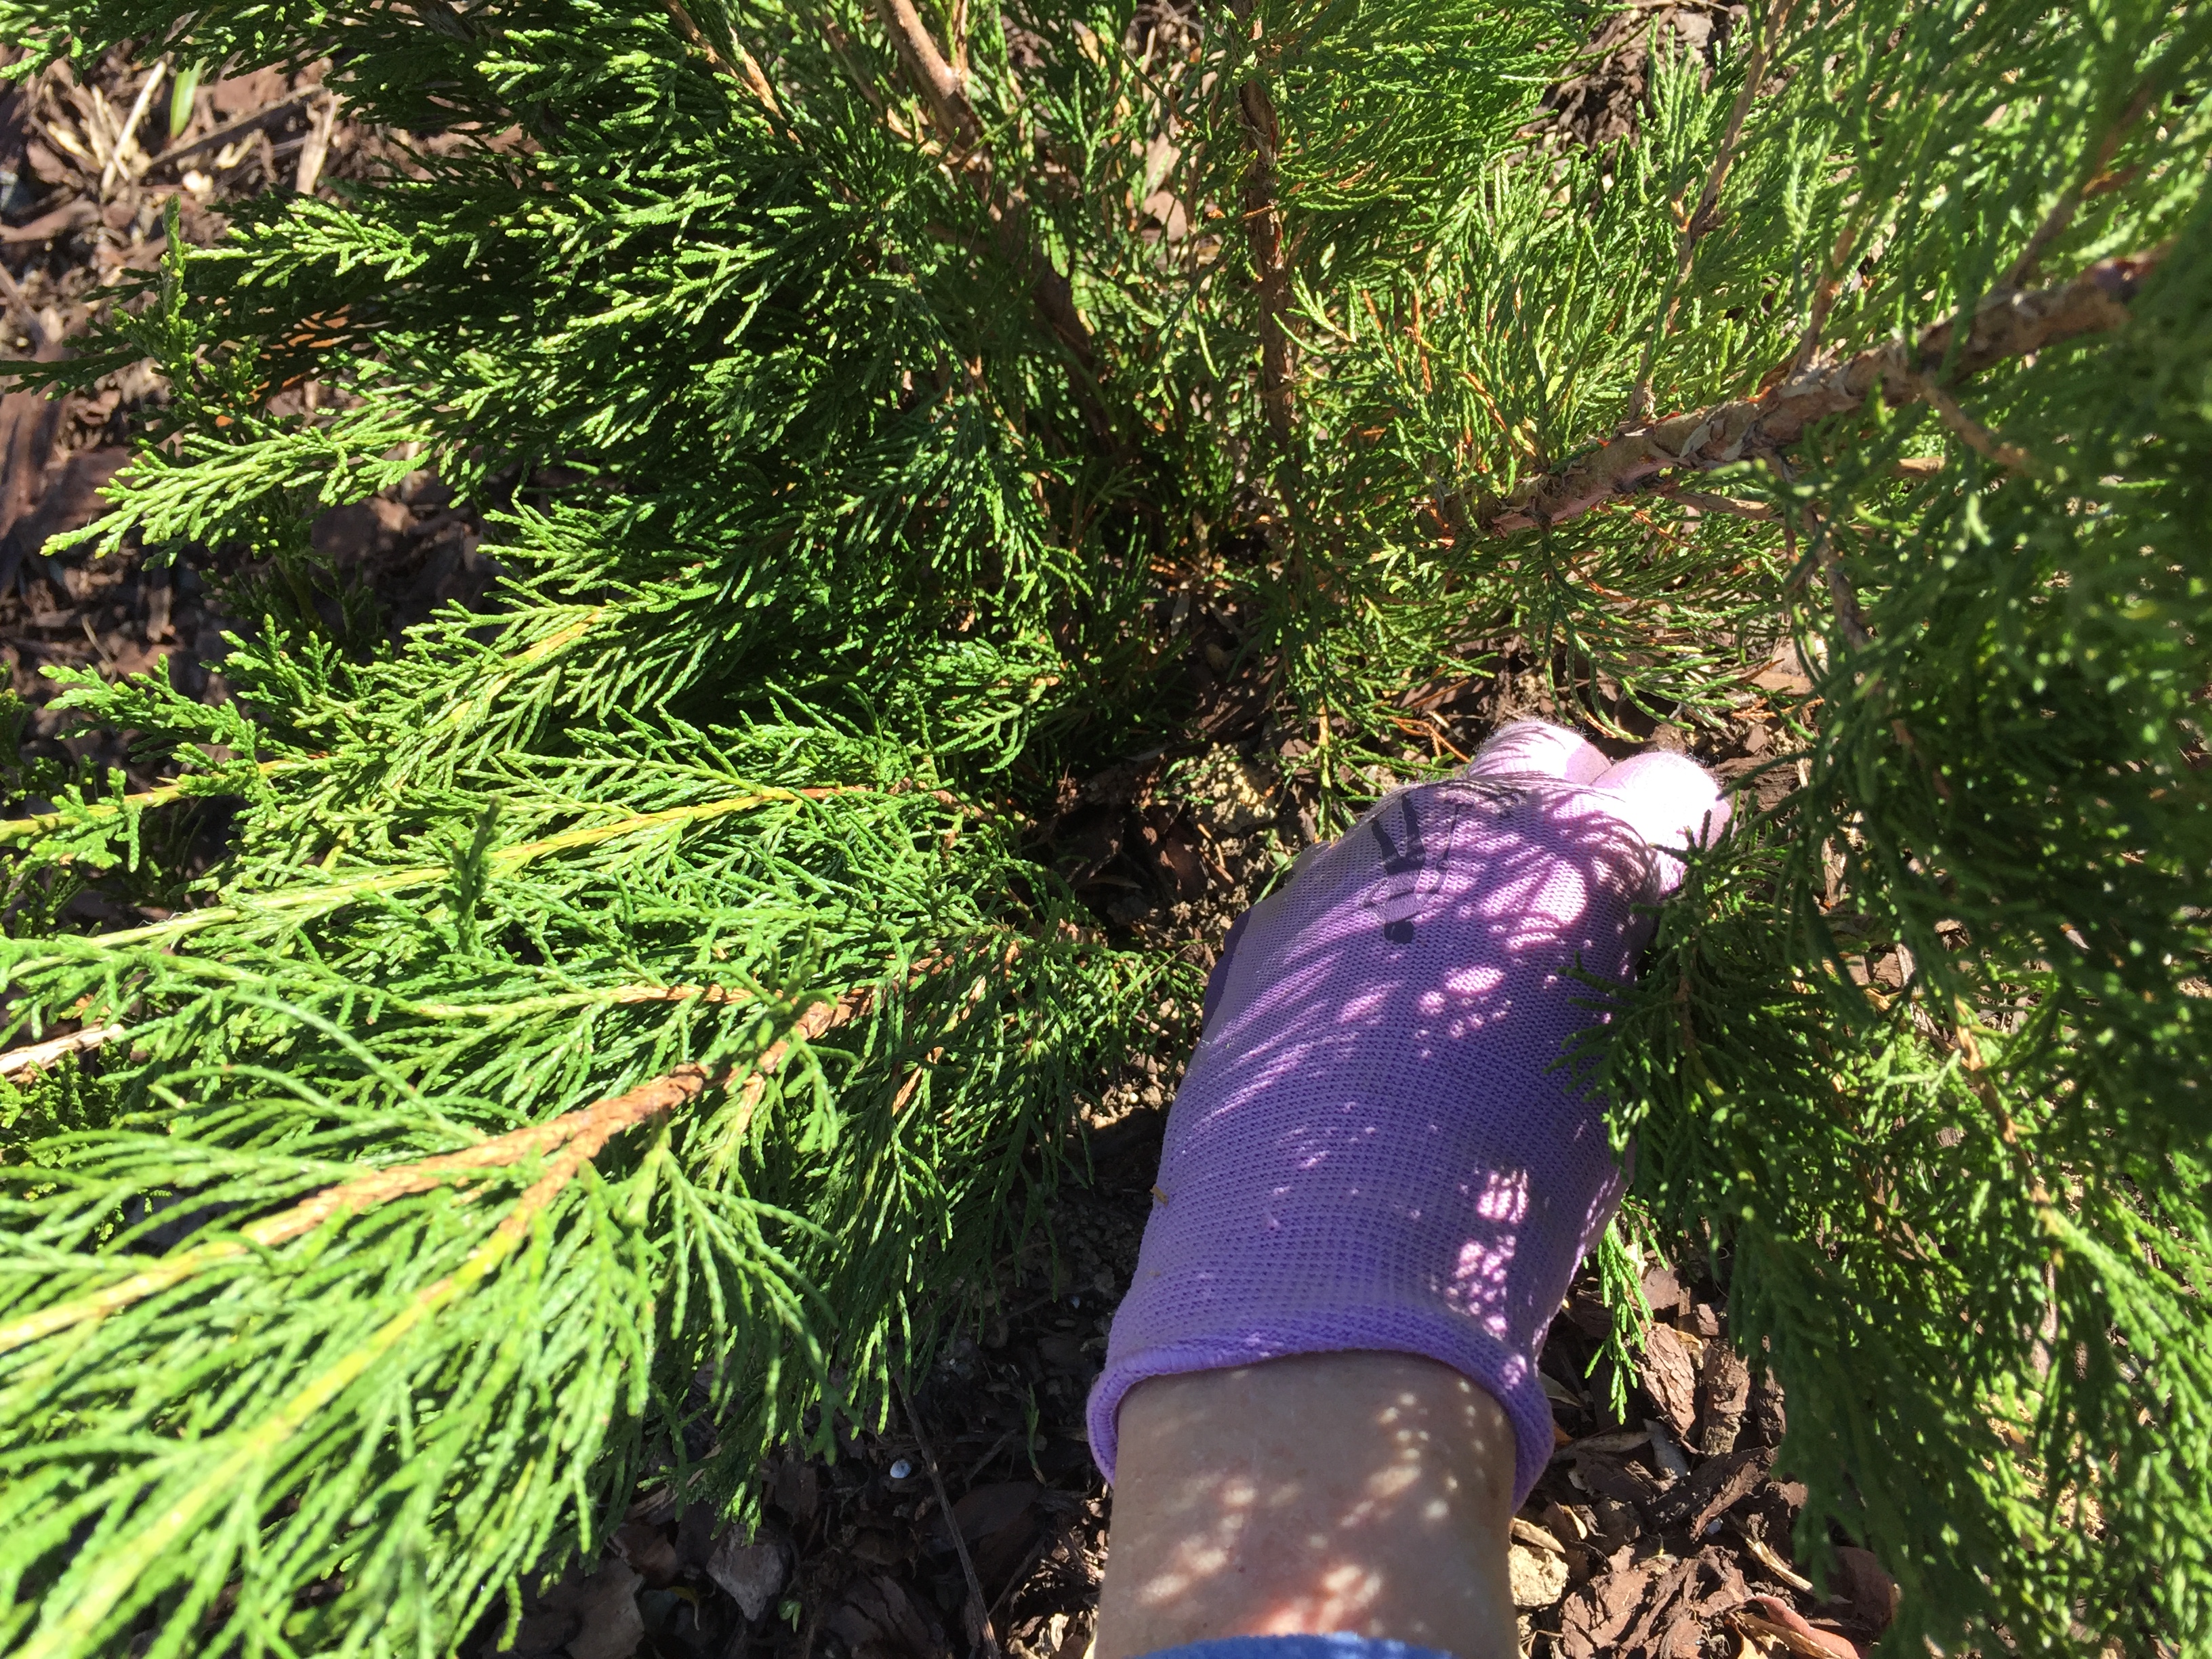
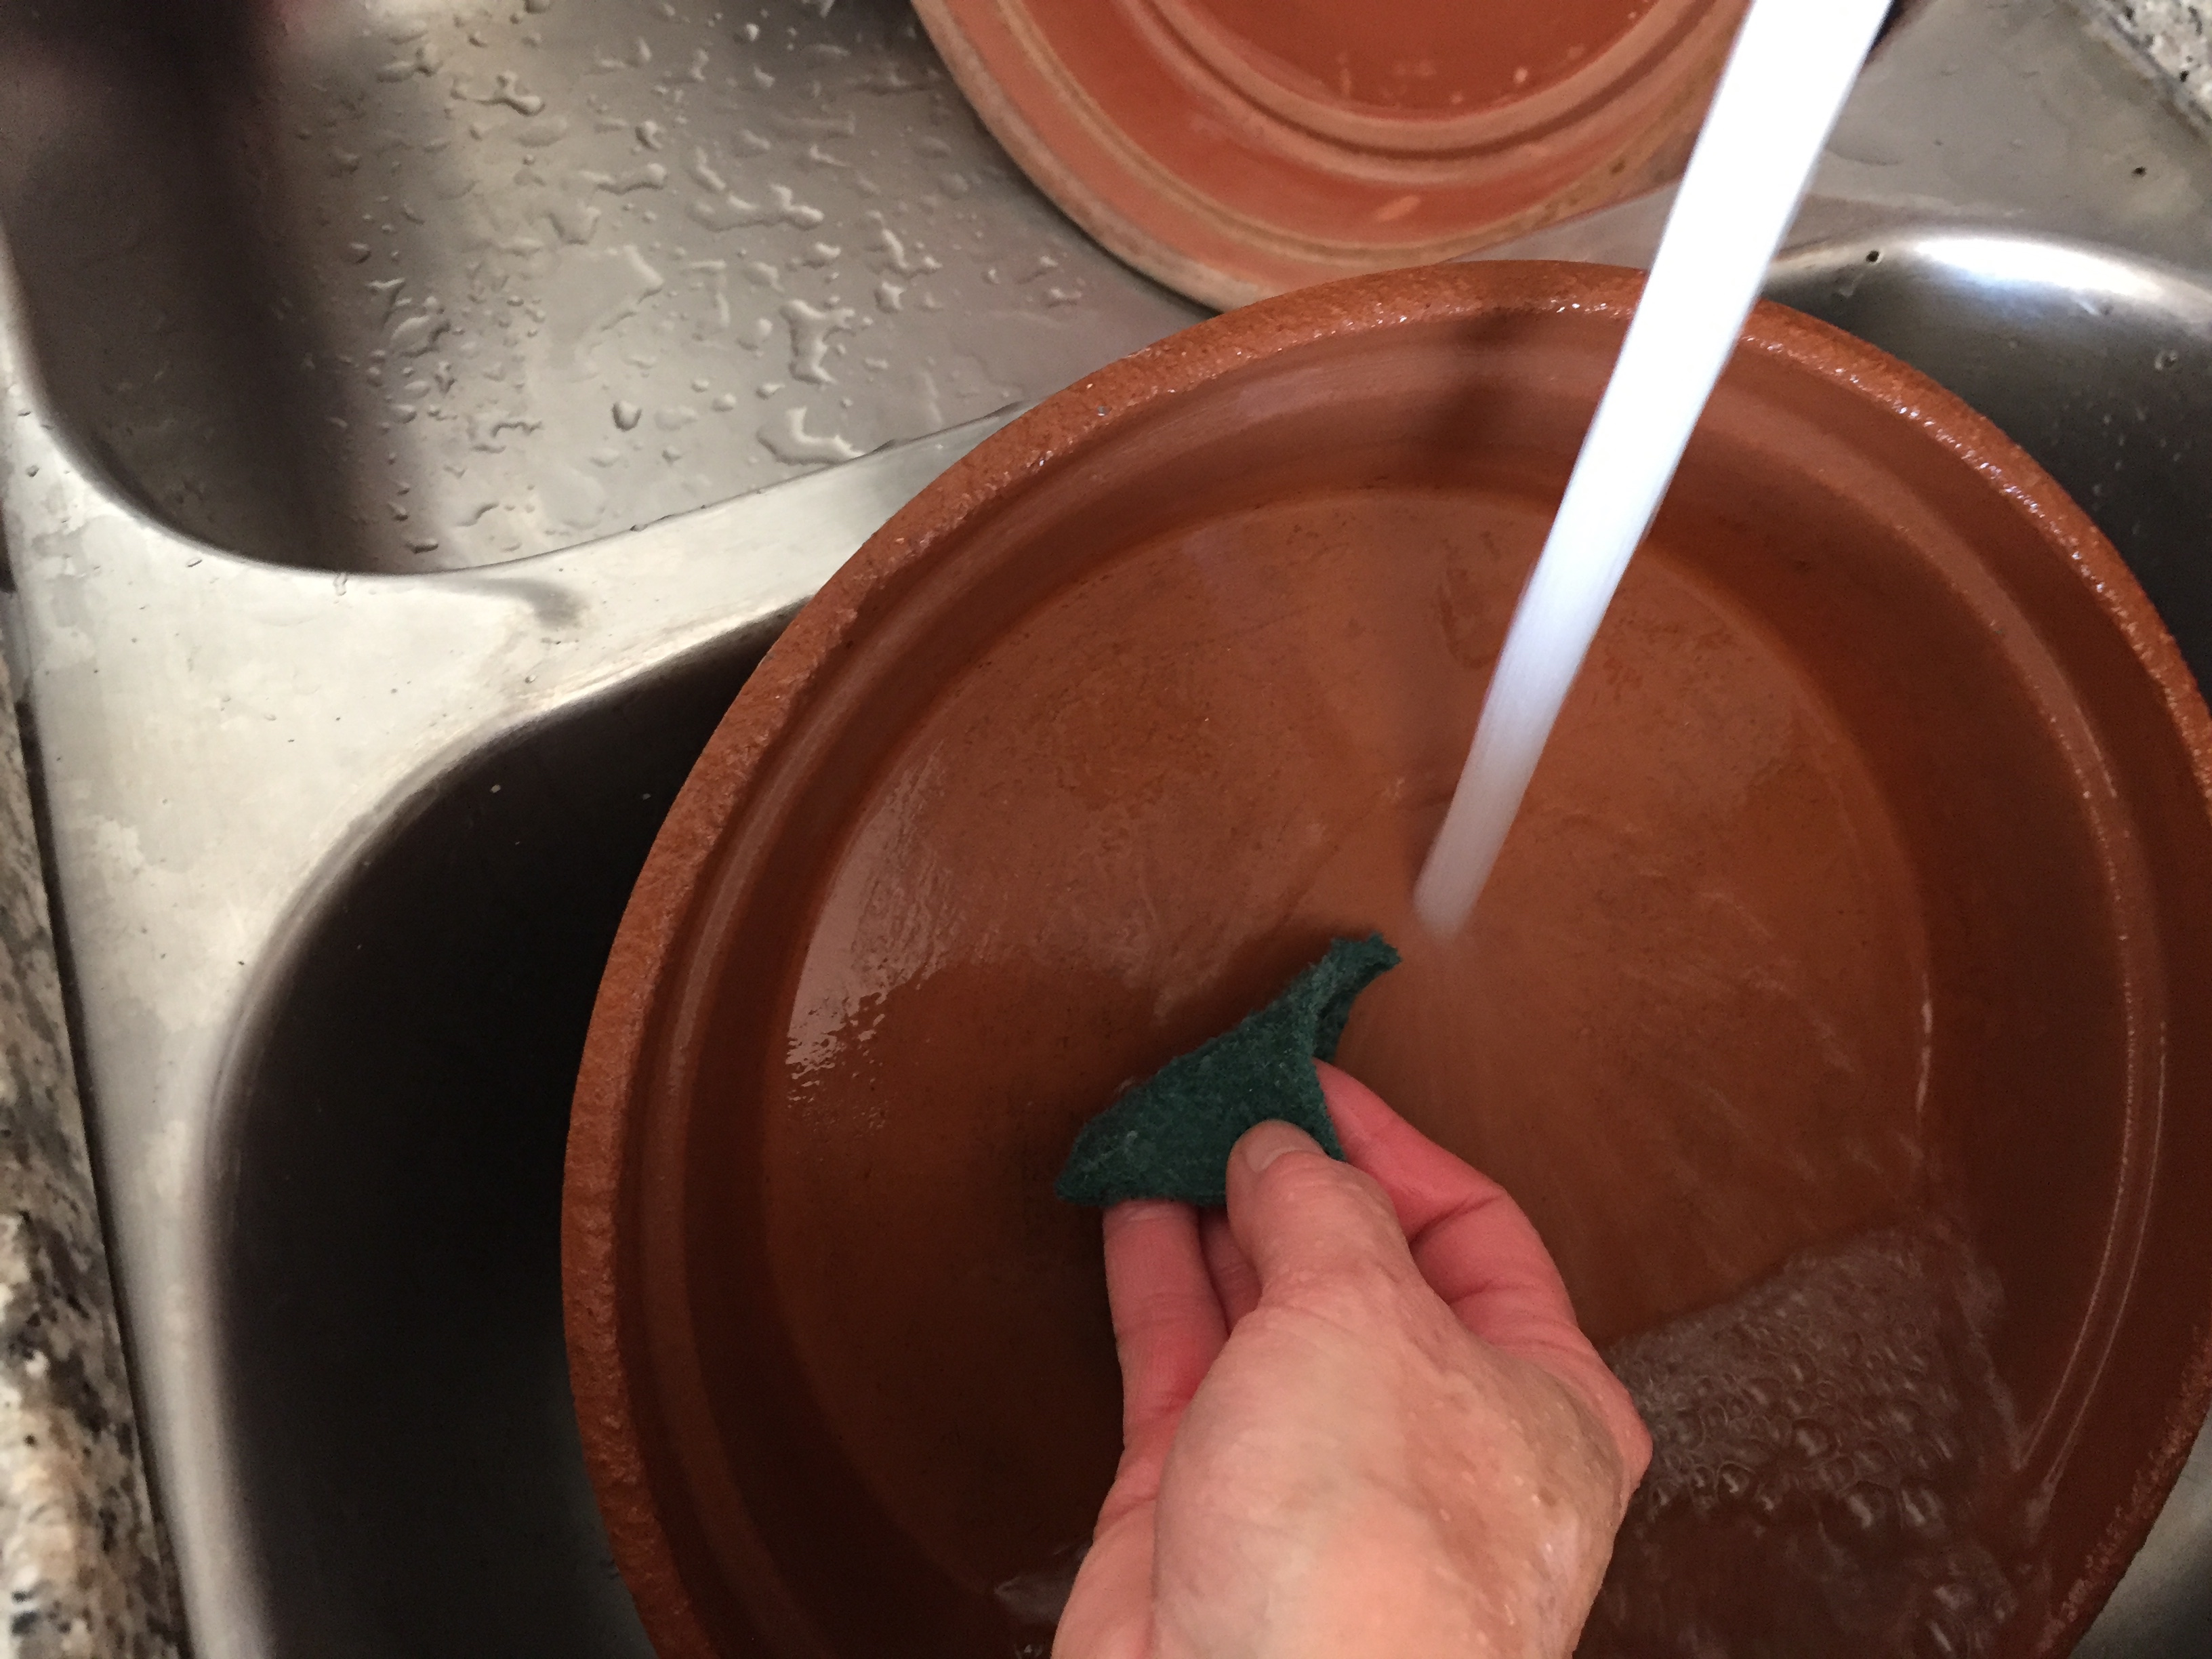
For several years, there has been a disease affecting boxwood plants called boxwood blight. The boxwood blight is passed by using infected tools. Just by cleaning your tools thoroughly before pruning or trimming, you will protect the plants from getting the disease. I clean my pruners with rubbing alcohol prior to using them. Another tip would be to have a pair of pruners dedicated strictly for use on these beauties, but I would still recommend swabbing them between cuts with alcohol to be ultra safe.

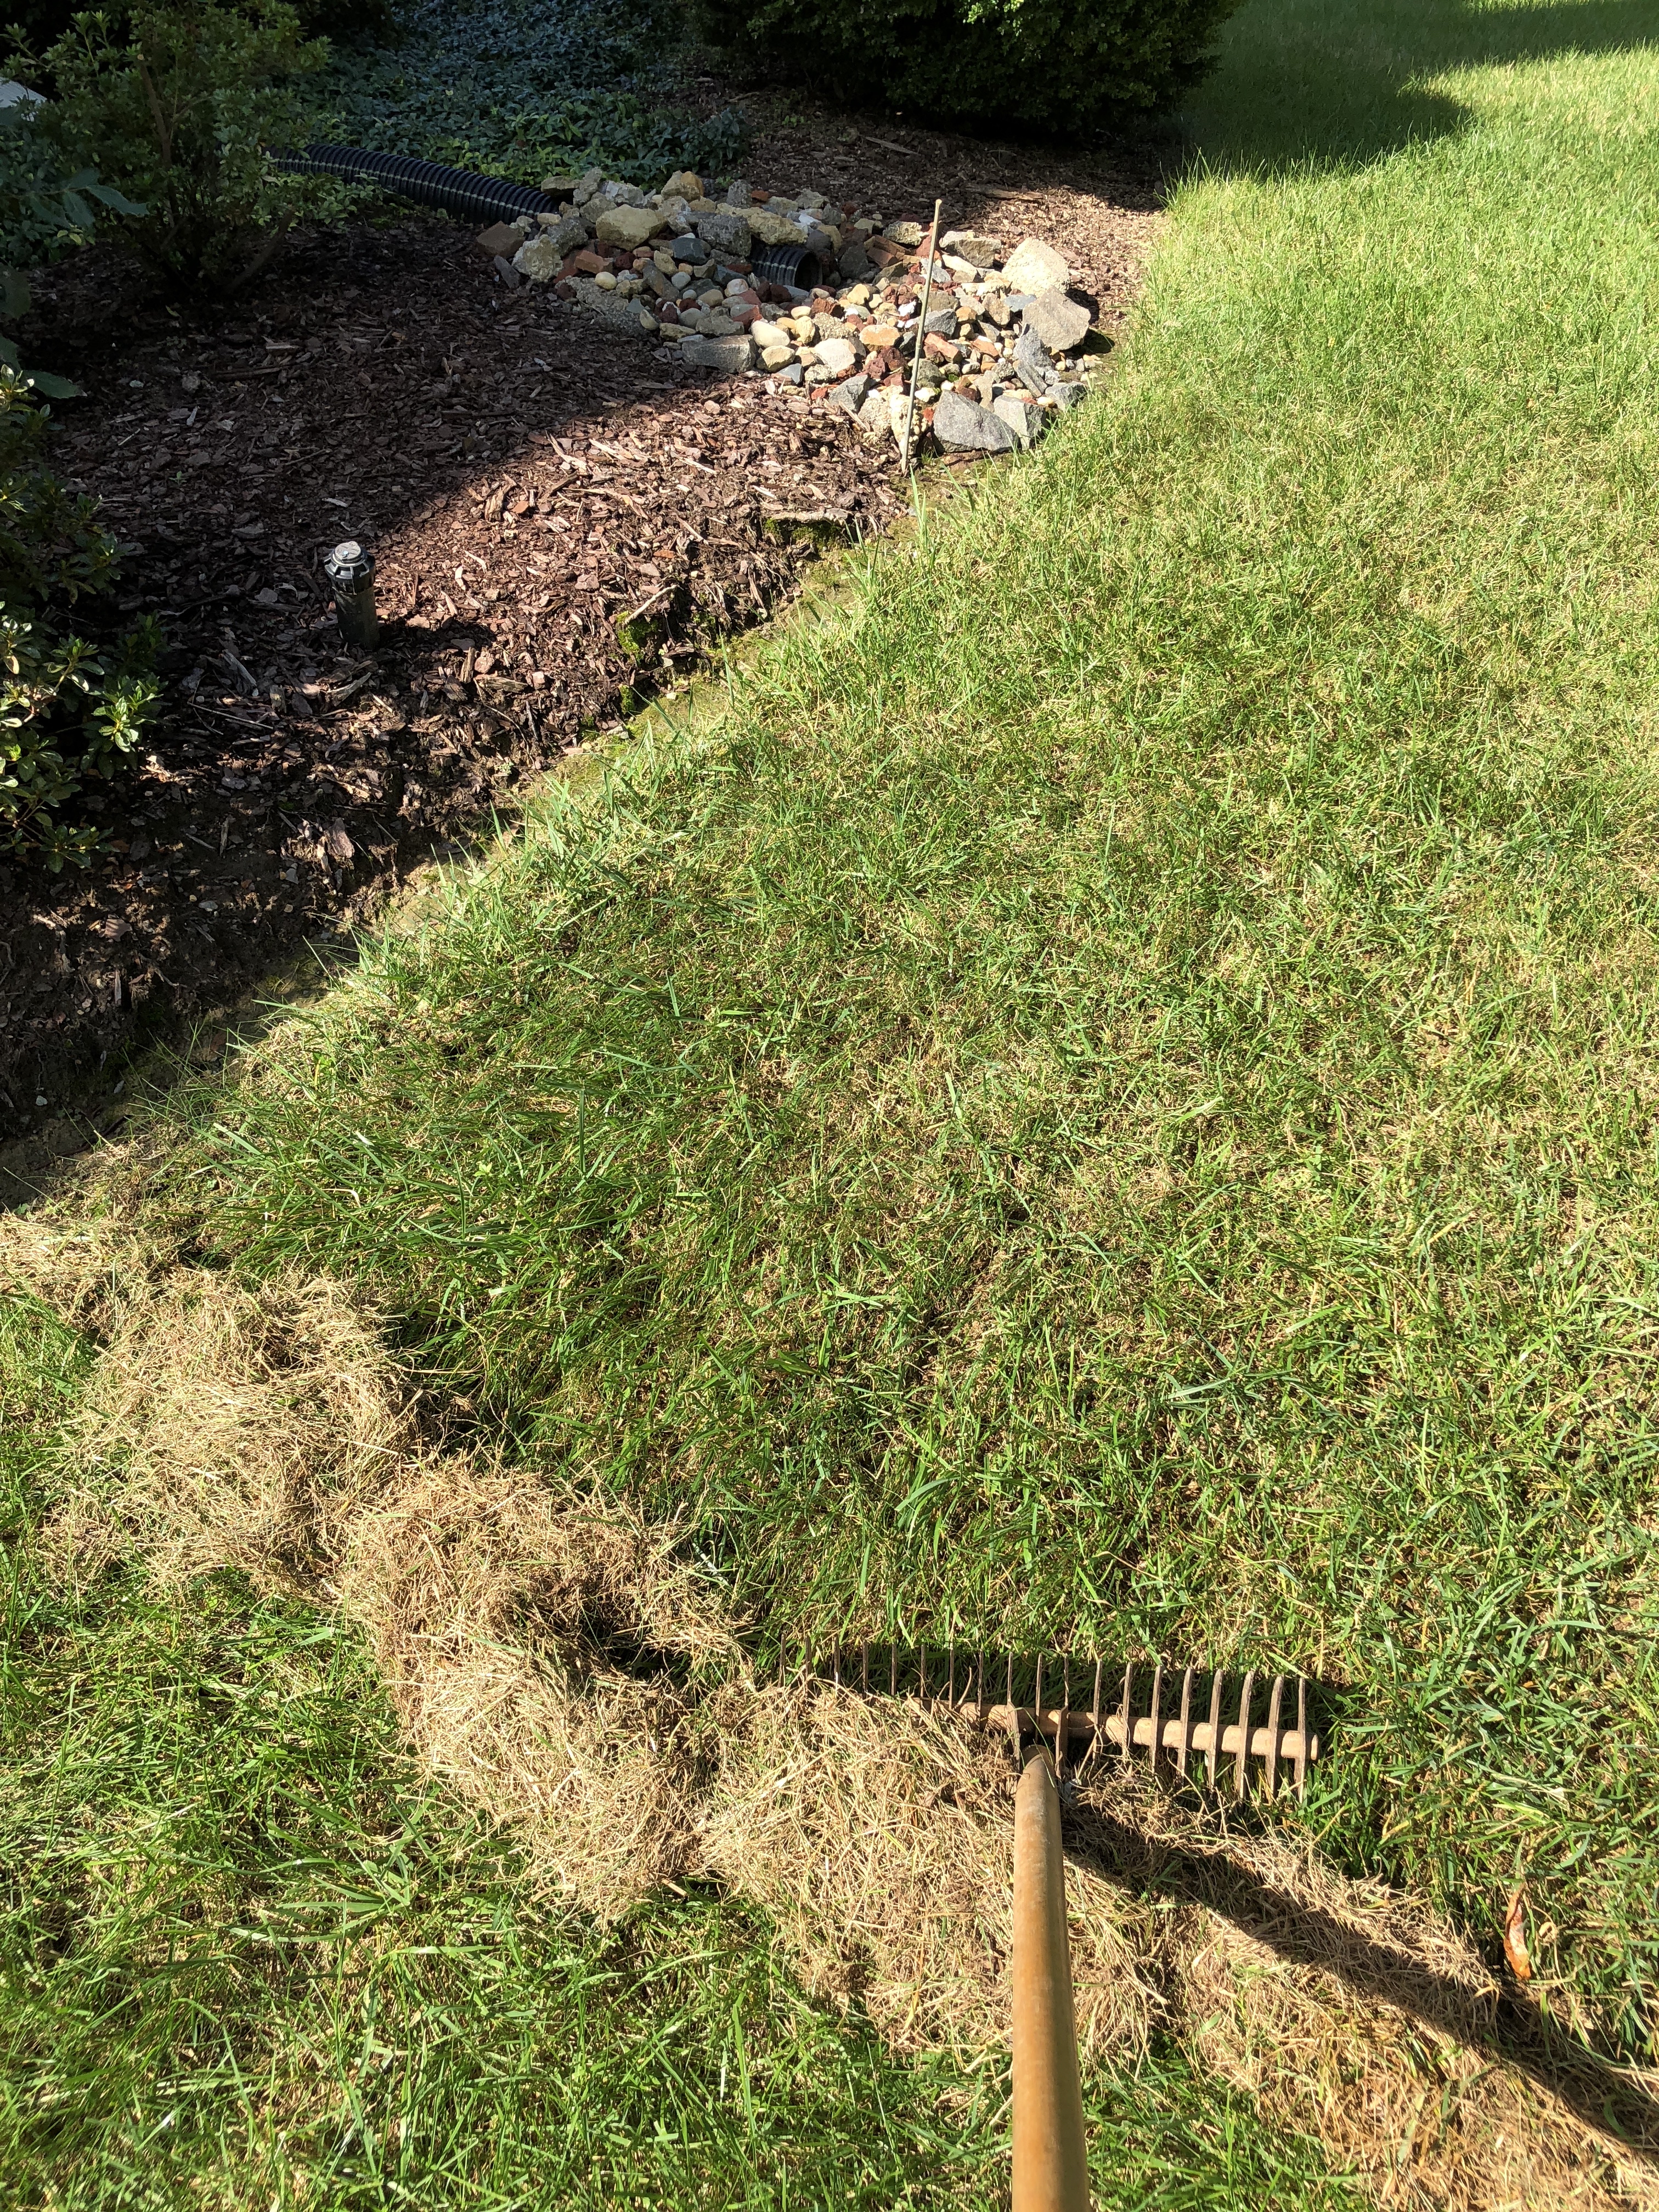
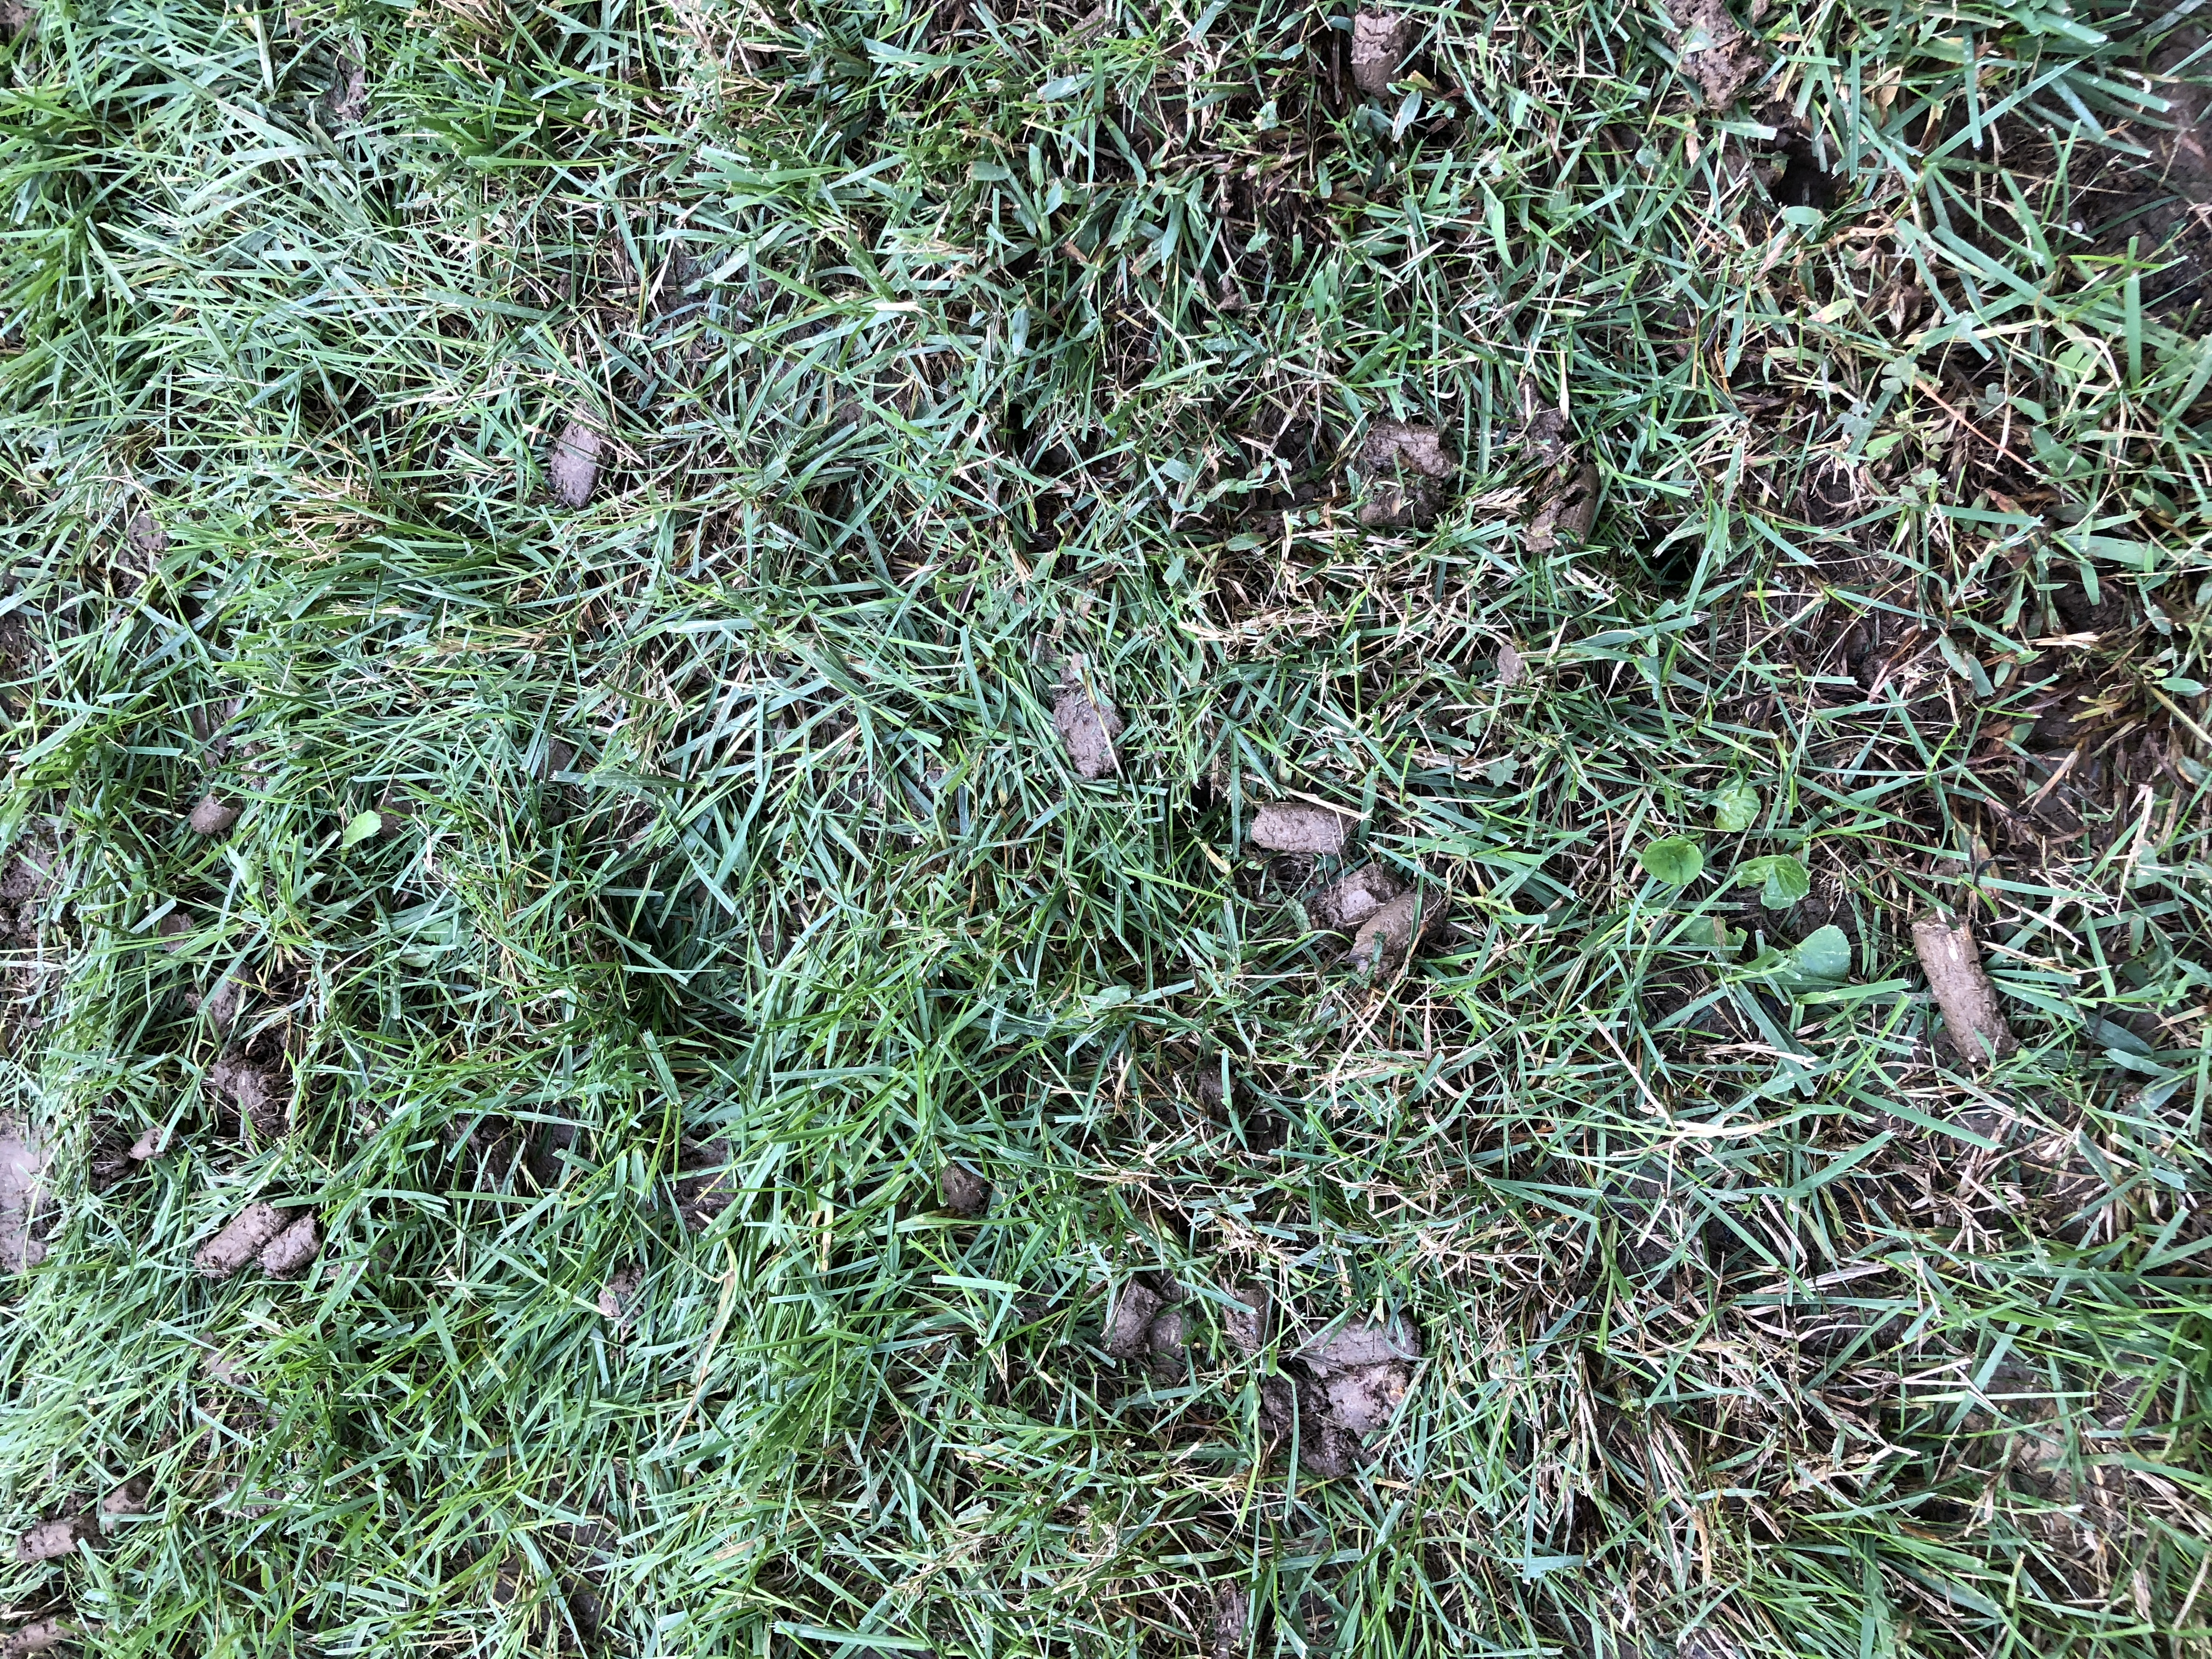
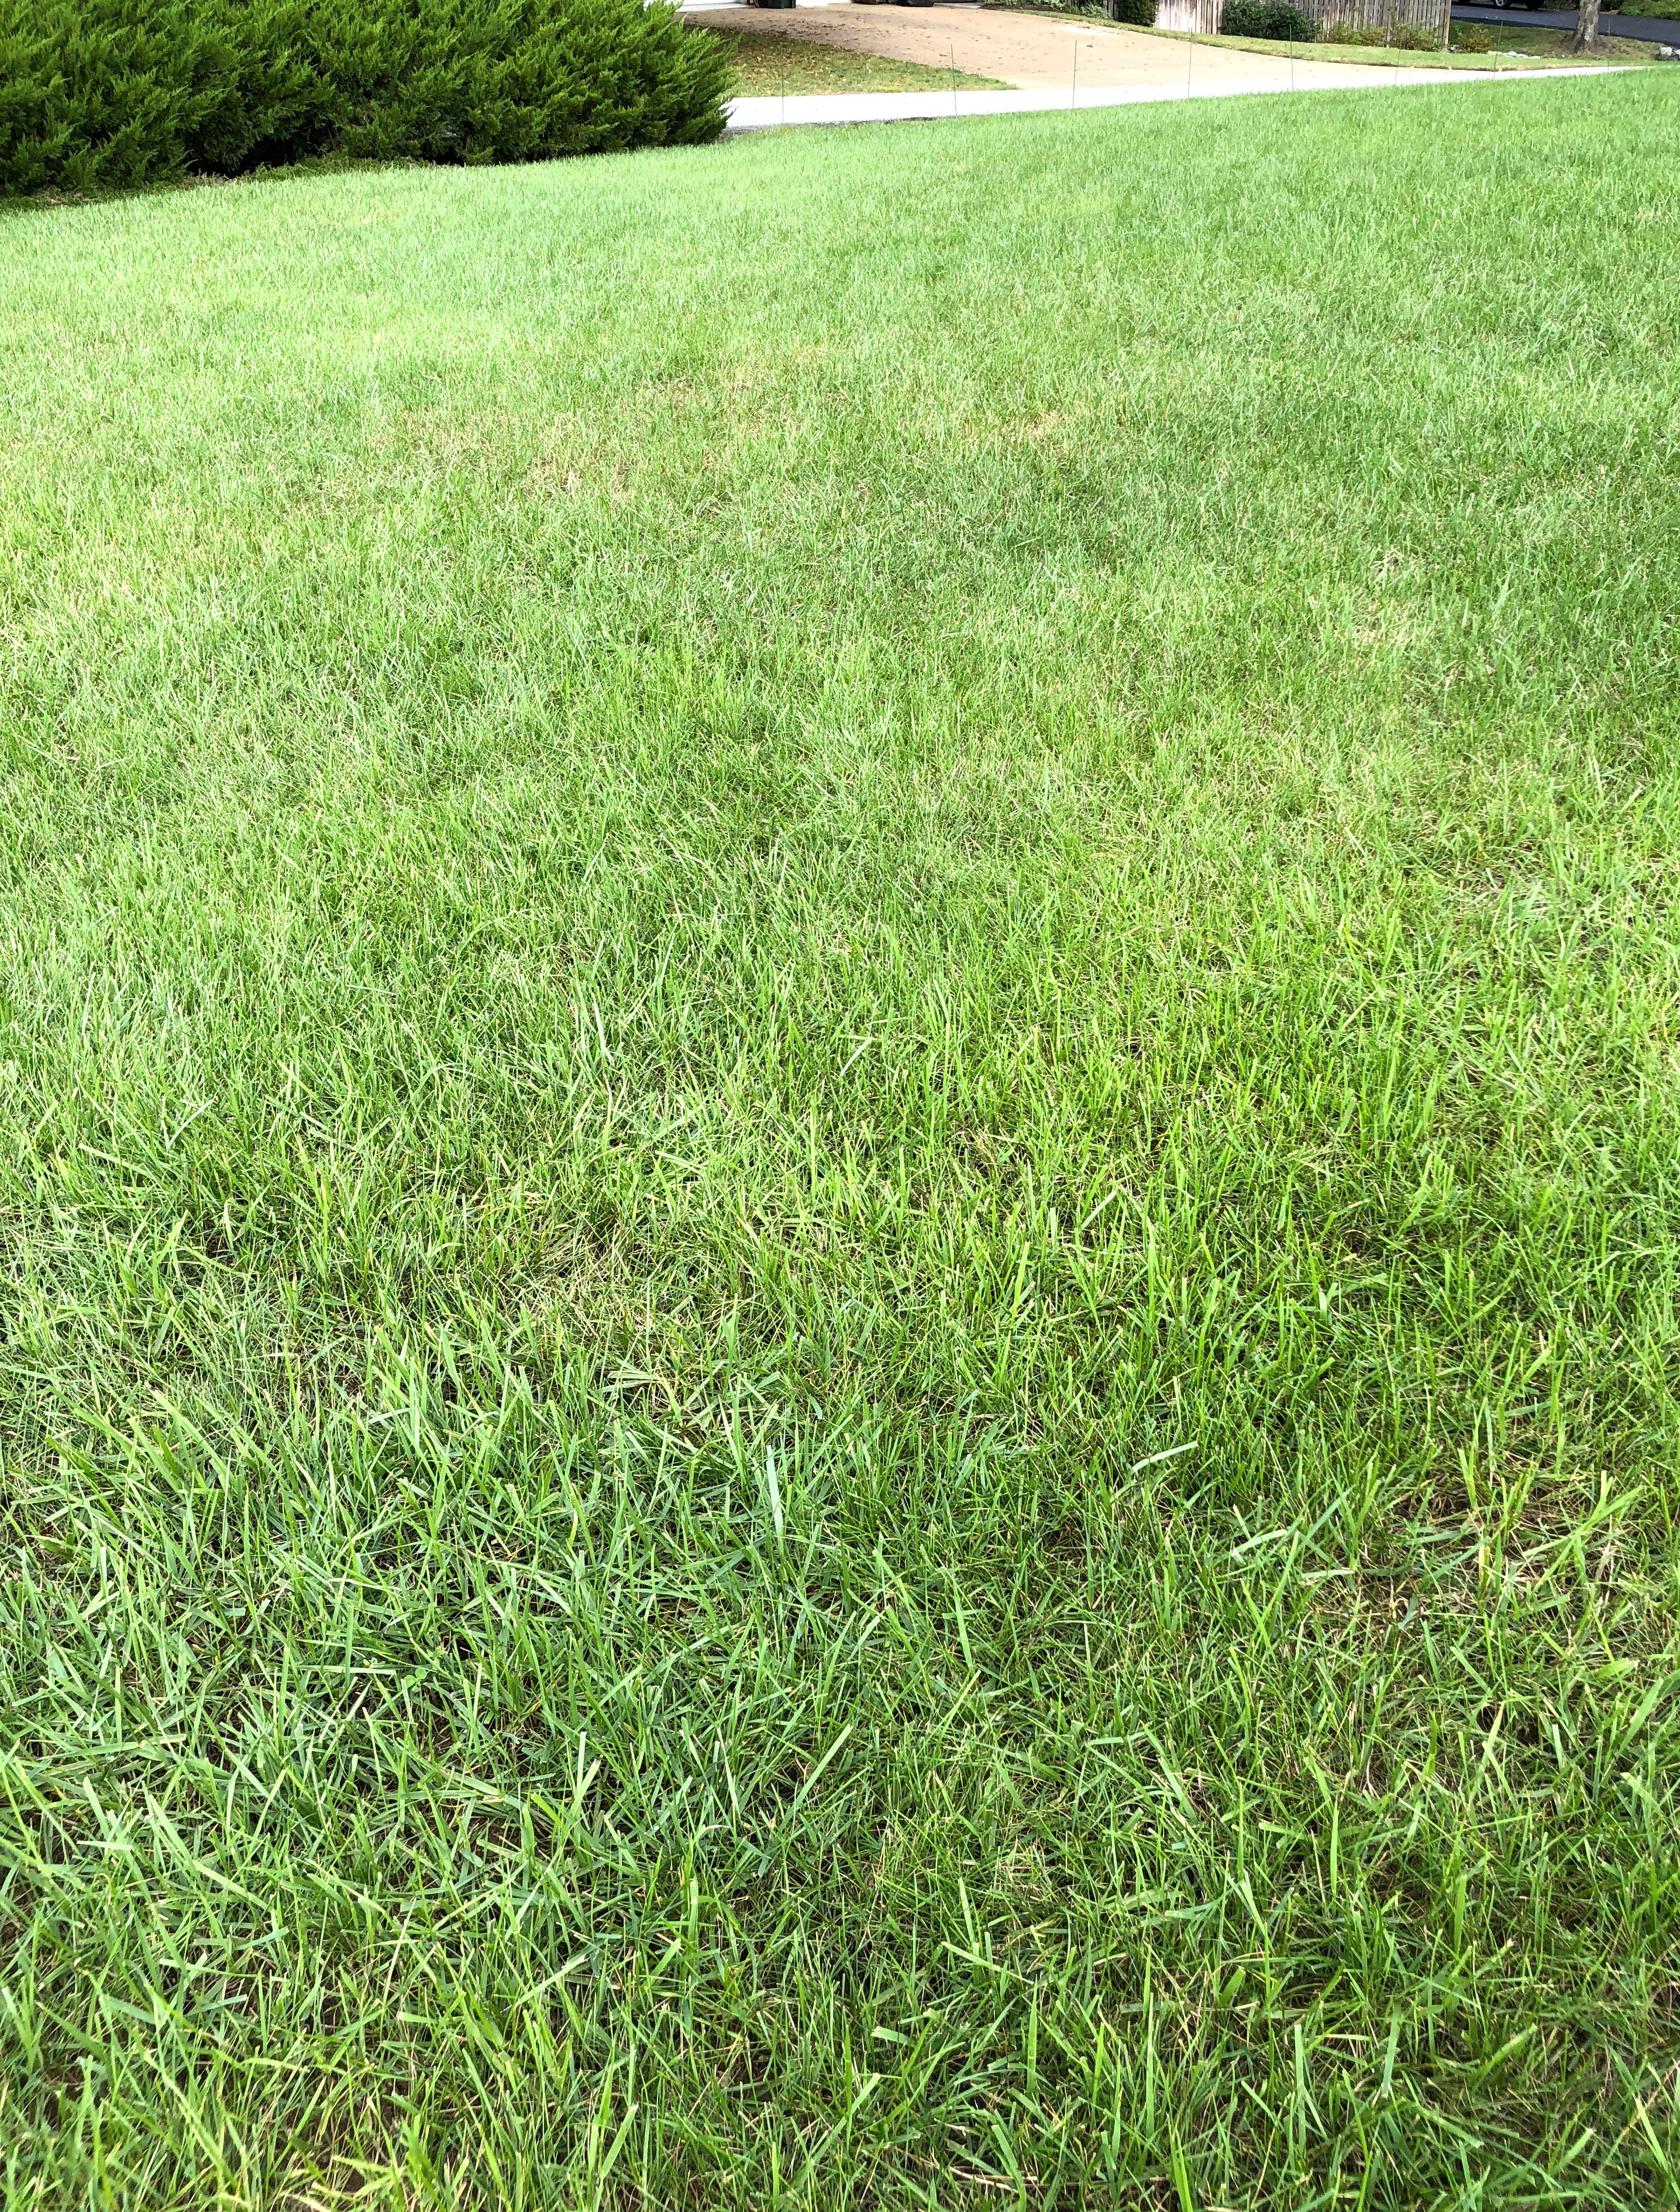
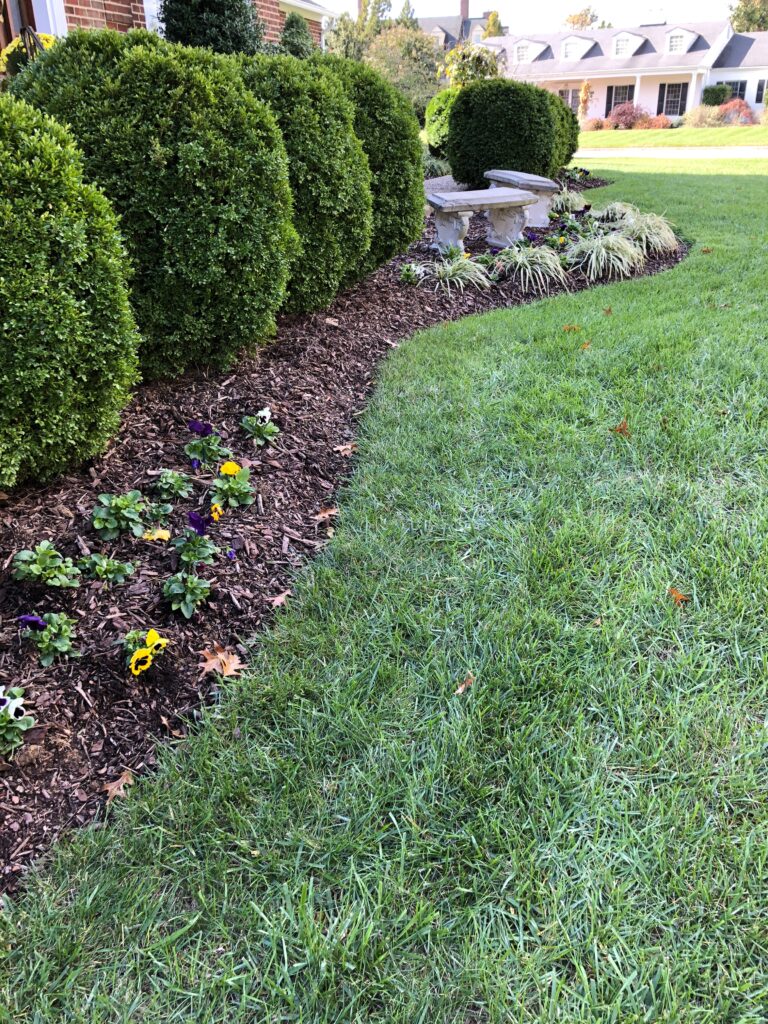
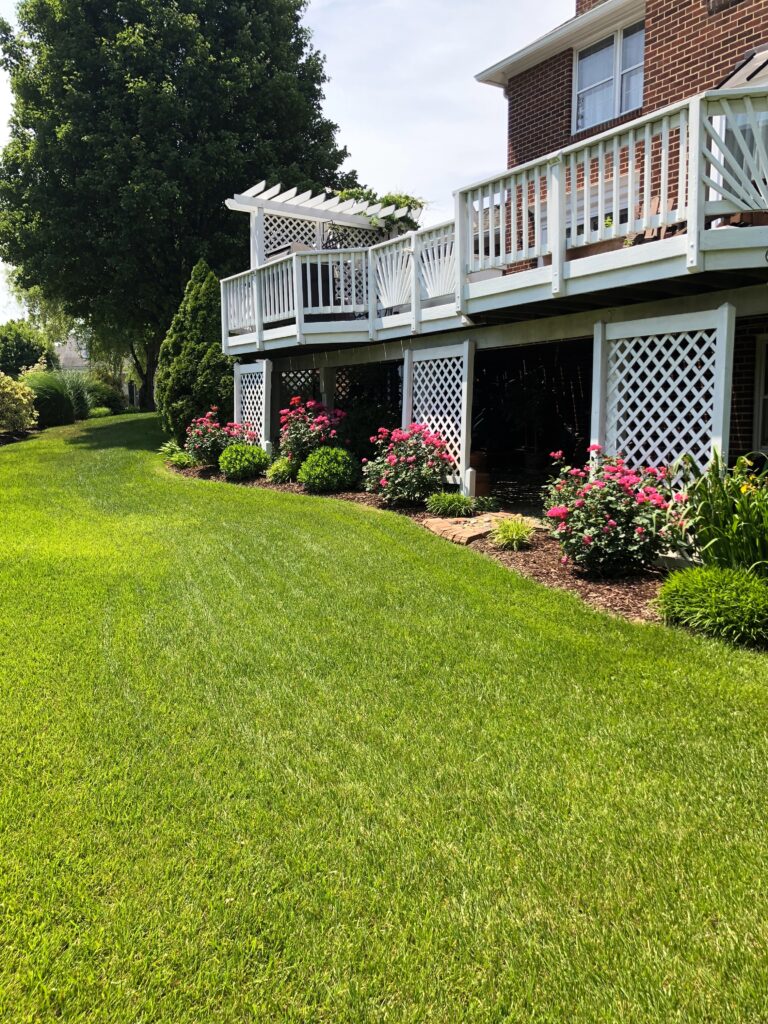
Here’s another surprise entry in this year’s top plants — grass. In the early season, when this photo was taken, we had just gone through the wettest spring ever! Everything was green beyond measure, and then by the end of June, we entered a severe drought. For four months we didn’t really have any measurable rain. I did not water, except for the trees, and let the grass go dormant all through the summer months. It turned completely brown, and the dirt was like dust. I was truly worried that I’d taken the no–watering thing too far. In September, I started watering, although we were still having 95-100 degree days and no rain, my hopes were to at least save the roots. Nothing greened up at all. Then finally as October started, we had 5 beautiful soft rains, and like a miracle, the grass came back into health again, like nothing ever happened!

Which brings me to the point of this story: there’s nothing like real rain! What comes out of a sprinkler just doesn’t compare. When you water in the triple digit heat of the summer, it encourages weeds. Grass doesn’t grow in extreme heat. I will stand by allowing the grass to go dormant in that kind of condition. It’s much kinder to the roots, than to stress grass into trying to grow — which can kill it. Another giant help to the health of this year’s grass was dethatching the lawn and applying a root stimulating turf builder last fall, which gave us a thicker and virtually weed free yard this year. I highly recommend working your way around your yard using a dethatching rake. It’s very hard work, but pays off in a beautiful way, allowing water and nutrients to easily get to the root system.

Here’s the same area again just last week. You would never know how harsh a summer the grass weathered! It’s hard to not water and to watch it go dormant, but it’s the best thing you can do for the health of the root system. Have faith in Mother Nature, she will bring it back in the fall.

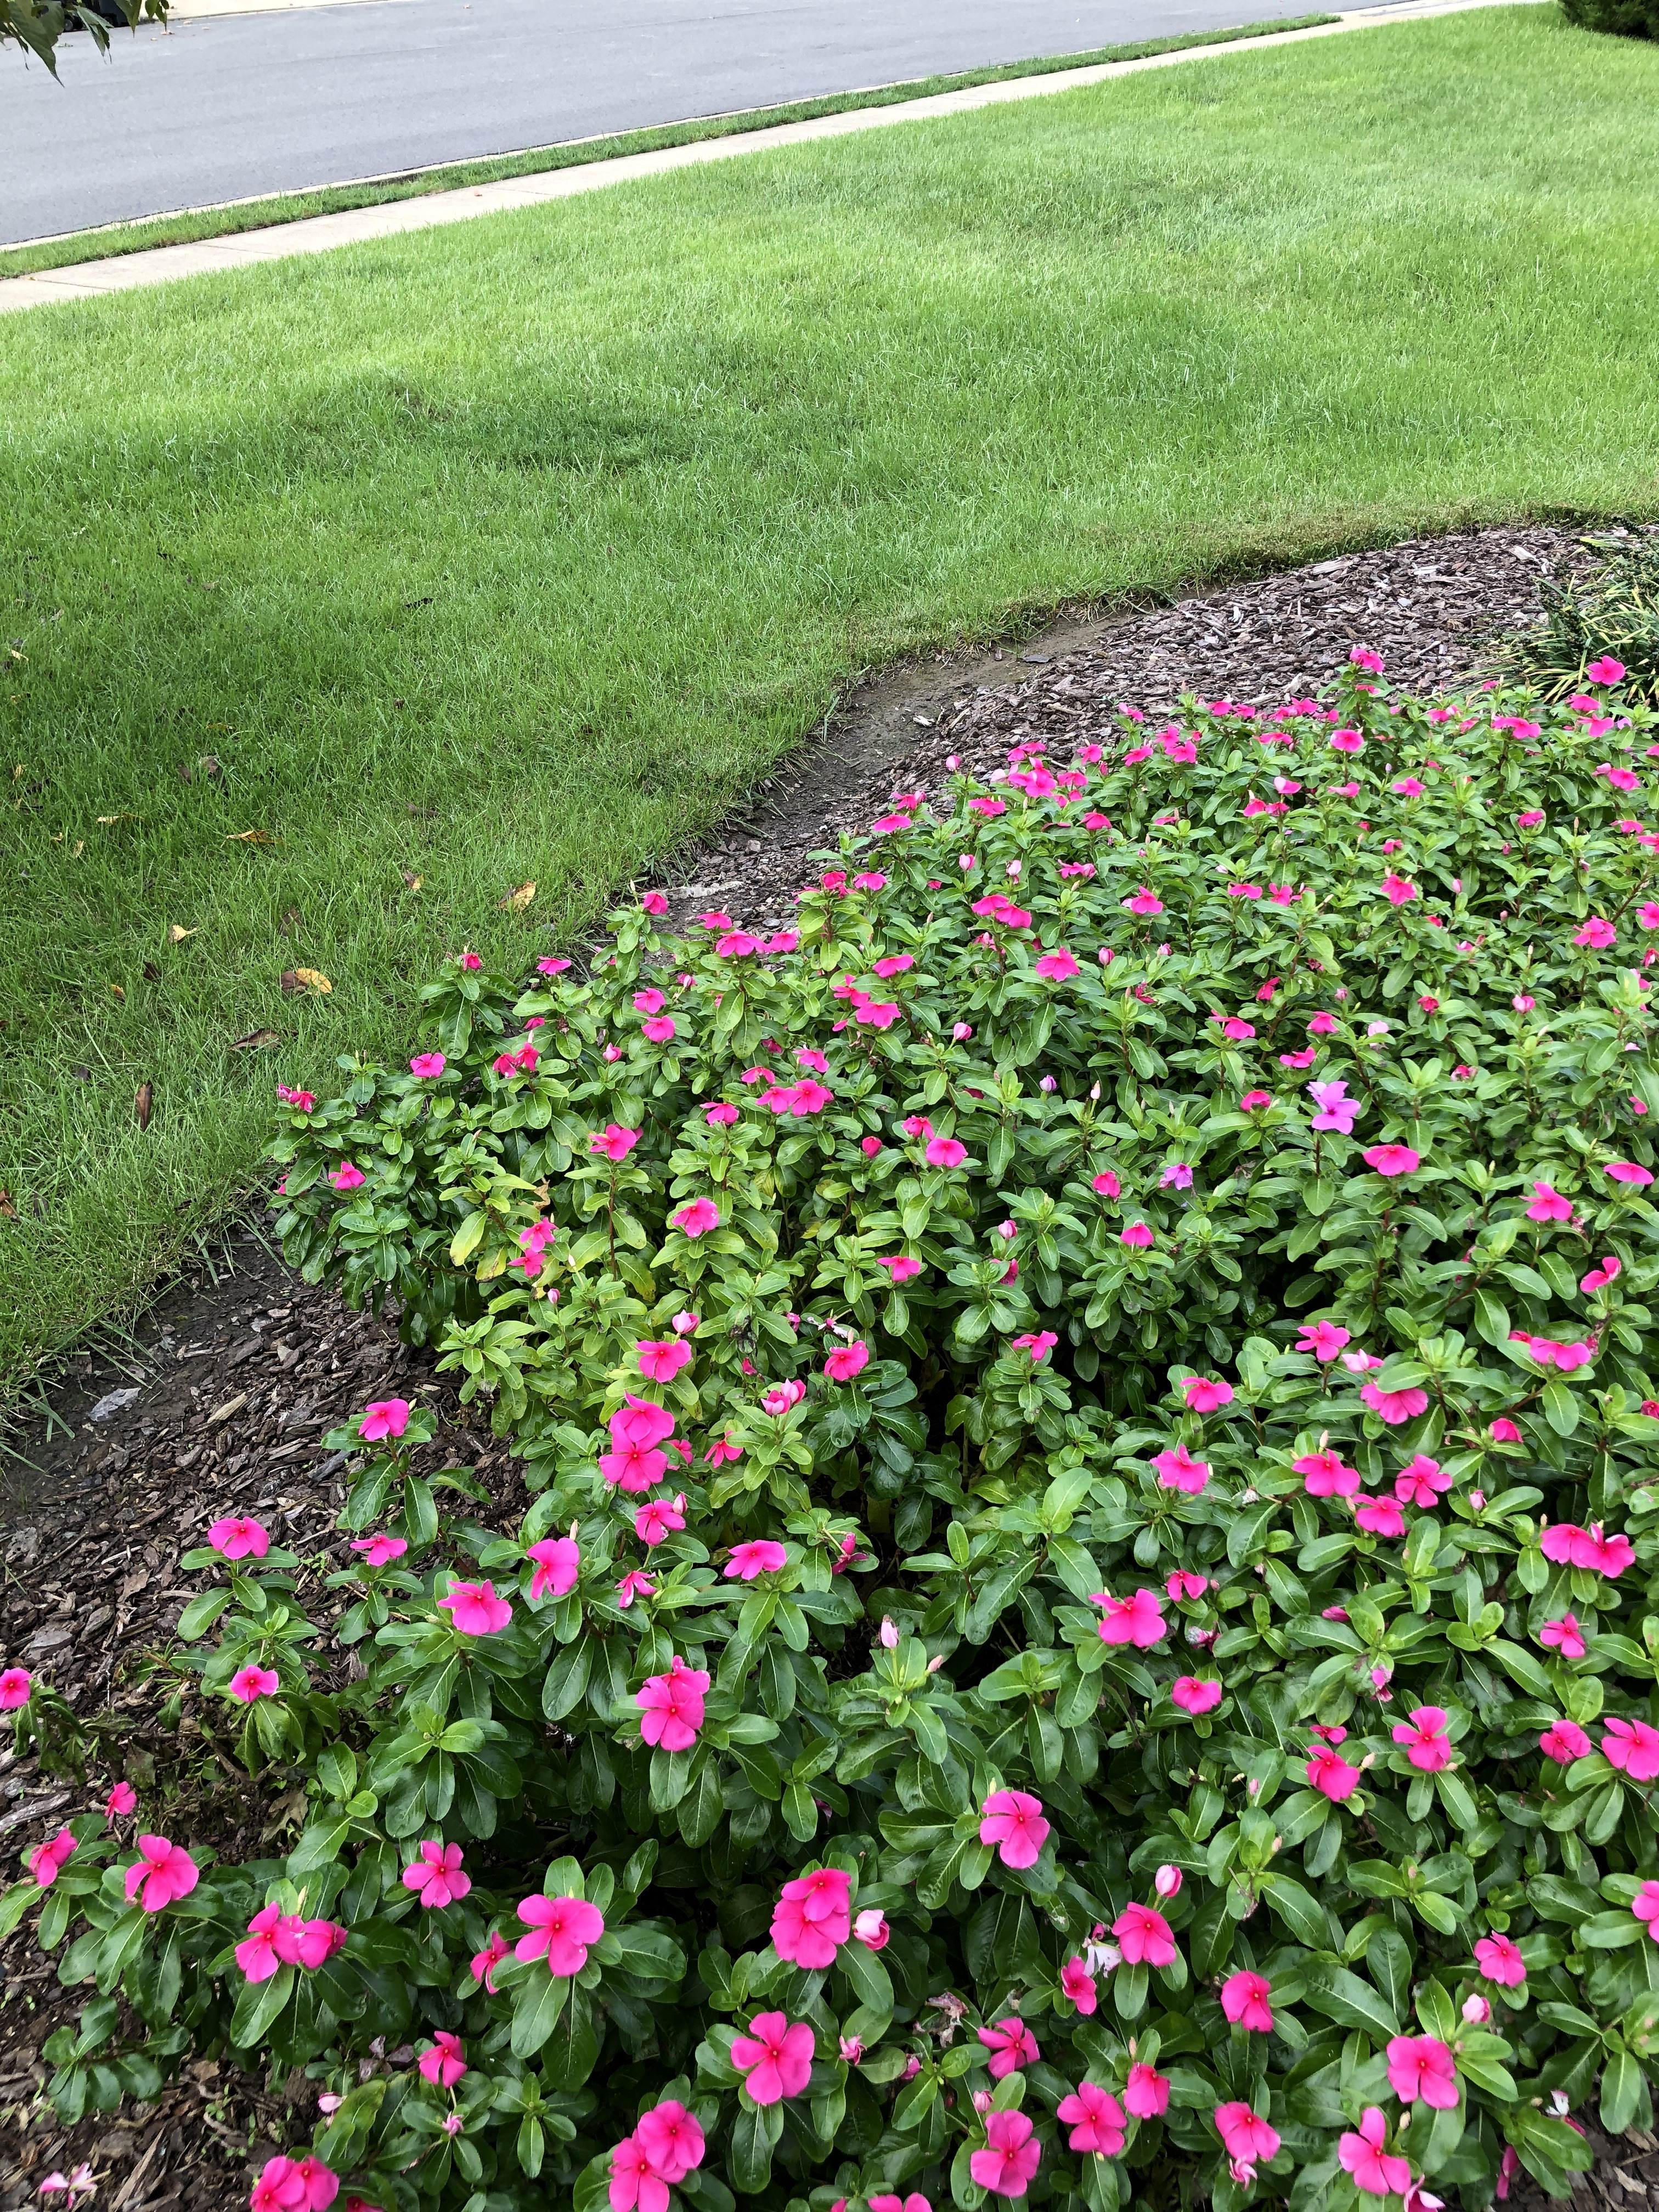
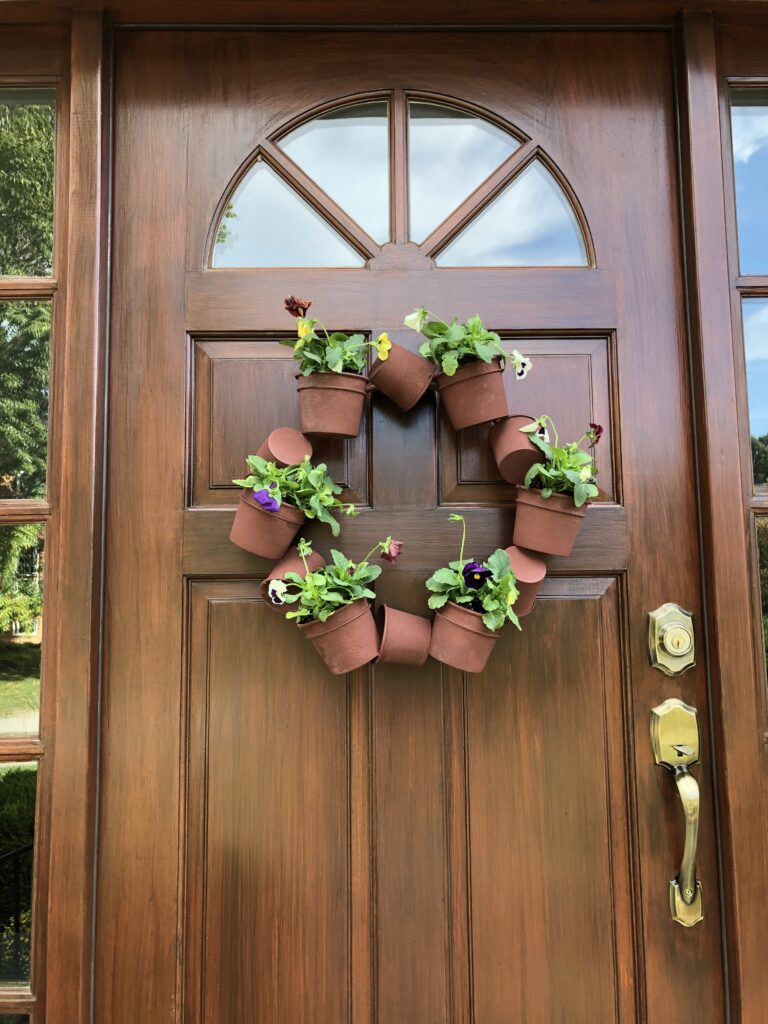
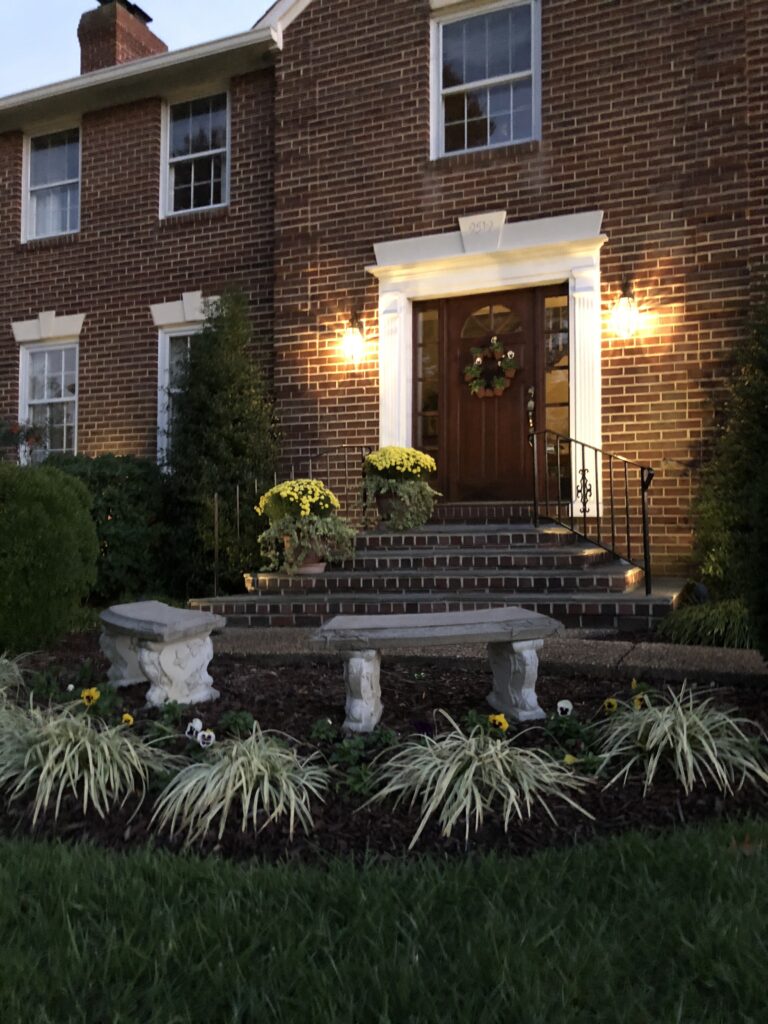
I also want to point out one of my all time tried-and-true flowers: my pansies! After the summer of gorgeous color from the vincas, I wanted to continue with some hardy winter flowers. With any luck they will provide color until the end of April.

This year the pansies in the ground were joined by the pansies I planted in this wreath that my sister gave me! It really brings the whole Fall theme together! Thank you, Tracy!

The beautiful mums have some competition this year. I was so happy when the weather finally cooled down some, I put in 125 pansies across the front. A fresh start to celebrate the season. And gives the frontage some great fall curb appeal. I was thinking ahead to Christmas when I chose the colors — gold, burgundy red, purple, and white — to complement the traditional fruit wreath I’ll be hanging in December.

I know I’ve given props to the knock out roses in the past, but they were really beautiful again this year. We had a swarm of June bugs that came in with the 100 degree heat in the summer, and they did interfere a bit, but I use a granular three in one formula that kept their dirty work to a minimum. It fertilizes, prevents diseases, and for the most part deters bugs- Bio Advanced- worth a try next year, if you have these issues. (I am not paid to endorse, but this is really great stuff in my opinion.)
Another stunner this year were these emerald euonymus. They are incredibly easy to grow and maintain, really no special treatment other than to shape them after the spring growth. This is only two plants! They provide privacy to our back yard from the cul du sac and make a gorgeous living fence, don’t you think? They are beautiful year round, too, and are a favorite nesting place for our flock of cardinals and bluejays.

Before I say good night, I hope that next year’s growing season is not as harsh as this one has been, but just in case it is, here’s hoping that we can all adjust to our changing climate by seeking out the most hardy plants. Let me know what changes you are planning; I’d love to hear!

Happy Fall, everyone!

Lawn Renovation Even in Sauna Weather – Got to Get it Done!

Hi everyone! We had an unbelievable amount of rain here this year, almost double our annual rainfall total. The air feels like a sauna even in October. It’s been hard to spend more than a few hours outside at a time in the heat and humidity — but you know I can’t stay inside, and there’s work to be done!

This type of steel rake is my favorite choice for de-thatching the lawn and preparing the soil for overseeding. Just look how much debris it removes!

This type of steel rake is my favorite choice for de-thatching and preparing the soil for overseeding. Just look how much debris it removes!

My priority now is renovating the lawn. Normally, I would finish this completely in September, but the weather has put me behind schedule. To do this right, I started by weeding the entire lawn by hand, as opposed to using an herbicide. When planning to overseed, one needs to make sure not to have any chemicals on the lawn which could interfere with the new seed sprouting.

I am using a specialized steel rake to get every bit of thatch out of the lawn — a tool I inherited from my grandfather. This is THE most grueling step. After de-thatching two-thirds of the lawn, I have collected more than a dozen full bags of debris (don’t worry — you know it’s going to the compost heap). I’m impressed with how effectively this steel rake pulls out the thatch — and it loosens the surface, which makes for great new seed contact into the top soil.

Everyone who walks by while I’m working asks me why I don’t just use a machine for this, but if you saw how much better this works you’d know why!

This is a photo of what the plugging machines do. They really don't get any thatch up, and compared to the steel rake- well, there is no comparison-

This is what those plugging machines do. They really don’t get any thatch up, and compared to my steel rake — well, there is no comparison, not to mention that the plugs of soil the machines leaves behind look like, um, something else we don’t really want to see…

I bought a premium seed that has a variety of grass types: some that sprout within a week to stabilize the bare spots, and additional varieties that will be sprouting over the next few. This mix also had a seed-starting fertilizer mixed in, but if the variety you purchase doesn’t have this, I’d recommend using some.

Keeping things moist while the seeds are doing their magic is key, but with all the rain we’ve had, I’ve only had to water the new seed a few times.

With the combination of sod, seed and fertilizer you can hardly see where the old tree stumps used to be!

With the combination of sod, seed and fertilizer you can hardly see where the old tree stumps used to be!


I’m happy to say that I finally was able to easily pull out the last of the roots from two pear trees which used to grace the front yard. Now those areas are much smoother in elevation. The vast majority of the surface roots came out with the tree, but a few deep ones remained. On these areas, which were quite large, I used a couple of pieces of sod and more seed around the edges to completely fill it in. Now you’d never know that those were trouble spots!


Once the new seed reaches three inches tall, you can start mowing. We gave our newly-seeded lawn its first mow this week.  I have a tip for this, too: Set your mower to highest level first, because after a few weeks of not mowing, the existing grass will definitely be quite long and would clog the bagging chute. In a couple of days, set your mower to the normal level and cut it again. This way your lawn won’t be stressed as much — and you won’t create new thatch by using a clogged mower!

Yes! Nice new seedlings emerging. What a good feeling that is-

Yes! Nice new seedlings emerging.


The front yard is finished, now on to the back-

The front yard is finished, now on to the back…


I’m hoping the weather will cooperate so I can finish up my raking this week, but (if you can believe it) we have a new hurricane bearing down tomorrow night, and two more in the Atlantic pipeline. Hope everyone stays safe, and best of luck — I’ll be back with some pretty fall flowers next week!


Happy Fall !

Happy Fall!

Happy Thanksgiving to All

This was the view of autumn leaves from my deck this year. They were so beautiful, but now a mountain of fallen leaves are in need of raking.

This was the view of autumn leaves from my deck this year. They were so beautiful! Now I have a lot of raking in my future.

Now that the mums have finished blooming, I have filled in the pots with boxwood trimmings from my yard. They make beautiful "plants" all winter long.

Now that the mums have finished blooming, I have filled in the pots with boxwood trimmings from my yard. They make beautiful “plants” all winter long.

I’m finishing the last of the winterizing and want to share a few tips that will add polish to the holiday curb appeal, and make the perfect backdrop for seasonal decorations. These will make a big difference for just a weekend’s worth of effort. And as an added bonus, it’s also a great way to work off some of that turkey with all the trimmings that we love so much!

First up is finishing the leaf raking and weed removal. Reach in and pick out all the leaves that have gotten stuck in the bushes and then do a final pass in the mulched areas of the garden and your lawn. This alone will make a huge difference in the appearance, but we aren’t going to stop there! Next, give the mulch a rake to loosen it up, and add extra if needed. Winter mulch tip: As you are stirring up the mulch, make sure to leave a space of a few inches between the mulch and the wall of your home. This will discourage the unwanted “guests” (mice!) from burrowing there.

Fill in gaps in the garden by creating "instant plants," just push small branches into the soil- simple as that.

Fill in gaps in the garden by creating “instant plants,” just push small branches into the soil. Simple as that!

Here is a row of "instant juniper" plants, where I removed the summer annuals. You'd never know they aren't actually growing!

Here is a row of “instant juniper” plants, where I removed the summer annuals. You’d never know they aren’t actually growing!

Perfect time of the year to give the clay pots a good cleaning before storing them away for the winter months.

Perfect time of the year to give the clay pots a good cleaning before storing them away for the winter months.

Not all of the "instant" plants are used outside- the extra ivy is in a bucket of water and will root over the winter. Ivy is a really good air filter indoors, so I love to have some inside!

Not all of the “instant” plants are used outside. This extra ivy is in a bucket of water and will root over the winter. Ivy is also a good air filter, so I love to have some inside!

Now that you have pulled out the spent summer flowers and have areas that might be looking a bit too spare, here’s one of my favorite tricks of the trade: I trim the bushes in the yard and use those trimmings to create “instant plants.” Just take the branches and push them into the soil about 6 to 8 inches. I use about a dozen small branches to create each “plant.” On either side of the driveway where I grow vinca in the summer, there are now juniper. They look great, you’d never know they weren’t actually growing. I also do this in the pots and window boxes to create small boxwood “plants.” This trick lasts for months, usually into February, and since I trimmed the branches from my own yard, its free!

Speaking of planters and pots, this is the perfect time to give the clay pots a scrub and dry them in the sun before putting them away for the winter months. I like to use a scrub brush or a kitchen scrubbie with regular dish soap for this job. They easily get rid of the grime on the pots and make quick work of the job. Find a good place for winter storage where they won’t freeze. The clay can be very susceptible to cracking apart when it freezes. The same scrub is perfect for all the yard tools as well. A tip for the shovels and rakes: Once they have been cleaned, a light coating of cooking oil or spray will help guard against rust over the winter.

The final crowning jewel to get your home ready is clean windows. Now that your yard looks so nice you will want to have fresh, sparkling windows to view all your hard work!

Enjoy!

Time for a nice hot cider…

Full Circle in the Garden

Fall asters come in a range of beautiful colors and have very long bloom times.

I have been so glad that milder air returned this fall. With so many things that need attention in the garden, I’ve been very busy. I have a step-by-step list of what to do when in the garden, and this autumn brings us to the end of the growing season. Lawn renovation is a top priority, but there are also many other needs: cutting back perennials, transplanting and removing bushes, and painting.

First, I found these lovely asters in the garden center. I put them on my front porch front door to inspire me — so vibrant! — and got to work on the front lawn renovation.


This is a terrific thatch rake. I love the adjustable feature - very ergonomic!


This year, being intensely hot, wreaked havoc on the grass. It was completely brown and dormant with terrible bare patches. It takes real work to bring back grass that has been that damaged. I am a believer in dethatching with a hand rake – it is less damaging to the roots and gets all the compacted trimmings out. My father gave me his rake a few years ago. It has an adjustable handle which makes the task a little bit easier. Even so, it was several hard days work to finish (wear gloves!).

Next, soak the ground with the sprinkler for a day or so. Using a hand spreader, layer starter fertilizer and an overcast of grass seed. Lightly scratch the surface to bury the seed. Be diligent about watering everyday for a couple of weeks, and you’ll have a gorgeous fall lawn!

In my growing zone (Northern Virginia), I put down new seed by mid-October. That gives the new grass a good chance at developing hardy roots before frost. Check http://planthardiness.ars.usda.gov/PHZMWeb/ to find the statistics for your local zone.

I also removed some Japanese hollies which became diseased due to the snow damage of a couple of years ago and am replacing them with some variegated euonymus along the front walk. I like to do all bush transplanting in the fall whenever possible, but no later than Thanksgiving. That is also the magic date for planting bulbs. You want to give them time to spread their roots to anchor themselves against winter winds and heaving from frost.

The sedums are one of the few perennials that I don't trim back in the fall. They provide seeds for the birds during winter.

This is also the time of the year to cut back the perennials after they die. I cut to ground level the daylillies, hostas, coreopsis, and other summer flowering varieties. I also neaten up some of the ones that I don’t cut back until spring, like the butterfly bushes, and rake out the lamb’s ears of the dead undergrowth.

To give a nice backdrop to it all, I gave the trimwork, railings, windows and arbors a scrub and a coat or two of paint. The mild weather helps the paint to cure properly and last a few years.

Well, that takes us full circle in the garden for this 2012 growing season. I hope you all have had a wonderful autumn, filled with the colors of the season.

Spring is Here

My kwansan cherry tree in peak bloom. (For those of you who have asked, this is the tree in the blog page's background.)

Just like magic to me, spring has sprung. With such a mild winter this year the blooms are very early. The flowering trees are magnificent, and the phlox is beyond compare. All of the bulbs have finished, but the masses of foliage were much fuller and greener than usual. I think that this might be one of the more beautiful displays ever. Even the azaleas are opening, in all their glory.

These are two weeding tools I use. The one on the left is an ergo tool, and rocks the weeds out of the soil. The one on the right is a serious tool which can extract even the toughest weeds.

It seems all of the plants that I transplanted last fall had a very easy first winter in which to spread their roots and become acclimated to their new locations. I was very happy to see the first leaves sprouting on the three crepe myrtles, and am even more anxious to see them grow to fill out the side garden where once the purple maple stood. Really the only downside of this spring is dandelions, which always seem to blow in, and they are doing way too well. Thankfully, I have two terrific tools which easily uproot them. If your yard is prone to these weeds, I wholeheartedly recommend getting one. They make the process a lot quicker. They work great on all weeds, whatever size.

I am almost done with trimming back the liriope, euonymus, and junipers. Not a minute too soon either, they are already sprouting new growth. I am hoping to finish this weekend because it is now time to edge, and add some new mulch to keep the weeds down and the moisture in. Lots to do!

Here is a closeup of the pink dogwood this year. The flowers were so huge and perfect that it almost looked artificial.

A good tip to get your garden off to a good start is after you have prepared the soil with some weed preventer, and stirred in a little compost to add nutrients, give your garden a good watering prior to mulching. This will give it a boost, and ensure that all your plants have everything they need for the new growing season.

One more closeup -- these are the creeping phlox. When first planted, these were just a small plug, they are now more than three feet in diameter, and gorgeous. I would recommend them for my top awards honor this spring.

I hope everyone gets a chance to enjoy this incredible time of the year, whether it’s in your own yard, or even the park. Just a reminder — Garden Week is almost here with lots of inspiring places to visit.

My Favorite Tools

I must admit, I love gadgets, but my favorite tools are all simple. They don’t require plugging in, or filling with gas. They are all hand tools.

Favorite hand tools - round shovel, spading fork, long shovel, scalloped edger, steel rake, pick.


I love my shark shovel, round-nosed and sharp; it will cut through the soil easily. My scalloped edger, also great, makes a perfect trench around the garden, not too deep, and with a perfect edge. Of course, the pick and spading fork for starting a garden. A long nosed shovel for transplanting, and a steel rake for scratching up the mulch. At the end of the day, I just hose them clean and let them dry in the sun. They will last a long time. None of mine were expensive, and all are more than a decade old (some three decades), but they are the workhorses in my garden.

I am not too fond of electric hedge trimmers, and I’m always sad when I see a mangled bush or hedge after it has been torn up by one. They rip the leaves in half, leaving a browned mess of a plant behind. I prefer to clip with bypass pruners. They leave a clean cut and can actually improve the health of a plant, instead of leaving it prone to disease, like a hedge trimmer or anvil-style shear can do. I am also not a big fan of blowers. It is like putting your yard through a hurricane. They are fine for walkways, but please don’t use them around garden edges or in the garden beds around bushes, where they can cause more harm than good.

I wouldn’t last too long without work gloves, or a foam kneeling pad. The gloves can save you from lots of blisters and pain, not to mention close brushes with poison ivy, and the kneeling pad from lots of joint pain, and even muddy clothes.

So there you have it – my favorite tools. Which are your favorites?

Sharing Buttons by Linksku