Shredded mulch in bulk. This is the most popular type and the most budget friendly.
OK, so this is not going to make it onto the Best Sellers list like the other “Fifty Shades” read, but the title is accurate! There are many mulches out there, and you can pick and choose your way through a huge selection at almost every garden shop. I’ll describe the main features and differences to help you make your choice.
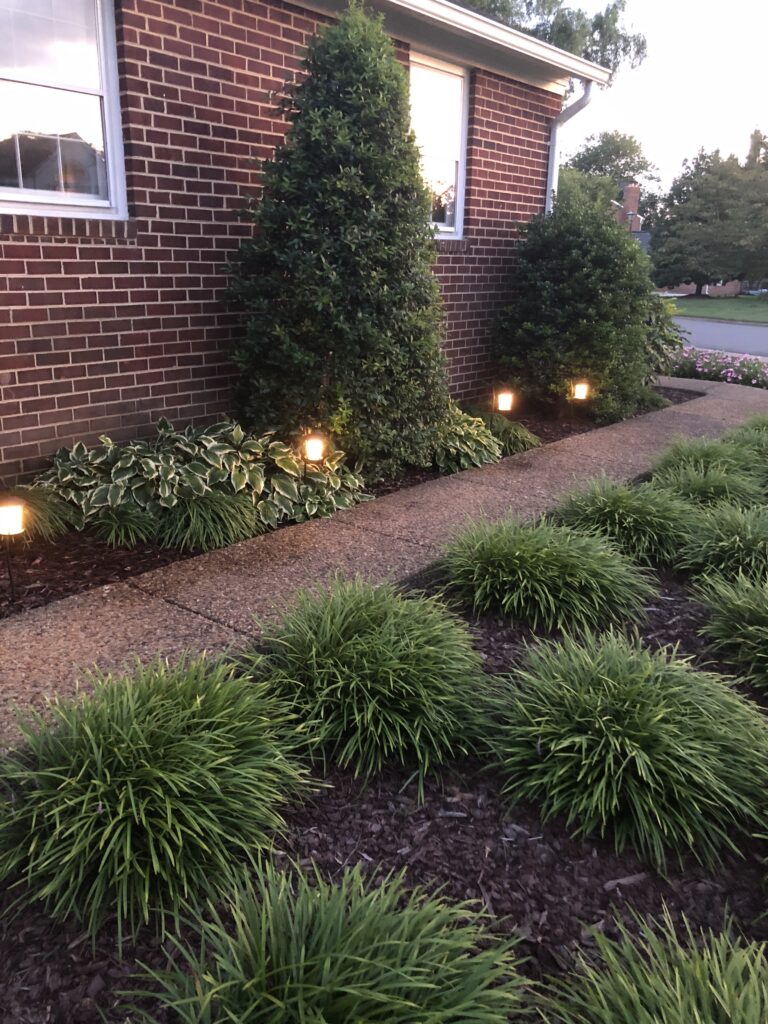
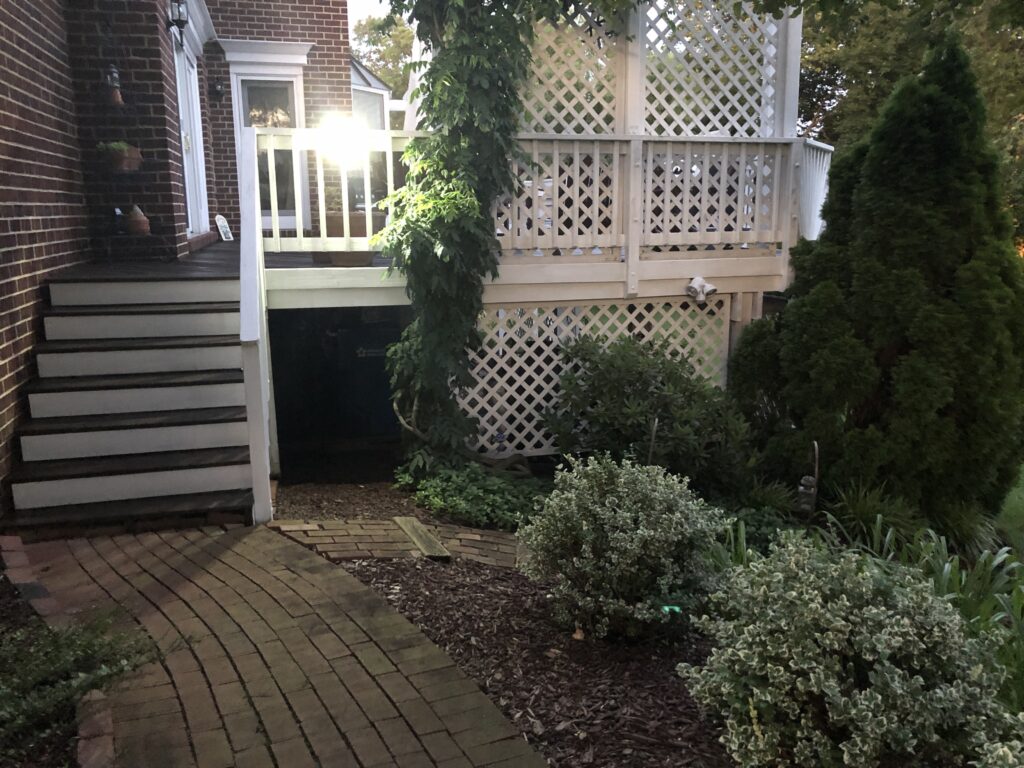
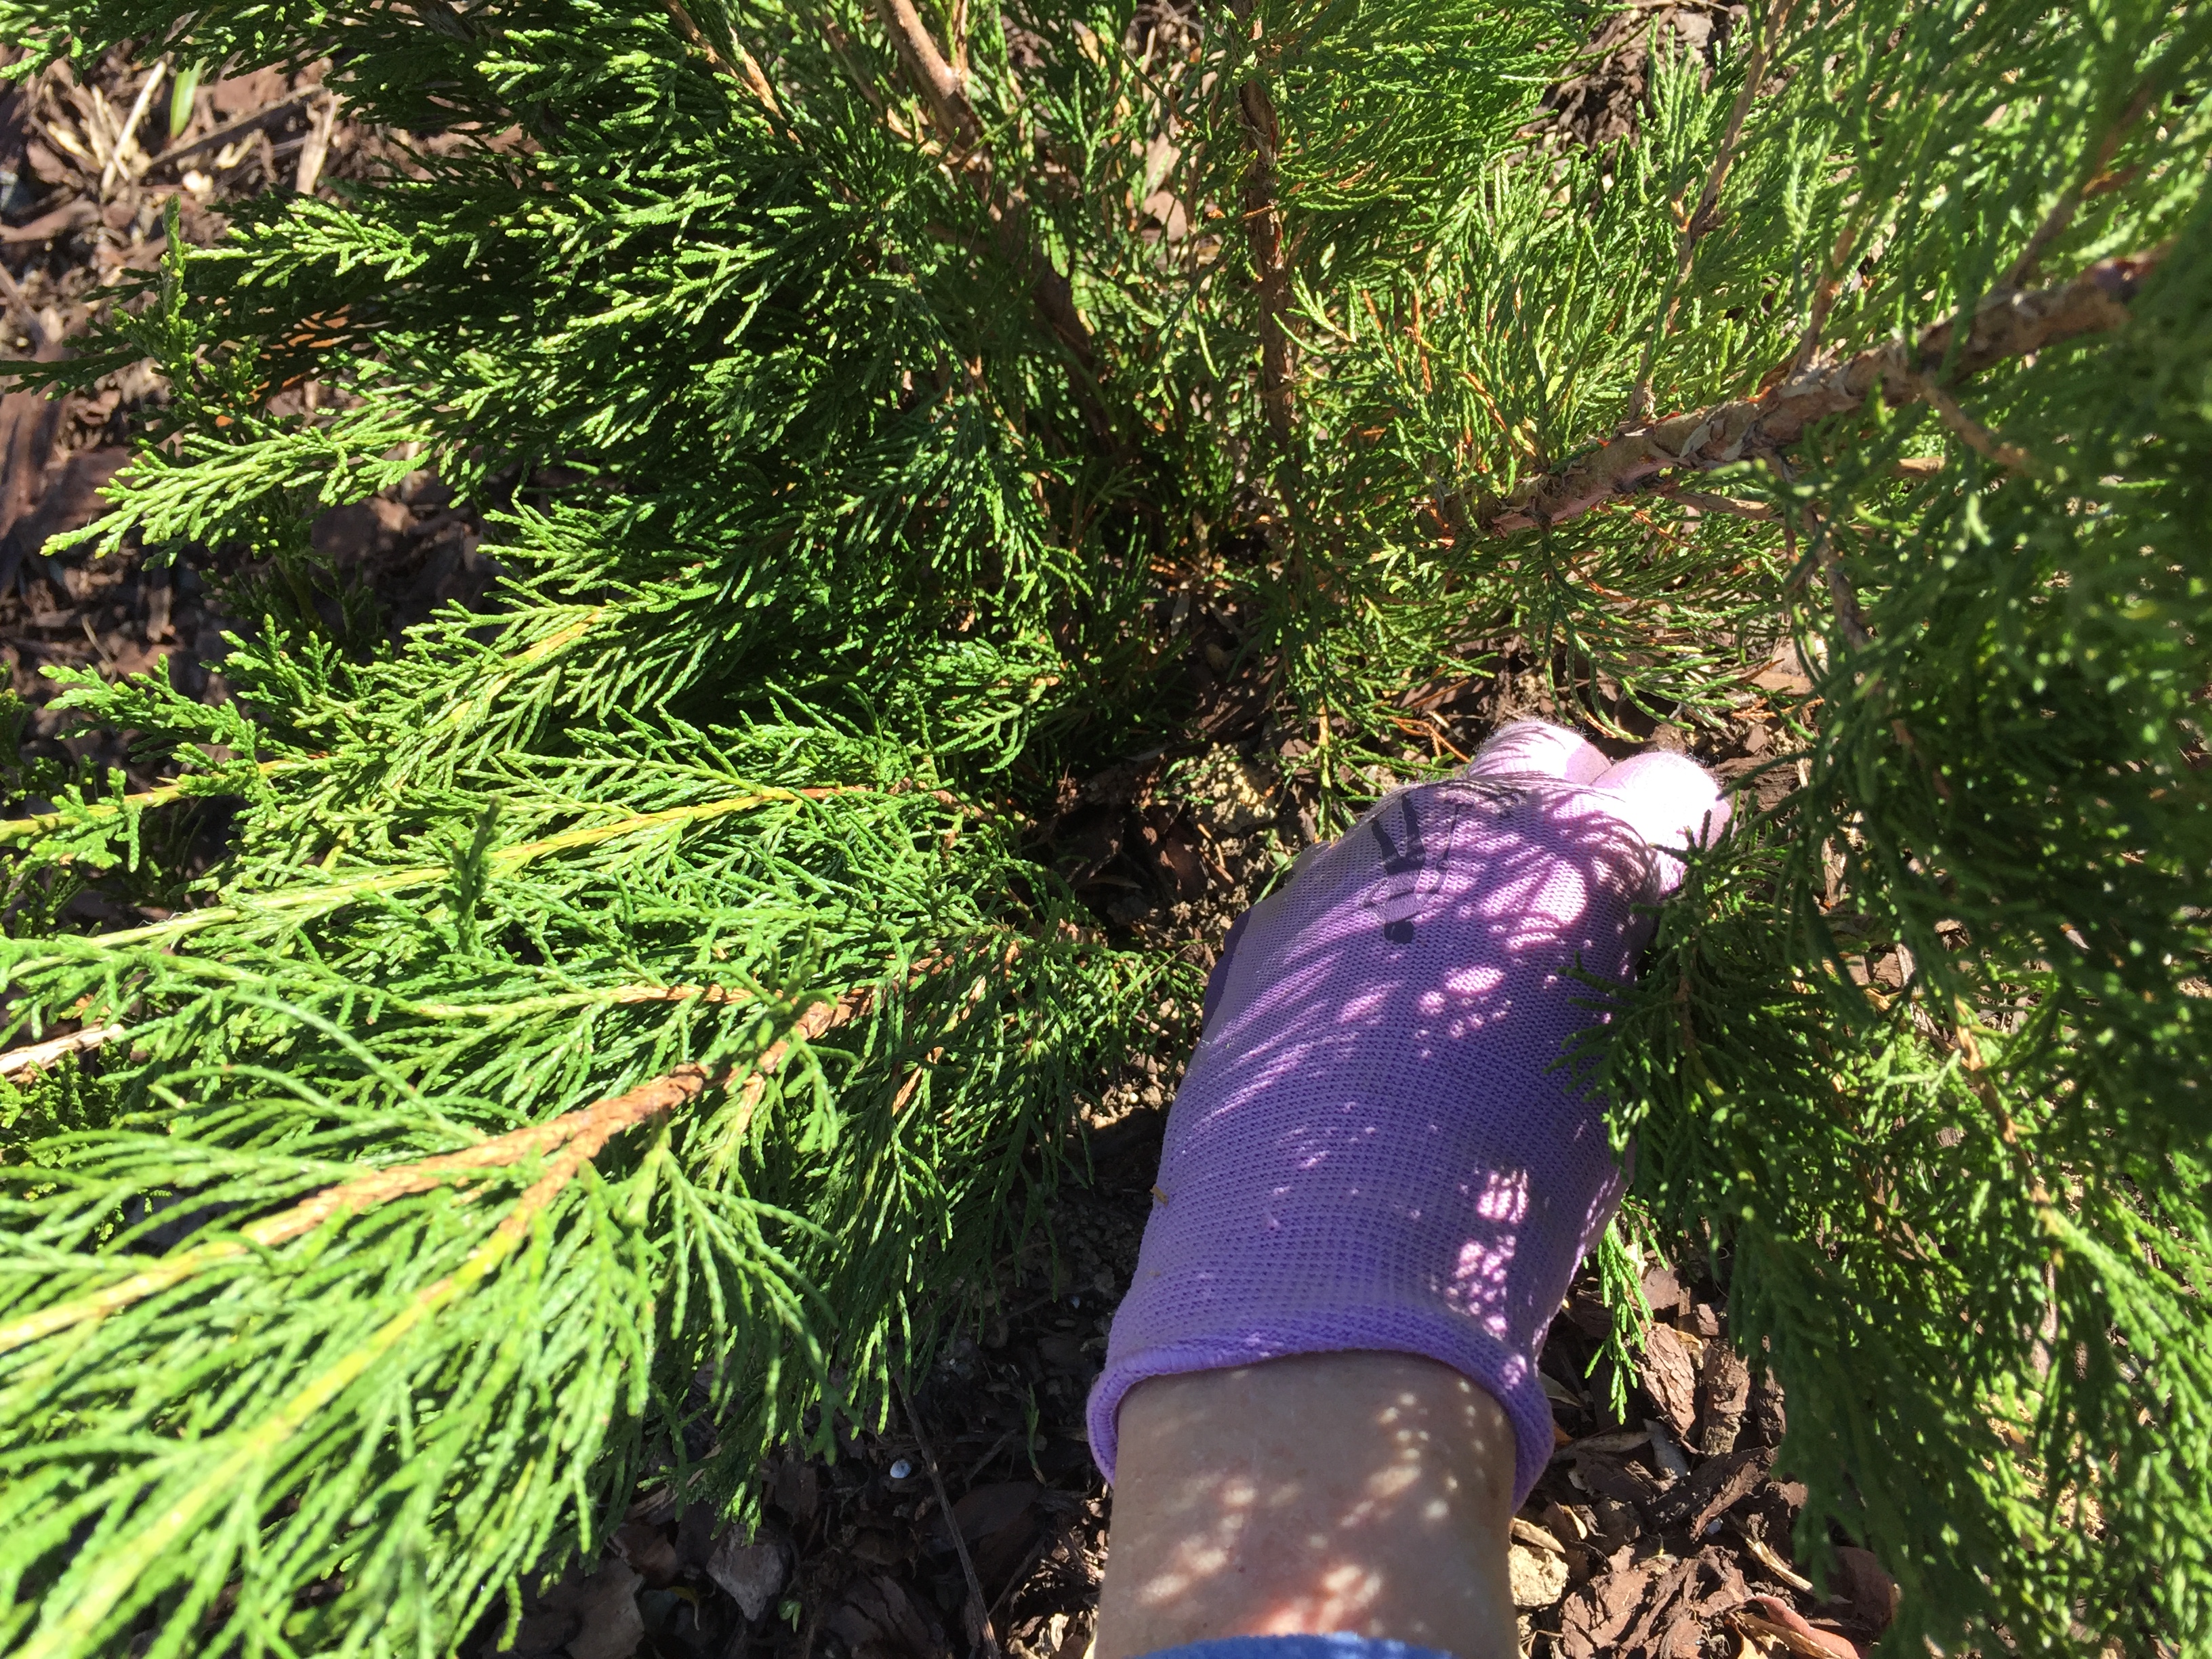
First, there are many different types of mulch: wood, pine straw, cocoa hulls, rock, glass, shells, even rubber. A nice thing these days is that most of these are recycled, or by-products from another industry. Wood, of all kinds, is the most popular. Shredded or in chips, it lends a natural appearance. It comes in many color shades so you can choose the perfect backdrop for your needs.

This handy chart was printed on the 2 cu.ft. bags of mulch that I used this spring. It shows how many bags you need to cover specific areas at given depths.
In the south-east, many people use pine straw, which is great around acid-loving plants like azaleas. In the desert areas, most people use rocks in many sizes and colors. I have also recently seen the use of recycled crushed glass as mulch, tumbled to remove the sharp edges, and in a variety of colors. This last one seems unusual, but is very striking in the right garden.
Rubber mulch is taking the place of organic mulches in playgrounds these days. Most of it is made from old tires. Here in the mid-Atlantic coastal region we have an abundance of oyster shells, so I like to use them as well as an “accent” mulch. They are heavy, so I use them around flowers to keep the squirrels from digging them up.
Cocoa hulls have lately made an appearance as mulch. They are a beautiful color, and even make your garden smell like chocolate when it’s damp. But — don’t put it in an area where pets or wildlife visit, because it can be toxic if consumed.
Even compost and grass clippings make a terrific mulch in vegetable gardens, because they break down into the soil quicker than most other mulches, providing a nutrient-rich boost.

I like to keep the mulch between 1-2 inches deep. This provides shelter for the roots and allows the rain to percolate through.
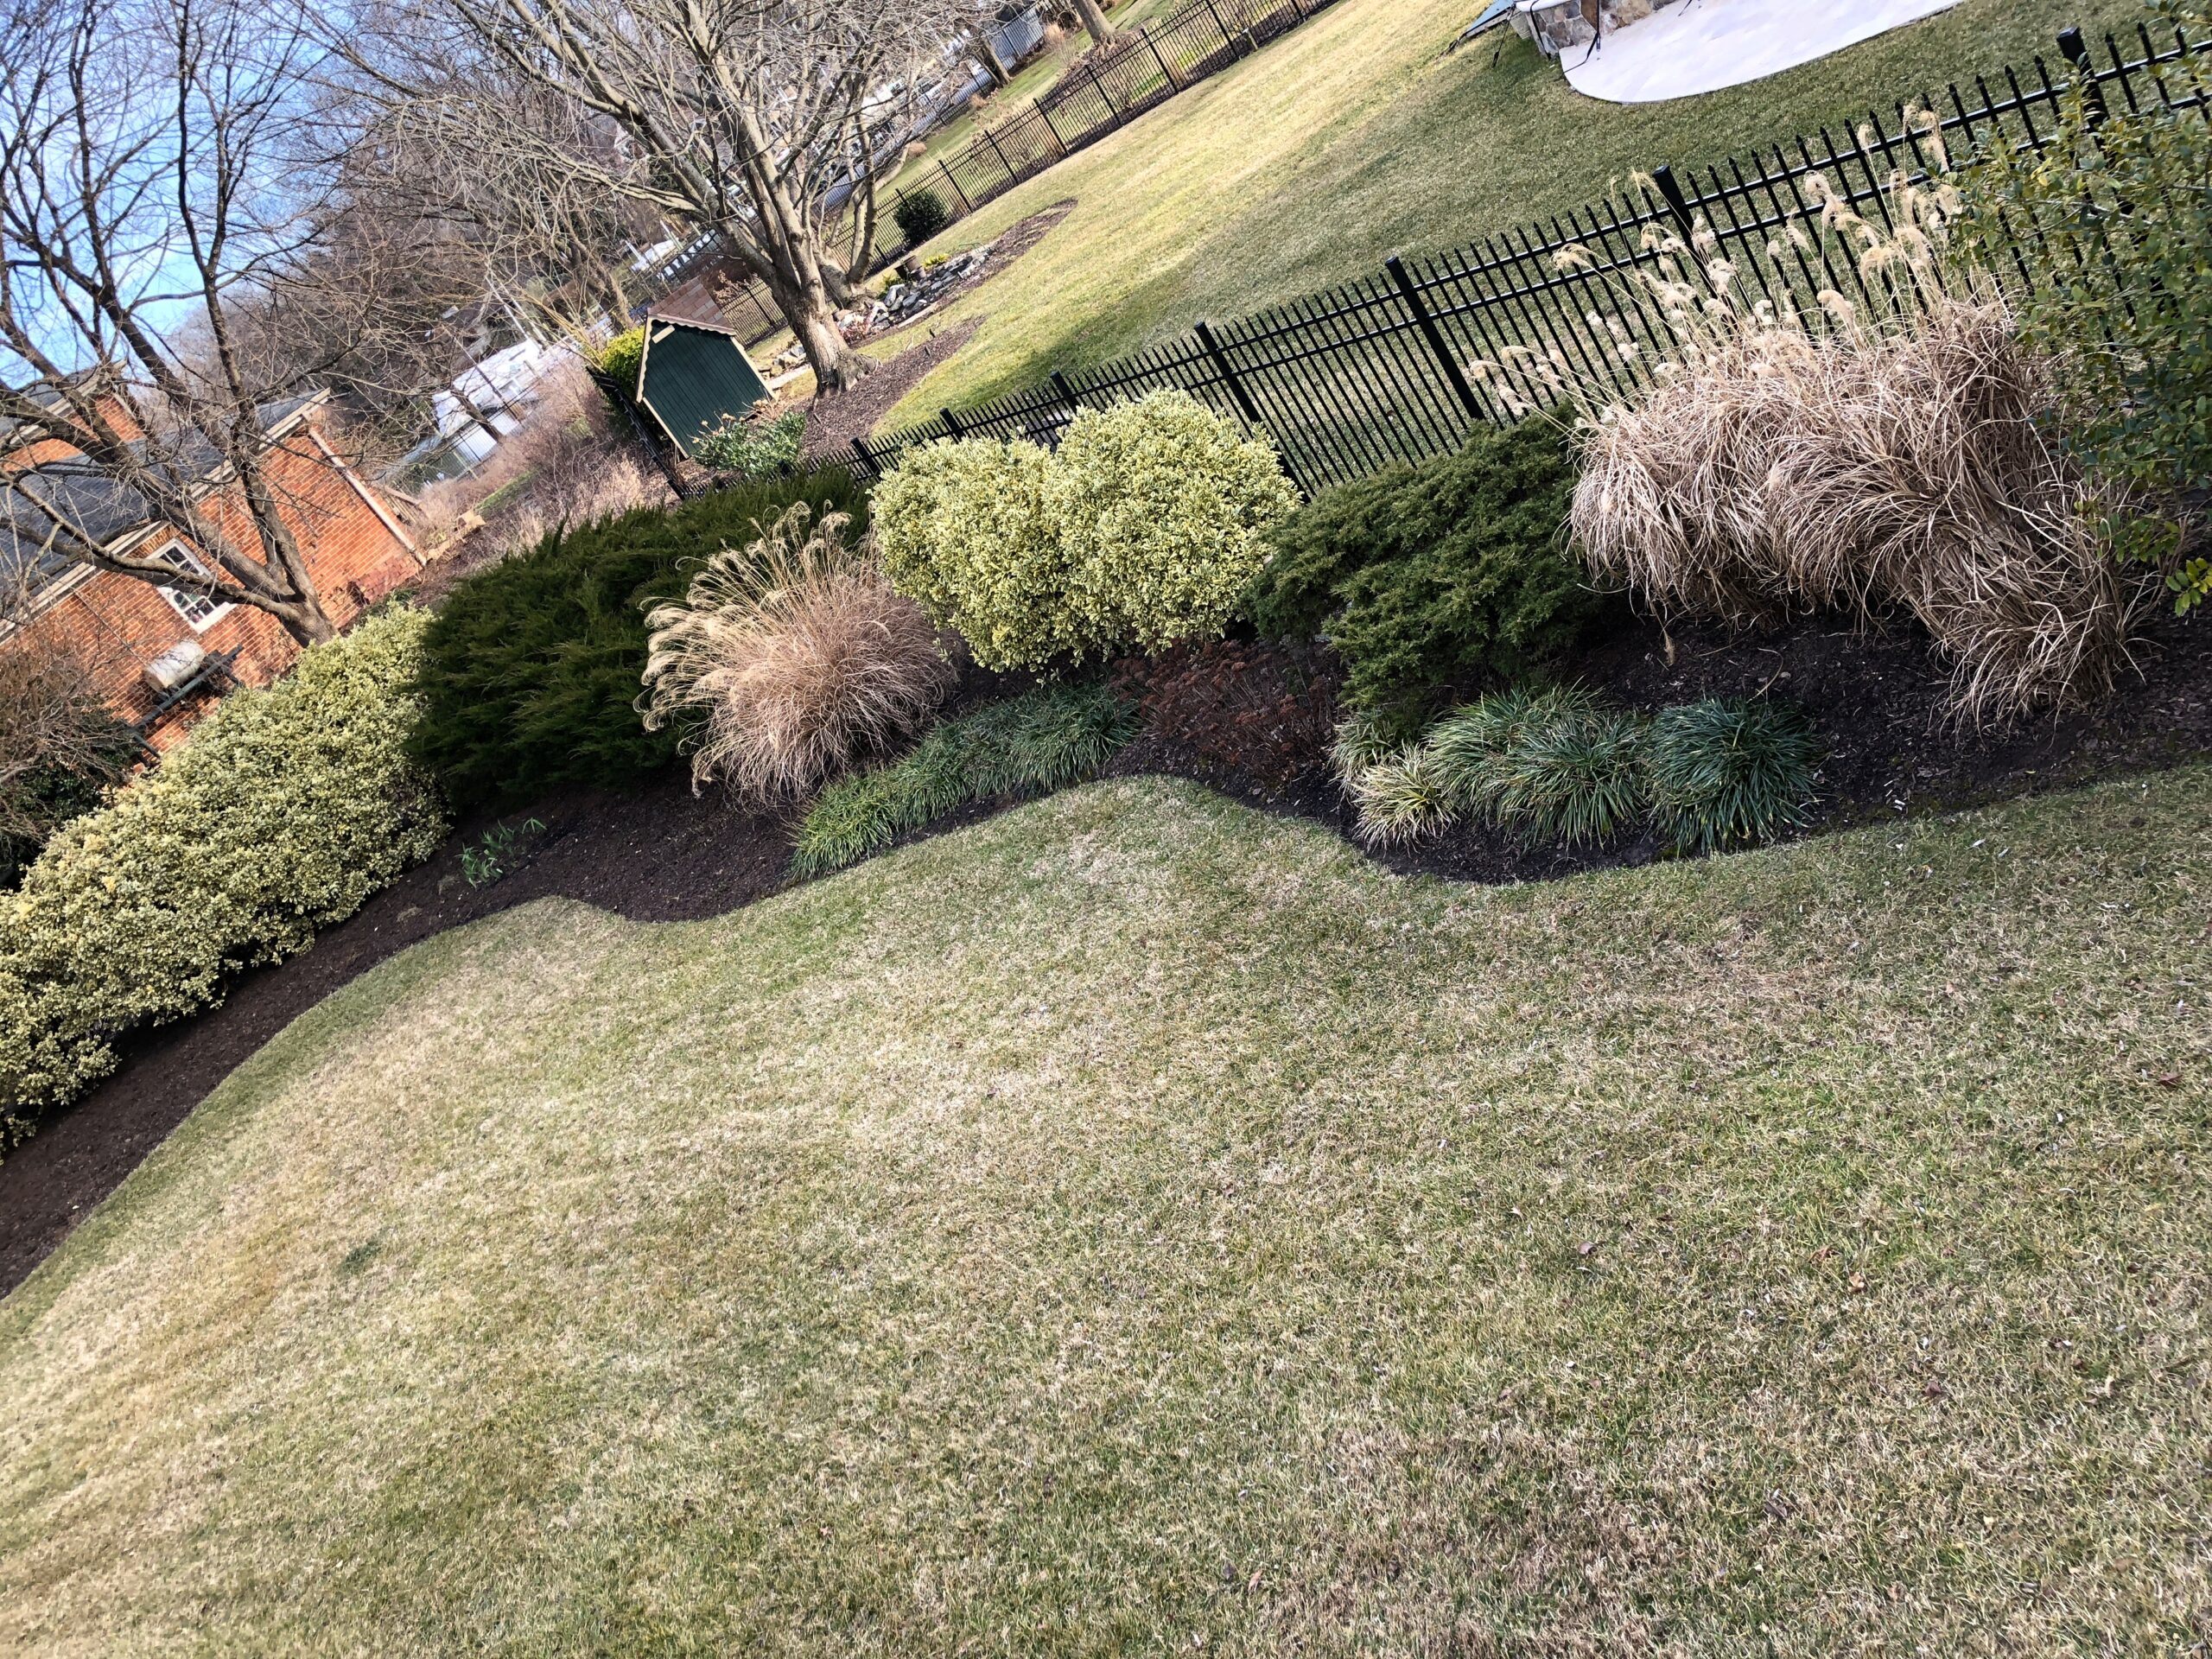
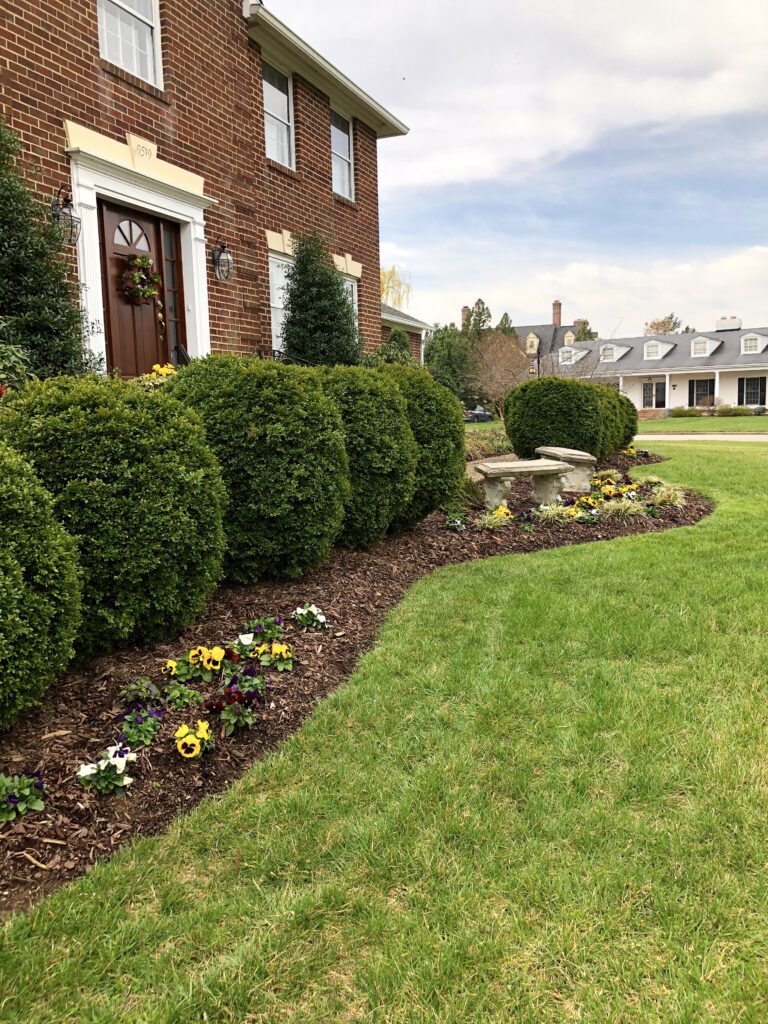
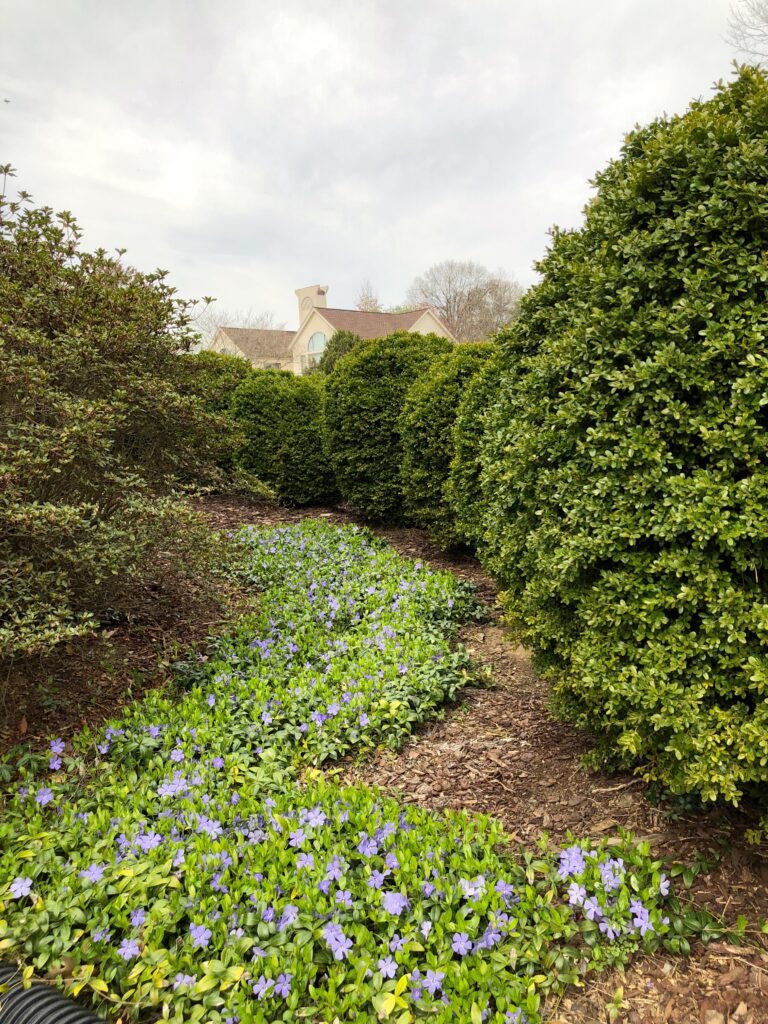
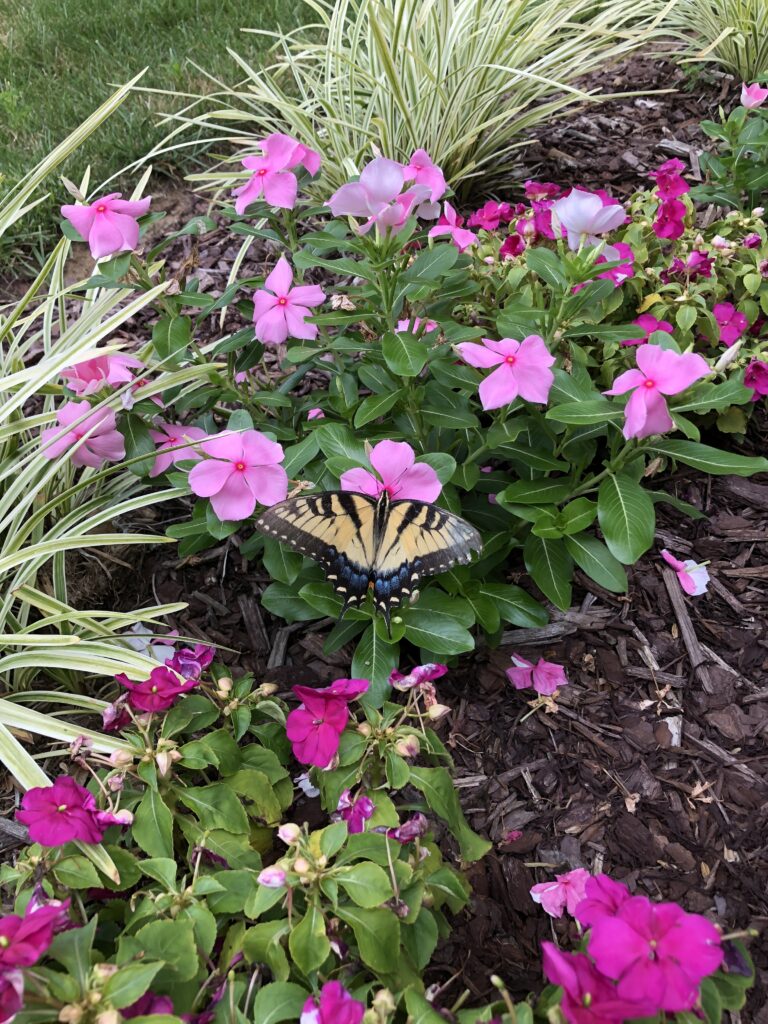
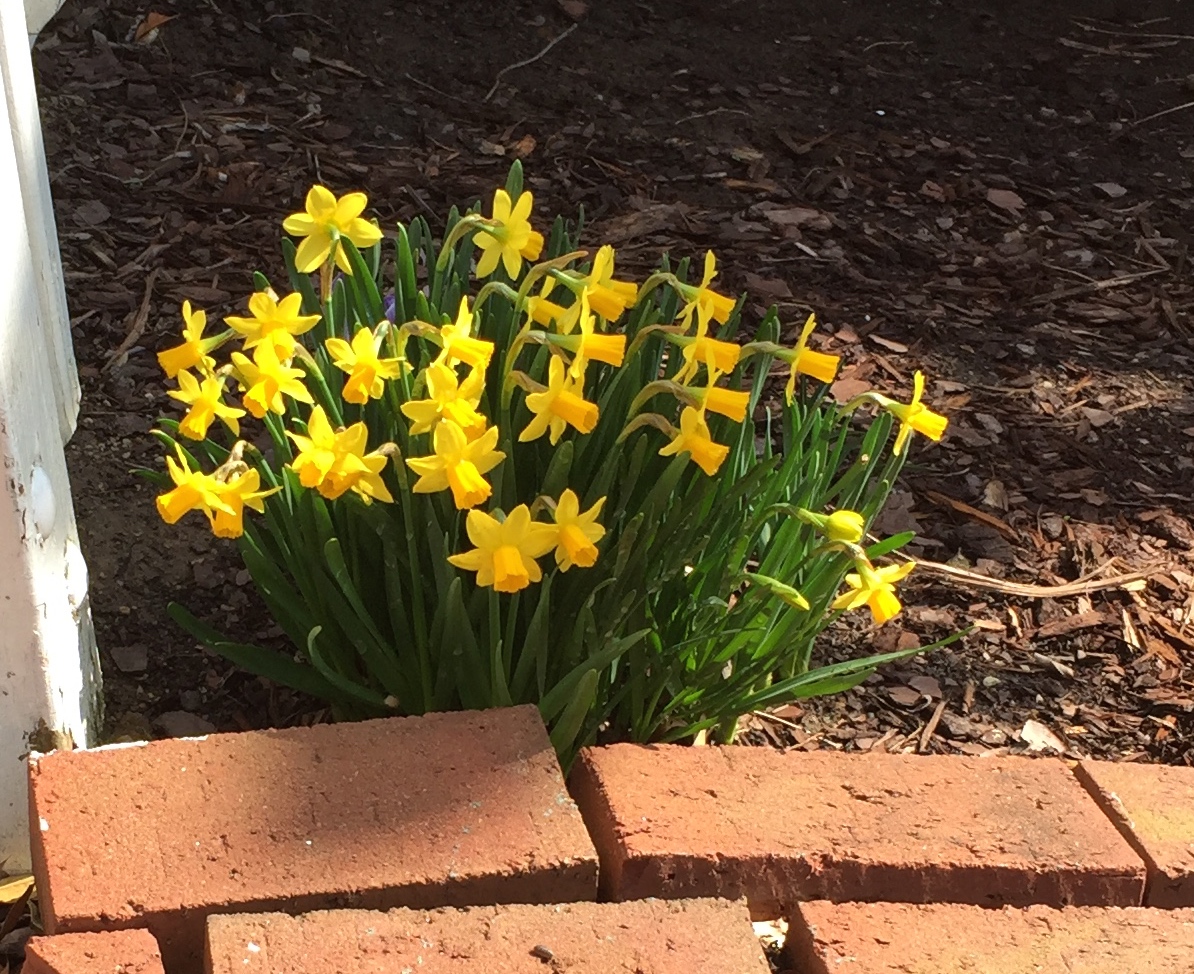
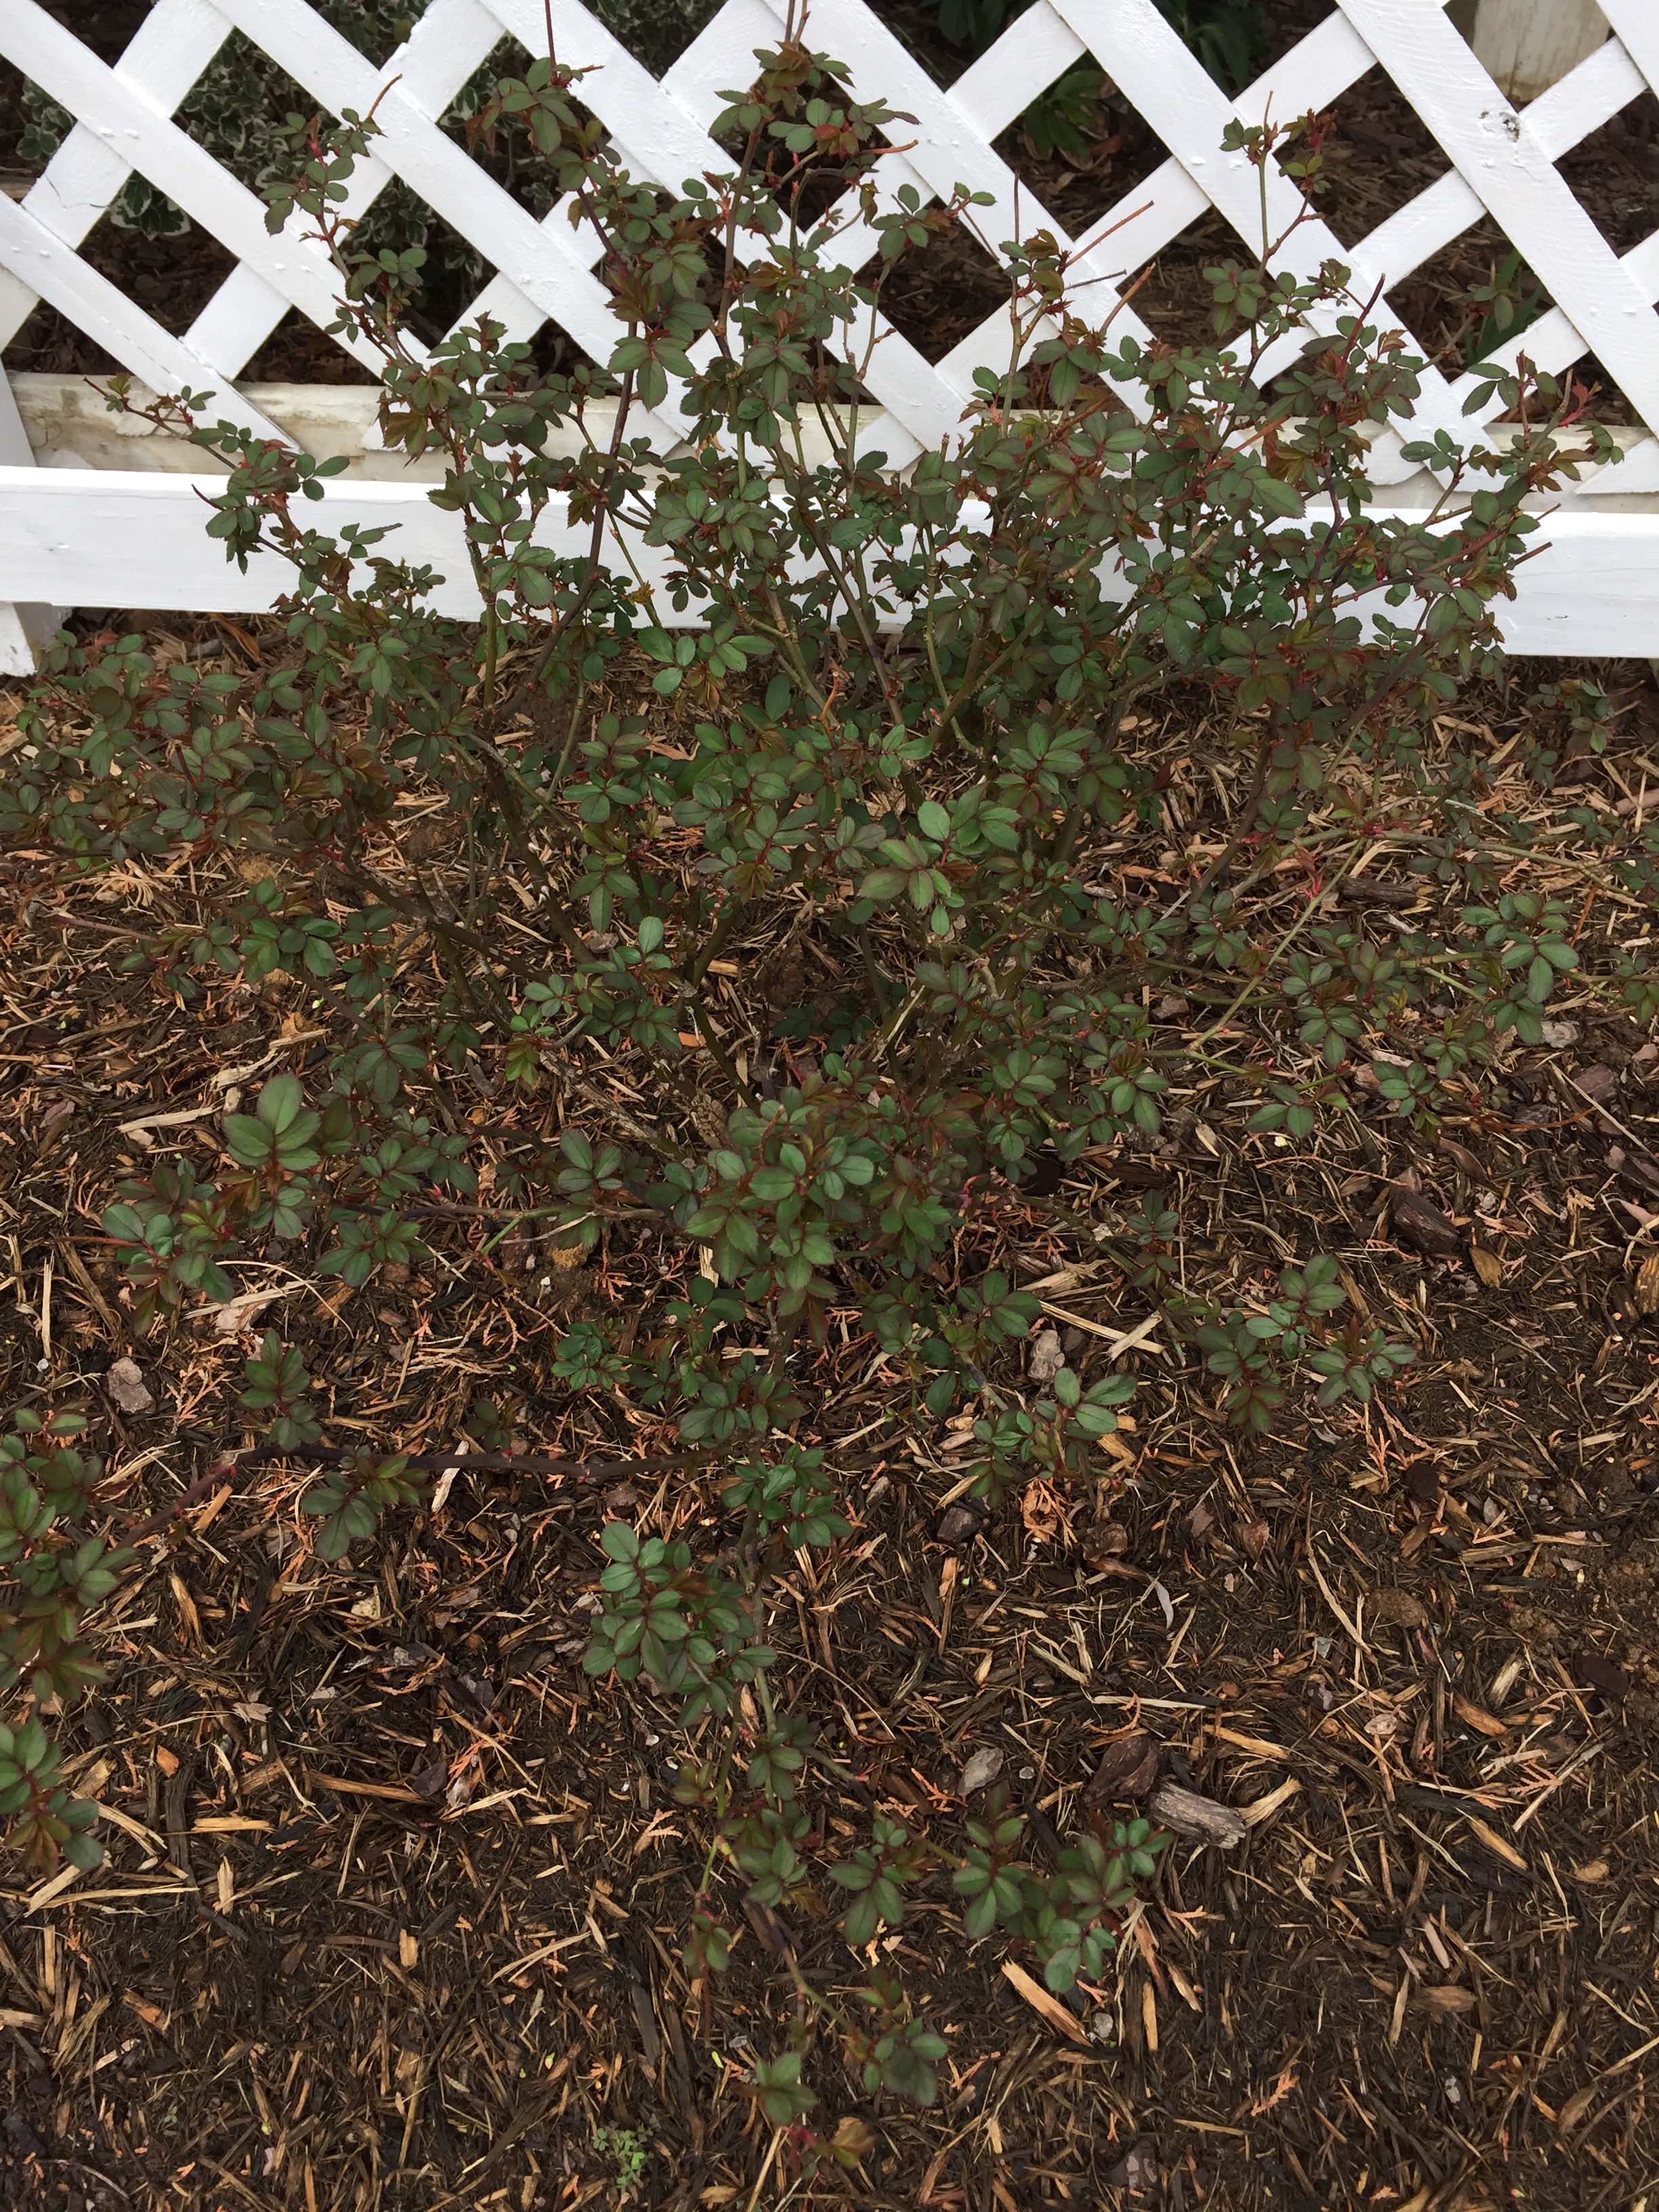
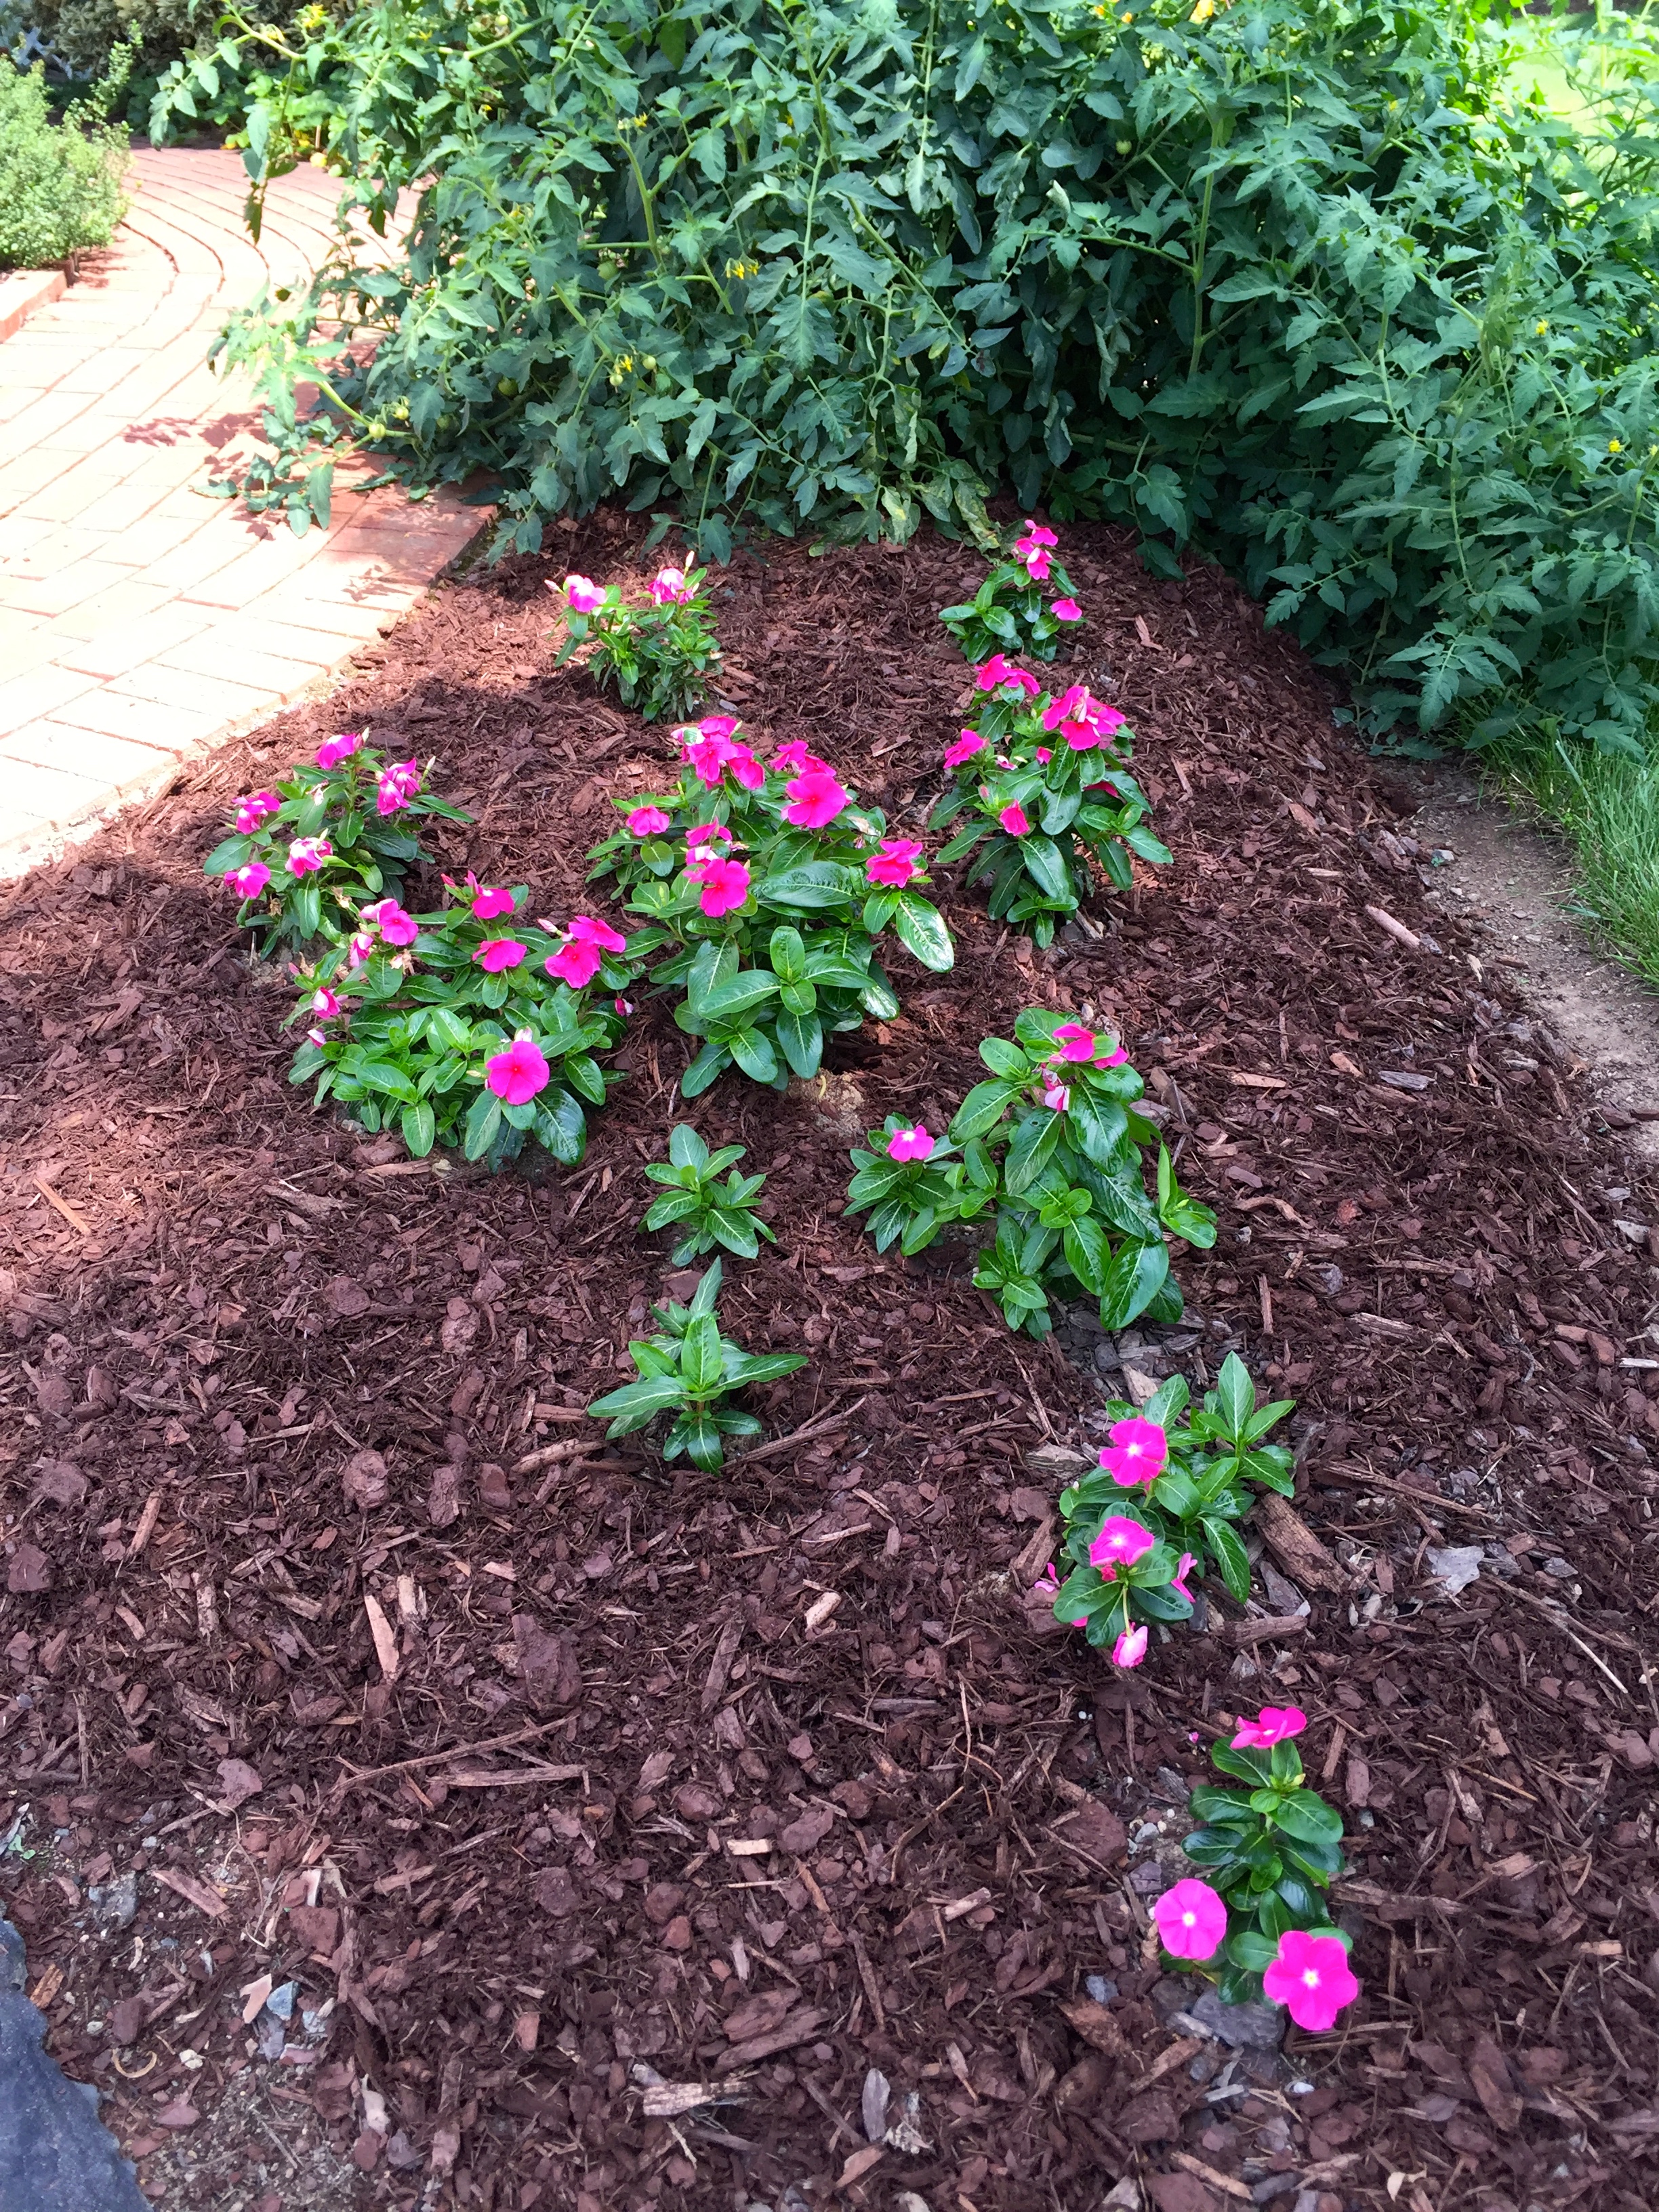
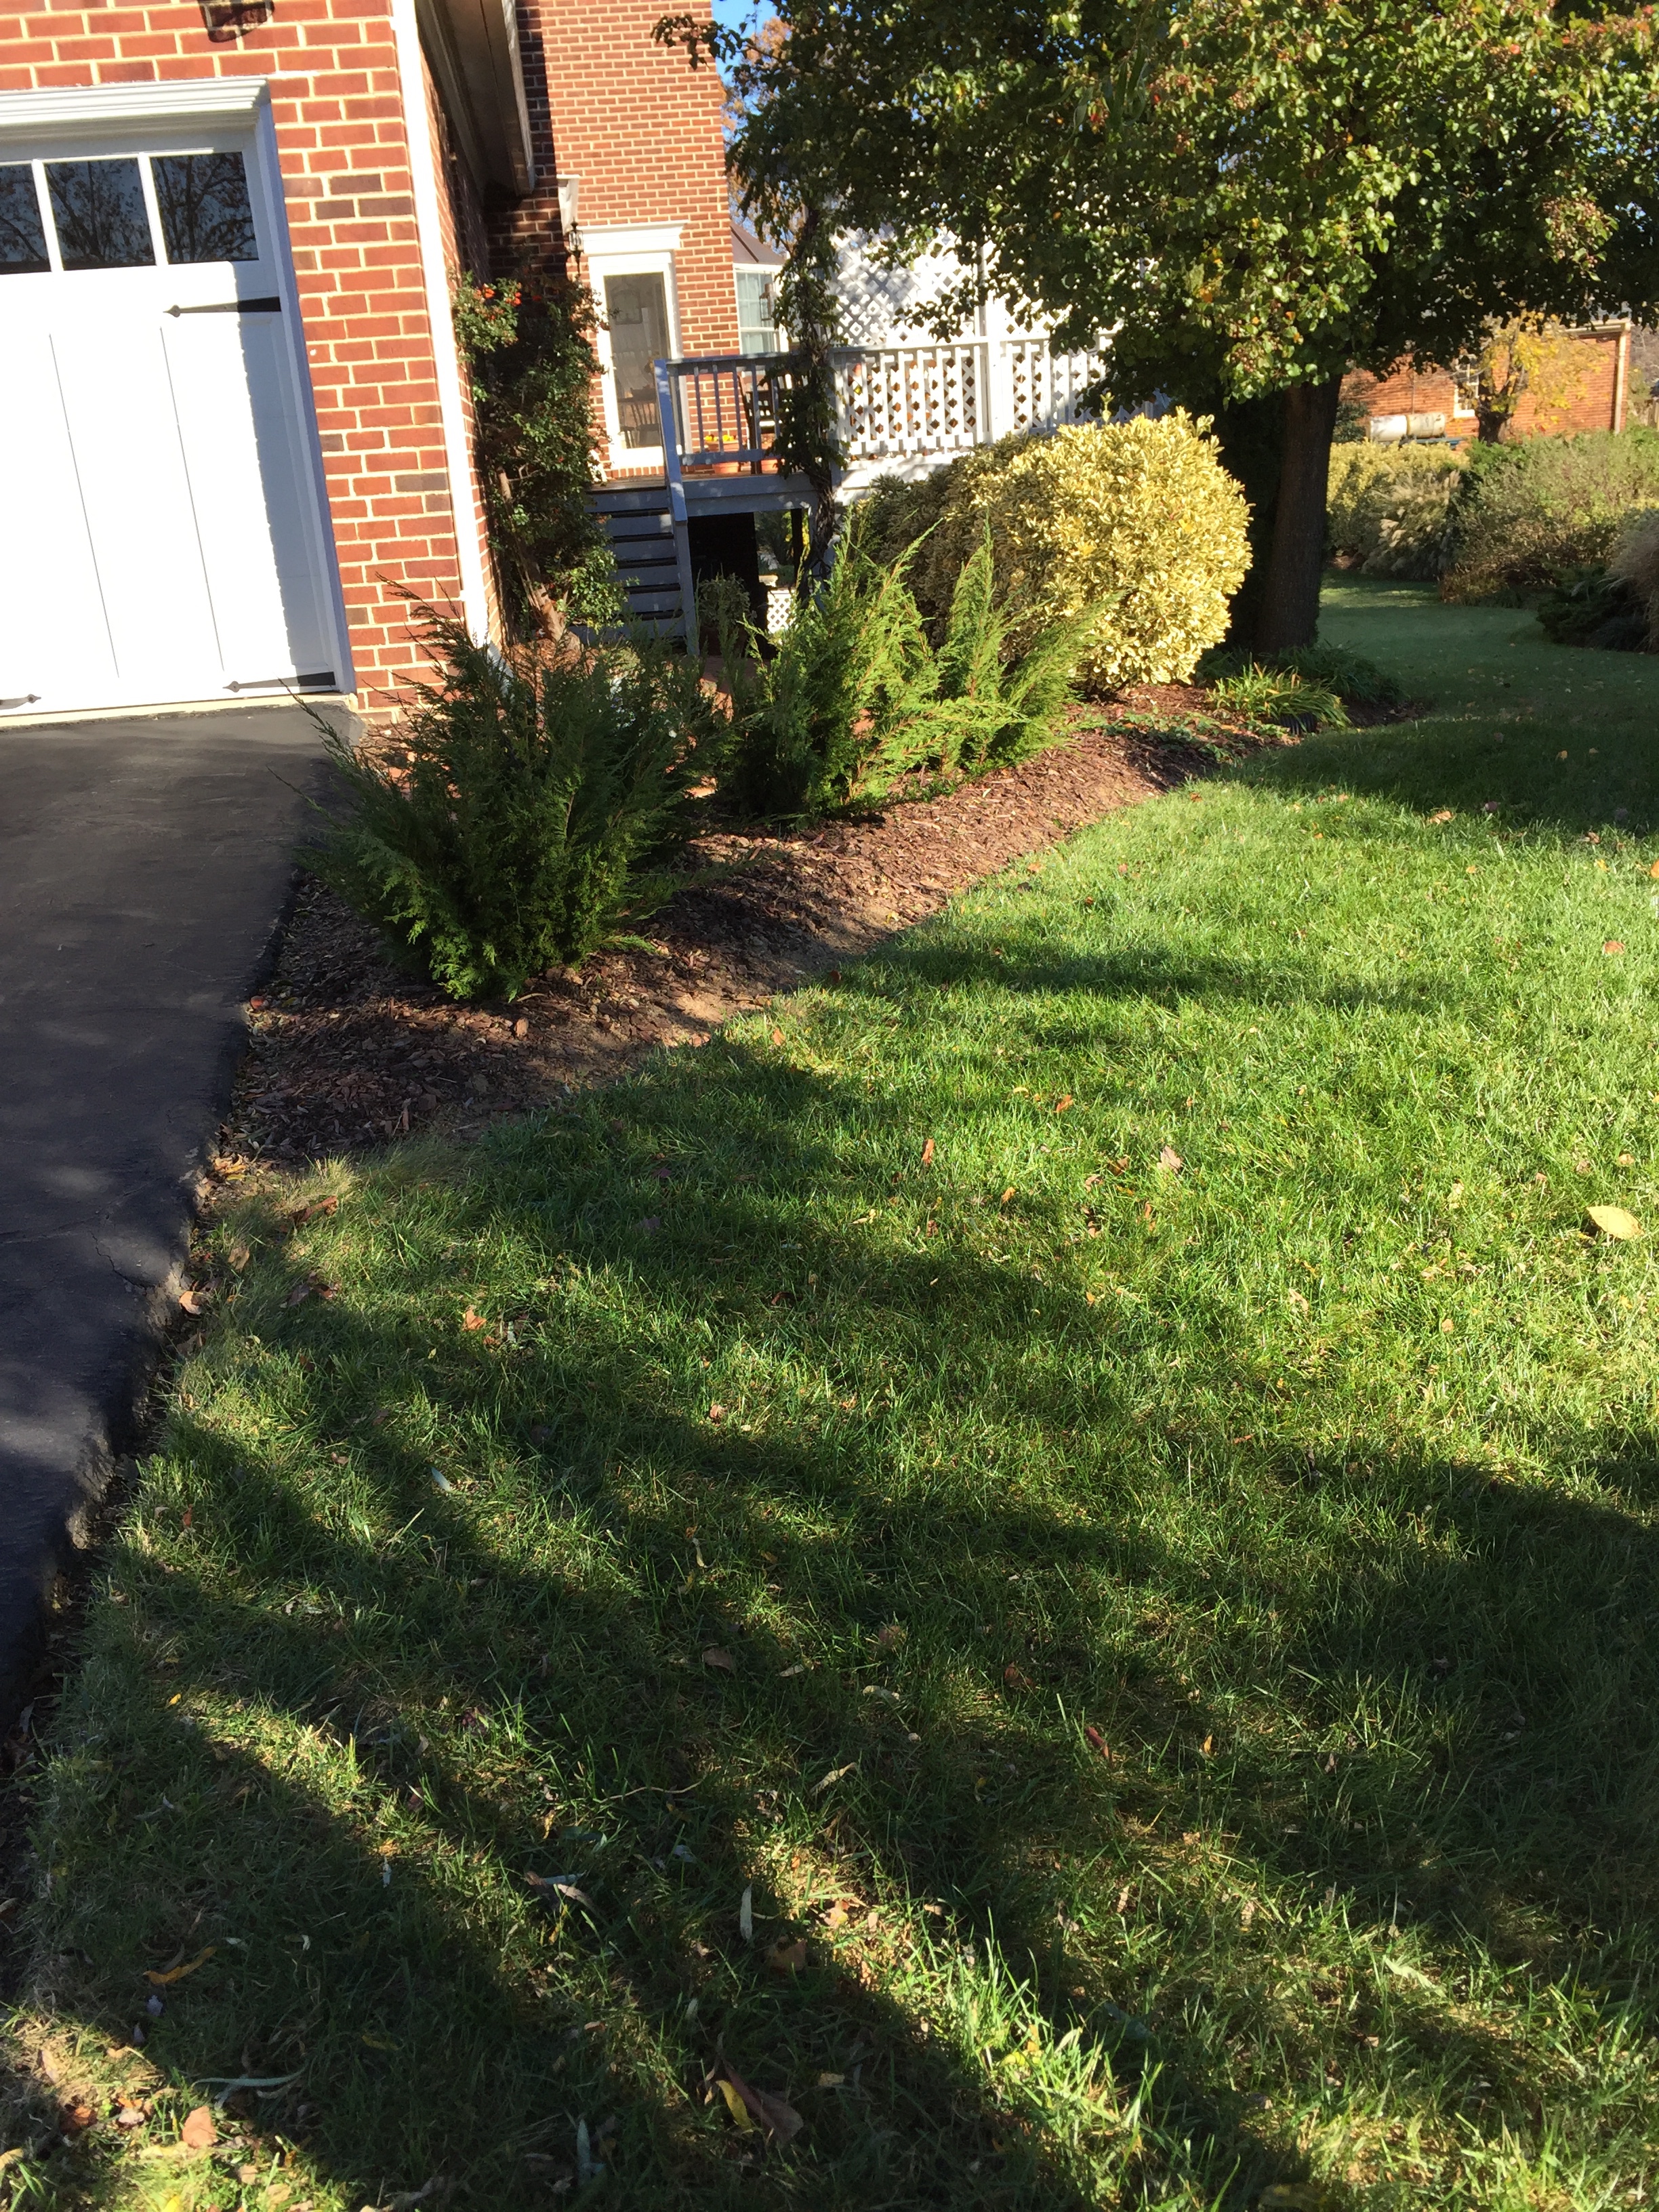
There are as many different reasons to use mulch as there are choices. Of course, the obvious reason is that it looks great and provides a uniform backdrop to the plants, but it can also make a huge difference in water retention and protects roots from the sun and harsh elements. I like to keep a two inch layer in my garden beds. I use shredded mulch which disintegrates fairly quickly, so I reapply each spring. Another benefit of mulch is that it keeps the weeds down, and when it disintegrates it creates a very nice soil amendment. This is the case with all organic mulches.

Especially in open areas, keep the mulch from compacting by scratching it with a rake every few months. This will refresh the appearance as well.
Inorganic mulch, like rock, glass and rubber, will last for many years, since it doesn’t break down. It also saves effort: Once you have applied it, that’s it. There is very little else that needs doing. Organic mulches, like shredded hardwood, will need a little bit of maintenance. I like to scratch up the surface every few months to keep it from compacting. This will also keep the organic mulch looking fresh. Tip — Don’t mix shredded or chip mulch into the soil before it has completely decomposed. Doing this could result in an unwanted crop of mushrooms.
Depending on the type of mulch, there are many different ways of purchasing it. You can buy most types by the bag, but for large gardens, many producers offer it by the cubic yard or ton in bulk orders. This is usually much more cost effective than the bagged versions, sometimes less than half the price!
So, depending on your specific needs, I hope this will help guide your choice of mulch, and narrow it from 50 down to one. Happy gardening!
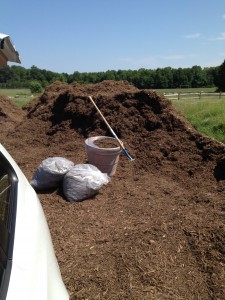
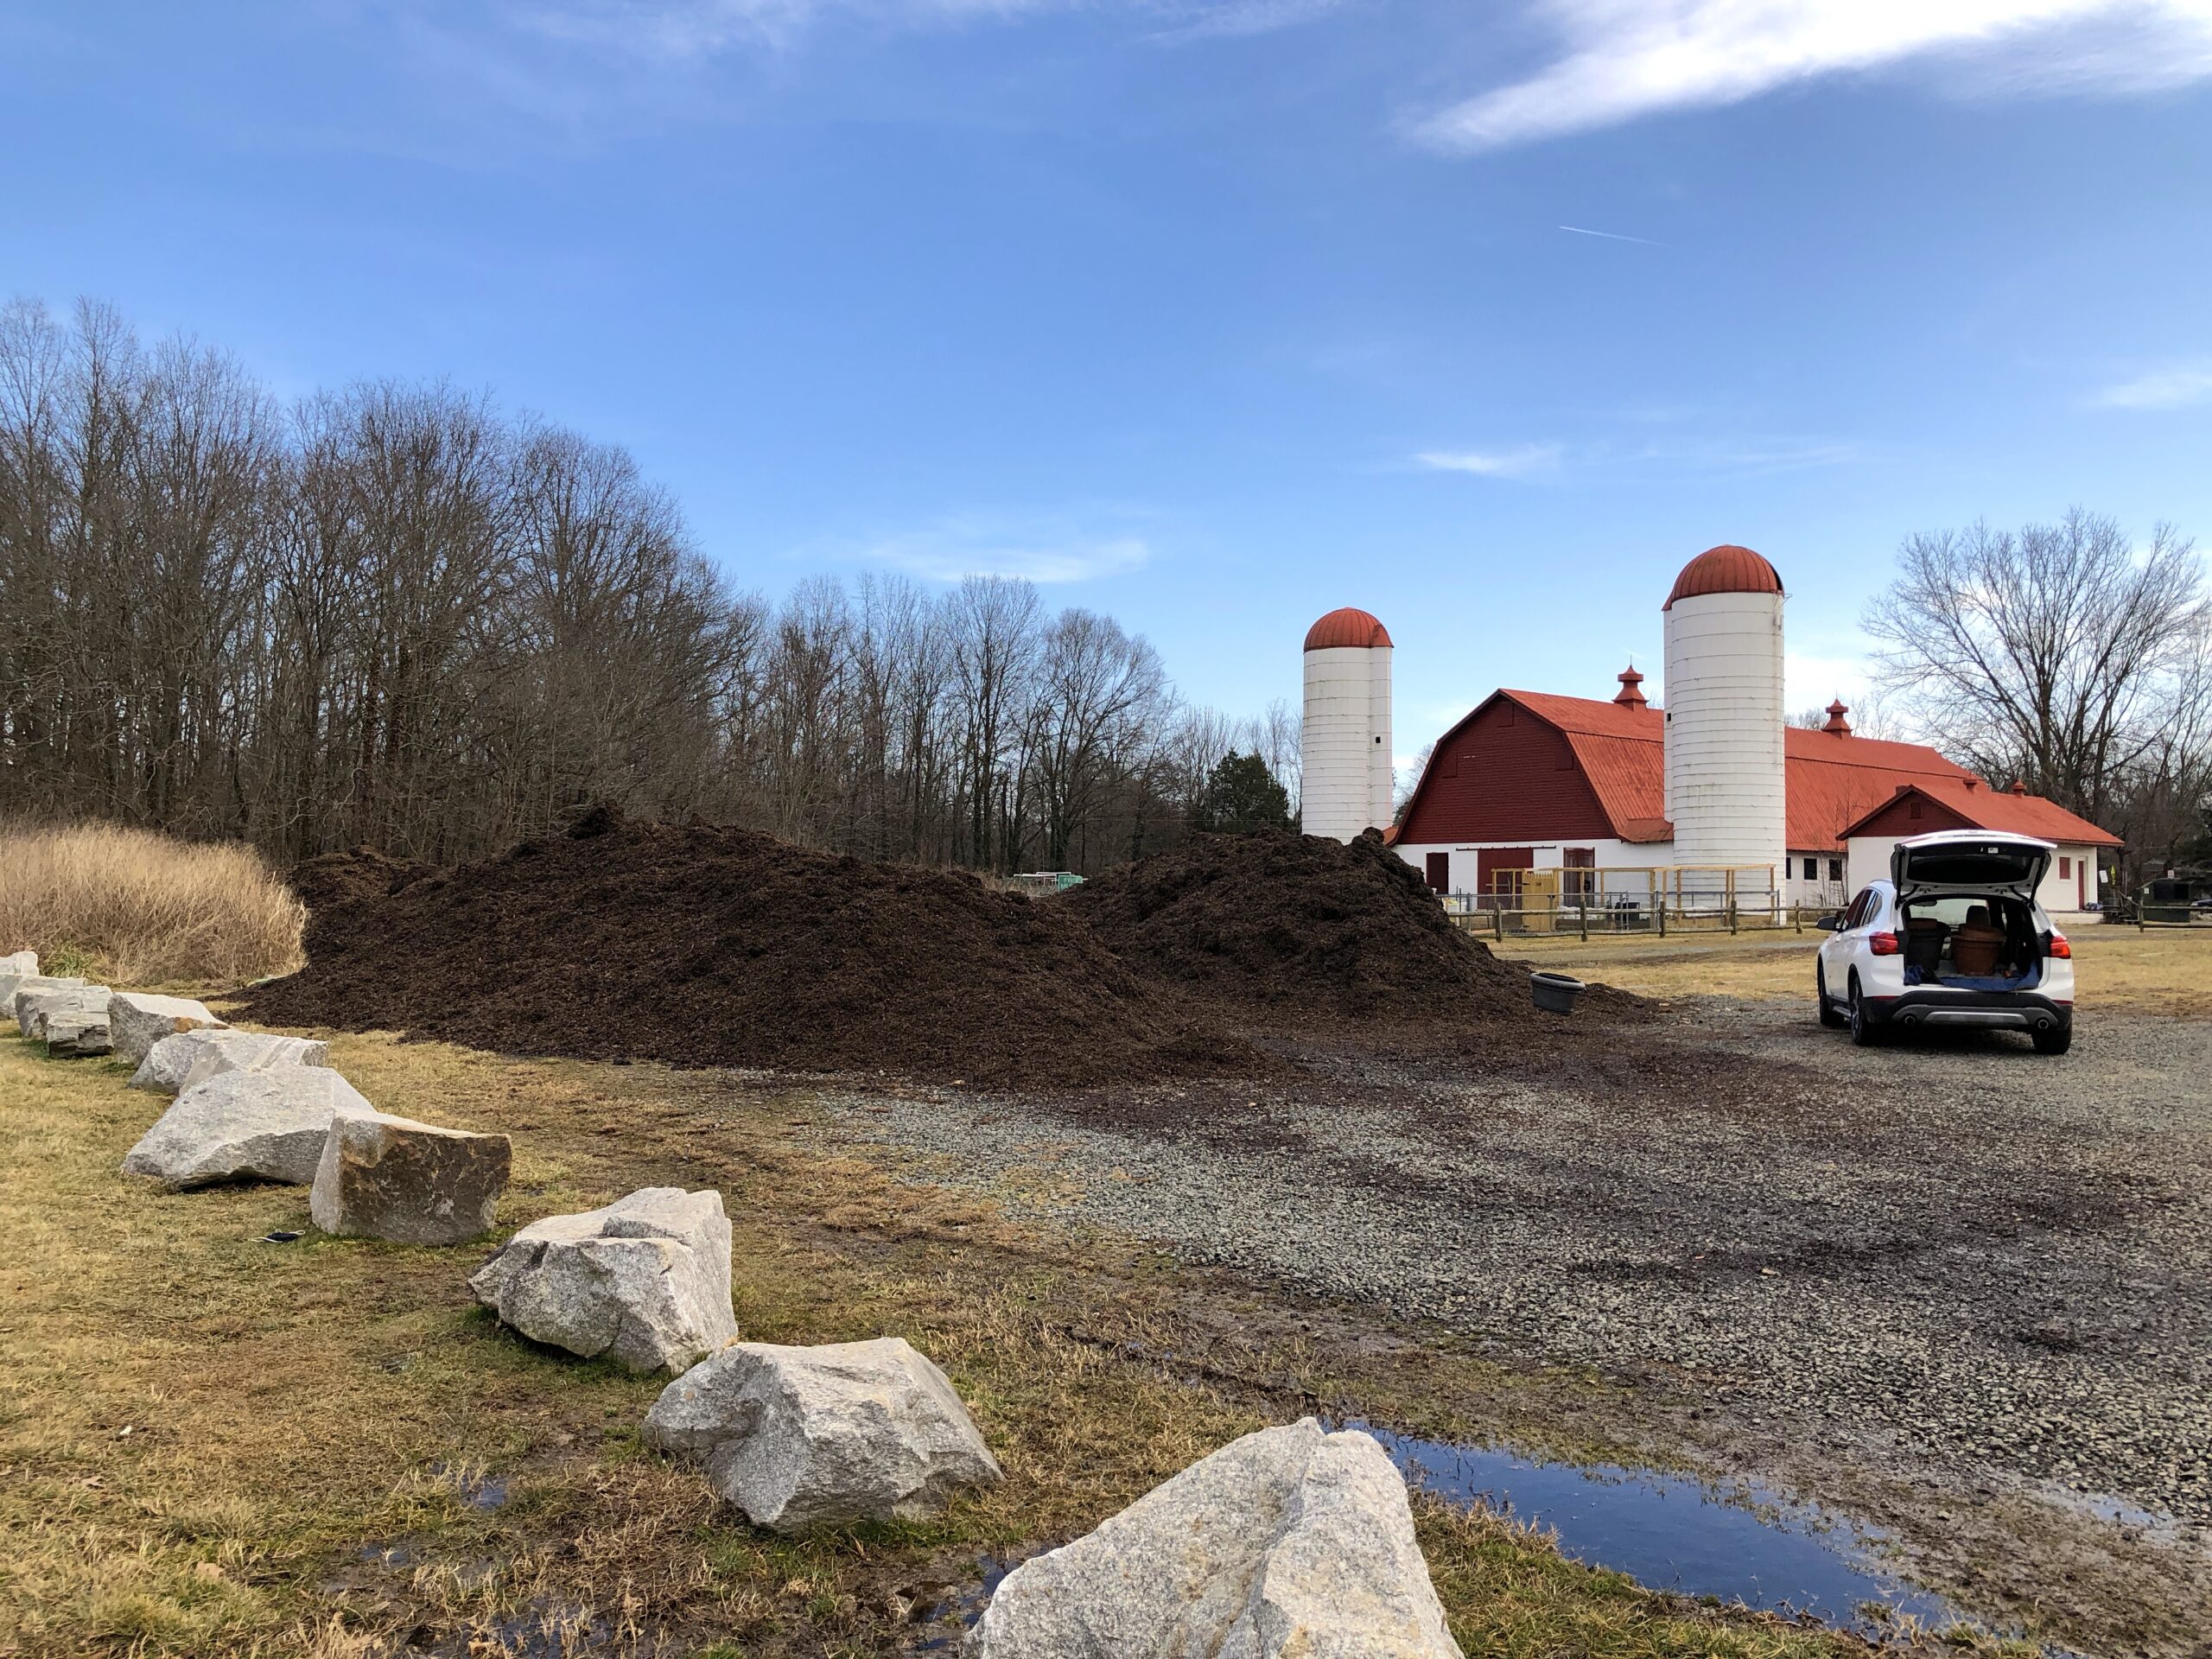
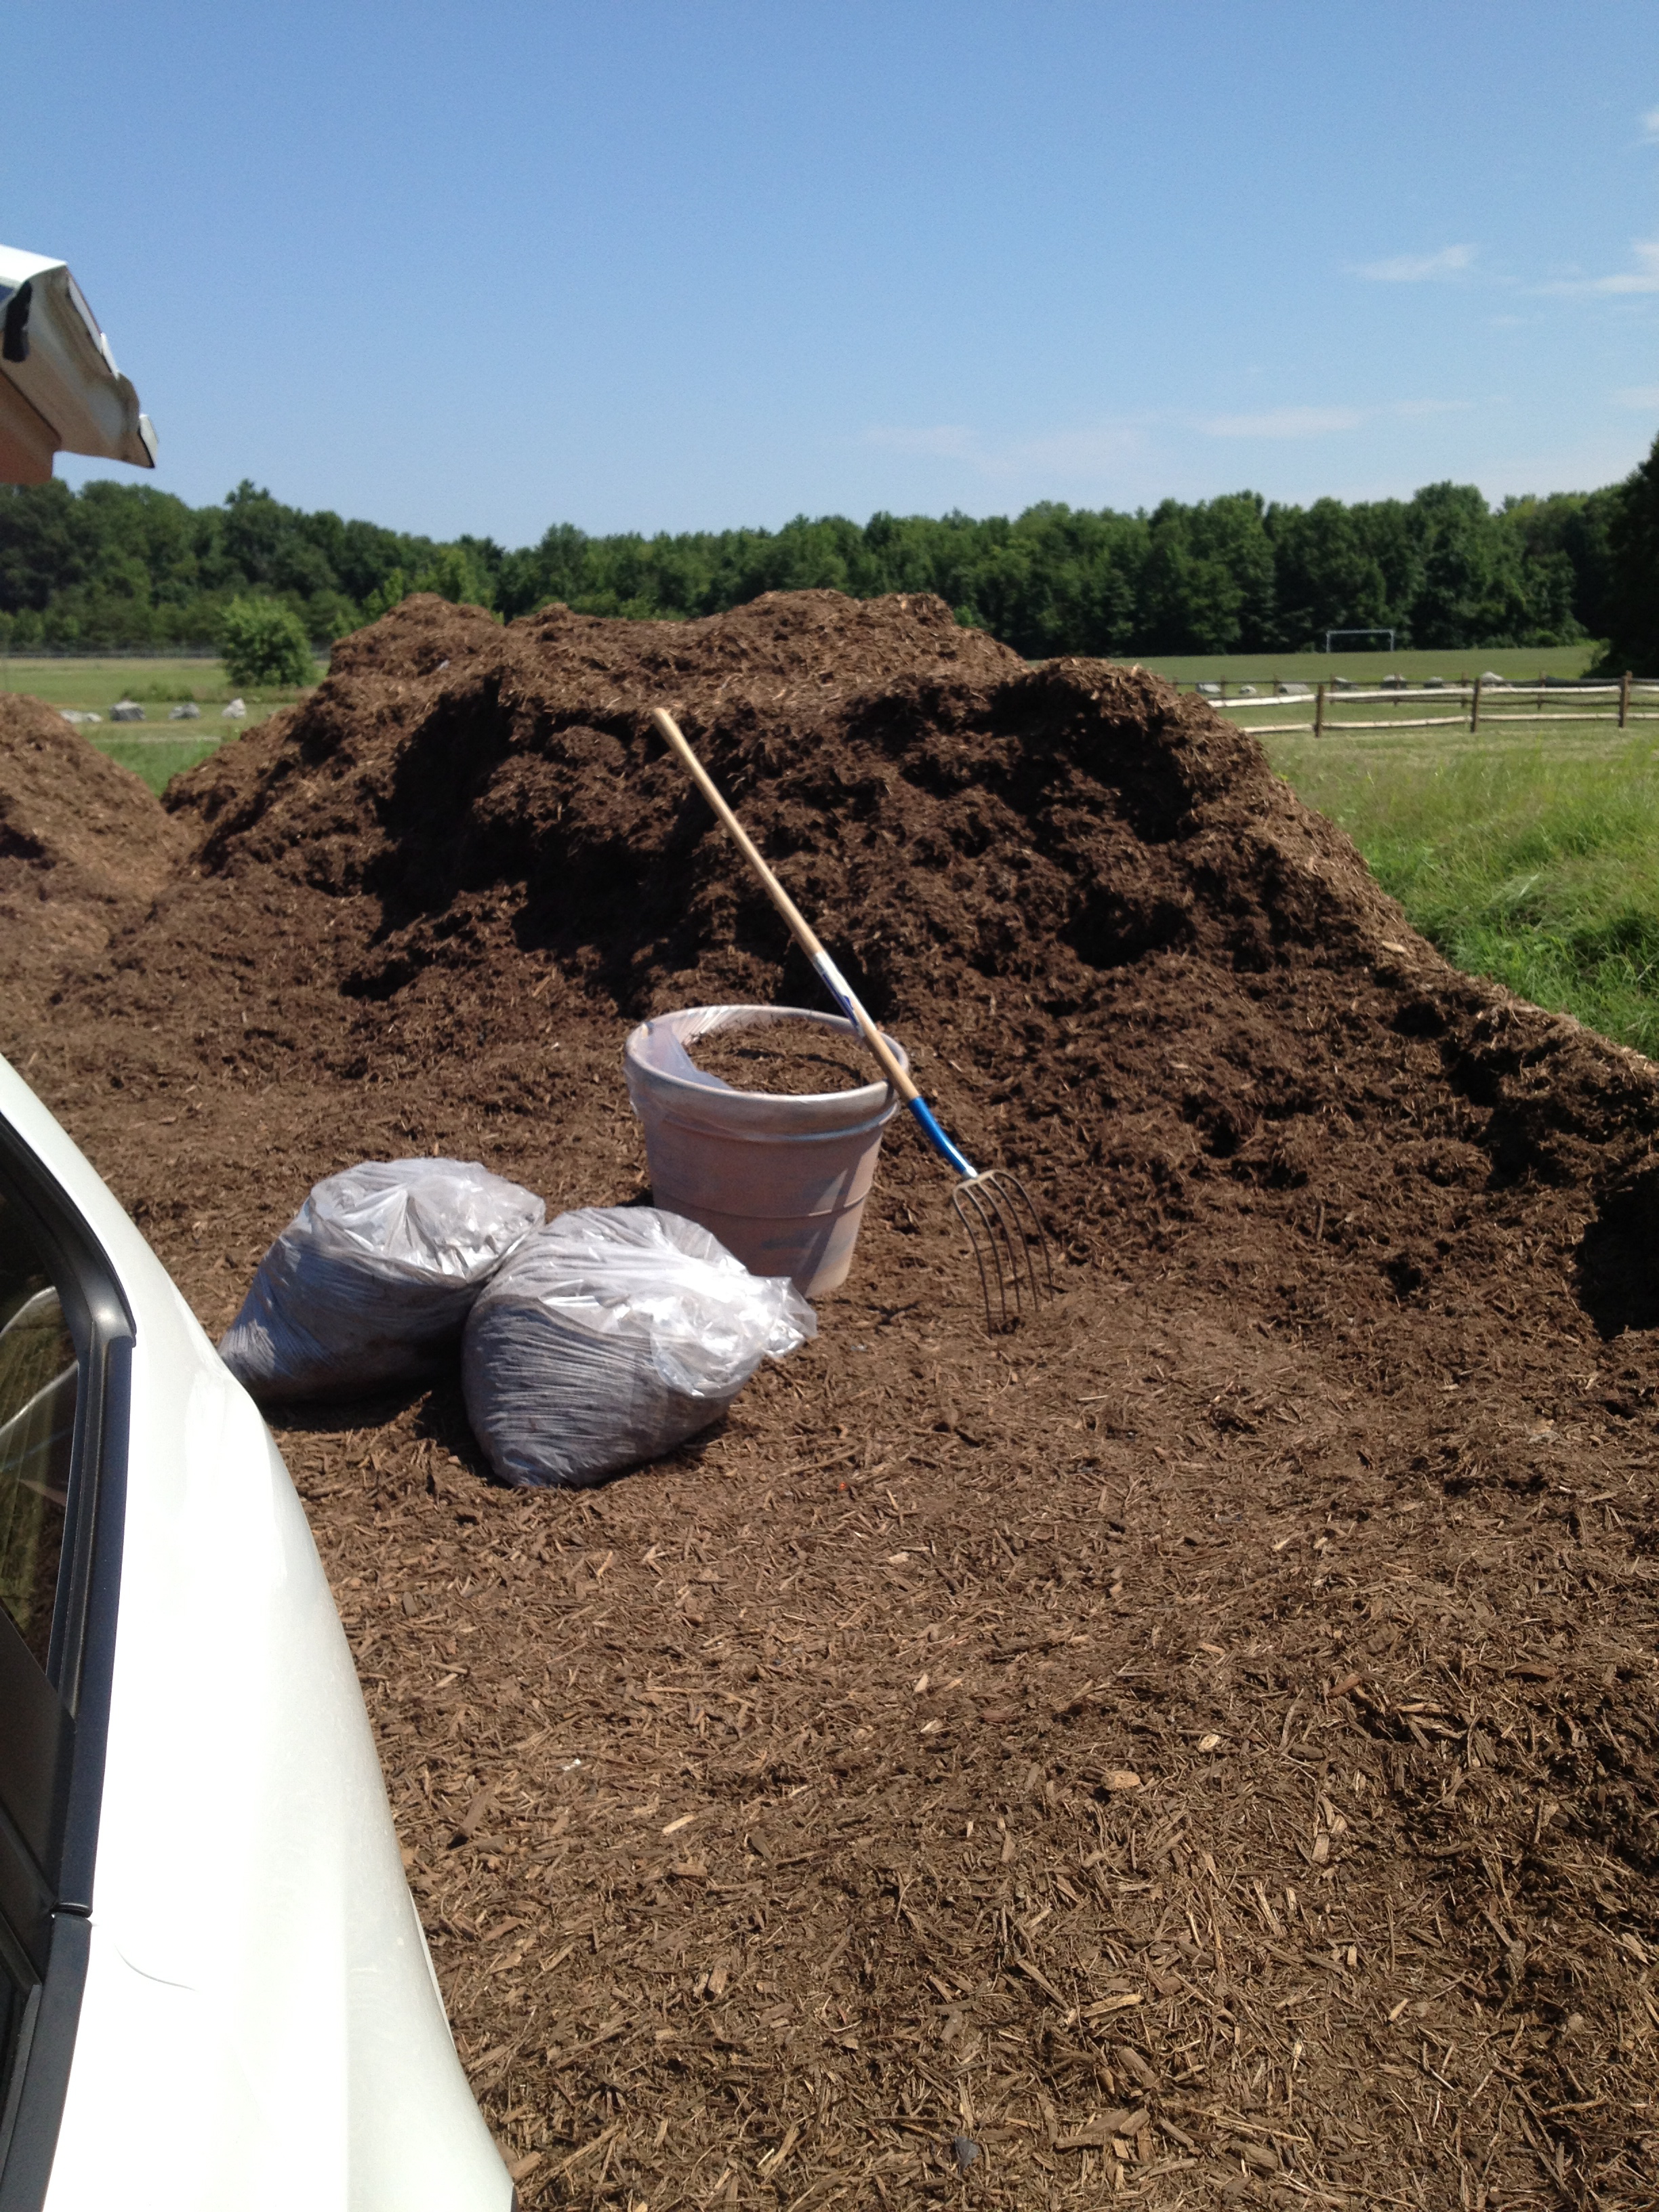
This is my local Fairfax County mulch pile only 1/2 mile from home! I love being green!
Update: For a really budget friendly alternative check with your local government office on recycling to inquire on municipal mulch piles. They are usually free for the taking, and it is one of the best ways to support the green lifestyle!