
After a hard day's work, it's one of our favorite pastimes to enjoy the views from the deck, but the harsh exposure took its toll on the wood.
At the end of the day we love to relax on the deck and look at the garden, watch the clouds or the setting sun. I say that because our deck was in awful shape — definitely wouldn’t want to look at it. We just finished a long process of renewal which I will walk through step by step. It’s done now and we couldn’t be happier at how it turned out.
The deck is on the south-facing side of the house, which means it is exposed to really damaging sun, intense storms and wind. On the positive side, the view of the Potomac River is beautiful, and the elevation is good for an evening breeze.
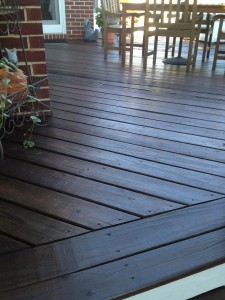
The top item on our long list of decisions was how we wanted to finish the deck surface. For years, we just used clear deck sealer which would result in a pretty, weathered gray finish, although didn’t provide the wood with enough protection from the elements, which resulted in the need to replace the wood after only 10 years. This time around, we decided to use a combination of finishes to give the deck a more smooth, “boat deck” finish. We chose a color that is close to the color of the front door, our teak outdoor furniture, and the hardwood flooring in the home for a more cohesive look.

When choosing a color for your deck it's nice to consider the other elements at your home. In this case, we chose a color similar to the front door.
First, we replaced the deck surface with premium grade pressure-treated pine. The wood that we received from the lumber yard was, well, not of premium quality, but with lots of work, it was cut and laid into place, screwed down, and gave us a fresh new surface to work with. I let it cure over the winter while I worked on some of the other elements in the project.
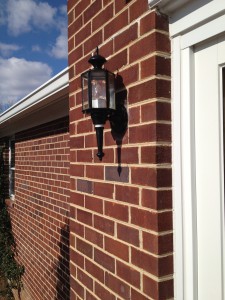
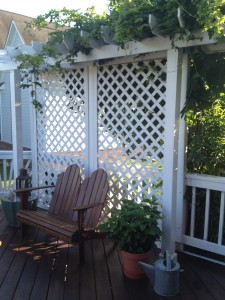
Our deck has a significant amount of railings, undercarriage and arbors, which all got a thorough scrubbing and painting. Next, I turned to the coach lights by the doors. They had been a bright brass but had tarnished badly over the years, so I painted them a beautiful black, which looks great!
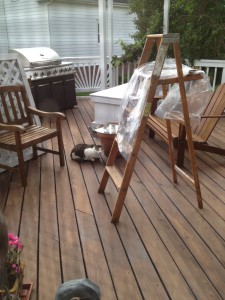
A fresh coat of paint to the white trim set off the wood tone of the deck. This photo was taken after the first layer of toner had been applied.
By Spring, the deck had been through a dramatically harsh winter – Snowmageddon as it was called around here! A power washing got it prepped, and a layer of sealer/toner in a deep shade of Canyon Brown was applied — the first of two layers. The second application evened out imperfections, and the colored pigment in the toner gave the deck a good basis for protecting the wood.
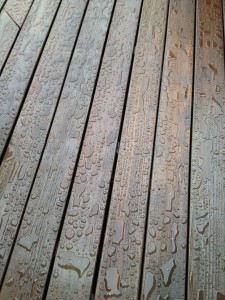
After letting the sealer/toner cure for about a month, the final topcoat was applied. We used a product that is a marine-grade “teak color” varnish for coating boat decks. We have used it on our outdoor furniture for a decade, but never on the deck surface. It took the deck from “nice” to “WOW”! The deck now has a beautiful surface that repels the rain and has a depth of sheen similar to a fine grade of teak. All in all, I have to admit it was a HUGE undertaking, but the end result is great. Time will tell how long it lasts, but if the deck holds the finish like the furniture has, it will be good for years to come.
I have to say this was a really physical project and I am so glad it’s finished! Time to drink in the scenery now from the deck chairs — only this time I might be looking AT the deck instead of the garden!

Leave a Reply