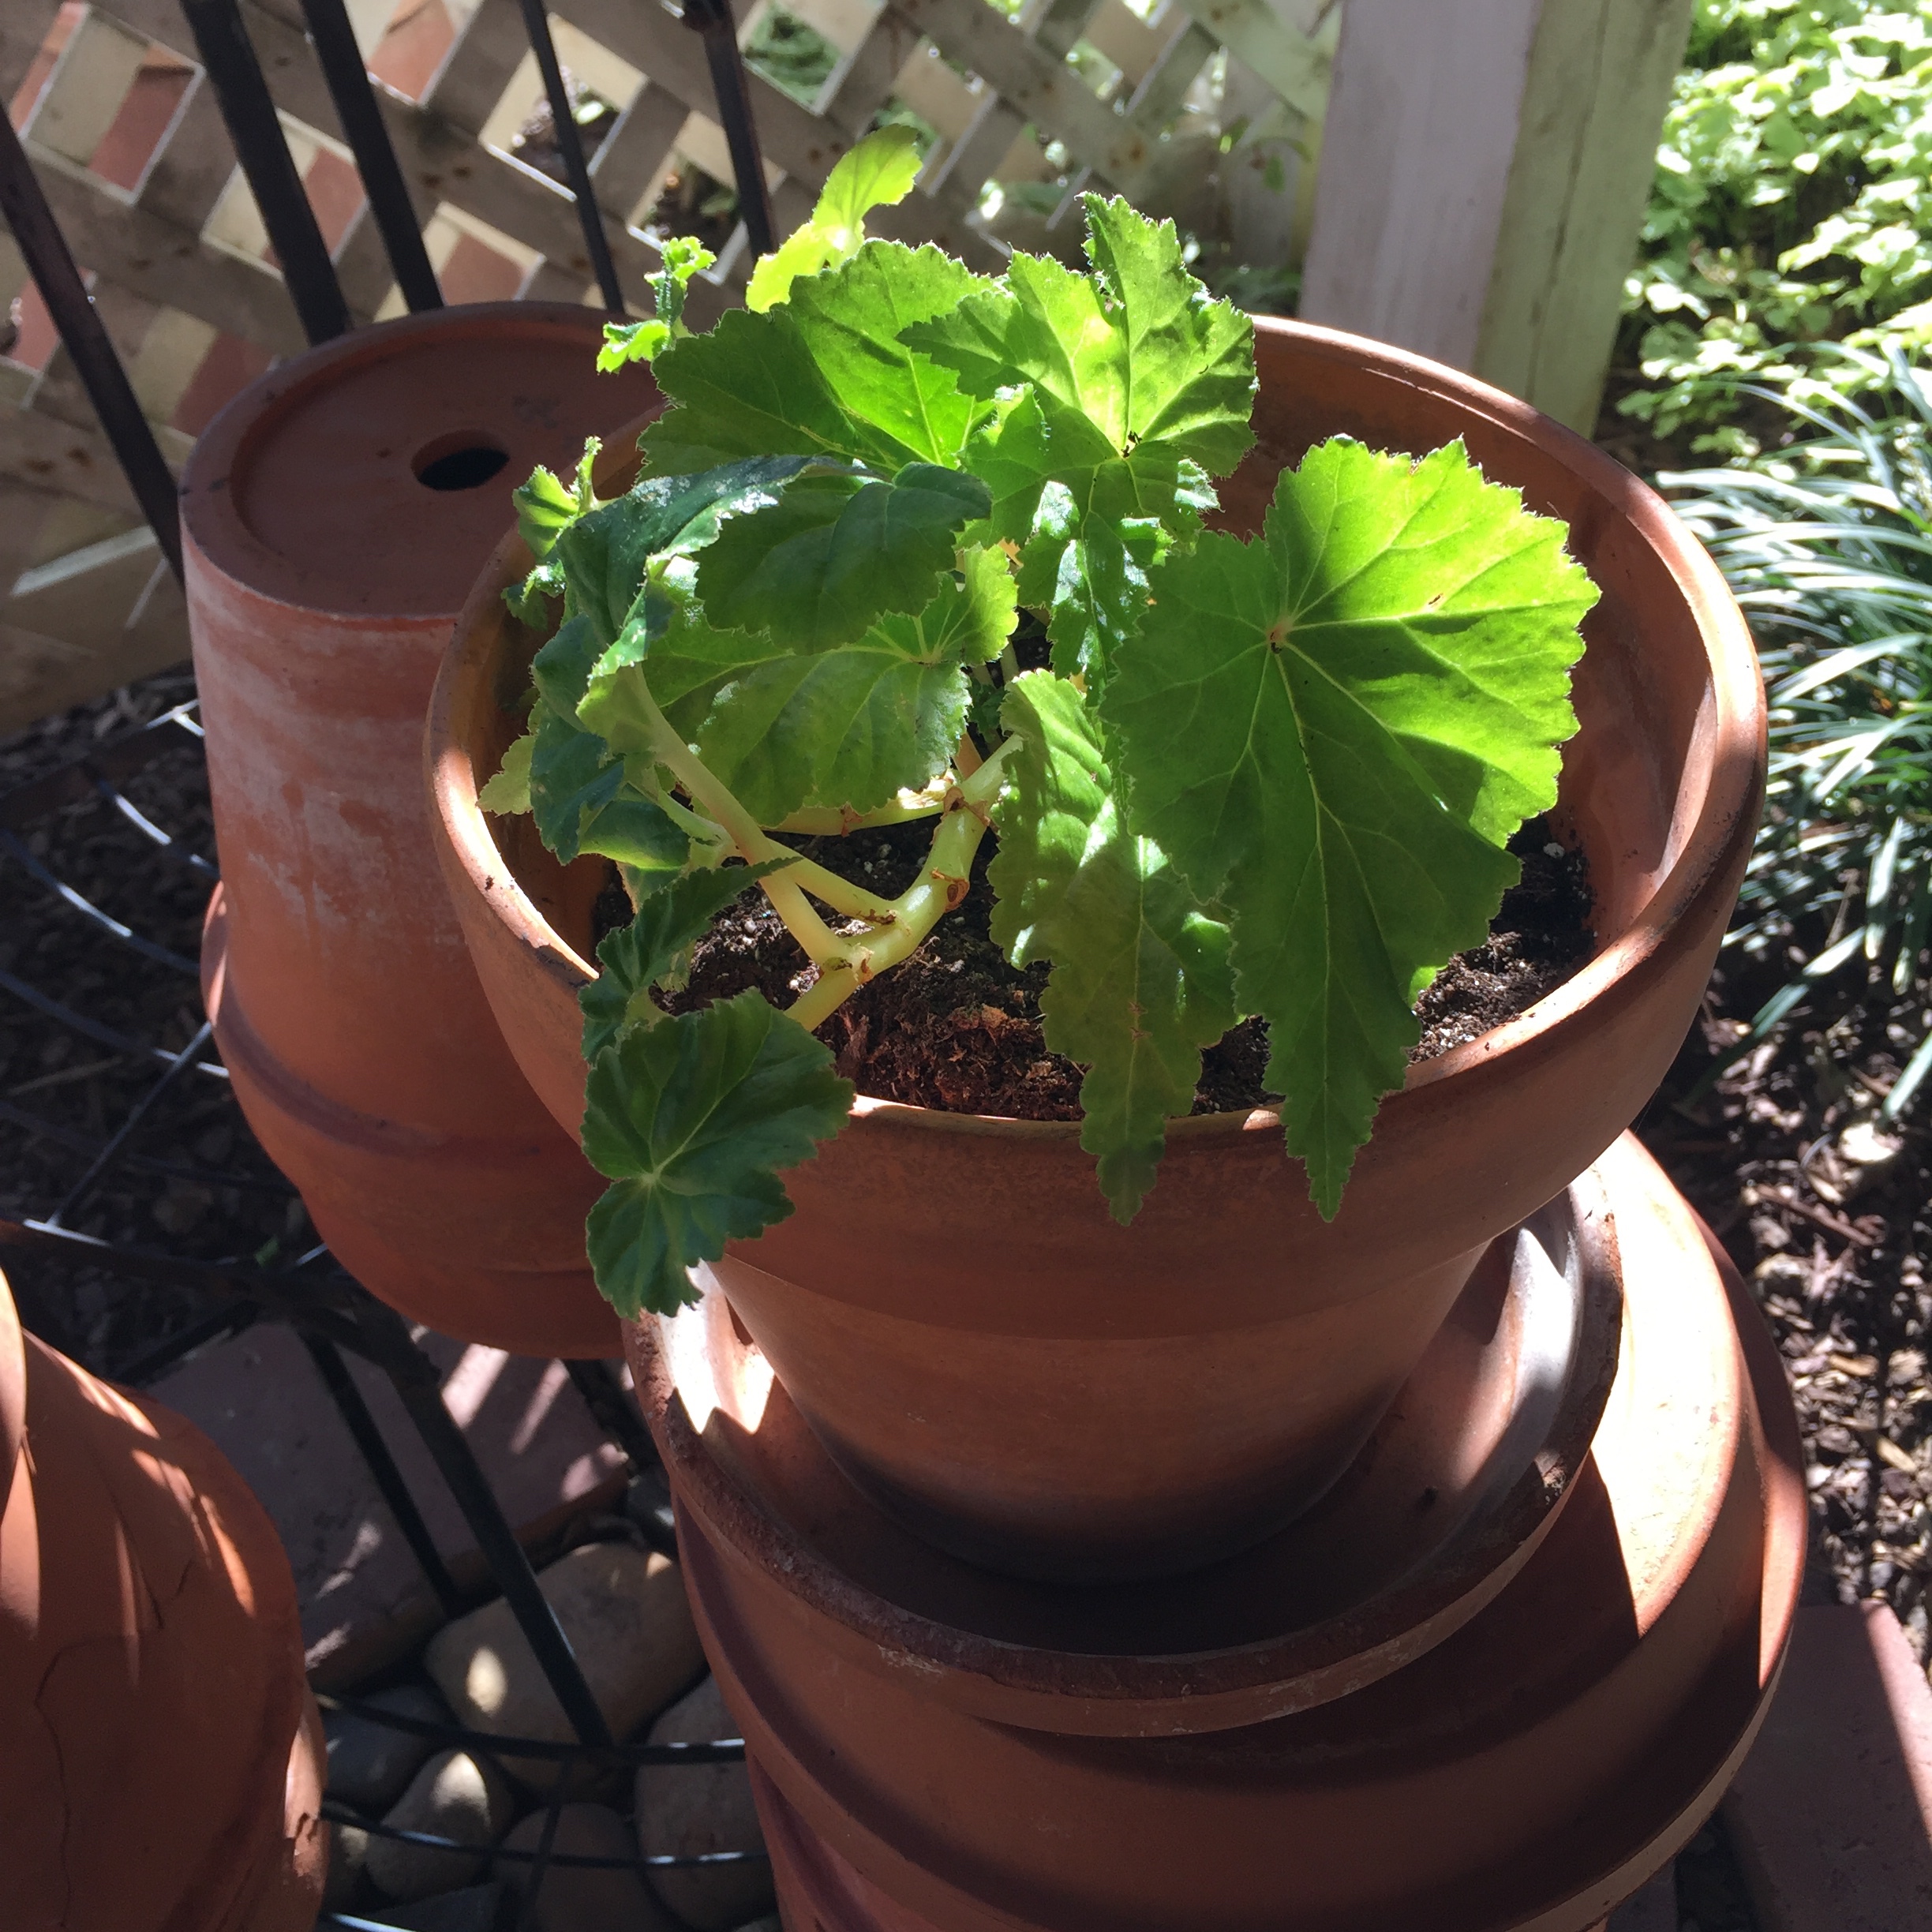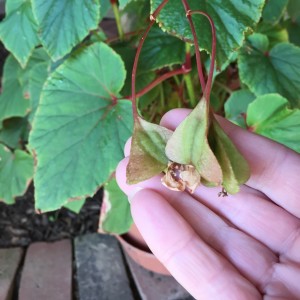
Look closely at your plants. Many will have seed pods that you can dry and save for next year. This begonia has strikingly pretty ones in a teardrop shape.
Hi, friends — happy fall! I’m sorry I have not posted for a while. I’ve been busy finishing up projects, and glad to say that I have completed many. The ten new storm windows are installed, and the new flooring in my basement finished, too. Now I can get back to my favorite thing — gardening! I was asked to write a post on how I collect seeds and keep plants for the next year, and I am happy to do just that.
There are many plants that I’m saving this year by collecting their seeds and berries.
After collecting pods, let them dry out. Break them open and pop the seeds out. Save for spring planting.

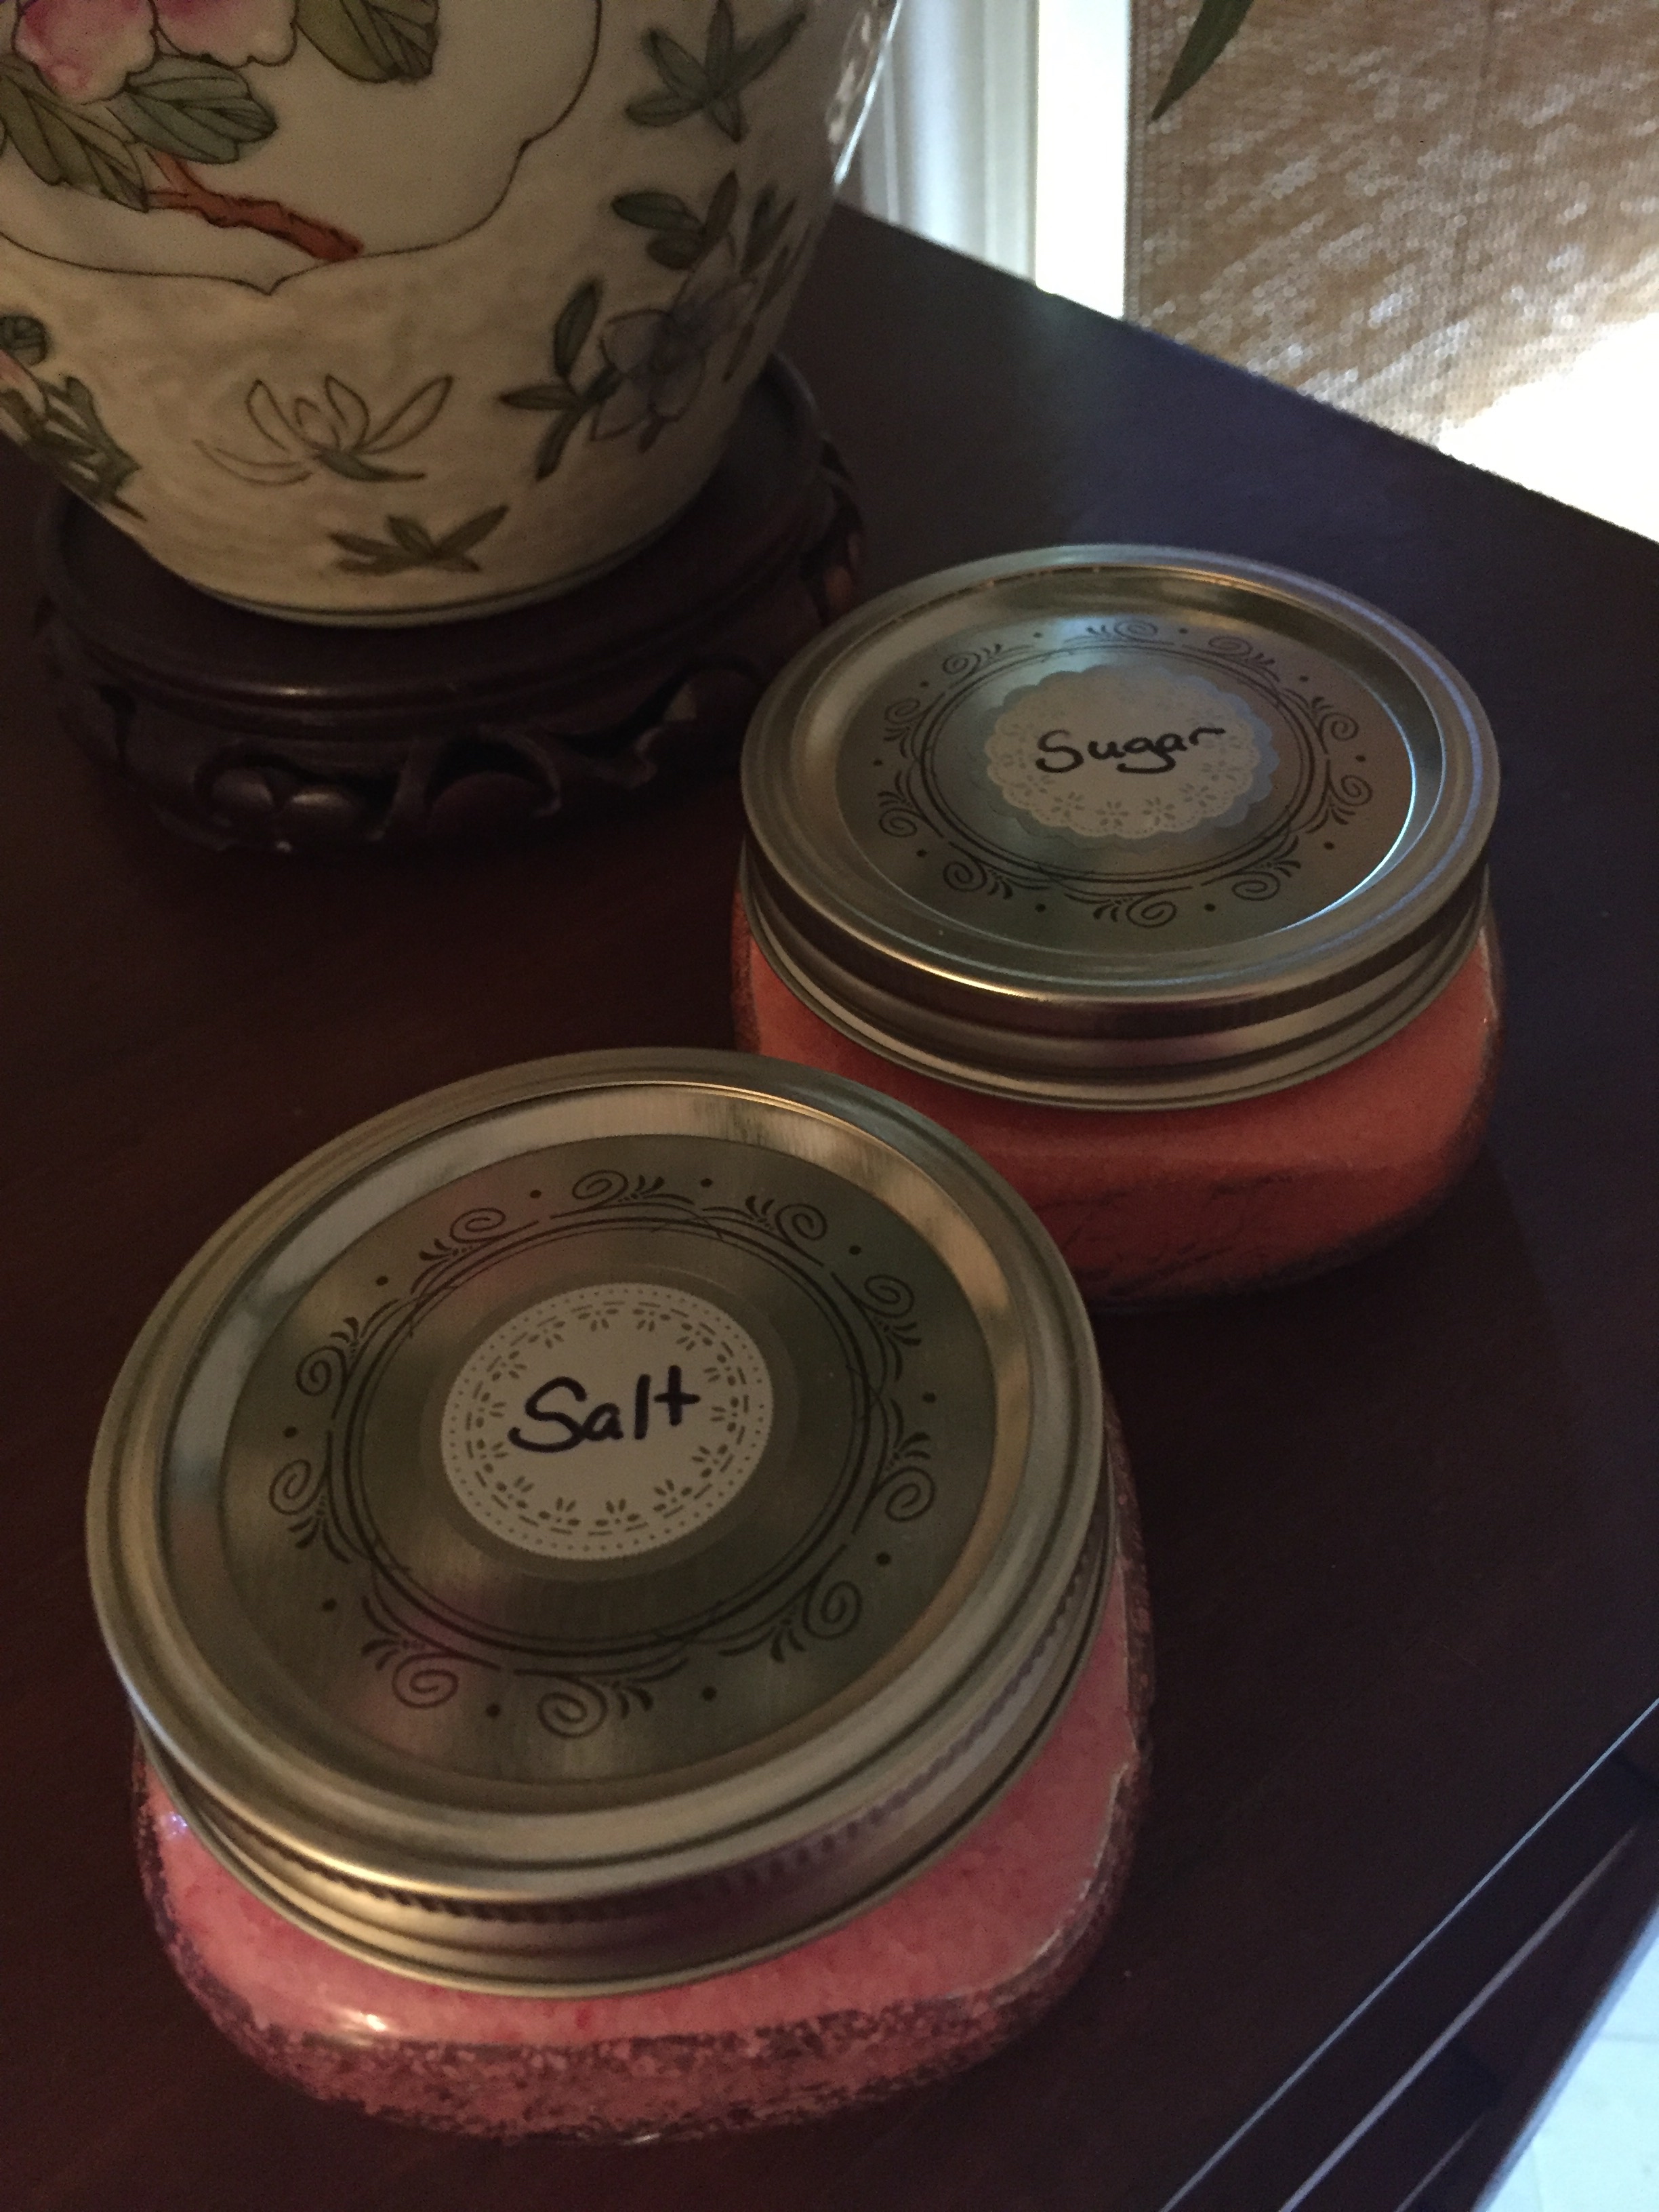
I store my seeds in recycled glass jars. I glue silica packs to the inside of the lid to keep moisture at bay.
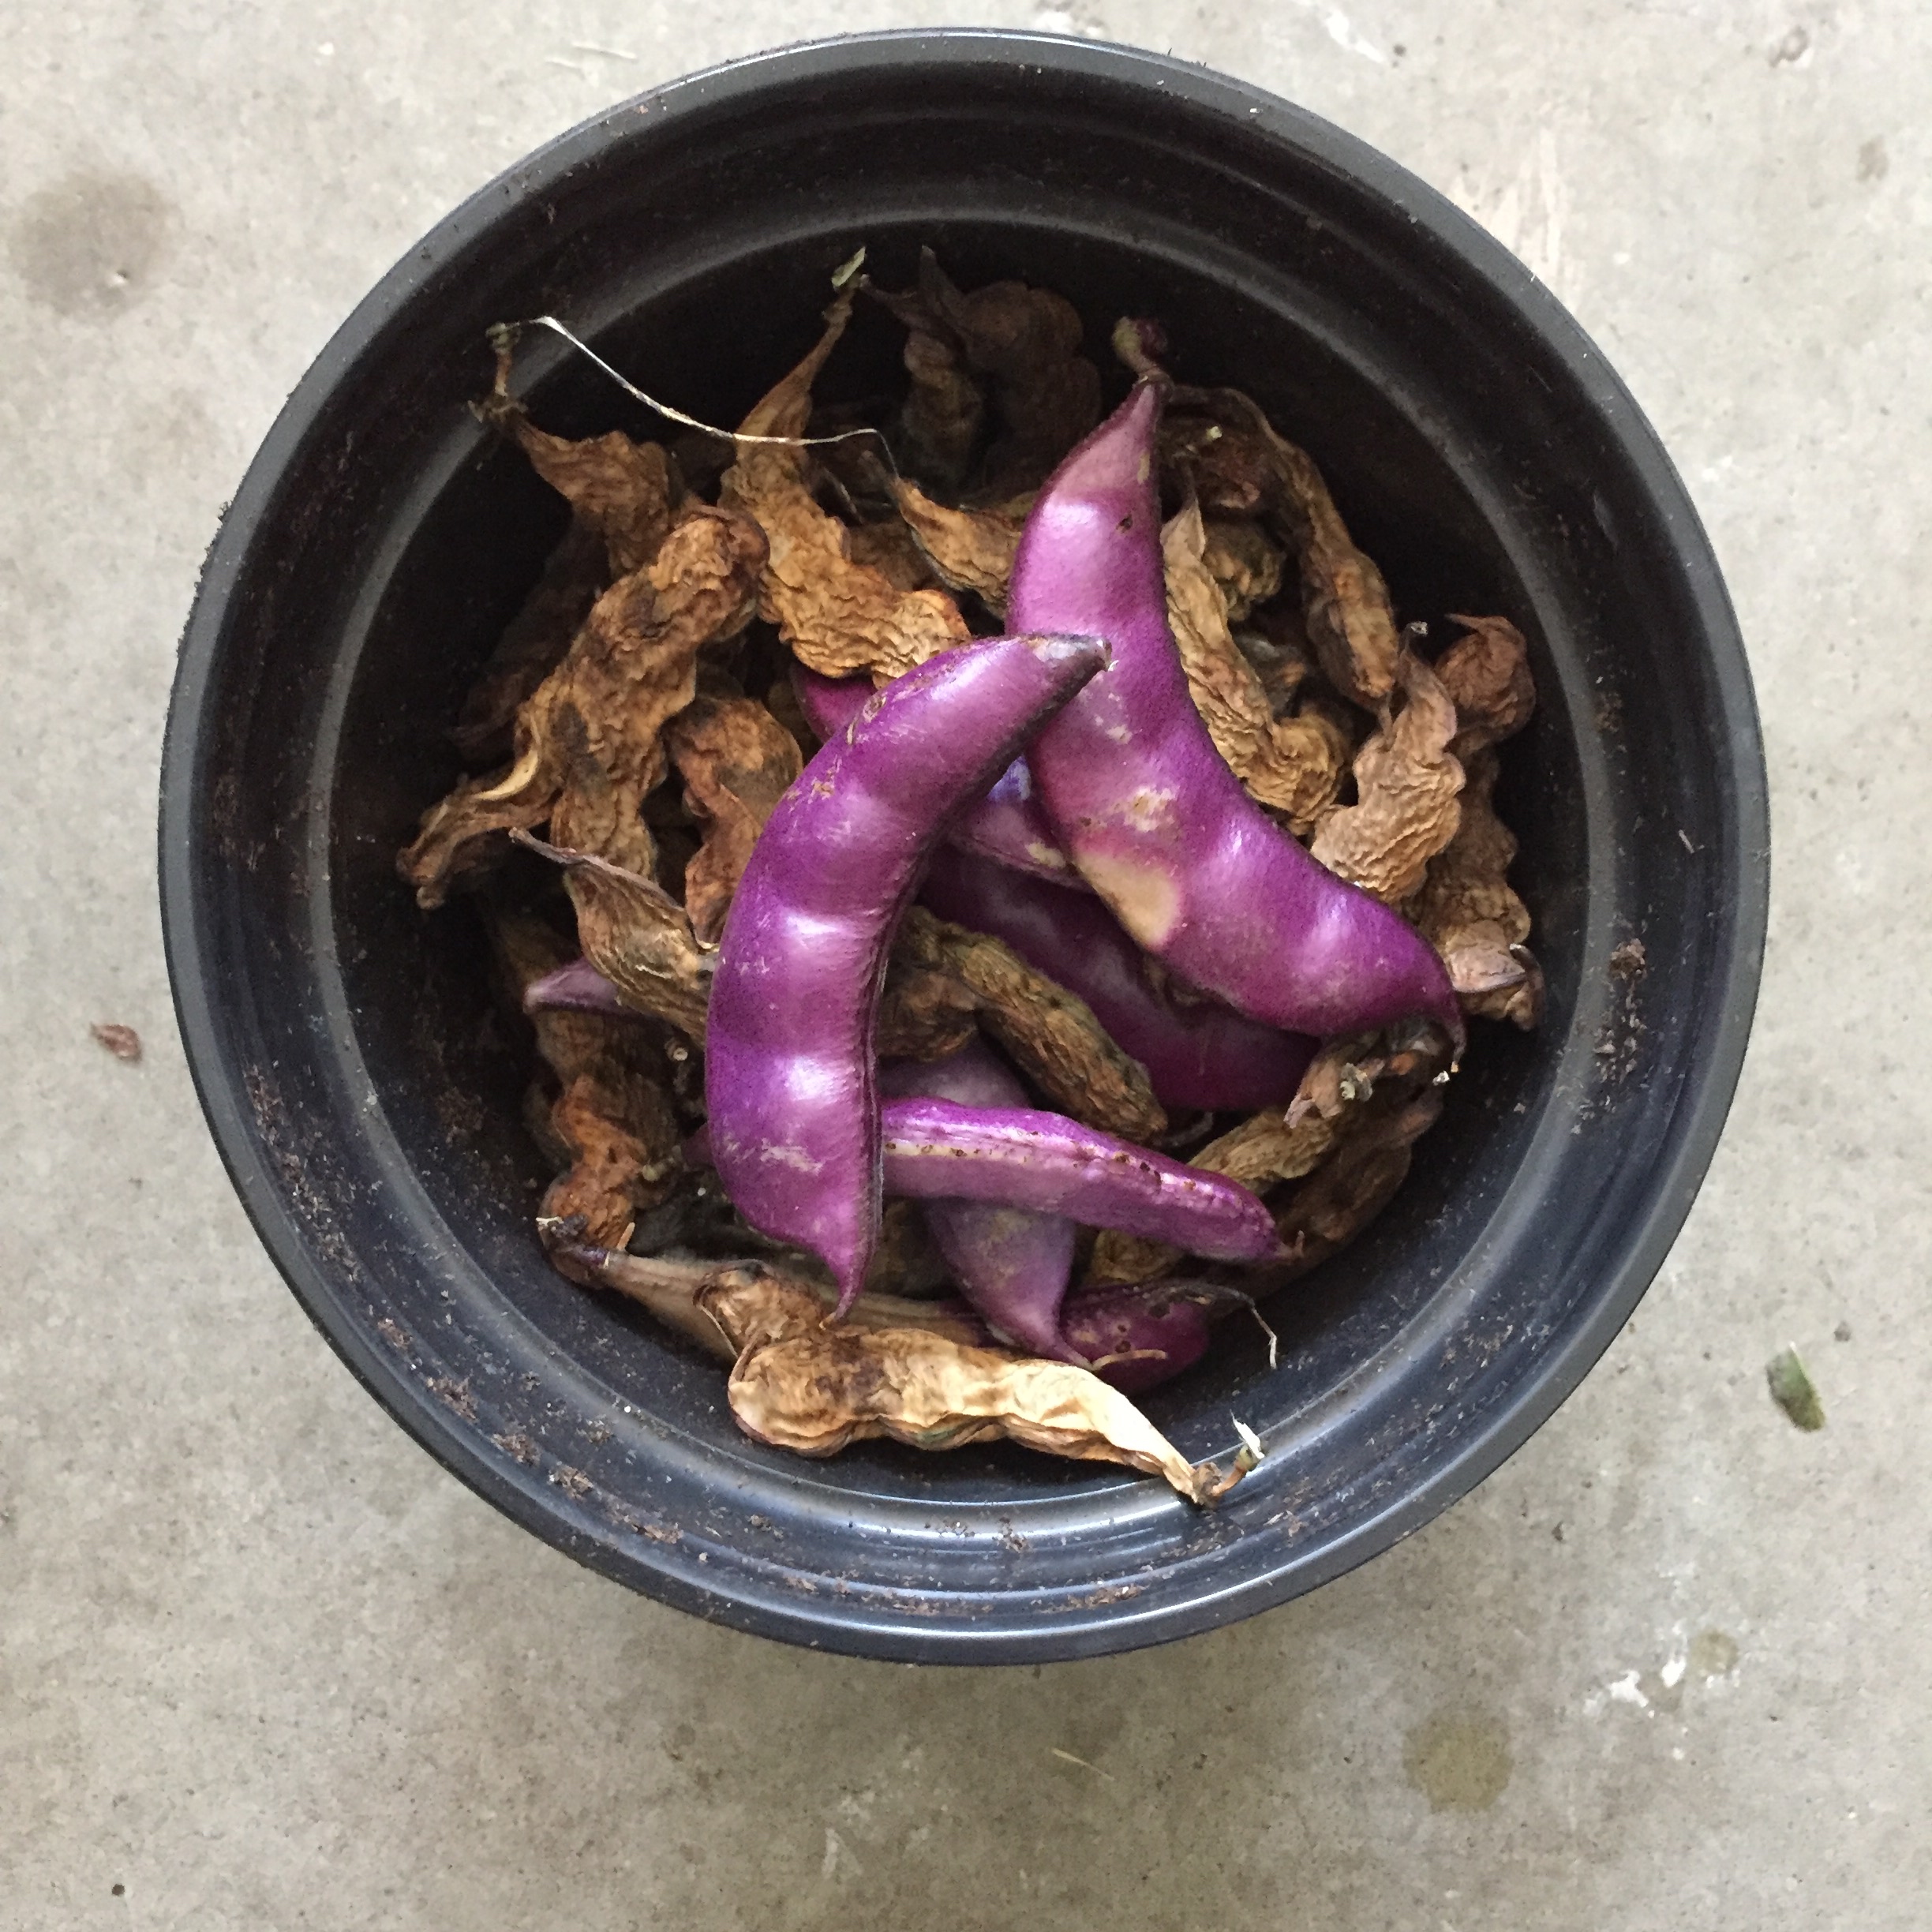
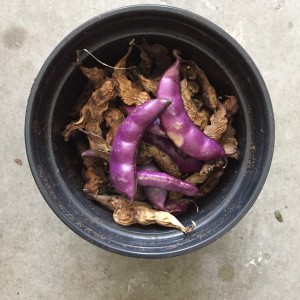
The pretty Hyacinth bean vine produced literally hundreds of pods this year. The best way to save these is simply to pick them and let the pods dry out. The pods break open quite easily then, and I just store the seeds in a glass jar until next spring. Here’s a preserving tip that you might not know: Glue a silica pack on the inside of jar lids — it will absorb any excess moisture from accumulating inside the jar. I save the silica packs from old shoe boxes and other shipping boxes that come with them inside, so it’s a great reuse for them.

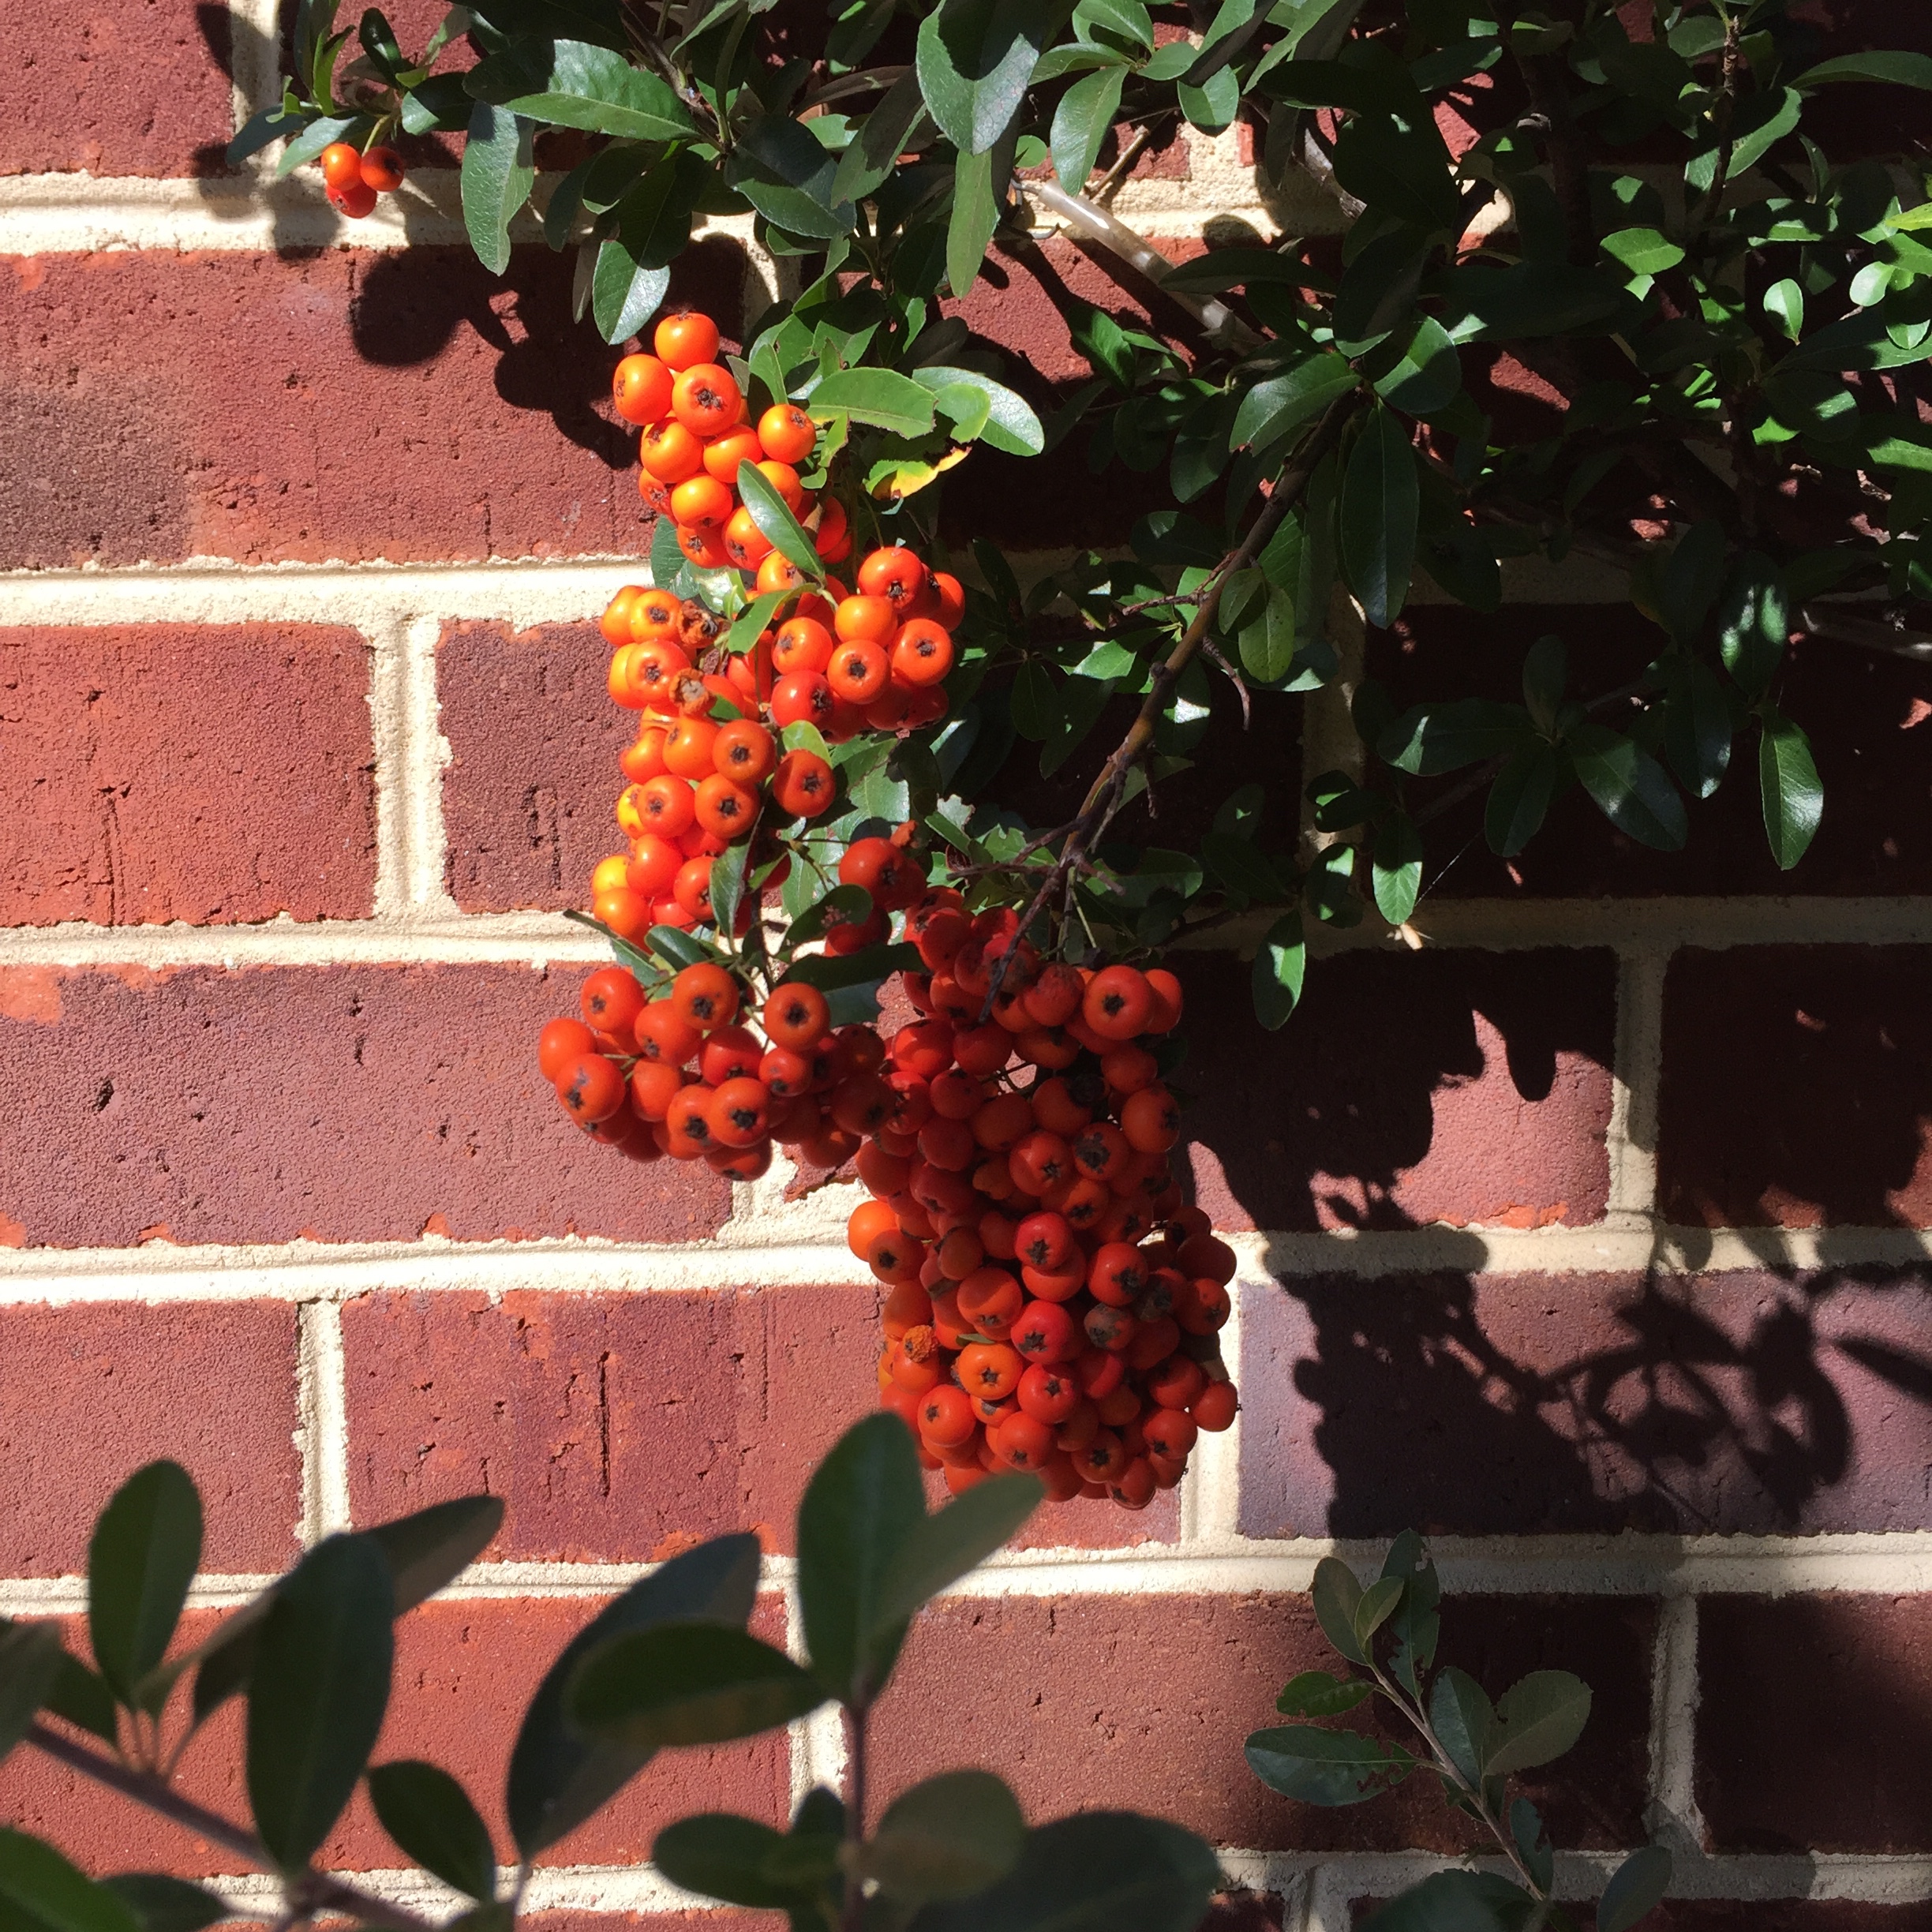
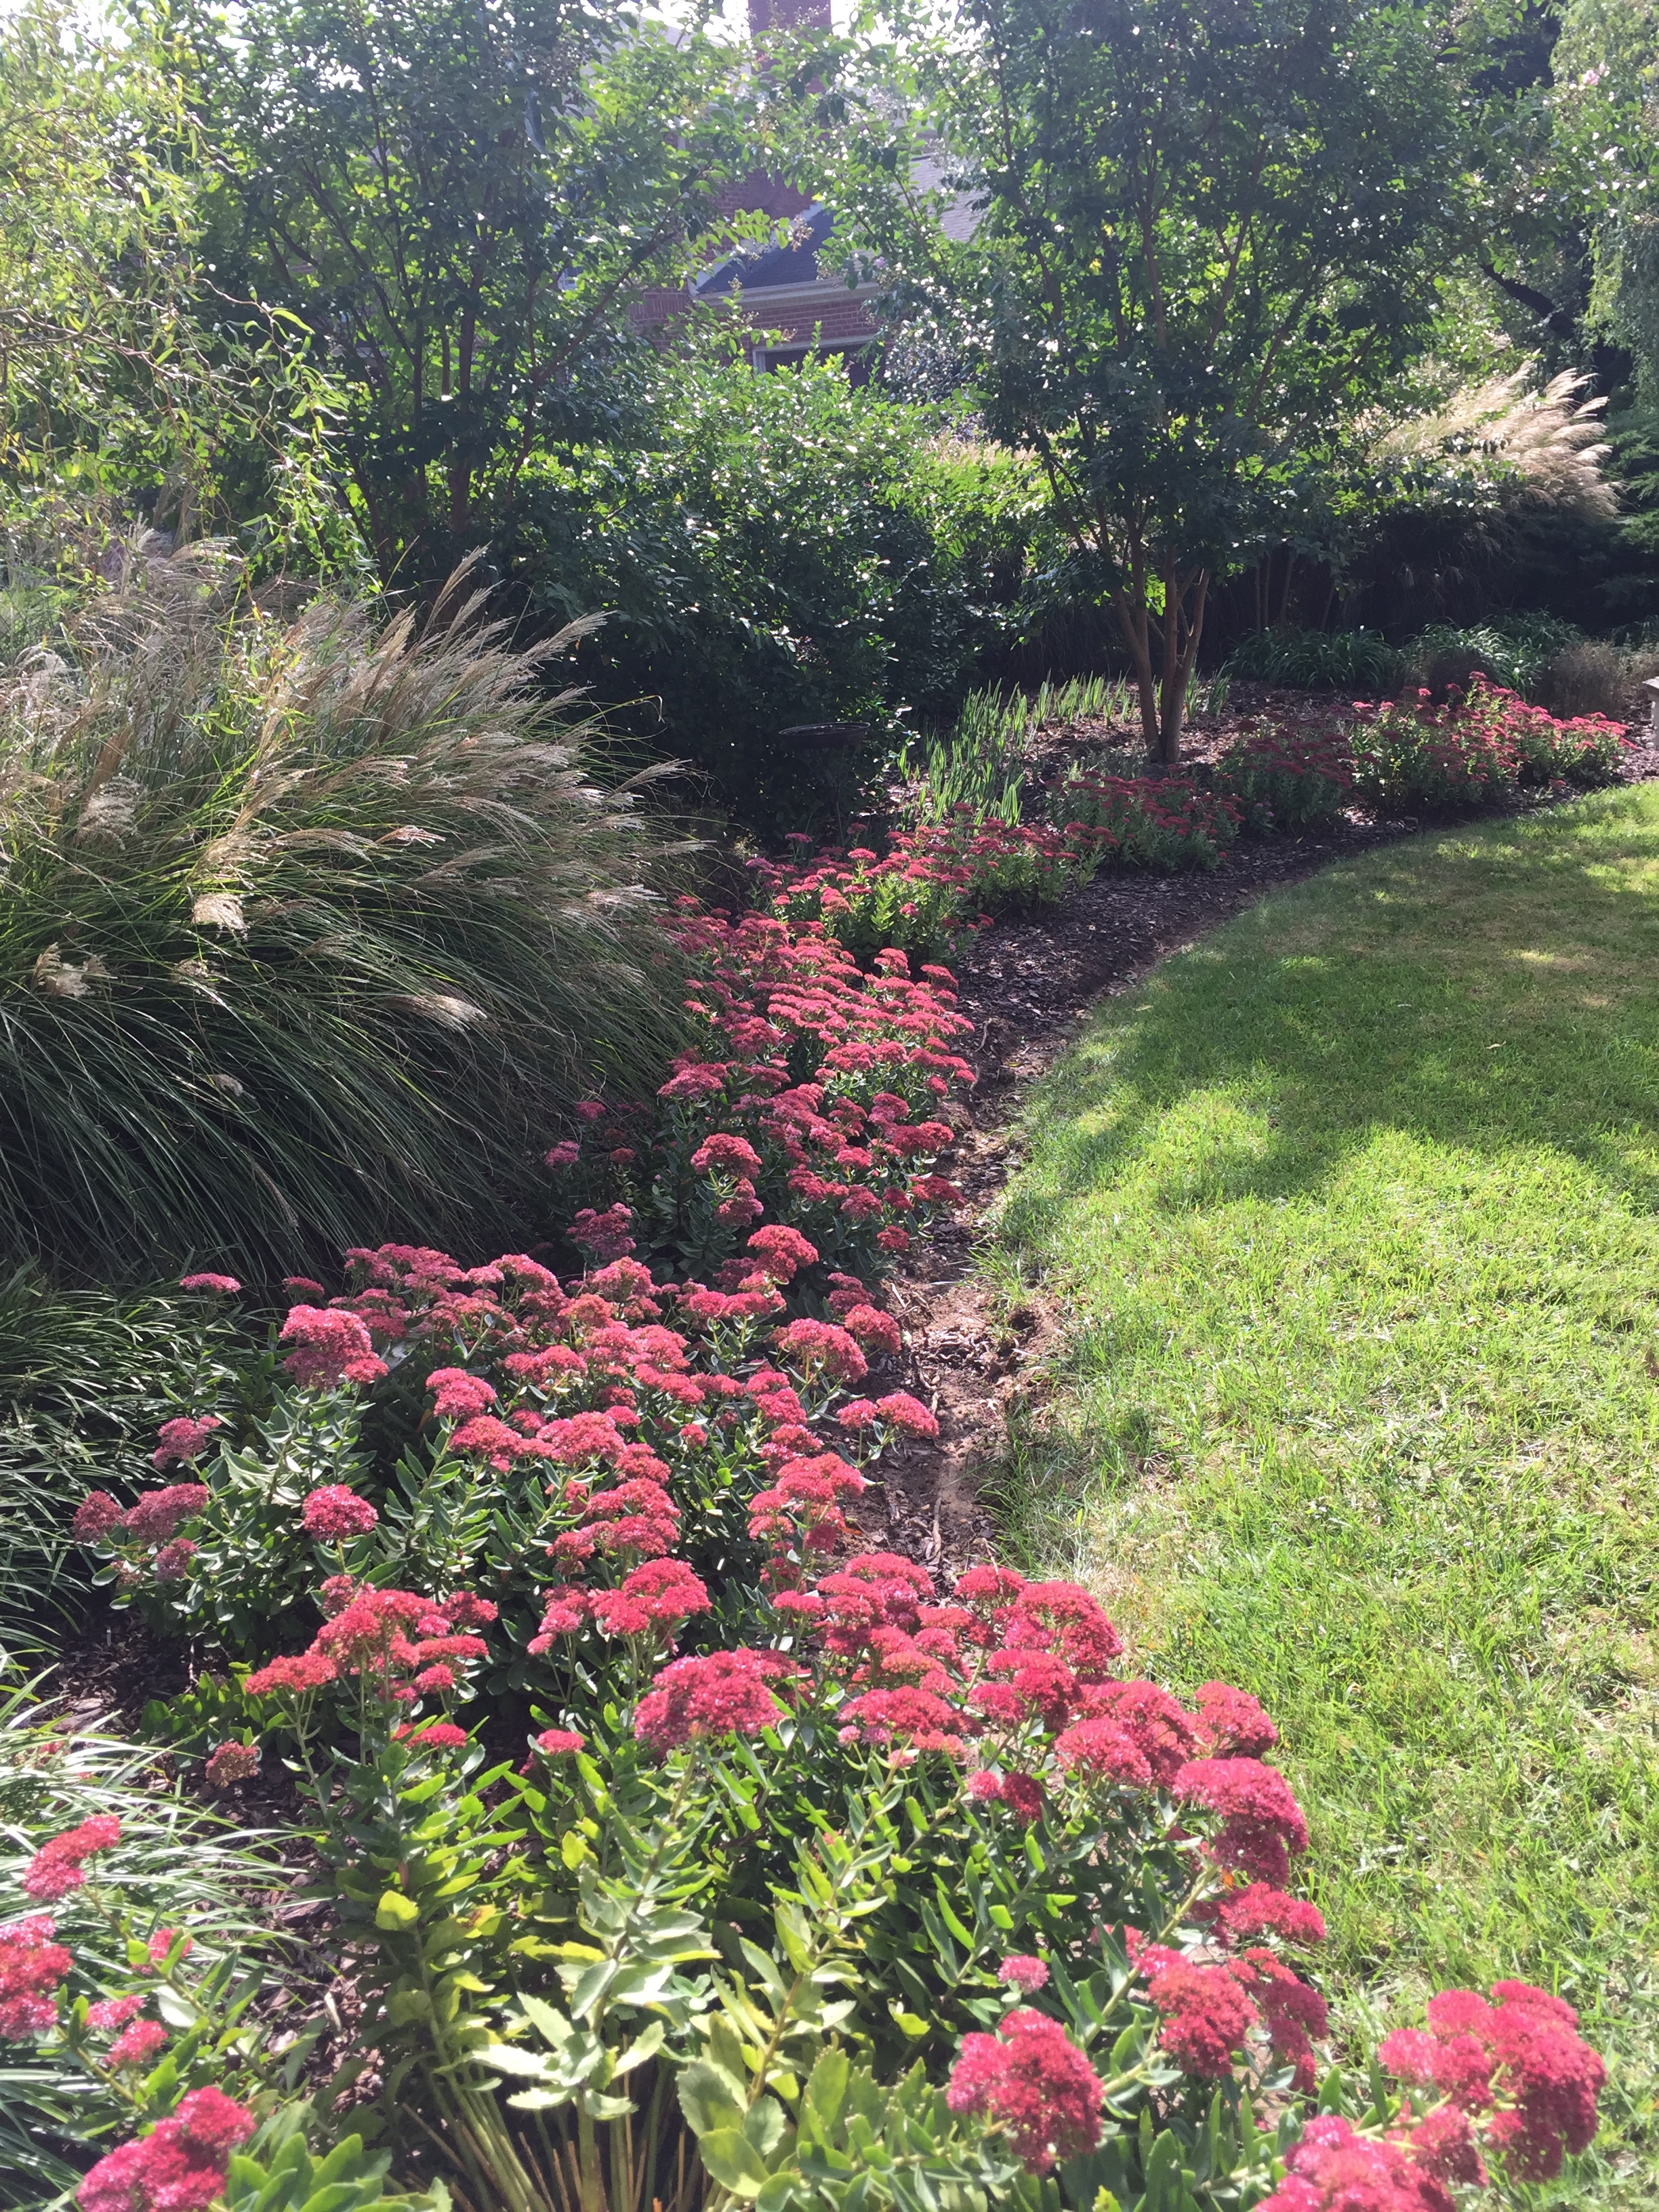
Many bushes will drop berries that will sprout in the spring. Transplant the seedlings to a safe spot in the garden, and you will be amazed at how quickly these volunteers will grow into great new plants.
Many plants in the garden, such as the nandina, holly bushes, pyracantha and liriope, have berries that I just let fall into the garden. In the spring I cull the best sprouts from these to start new plants. It’s amazing how quickly they grow into beautiful plants all on their own with hardly any effort.
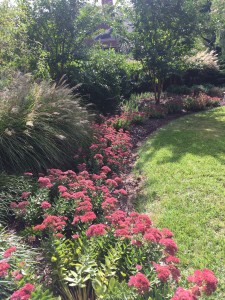
Many of the annual flowers that I grow in the garden produce seeds. If you check the soil in the areas that you have planted with annuals, you will see volunteers sprout up regularly. I do this every year with the vinca that is planted by the driveway. Even the gorgeous heirloom begonias that I grow in pots will self-seed. It’s always a good idea to save some of the seed just in case they don’t return. It’s easy to find the seeds. They will either be in little pods or form inside the flowers.

Many annuals will drop seed throughout the summer, and if the soil is not disturbed too much you will have many new sprouts in the spring. I like to keep the strongest of the new sprouts and clear the rest. Each year I like to grow a different color vinca. It’s fun to see the blend of colors from previous years, growing up through the current year’s plants.

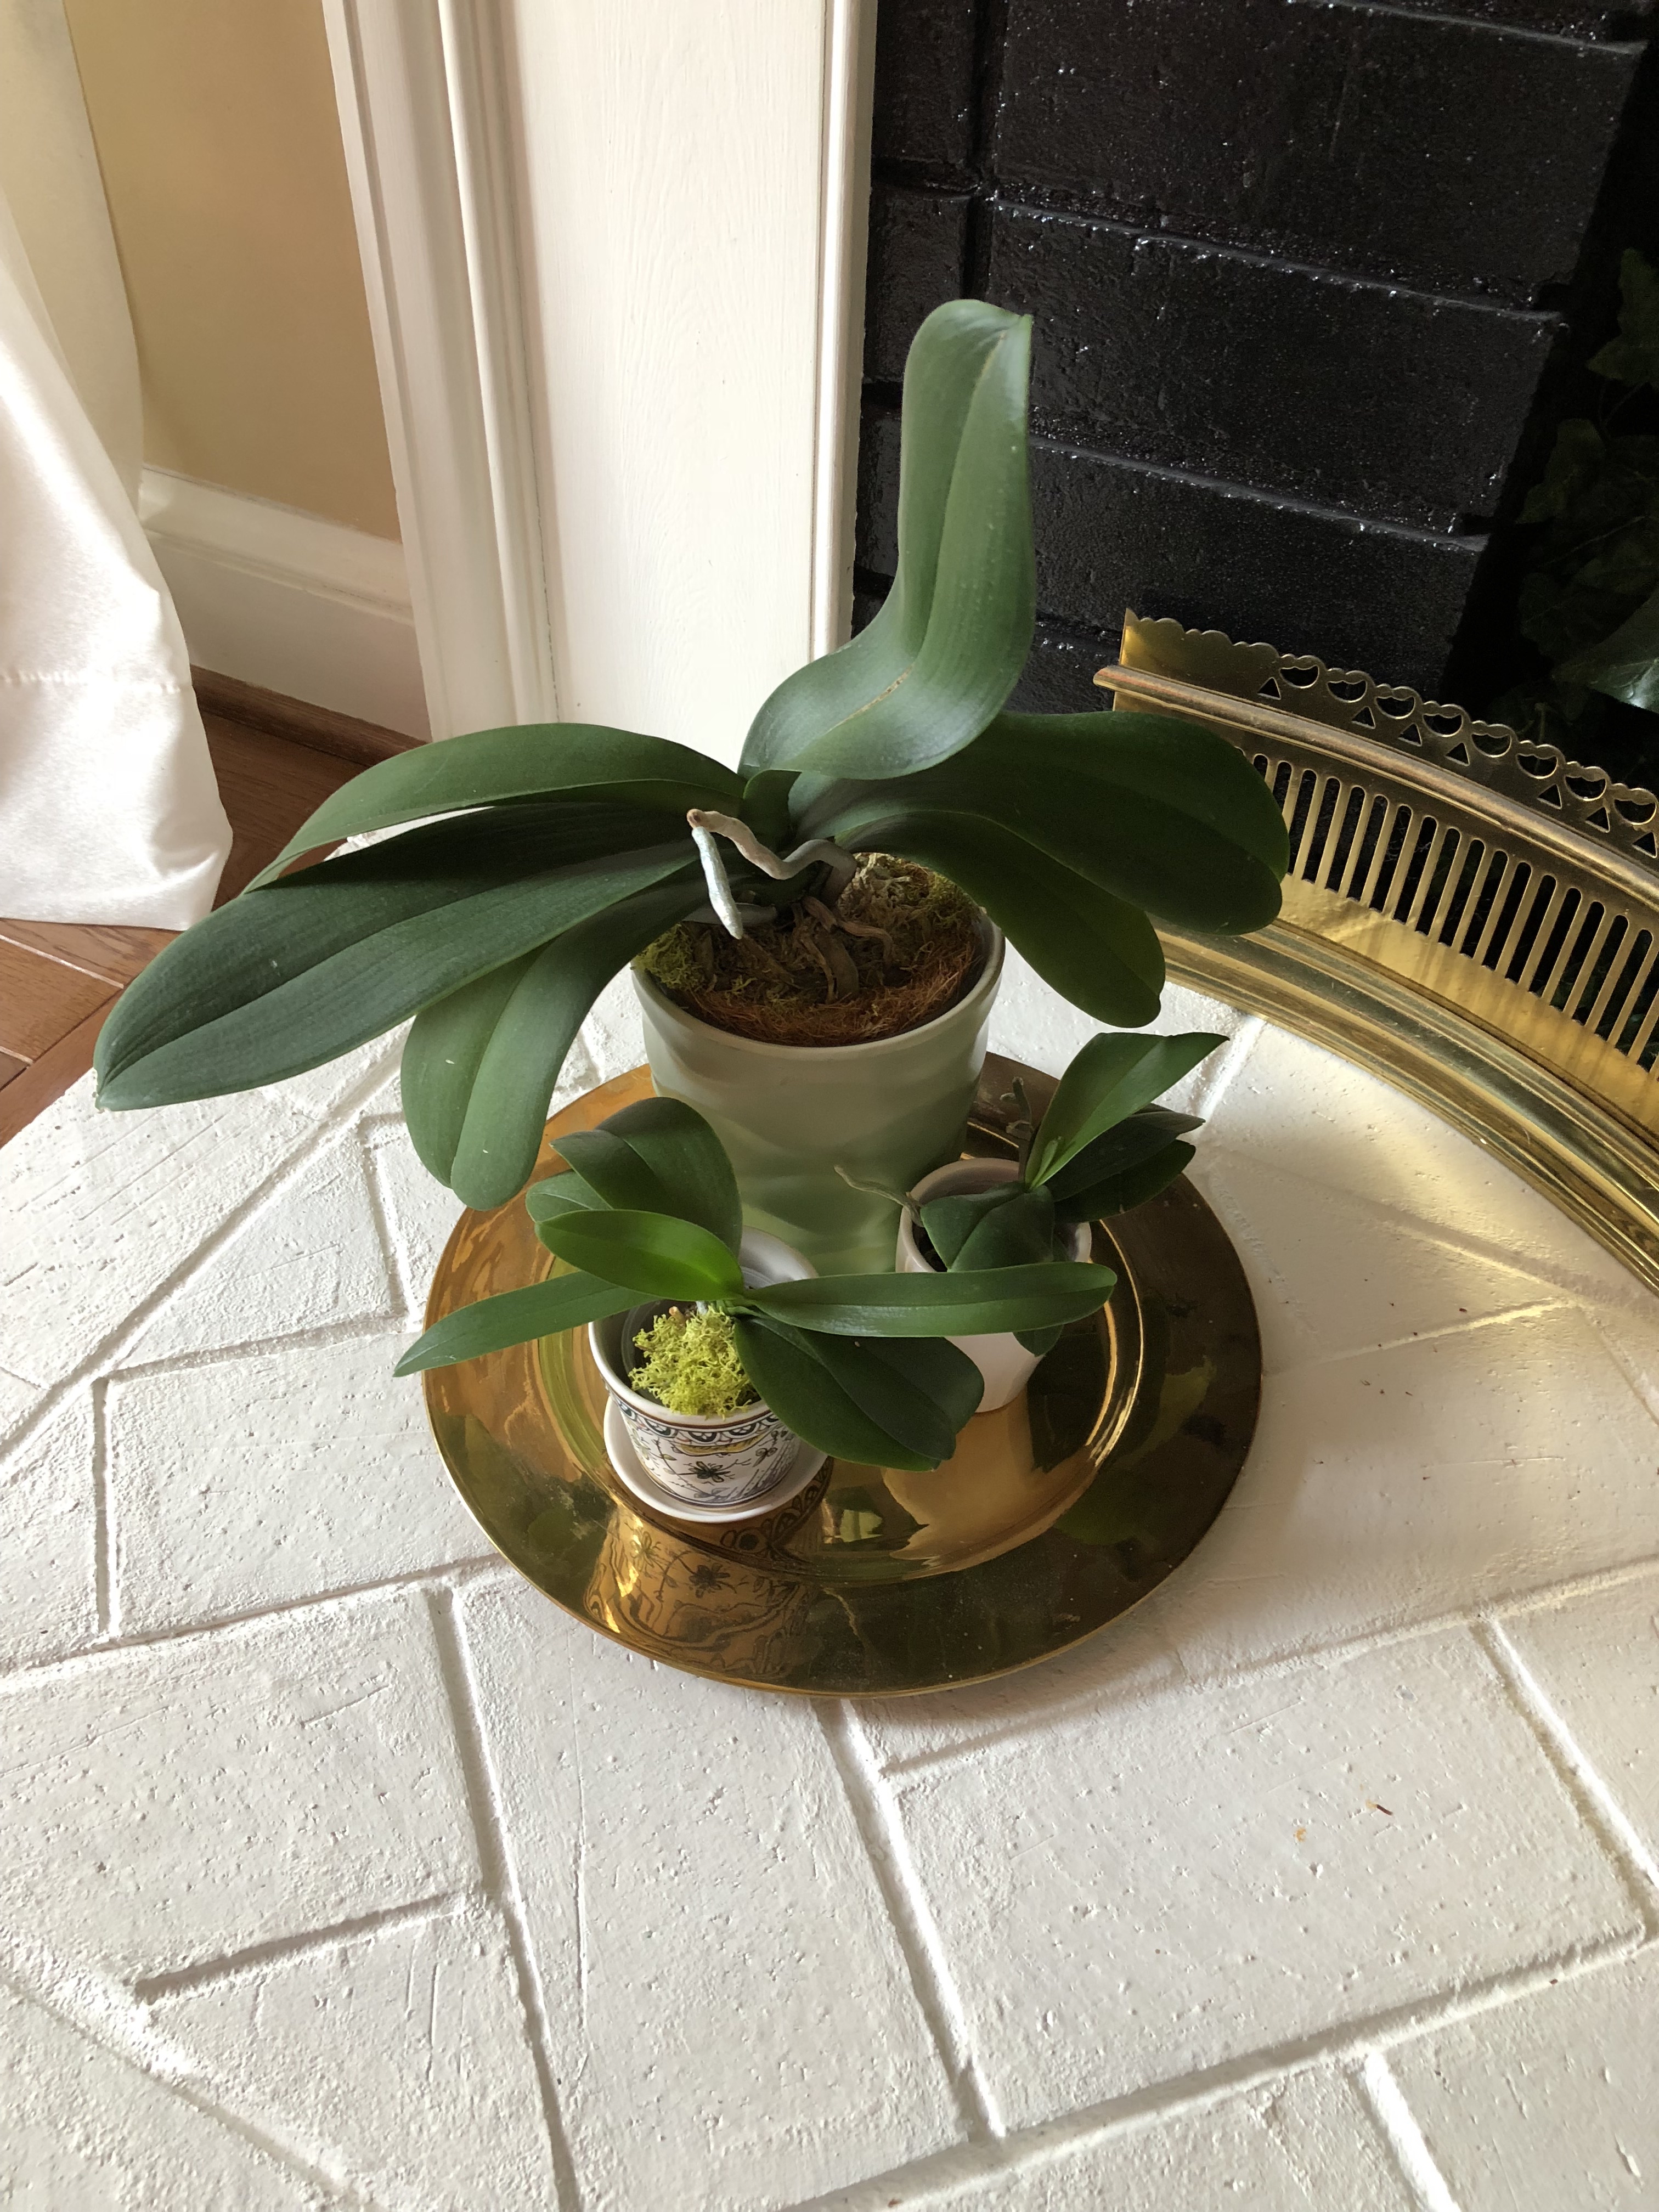
Some of the more tender herbs and plants are easily propagated by taking cuttings that you can root in water then plant indoors to save over the winter months. Begonias and basil are two of my favorites.
Another way of saving begonias, ivy and many herbs (such as basil) is by pinching off a few branches and rooting them in water. In just a few weeks you will have enough roots to sustain a fresh plant that you can keep indoors over the winter months, and plant outside once spring comes. The same can be done with many of the hardy herbs, like chives, oregano and thyme that grow in a clump. Just divide a small clump (2″ or so), and plant to create a wonderful indoor planter that you can pick and enjoy for cooking all winter.

This is a huge bundle of liatris that I hung to dry and then arranged in a clay pot. I have many of these on top of the cabinets in my mud room.

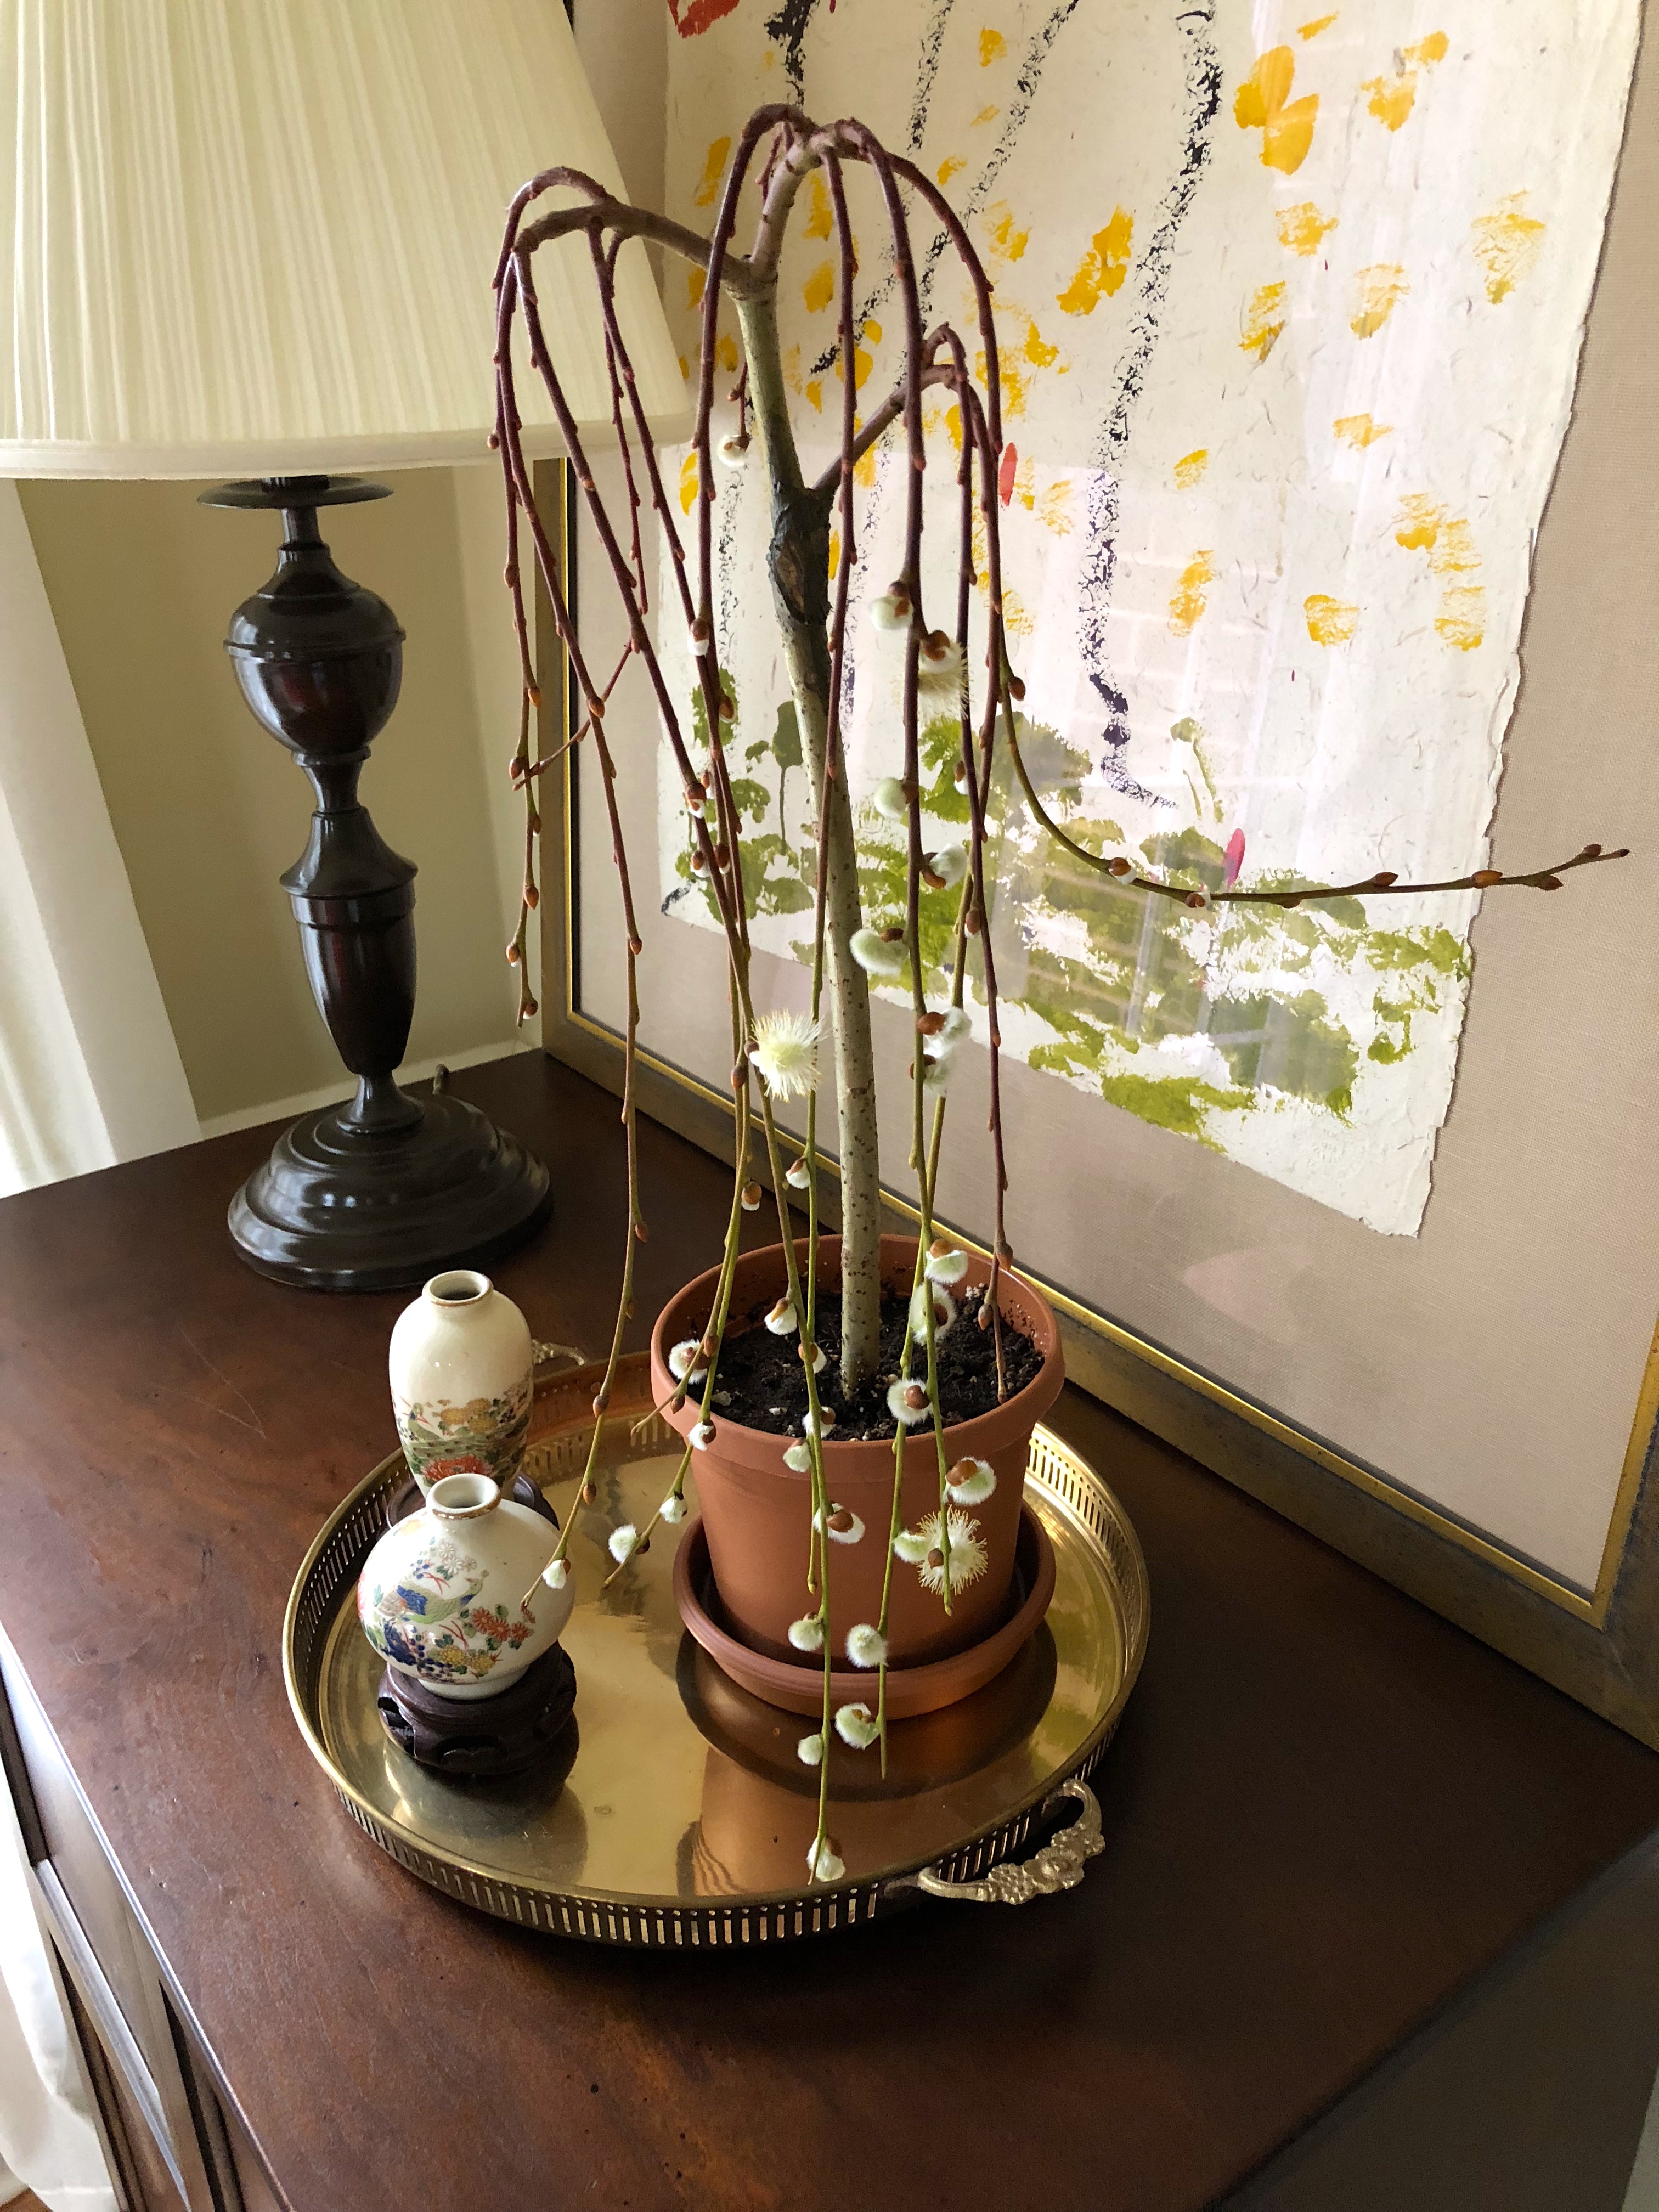
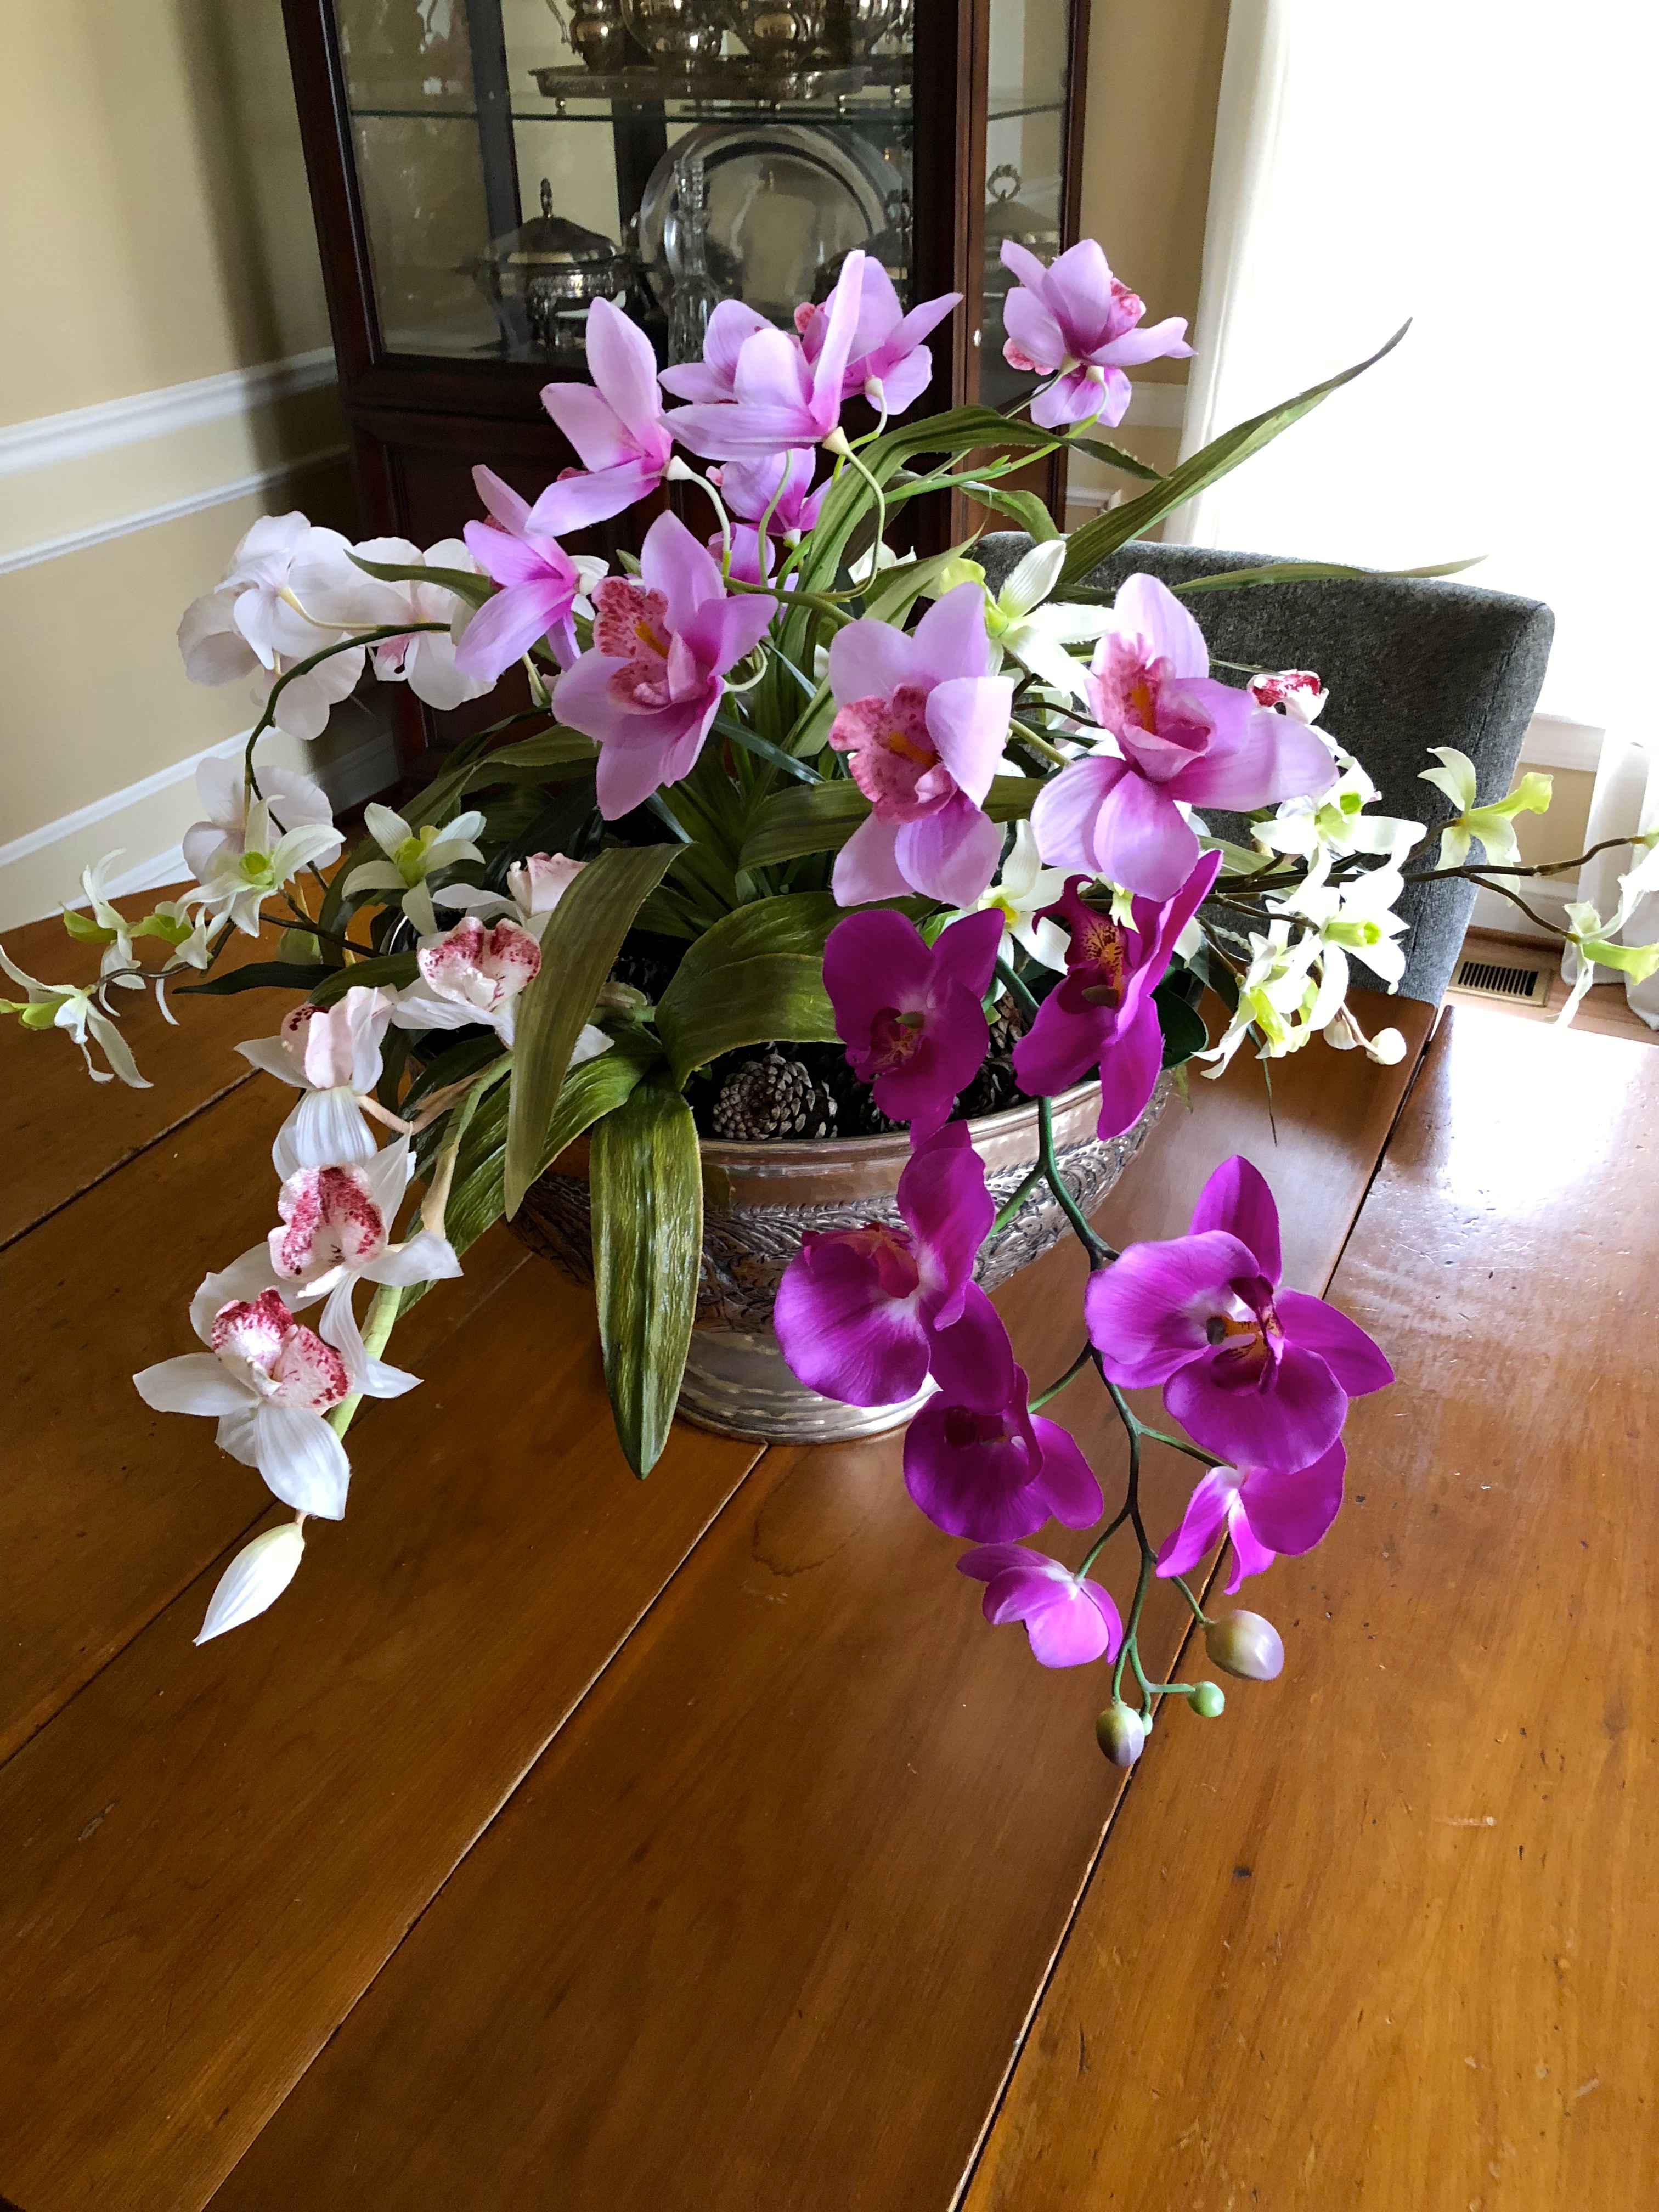
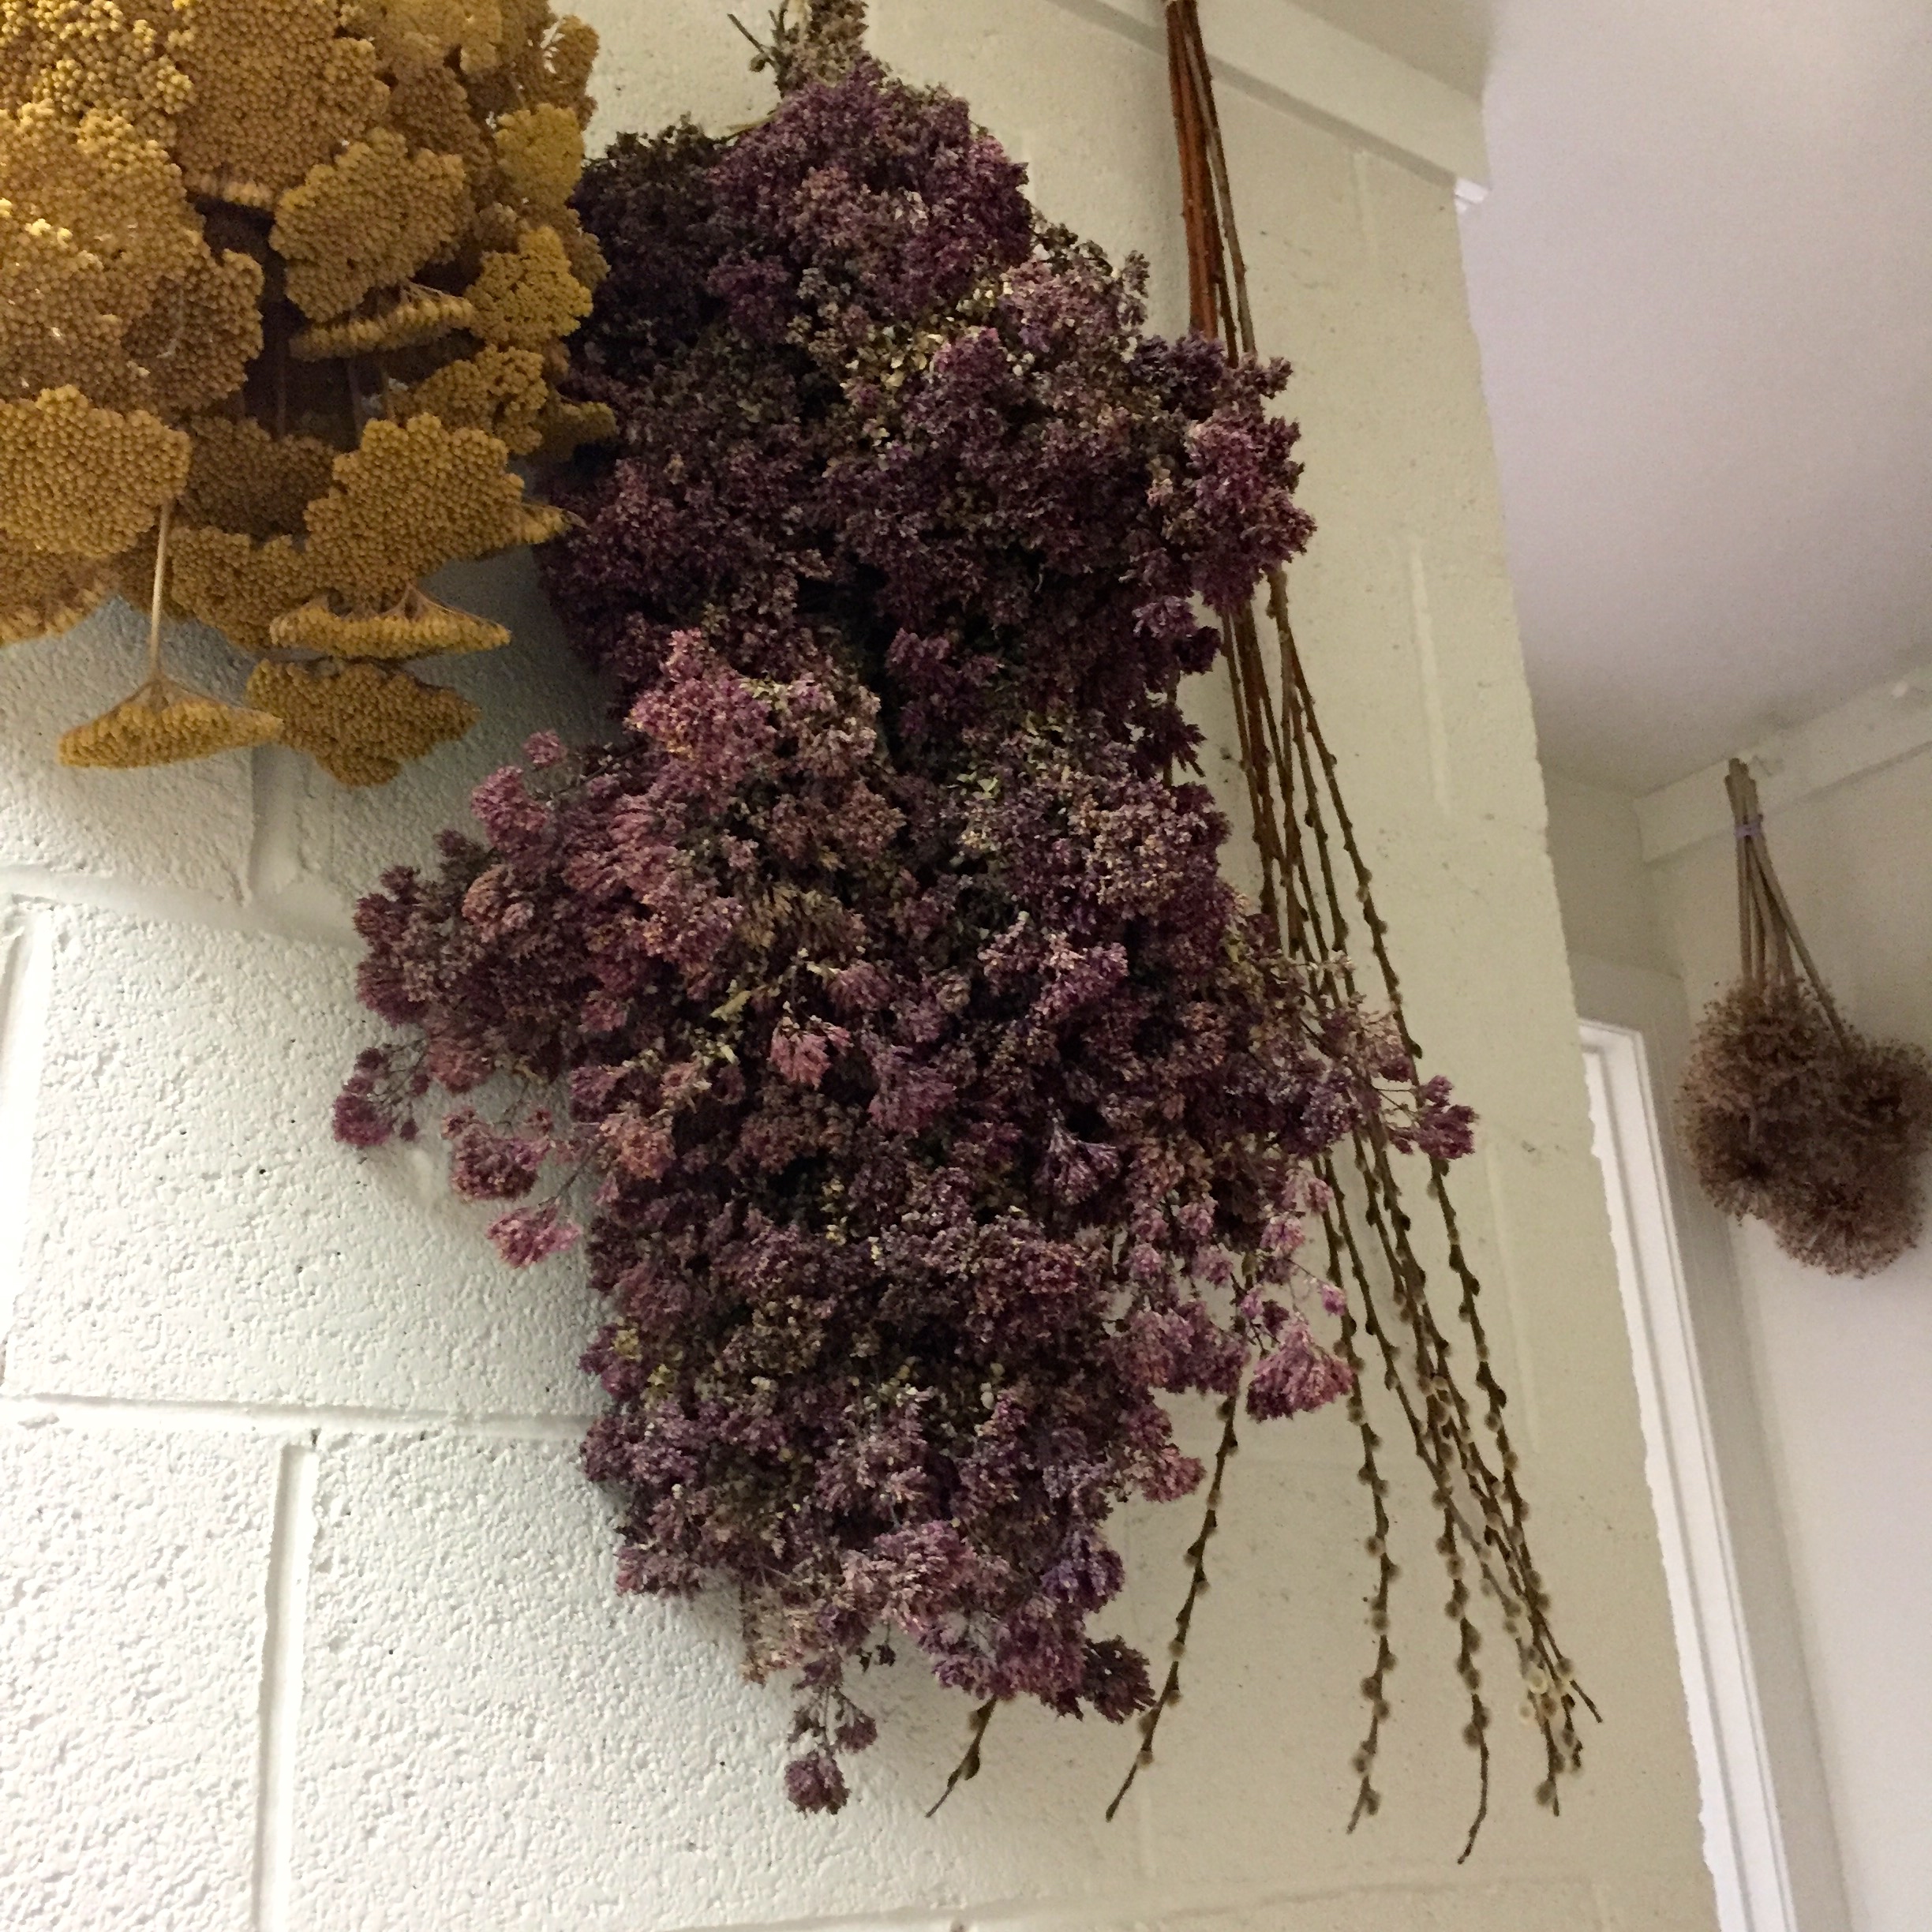
I hang lots of the flowers from the garden from peg racks to let them dry, and store them there until they make their way into a flower arrangement or wreath. It adds color, and I love having a reminder of summer all winter long. Here I have yarrow, oregano, pussy willow, bay leaves and many others. Even hummingbird vine that I twist into wreath bases. Easy to do, and it’s fun to be able to make things for gifts that you grow yourself!
There are some herbs and perennials that I cut and dry to enjoy all winter in bundles and arrangements through out the house. These will stay pretty — sometimes for years — if they are out of direct sun. I regularly dry the liatris, yarrow and even oregano when it’s flowering. I like to hang it in bundles from peg racks in the mud room to add a little color.
There are other perennials like the blackberry lily that I let dry and the seeds will easily shake off into a paper bag. Those will be saved in a jar as well for springtime planting.
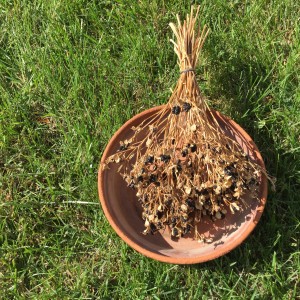
Some perennials produce very decorative seeds after flowering, like these blackberry lily. Once the stems start to fade, I cut and dry them. It’s easy to shake the seeds off into a paper bag and save them for next year’s planting.
Happy Fall Gardening Everyone!
I hope that you will try a few of these in your own garden. Seeds are like coins in a piggy bank. It’s always fun to have some “Gardener’s Gold,” and don’t forget to share your bounty with other gardeners — a jar of seeds for a Christmas gift is always fun and welcome!
Save
Save
Save
Save
Save
Save
Save
Save
Save
Save