Hi everyone! We had an unbelievable amount of rain here this year, almost double our annual rainfall total. The air feels like a sauna even in October. It’s been hard to spend more than a few hours outside at a time in the heat and humidity — but you know I can’t stay inside, and there’s work to be done!
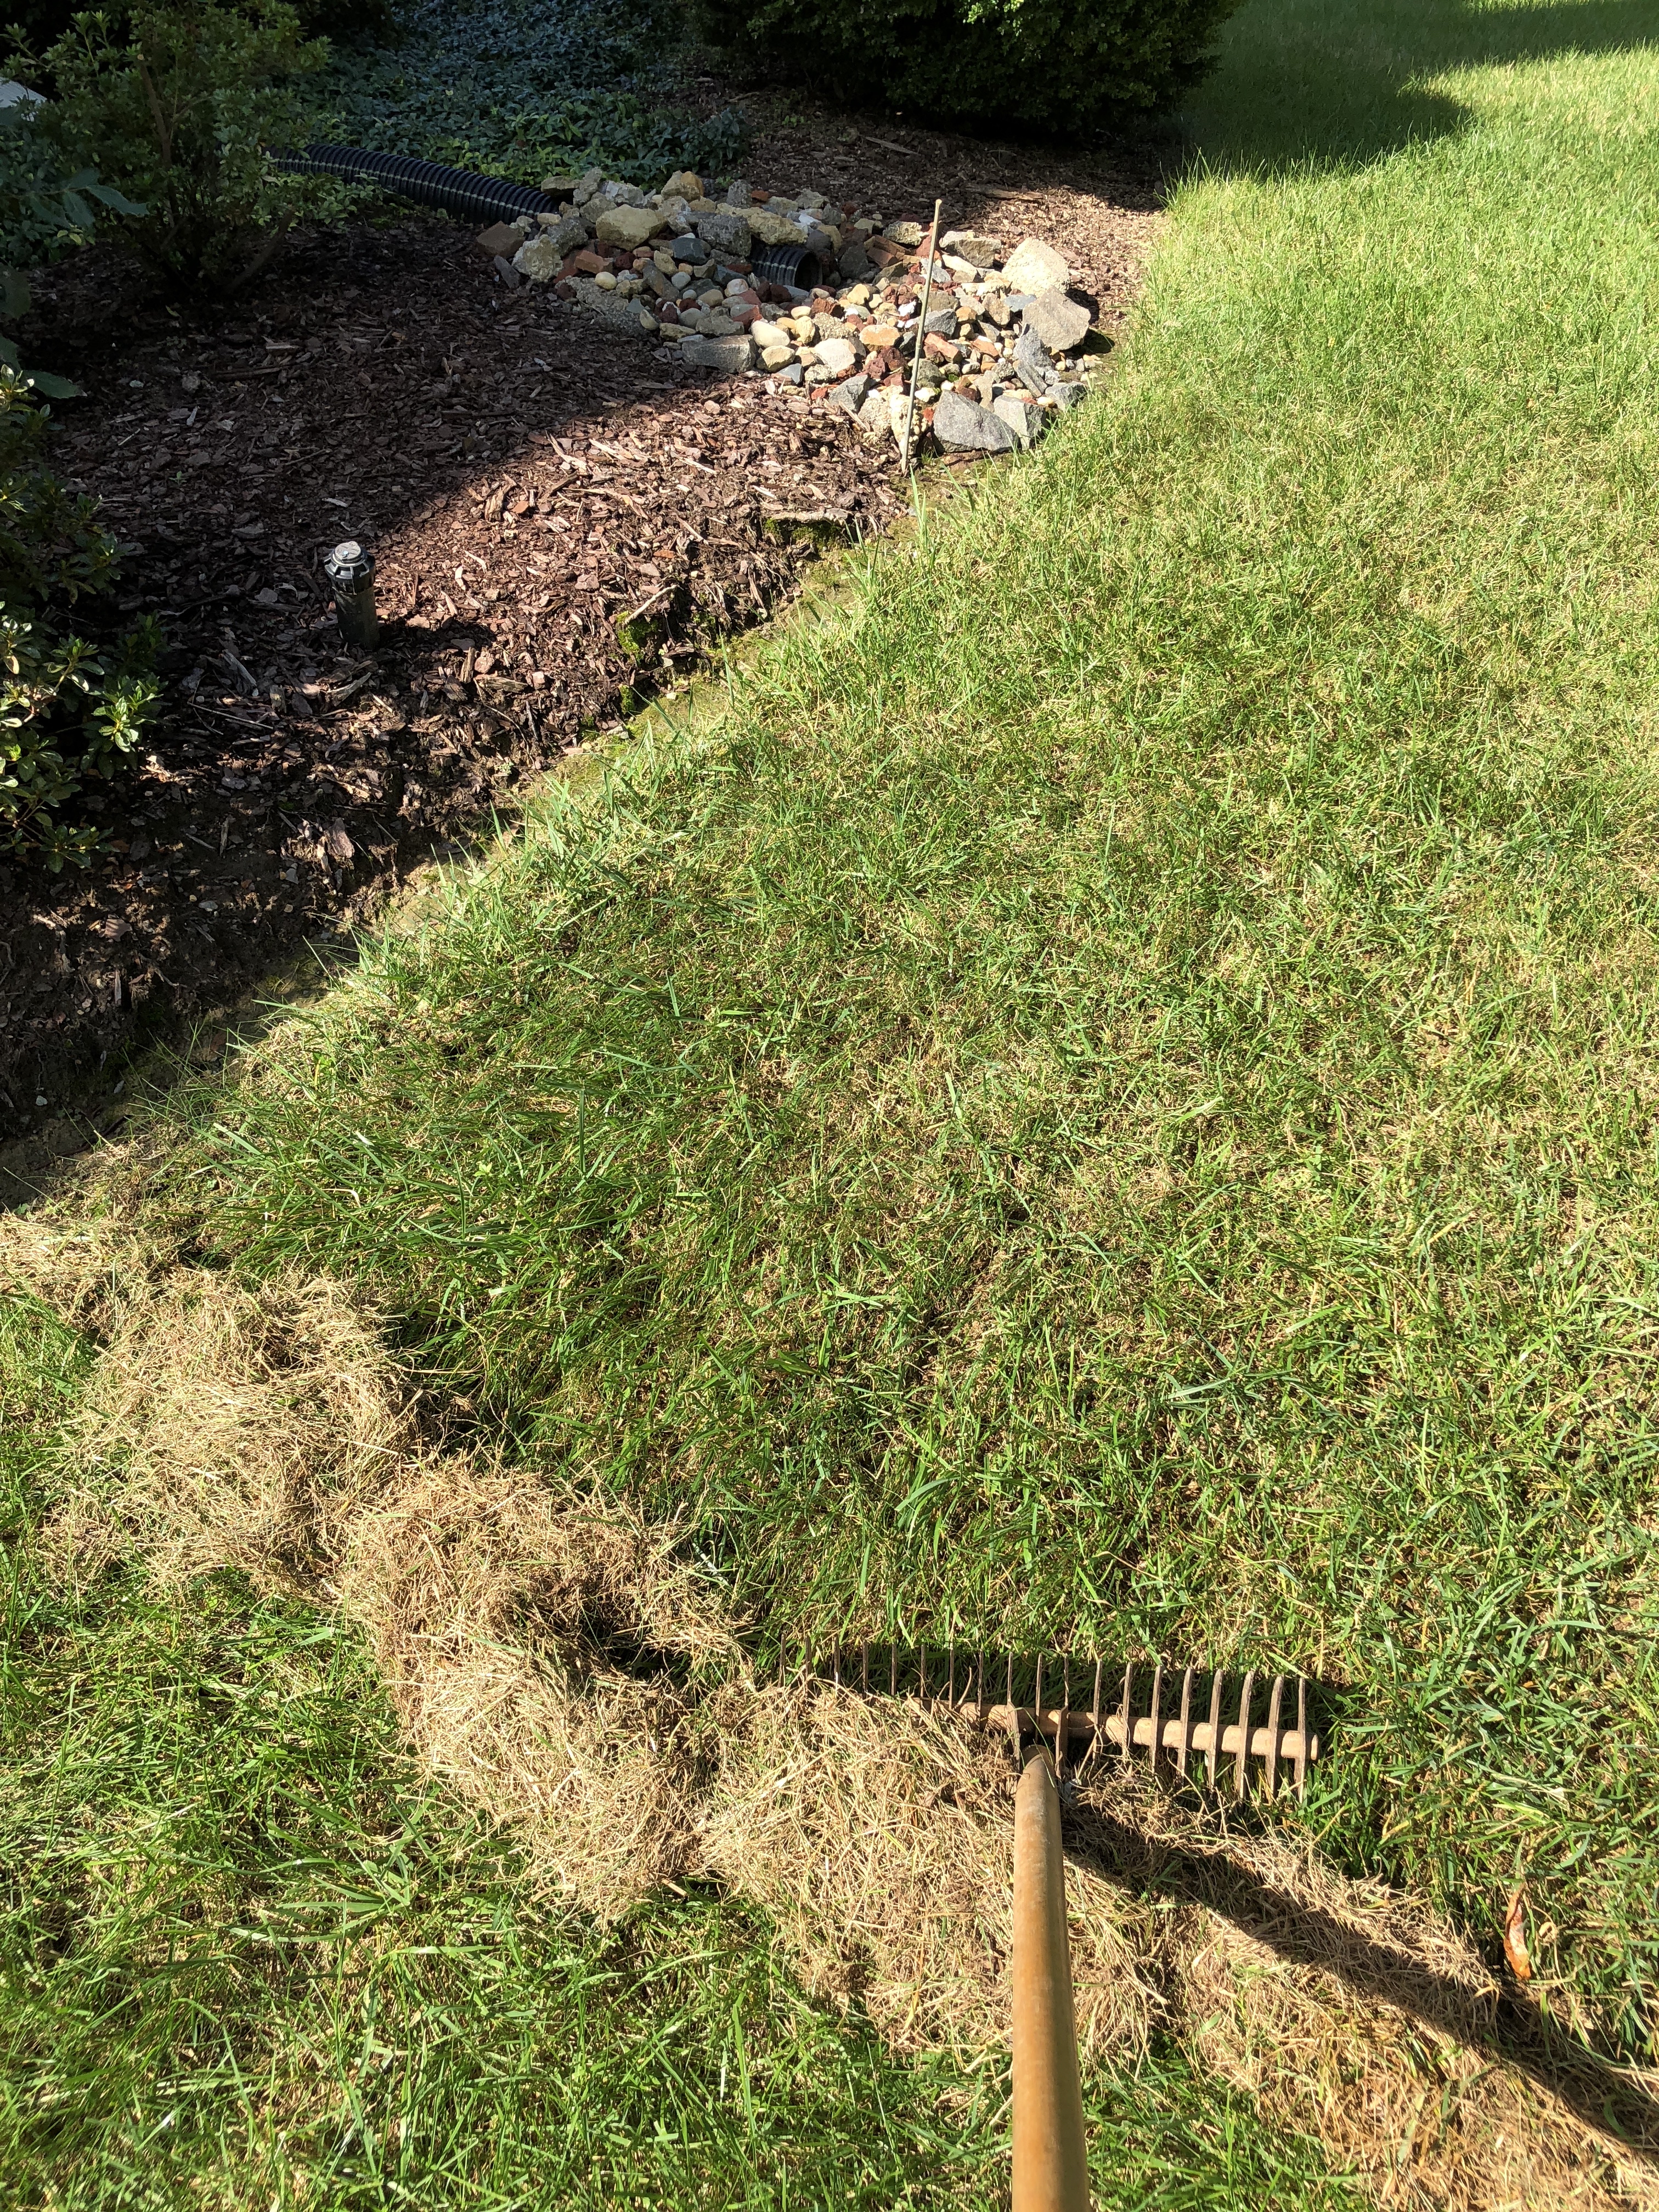
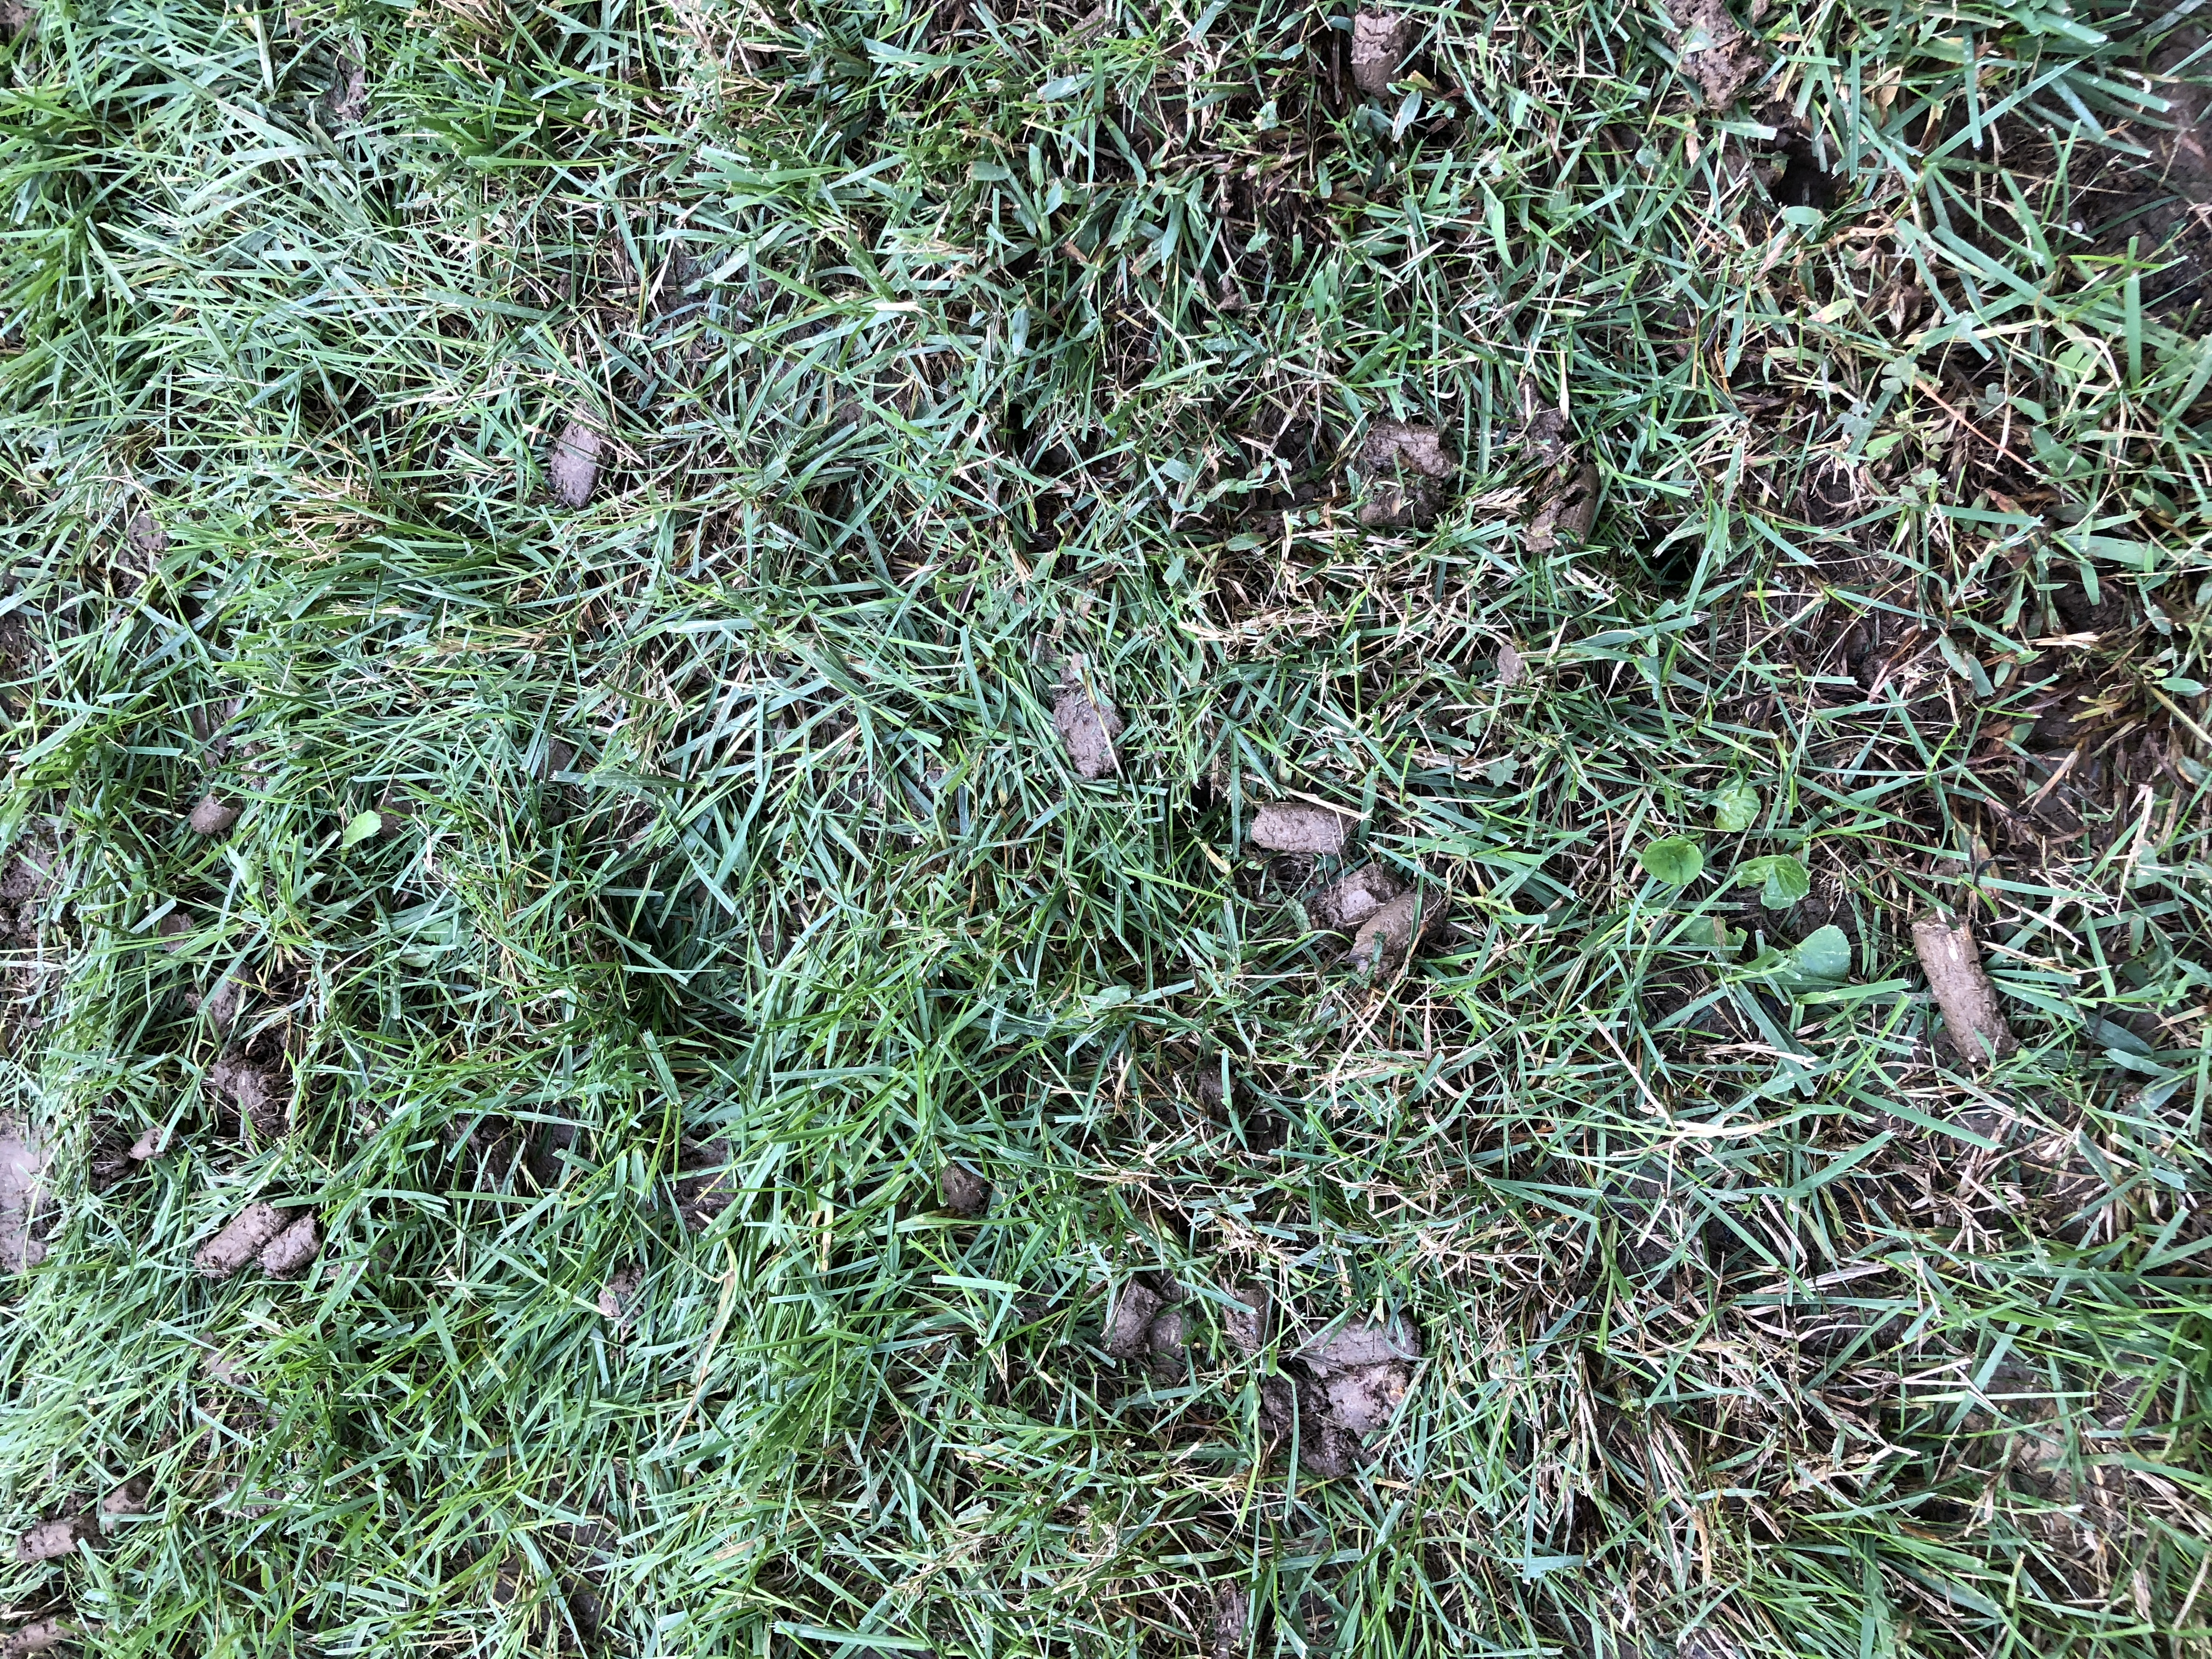
This type of steel rake is my favorite choice for de-thatching and preparing the soil for overseeding. Just look how much debris it removes!
My priority now is renovating the lawn. Normally, I would finish this completely in September, but the weather has put me behind schedule. To do this right, I started by weeding the entire lawn by hand, as opposed to using an herbicide. When planning to overseed, one needs to make sure not to have any chemicals on the lawn which could interfere with the new seed sprouting.
I am using a specialized steel rake to get every bit of thatch out of the lawn — a tool I inherited from my grandfather. This is THE most grueling step. After de-thatching two-thirds of the lawn, I have collected more than a dozen full bags of debris (don’t worry — you know it’s going to the compost heap). I’m impressed with how effectively this steel rake pulls out the thatch — and it loosens the surface, which makes for great new seed contact into the top soil.
Everyone who walks by while I’m working asks me why I don’t just use a machine for this, but if you saw how much better this works you’d know why!
This is what those plugging machines do. They really don’t get any thatch up, and compared to my steel rake — well, there is no comparison, not to mention that the plugs of soil the machines leaves behind look like, um, something else we don’t really want to see…
I bought a premium seed that has a variety of grass types: some that sprout within a week to stabilize the bare spots, and additional varieties that will be sprouting over the next few. This mix also had a seed-starting fertilizer mixed in, but if the variety you purchase doesn’t have this, I’d recommend using some.
Keeping things moist while the seeds are doing their magic is key, but with all the rain we’ve had, I’ve only had to water the new seed a few times.
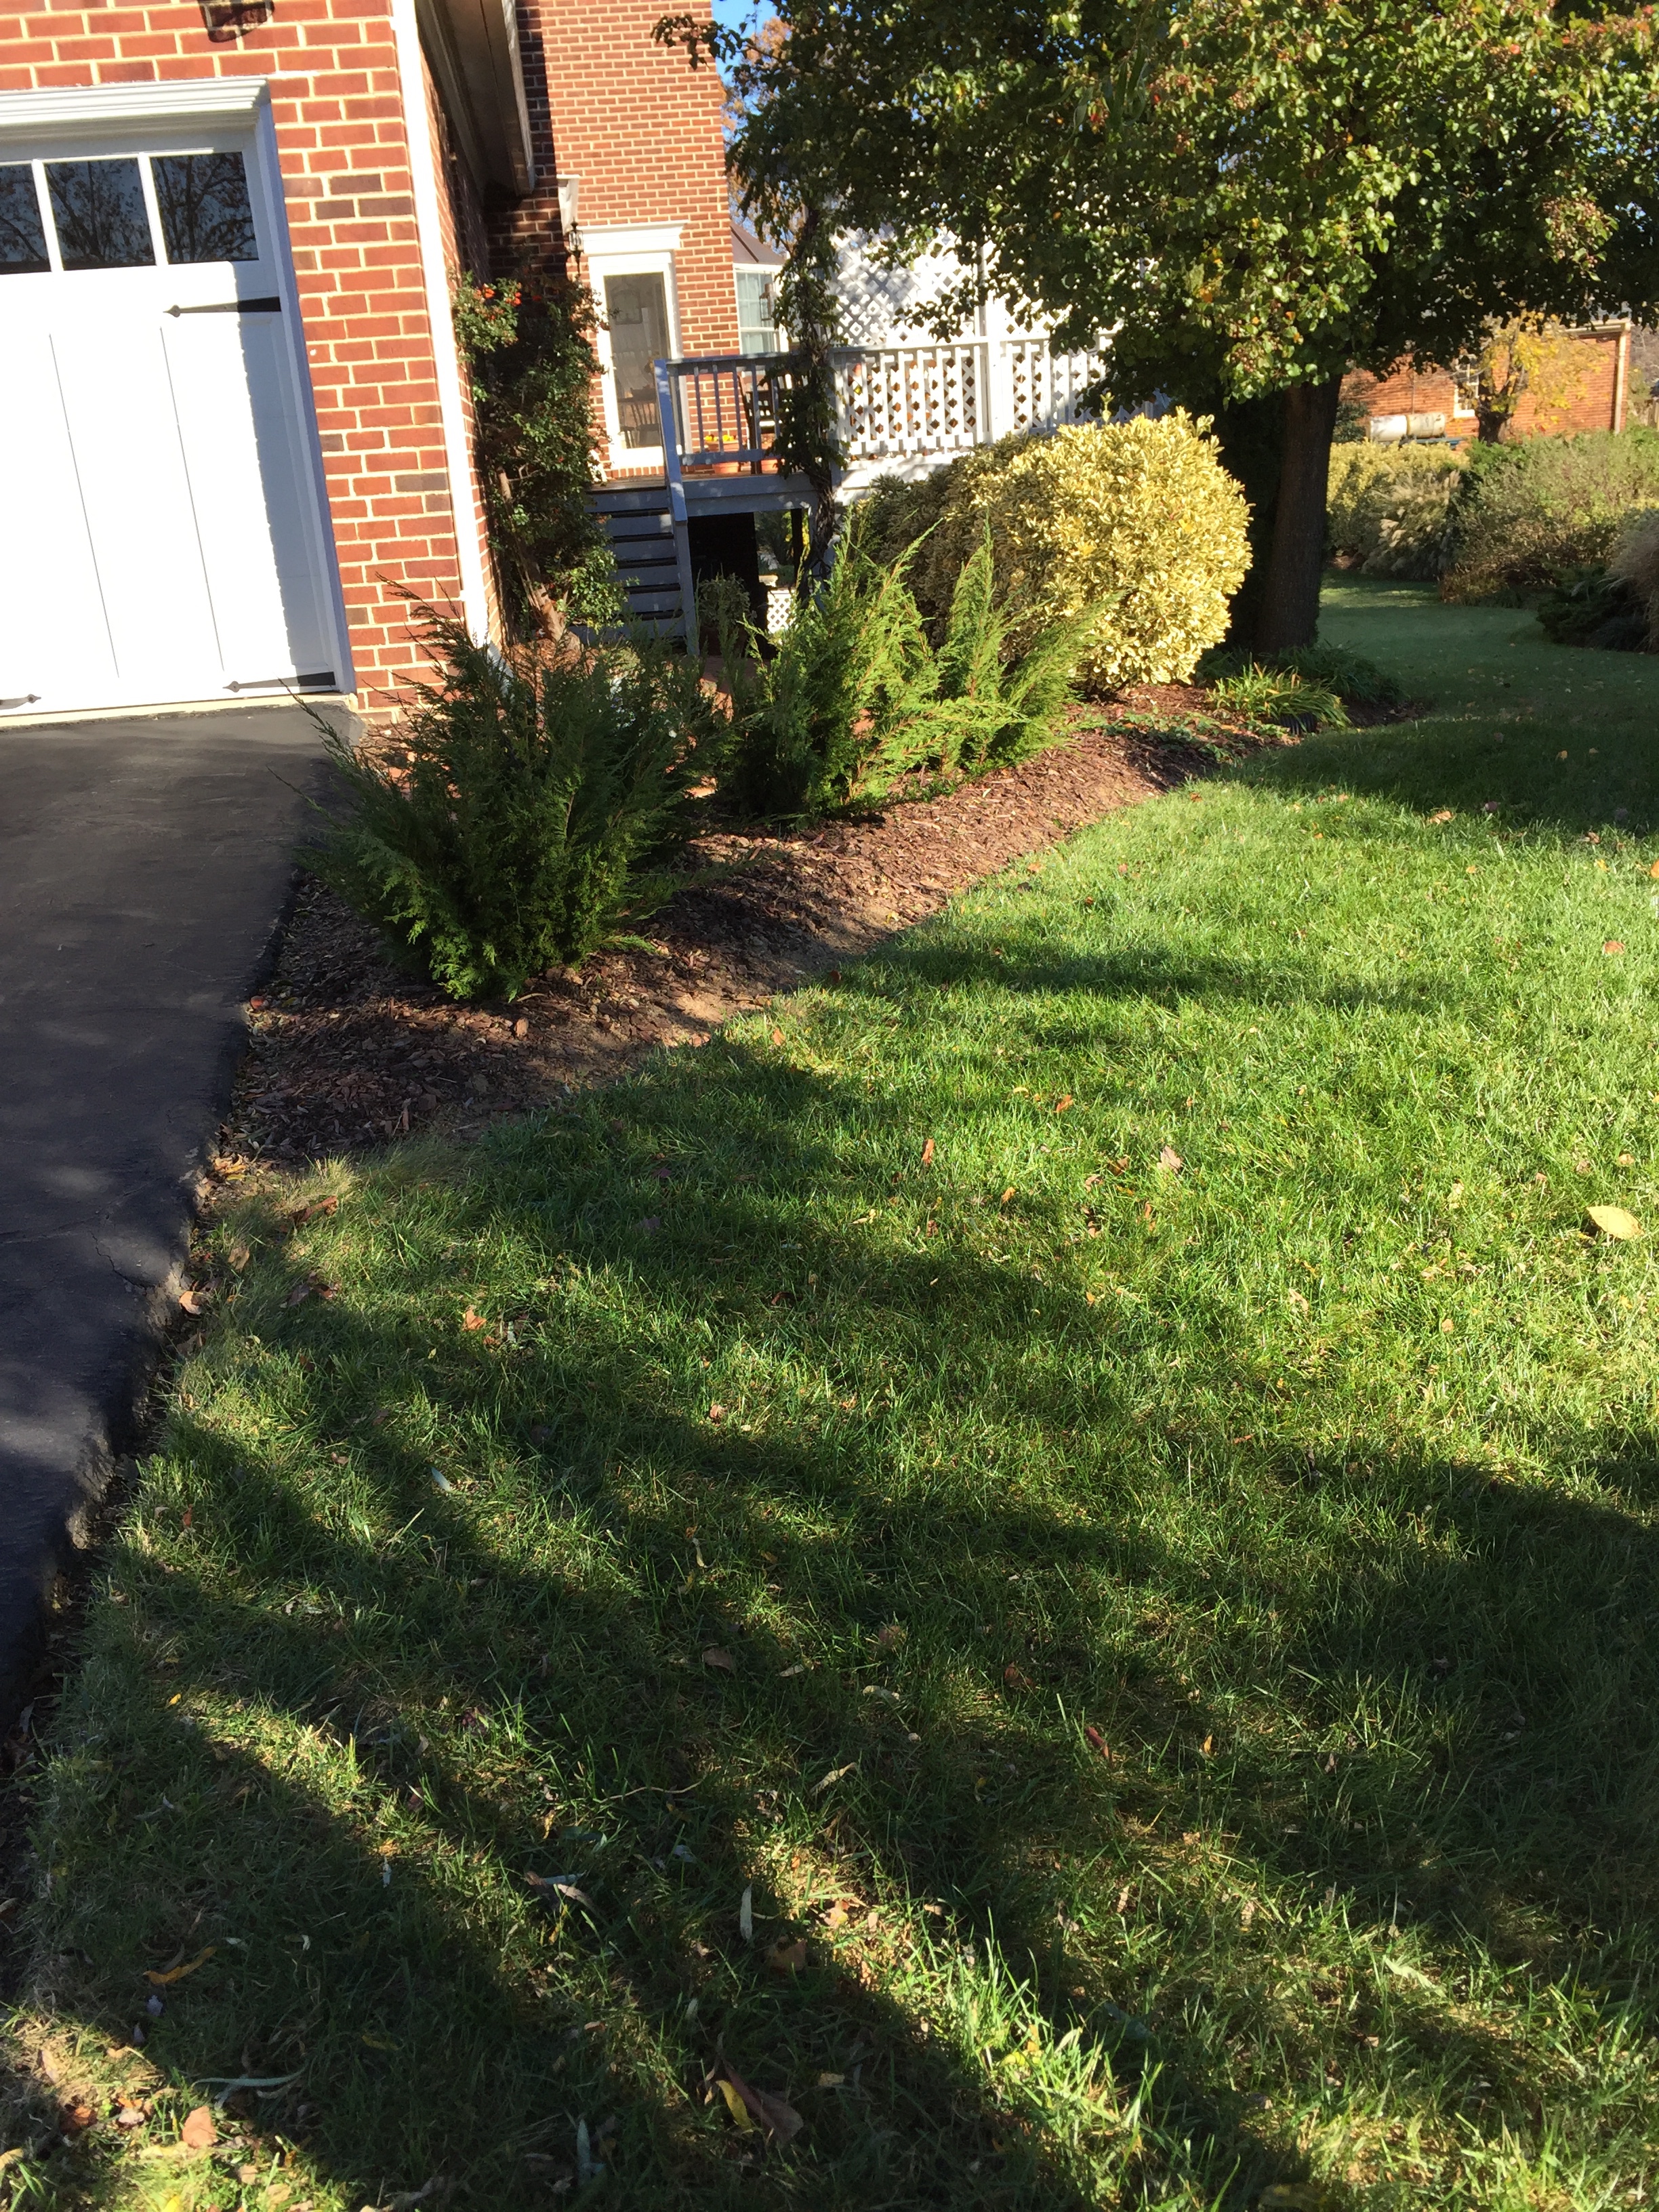
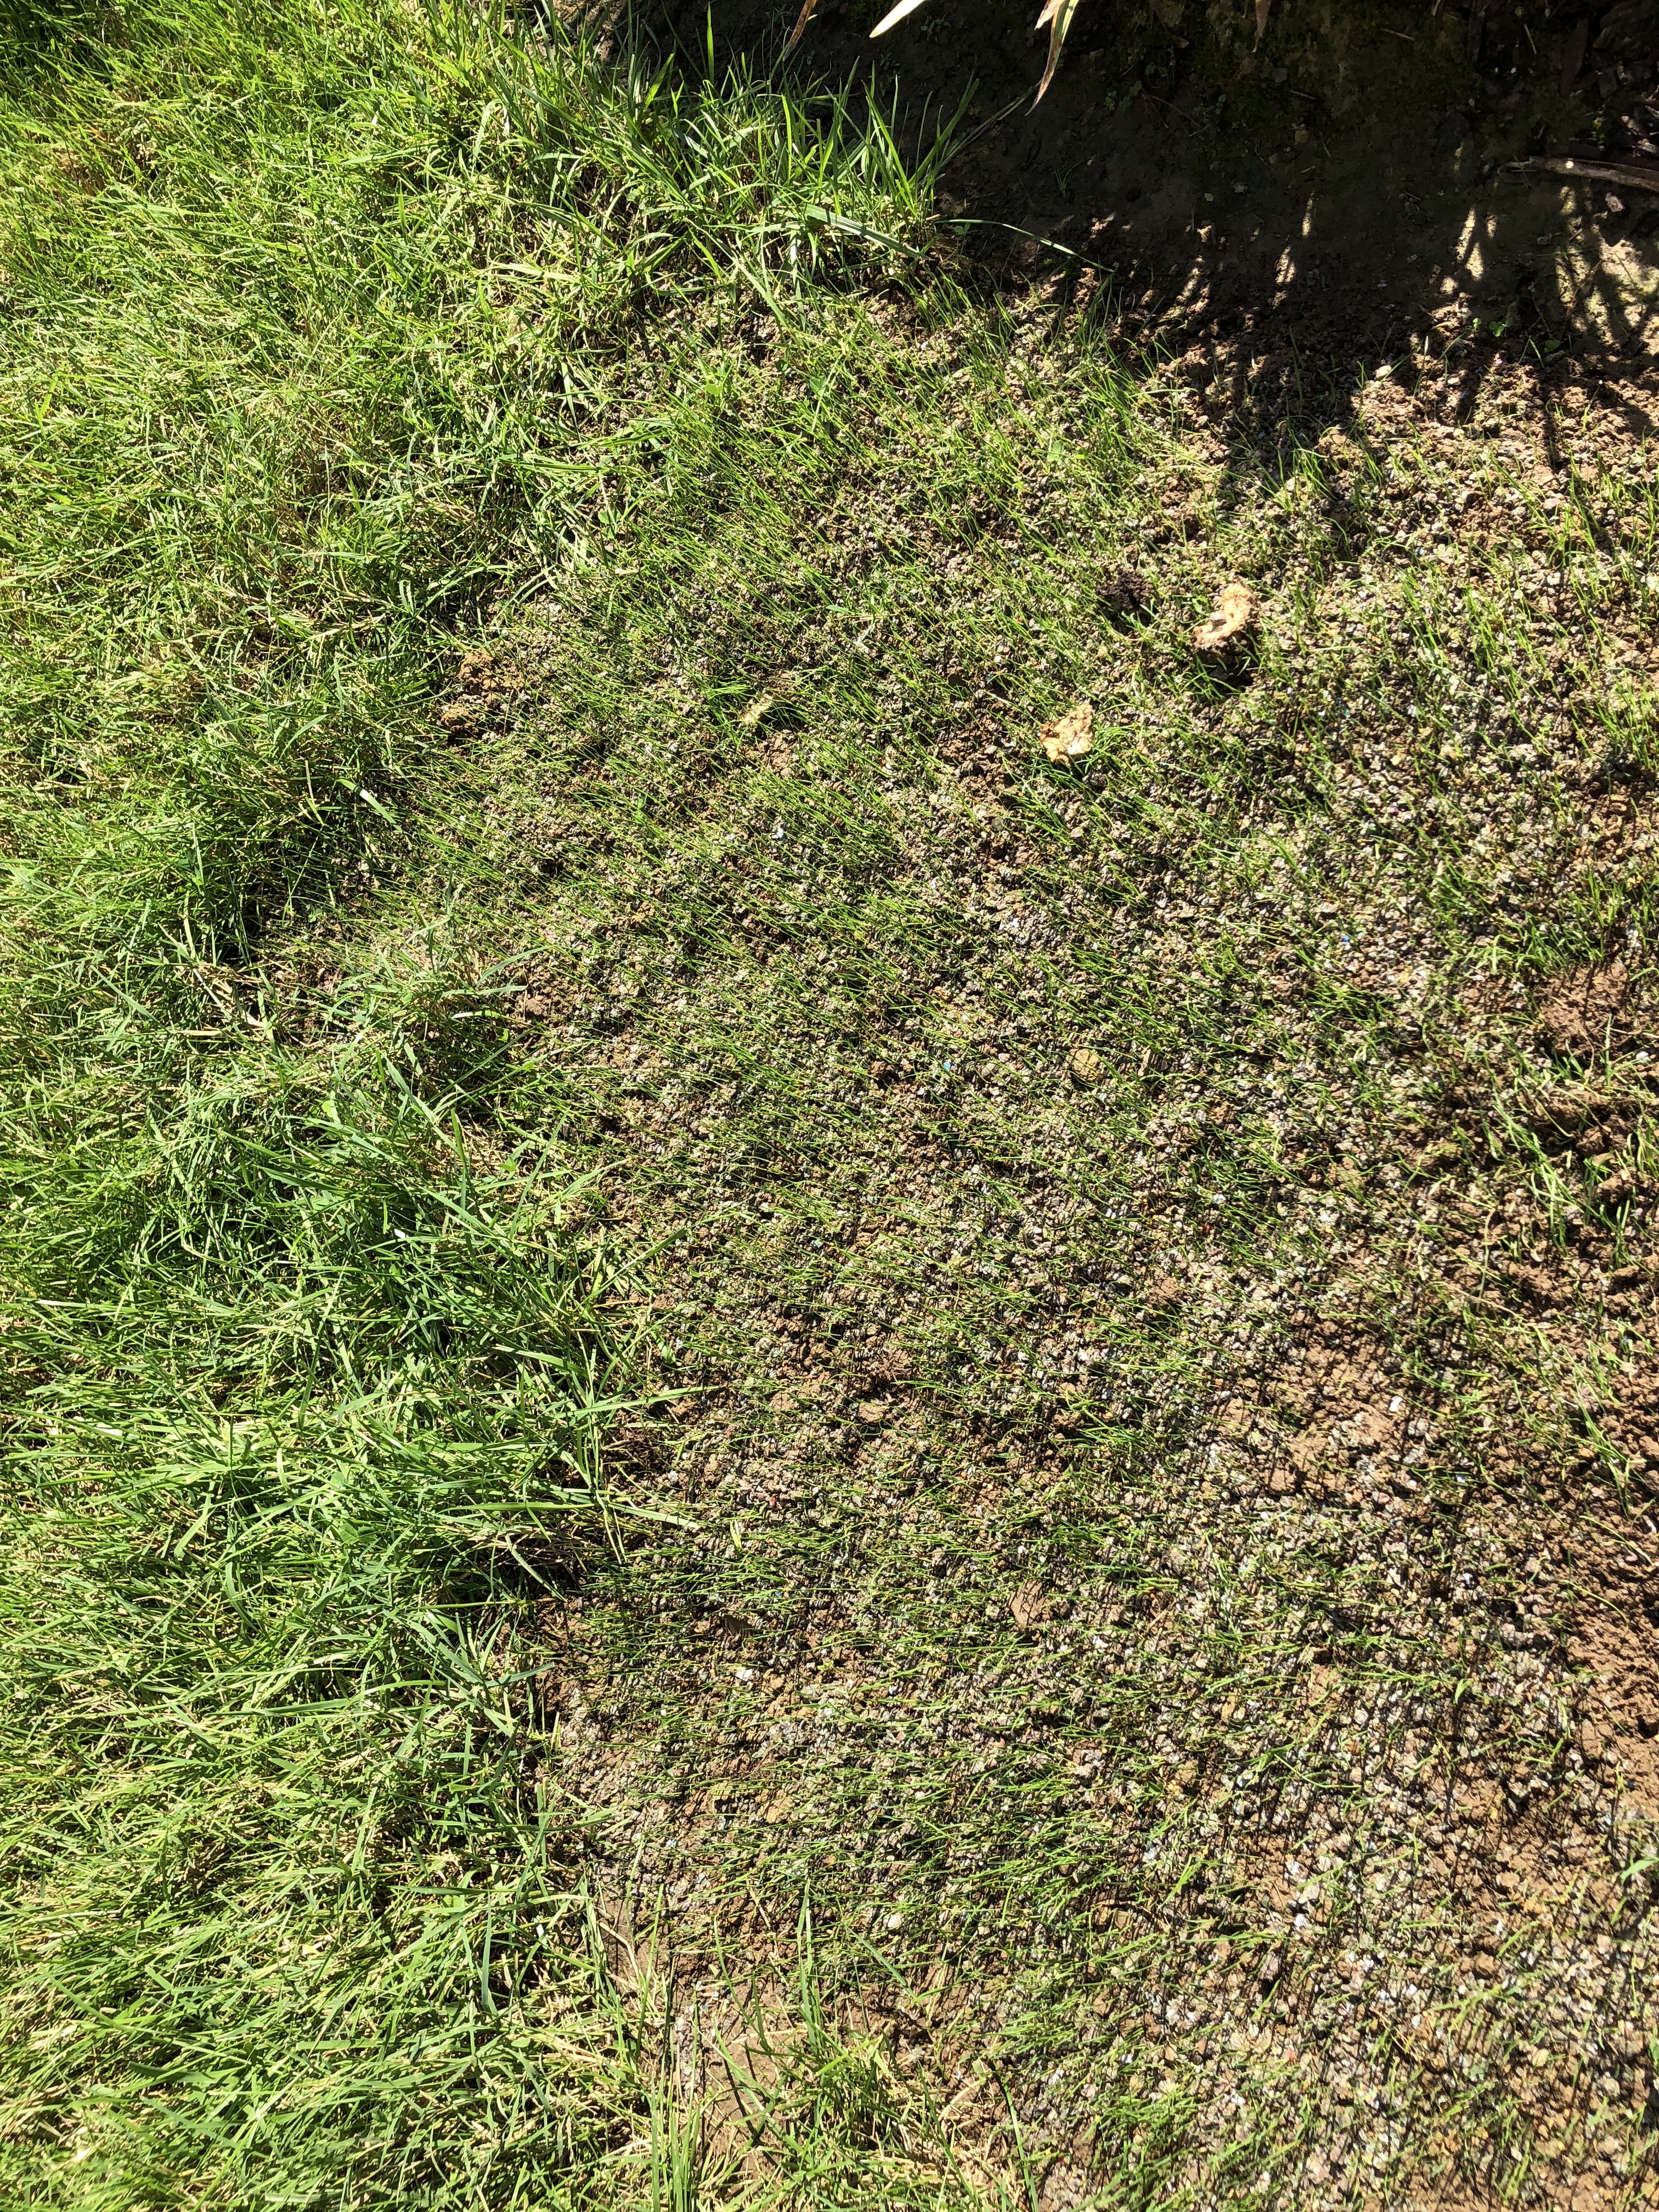
With the combination of sod, seed and fertilizer you can hardly see where the old tree stumps used to be!
I’m happy to say that I finally was able to easily pull out the last of the roots from two pear trees which used to grace the front yard. Now those areas are much smoother in elevation. The vast majority of the surface roots came out with the tree, but a few deep ones remained. On these areas, which were quite large, I used a couple of pieces of sod and more seed around the edges to completely fill it in. Now you’d never know that those were trouble spots!
Once the new seed reaches three inches tall, you can start mowing. We gave our newly-seeded lawn its first mow this week. I have a tip for this, too: Set your mower to highest level first, because after a few weeks of not mowing, the existing grass will definitely be quite long and would clog the bagging chute. In a couple of days, set your mower to the normal level and cut it again. This way your lawn won’t be stressed as much — and you won’t create new thatch by using a clogged mower!
Yes! Nice new seedlings emerging.
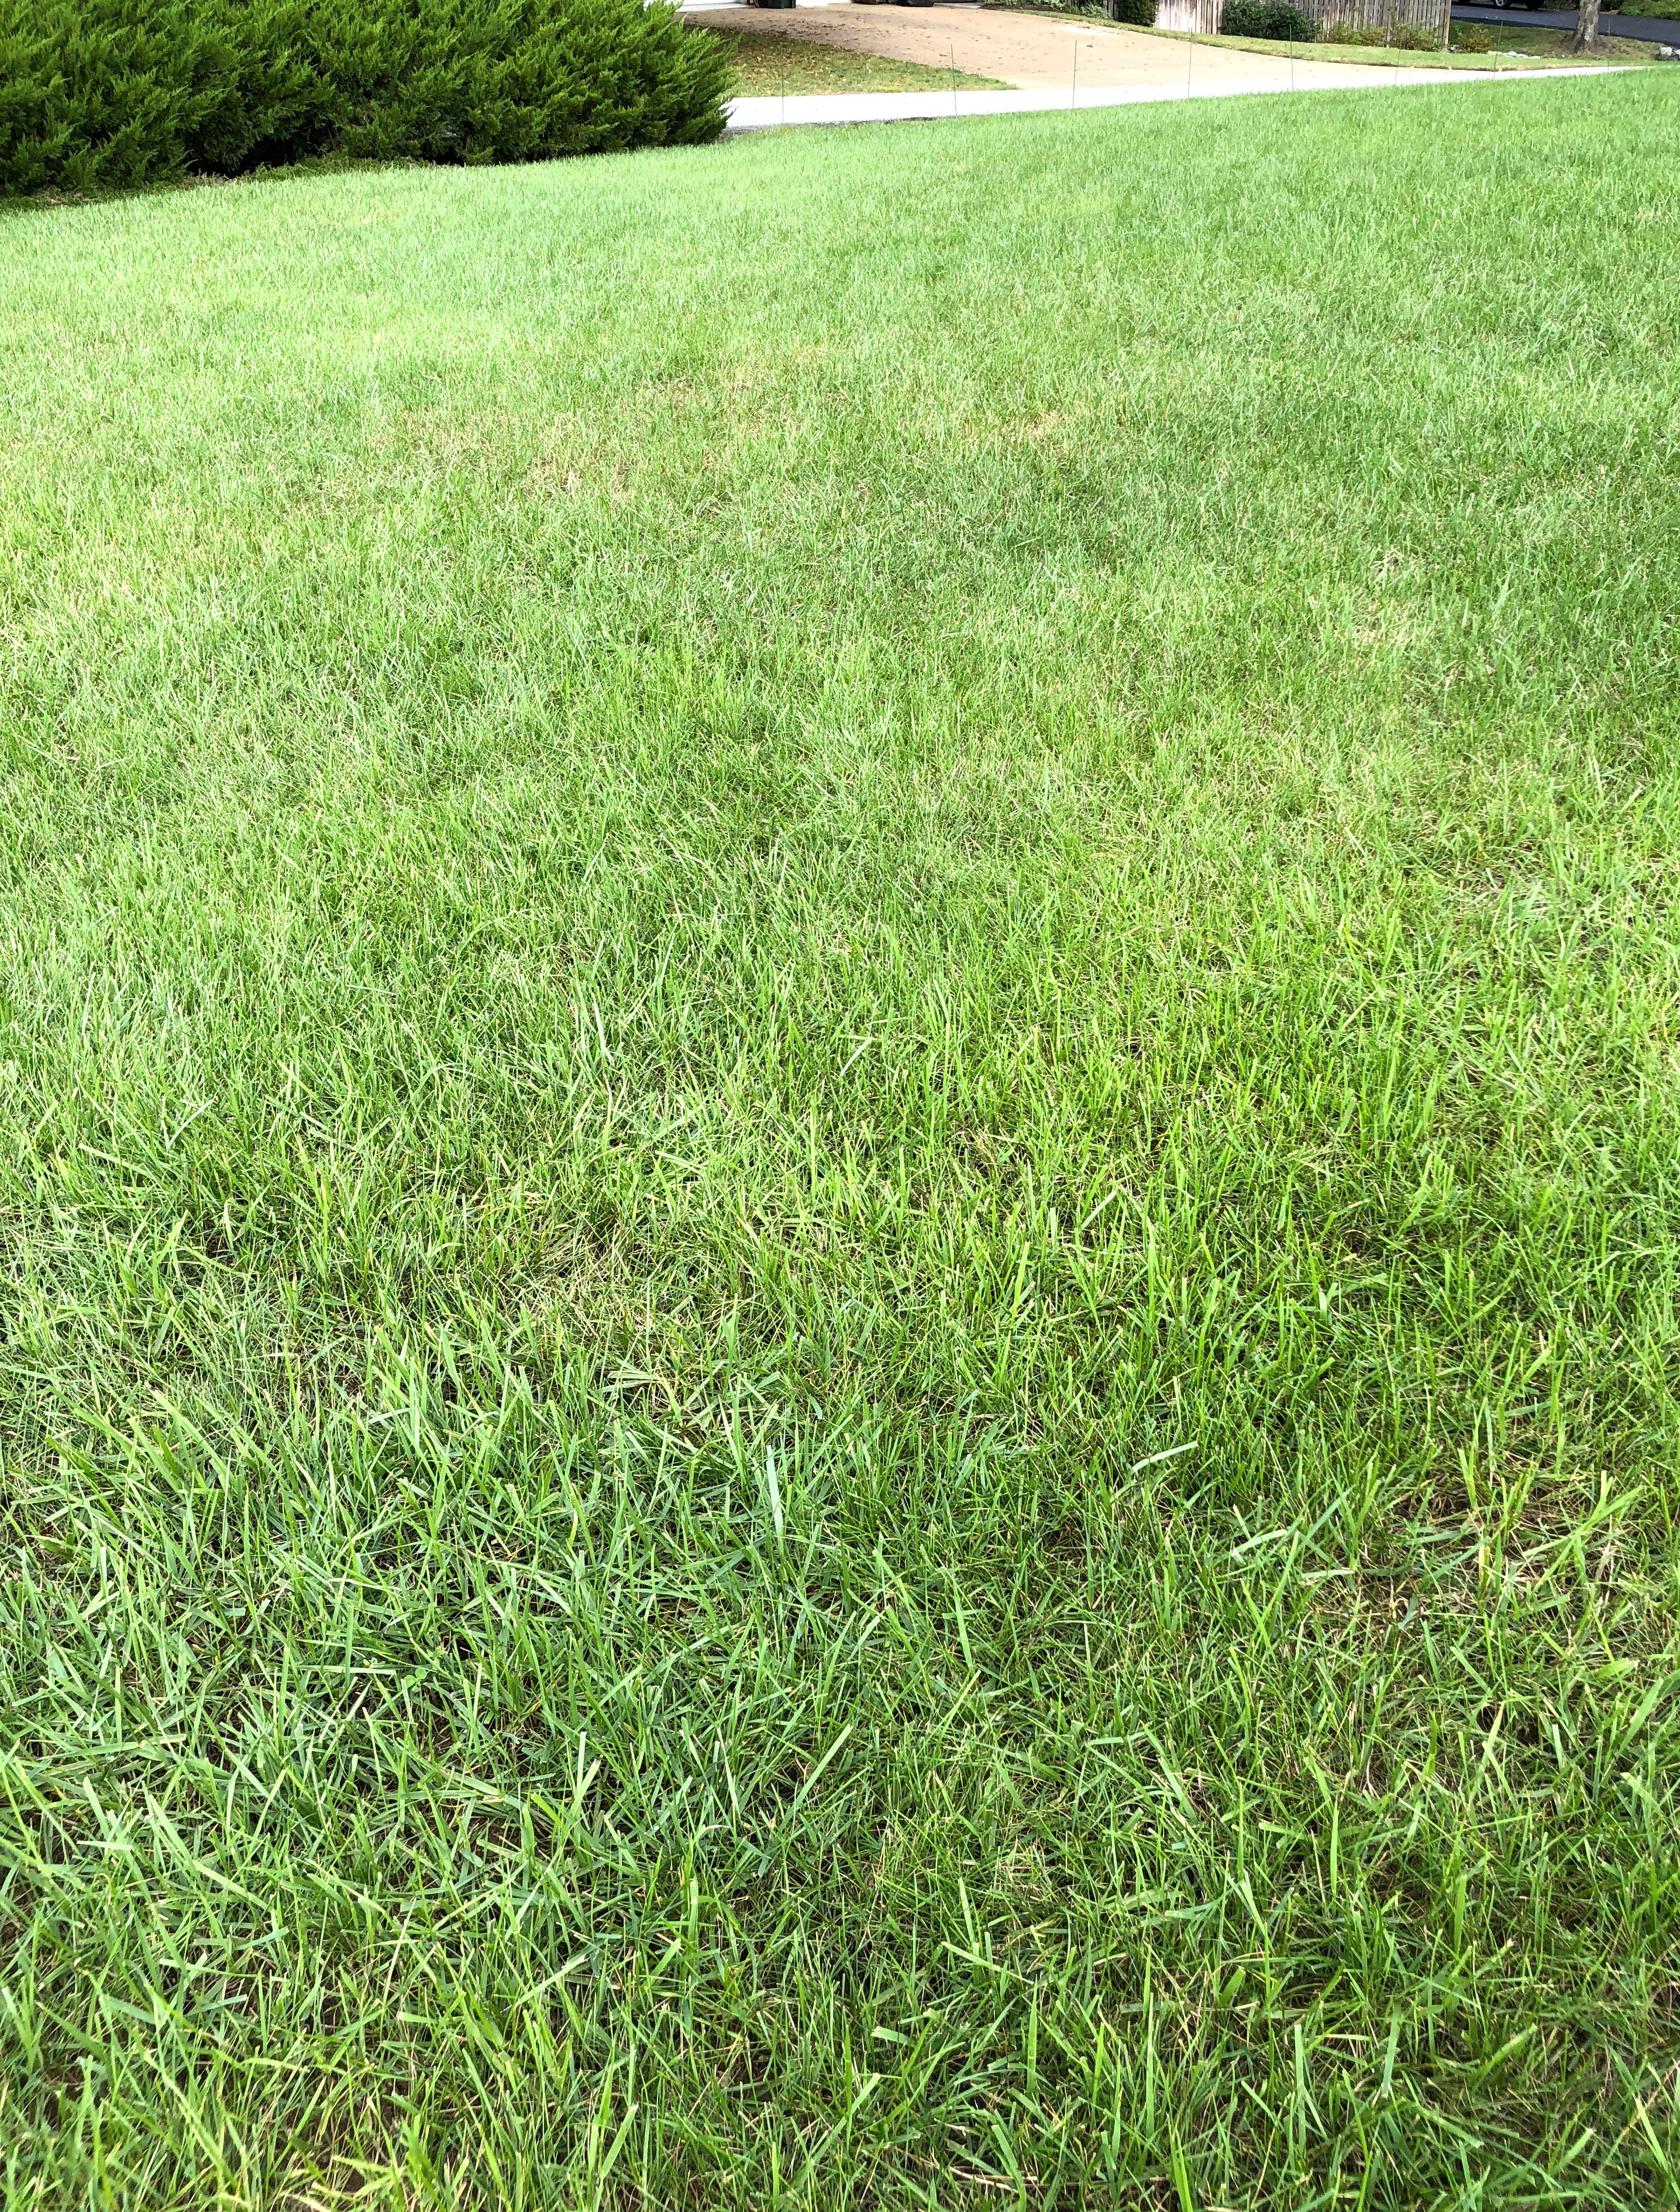
The front yard is finished, now on to the back…
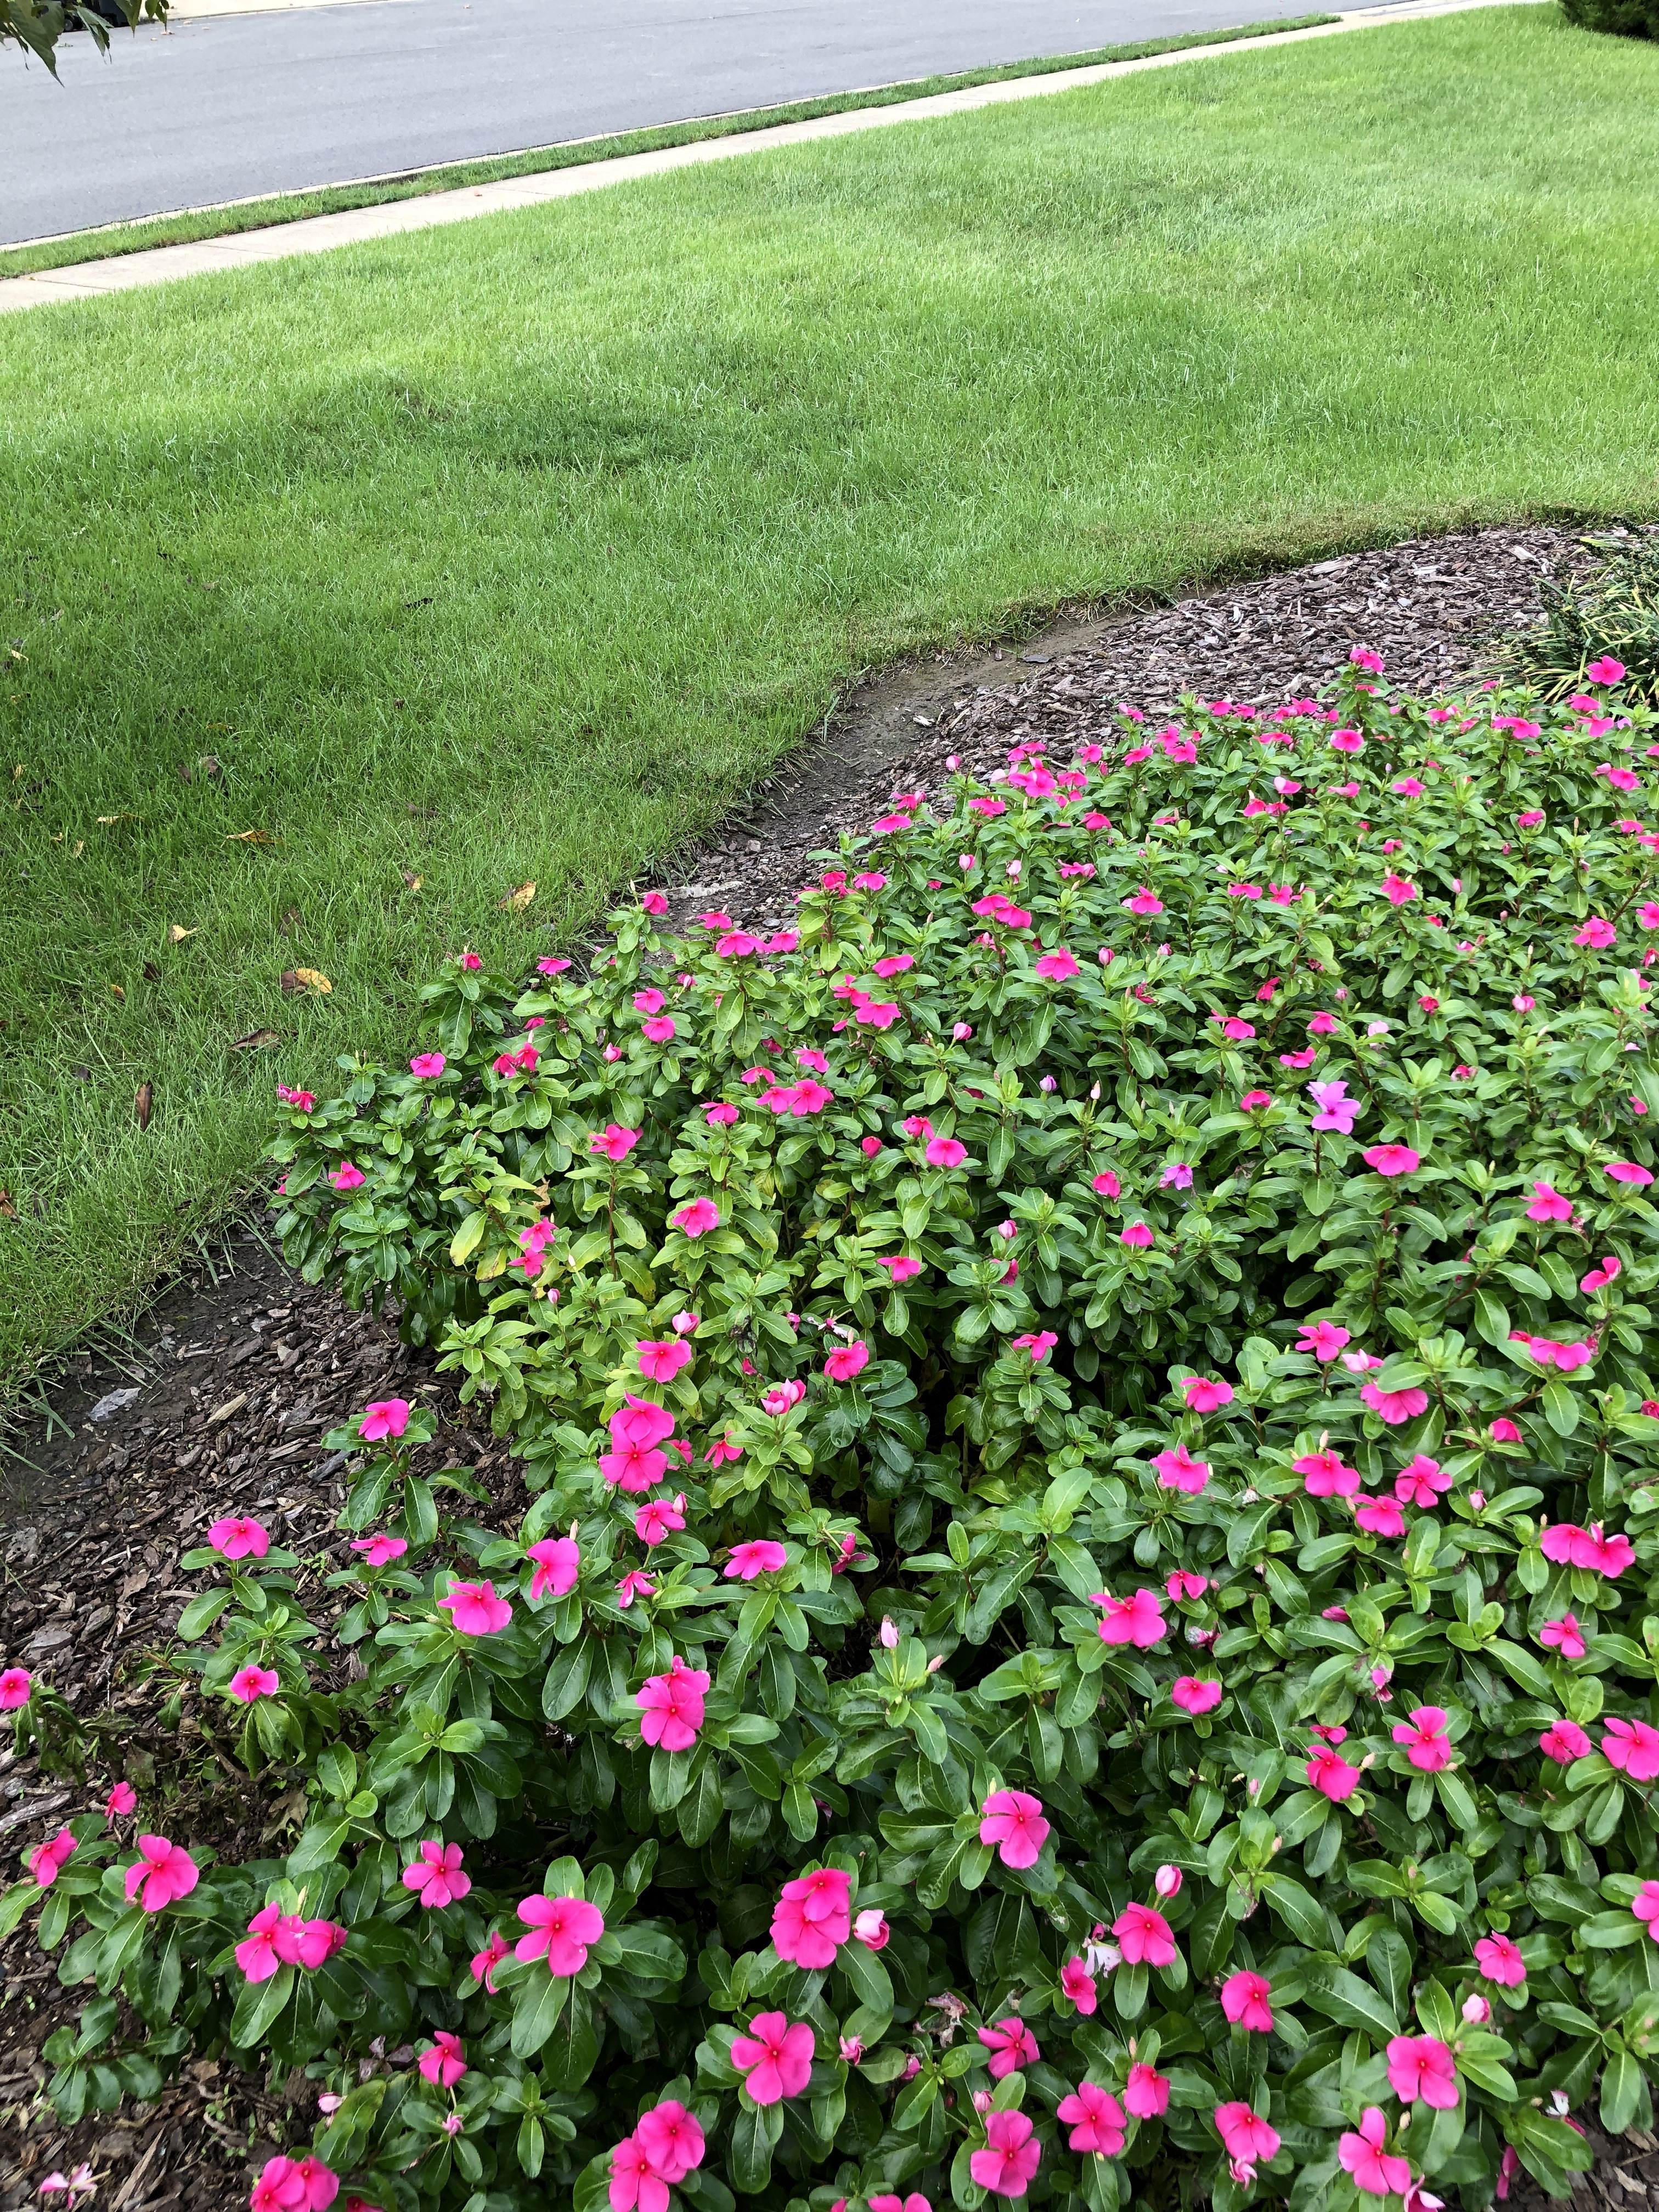
I’m hoping the weather will cooperate so I can finish up my raking this week, but (if you can believe it) we have a new hurricane bearing down tomorrow night, and two more in the Atlantic pipeline. Hope everyone stays safe, and best of luck — I’ll be back with some pretty fall flowers next week!

Happy Fall!