A new year is starting — time for some new gardening goals!
Hi there! It’s been a hard few months for me, trying to not worry too much about the future, but I’m doing my best to re-focus on what I can do. I urge all to stay aware of clean gardening practices and what we can do for the environment: not using chemicals, recycling/composting, participating in clean-up efforts in our communities, and last but not least, sending your Senators and Representatives a call or an email asking them to keep as many environmental protections in place as they can. You can reach them all at (202) 224-3121. The Capitol operators can help you find your Senators or Representatives, even if you don’t know their names.
We have a lot of work ahead of us! I don’t mean to rant on, but really, who doesn’t want a clean and healthy world? I think we can all agree on that! I think that is my biggest dream. I hope we can curb our losses at the EPA. Climate change is real!
Here in my little corner of the world, I managed to get quite a lot finished up in 2016, but I still have so much to do. This year’s main focus is on improving the areas under and around the deck.
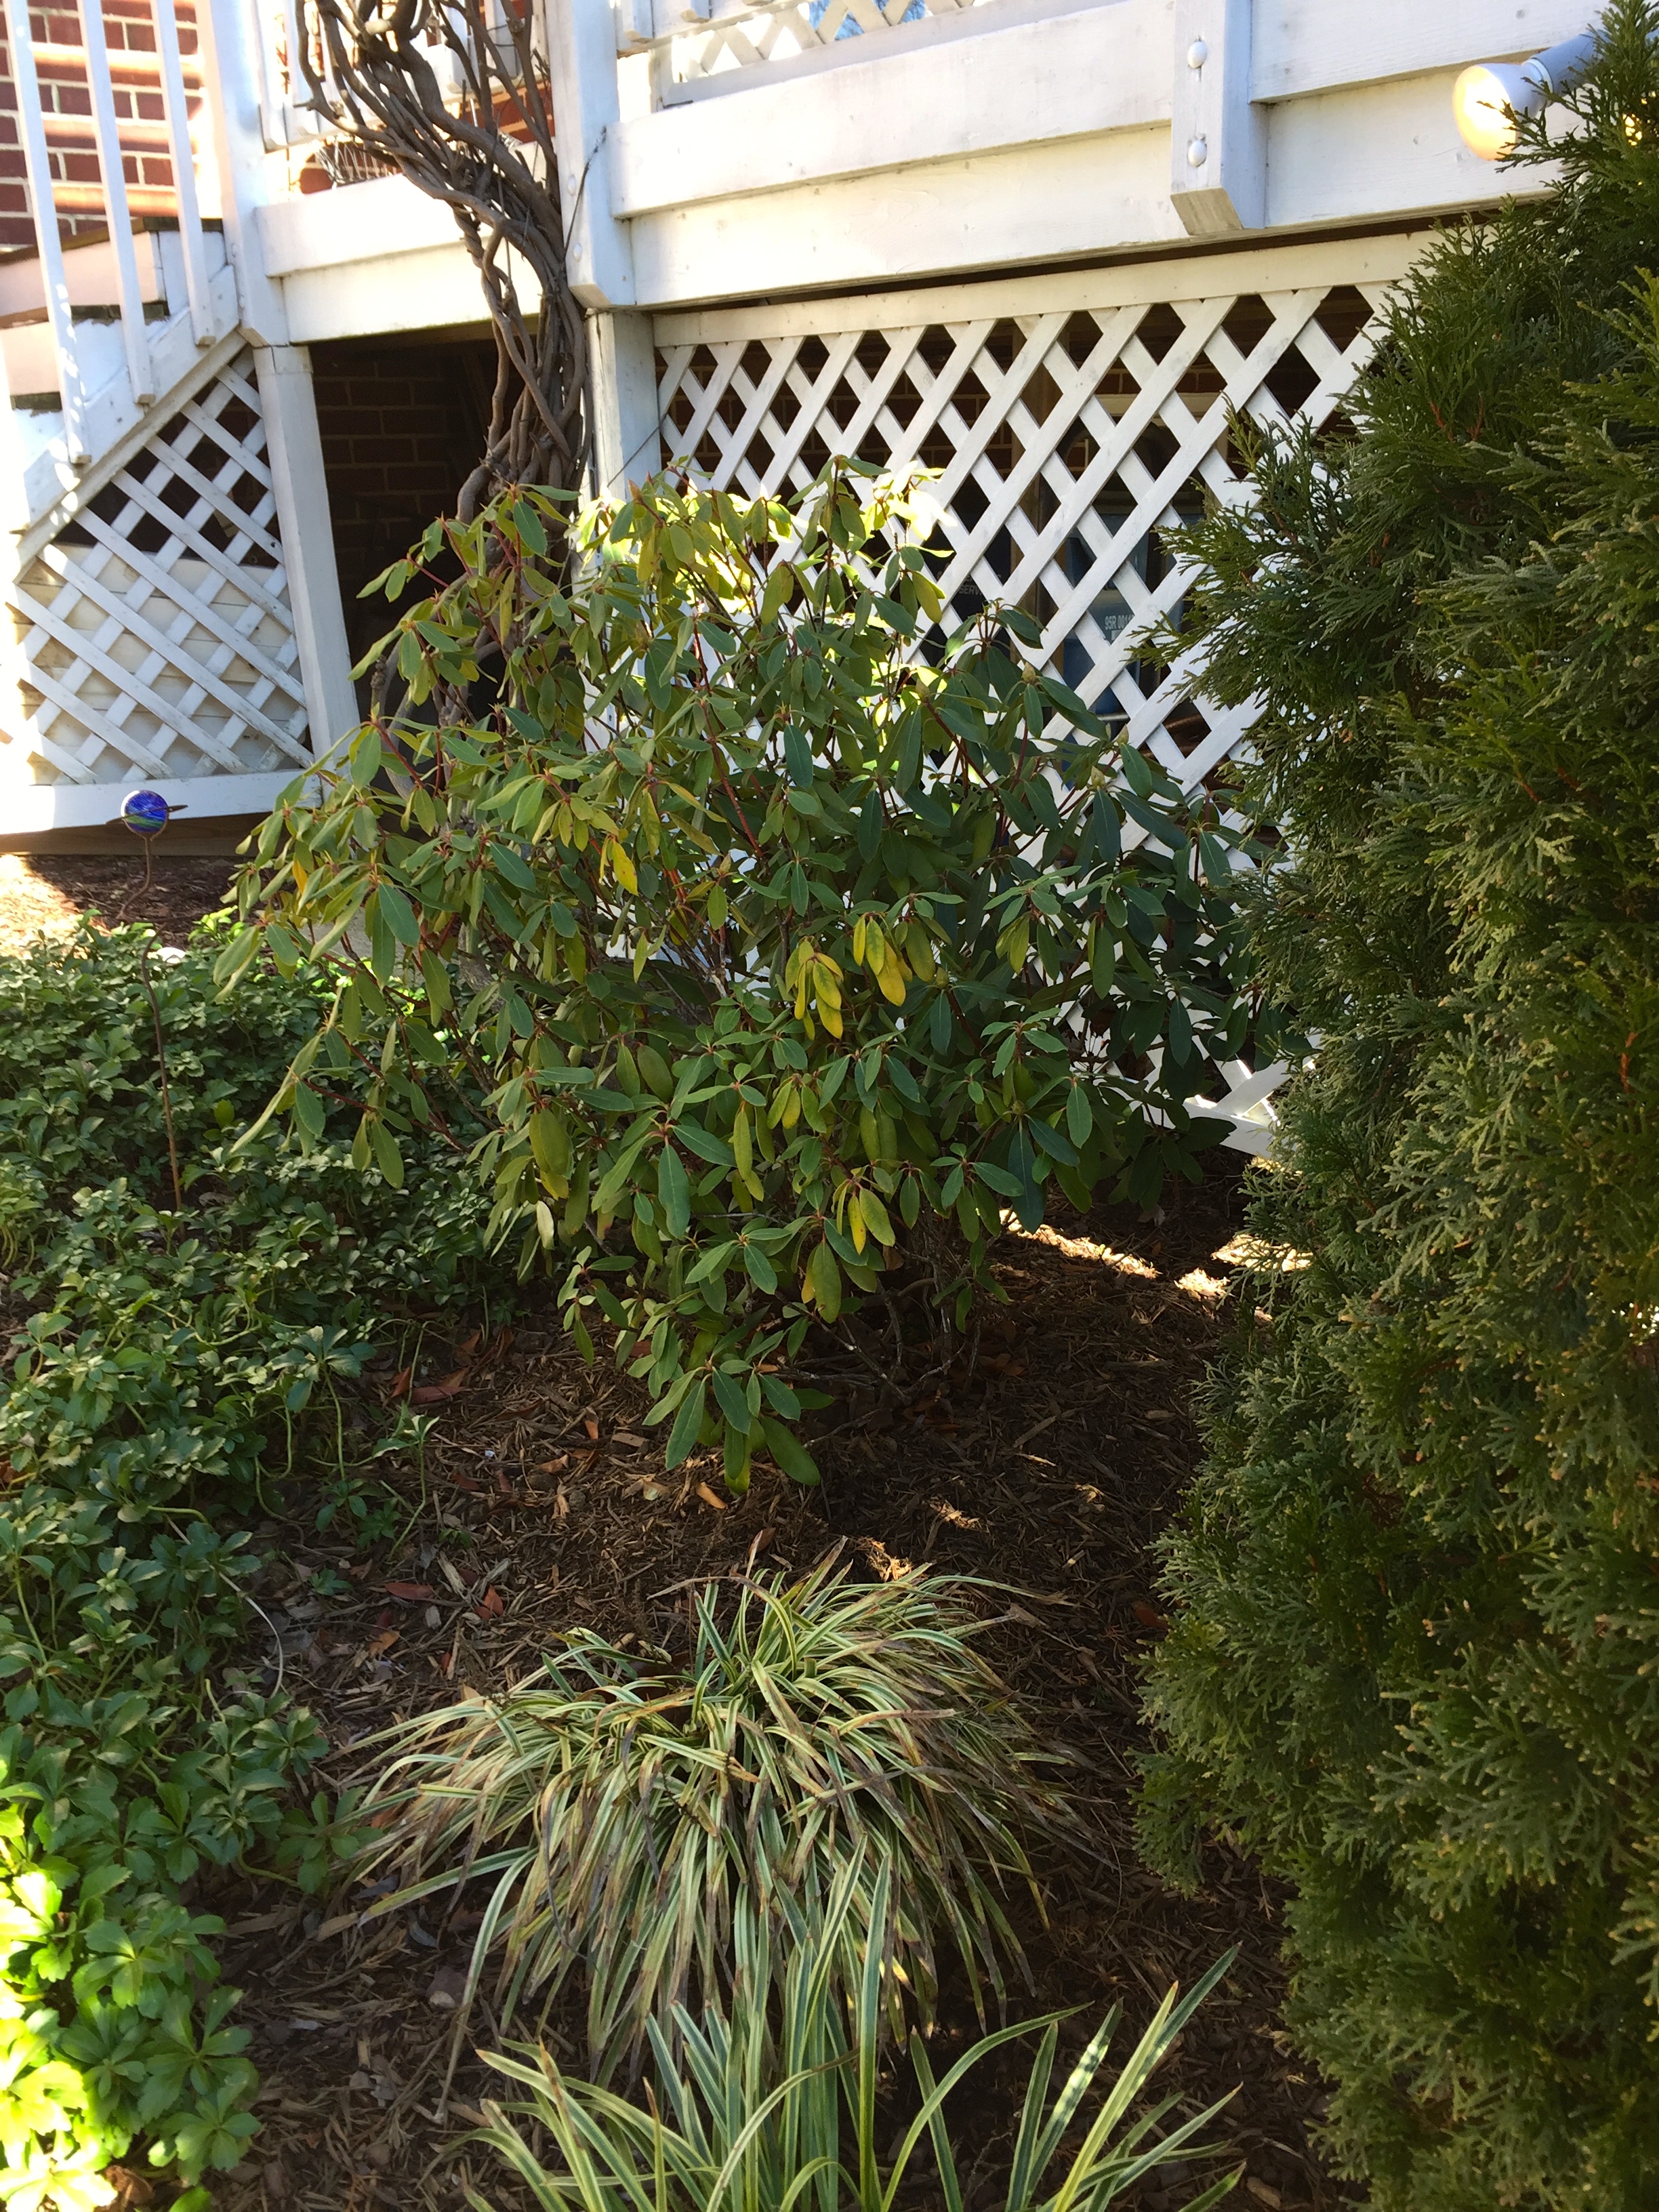
It was time for an edit in this garden. With more shade from a tree, it was out with the sedum and in with a transplanted rhododedron.
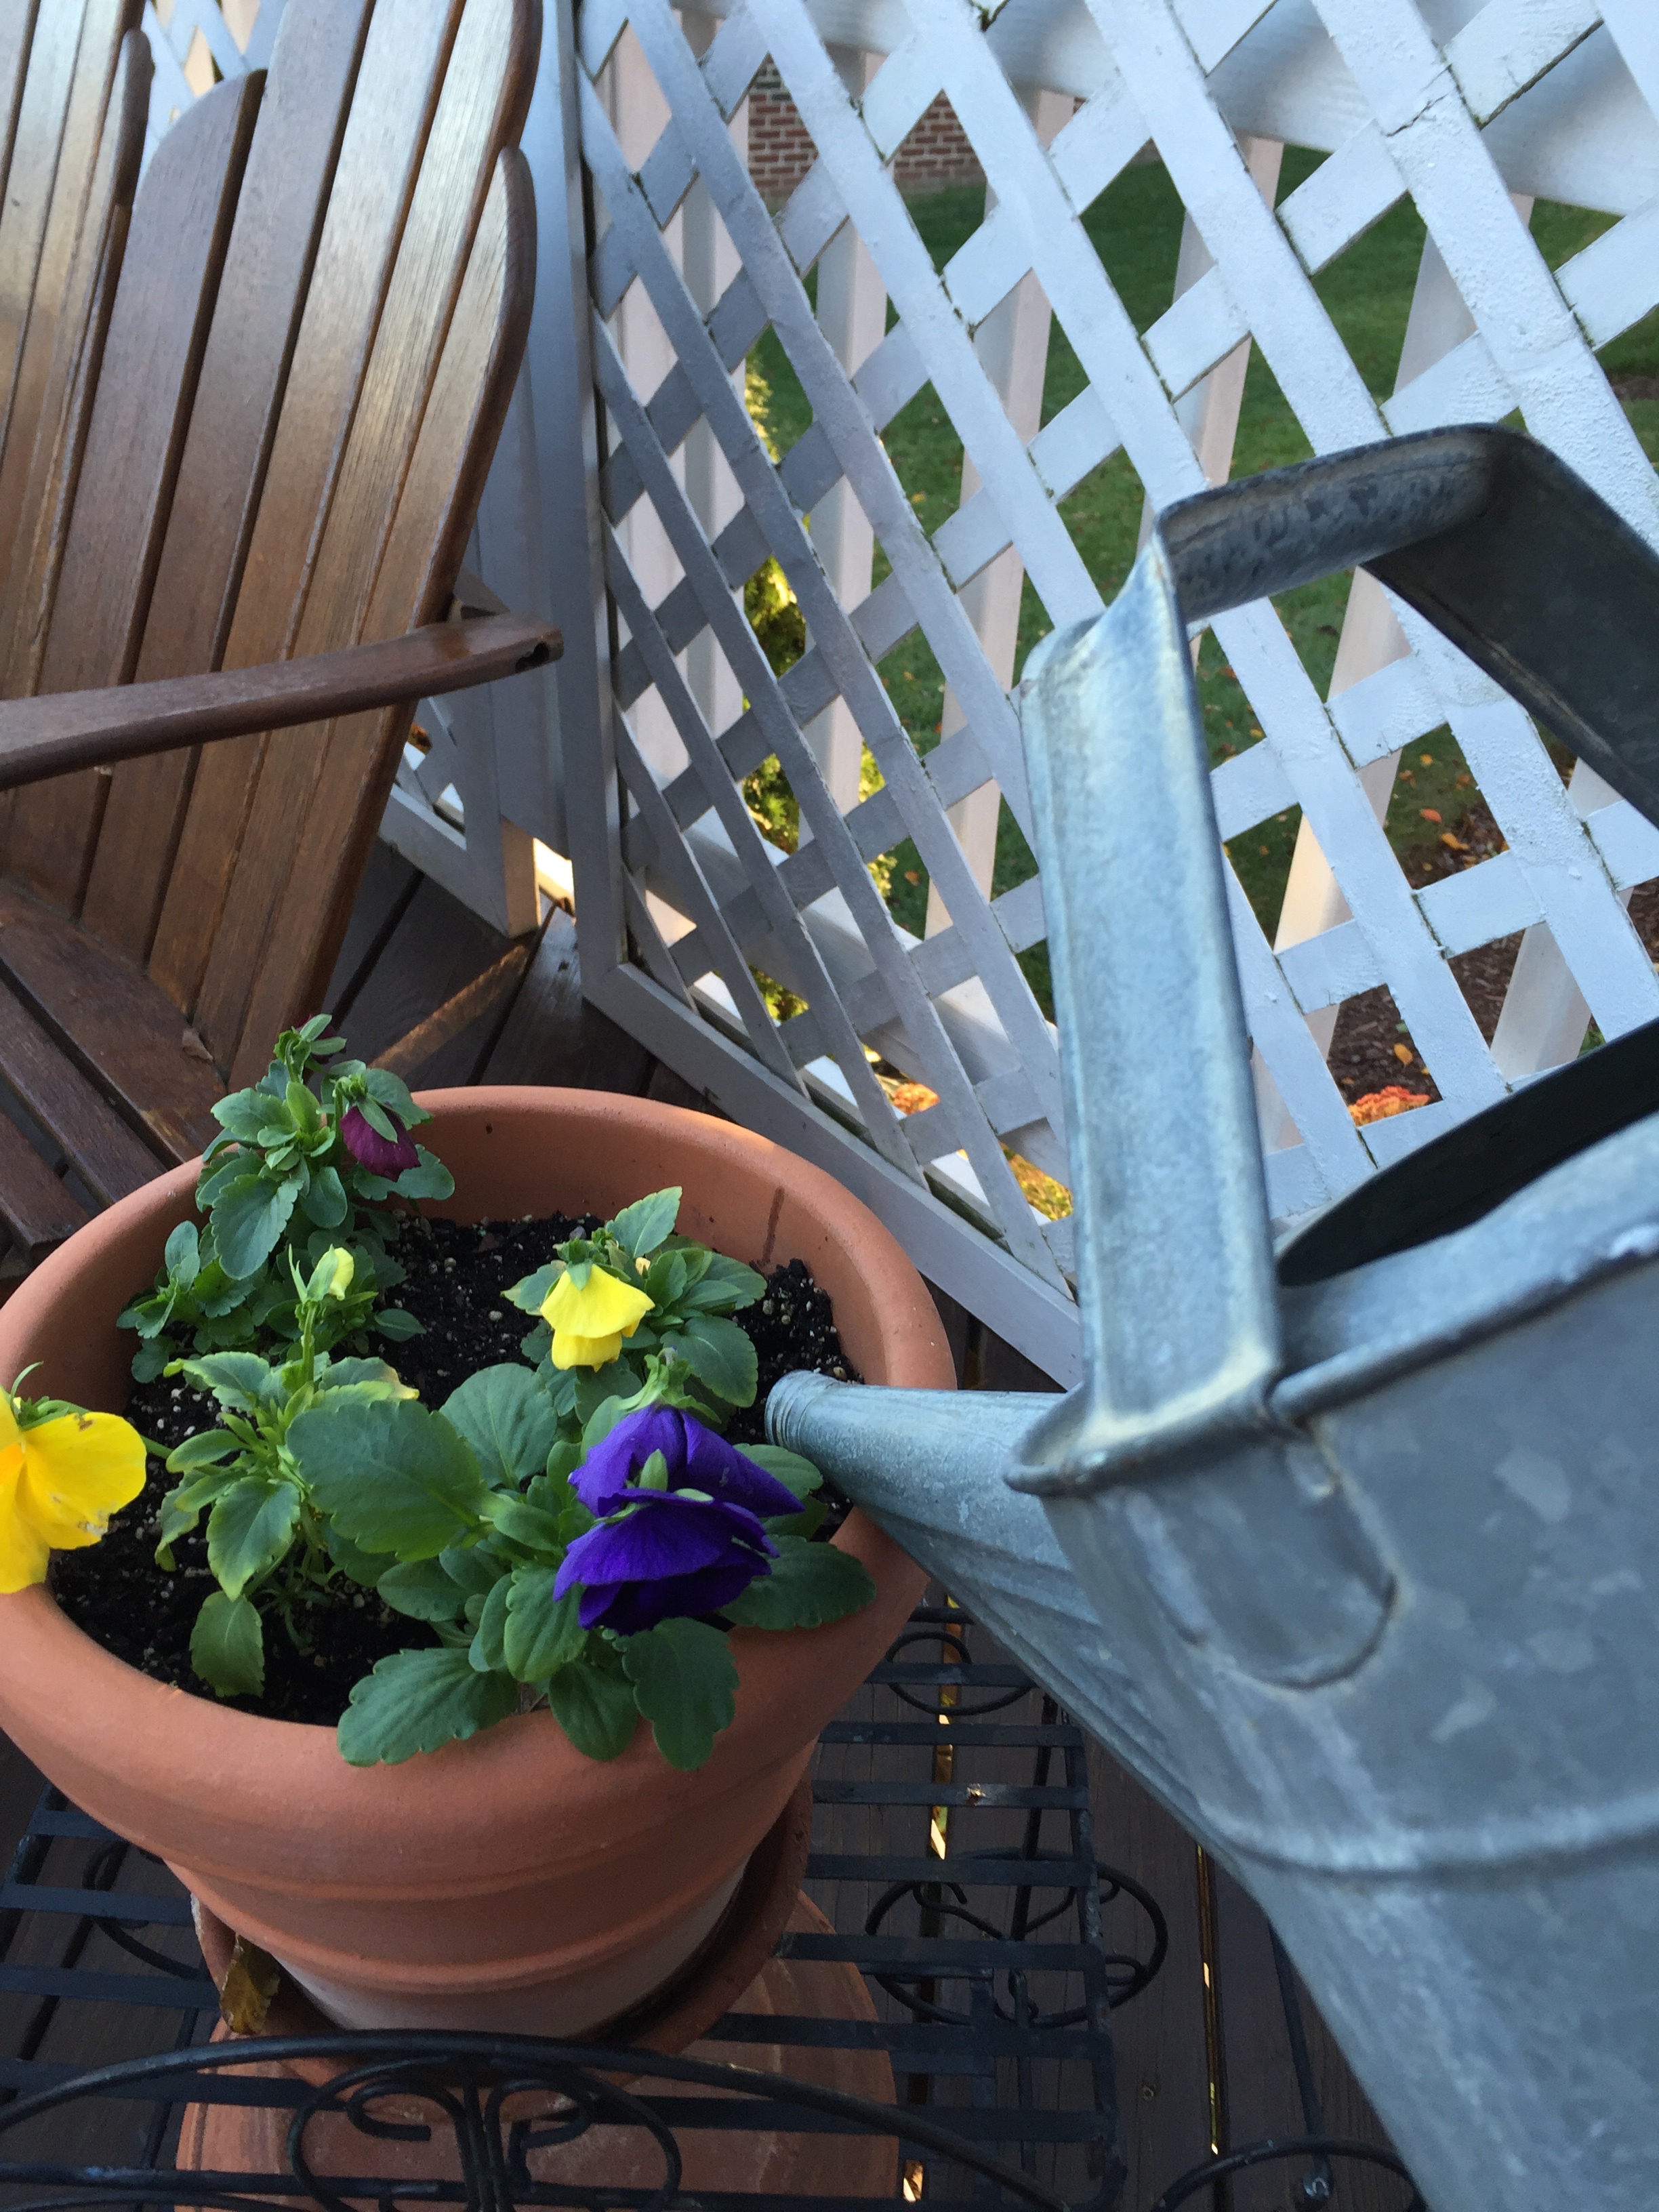
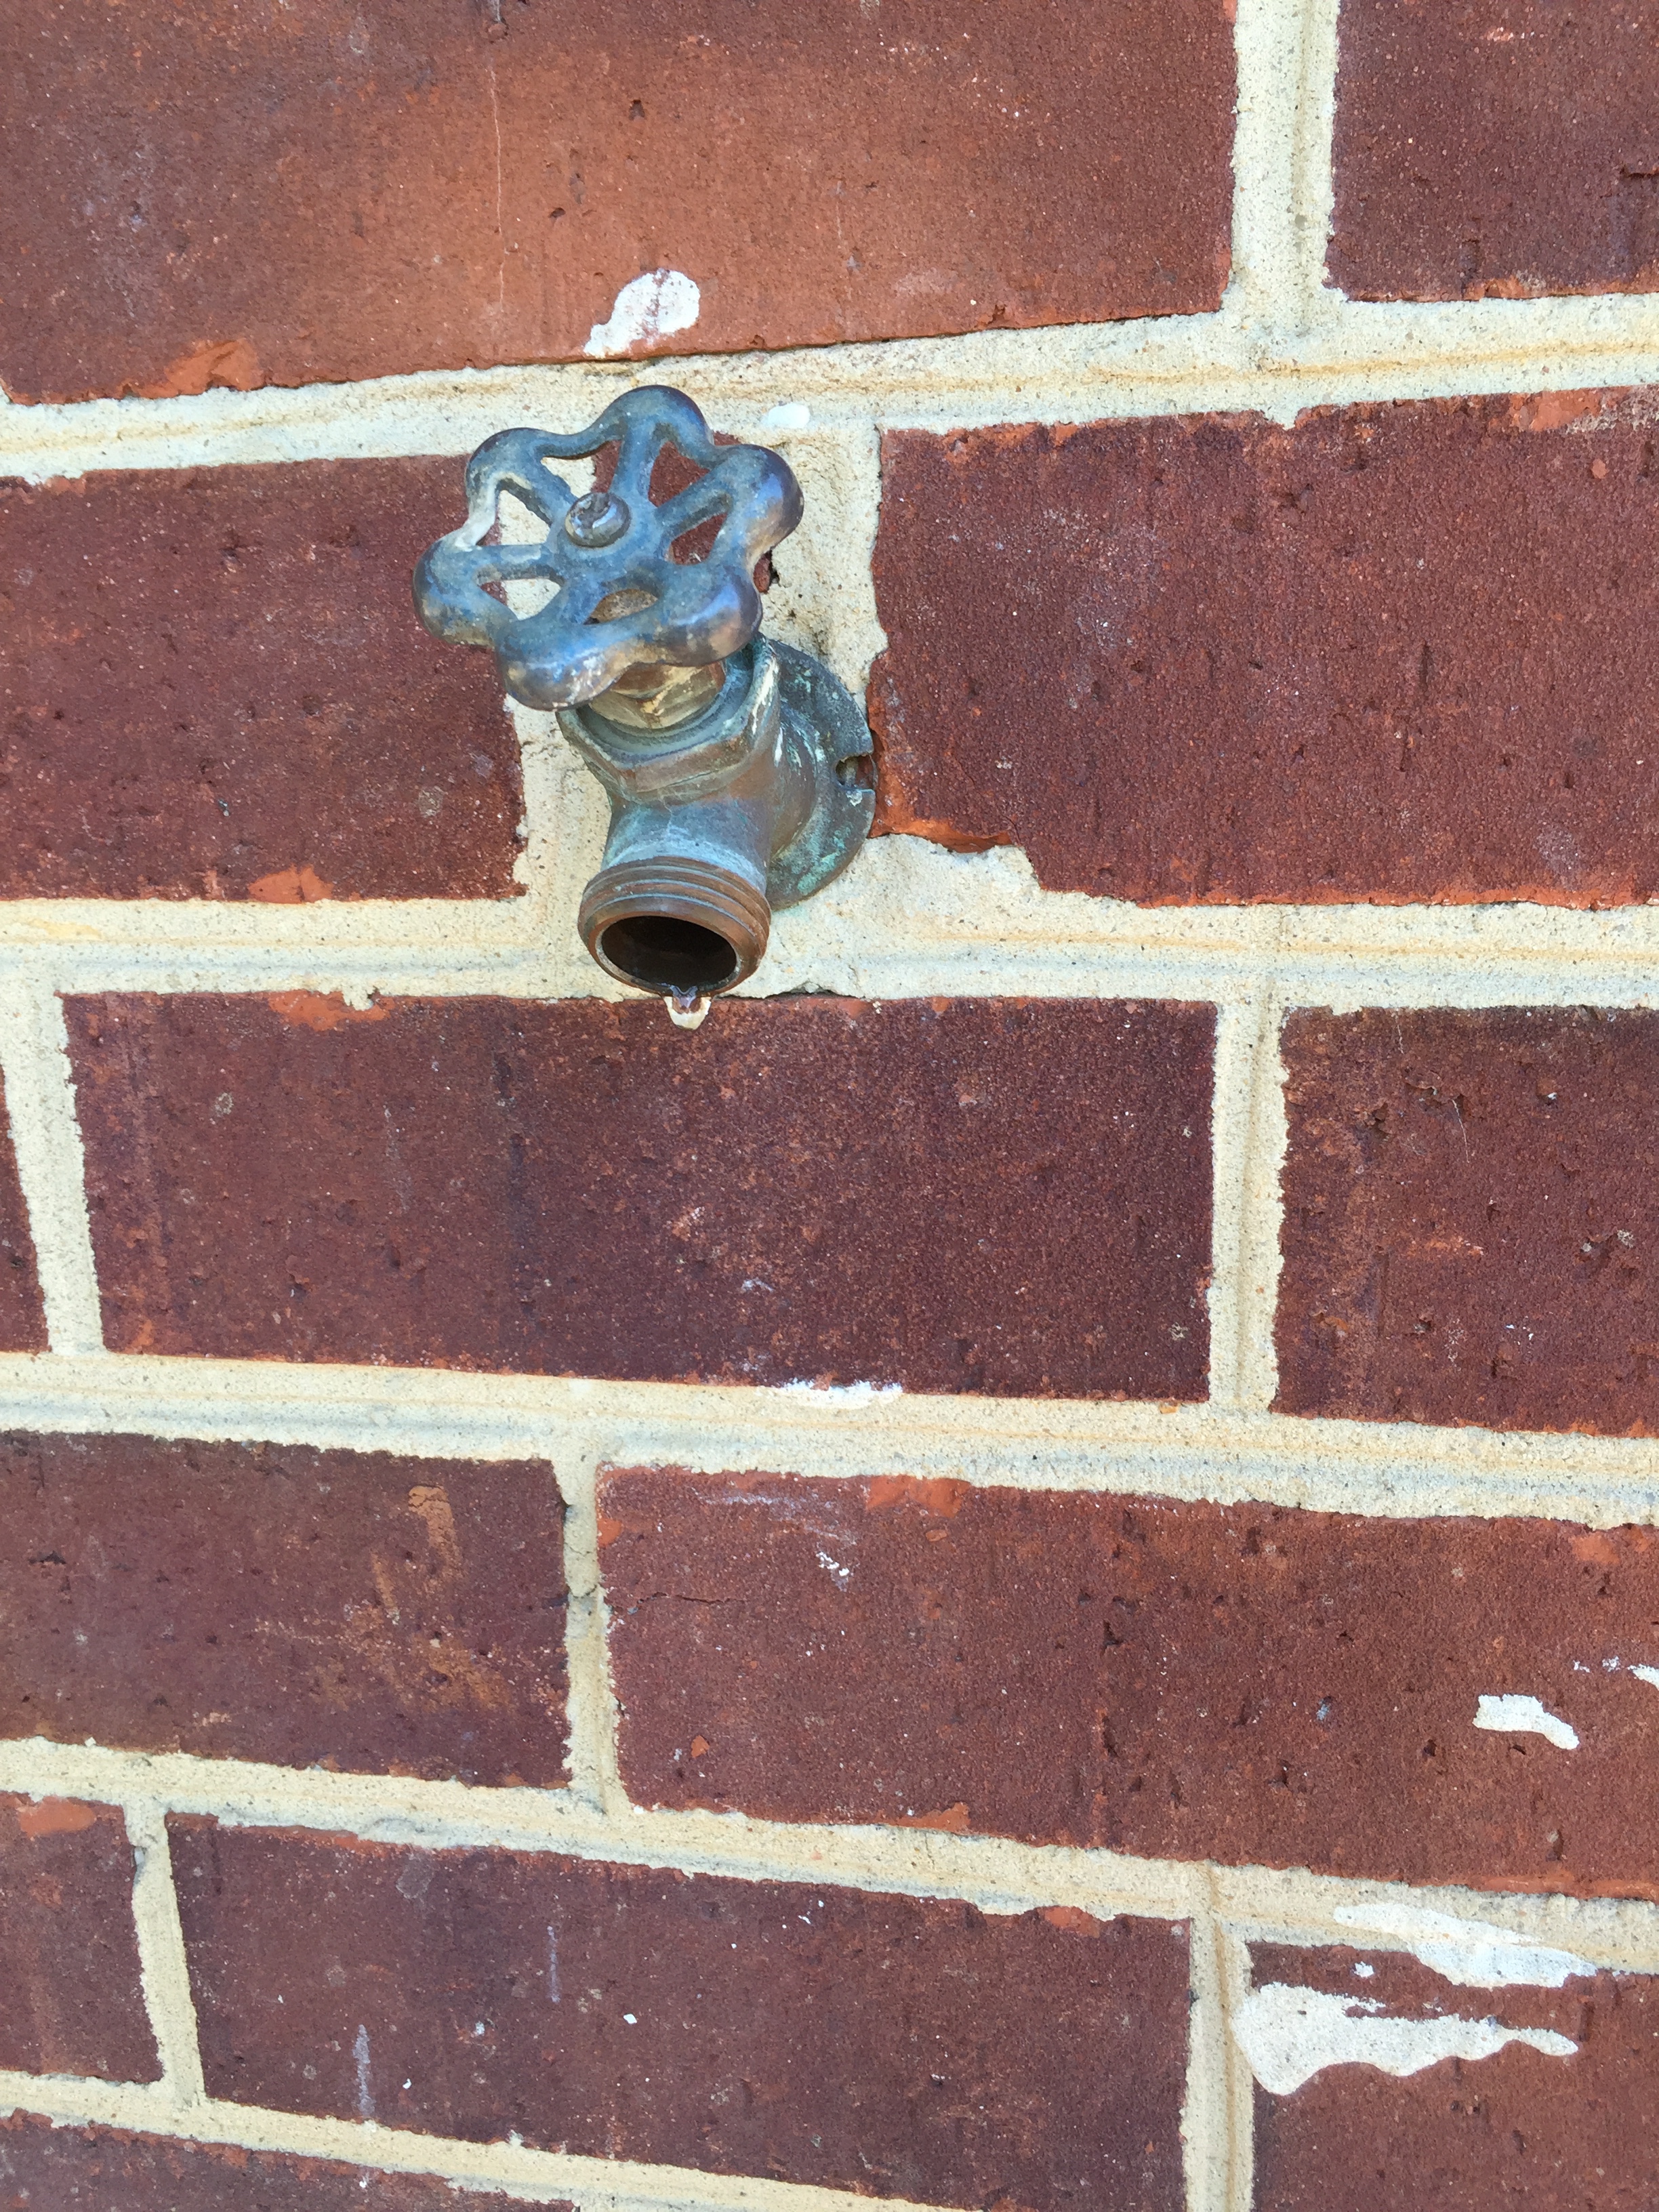
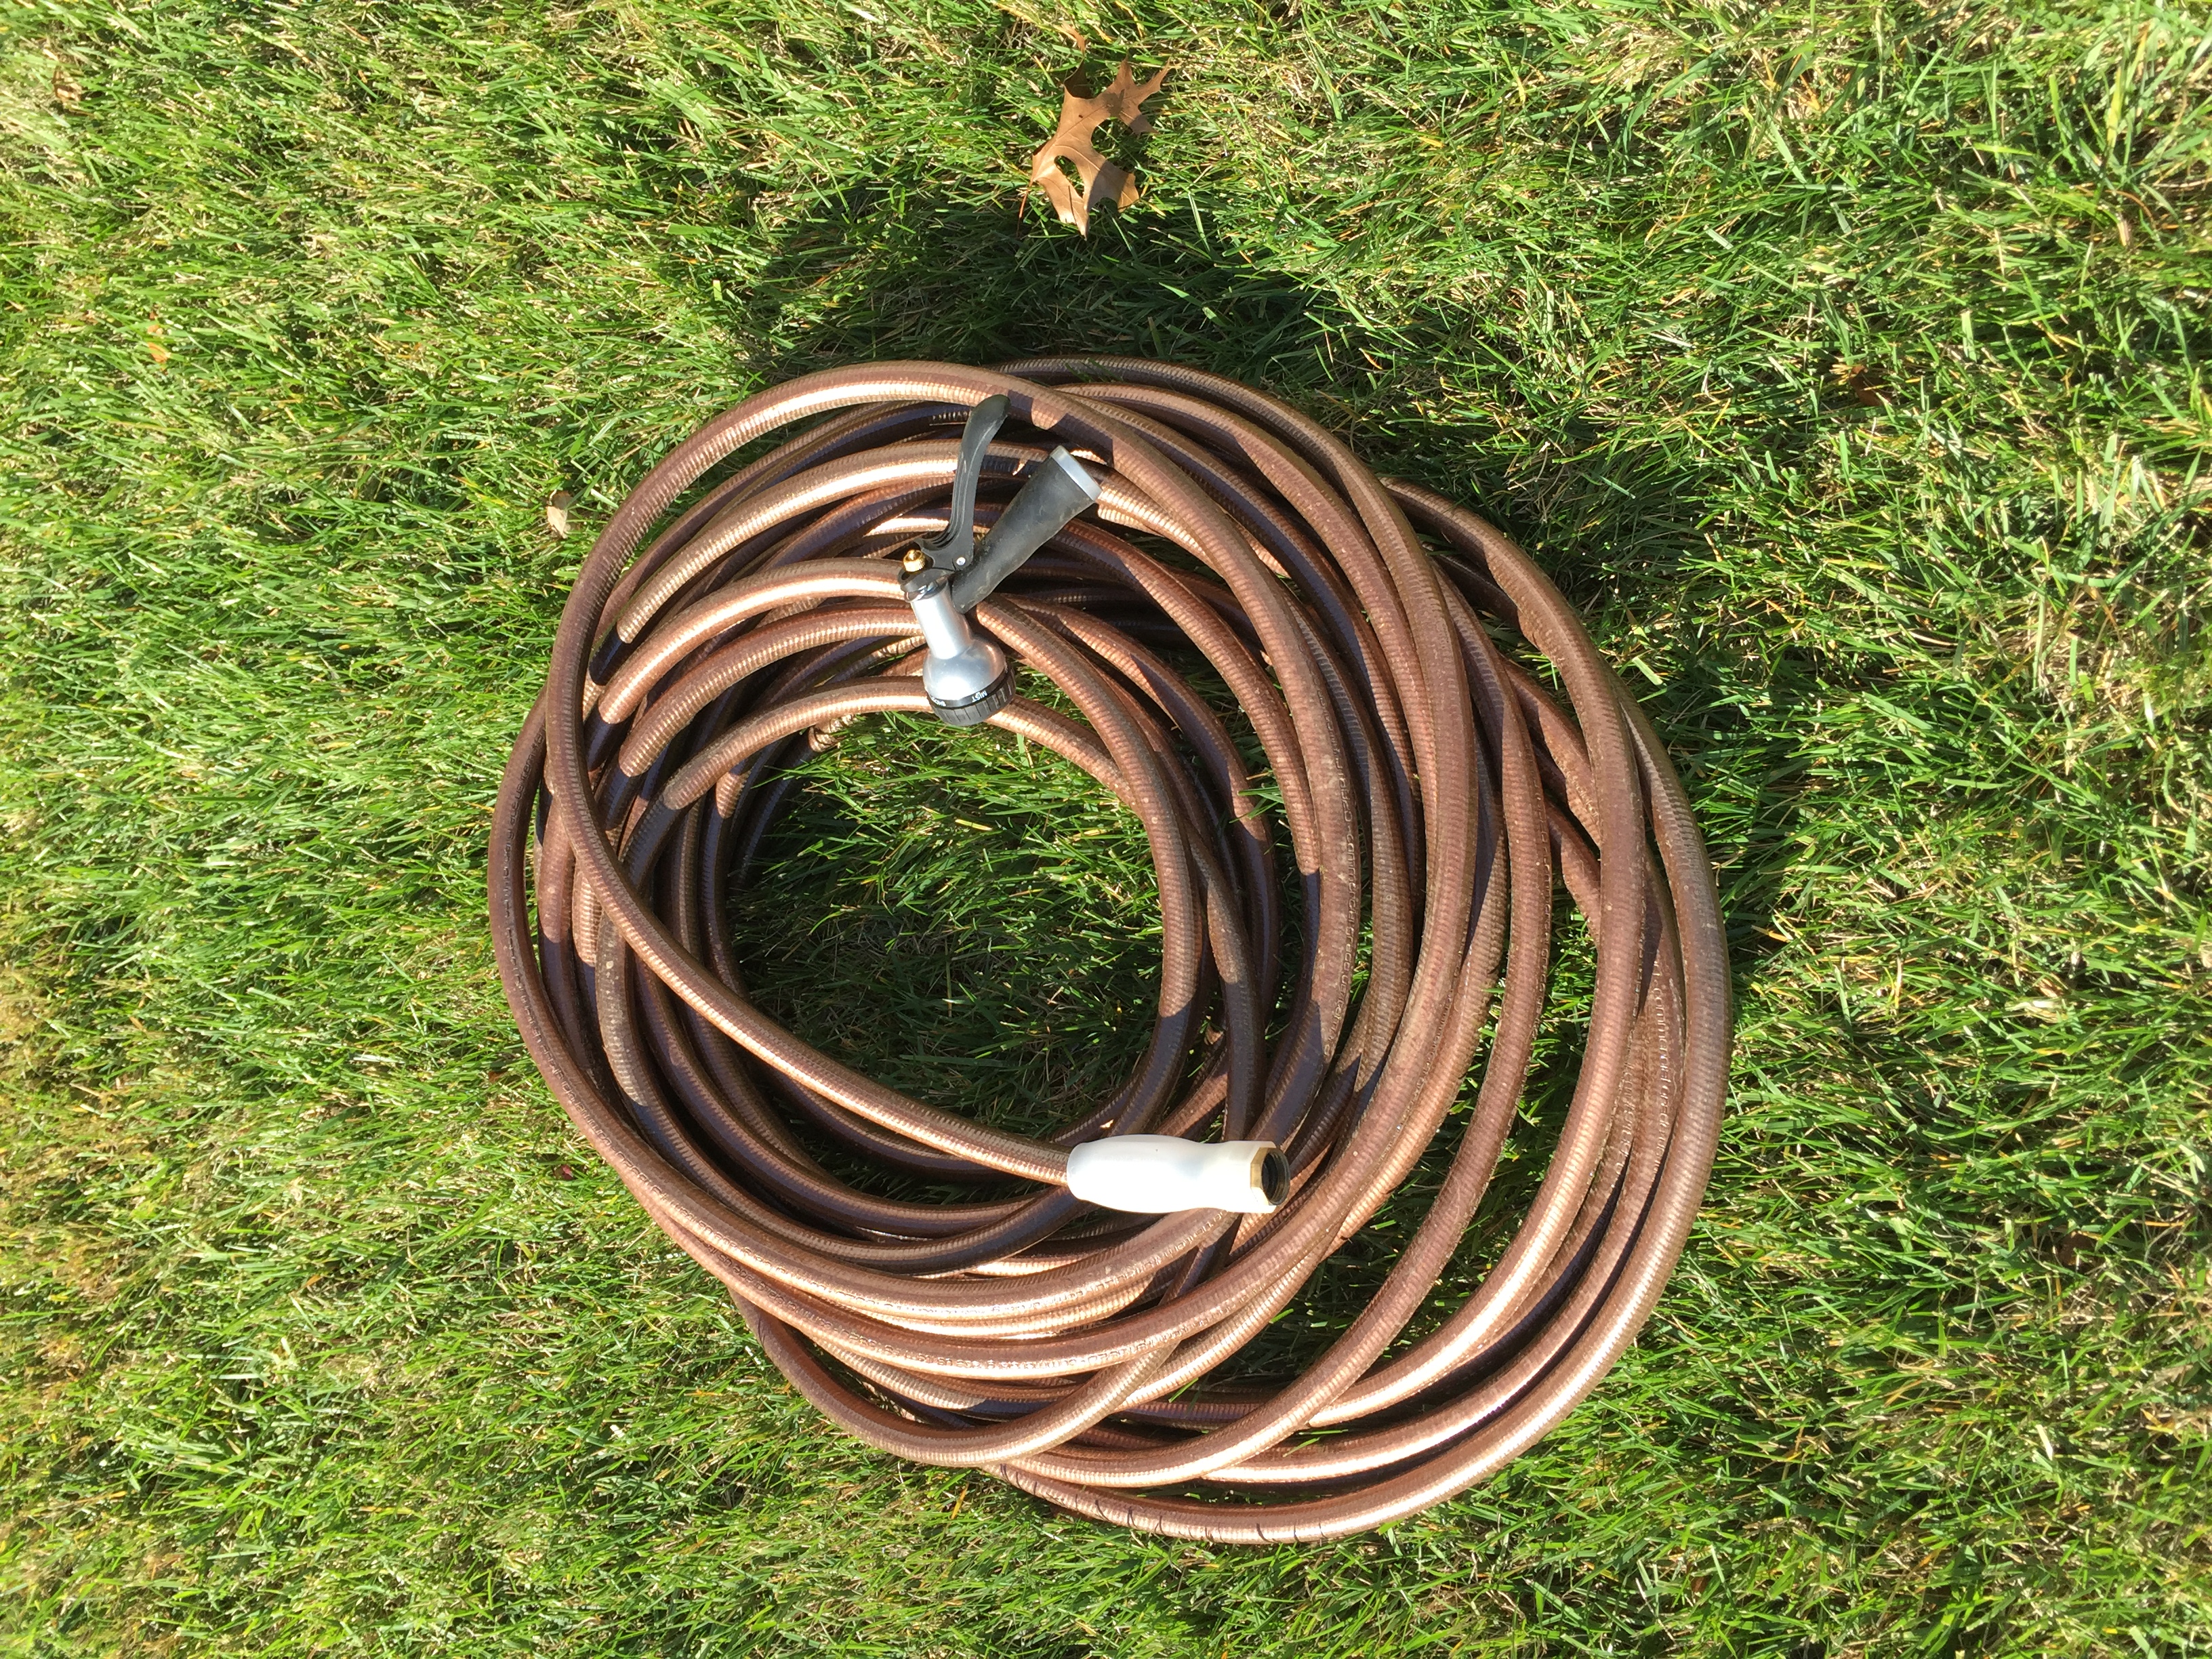
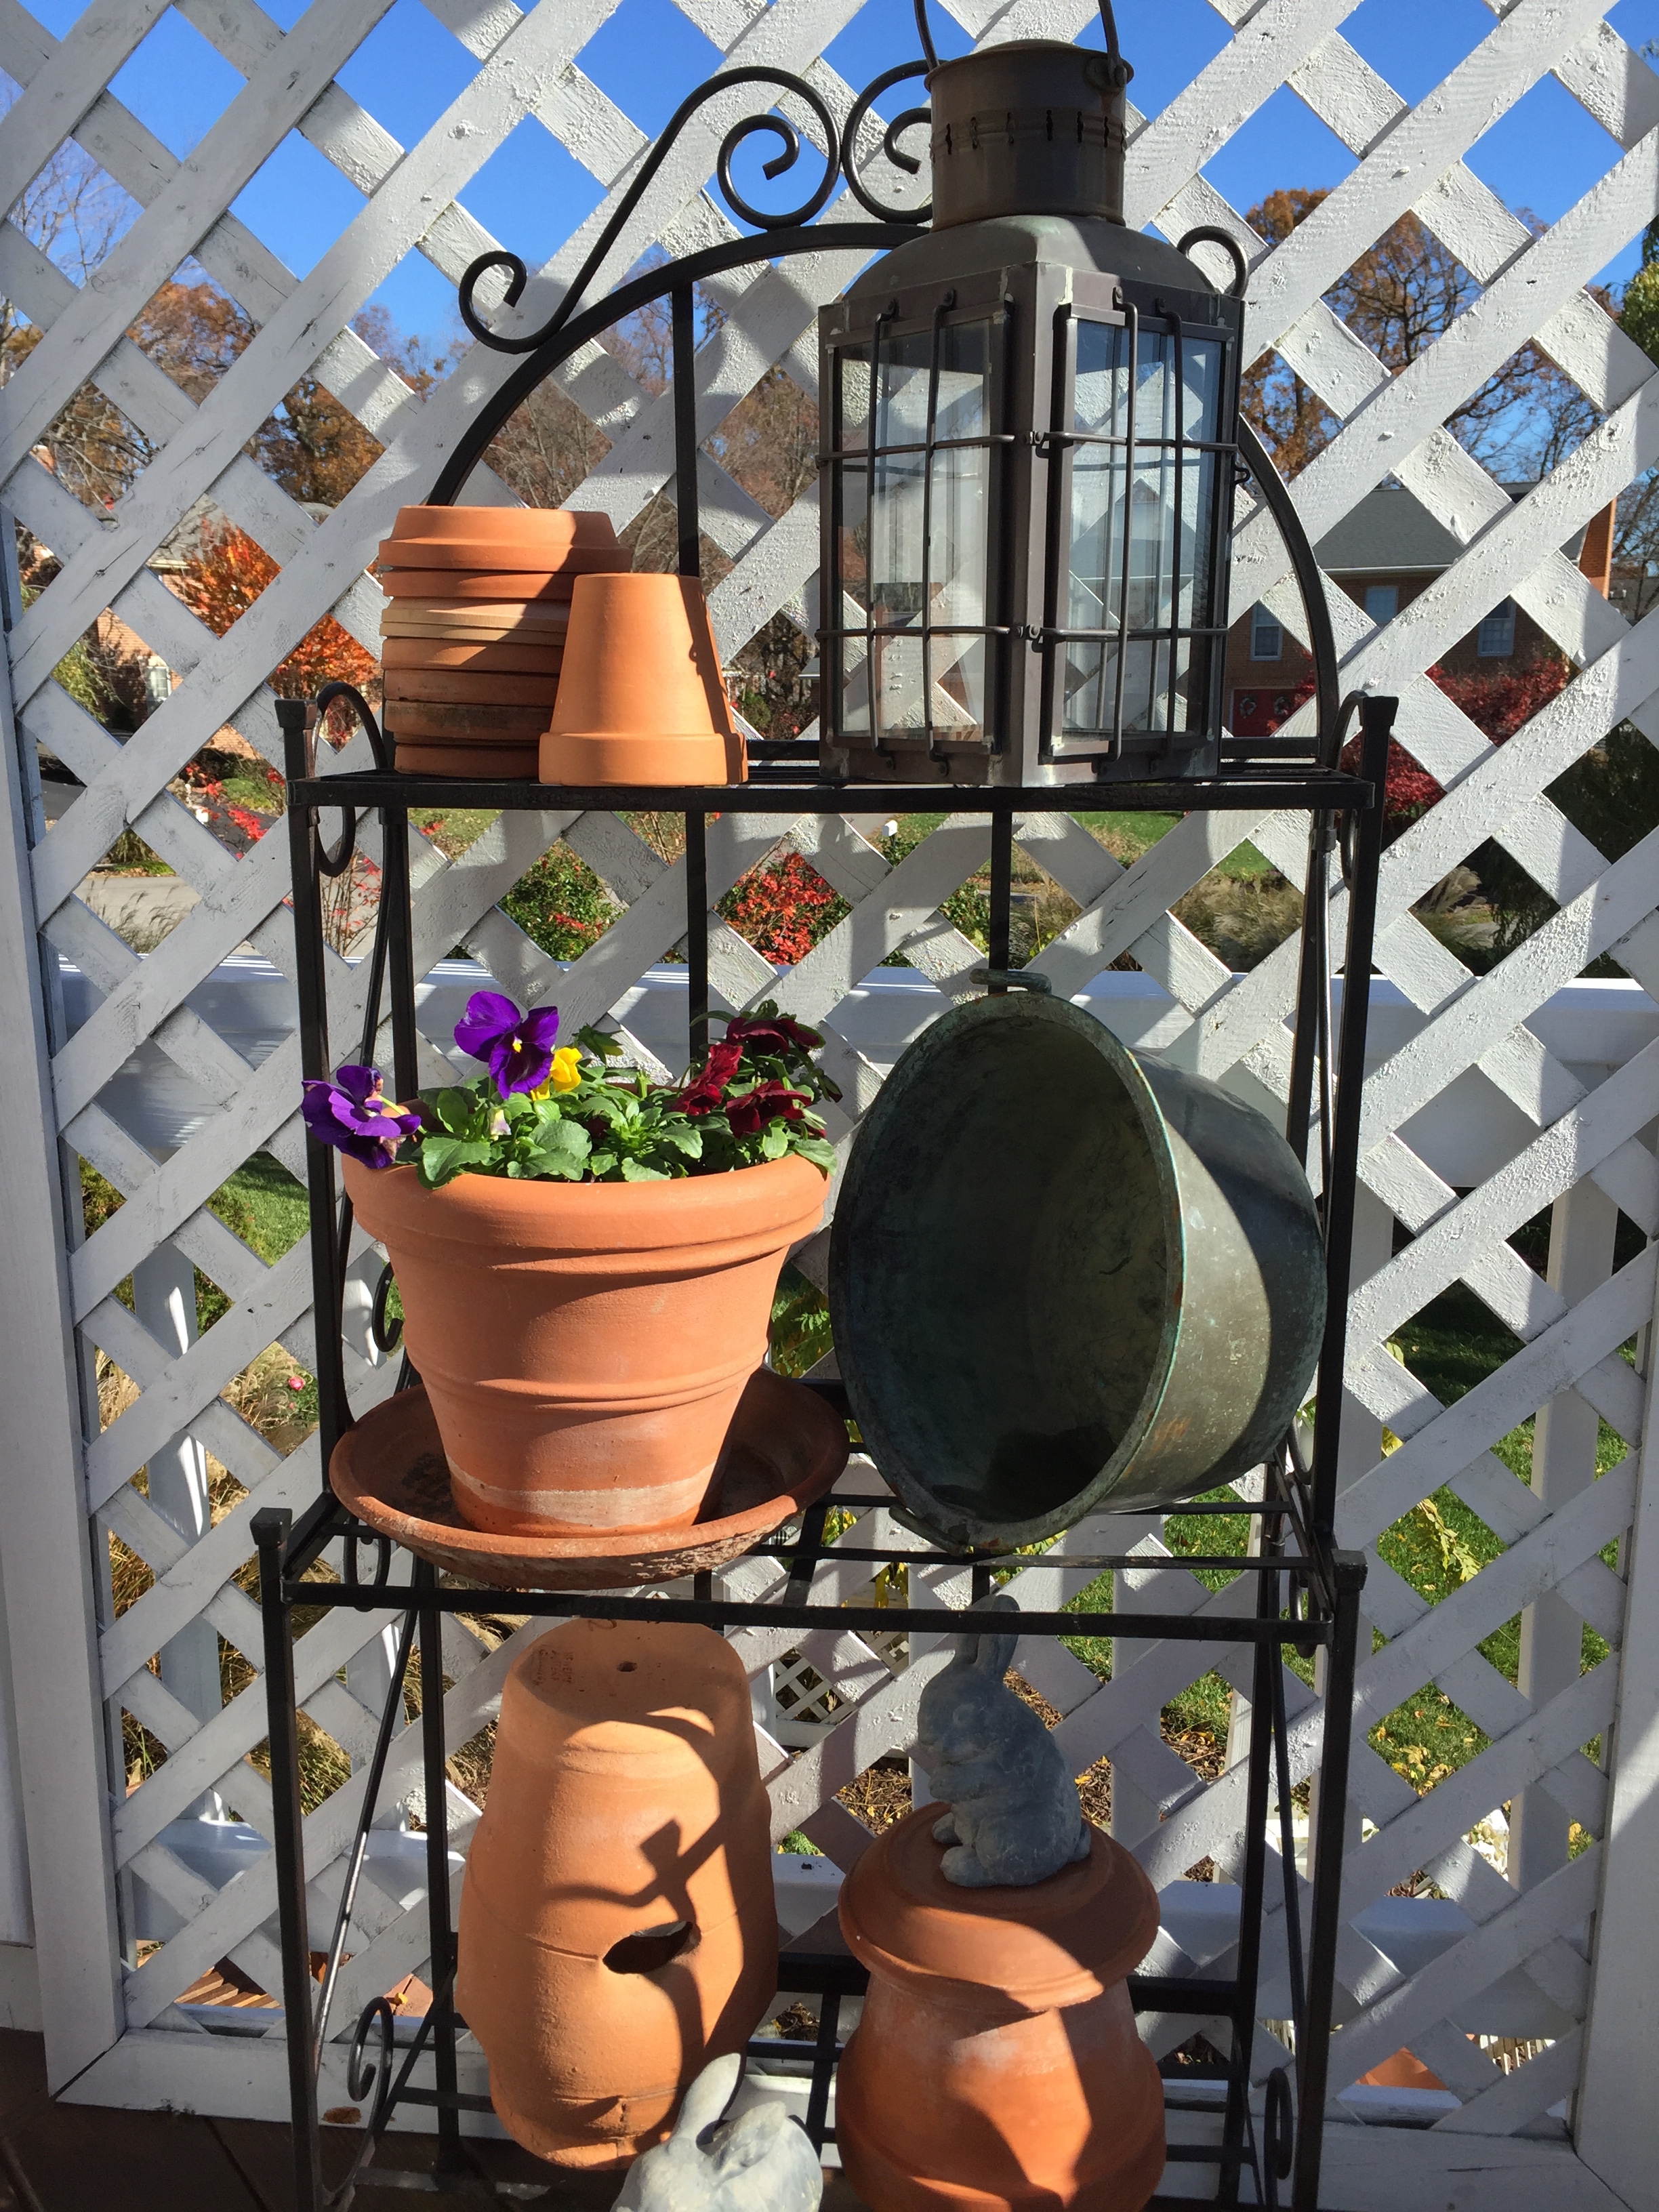
Here are my goals: I’ll make an designated area to place the trash can and recycling bins that is both out of sight, but still easy to roll out to the curb. This also will improve the area where I store my flower pots, extra hoses, etc. And, there is one area I couldn’t work on last fall because I ran out of time — I need to lift some of the bricks on the back walkway and level them. After sixteen years, the ground has sunk around the plexi pipe that carries the runoff water from the downspout — should be an easy fix! Third, I will use my brick saw to cleanup the edge of the walkway where it connects to the driveway.
All the cosmetic work will boost the curb appeal, too — always a plus. When spring arrives, the garden around the base of the deck will get some annuals to really fill out the space and give some added color. Looking at the winter garden, when most everything is bare or died back to the ground for the season, things look bleak, so I will post a picture when everything has sprung back to beautiful life and show some before and after shots in a few months.
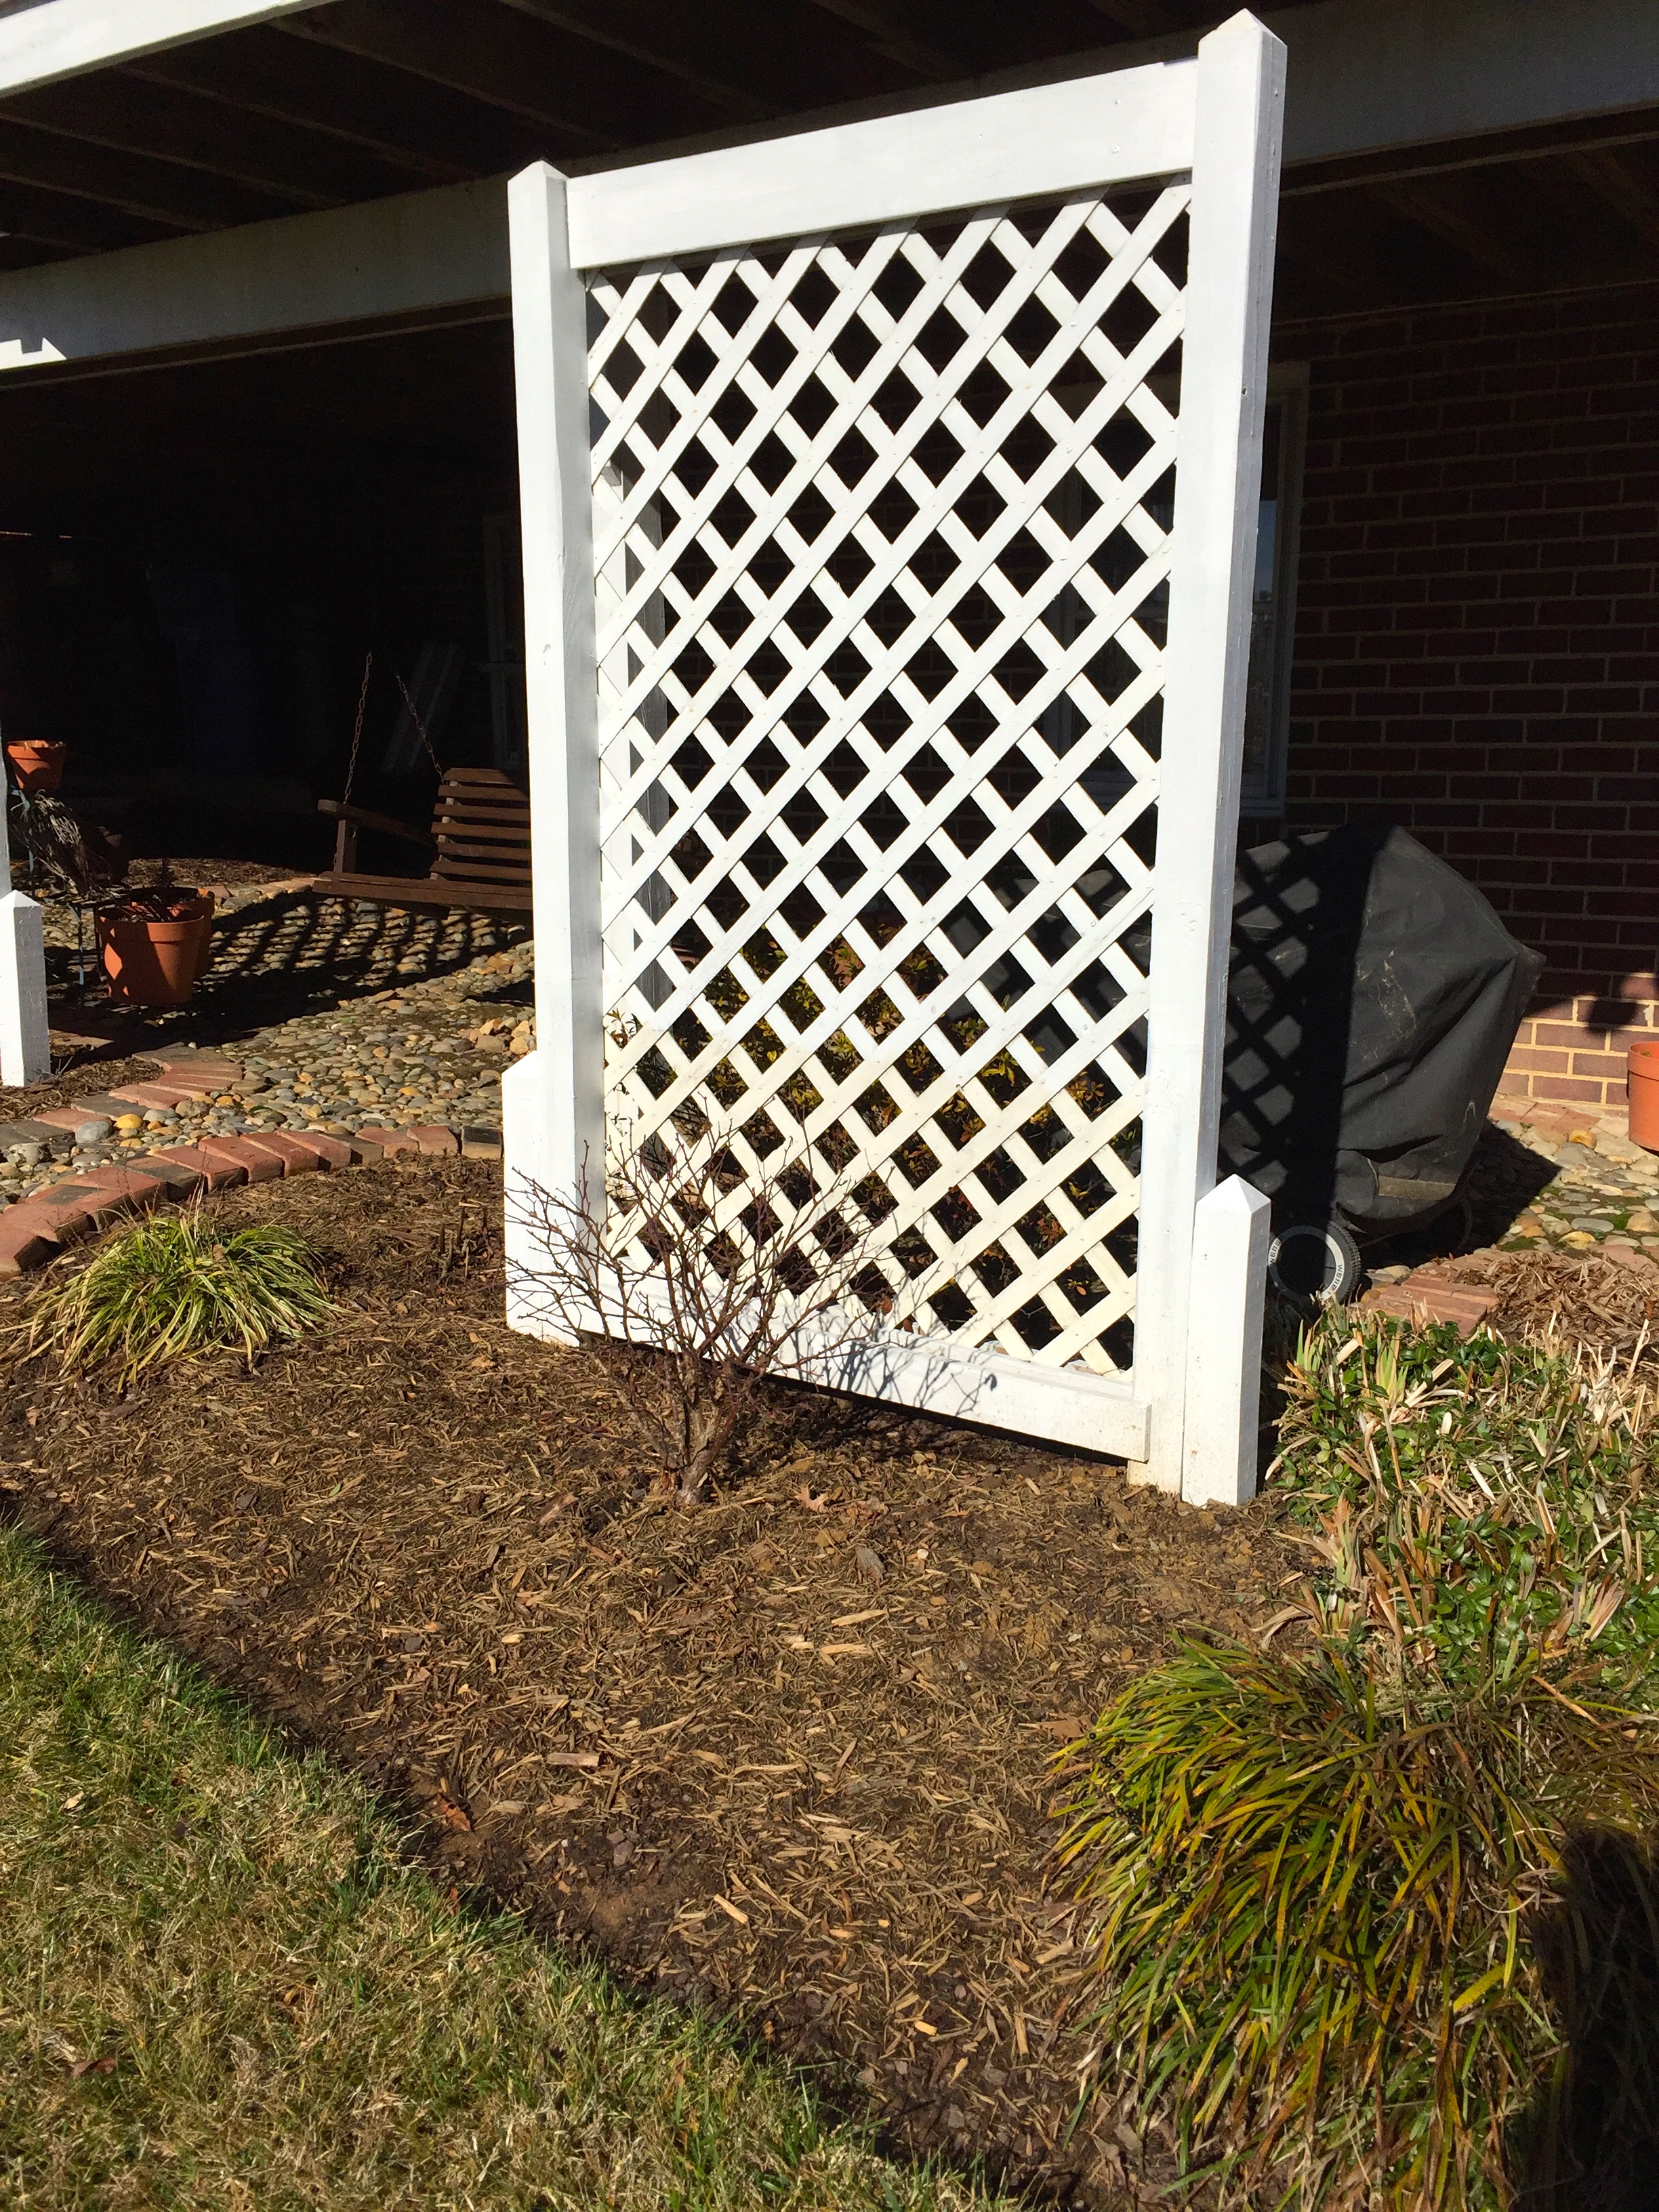
Here’s a photo of my re-make of the old planters into privacy screens. I removed the rotted supports and replaced them with posts I had saved. These are buried 3 feet into the ground, with no cement, so they can be re-positioned later if I want. I’ll be sure to post again when everything is in leaf and bloom, but while the bushes are bare you can see the screen more clearly.
When I manage to finish all of that, the upper trim around the house and gutter system needs a complete cleaning and painting. Lots of the basics — weeding, mulching, trimming, mowing and edging — go on pretty much year round. Here’s a winter tip to make quick work of a messy, windswept yard: We find that it is much easier to run the mower over the grassy areas every month or so even in winter to pick up the leaves that blow in and smooth out the clumps of grass than it is to rake the whole yard over and over.
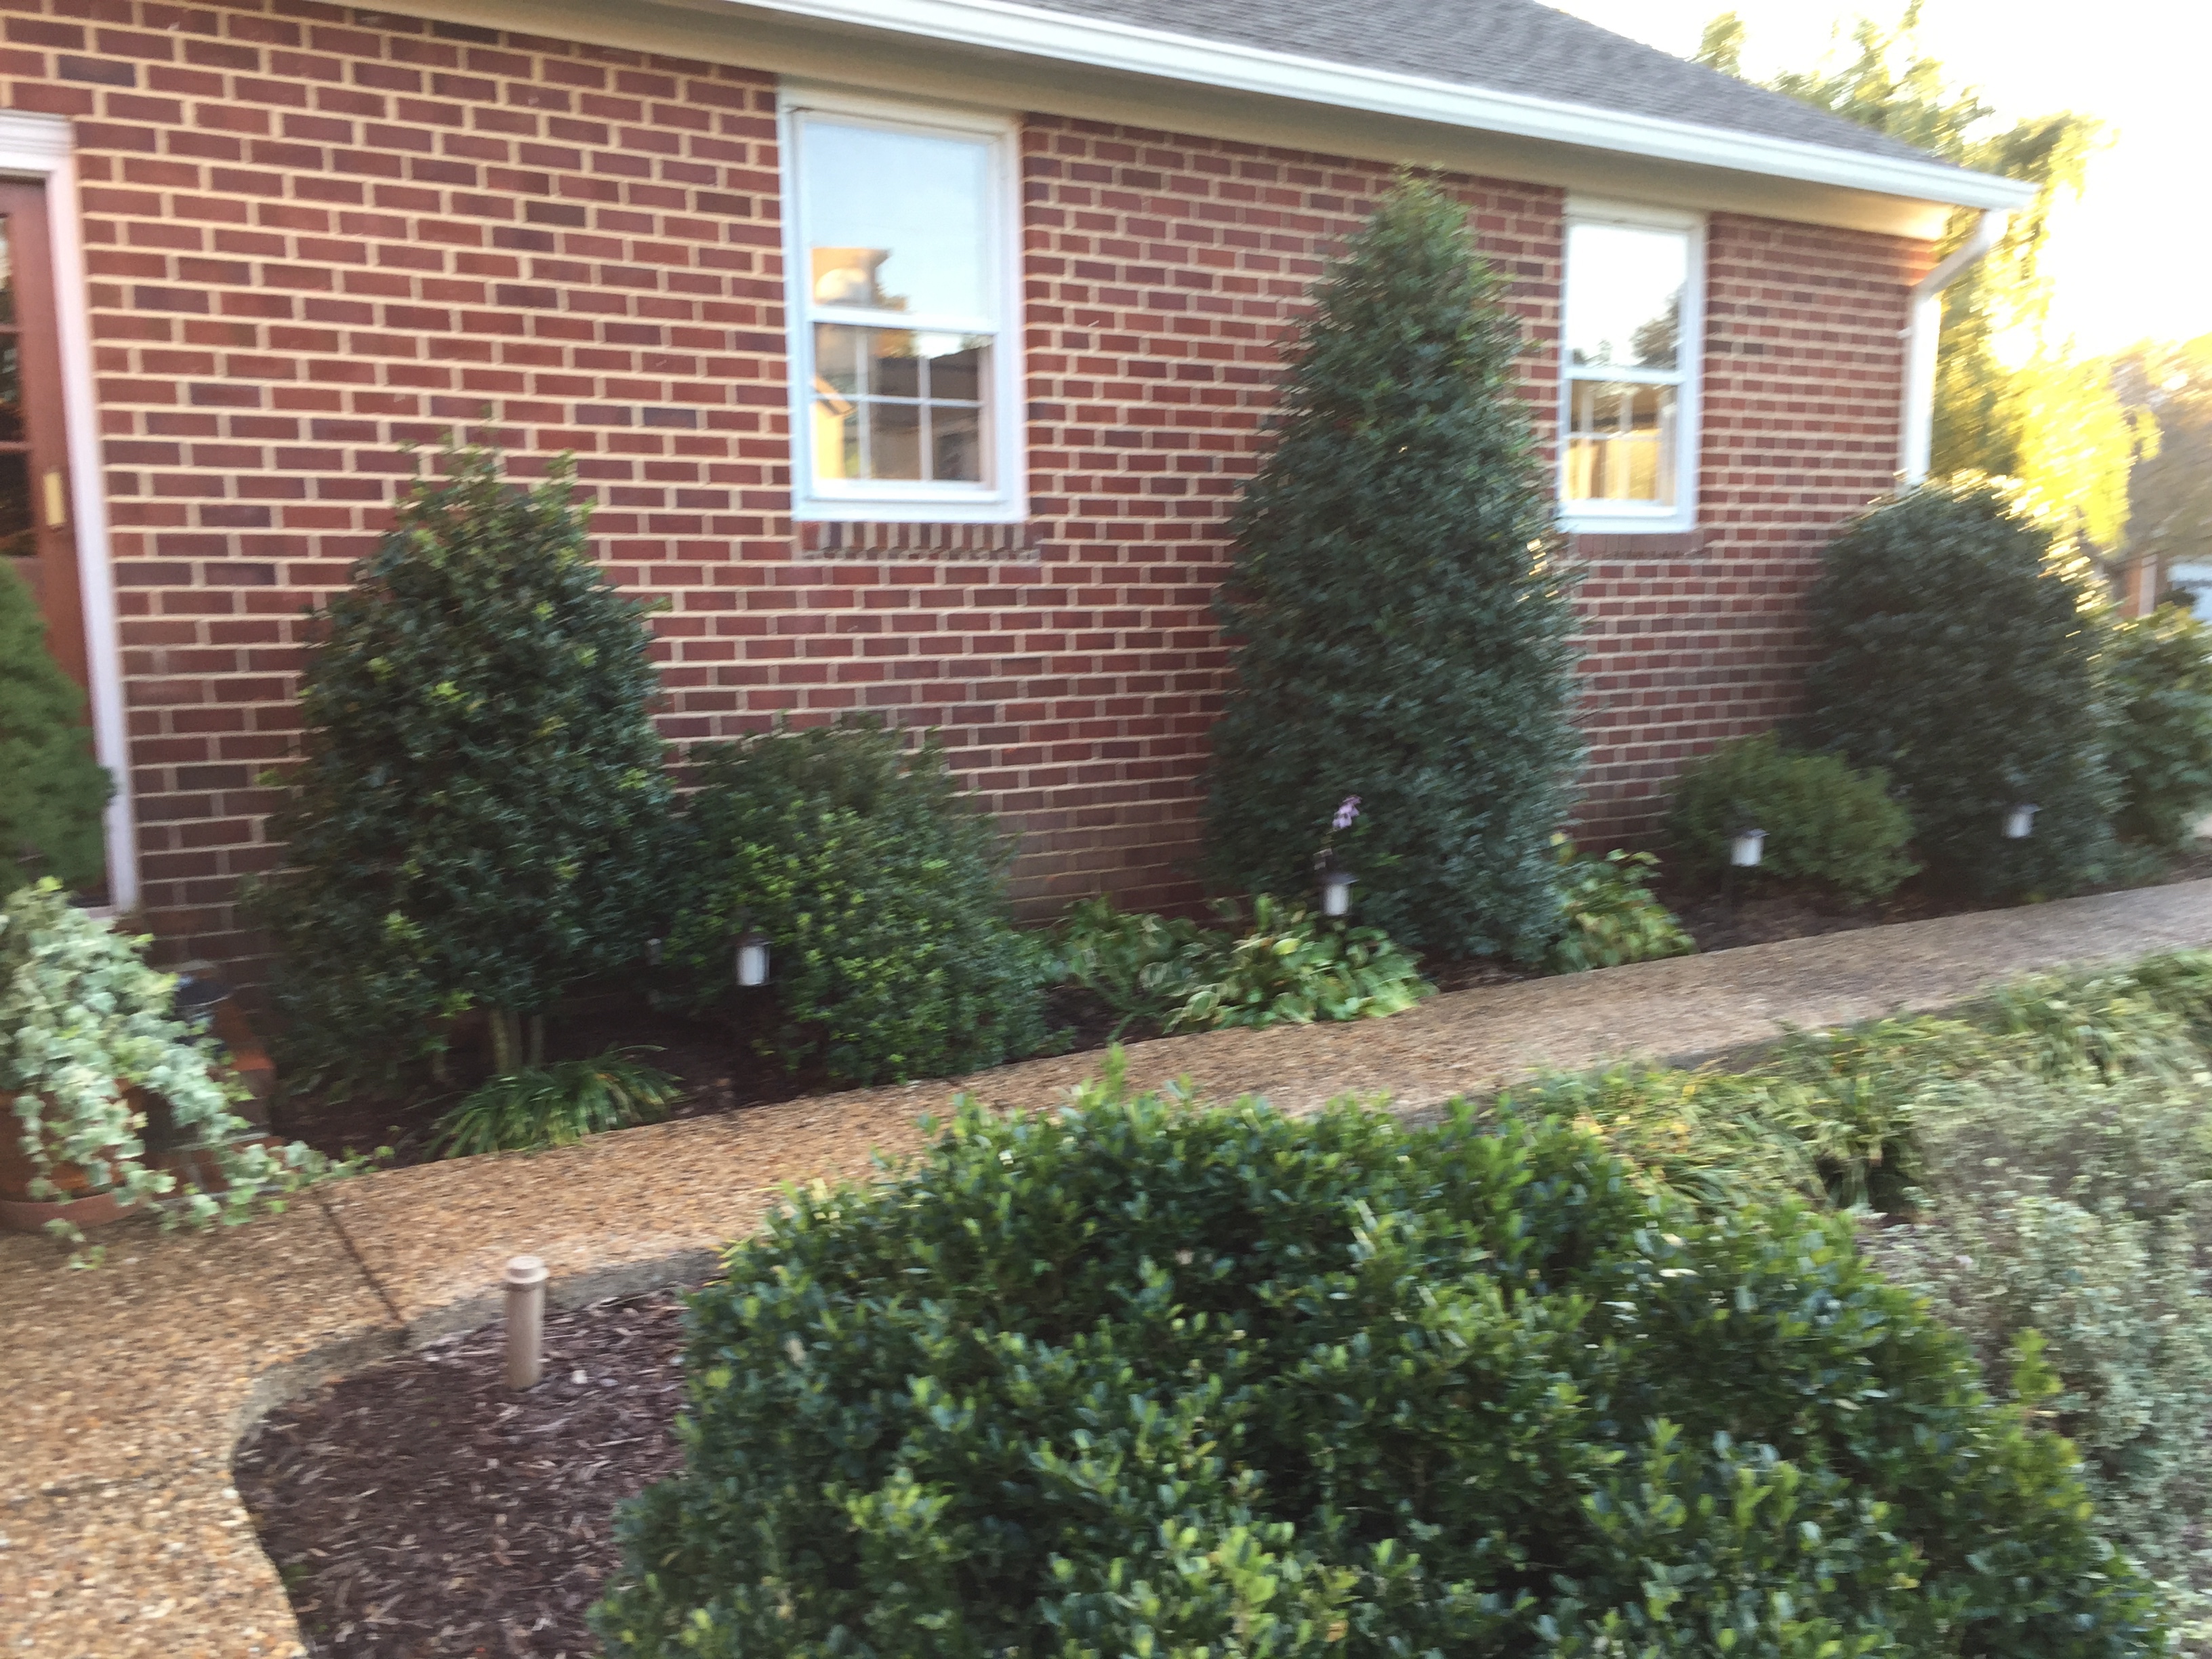
Here is another area that I edited. It had become crowded and one of the bushes had died. I balanced out the azalea bushes on either side of the Holly tree and divided and replanted the hosta in a wave. An edit every few years it helps to keep things fresh.
Last fall I did manage to finish re-making the planters and arbors and reinstall them. Using the leftover lumber from other jobs that I had stored in the garage, I added extra posts so that the planters could be used as privacy panels (hiding the less-than-pretty necessities that are stored under the deck). Then I planted the rose bushes, which had been in pots before, and divided and replanted the liriope to fill out the garden. Also, five other areas of the garden were edited and simplified. Plants had grown so out of bounds over the years, and it was time to selectively remove and transplant many to new locations. Now there is some breathing room, with nothing crowded. I added another three cubic yards of mulch to spruce up the beds, and then the cold weather set in.
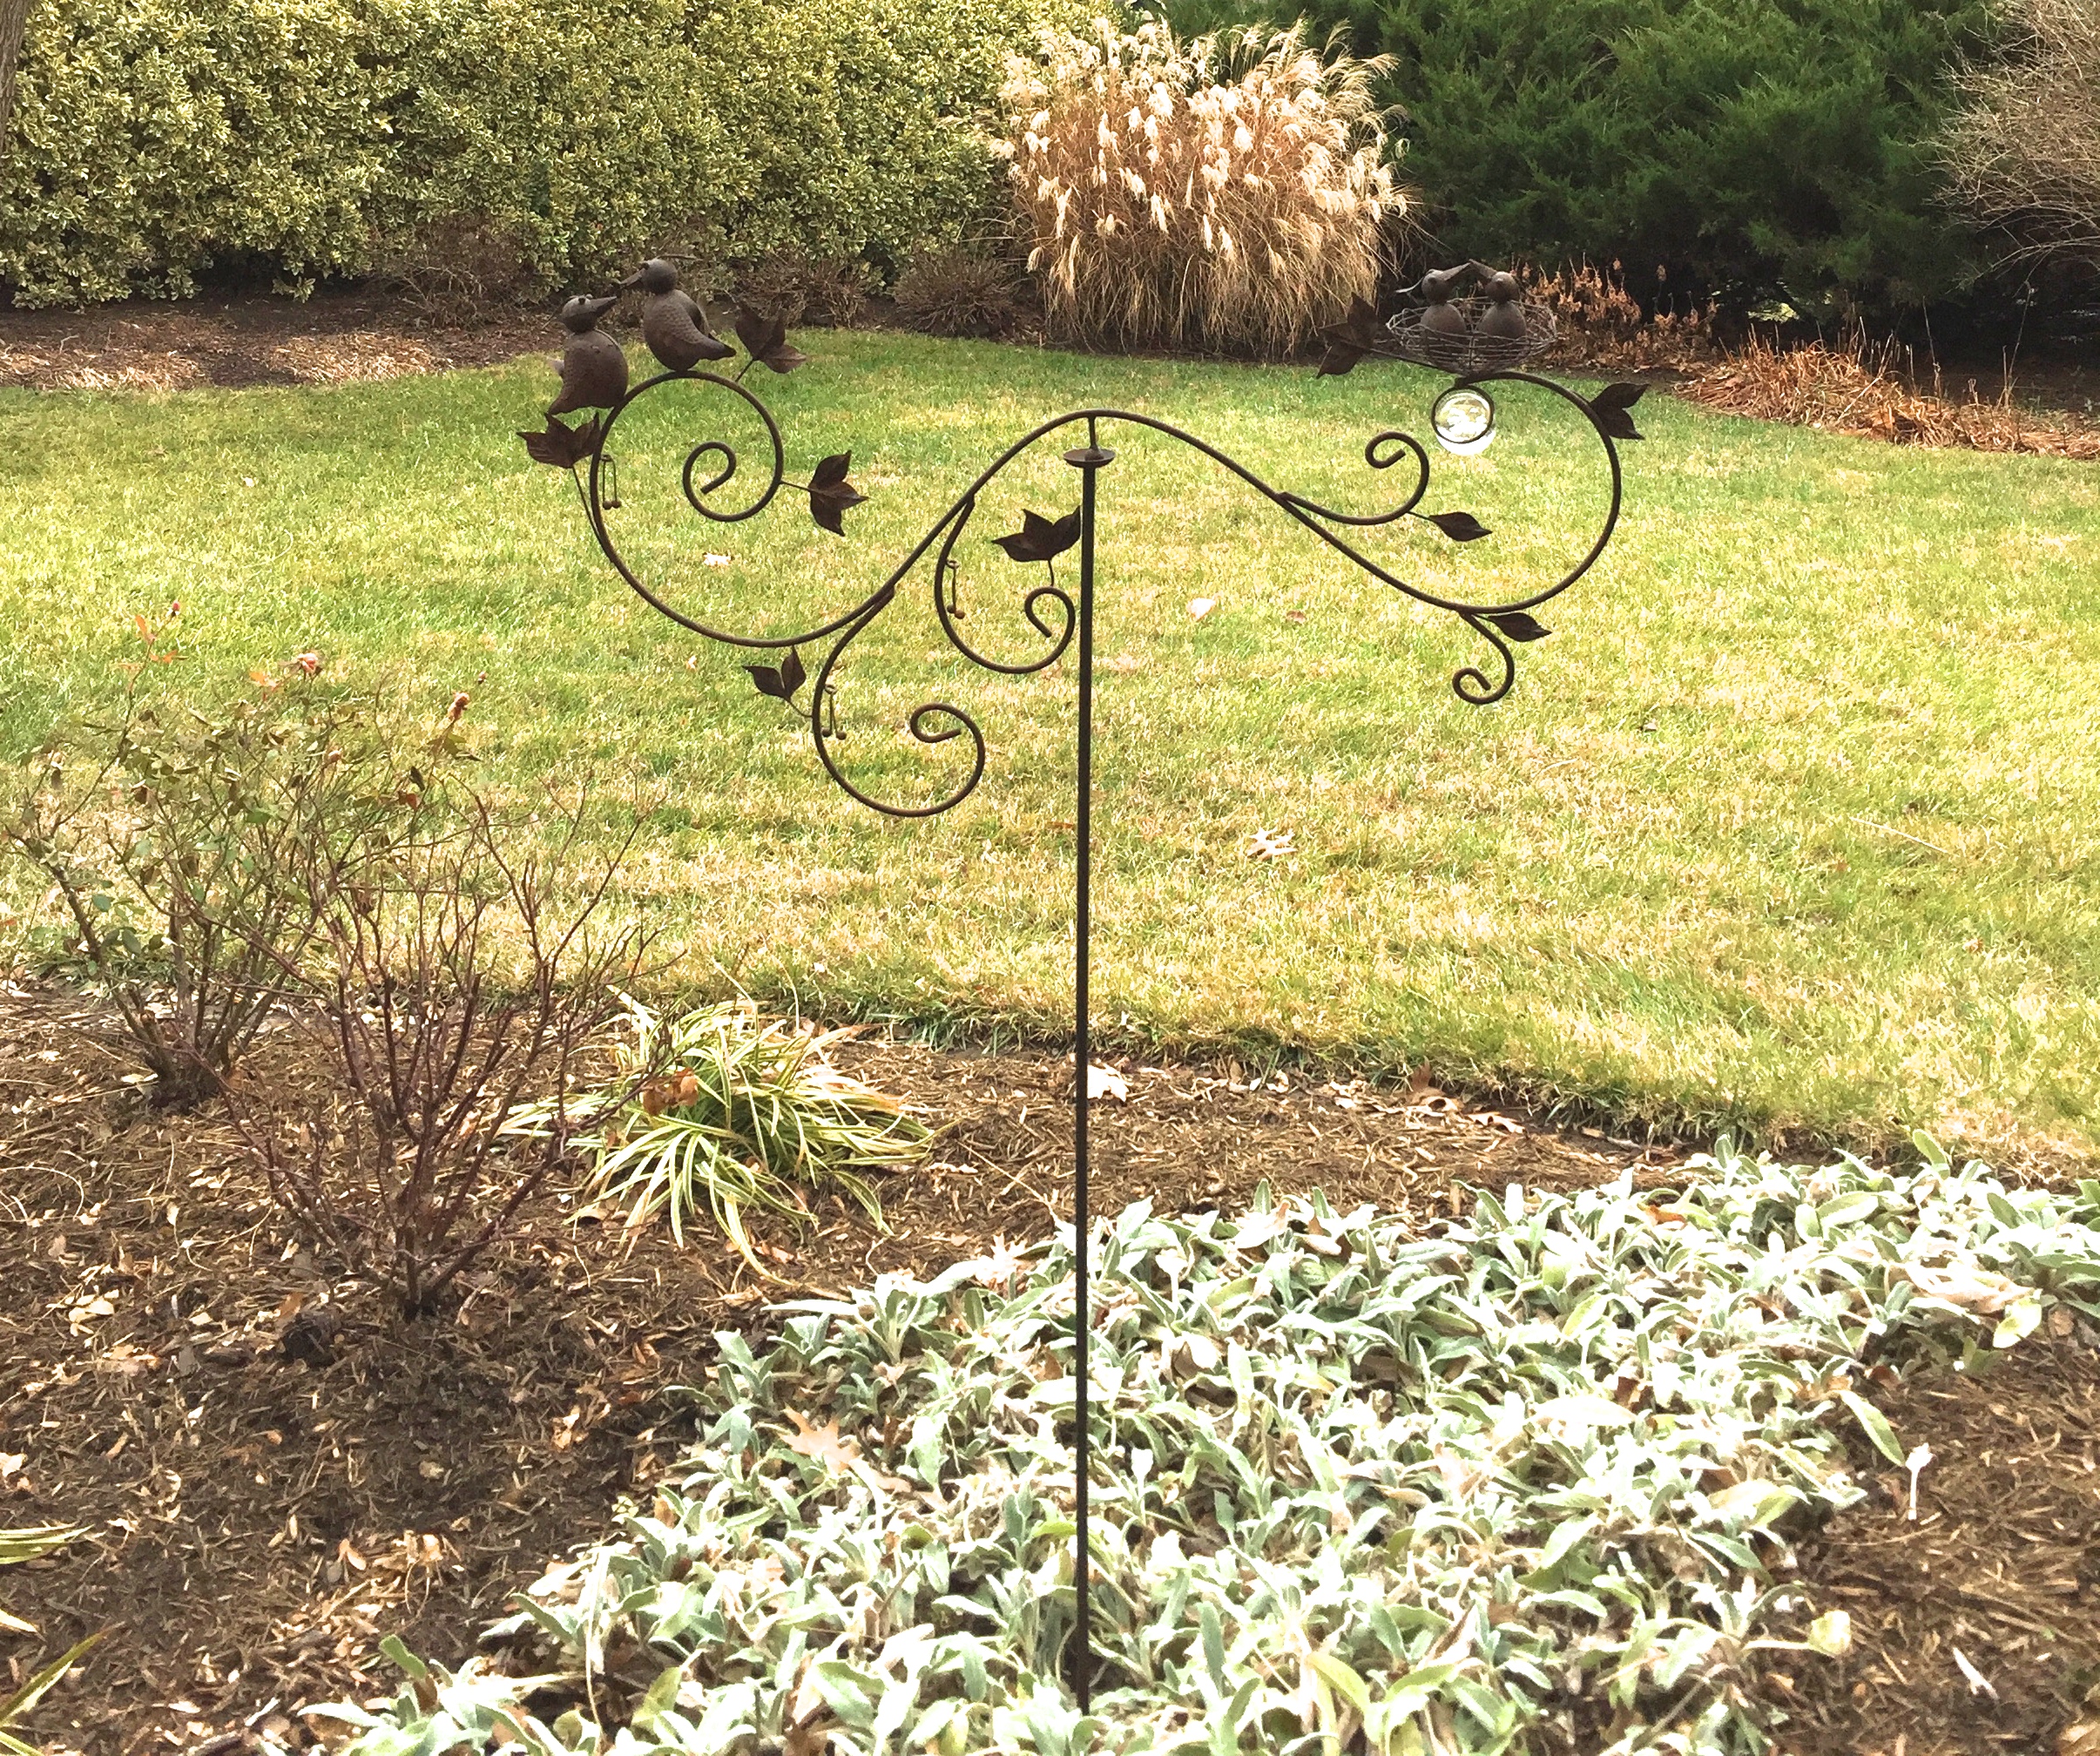
This fun garden ornament that I was gifted has so much personality. It spins and bobs in the wind! I would love to incorporate a few more interesting things throughout the gardens like this.
On the creative side of things, I’m looking forward to making some stepping stones to access some of the deeper garden beds more easily.
Lastly, I received a really fun garden ornament from my sister, and it adds so much personality to the garden. Thank you, Tracy! It makes me want to incorporate a few more special things to spice things up! More on that later…
What are your goals for 2017 out in the garden? I’d love to hear!