Archive for Gardening Tips

Small Edits for a Big Impact

Hello, my gardening friends! It is June already, and I’m sorry to have been out of touch for so long. Life has a way of doing that here and there. Today I’d like to share some quick edits I have been working on this spring that have made a big impact on our home’s curb appeal.

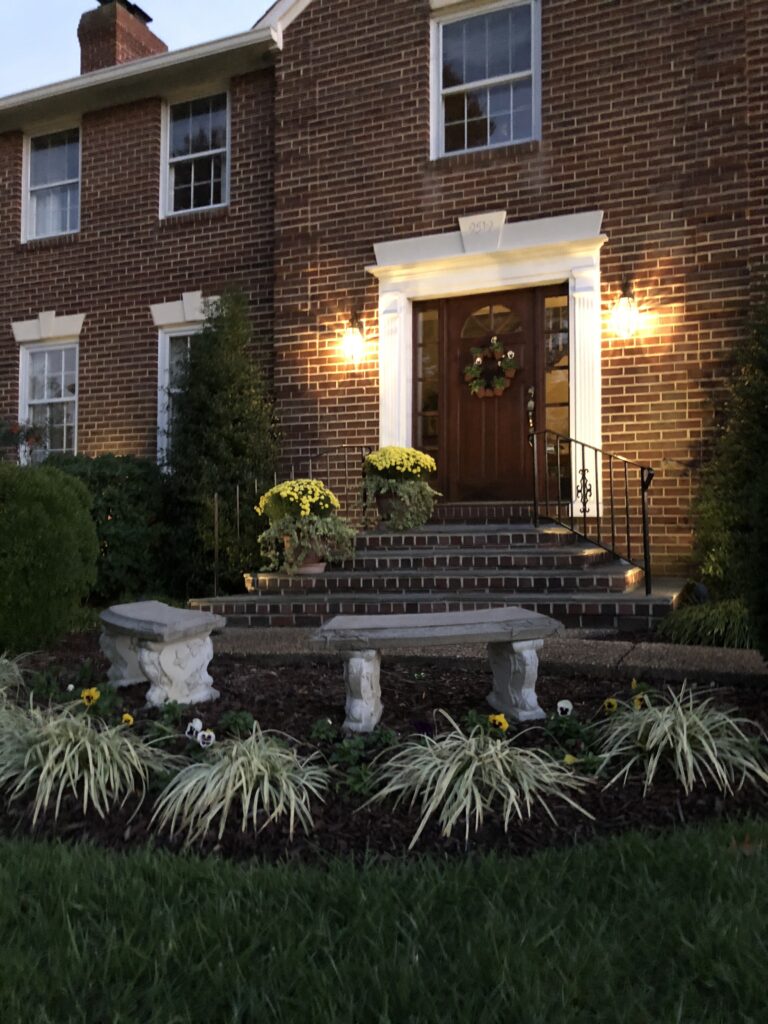
The first thing I did in my line-up of edits was painting the pediments above the windows and front door. Sometimes just highlighting an existing architectural feature of your home can add just the right amount of emphasis. After running out of good weather last year, I was finally able to get to the repairs needed to the bricks and bluestone on the front porch, then followed with lime washing the stair risers on both front porches. Finally, sanding and painting the iron railings added some needed safety and I love how the glossy black railing stand out in front of the white backdrop. These were the finishing steps in the lime washing of the whole house that I started last year. Getting these done brightens up the front entrance immeasurably, and as much as I had fun, it feels great to check the box “done” on this huge project.

Next up was to add two more window boxes to the front of the house, for a total of four. The two largest ones I’ve had for years — one on the window above the front door and the other at the zig zag of the front walk. I added the two new ones on the front side of the garage. (They were given to me by my sweet daughter of choice! That makes them even more special.) For continuity, I filled each of them with botanicals and flowers in the same color combinations. There are more in pots on each of the front porches. Adding a bright splash of color is one of the quickest and best ways to amp up curb appeal!
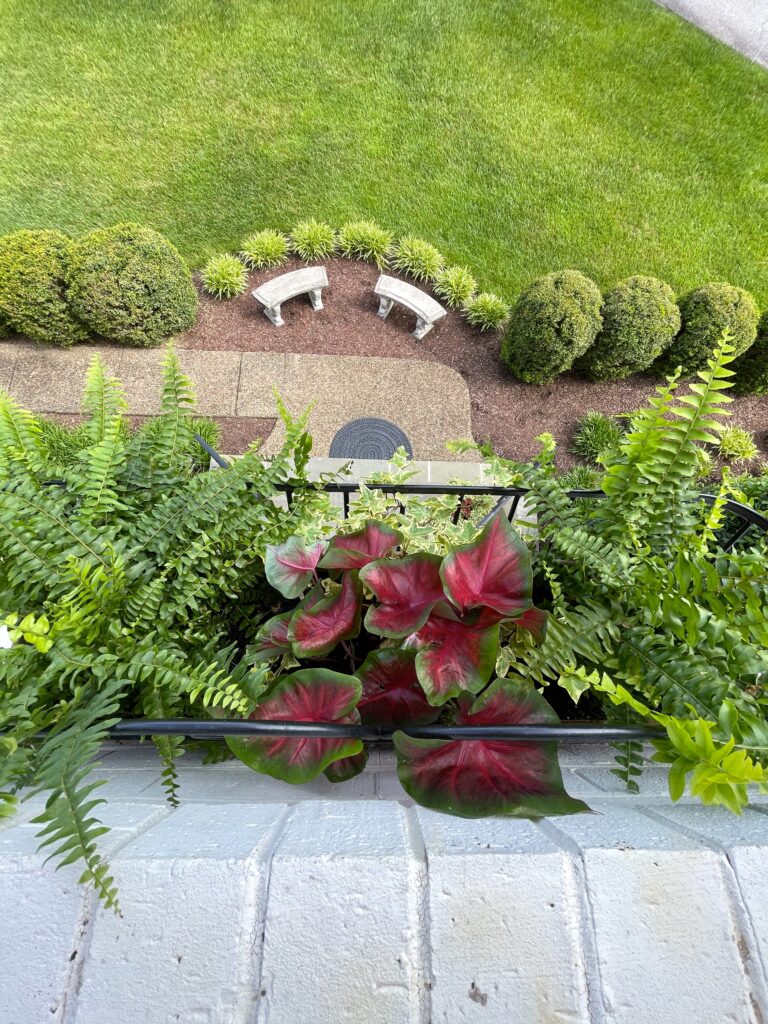
Here’s a bird’s eye view of the window box above the front door. I filled it with Boston fern, caladium, and variegated ivy.
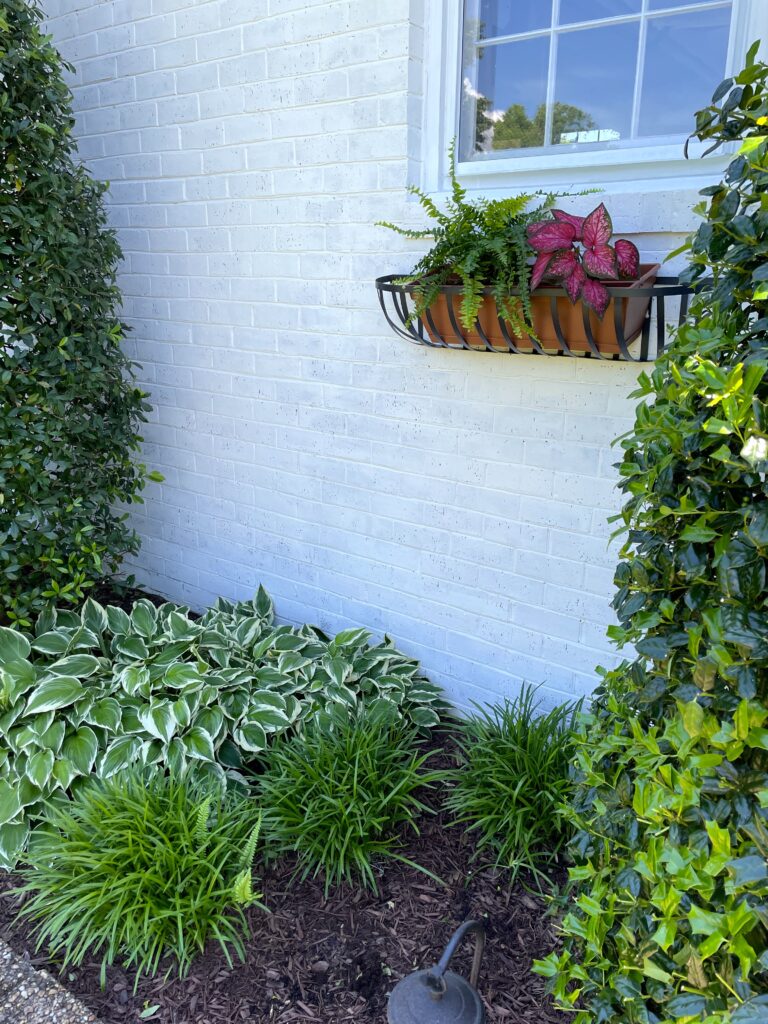
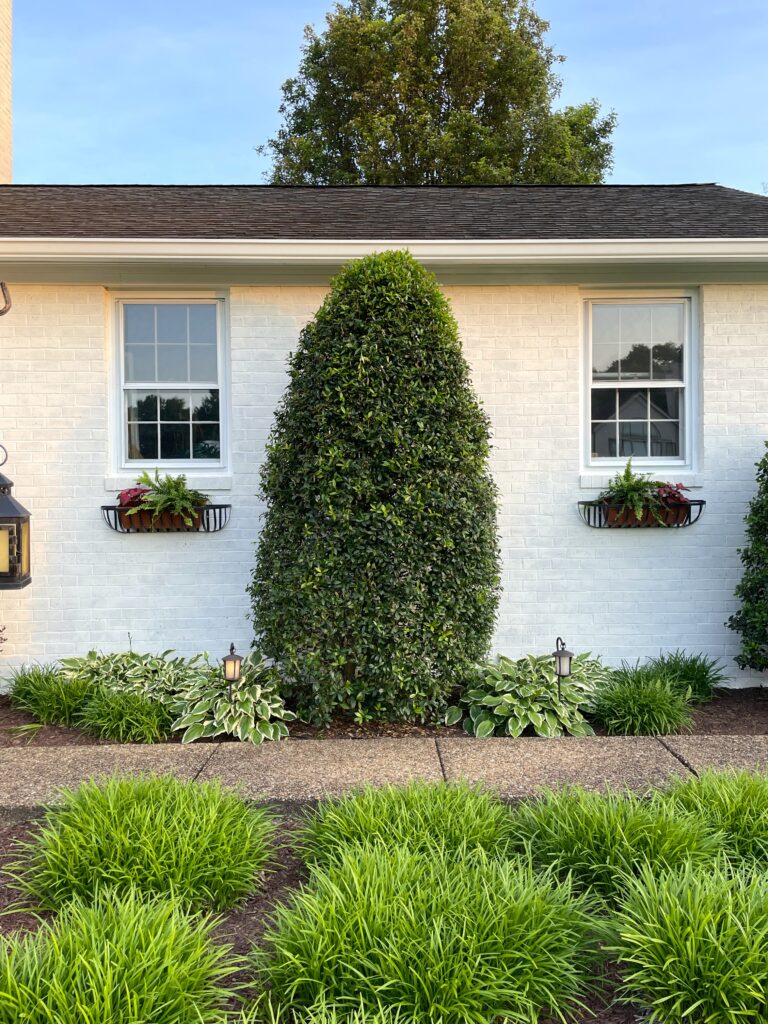
The two window boxes on both sides of the garage were each filled with a Boston fern, and caladium. Here’s a photo from further back, so you can see the effect.
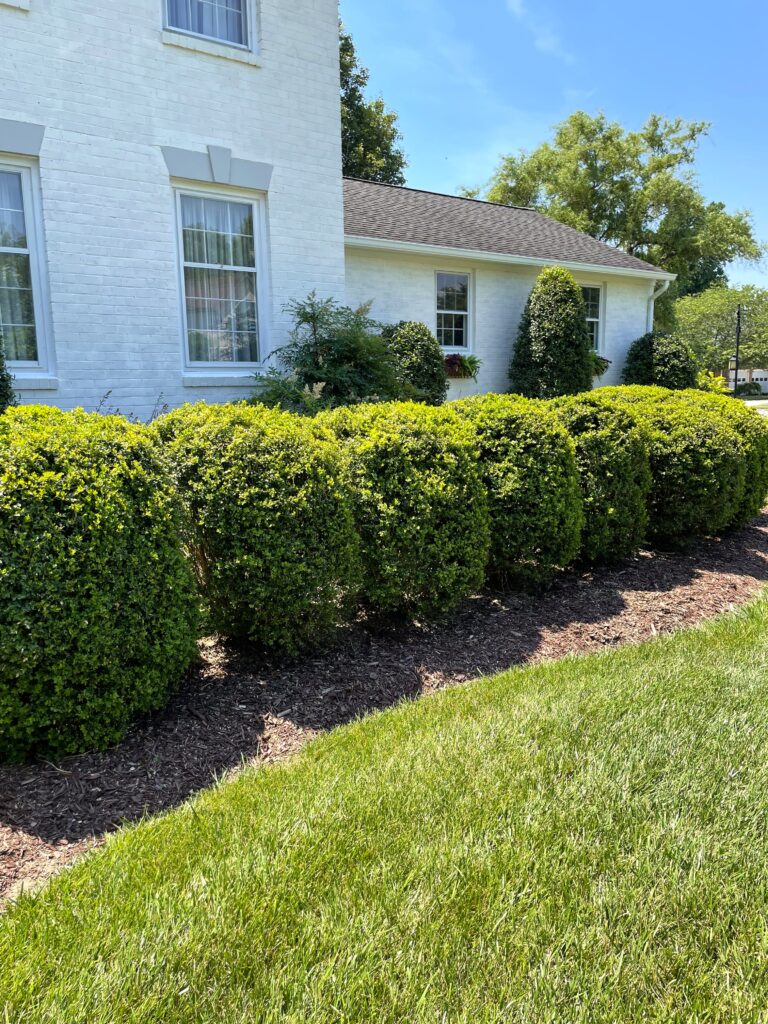
Also this year, I spent a week shaping the boxwoods and hollies. It makes a huge difference in the curb appeal to finally give the boxwoods a uniform height and symmetry! They had damage from snow and burn from chemicals (overspray from a roof cleaning) a few years back, both of which took a while to fill back out to a point where they could be shaped again. It’s a long process to get them uniform, but just take your time, and stand back every few minutes to check your work. It is gratifying to see them all uniform again, after seeing them looking sort of like lumpy blobs as they grew out the damage. And while at it, putting a nice edging on the gardens seals the deal.
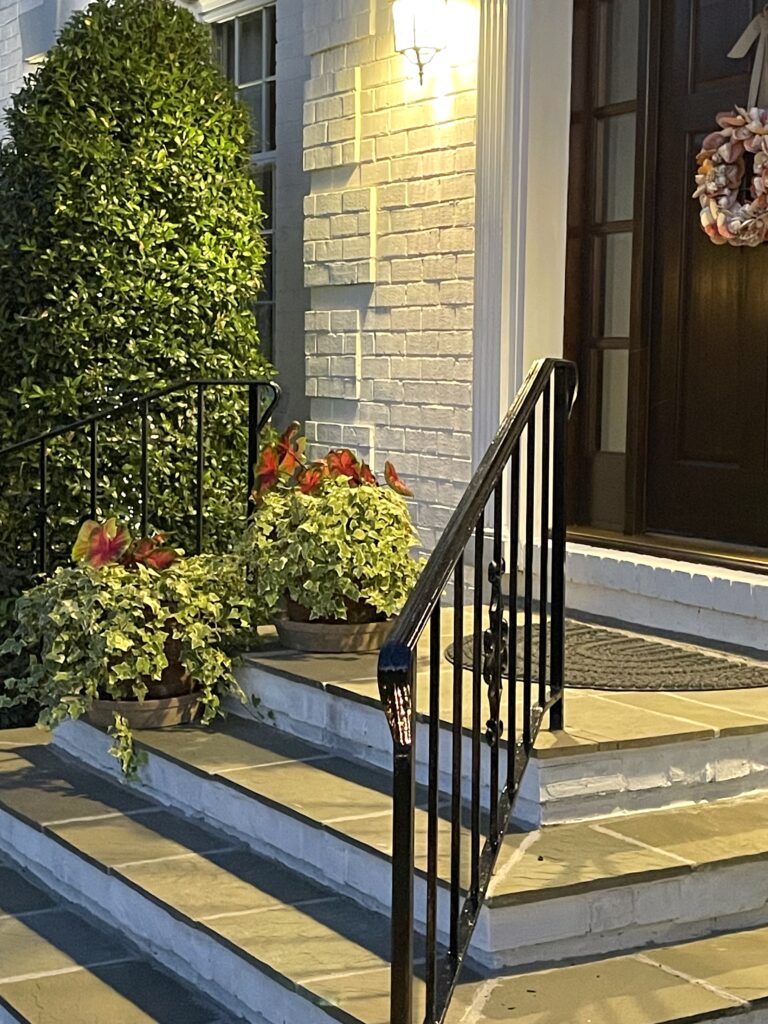
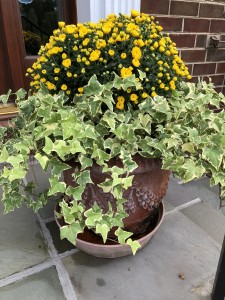
Above is a close up of the big pots on the front porch. Each were filled with caladium and variegated ivy. You might remember these pots from the last several years. I leave the ivy in them and swap out the flowers in the center each season. This ivy has been with me for at least 20 years or so, it creates the perfect “spiller” in a planter, and it’s easy to divide and transplant if it gets too large.
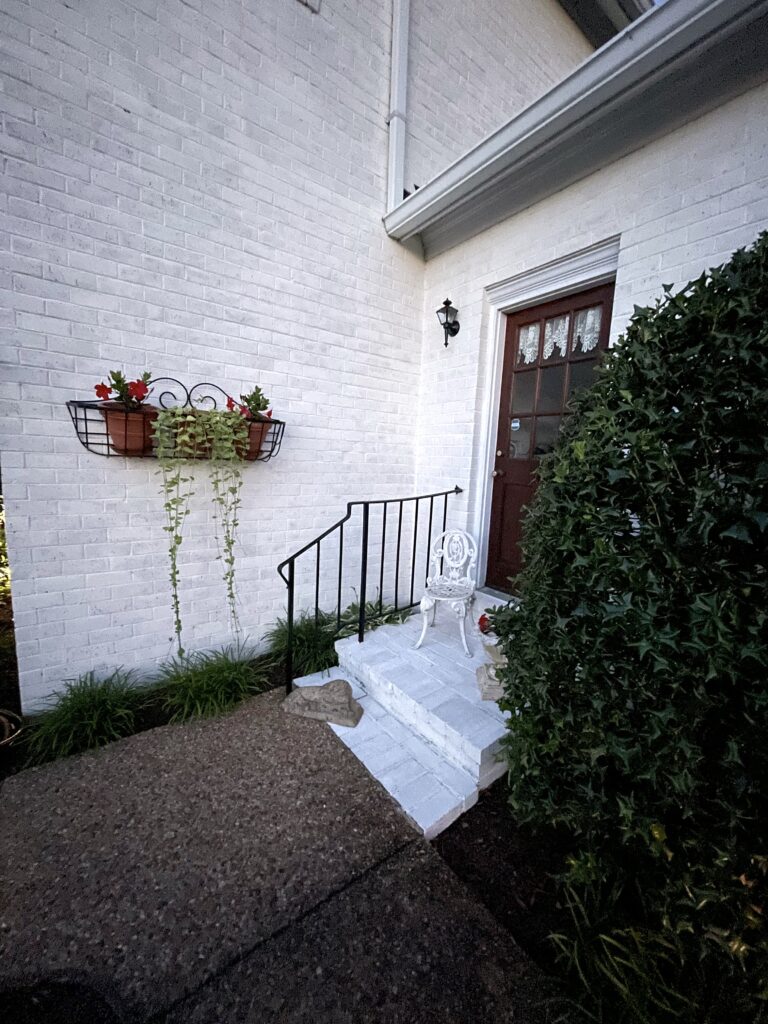
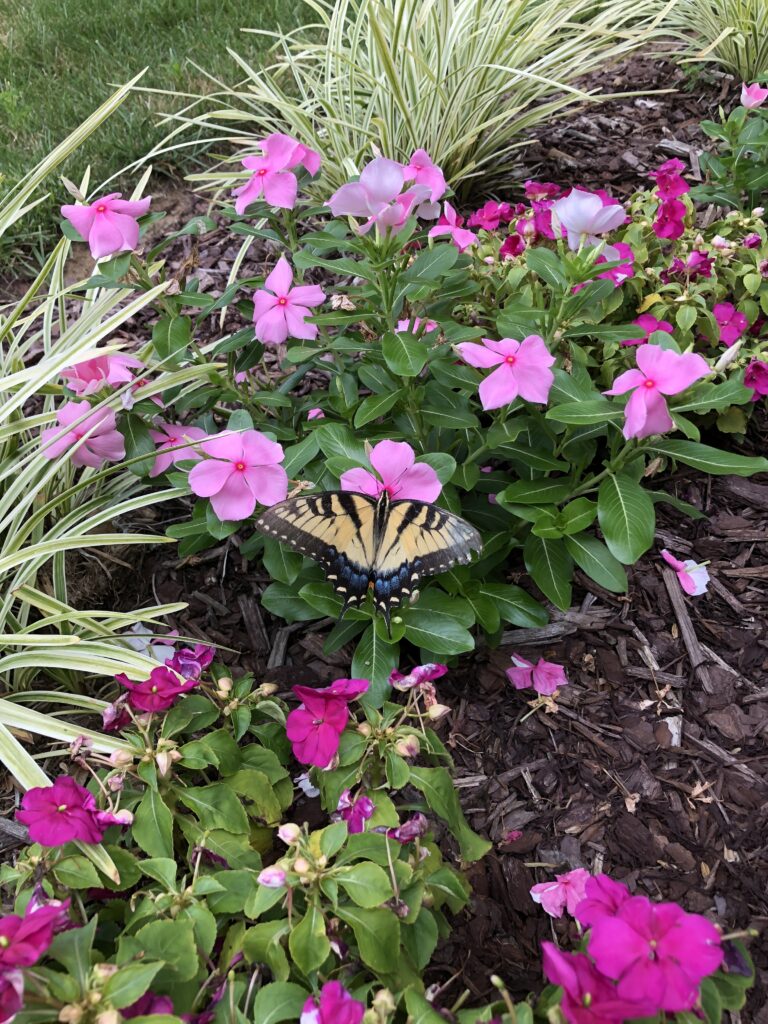
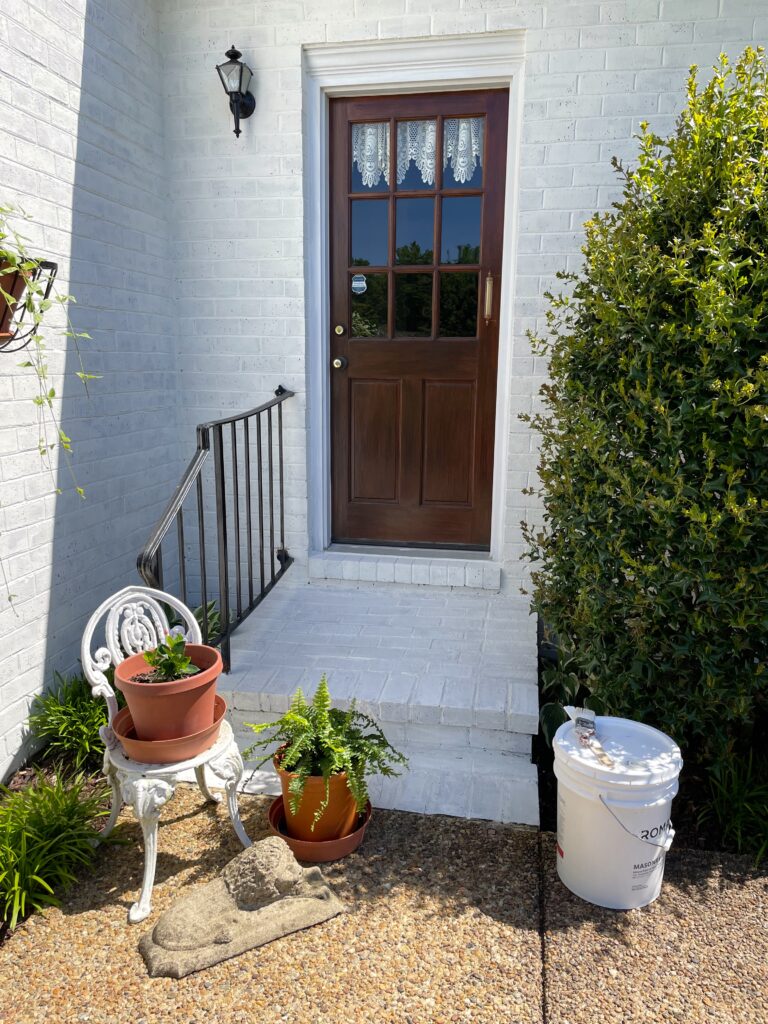
This window box at the zig zag of the front walk and mud room porch has coordinating flowers and trailing vines of mandevilla and vinca. Below is a better shot of the mud room porch. I know I say this a lot but, it’s amazing what a difference paint can make!
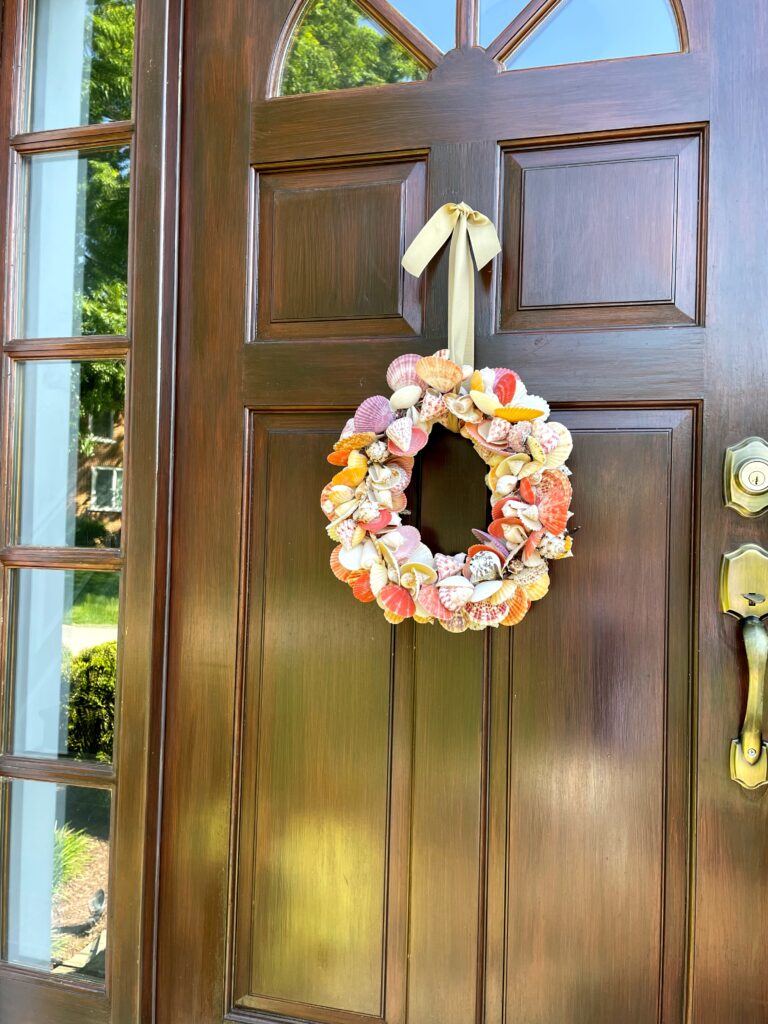
Another quick edit was changing out the wreath on the front door to a summer wreath. Adding a wreath is like adding jewelry. It’s an accessory that can showcase what your interests are. I love this shell wreath. OK — I love anything with shells, LOL!
I hope this leaves you with ideas you might incorporate at your own home. Some time invested a little bit here and a little bit there, and you will have it done! And as always, Happy Gardening!

A Winter’s Day

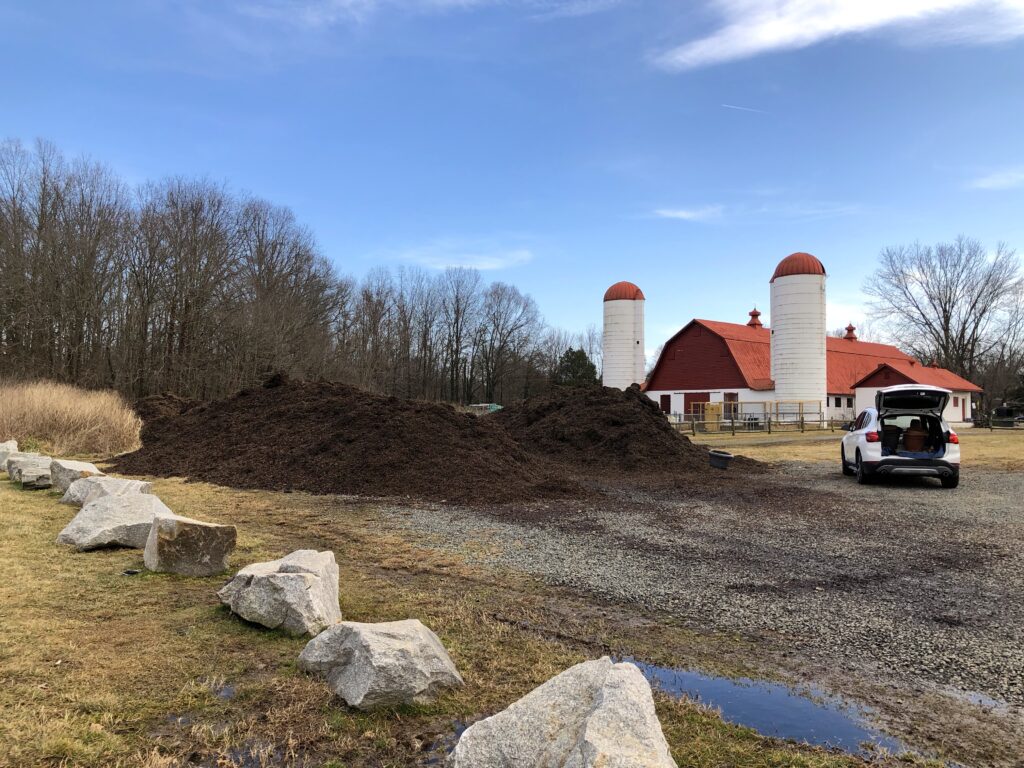
This winter has been long already. We seem to have been getting rain, snow and/or ice almost every other day, oddly interspersed with days close to sixty degrees. On those nice days you know where I’ve been! The garden calls me. I’ve been trying to get a jump on freshening up all the garden beds by getting rid of winter weeds and stirring up the existing mulch, and as luck would have it, the county park at the top of my neighborhood just had a delivery of compost. My favorite! LOL!

I’ve already managed to bring home six car loads to amend the soil. What a difference it makes. In the spring when the grass starts growing again, I will add some additional clippings and stir it all in. This makes the absolutely perfect soil for flowers, veggie gardens, and young foundation transplants. I highly encourage you to check with your local county office and inquire if they also have a compost/mulch program. Some even will deliver to your home for a small fee. Ours here in Fairfax County doesn’t offer that, so I collect my own in large flower pots. They are easy to fill, and not too heavy to carry to wherever I’m spreading it in the garden. A two to three inch layer is perfect. Aside from dressing up the garden and providing nutrients, finely composted leaves stay in place better than the bark mulch on hillsides. So if you have a yard with terrain, it’s perfect.

Just look at that beautiful compost! It is very popular with all the gardeners and disappears fast, so I keep an eye out for the deliveries. This is created from the leaves that are picked up in the fall on yard waste collection days. I’ve found that it is the best quality, and because it’s from local trees, it’s a great recycling effort. And did I mention – FREE!

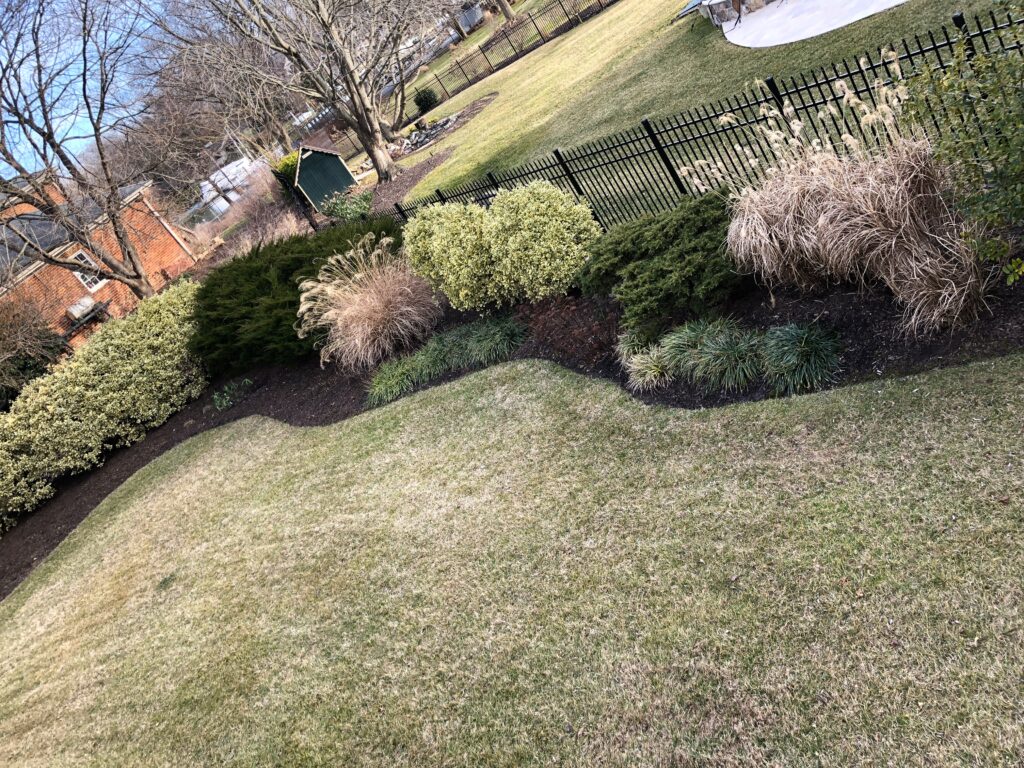
In between the snow and ice storms I’ve already gotten quite a bit done in my garden prep for spring. I still need to cut back the big grasses, liriope and sedums, but spreading the compost makes it look fresh again.

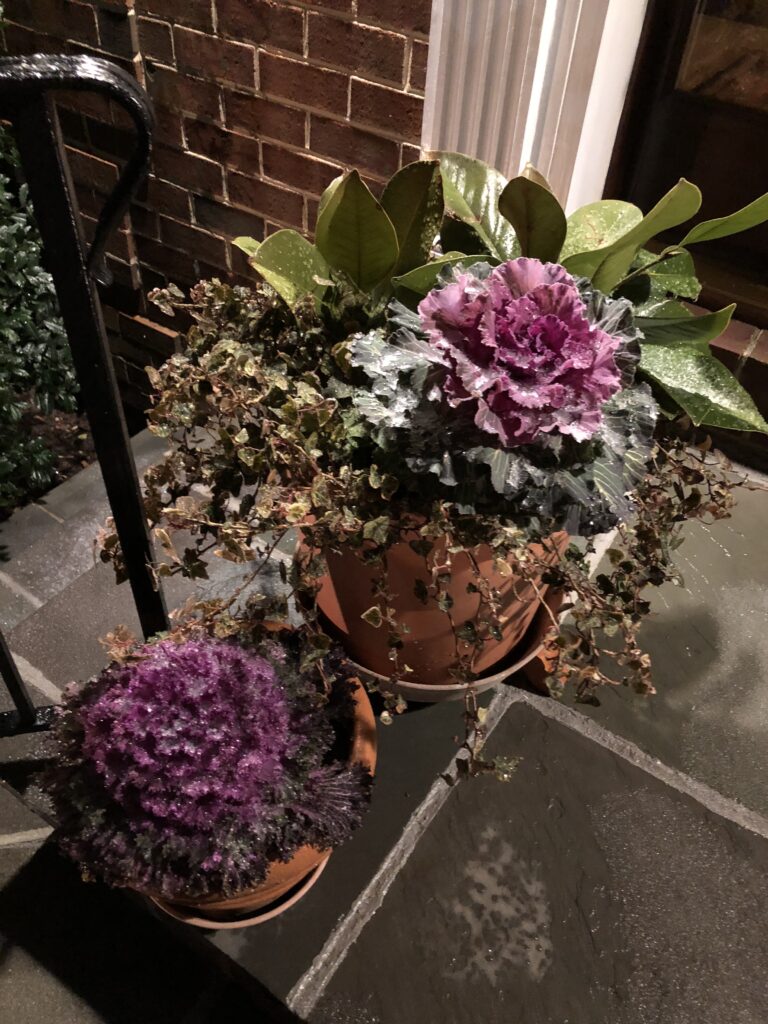
I even use the compost in my large flower pots. These cabbages were from my fall display, but I have them back on the front porch to brighten things up now that the Christmas decorations are packed away. I love to fill them out with additional magnolia leaves, where the mums were originally. Anywhere you would ordinarily use potting soil, you can use compost.

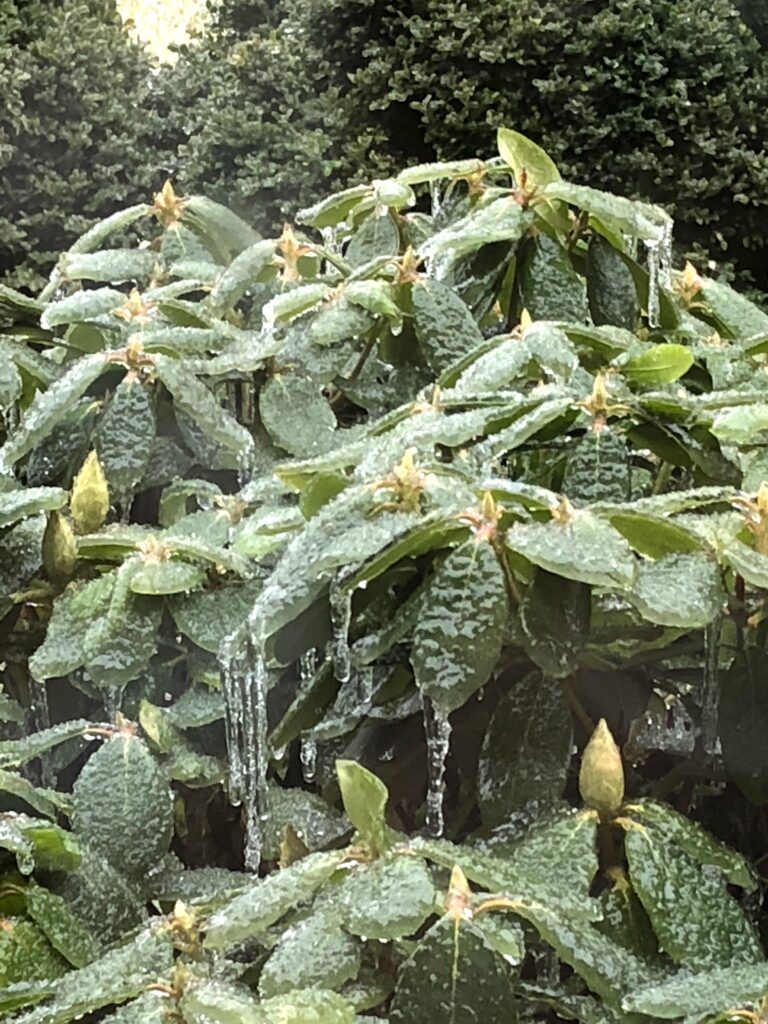
Here we go again with another ice storm! Back and forth weather like this can be very hard on plants. If your plants get covered with ice like this it’s best to let Mother Nature melt it on her own time. Knocking snow and ice off can break branches if you are not careful. Also, that nice compost I just spread around the garden will insulate the roots to prevent them from heaving due to freezing and thawing.

One more thing to do now that the trees are dormant: Take a good look from all sides, and see if there are any branches in need of pruning. This is the perfect time to do that, before they come back to leaf in the spring.

Another snow! If your garden borders the road like mine does, you might want to define the edge of your yard with large rocks or taller reflector stakes. That way drivers of snowplows will know where their boundaries are.

That’s all for this time! From our snow covered home to yours, remember that spring is just around the corner.

Time for a Fresh Fall Update

Hello, gardening friends! Are you loving the cooler weather as much as I do? What a change these last couple of weeks have brought. As you probably know by now, I am in love with purple, so I have decided to use lots of it this fall in my decorating.

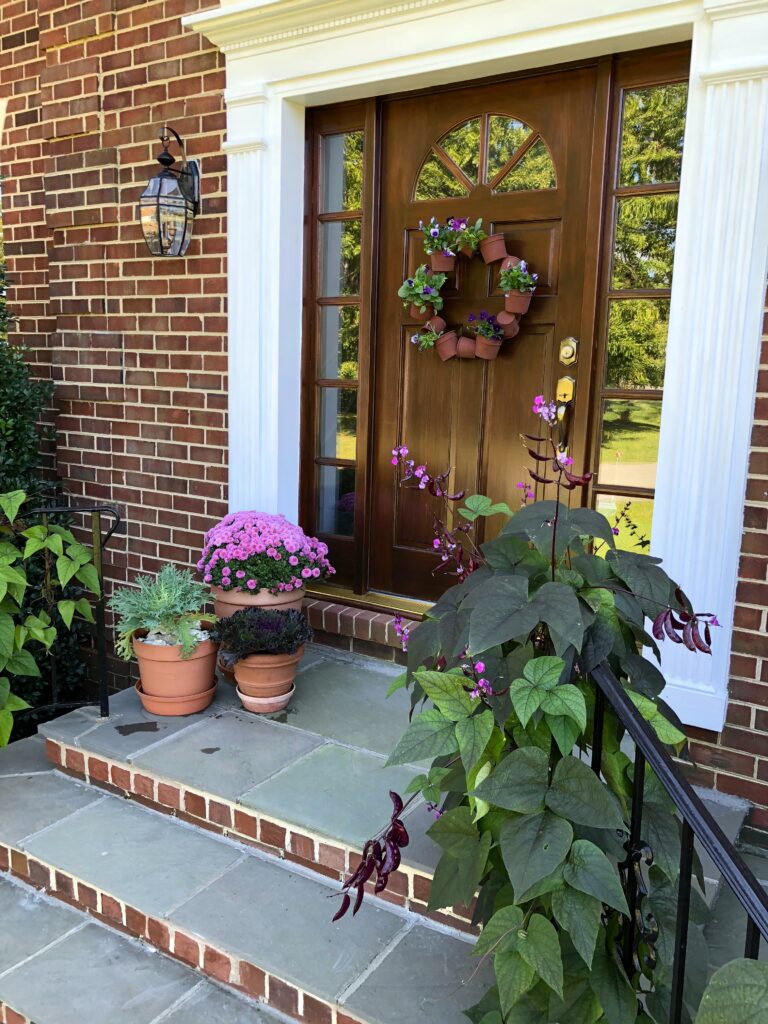
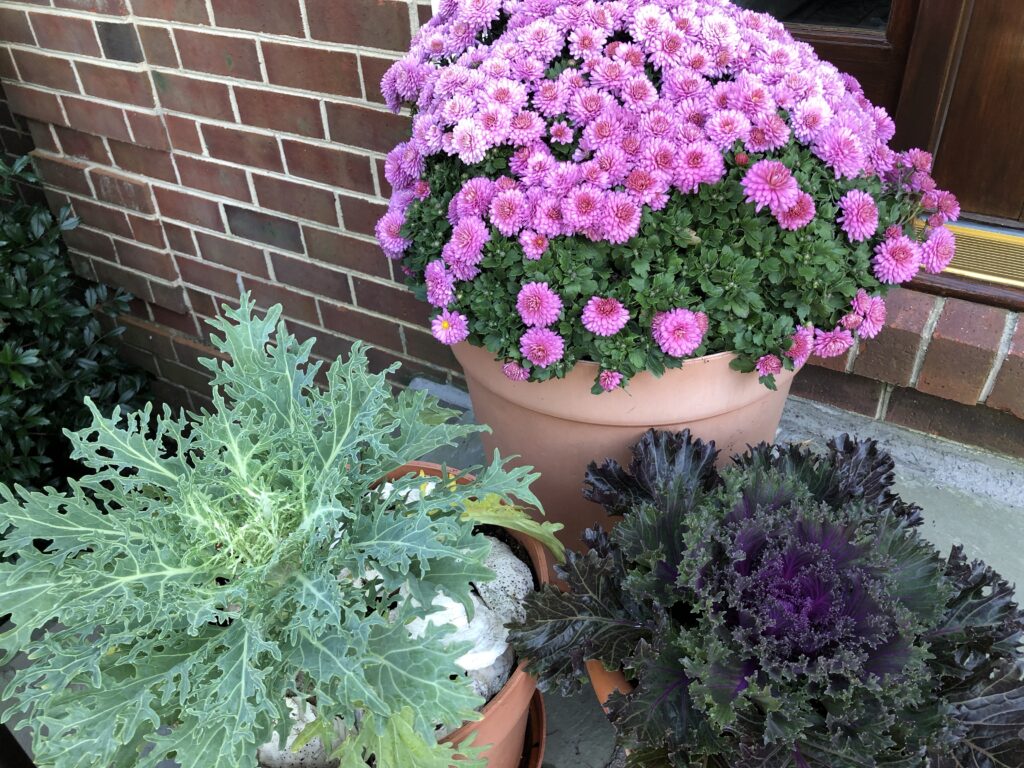
This fall’s decor has a purple theme: cabbages, pansies, violas, mums, and the star of the show, the hyacinth bean vines!
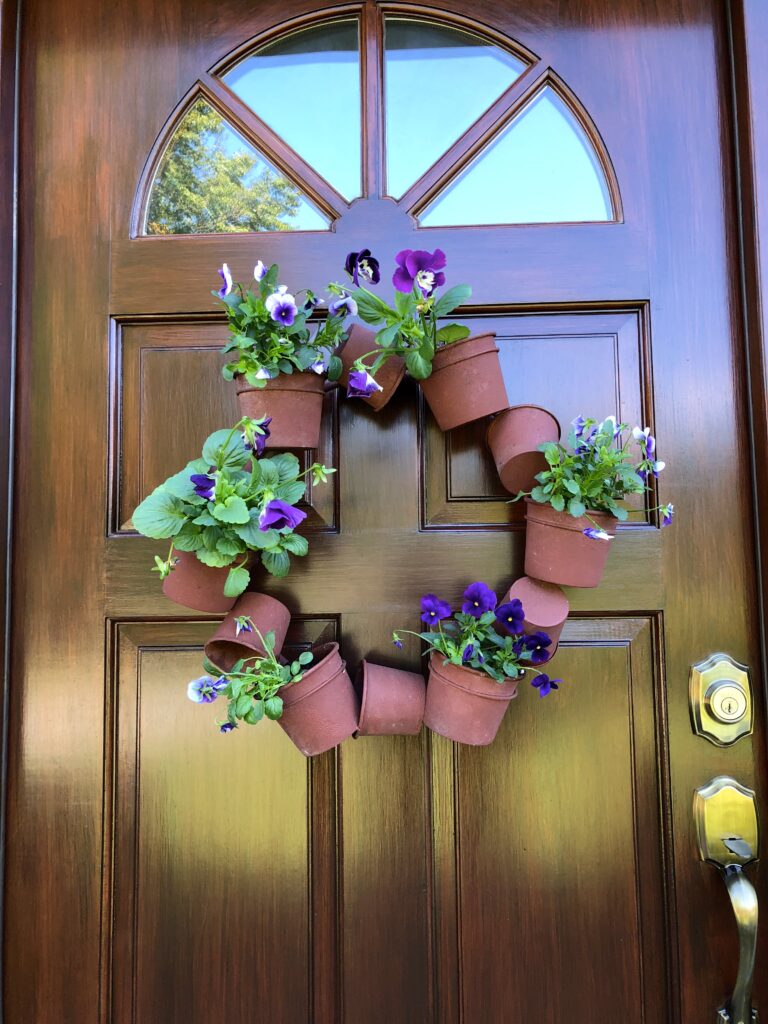
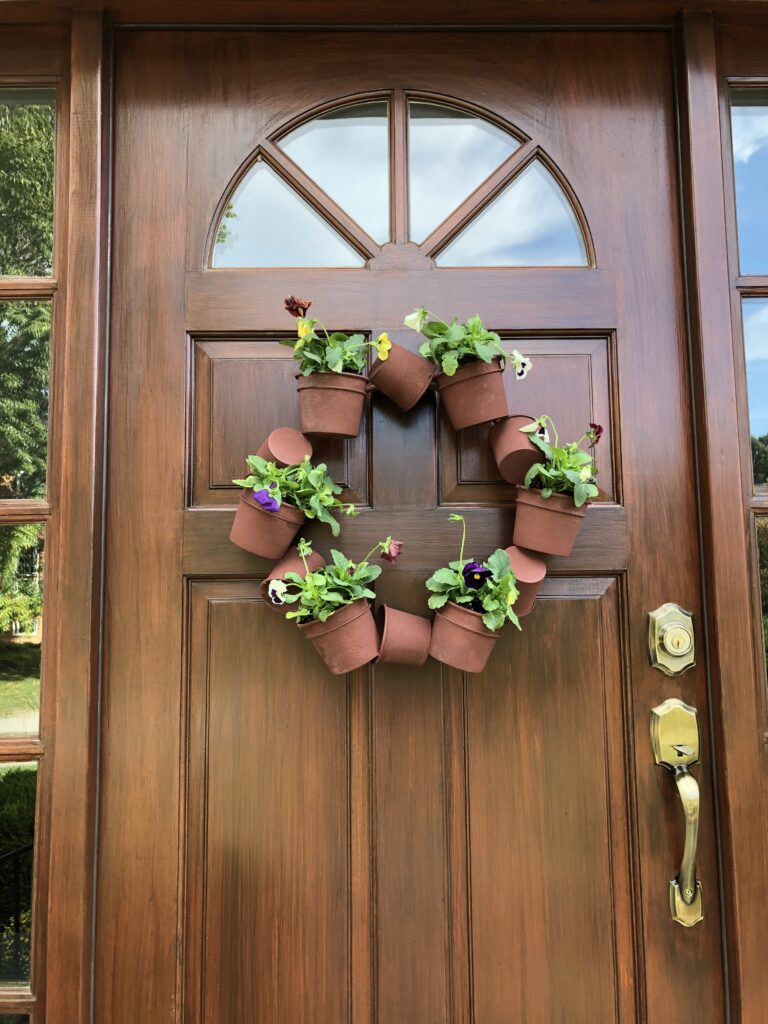
The front door got a fresh stain makeover, and I filled the wreath form with violas and pansies again this year.

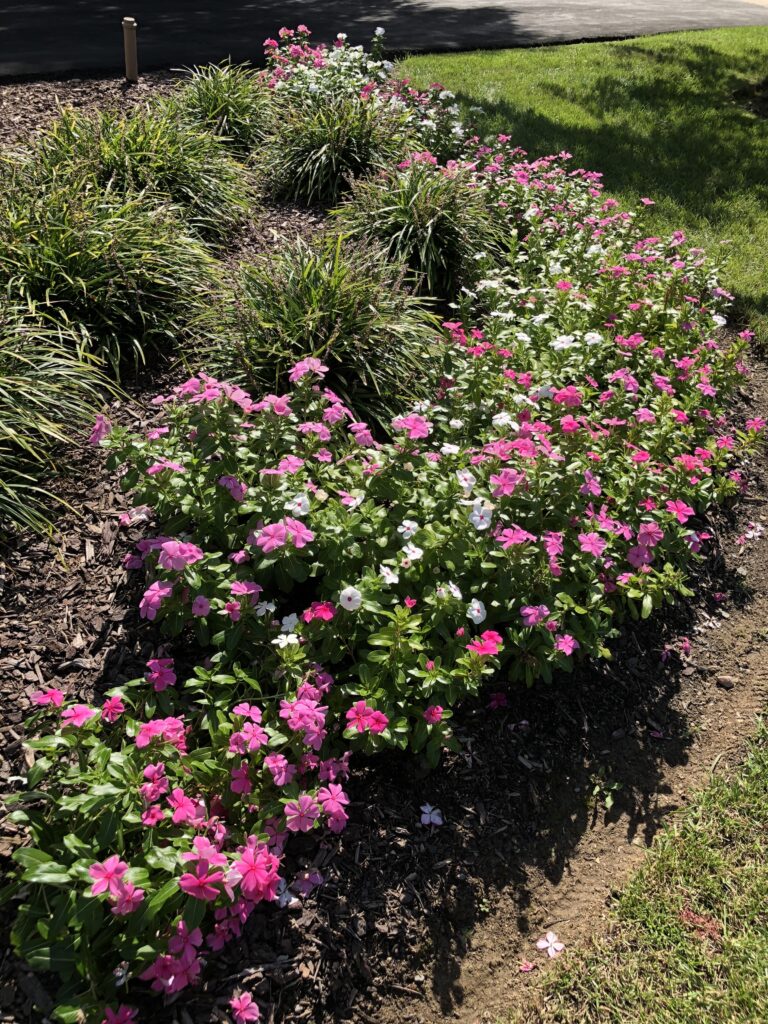
This summer I grew everything from seed. I have to say it was fun but much more labor intensive. This was my pandemic challenge to myself: to see how much I could save by using just what I had. I think the only garden supplies I actually bought this summer was one bag of fertilizer!

I grew lots of vinca and several hyacinth bean vines that I experimented growing in different ways. I’ll share more on that today. I also tried zinnias, which are usually super-easy, yet I failed at that one. I put them outside too soon, and there was a rainstorm which brought on a cold snap, and the whole tray got fungus. Lesson learned to just wait until it’s warmer! Everything else did wonderfully though when I started them a couple of weeks later.

Here’s this years bounty, all from seeds from previous year’s crops!
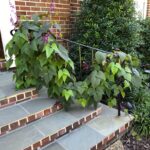
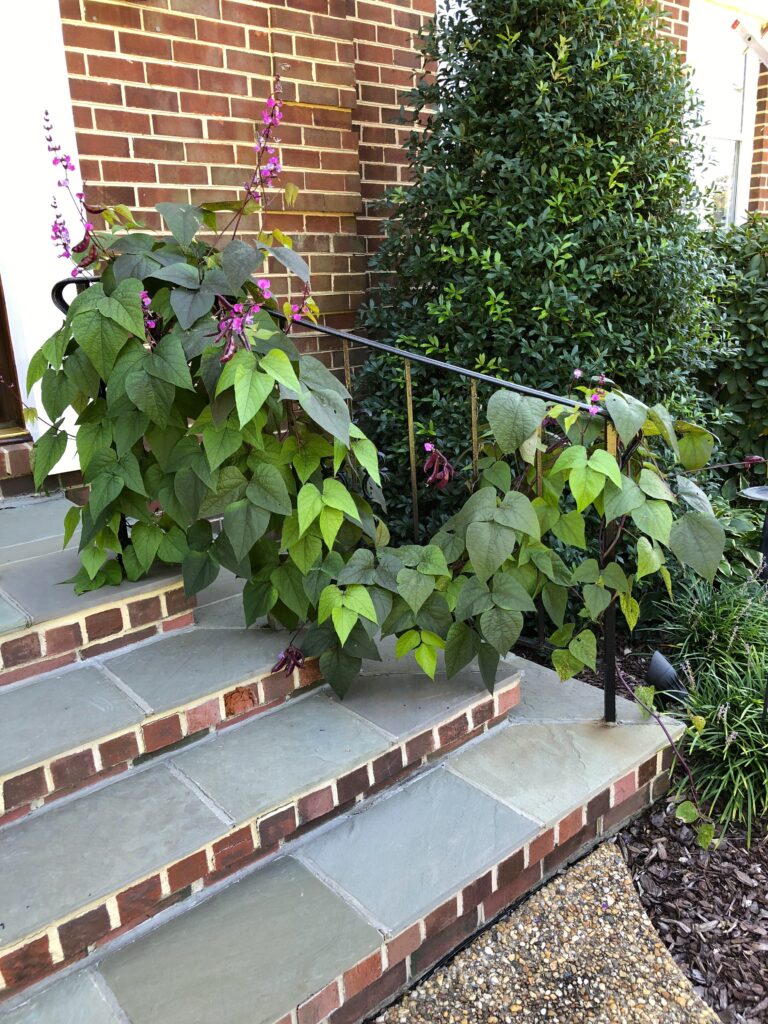
I trained the vines to look like living garlands on the handrails at the front entry just for fun, and they really look dramatic!
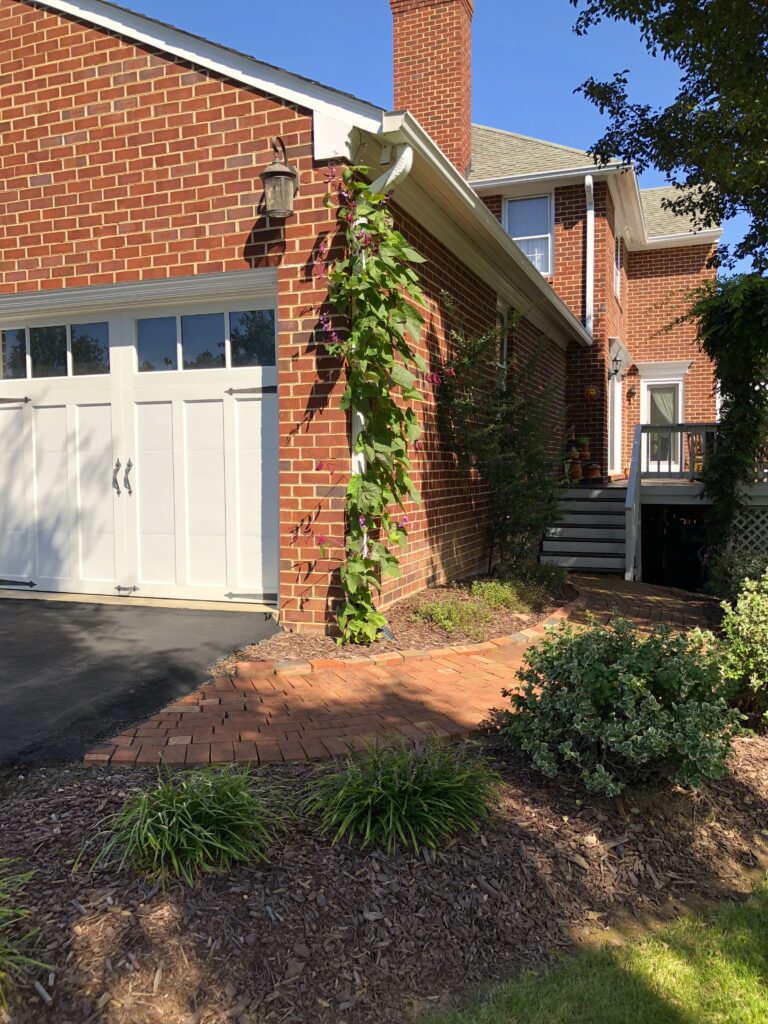
I also trained one up the downspout on the side of the garage. They are very showy, and now getting covered with purple pods which are so pretty. These are annuals though, and do not like it when the temperature starts dropping into the 40’s, so I’m enjoying every last minute with them!
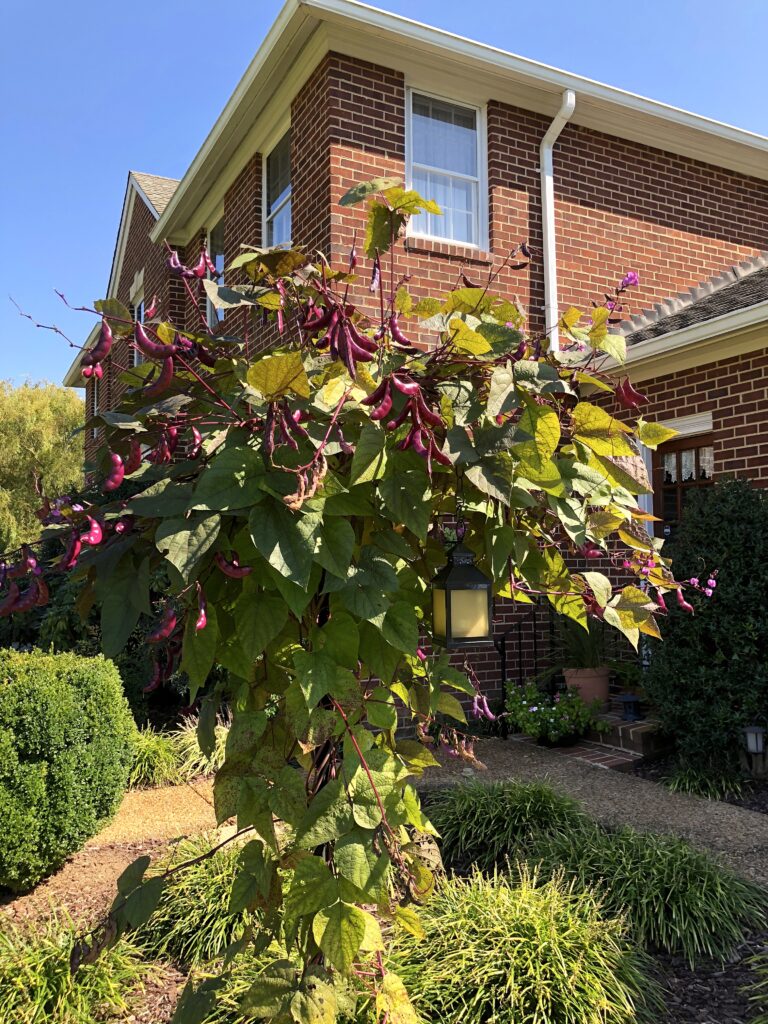
I also grew one on the shepherd’s hook along the front walk, where I have grown them for many years. As you can see they are getting lots of pods, so I’ll have many seeds to share!
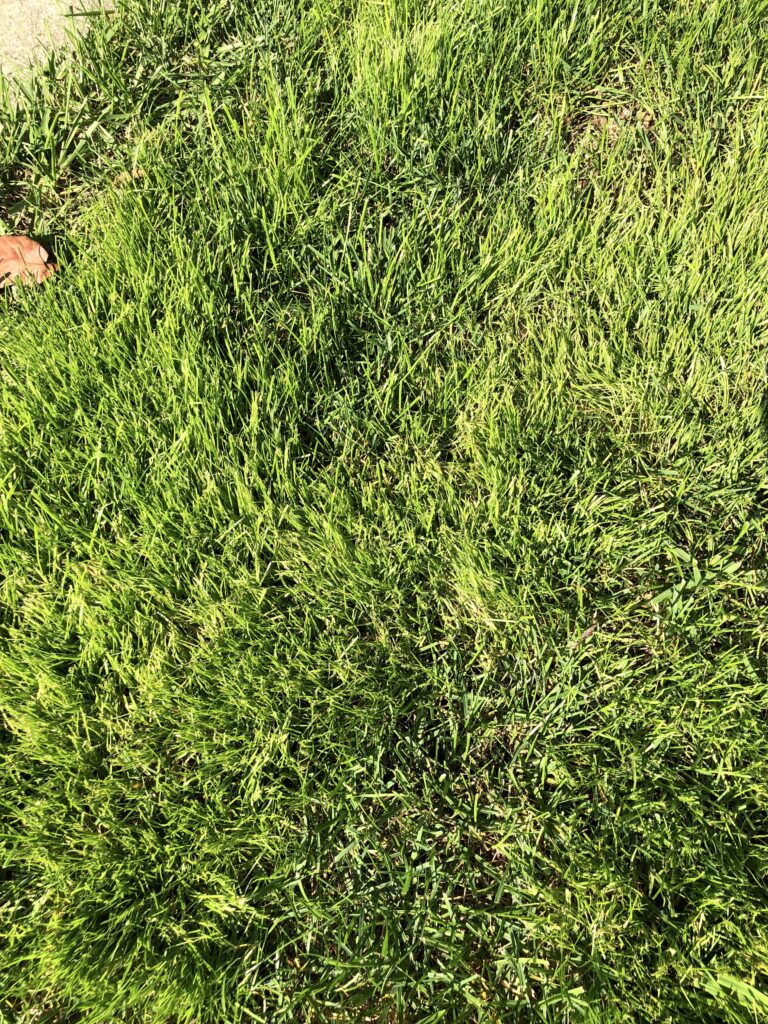
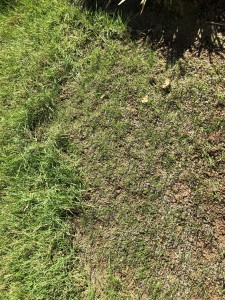
Also on this season’s refresh list was this parking strip. It had become almost completely bare from doggie “leave behinds”, which encouraged weeds to sprout with wild abandon. Not good! So I cleared the weeds, raked deeply with a steel rake, spread lawn soil and seeded.
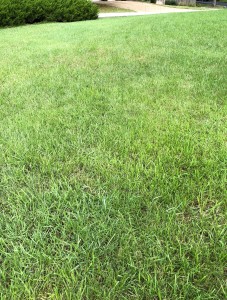
After just a week we had this fabulous green velvet lawn. It has now been 3 weeks and I have to say this is the best seed I’ve ever used! It is by Vigoro, and is 100% perennial seed. The color is fantastic, and so far it has beaten every other kind of seed that I’ve tried. So this will get my “Best of Show” blue ribbon this year. So maybe 2020 isn’t all bad — LOL!
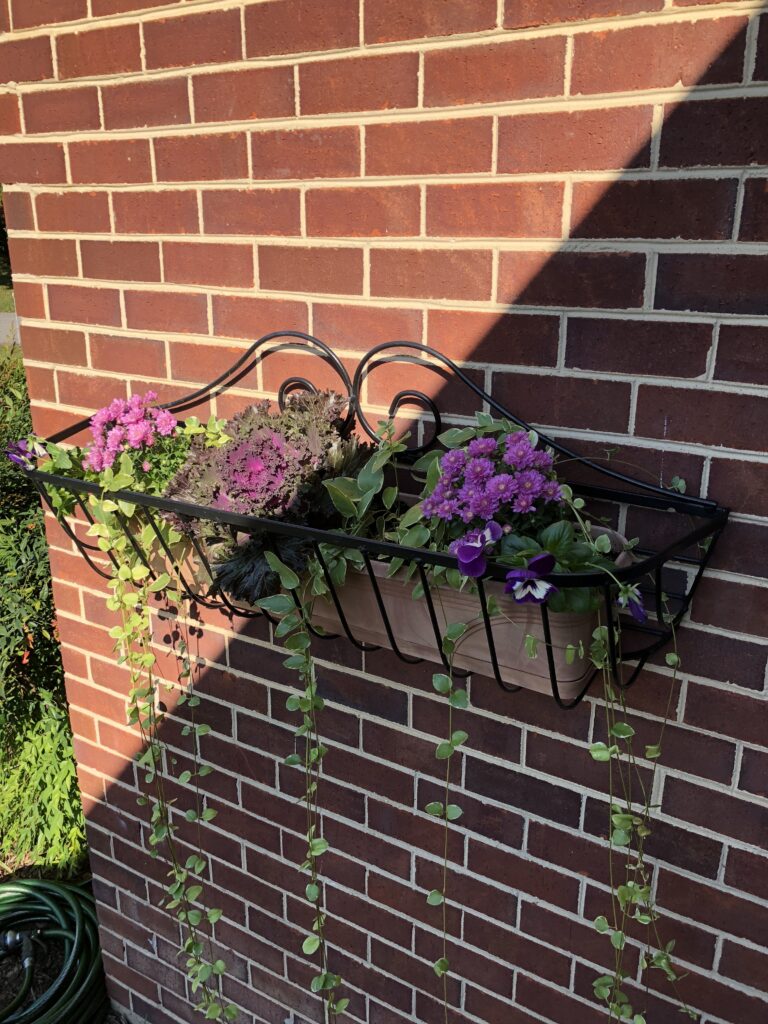
On the turn of the front walk, the wall basket got a makeover, too. Using the same plants as I did on the front porch, I added a big cabbage, mums, pansies, and the trailing vinca from before. I was going to mount this above the front door, like I have before, but this requires daily watering. It’s so much more convenient to the garden hose right here. I may still add another one above the door, but will probably just fill it with pumpkins that don’t require watering. And speaking of hoses, just a reminder to drain them soon, and turn off the spigot inside to prevent freezing when the weather turns cold.
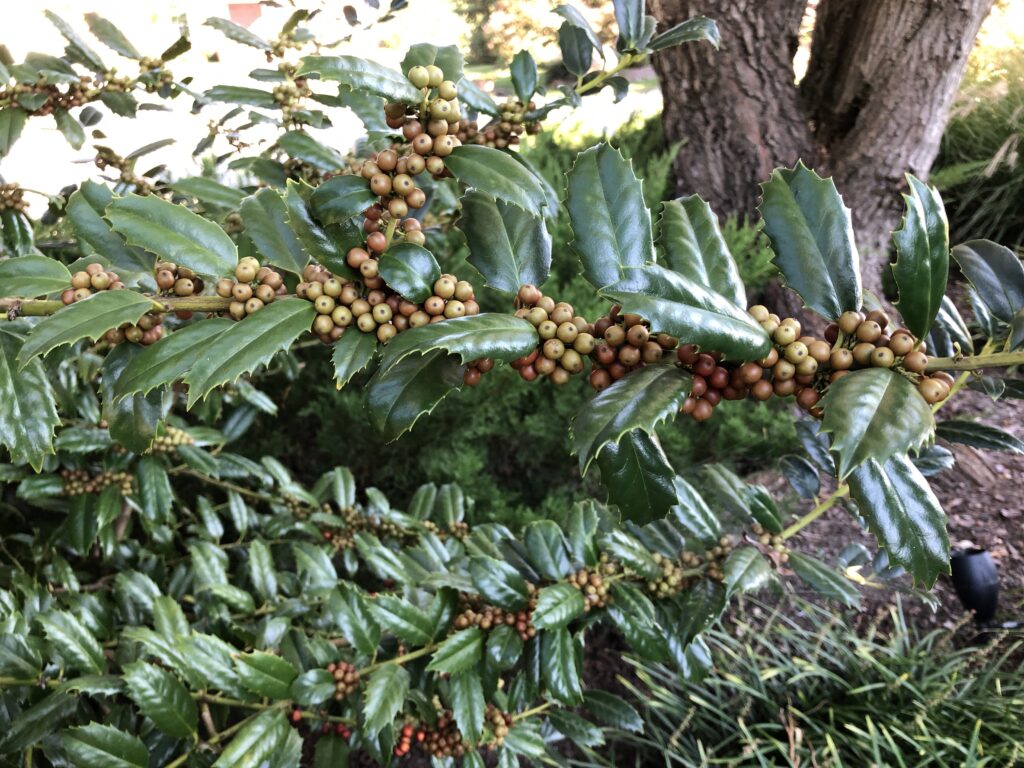
Turning to the bushes in the garden, I want to call your attention to the incredible amount of berries on my cardinal holly! In the past this has been an indication of severity of the winter to come. I’m predicting a fairly cold winter for those of us here in the mid-Atlantic region.
Until then, Happy Fall Gardening!

It’s Spring!

I love spring! With everyone having to keep “social distance” due to the coronavirus, I have been working my way around the yard enjoying the lovely weather. Things are popping around here, and everything is starting to green up and leaf out all at once. Here are a few hints to make sure your garden is in tip top shape.

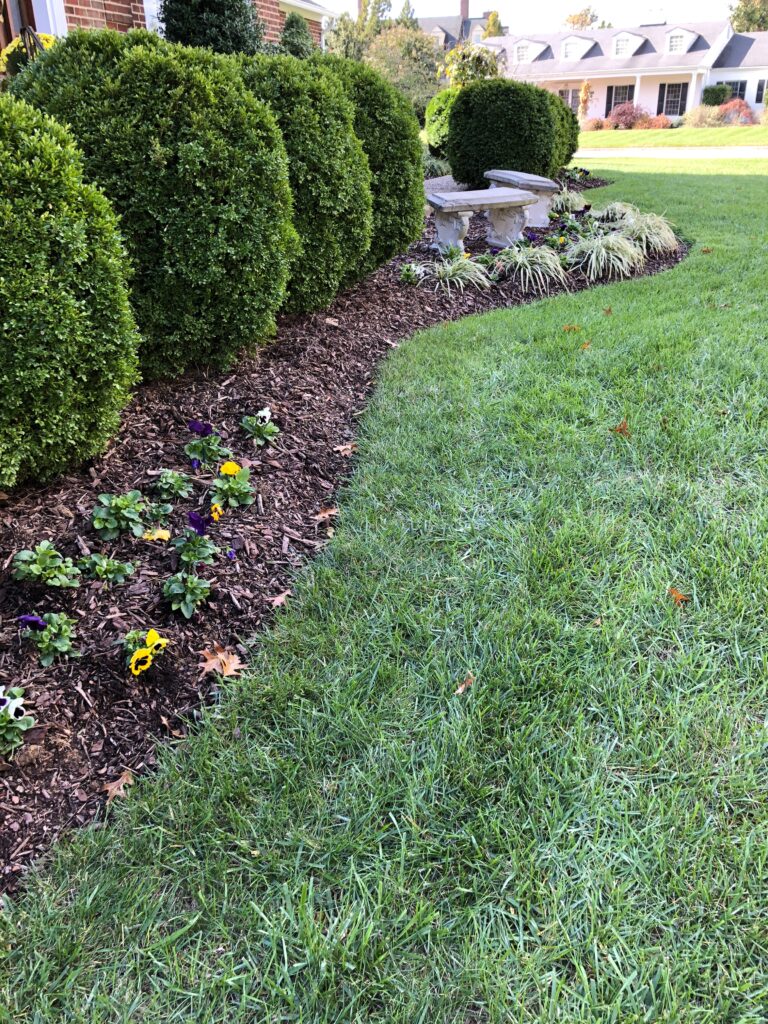
This is the perfect time to edge your garden, and give it a nice margin for mowing. I also like to stir up the mulch a bit. It can get compacted over the winter, and stirring it up lets the rain and nutrients get through to the root zone easier. And while you are at it, clean up any of the debris and weeds before they have a chance to set seeds.
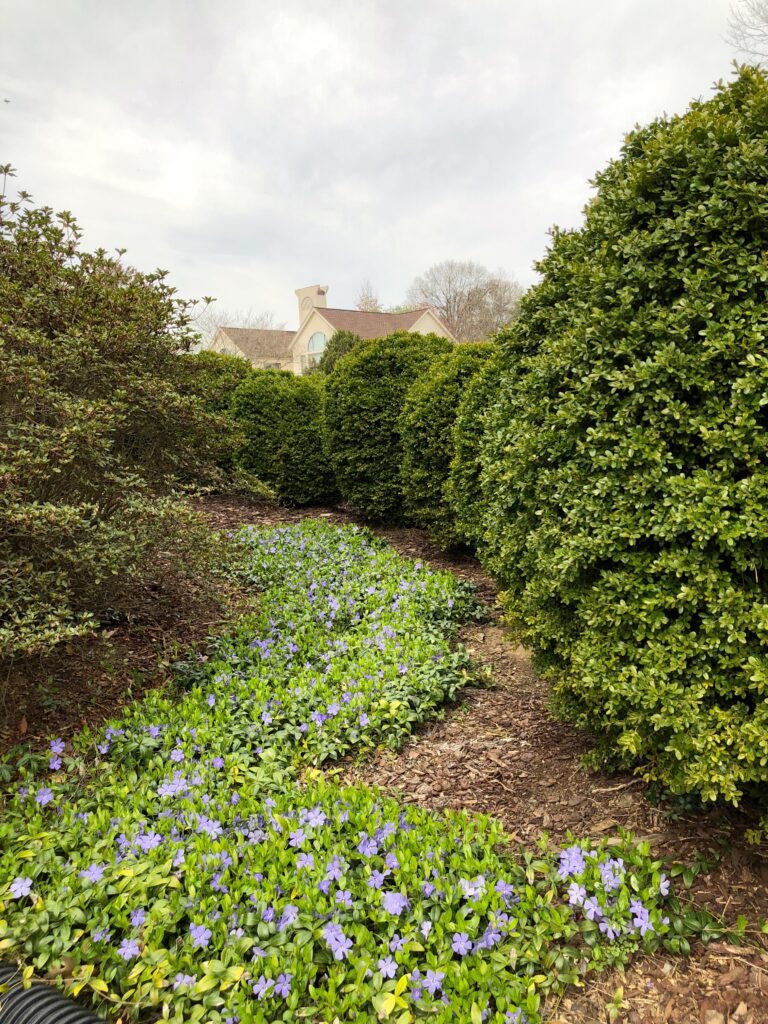
If you have ground cover, this is the perfect time to pick out the leaves that have blown in over winter and pull any weeds before the new growth gets too thick. I also like to give mine a shape just for fun.
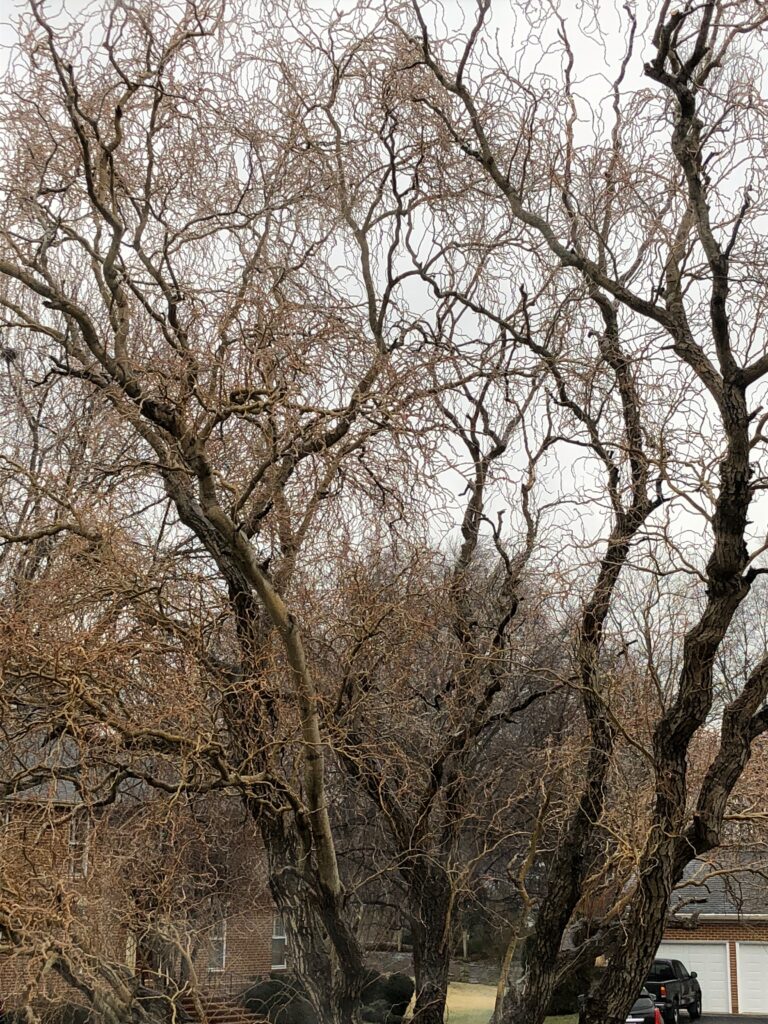
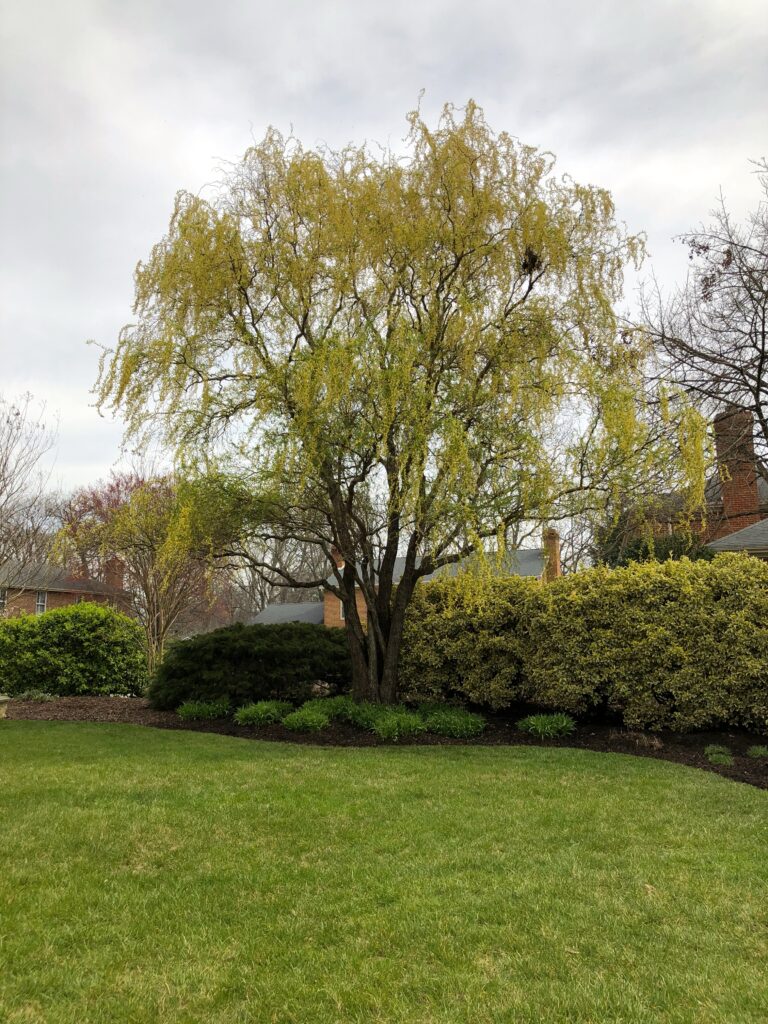
This year I decided to increase the size of the garden around a few of my larger trees. I transplanted the lilies underneath this curly willow this past week. If you do this, be extra careful not to change the soil level or to disturb the feeder roots of the tree. I’m adding a light layer of leaf compost everywhere in the newly expanded garden to improve the texture of the soil and give the transplants some extra nutrients.
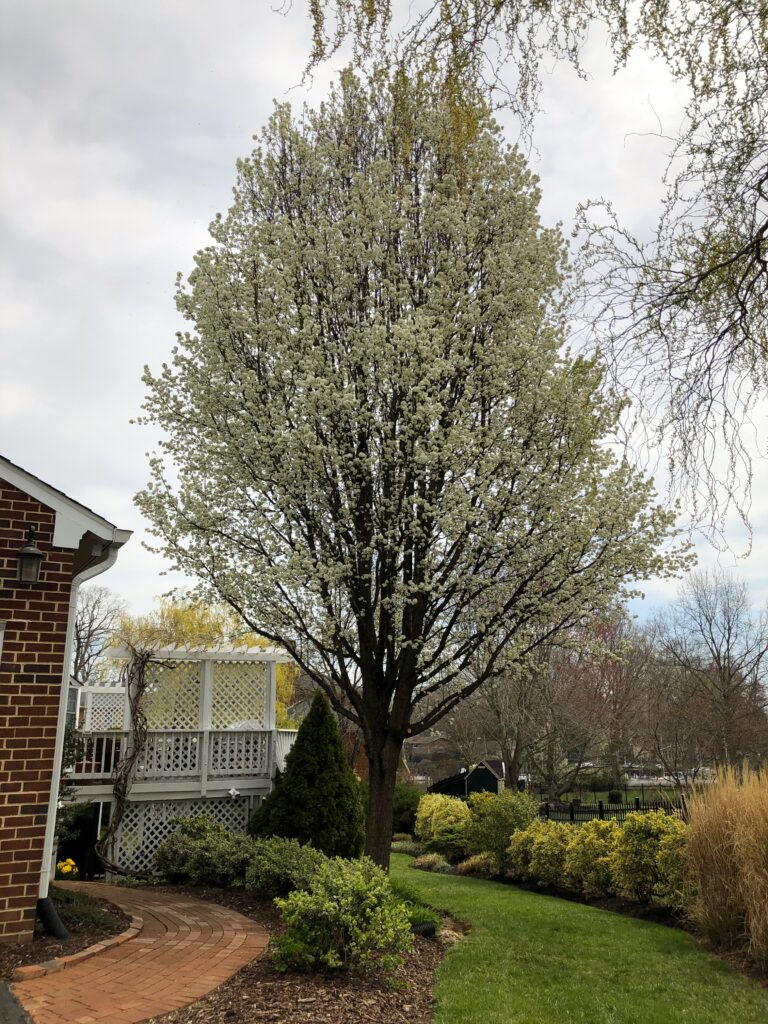
Here is one of my all time favorites of spring — a flowering pear. This is an “Aristocrat” variety, which is slimmer and stronger than the “Bradford” variety. Even still, it has grown very large. I trimmed up the lower branches to open up the walkway and to make it a little more difficult for the squirrels to jump from the tree onto the roof.
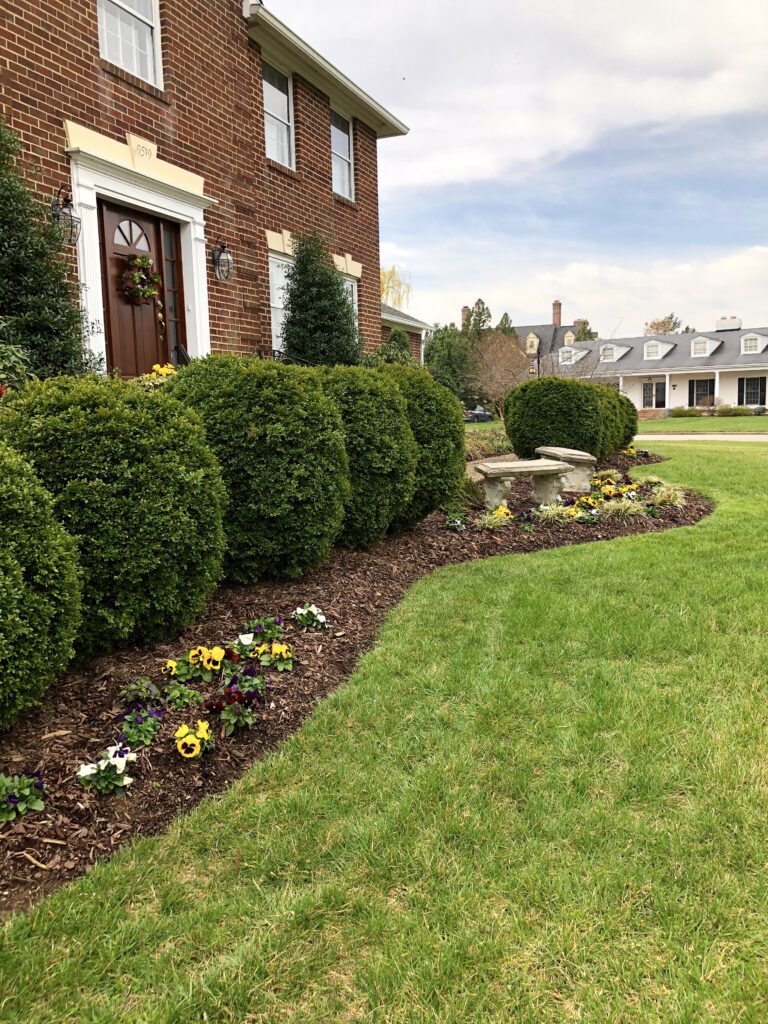
Last, but not least, if you over wintered your fall pansies, like I did, give them a deadheading to pinch out the spent blooms. They will fill out and give you tons of new flowers!
Happy Spring Everyone!

My Favorite Picks – 2019’s Best Hardy Plants

What a crazy year this has been! Extremes of all kinds, but through it all there were some clear winners. In this year’s picks I want to talk about some of the hardiest plants in the garden.

Boxwoods have gotten some bad press of late, due to the blight that has been going around, but by following some simple, clean gardening practices, they are one of the best and most beautiful of all the plants in my garden.

I’m going to start with one of my all time favorites, the boxwood. The boxwoods in the photo above are about 45-50 years old and are the true stars of the garden. I prune them in early December each year and use the trimmings for Christmas decorating. Beyond that annual pruning, I hardly need to do anything to them. They have weathered every kind of extreme in their lives and continue to look amazing!

For several years, there has been a disease affecting boxwood plants called boxwood blight. The boxwood blight is passed by using infected tools. Just by cleaning your tools thoroughly before pruning or trimming, you will protect the plants from getting the disease. I clean my pruners with rubbing alcohol prior to using them. Another tip would be to have a pair of pruners dedicated strictly for use on these beauties, but I would still recommend swabbing them between cuts with alcohol to be ultra safe.

Here’s another surprise entry in this year’s top plants — grass. In the early season, when this photo was taken, we had just gone through the wettest spring ever! Everything was green beyond measure, and then by the end of June, we entered a severe drought. For four months we didn’t really have any measurable rain. I did not water, except for the trees, and let the grass go dormant all through the summer months. It turned completely brown, and the dirt was like dust. I was truly worried that I’d taken the no–watering thing too far. In September, I started watering, although we were still having 95-100 degree days and no rain, my hopes were to at least save the roots. Nothing greened up at all. Then finally as October started, we had 5 beautiful soft rains, and like a miracle, the grass came back into health again, like nothing ever happened!

Which brings me to the point of this story: there’s nothing like real rain! What comes out of a sprinkler just doesn’t compare. When you water in the triple digit heat of the summer, it encourages weeds. Grass doesn’t grow in extreme heat. I will stand by allowing the grass to go dormant in that kind of condition. It’s much kinder to the roots, than to stress grass into trying to grow — which can kill it. Another giant help to the health of this year’s grass was dethatching the lawn and applying a root stimulating turf builder last fall, which gave us a thicker and virtually weed free yard this year. I highly recommend working your way around your yard using a dethatching rake. It’s very hard work, but pays off in a beautiful way, allowing water and nutrients to easily get to the root system.

Here’s the same area again just last week. You would never know how harsh a summer the grass weathered! It’s hard to not water and to watch it go dormant, but it’s the best thing you can do for the health of the root system. Have faith in Mother Nature, she will bring it back in the fall.

I also want to point out one of my all time tried-and-true flowers: my pansies! After the summer of gorgeous color from the vincas, I wanted to continue with some hardy winter flowers. With any luck they will provide color until the end of April.

This year the pansies in the ground were joined by the pansies I planted in this wreath that my sister gave me! It really brings the whole Fall theme together! Thank you, Tracy!

The beautiful mums have some competition this year. I was so happy when the weather finally cooled down some, I put in 125 pansies across the front. A fresh start to celebrate the season. And gives the frontage some great fall curb appeal. I was thinking ahead to Christmas when I chose the colors — gold, burgundy red, purple, and white — to complement the traditional fruit wreath I’ll be hanging in December.

I know I’ve given props to the knock out roses in the past, but they were really beautiful again this year. We had a swarm of June bugs that came in with the 100 degree heat in the summer, and they did interfere a bit, but I use a granular three in one formula that kept their dirty work to a minimum. It fertilizes, prevents diseases, and for the most part deters bugs- Bio Advanced- worth a try next year, if you have these issues. (I am not paid to endorse, but this is really great stuff in my opinion.)
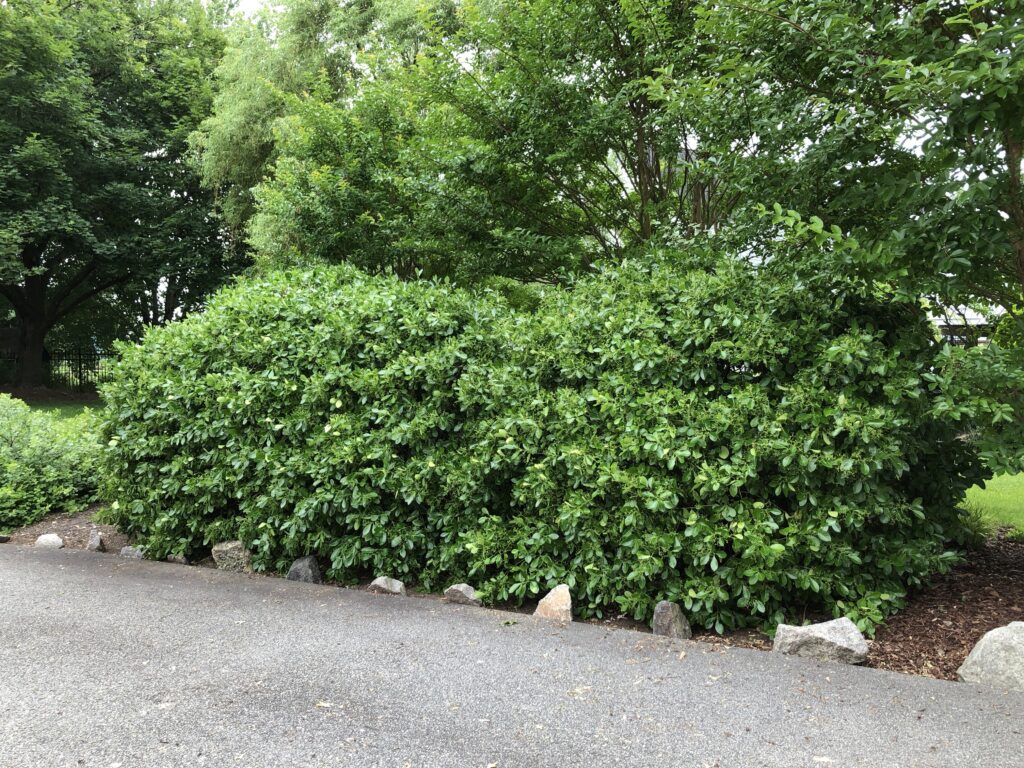
Another stunner this year were these emerald euonymus. They are incredibly easy to grow and maintain, really no special treatment other than to shape them after the spring growth. This is only two plants! They provide privacy to our back yard from the cul du sac and make a gorgeous living fence, don’t you think? They are beautiful year round, too, and are a favorite nesting place for our flock of cardinals and bluejays.

Before I say good night, I hope that next year’s growing season is not as harsh as this one has been, but just in case it is, here’s hoping that we can all adjust to our changing climate by seeking out the most hardy plants. Let me know what changes you are planning; I’d love to hear!

Happy Fall, everyone!

Autumn Joy!

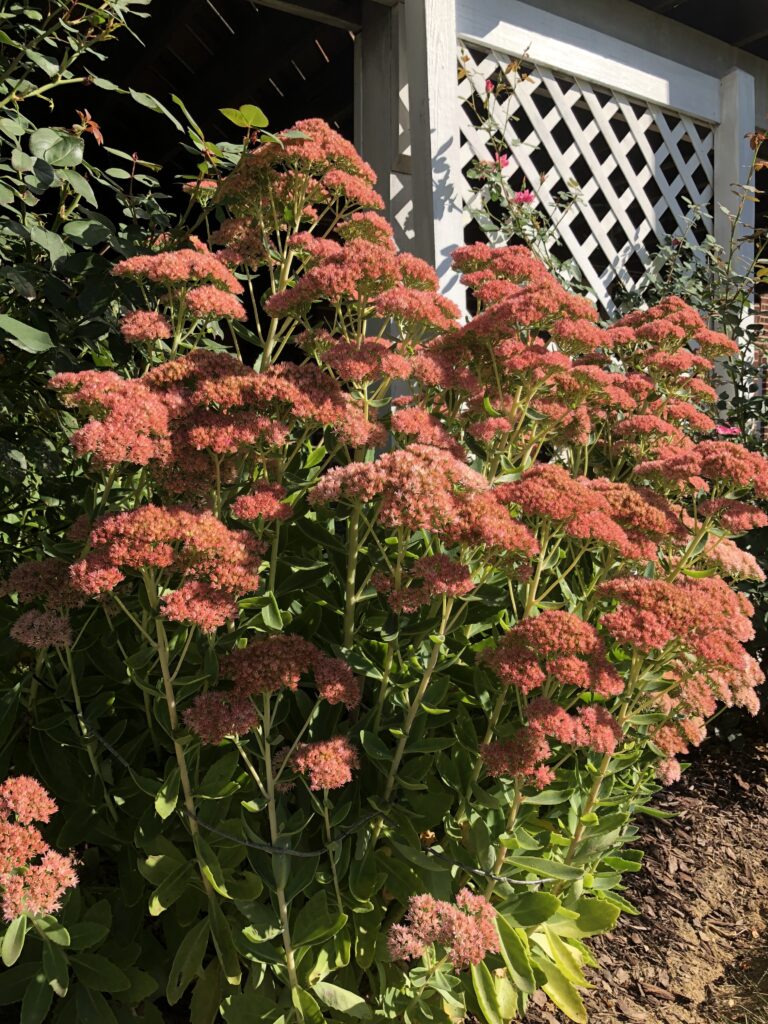
The calendar says it’s autumn, but wow is it ever still hot! We have now had almost double the number of over-90 degree days in a normal summer and almost no rain since June. Drought has taken hold even though we had a massive amount of rainfall for three full months in the spring. The poor heat-stressed grass is having a hard time bouncing back, so I’m really happy to have at least one stalwart perennial to count on looking beautiful. Sedum, or Stonecrop — also known as Autumn Joy!

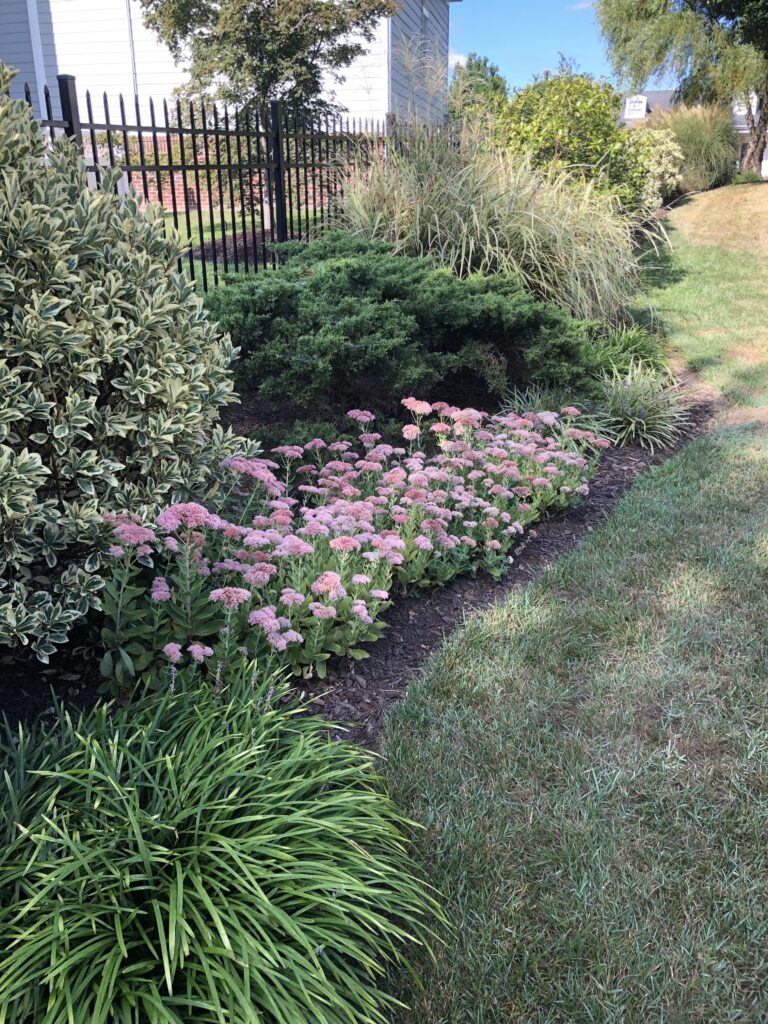
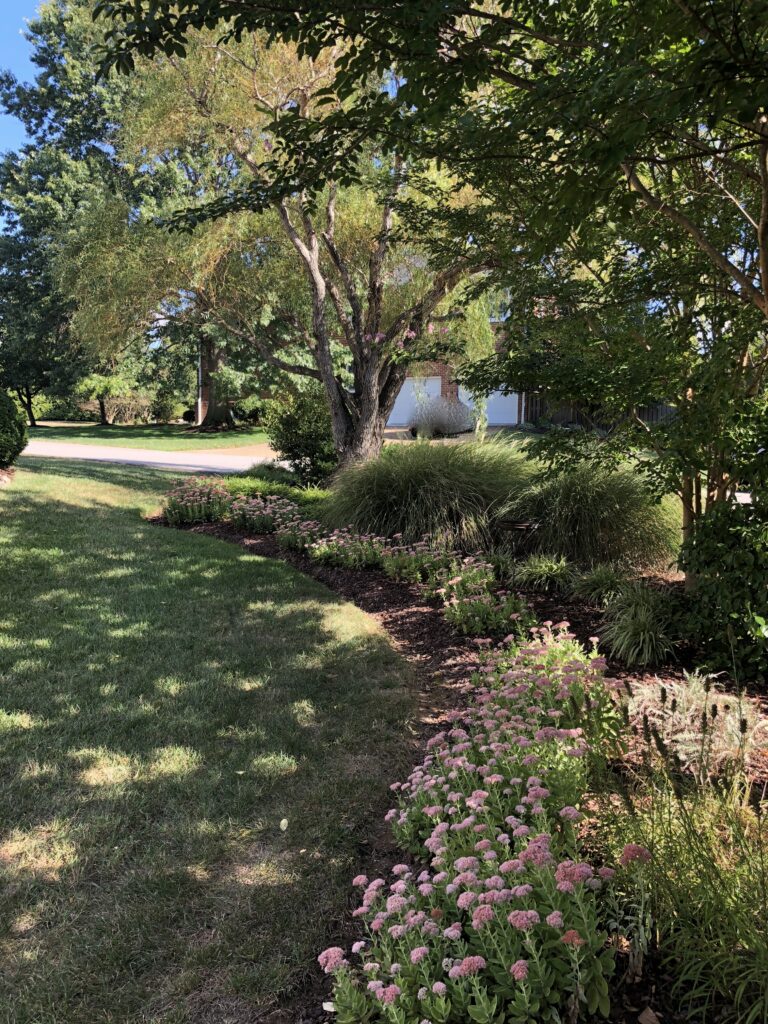
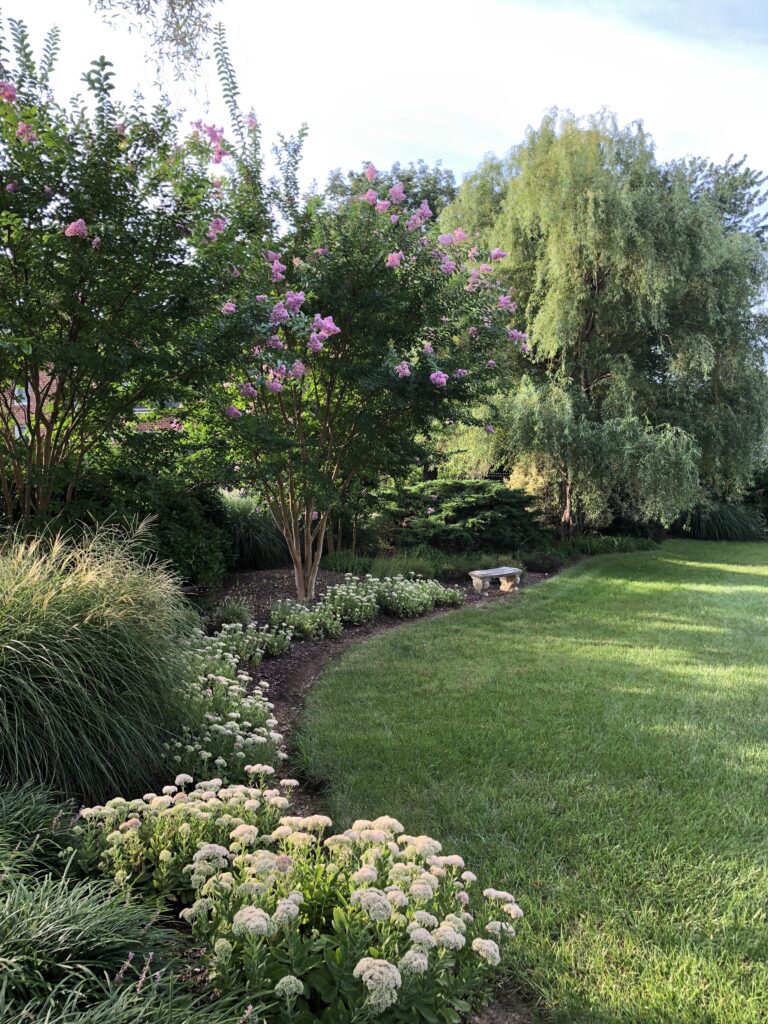
Despite the ultra hot weather and drought conditions, I can always count on these beauties this time of year! They look beautiful all summer ranging in color from green to white, then in late August to early September they start their transformation into every different shade of pink and onto a lovely shade of coral.


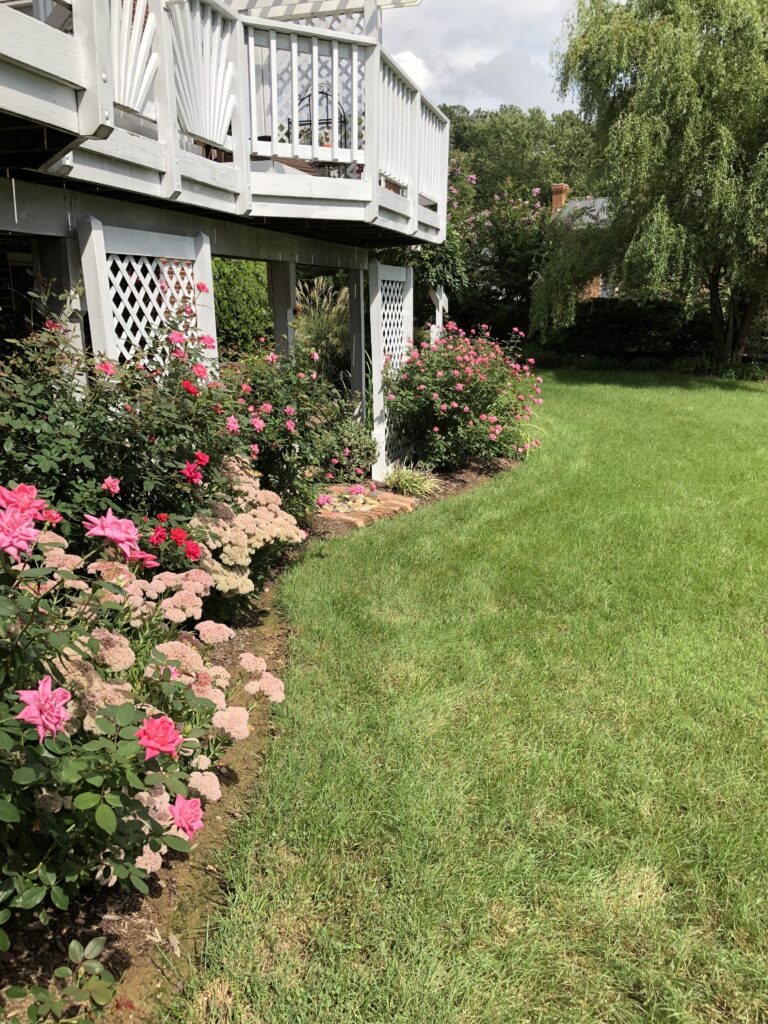
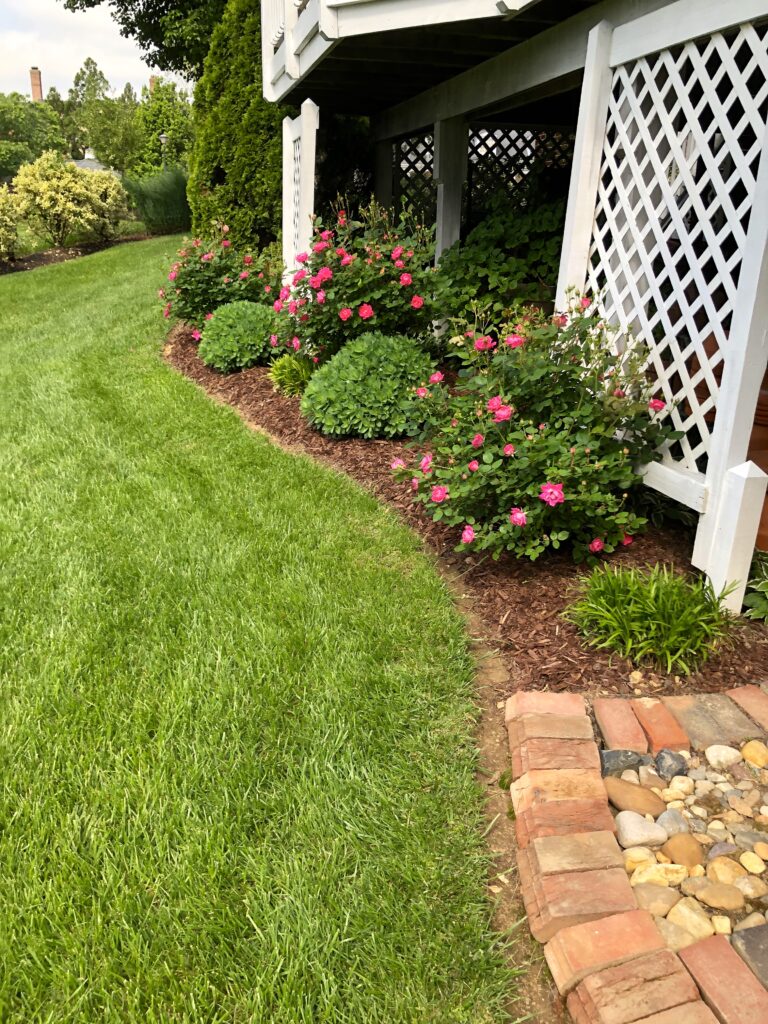
They are beautiful mixed in with other plants, or in waves or borders of all sedum. I love the look here mixed in with the knock out roses.
If they grow too fast in the early season, they can sometimes get very top heavy and split open from the center. I have two remedies for this. First, you can always pinch them back to about a foot tall before July, but if you love the taller look, here’s a solution to that: Place six or so garden stakes in the ground an inch or so in from the outside diameter with another circle of three or four of the stakes about half way in to the center of the plant. From there wind some really strong twine or coated wire carefully from stake to stake on the outside and drawn in to the (hidden) stakes in the center. Lift the branches carefully above the wire as you go. (Think about how a spider web looks.) Sometimes you need to do this in stages an inch or two at a time while raising the branches, as too much at one time can split a heavy branch. Another tip is to use black coated wire. (I use old, recycled wire from a former invisible fence.) It almost disappears even up close, but six feet away you can’t see it at all!
When I moved here 19 years ago I brought only two sedums from my last garden. Every two or three years I split each one into 2 or 3 plants, and now I have masses of them here and there throughout the garden. I’ve turned the original two into probably 60! It is a definite main staple in the garden here, and with so many extras to give to away to friends. Gardening gold! Another big plus is that the pollinators and butterflies love them!

A question about these fantastic perennials from a friend a few days ago inspired me to make them my feature plant for this blog segment. Thank you, Cathi!

If you are looking for a plant that does well in virtually any climate, even the harshest of summer weather, there is no more perfect choice than Autumn Joy!


One last look from the other direction-

Happy Gardening!
Beating the Heat!

The roses love the sun — but me, not so much. Especially when the “feels like” temperatures are approaching 115 degrees outside! Doing anything we can to stay cool is important. Here are a few things that you might not have thought of, but they really do help:

Most importantly conserve, conserve, conserve! Water is precious, and so is electricity on days like this. Try to stay indoors as much as possible during the sunny hours. Draw your shades and curtains on the sunny side of your home, it adds insulation, and protects flooring and fabrics from fading as an extra bonus. We have found that the rooms are 10 degrees cooler by doing just that. If you have ceiling fans keep them running, stale air and humidity can lead to mold and mildew. Try to eat fresh and healthy salads, or no-cook meals. Just turning on the stove or oven can heat up your entire kitchen. Run your dishwasher overnight when the water usage is less. After washing, air dry your clothing, or minimize using your dryer. I find that removing clothes from the dryer and then simply hanging them to dry after 5 minutes releases wrinkles and works great. And who likes to iron anyway, right? Those are some of my best indoors tips, now on to the outdoor tips–

Watering flowers after the sun has moved off of them keeps them from getting scorched, also gives the butterflies a safe place to drink some water. Don’t forget to leave a bowl of fresh water out for pets at all times. And for extra help, a soaker hose under a blanket of mulch 2″ deep is great for retaining the soil’s moisture, and it keeps their roots cooler, too.
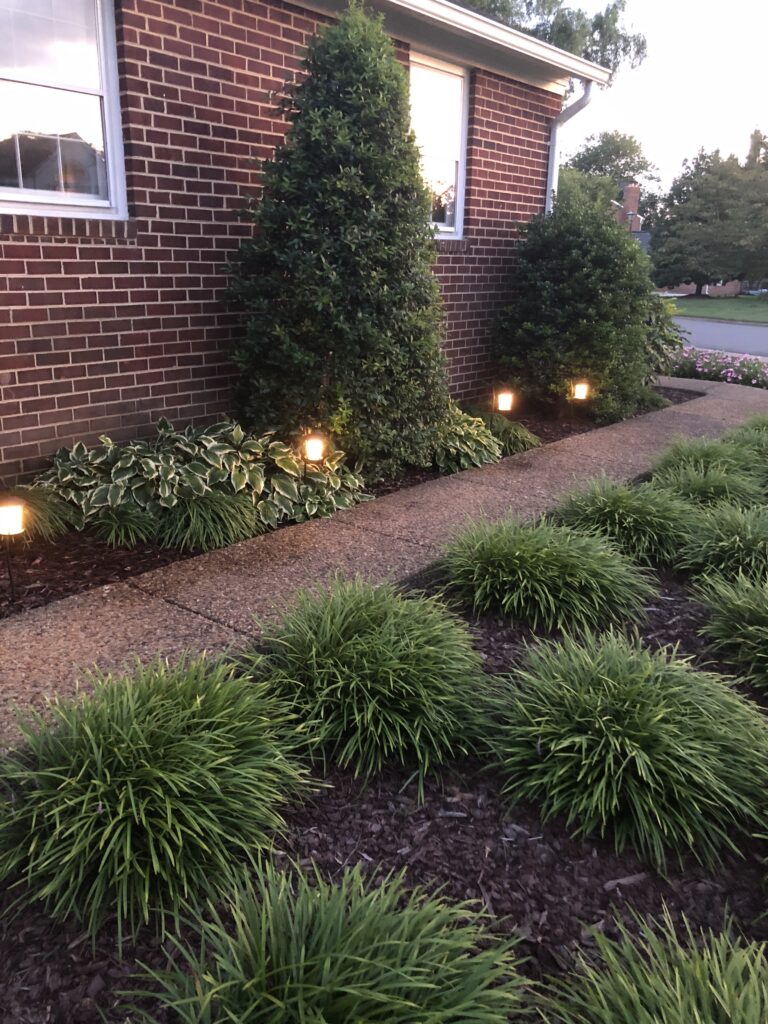
Trim the back of foundation plants all around your home to leave at least six to twelve inches of airspace between the plant and the exterior wall so your house can breathe. This keeps down the pests and insects as well as molds and mildew. Consider upgrading your outdoor lighting to a power-saving low voltage lighting system. Our’s here provides nice lighting to walkways at just 4 watts per fixture. Much better than a 60-100 watt bulb from old style lighting!
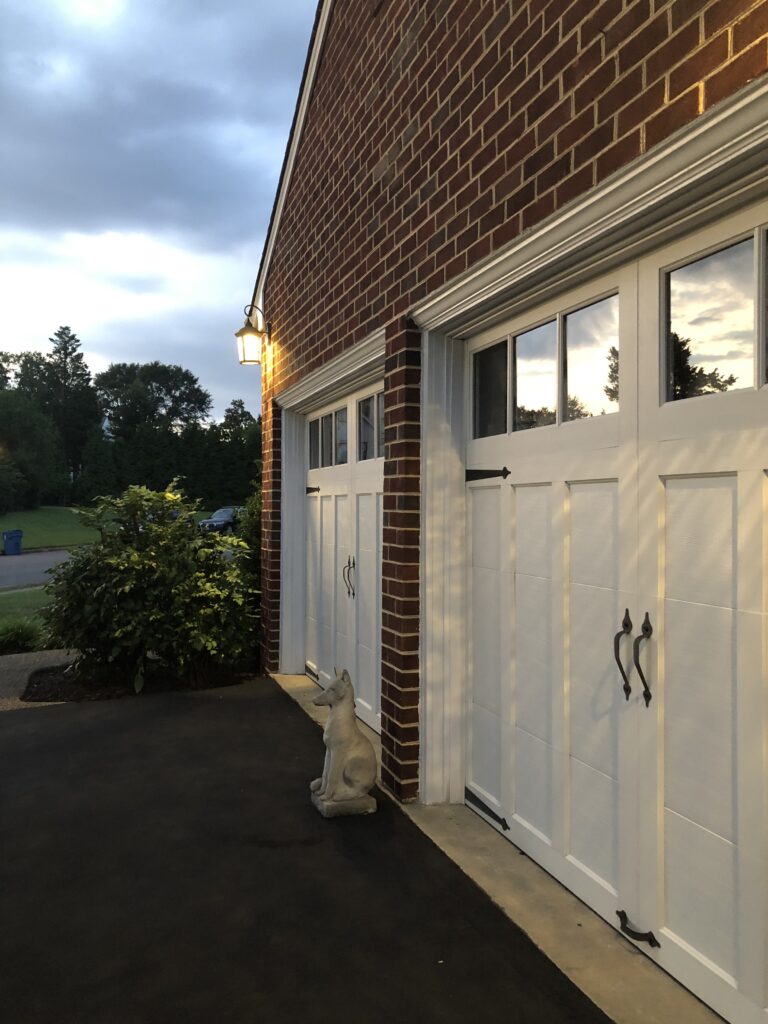
Another way to minimize heat in the garage is with insulated doors, and if you have garage door windows, cover them during the summer months to keep the sun out. I created my own shades by cutting simple pieces of fabric and attaching them with velcro all around the edges of the windows. The coach lighting here is energy saving diode lantern style fixtures which use the equivalent of a 15 watt bulb in energy, but provide terrific lighting for safety.
All around the back of the house, we have these great new solar powered lights. They are motion sensitive, so they are just on when needed. It’s always great to have these in case of of power outages, you will always still have light.
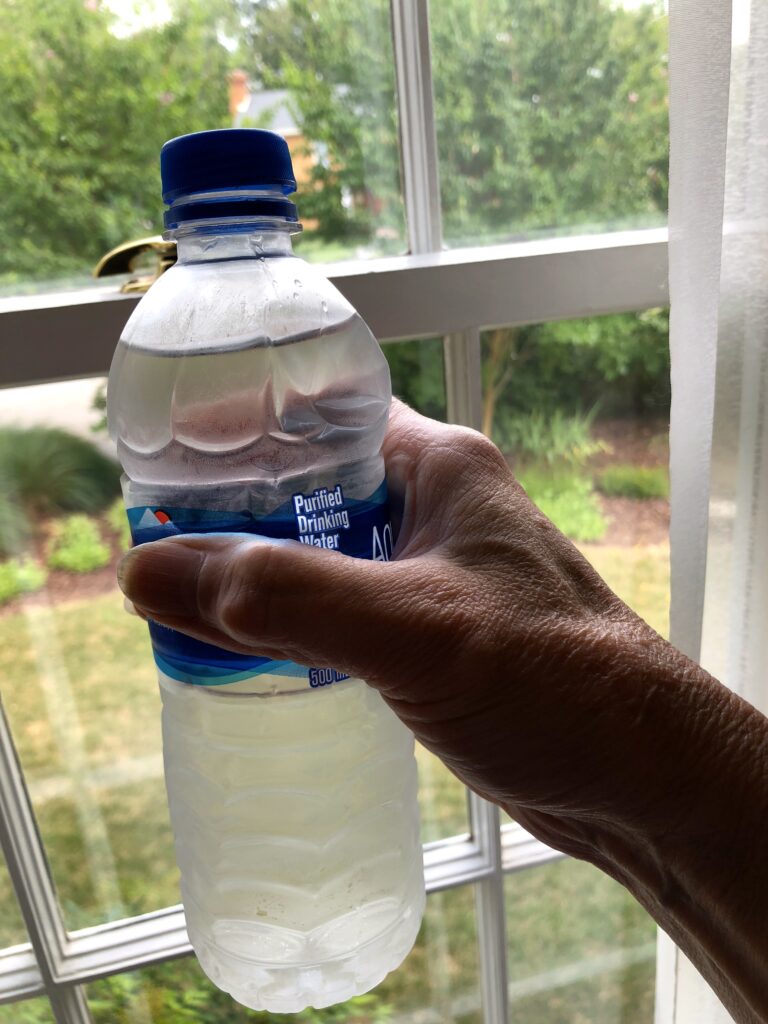
My most important tip is to always have some water with you if you are going to be outside. You can’t drink too much water on these brutally hot days. Wear light colored, loose fitting clothing, and try your best to stay in the shade. Please be careful everyone!

A New Start to 2019

Hello my gardening friends! I have some big news. I am now being hosted by a new company after having way too many technical difficulties with my previous host. I will open comments and questions again and improve this blog with many new ideas. I hope it will be more helpful and encouraging to my readers. So please leave a comment, I’d love to hear from you. (The first time you leave a comment it will go into moderation to make sure you’re not spam, but after that it’s an open forum.) I’d love it if you want to share my posts as well — the more people in discussion, the more tips and ideas! As always, I’ll be here at LisaEarthGirl.com and for those on Facebook at LisaEarthGirl.

As some of you already know, since my mishap last November, falling from a ladder while working on a tree, breaking my ankle and a rib, I had a bit of a slow start to this year. I was very lucky that I didn’t get hurt worse. (Coincidentally it happened on the same day and hour as our esteemed Justice R.B.G. had a mishap and broke her ribs.) I am back physically, thank goodness, and learned to be extra careful on ladders on windy days! I also would like to warn against leaning a ladder on branches that can sway in the wind! Safety first. Best tip I can give!

Learning a lesson the hard way to be more careful on ladders

The cycle of renewal has happened in a big way here. With all the rain that we had over the last year and a half, the garden is lush with new growth. Everything has sprouted with beautiful, fresh new leaves and lots of flowers everywhere. Many trees and bushes bloomed way out of their normal sequence — some early and some late — but it has been a gorgeous month and a half here in the mid-Atlantic. Vibrant colors everywhere!

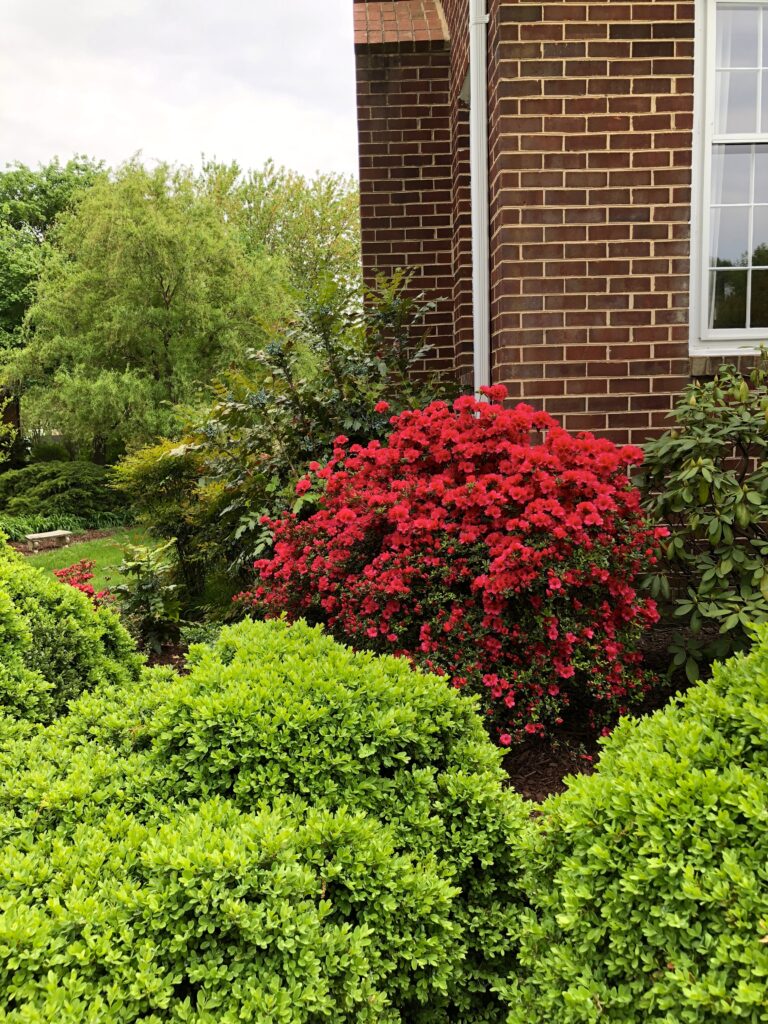
Here’s a tip for one of America’s favorite plants, the flowering Azalea: When pruning and feeding, wait until after blooming, but finish before the 4th of July. This gives the plant time to set new buds and new growth before the frosts and freezes of the next winter.

The vivid new growth this spring is everywhere!

Last week I took a field trip with a friend to one of our local State Parks — Green Spring Gardens. We discovered many gardening ideas, and plants that were in full bloom a full month earlier than their usual bloom time! It was a refreshing way to spend the day, and fun to see school children so interested by what they were seeing. Fun for all ages, really! Why not pack a picnic and enjoy a hike at your local park someday soon?

A beautiful day at Green Spring Garden State Park. What a wonderful place to visit, perfect for all ages!

My biggest gardening concern so far this year is for some of my favorite mature bushes and trees to overcome the amount of rain from last year: the pink honeysuckle bush, the stellar cherry blossom tree, cardinal hollies, and the aristocrat pear. Last year’s losses were two prized cyprus bushes that drowned along the fence border garden. The change in climate and a neighbor’s poor drainage have proven deadly. The challenge continues with attempts to combat the excess water. I’ll keep you posted with some remedies to help keep the excess water away.


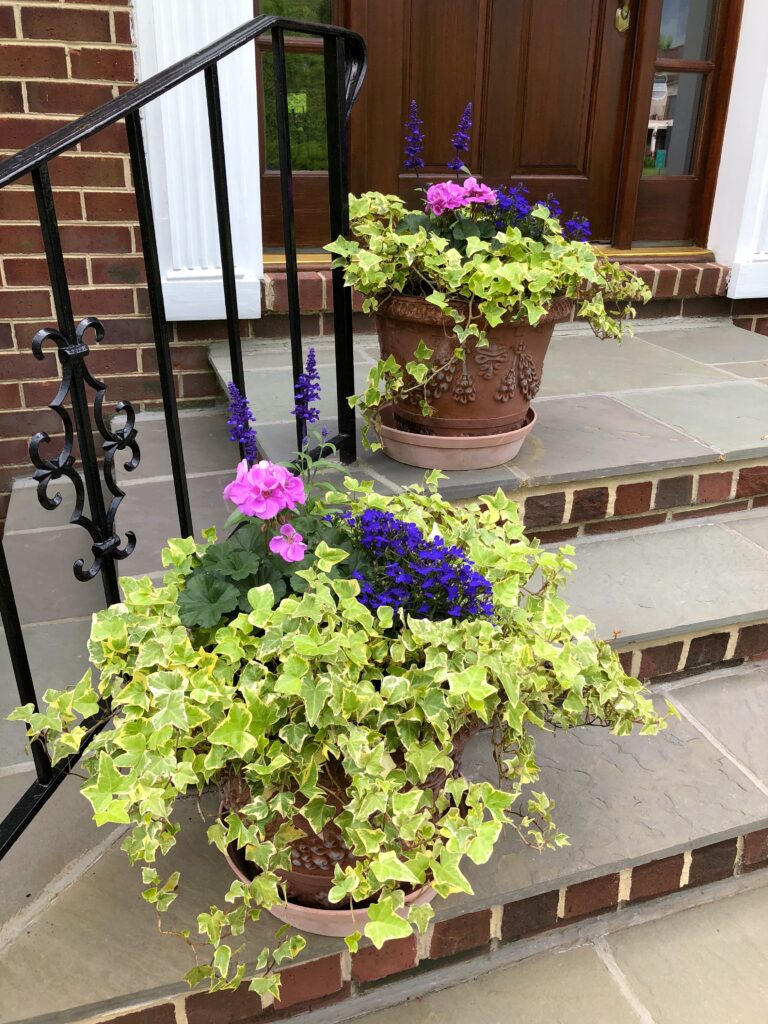
I always like to echo the colors I already have in the garden in my flower pots by the entrance. This year’s choices are blue salvia, lavander geraniums, and purple lobelia surrounded by variegated ivy. These all do very well in this area.

I’m back in my own garden now, preparing for the season ahead. I’ve almost finished with the mulching, weeding, and trimming back perennials. The grass has turned green again, and that alone makes a great backdrop for everything else. To celebrate the beautiful weather, I planted my annual flowers last week in flower pots and areas that are protected close to the house. In past years we have still had the odd late frost, but this year the long range forecast is showing we are much warmer. I used some of my favorites that do well in my micro climate on the banks of the Potomac — vinca, impatiens, salvia, lobelia and geraniums.

I’d like to start up a new segment on each blog from now on on plant I.D.- I’ll start with one that stumped me for years. I’ll encourage others to join in with plants from your garden.

Just for fun — here’s a plant I.D.- I used to call this the “Mystery Bush”, it looks very similar to many other plants, (wigelia and choke cherry had been previous guesses) but I’ve finally identified it as a pink honeysuckle bush. It started life as a volunteer in a friend’s yard, and she gave me a cutting. It has gorgeous flowers, which then turn to bright red berries, and in the fall gorgeous colored leaves — a true plant for all seasons! It has grown into a beautiful, mature 7 foot tall bush, with an 8 foot diameter. With too much water and rainfall last year, I’m fighting to not lose it this season.

It’s good to finally be back, and I hope that everyone is out and enjoying their corner of the world. Happy Gardening!
The Queen of Autumn – Beautiful Mums – Long May They Reign!

Happy Fall !

Happy Fall!

It seems autumn has finally arrived! In celebration, I always am drawn to the nursery to bring home a few of my favorite harbingers of autumn, the beautiful chrysanthemum. I am going to give you some tips today to give you at least DOUBLE the blooming time on these beauties. Sometimes I have kept them going for almost three months of flowers using this strategy.

Here goes–


When purchasing mums, look for plants that are just showing color, but in a bud stage. This will give you the longest amount of time to enjoy-

When purchasing mums, look for plants that are just showing color, but in a bud stage. This will give you the longest amount of time to enjoy.

First, when choosing your mum, buy one that is still in the “color showing bud” stage. This way, you will have the opportunity to get every minute of flowering time.


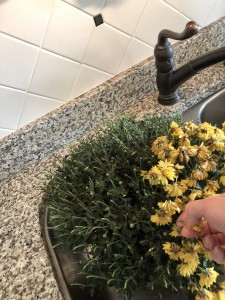
Instead of planting the mums in the garden, plant them in pots at least four inches larger than the nursery pot that they come in. This allows you to pull them under cover of a porch, garage or even into your house during fall rainstorms — their biggest enemy!


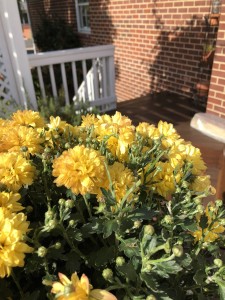
Mums in all their glory are one of the most beautiful sights of Fall. I love to have some by the front door to great visitors.

Mums in all their glory are one of the most beautiful sights of fall. I love to have some by the front door to great visitors.


When watering the potted mums, just water the the root zone from under the foliage. This is very important. Water on the flowers after they open will kill the flower. It breaks my heart when I see a well-intentioned gardener plant their mums and then water from above with a hose, only to see that the mums are dead the next week. Watering only the soil keeps the foliage and flowers dry and protects them. Using this method should give you at least a month and half of bloom time.


Deadheading your mum after the first set of blooms have bit the dust will expose a second set of blooms. You can have double your bloom time!

Deadheading your mum after the first set of blooms have bit the dust will expose a second set of blooms. You can have double your bloom time!


Now to extend that month and a half of blooms for a month or possibly even more, here’s my final tip: deadheading. If you remove the first set of blooms when they have finished, you will see a second set of buds hidden underneath. These are smaller, but will provide you with a second bloom cycle of flowers. Double the fun!


Second set of blooms opening! Gardener's gold-

Second set of blooms opening! Gardener’s gold…


I hope you will give this method a try if you love mums as much as I do. Happy autumn gardening everyone!

Lawn Renovation Even in Sauna Weather – Got to Get it Done!

Hi everyone! We had an unbelievable amount of rain here this year, almost double our annual rainfall total. The air feels like a sauna even in October. It’s been hard to spend more than a few hours outside at a time in the heat and humidity — but you know I can’t stay inside, and there’s work to be done!

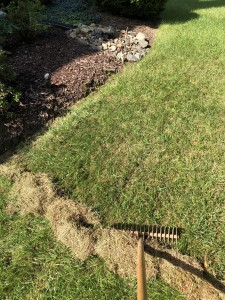
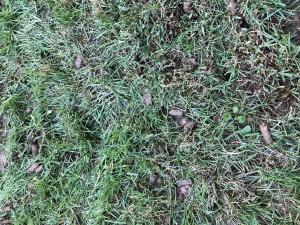
This type of steel rake is my favorite choice for de-thatching the lawn and preparing the soil for overseeding. Just look how much debris it removes!

This type of steel rake is my favorite choice for de-thatching and preparing the soil for overseeding. Just look how much debris it removes!

My priority now is renovating the lawn. Normally, I would finish this completely in September, but the weather has put me behind schedule. To do this right, I started by weeding the entire lawn by hand, as opposed to using an herbicide. When planning to overseed, one needs to make sure not to have any chemicals on the lawn which could interfere with the new seed sprouting.

I am using a specialized steel rake to get every bit of thatch out of the lawn — a tool I inherited from my grandfather. This is THE most grueling step. After de-thatching two-thirds of the lawn, I have collected more than a dozen full bags of debris (don’t worry — you know it’s going to the compost heap). I’m impressed with how effectively this steel rake pulls out the thatch — and it loosens the surface, which makes for great new seed contact into the top soil.

Everyone who walks by while I’m working asks me why I don’t just use a machine for this, but if you saw how much better this works you’d know why!

This is a photo of what the plugging machines do. They really don't get any thatch up, and compared to the steel rake- well, there is no comparison-

This is what those plugging machines do. They really don’t get any thatch up, and compared to my steel rake — well, there is no comparison, not to mention that the plugs of soil the machines leaves behind look like, um, something else we don’t really want to see…

I bought a premium seed that has a variety of grass types: some that sprout within a week to stabilize the bare spots, and additional varieties that will be sprouting over the next few. This mix also had a seed-starting fertilizer mixed in, but if the variety you purchase doesn’t have this, I’d recommend using some.

Keeping things moist while the seeds are doing their magic is key, but with all the rain we’ve had, I’ve only had to water the new seed a few times.

With the combination of sod, seed and fertilizer you can hardly see where the old tree stumps used to be!

With the combination of sod, seed and fertilizer you can hardly see where the old tree stumps used to be!


I’m happy to say that I finally was able to easily pull out the last of the roots from two pear trees which used to grace the front yard. Now those areas are much smoother in elevation. The vast majority of the surface roots came out with the tree, but a few deep ones remained. On these areas, which were quite large, I used a couple of pieces of sod and more seed around the edges to completely fill it in. Now you’d never know that those were trouble spots!


Once the new seed reaches three inches tall, you can start mowing. We gave our newly-seeded lawn its first mow this week.  I have a tip for this, too: Set your mower to highest level first, because after a few weeks of not mowing, the existing grass will definitely be quite long and would clog the bagging chute. In a couple of days, set your mower to the normal level and cut it again. This way your lawn won’t be stressed as much — and you won’t create new thatch by using a clogged mower!

Yes! Nice new seedlings emerging. What a good feeling that is-

Yes! Nice new seedlings emerging.


The front yard is finished, now on to the back-

The front yard is finished, now on to the back…


I’m hoping the weather will cooperate so I can finish up my raking this week, but (if you can believe it) we have a new hurricane bearing down tomorrow night, and two more in the Atlantic pipeline. Hope everyone stays safe, and best of luck — I’ll be back with some pretty fall flowers next week!


Happy Fall !

Happy Fall!

Springtime Garden Reveal 2017

IMG_4756

Happy Spring- welcome to the garden!

Hi all! I think I am finally ready to show you some of the garden areas I have been working on since last fall. My goal was to open up the areas that had gotten a bit too crowded and simplify the overall design. While we walk through the yard, I’d like to show some tricks and tips that might help solve similar dilemmas that many of us deal with.

Closeup on the front corner of my yard. A row of juniper does double duty shielding the windows from headlights of vehicles rounding the corner, as well as defining the edge.

Closeup on the front corner of my yard. A row of juniper does double duty shielding the windows from headlights of vehicles rounding the corner, as well as defining the edge of the property.

I have never shown a closeup of this garden area on the blog before. It is the front corner of my front yard, where the cul-du-sac meets the street. Here on the corner a low wall of juniper bushes are very strategically placed. As cars round the corner at night into the cul-du-sac, this blocks the headlights, shielding the windows from the bright headlights. All you need is 3 or 4 foot high evergreen bushes in order to protect the house from an oncoming vehicle’s headlights. No one wants to feel like a search light is spraying the inside of your home, and this does the trick! This garden is layered with euonymous and liriope on the street side, and anchored in at the corner with a dogwood tree. We have an up-light that shines at night into the canopy of tree, which right now looks like a cloud of beautiful white blossoms.

Front walk has been opened up by removal of some larger bushes and layering in lower plant material in foreground.

Front walk has been opened up by removal of some larger bushes and layering in lower plant material in foreground.

Here is the updated front walk. I cleared out some of the jungle of large plants on either side of the Nellie Stevens holly and highlighted it by relocating the hostas to either side in a semi circle to add some visual depth  and light to that side of the walk. The liriope on the lawn side of the walk were all divided and will stay low. They will add some seasonal interest in the late summer with their purple flowers. These carry through the front of the other two garden beds on either side of the front door to create a nice flow from one garden to the next.

Here's the walkway from the other direction. You can see how it has a zig zag (not the best layout) I smoothed out the visual flow by running the liriope through all three of the front garden beds.

Here’s the walkway from the front stoop. The zig zag is not the best layout. I smoothed out the visual flow by running the liriope through all three of the front garden beds.

I inherited the layout of the walkway, but if I were to design it myself, I would have brought this odd zig zag section forward to match up with the rest of the walkway and made the whole walkway 4 to 5 feet wide. It’s always nice to be able to walk side by side with someone on a front walk, and being on the north side of the house, it would have been smarter to bring the walk out of the shadow of the house. If I ever win the lottery this is one of the things on my wish list – LOL!


Rounding  the corner the azalea is in full bloom right now, underplanted with a sea periwinkle to move your eye around to what's next.

Rounding the corner the azalea is in full bloom right now, underplanted with a sea ofperiwinkle to move your eye around to what’s next in the side garden.

This side of the east garden was opened up a bit removing some of the iris and lambsears and exending a few new waves of color into the existing design. In a couple of weeks this will be teaming in color.

This side of the east garden was opened up a bit removing some of the iris and lamb’s ears and extending a few new waves of color into the existing design. In a couple of weeks this will be teaming in color.

Moving around to the east side of the garden I have done a lot of work. There were many of the older perennials that needed dividing, and some areas requiring removal, like the lamb’s ears which never was happy in that location and the beautiful iris which were overwhelming their area. All is smoothed out, and in a few weeks this area will be teaming with color. I have simplified many of the waves of color on this side, and interspersed some of them with liriope and periwinkle which will provide more year round interest. I also want to suggest to those looking to brighten up an area that placing lighter colors or variegated plants in the dark recesses under trees will draw your eye in and create more dimension. Repeating the plant material, colors and varying the numbers of plants in a group is also helpful to pull your eye through.

One more thing worth mentioning in this region of the country and other drought-prone areas: limit the amount of lawn that is in your yard. For example, in my yard the side and back are fairly hilly, so the lawn is kept to a minimum through there, and treated more like a wide pathway flowing through the yard and the garden beds are much wider. In the front, the yard is flat, so we have kept a larger patch of lawn for activities– perfect for throwing a Frisbee, or a game of croquet. This limits the amount of water, nutrients needed, and even helps with the amount of time you need to spend mowing — bonus!

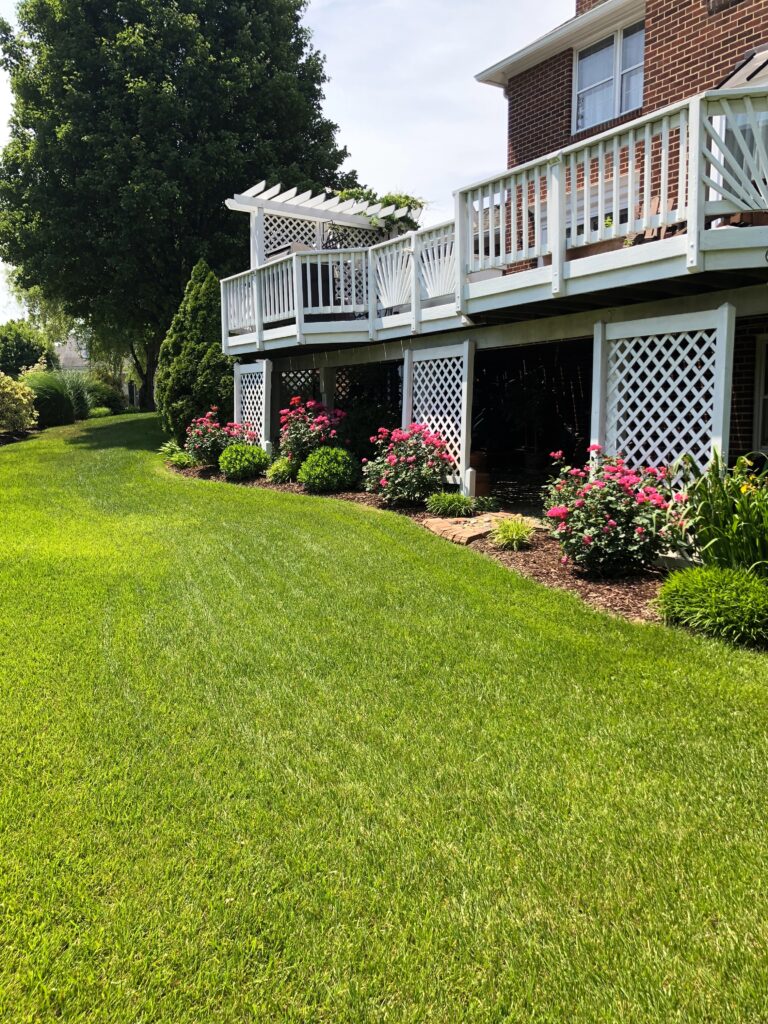
Moving around into the back garden, I’m really happy to see that all the roses I transplanted are really flourishing in the full sun. This is where I have amped up the flower power, and have sedum, orchids, astilbe, hellebores, ginger, lamb’s ears, yarrow, iris, peonies, lily of the valley and hummingbird vine. Many of these were started from gifts from my gardening friends! The idea was to have something blooming for as much of the year as possible. The only time there is a void is February, and don’t worry, I’m on it. I think I’ll add some crocus bulbs in the fall to make it year round. Will I ever be done? No, but that’s the fun for me!


A view of the newly revamped back yard border. It now has flowers blooming almost all year.

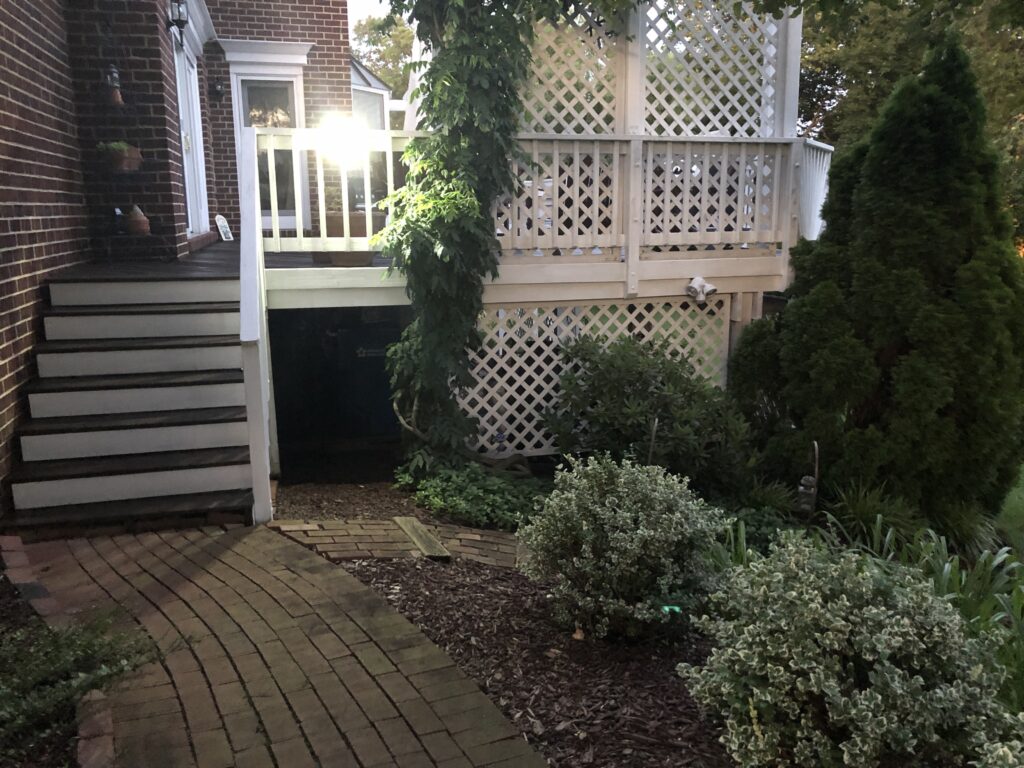
A long view of the newly revamped back yard border. It now has flowers blooming almost all year. It is half in full sun, and half in shade under the deck, so I’m able to have a wide variety of plant material.

Don't forget-- April showers bring May flowers! Here's a rainbow from the back deck from our last April shower-

Don’t forget — April showers bring May flowers! Here’s a rainbow from our last April shower – bring on the May flowers! Happy gardening!


Save

Save

Save

Save

Save

Save

Save

Save

Save

Save

Save

Sharing Buttons by Linksku