Tag Archive for Autumn gardening

Time for a Fresh Fall Update

Hello, gardening friends! Are you loving the cooler weather as much as I do? What a change these last couple of weeks have brought. As you probably know by now, I am in love with purple, so I have decided to use lots of it this fall in my decorating.

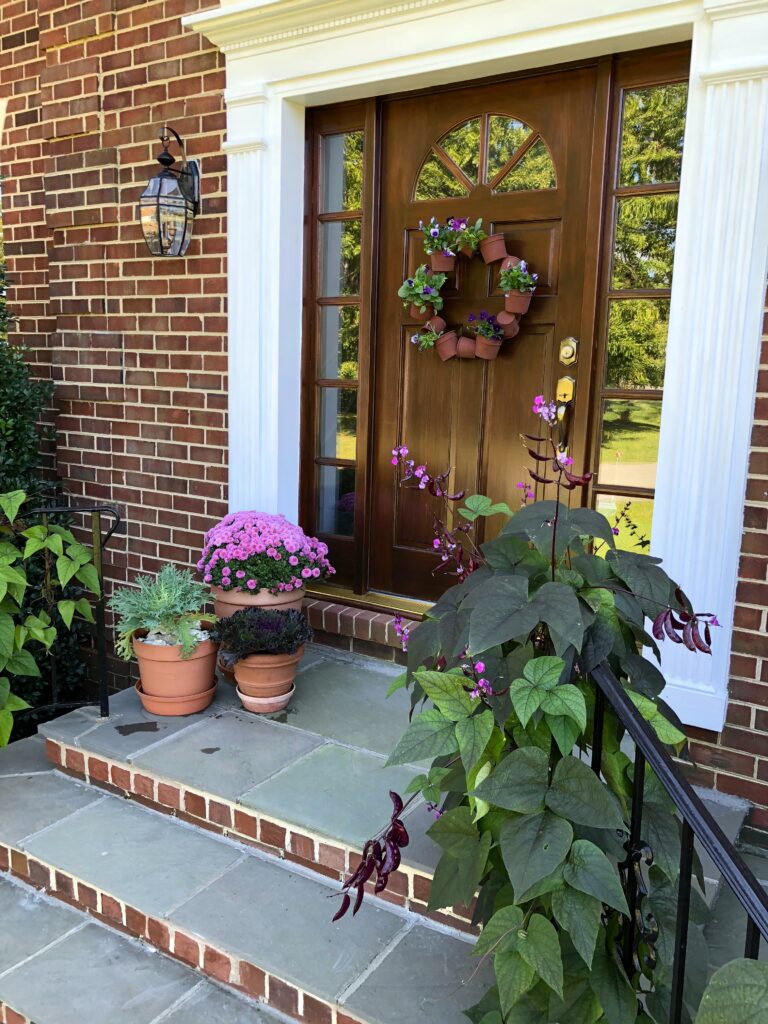
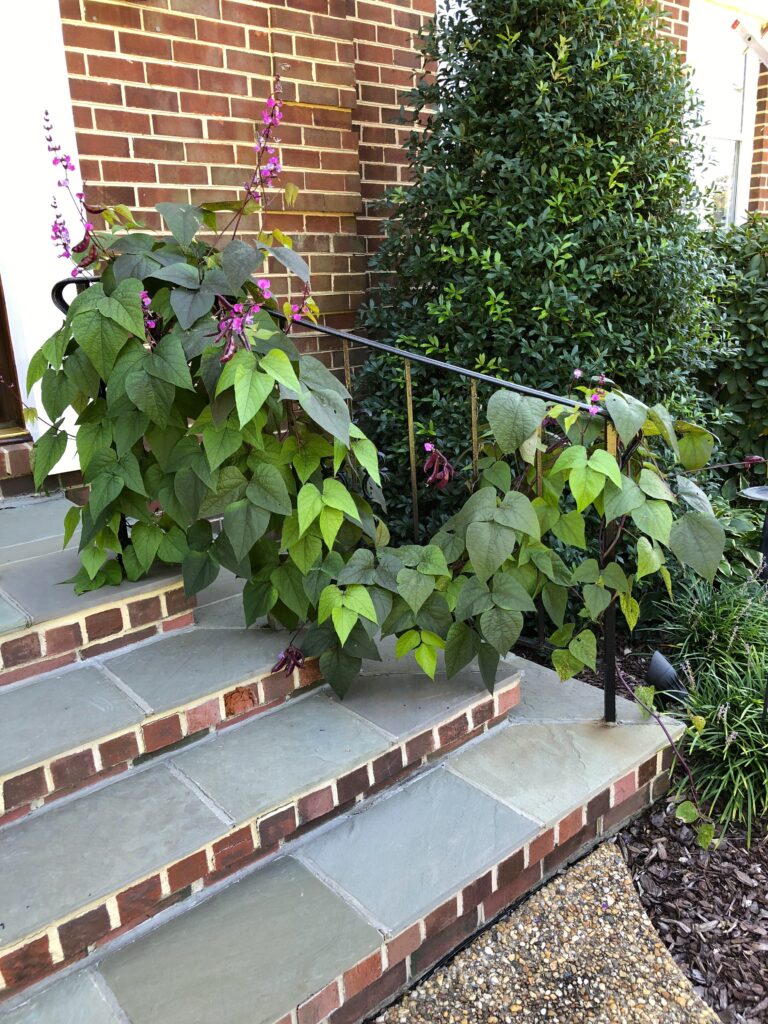
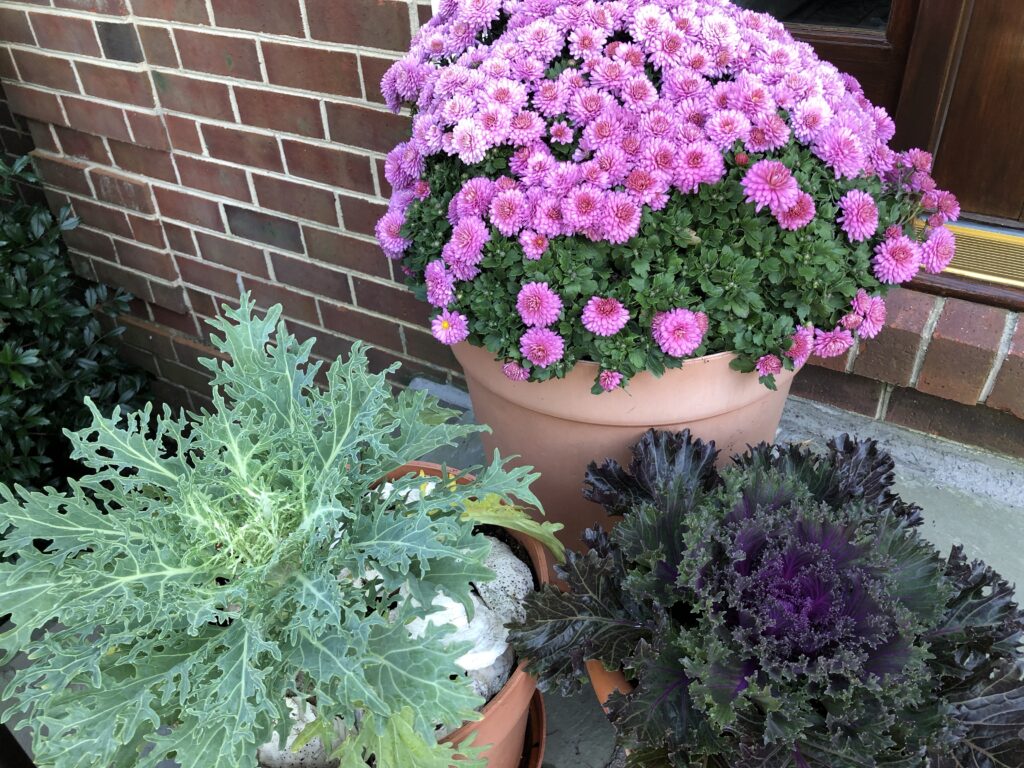
This fall’s decor has a purple theme: cabbages, pansies, violas, mums, and the star of the show, the hyacinth bean vines!
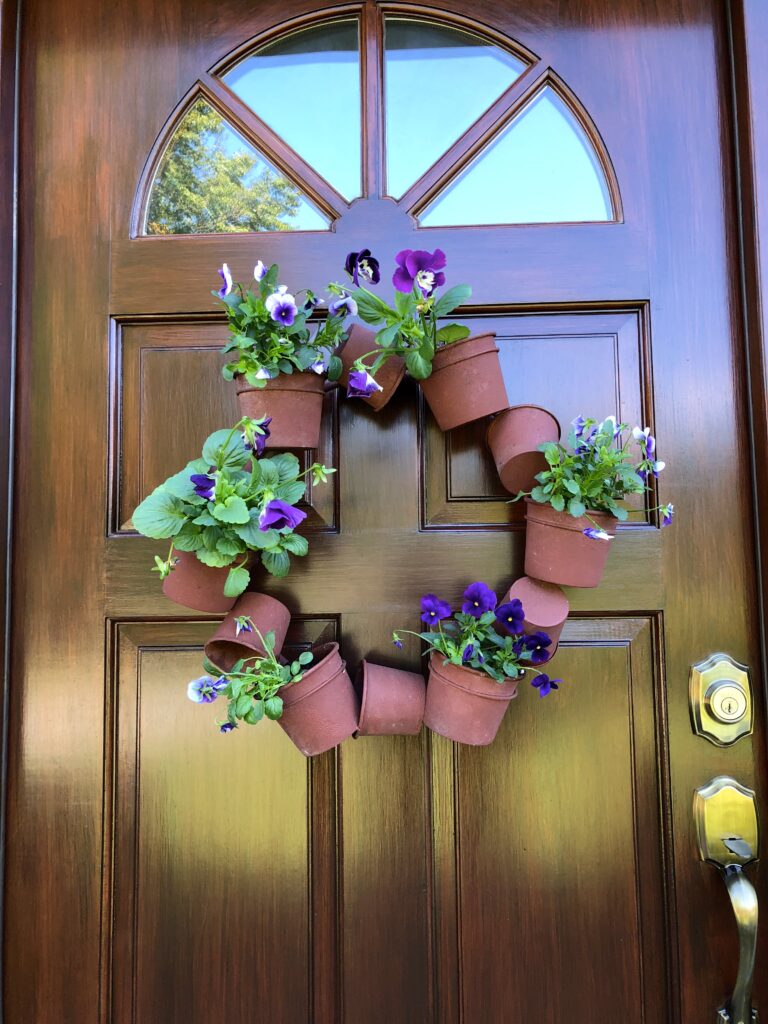
The front door got a fresh stain makeover, and I filled the wreath form with violas and pansies again this year.

This summer I grew everything from seed. I have to say it was fun but much more labor intensive. This was my pandemic challenge to myself: to see how much I could save by using just what I had. I think the only garden supplies I actually bought this summer was one bag of fertilizer!

I grew lots of vinca and several hyacinth bean vines that I experimented growing in different ways. I’ll share more on that today. I also tried zinnias, which are usually super-easy, yet I failed at that one. I put them outside too soon, and there was a rainstorm which brought on a cold snap, and the whole tray got fungus. Lesson learned to just wait until it’s warmer! Everything else did wonderfully though when I started them a couple of weeks later.

Here’s this years bounty, all from seeds from previous year’s crops!
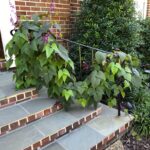
I trained the vines to look like living garlands on the handrails at the front entry just for fun, and they really look dramatic!
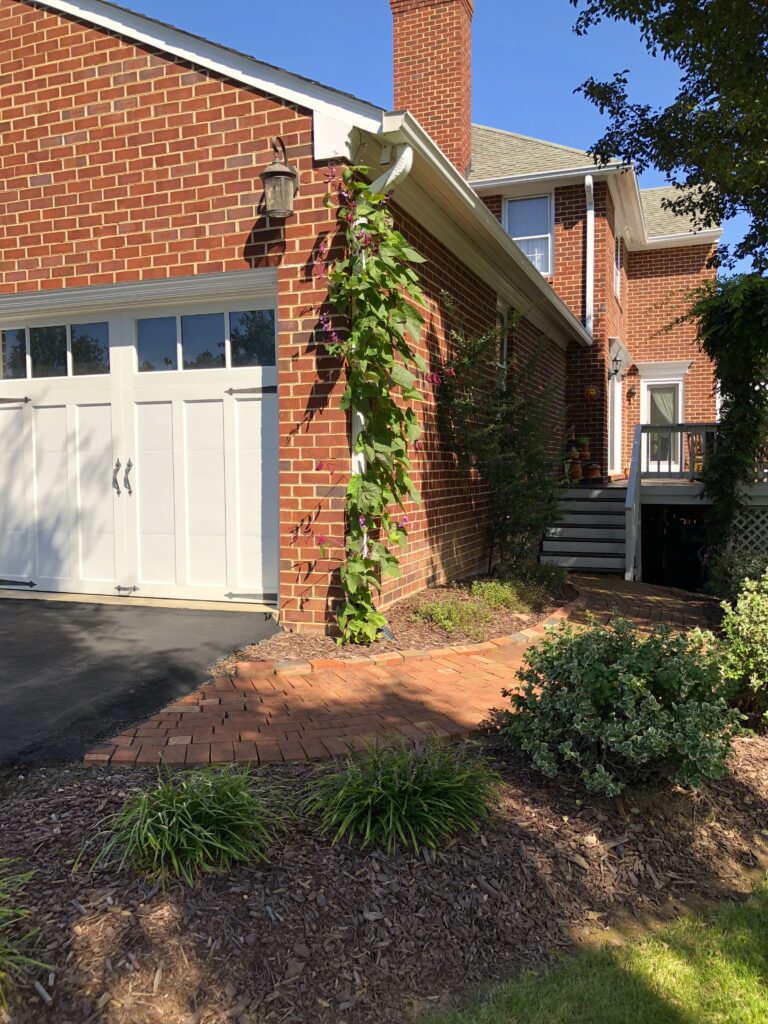
I also trained one up the downspout on the side of the garage. They are very showy, and now getting covered with purple pods which are so pretty. These are annuals though, and do not like it when the temperature starts dropping into the 40’s, so I’m enjoying every last minute with them!
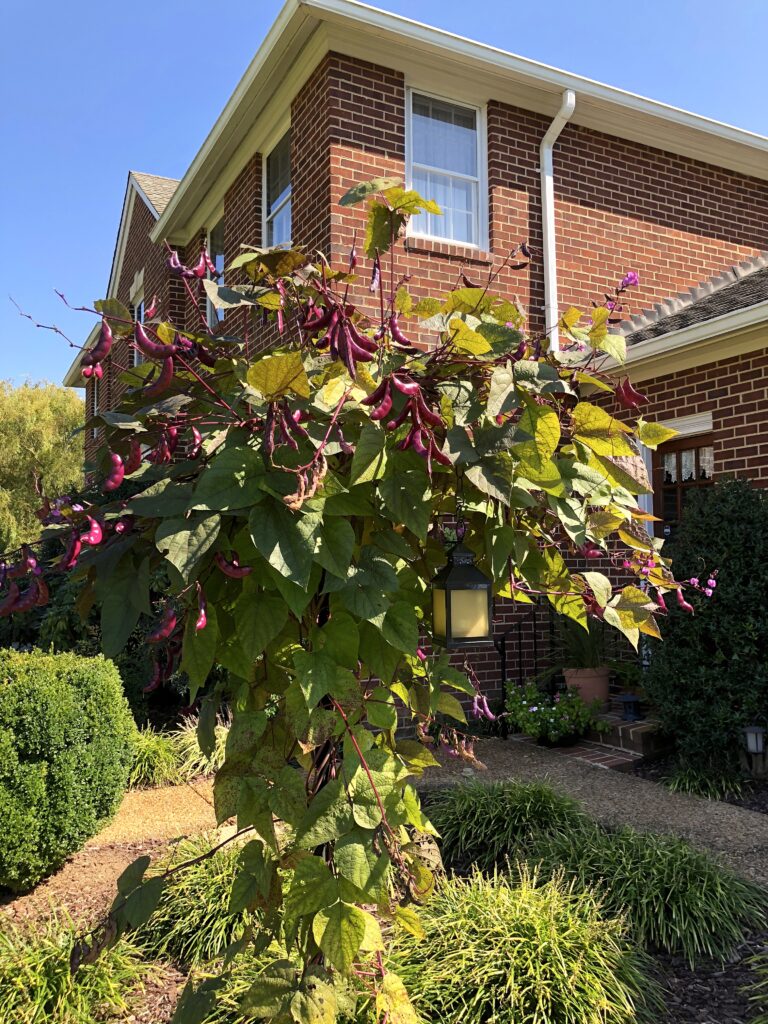
I also grew one on the shepherd’s hook along the front walk, where I have grown them for many years. As you can see they are getting lots of pods, so I’ll have many seeds to share!
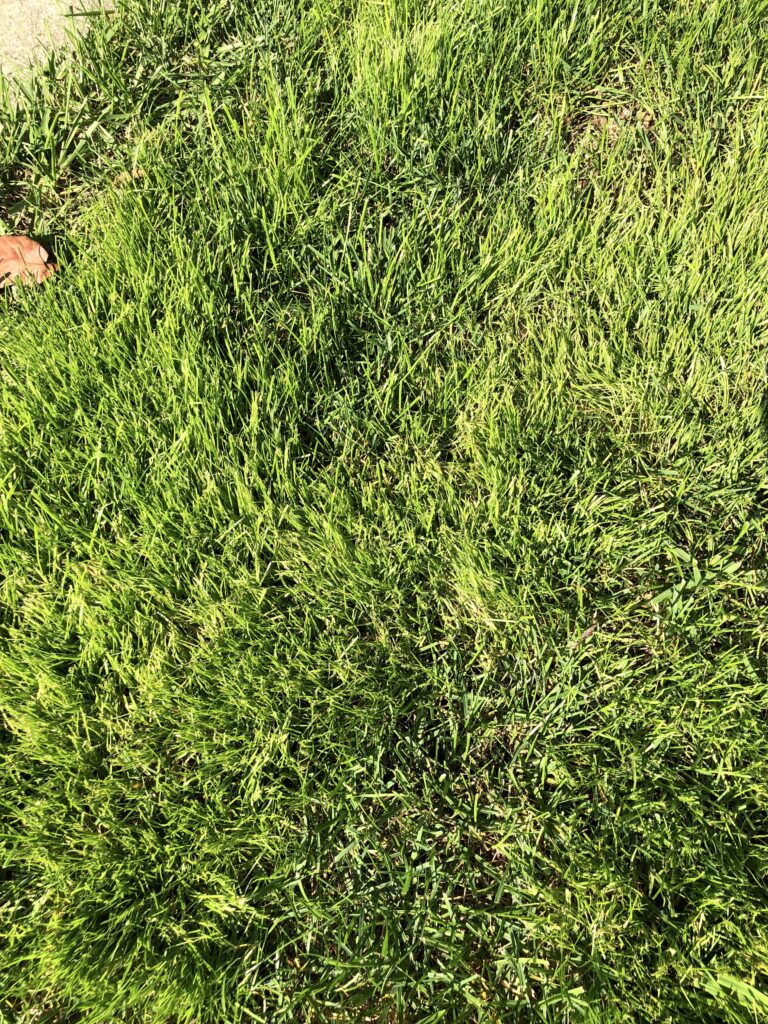
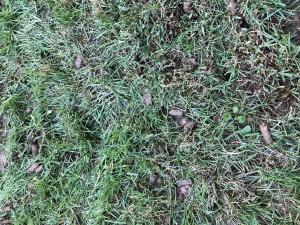
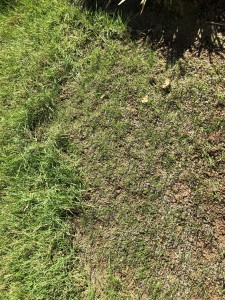
Also on this season’s refresh list was this parking strip. It had become almost completely bare from doggie “leave behinds”, which encouraged weeds to sprout with wild abandon. Not good! So I cleared the weeds, raked deeply with a steel rake, spread lawn soil and seeded.
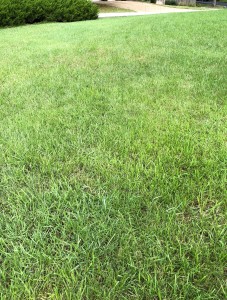
After just a week we had this fabulous green velvet lawn. It has now been 3 weeks and I have to say this is the best seed I’ve ever used! It is by Vigoro, and is 100% perennial seed. The color is fantastic, and so far it has beaten every other kind of seed that I’ve tried. So this will get my “Best of Show” blue ribbon this year. So maybe 2020 isn’t all bad — LOL!
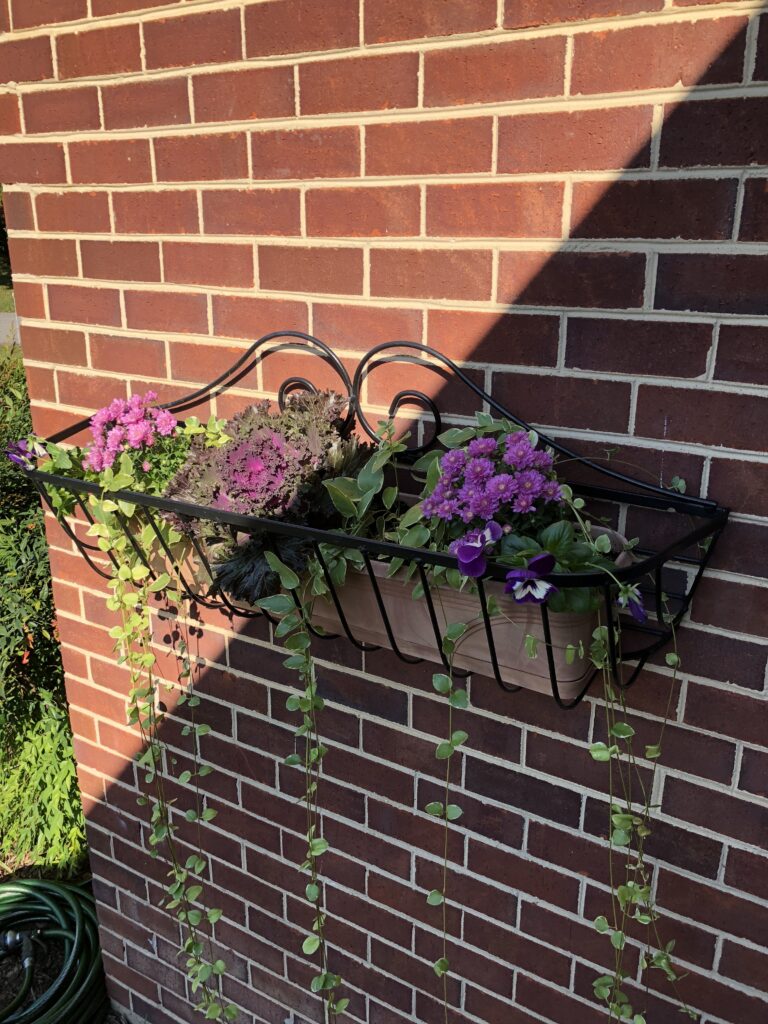
On the turn of the front walk, the wall basket got a makeover, too. Using the same plants as I did on the front porch, I added a big cabbage, mums, pansies, and the trailing vinca from before. I was going to mount this above the front door, like I have before, but this requires daily watering. It’s so much more convenient to the garden hose right here. I may still add another one above the door, but will probably just fill it with pumpkins that don’t require watering. And speaking of hoses, just a reminder to drain them soon, and turn off the spigot inside to prevent freezing when the weather turns cold.
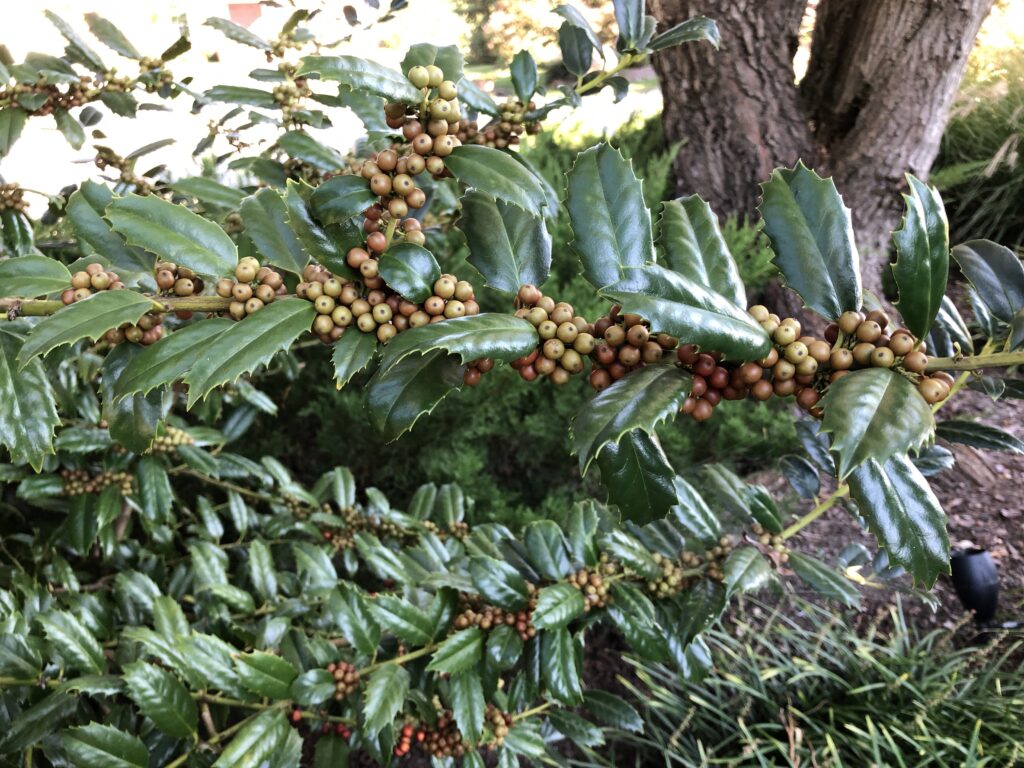
Turning to the bushes in the garden, I want to call your attention to the incredible amount of berries on my cardinal holly! In the past this has been an indication of severity of the winter to come. I’m predicting a fairly cold winter for those of us here in the mid-Atlantic region.
Until then, Happy Fall Gardening!

The Queen of Autumn – Beautiful Mums – Long May They Reign!

Happy Fall !

Happy Fall!

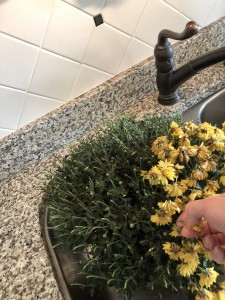
It seems autumn has finally arrived! In celebration, I always am drawn to the nursery to bring home a few of my favorite harbingers of autumn, the beautiful chrysanthemum. I am going to give you some tips today to give you at least DOUBLE the blooming time on these beauties. Sometimes I have kept them going for almost three months of flowers using this strategy.

Here goes–


When purchasing mums, look for plants that are just showing color, but in a bud stage. This will give you the longest amount of time to enjoy-

When purchasing mums, look for plants that are just showing color, but in a bud stage. This will give you the longest amount of time to enjoy.

First, when choosing your mum, buy one that is still in the “color showing bud” stage. This way, you will have the opportunity to get every minute of flowering time.


Instead of planting the mums in the garden, plant them in pots at least four inches larger than the nursery pot that they come in. This allows you to pull them under cover of a porch, garage or even into your house during fall rainstorms — their biggest enemy!


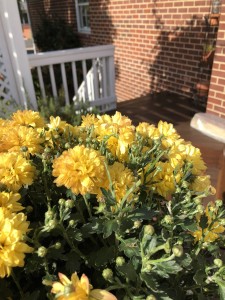
Mums in all their glory are one of the most beautiful sights of Fall. I love to have some by the front door to great visitors.

Mums in all their glory are one of the most beautiful sights of fall. I love to have some by the front door to great visitors.


When watering the potted mums, just water the the root zone from under the foliage. This is very important. Water on the flowers after they open will kill the flower. It breaks my heart when I see a well-intentioned gardener plant their mums and then water from above with a hose, only to see that the mums are dead the next week. Watering only the soil keeps the foliage and flowers dry and protects them. Using this method should give you at least a month and half of bloom time.


Deadheading your mum after the first set of blooms have bit the dust will expose a second set of blooms. You can have double your bloom time!

Deadheading your mum after the first set of blooms have bit the dust will expose a second set of blooms. You can have double your bloom time!


Now to extend that month and a half of blooms for a month or possibly even more, here’s my final tip: deadheading. If you remove the first set of blooms when they have finished, you will see a second set of buds hidden underneath. These are smaller, but will provide you with a second bloom cycle of flowers. Double the fun!


Second set of blooms opening! Gardener's gold-

Second set of blooms opening! Gardener’s gold…


I hope you will give this method a try if you love mums as much as I do. Happy autumn gardening everyone!

Lawn Renovation Even in Sauna Weather – Got to Get it Done!

Hi everyone! We had an unbelievable amount of rain here this year, almost double our annual rainfall total. The air feels like a sauna even in October. It’s been hard to spend more than a few hours outside at a time in the heat and humidity — but you know I can’t stay inside, and there’s work to be done!

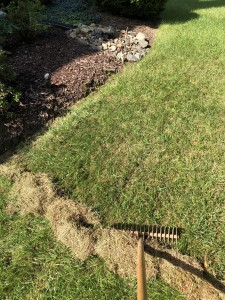
This type of steel rake is my favorite choice for de-thatching the lawn and preparing the soil for overseeding. Just look how much debris it removes!

This type of steel rake is my favorite choice for de-thatching and preparing the soil for overseeding. Just look how much debris it removes!

My priority now is renovating the lawn. Normally, I would finish this completely in September, but the weather has put me behind schedule. To do this right, I started by weeding the entire lawn by hand, as opposed to using an herbicide. When planning to overseed, one needs to make sure not to have any chemicals on the lawn which could interfere with the new seed sprouting.

I am using a specialized steel rake to get every bit of thatch out of the lawn — a tool I inherited from my grandfather. This is THE most grueling step. After de-thatching two-thirds of the lawn, I have collected more than a dozen full bags of debris (don’t worry — you know it’s going to the compost heap). I’m impressed with how effectively this steel rake pulls out the thatch — and it loosens the surface, which makes for great new seed contact into the top soil.

Everyone who walks by while I’m working asks me why I don’t just use a machine for this, but if you saw how much better this works you’d know why!

This is a photo of what the plugging machines do. They really don't get any thatch up, and compared to the steel rake- well, there is no comparison-

This is what those plugging machines do. They really don’t get any thatch up, and compared to my steel rake — well, there is no comparison, not to mention that the plugs of soil the machines leaves behind look like, um, something else we don’t really want to see…

I bought a premium seed that has a variety of grass types: some that sprout within a week to stabilize the bare spots, and additional varieties that will be sprouting over the next few. This mix also had a seed-starting fertilizer mixed in, but if the variety you purchase doesn’t have this, I’d recommend using some.

Keeping things moist while the seeds are doing their magic is key, but with all the rain we’ve had, I’ve only had to water the new seed a few times.

With the combination of sod, seed and fertilizer you can hardly see where the old tree stumps used to be!

With the combination of sod, seed and fertilizer you can hardly see where the old tree stumps used to be!


I’m happy to say that I finally was able to easily pull out the last of the roots from two pear trees which used to grace the front yard. Now those areas are much smoother in elevation. The vast majority of the surface roots came out with the tree, but a few deep ones remained. On these areas, which were quite large, I used a couple of pieces of sod and more seed around the edges to completely fill it in. Now you’d never know that those were trouble spots!


Once the new seed reaches three inches tall, you can start mowing. We gave our newly-seeded lawn its first mow this week.  I have a tip for this, too: Set your mower to highest level first, because after a few weeks of not mowing, the existing grass will definitely be quite long and would clog the bagging chute. In a couple of days, set your mower to the normal level and cut it again. This way your lawn won’t be stressed as much — and you won’t create new thatch by using a clogged mower!

Yes! Nice new seedlings emerging. What a good feeling that is-

Yes! Nice new seedlings emerging.


The front yard is finished, now on to the back-

The front yard is finished, now on to the back…


I’m hoping the weather will cooperate so I can finish up my raking this week, but (if you can believe it) we have a new hurricane bearing down tomorrow night, and two more in the Atlantic pipeline. Hope everyone stays safe, and best of luck — I’ll be back with some pretty fall flowers next week!


Happy Fall !

Happy Fall!

Happy Fall-

Wishing all my readers a happy and healthy Fall!

Wishing all my readers a happy and healthy Fall!

Save

Save

Time for Collecting Seeds and Preserving Blooms

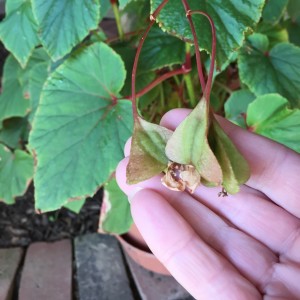
Look closely at your plants, many will have seed pods that you can dry and save for next year. This begonia has really strikingly pretty ones in a teardrop shape.

Look closely at your plants. Many will have seed pods that you can dry and save for next year. This begonia has strikingly pretty ones in a teardrop shape.


Hi, friends — happy fall! I’m sorry I have not posted for a while. I’ve been busy finishing up projects, and glad to say that I have completed many. The ten new storm windows are installed, and the new flooring in my basement finished, too. Now I can get back to my favorite thing — gardening! I was asked to write a post on how I collect seeds and keep plants for the next year, and I am happy to do just that.


There are many plants that I’m saving this year by collecting their seeds and berries.
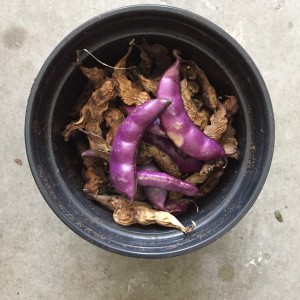
After collecting pods, let them dry out. Break them open and pop the seeds out. Save for Spring planting.

After collecting pods, let them dry out. Break them open and pop the seeds out. Save for spring planting.
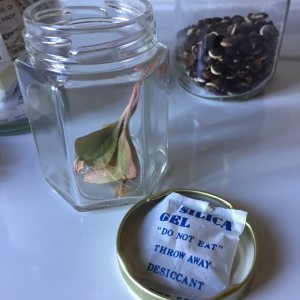
I like to store my seeds in recycled glass jars. I glue silica packs to the inside of the lid to keep moisture at bay.

I store my seeds in recycled glass jars. I glue silica packs to the inside of the lid to keep moisture at bay.

The pretty Hyacinth bean vine produced literally hundreds of pods this year. The best way to save these is simply to pick them and let the pods dry out. The pods break open quite easily then, and I just store the seeds in a glass jar until next spring. Here’s a preserving tip that you might not know: Glue a silica pack on the inside of jar lids — it will absorb any excess moisture from accumulating inside the jar. I save the silica packs from old shoe boxes and other shipping boxes that come with them inside, so it’s a great reuse for them.
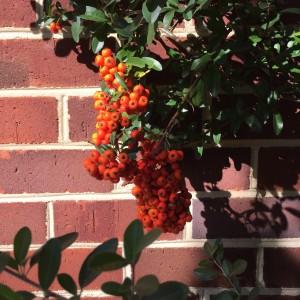


Many bushes in the garden will drop berries that will sprout in the Spring. Transplant the seedlings from these to a safe spot in the garden, and you will be amazed at how quickly these volunteers will grow into great new plants.

Many bushes will drop berries that will sprout in the spring. Transplant the seedlings to a safe spot in the garden, and you will be amazed at how quickly these volunteers will grow into great new plants.

Many plants in the garden, such as the nandina, holly bushes, pyracantha and liriope, have berries that I just let fall into the garden. In the spring I cull the best sprouts from these to start new plants. It’s amazing how quickly they grow into beautiful plants all on their own with hardly any effort.


Many of the annual flowers that I grow in the garden produce seeds. If you check the soil in the areas that you have planted with annuals, you will see volunteers sprout up regularly. I do this every year with the vinca that is planted by the driveway. Even the gorgeous heirloom begonias that I grow in pots will self-seed. It’s always a good idea to save some of the seed just in case they don’t return. It’s easy to find the seeds. They will either be in little pods or form inside the flowers.
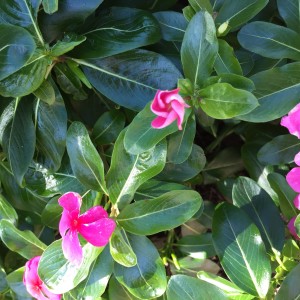
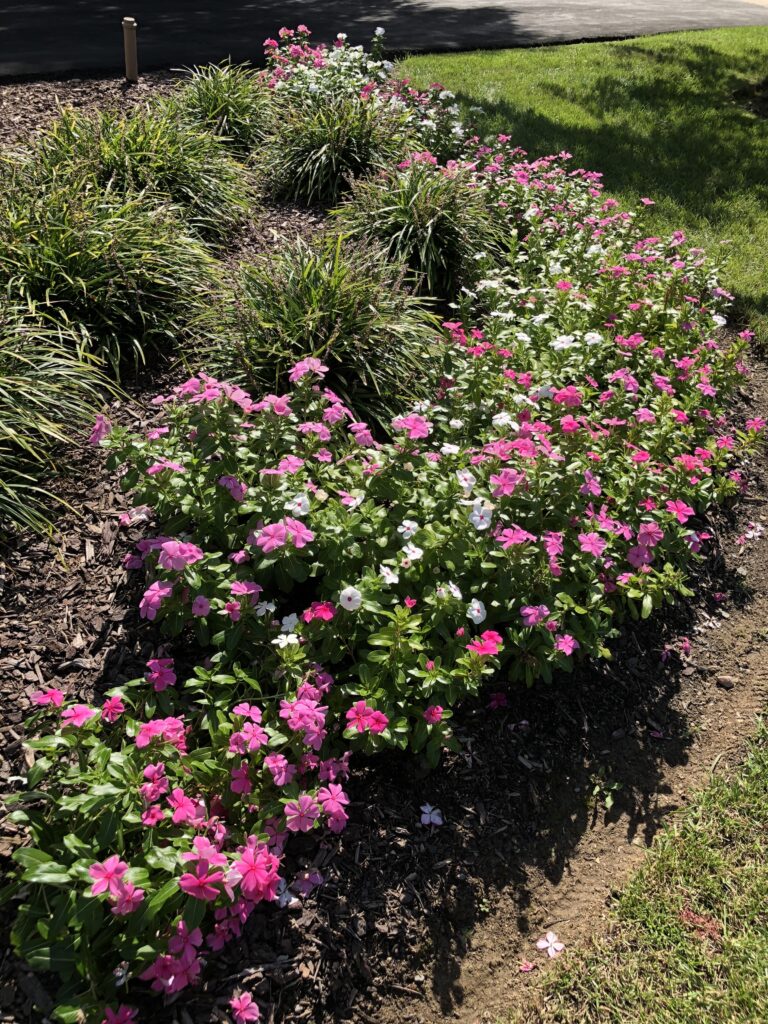
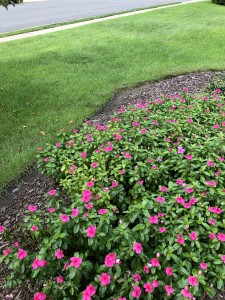
I love how many varieties of vinca are now growing in my garden. Many annuals will drop seed throughout the Summer, and if the soil is not distrubed too much you will have many new sprouts in the Spring. I like to keep the strongest of the new sprouts and clear the rest.

Many annuals will drop seed throughout the summer, and if the soil is not disturbed too much you will have many new sprouts in the spring. I like to keep the strongest of the new sprouts and clear the rest. Each year I like to grow a different color vinca. It’s fun to see the blend of colors from previous years, growing up through the current year’s plants.
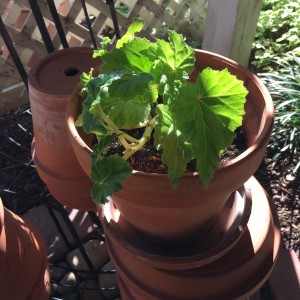


Some of the more tender herbs and plants are easily propagated by taking cuttings that you can root in water then plant indoors to save over the winter months. Begonias and basil are two of my favorites.

Some of the more tender herbs and plants are easily propagated by taking cuttings that you can root in water then plant indoors to save over the winter months. Begonias and basil are two of my favorites.


Another way of saving begonias, ivy and many herbs (such as basil) is by pinching off a few branches and rooting them in water. In just a few weeks you will have enough roots to sustain a fresh plant that you can keep indoors over the winter months, and plant outside once spring comes. The same can be done with many of the hardy herbs, like chives, oregano and thyme that grow in a clump. Just divide a small clump (2″ or so), and plant to create a wonderful indoor planter that you can pick and enjoy for cooking all winter.
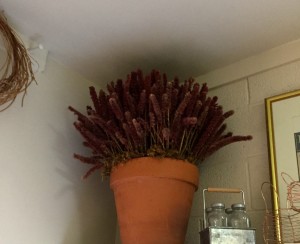


This is a huge bundle of liatris from the garden that I hung to dry and then arranged in a clay pot. I have many of these on top of the cabinets in my mud room.
This is a huge bundle of liatris that I hung to dry and then arranged in a clay pot. I have many of these on top of the cabinets in my mud room.

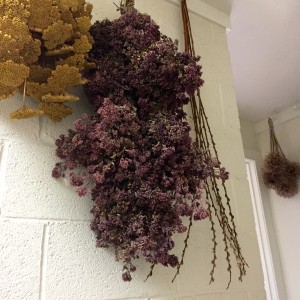
I hang lots of the flowers from the garden from peg racks to let them dry, and store them there until they make their way into a flower arrangement. It adds color, and I love having a reminder of Summer all Winter long. Here I have yarrow, oregano, pussy willow, bay leaves, lavendar and many others. Easy to do!

I hang lots of the flowers from the garden from peg racks to let them dry, and store them there until they make their way into a flower arrangement or wreath. It adds color, and I love having a reminder of summer all winter long. Here I have yarrow, oregano, pussy willow, bay leaves and many others. Even hummingbird vine that I twist into wreath bases. Easy to do, and it’s fun to be able to make things for gifts that you grow yourself!


There are some herbs and perennials that I cut and dry to enjoy all winter in bundles and arrangements through out the house. These will stay pretty — sometimes for years — if they are out of direct sun. I regularly dry the liatris, yarrow and even oregano when it’s flowering. I like to hang it in bundles from peg racks in the mud room to add a little color.


There are other perennials like the blackberry lily that I let dry and the seeds will easily shake off into a paper bag. Those will be saved in a jar as well for springtime planting.
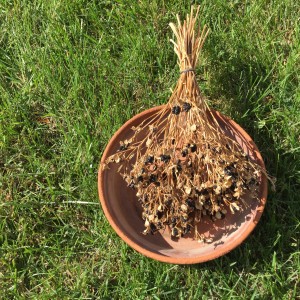
Some perennials produce very decorative seeds after flowering, like these blackberry lily. Once the stems start to fade, I cut and dry them. It's easy to shake the seeds off into a paperbag and save them for next year's planting.

Some perennials produce very decorative seeds after flowering, like these blackberry lily. Once the stems start to fade, I cut and dry them. It’s easy to shake the seeds off into a paper bag and save them for next year’s planting.
Happy Fall Gardening Everyone!

Happy Fall Gardening Everyone!


I hope that you will try a few of these in your own garden. Seeds are like coins in a piggy bank. It’s always fun to have some “Gardener’s Gold,” and don’t forget to share your bounty with other gardeners — a jar of seeds for a Christmas gift is always fun and welcome!

Save

Save

Save

Save

Save

Save

Save

Save

Save

Save
Setting the Scene for Fall

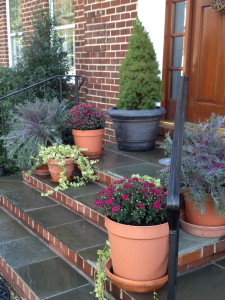
This year's Fall colors on my porch are deep pinks, purples and teals.

This year’s Fall colors on my porch are deep pinks, purples and teals.

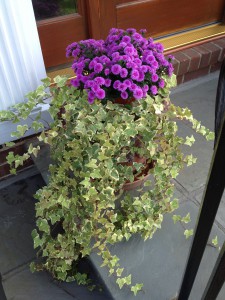
I am getting the gardens ready for Fall, and it has been a beautiful weekend for doing the last bit of weeding and edging. Although the chores are not much fun, I rewarded myself by getting some gorgeous additions for the front entrance: ornamental kale, mums, violas, eucalyptus and some variegated ivy that I will use to add some punch.

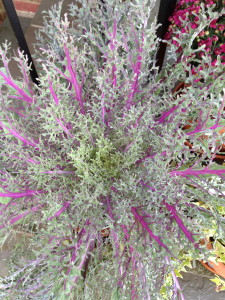
This year there are some very interesting colors in the selections at the nurseries. I was inspired by a really beautiful kale, and I am pulling various shades of purples, deep pinks and a teal green from it and adding some bright accents with the ivy and the violas.

This ornamental kale was my inspiration for the Fall colors I chose this year.

This ornamental kale was my inspiration for the Fall colors I chose this year.

As the season progresses, I will add pumpkins and gourds for Halloween, and for Thanksgiving I’ll add some Indian corn. Here again, the choices are amazing — the gourds I’ve seen have so many beautiful greens and ivories, not just the traditional oranges and yellows of yesteryear.

Normally by this time of year summer annuals would be in decline, but our strange year once again is proving to be different.

Normally by this time of year summer annuals would be in decline, but our strange year once again is proving to be different.

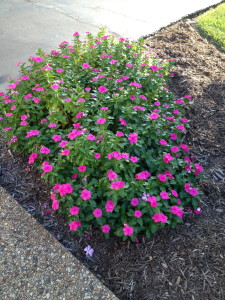
It seems that we are having a very late Autumn in the mid-Atlantic region. Barely anything has changed color, and most of the summer annuals are still blooming well. Because of this, I am going to break one of my cardinal rules.  I am normally not one for mixing seasons, and I like to give each season its special time to shine, but it makes it hard for me to remove the summer flowers when they are all still looking so pretty. (I know, I get too attached to my babies… I mean my flowers, LOL!) In order to make the summer flowers work in the design, I bring in texture and color that will coordinate with the vinca and the mandevilla vine which are still thriving. They are both deep pink, so I especially like the combination with the kale! This is normally where I would have installed pansies, so when the frost arrives (and the vincas pass on to flower heaven), I will replace them with some pansies or violas. I love to have some flowers on each side of the driveway to welcome us home year ’round since that is the entrance most used.

Lanterns on sheppard's hooks are a great portable way of lighting a pathway- or anywhere else!

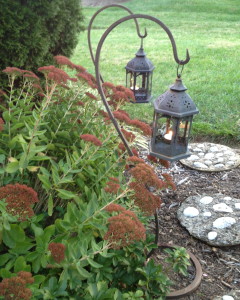
Lanterns on shepherd’s hooks are a great portable way of lighting a pathway — or anywhere else!

I have been so taken with gorgeous candle lanterns from magazines and in pictures that I have seen lately. I love to make the garden come alive with light especially on Halloween and when guests are expected, so I will be adding all my lanterns here and there along the walkways. In addition, there is some beautiful uplighting in the trees and against the house, which have been in place now for many years. I just love the look, and it really shows off the trees at night in a very interesting way! If safety is a concern, battery-powered candles can be substituted in lanterns for real ones. Another easy way of adding lighting is with solar lights, no wiring involved. It seems technology is really improving at a rapid clip in this field, and there are some really pretty styles now, unlike the clunkers of a decade ago.

Fall is a season full of beauty, and it’s so nice to have some cool fresh air again. I hope you can find some time to get out and enjoy what Mother Nature is giving us. Please let me know what is inspiring you this season.  Happy gardening!
 

Happy Fall!

Happy Fall!

It’s Almost Autumn!

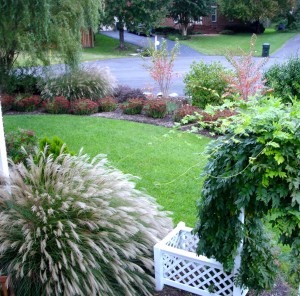
It’s almost that time of the year again — the mornings are refreshing, and the afternoons mild. I’ve been working on all sorts of house projects, but just wanted to stop and take in some of the beautiful things happening in the garden.
Here are a few of my favorites:

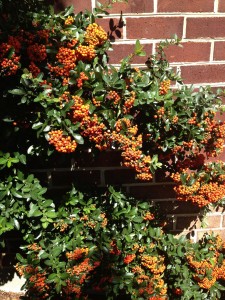
The berries are huge this year on the Pyracantha. The birds will soon notice, and gorge on them, I'm sure!

The berries are huge this year on the Pyracantha. The birds will soon notice, and gorge on them, I’m sure!

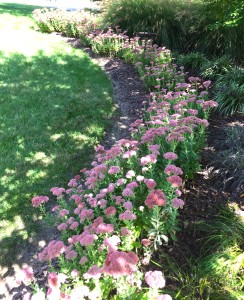
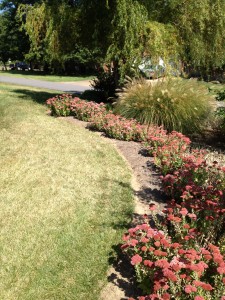
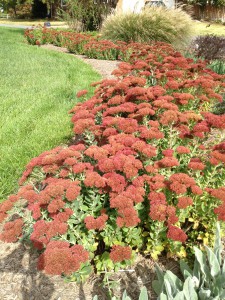
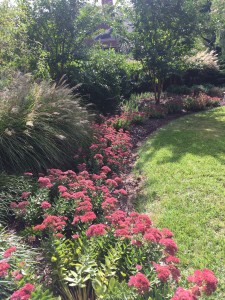
I can't get enough of the sedums when they are in bloom. I love the soft coral color.

I can’t get enough of the sedums when they are in bloom. I love the soft coral color.

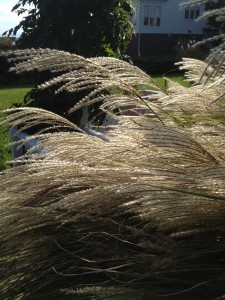
The fronds on the maidenhair grass shimmer in the sun.

The fronds on the maidenhair grass shimmer in the sun, and I love to watch them dance in the breeze.

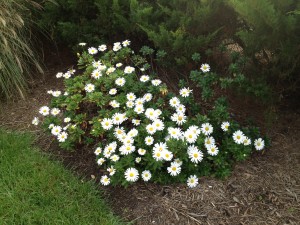
The montauk daisies are almost in full bloom!

The Montauk daisies are almost in full bloom!

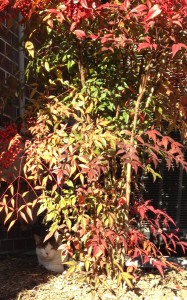
And my favorite plant of the season, the nandina. With my garden buddy Stomper taking his afternoon nap underneath.

And my favorite plant of the season, the nandina. With my garden buddy Stomper taking his afternoon nap underneath.

Time to go purchase some pansies and mums. I’ll be back soon with some more Autumn glories- until then enjoy your day!


Full Circle in the Garden

Fall asters come in a range of beautiful colors and have very long bloom times.

I have been so glad that milder air returned this fall. With so many things that need attention in the garden, I’ve been very busy. I have a step-by-step list of what to do when in the garden, and this autumn brings us to the end of the growing season. Lawn renovation is a top priority, but there are also many other needs: cutting back perennials, transplanting and removing bushes, and painting.

First, I found these lovely asters in the garden center. I put them on my front porch front door to inspire me — so vibrant! — and got to work on the front lawn renovation.


This is a terrific thatch rake. I love the adjustable feature - very ergonomic!


This year, being intensely hot, wreaked havoc on the grass. It was completely brown and dormant with terrible bare patches. It takes real work to bring back grass that has been that damaged. I am a believer in dethatching with a hand rake – it is less damaging to the roots and gets all the compacted trimmings out. My father gave me his rake a few years ago. It has an adjustable handle which makes the task a little bit easier. Even so, it was several hard days work to finish (wear gloves!).

Next, soak the ground with the sprinkler for a day or so. Using a hand spreader, layer starter fertilizer and an overcast of grass seed. Lightly scratch the surface to bury the seed. Be diligent about watering everyday for a couple of weeks, and you’ll have a gorgeous fall lawn!

In my growing zone (Northern Virginia), I put down new seed by mid-October. That gives the new grass a good chance at developing hardy roots before frost. Check http://planthardiness.ars.usda.gov/PHZMWeb/ to find the statistics for your local zone.

I also removed some Japanese hollies which became diseased due to the snow damage of a couple of years ago and am replacing them with some variegated euonymus along the front walk. I like to do all bush transplanting in the fall whenever possible, but no later than Thanksgiving. That is also the magic date for planting bulbs. You want to give them time to spread their roots to anchor themselves against winter winds and heaving from frost.

The sedums are one of the few perennials that I don't trim back in the fall. They provide seeds for the birds during winter.

This is also the time of the year to cut back the perennials after they die. I cut to ground level the daylillies, hostas, coreopsis, and other summer flowering varieties. I also neaten up some of the ones that I don’t cut back until spring, like the butterfly bushes, and rake out the lamb’s ears of the dead undergrowth.

To give a nice backdrop to it all, I gave the trimwork, railings, windows and arbors a scrub and a coat or two of paint. The mild weather helps the paint to cure properly and last a few years.

Well, that takes us full circle in the garden for this 2012 growing season. I hope you all have had a wonderful autumn, filled with the colors of the season.

Sharing Buttons by Linksku