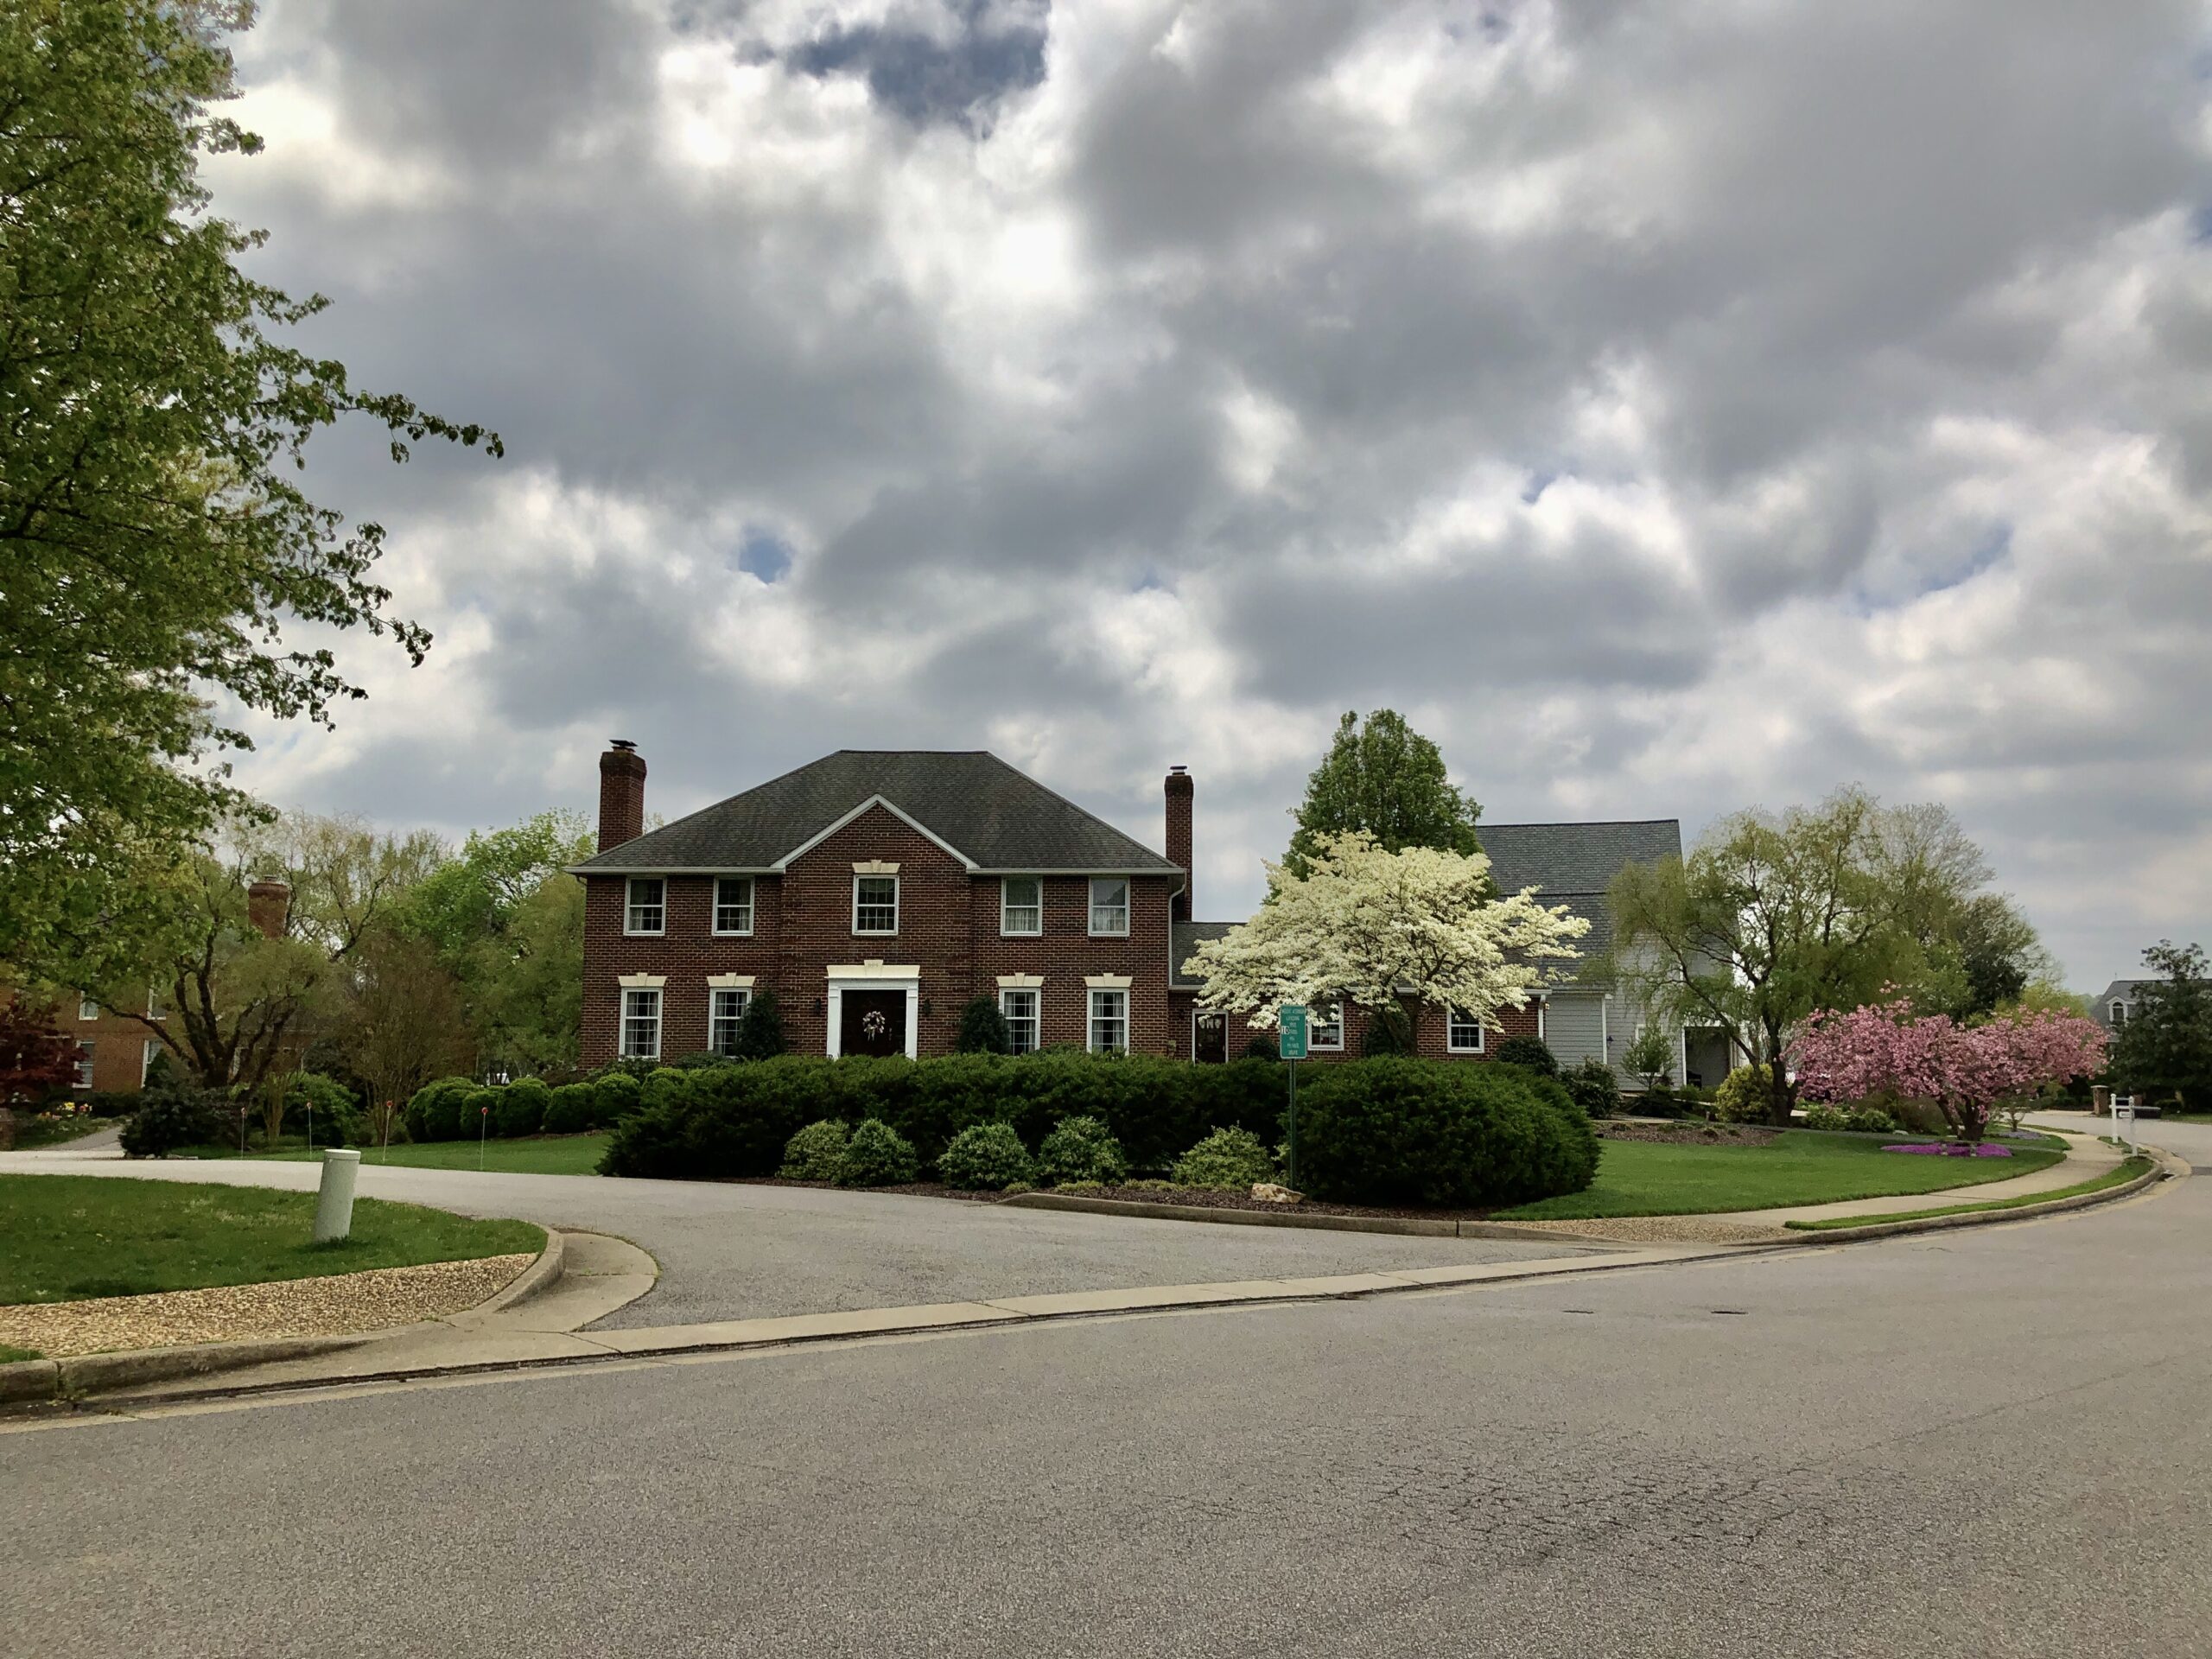
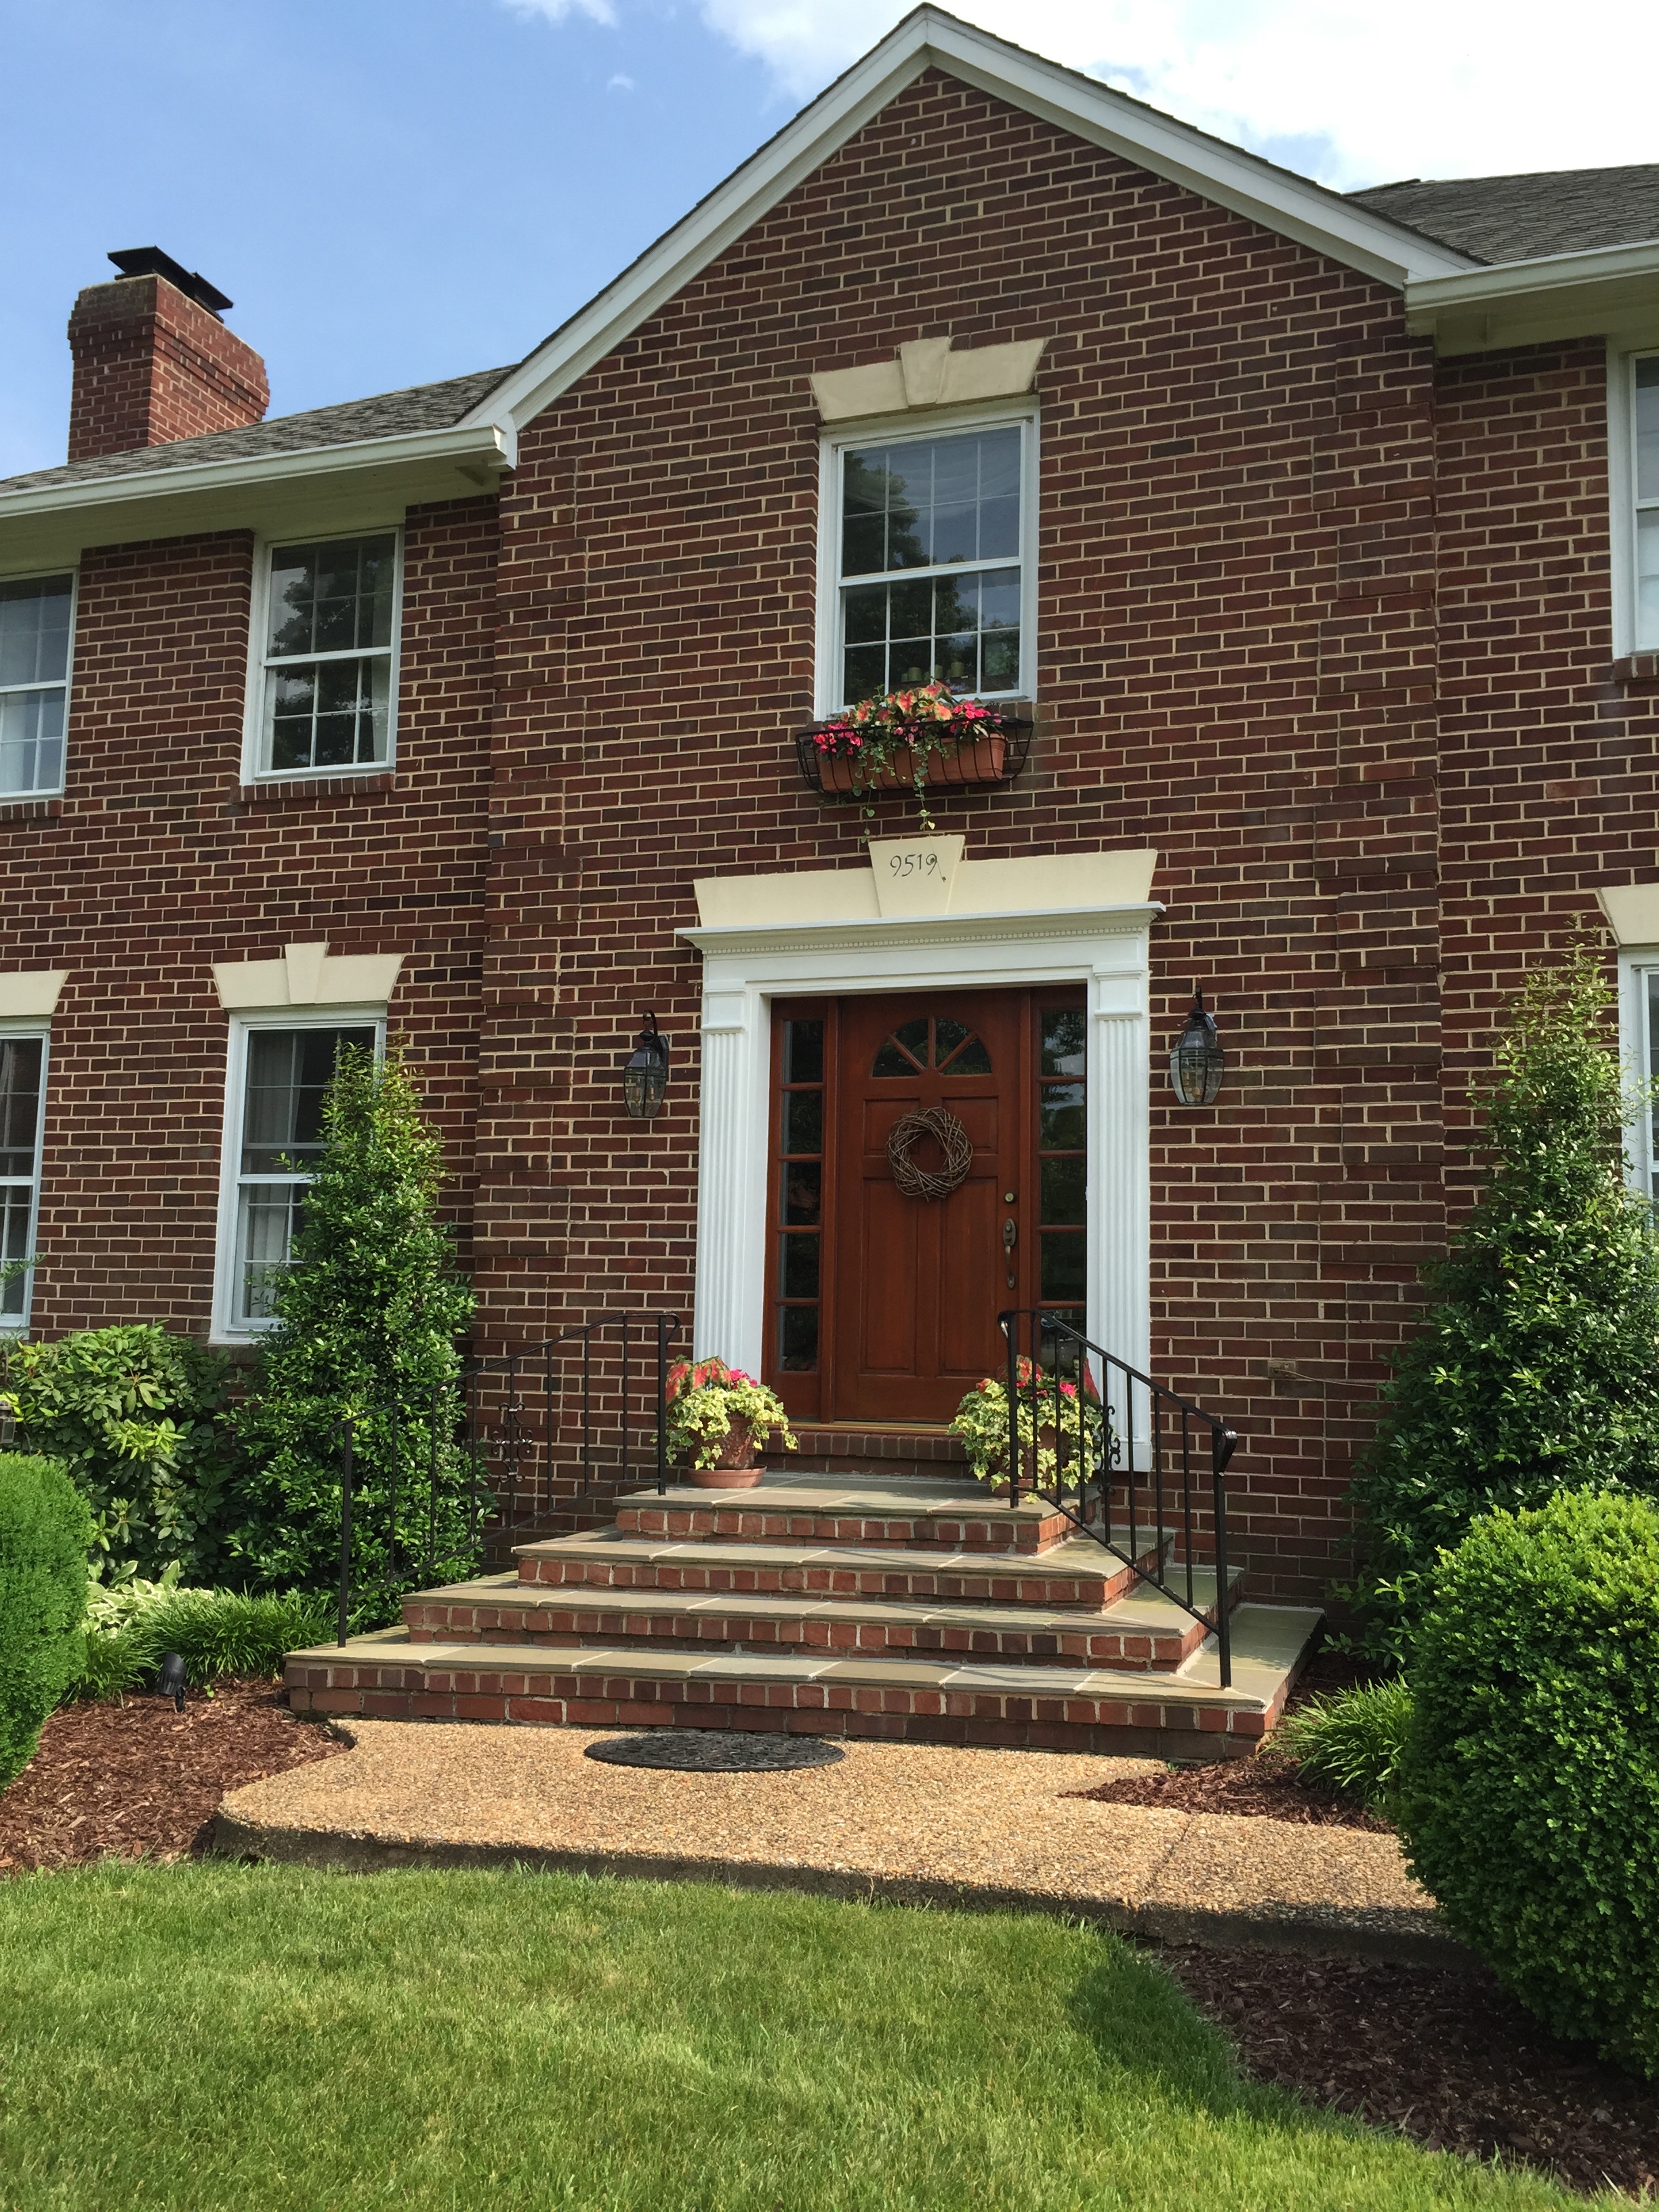
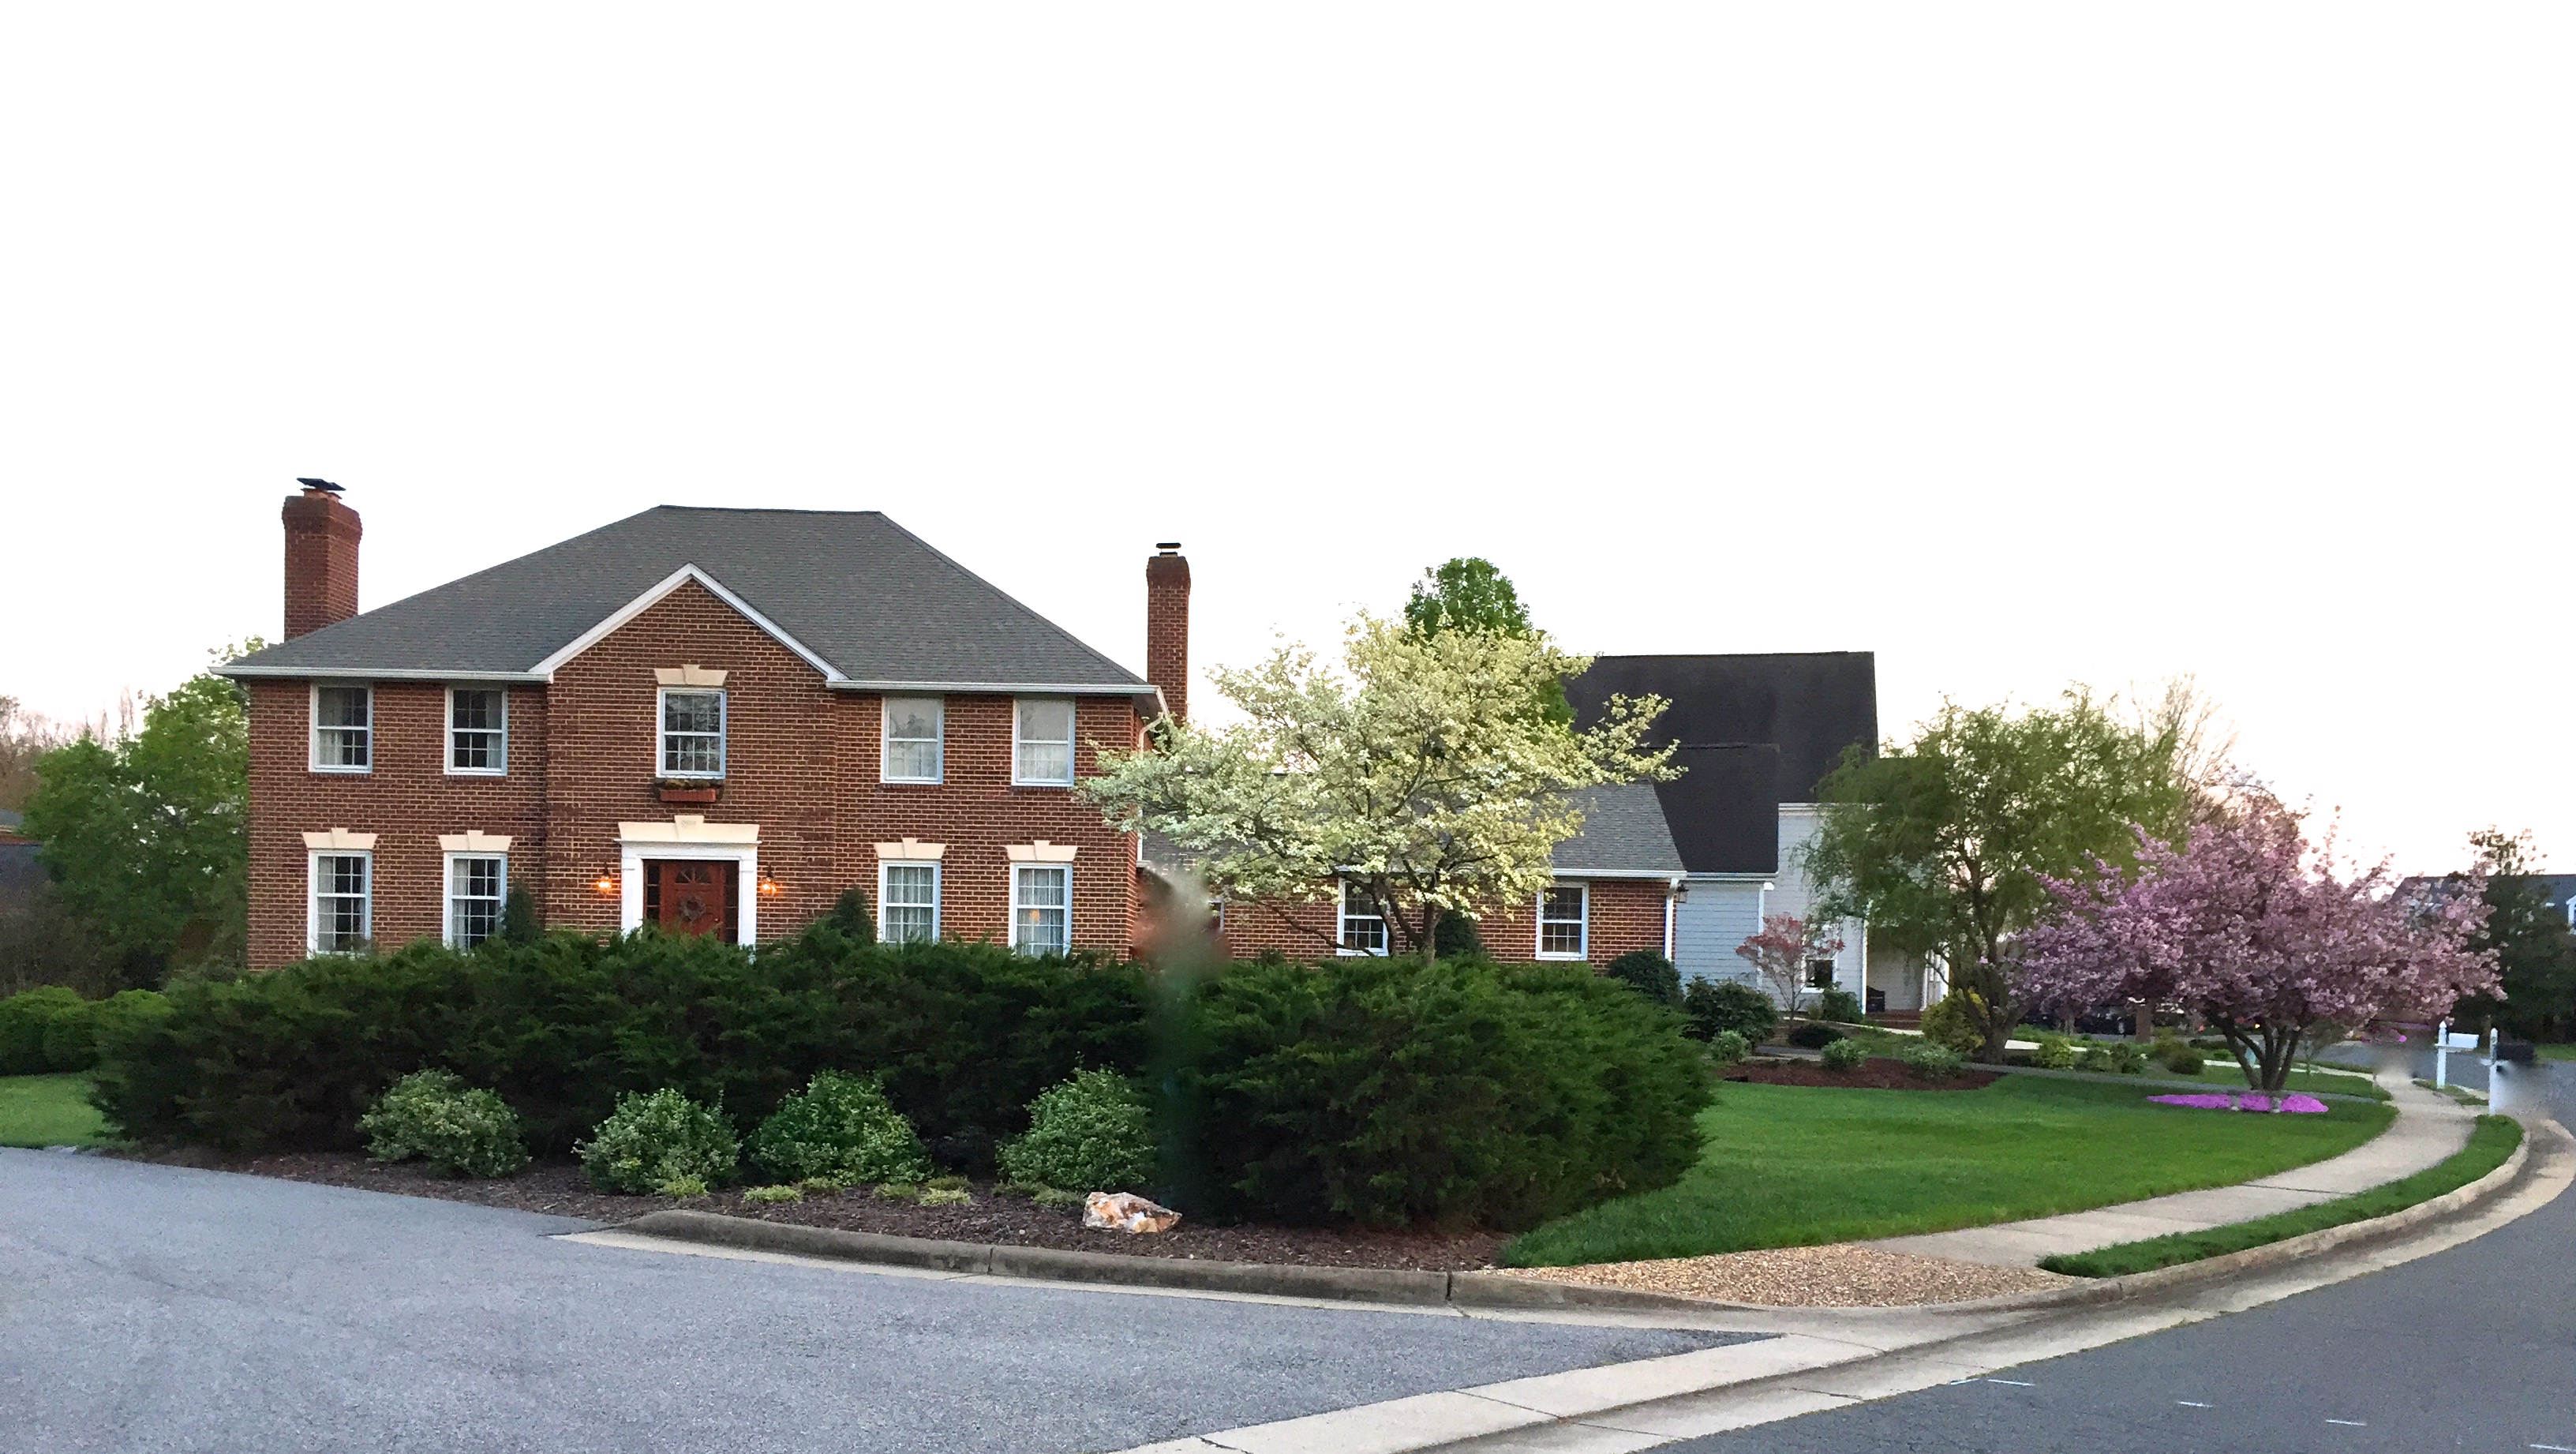
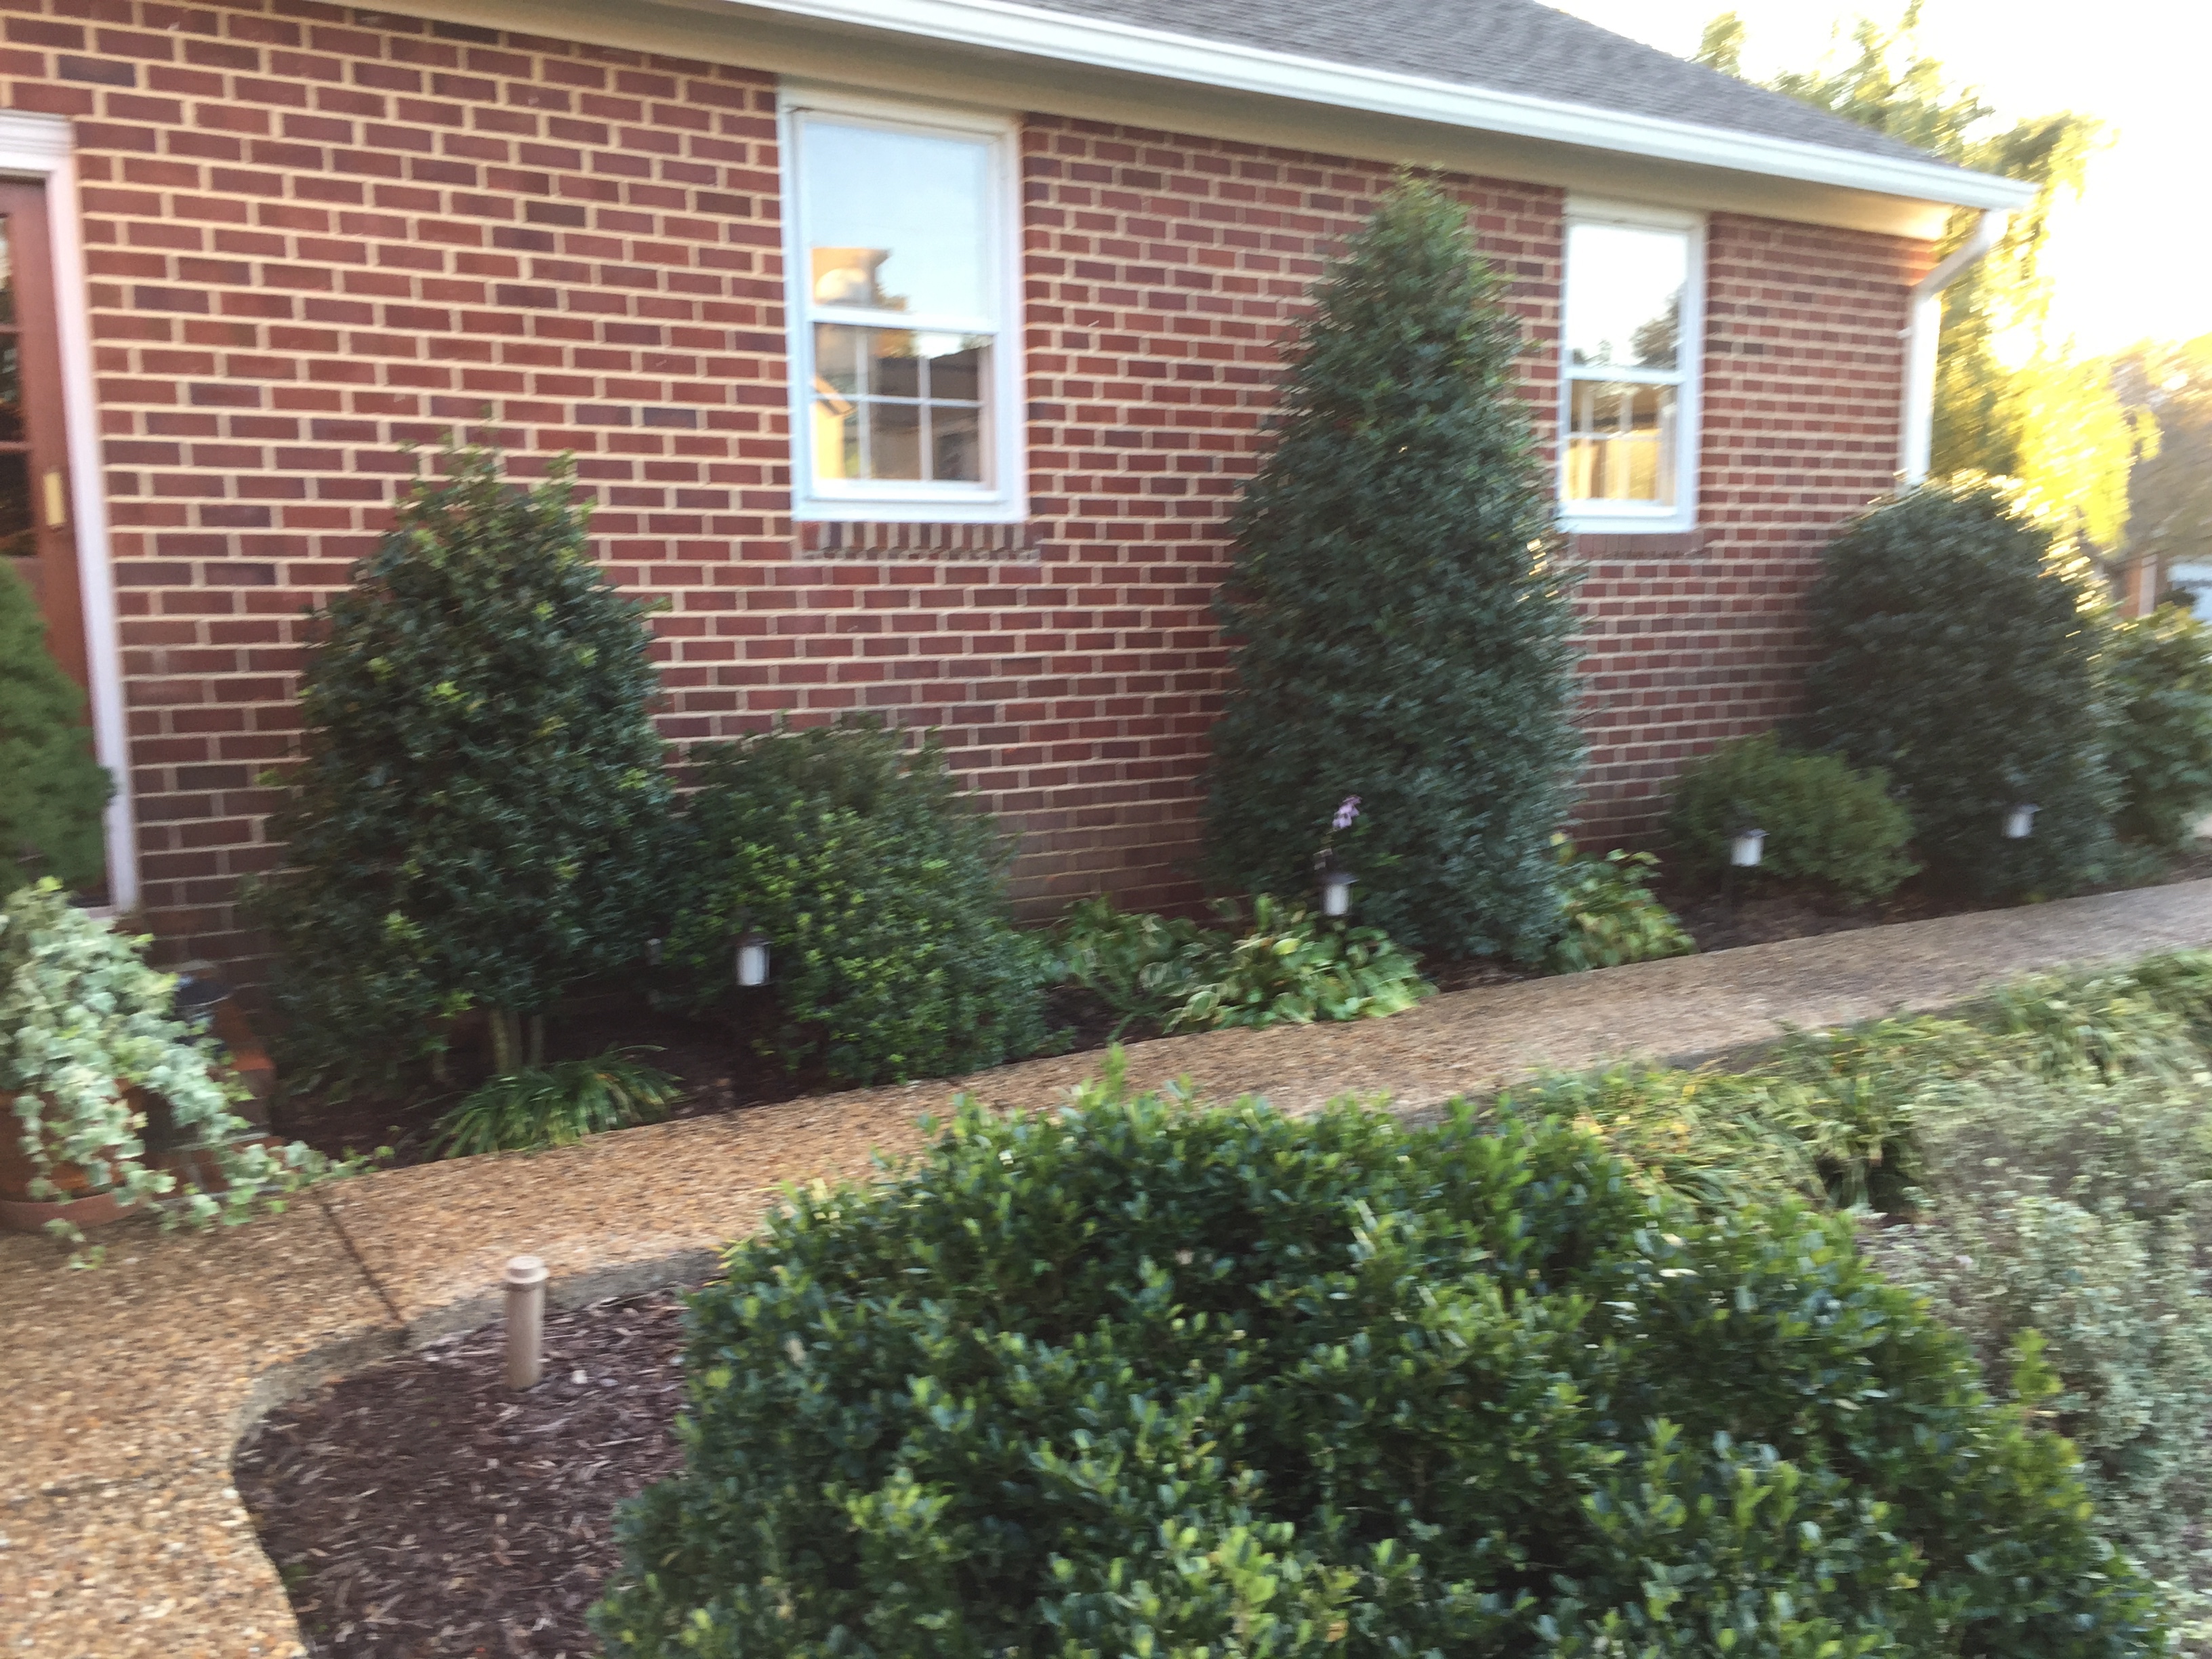
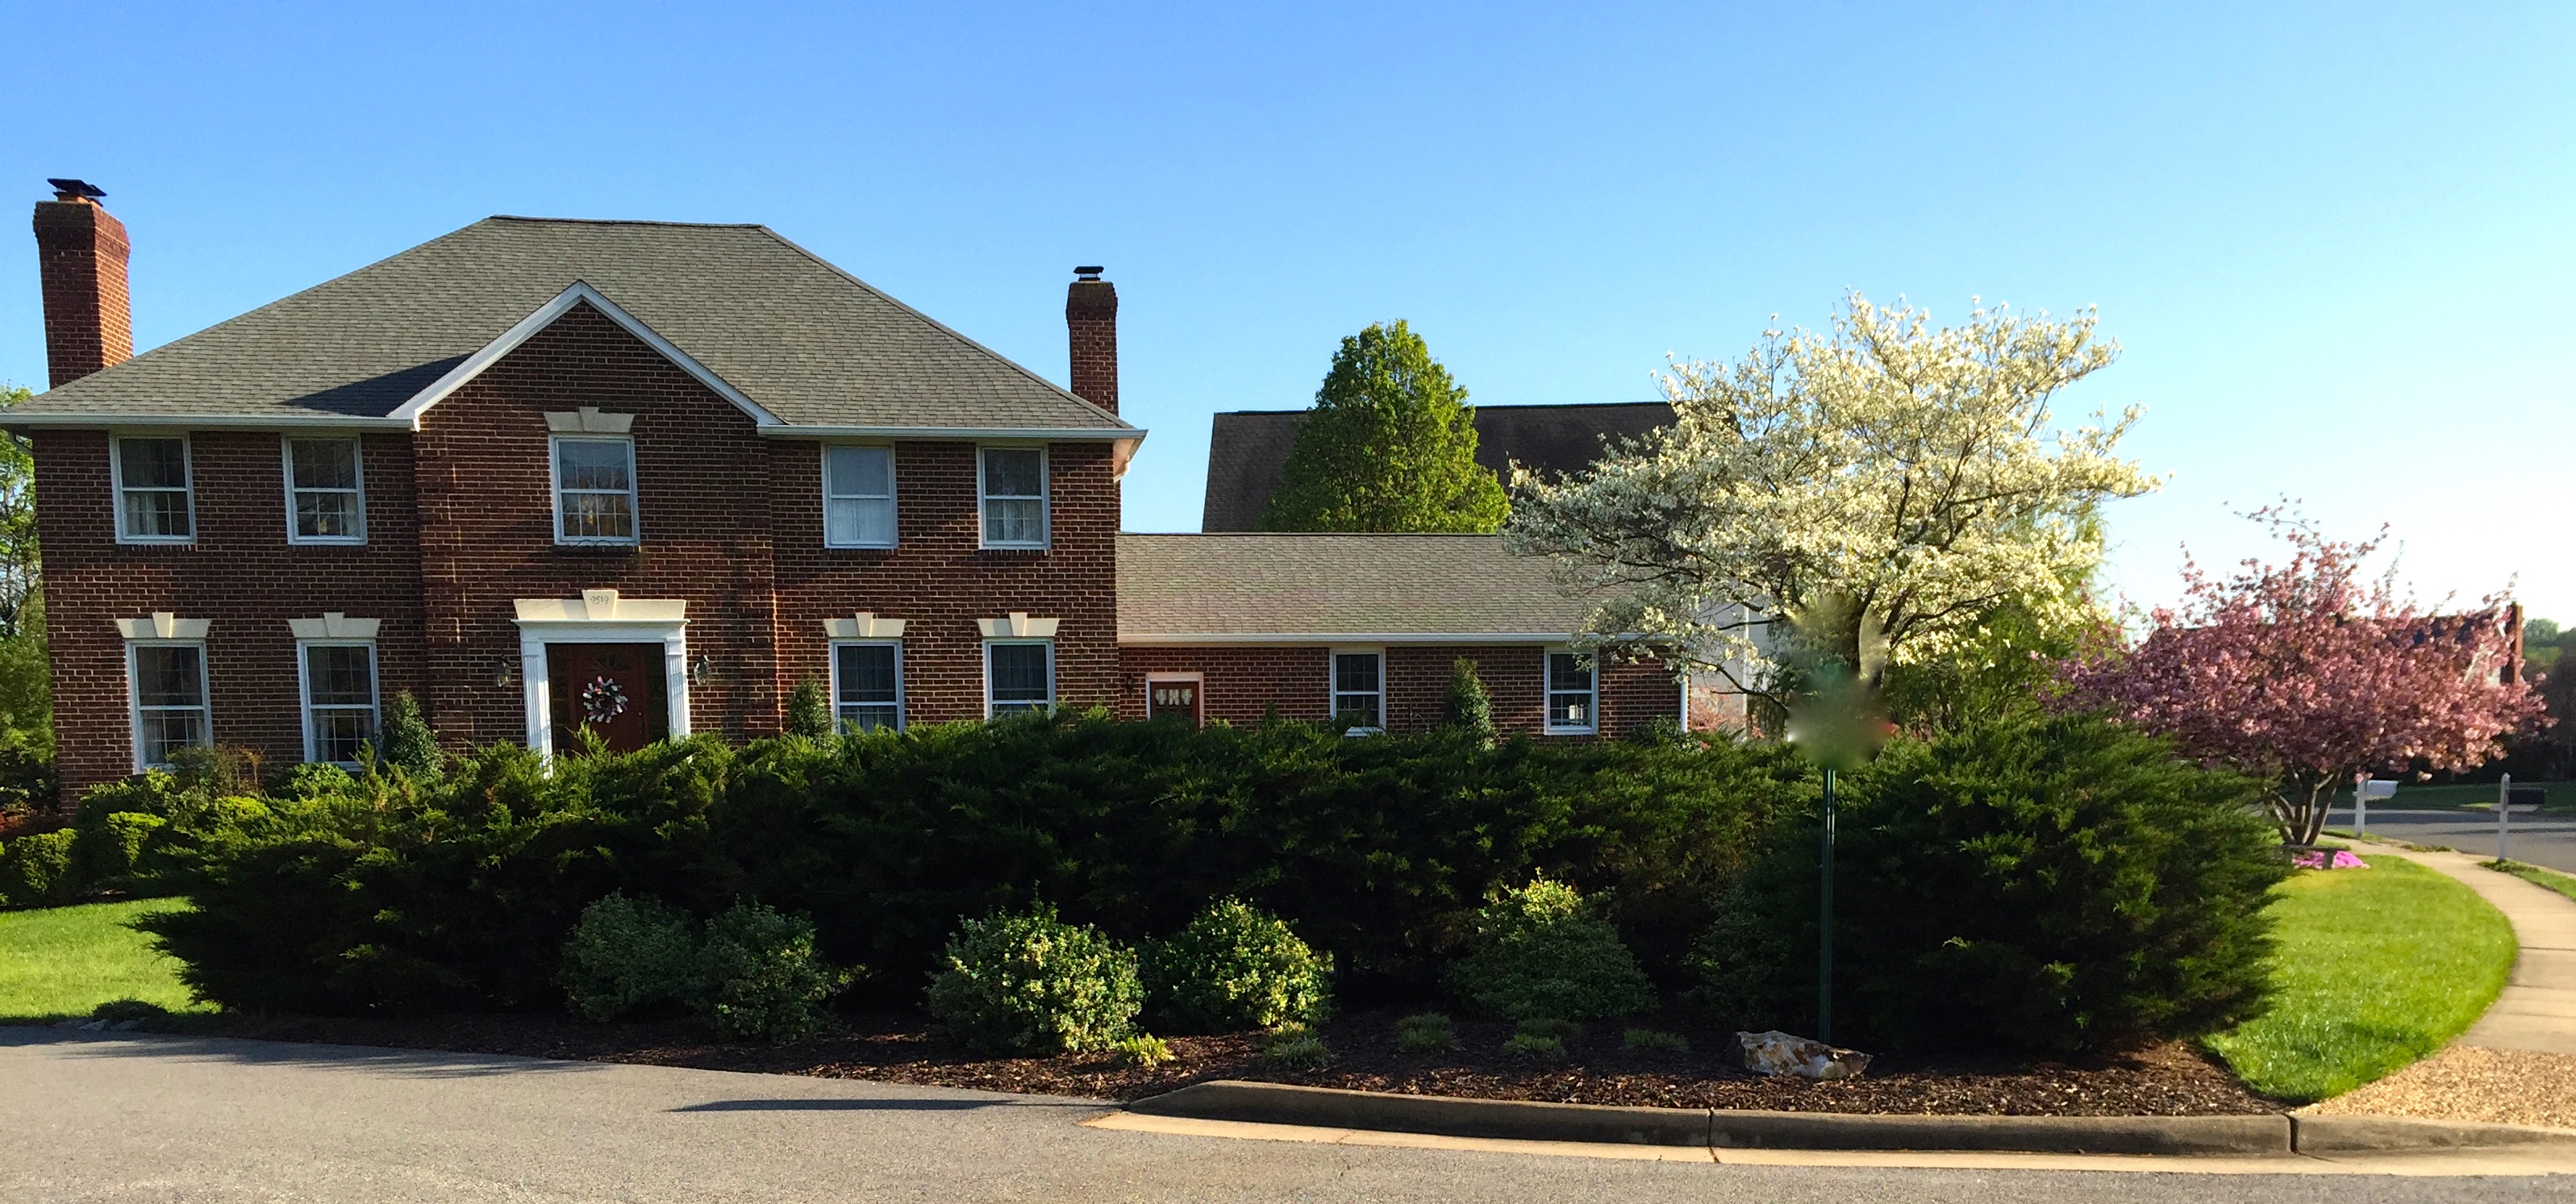
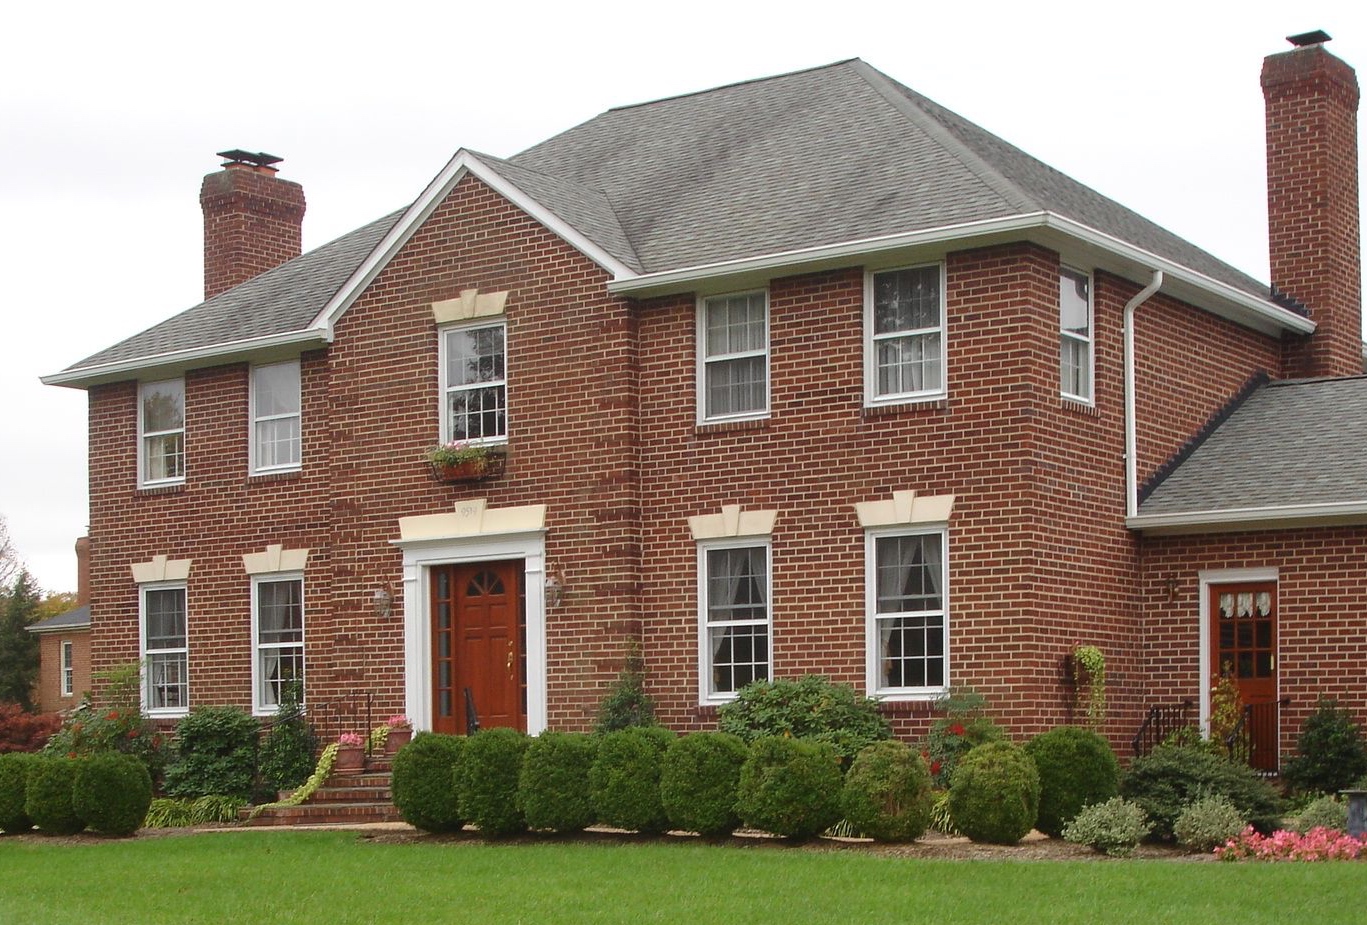
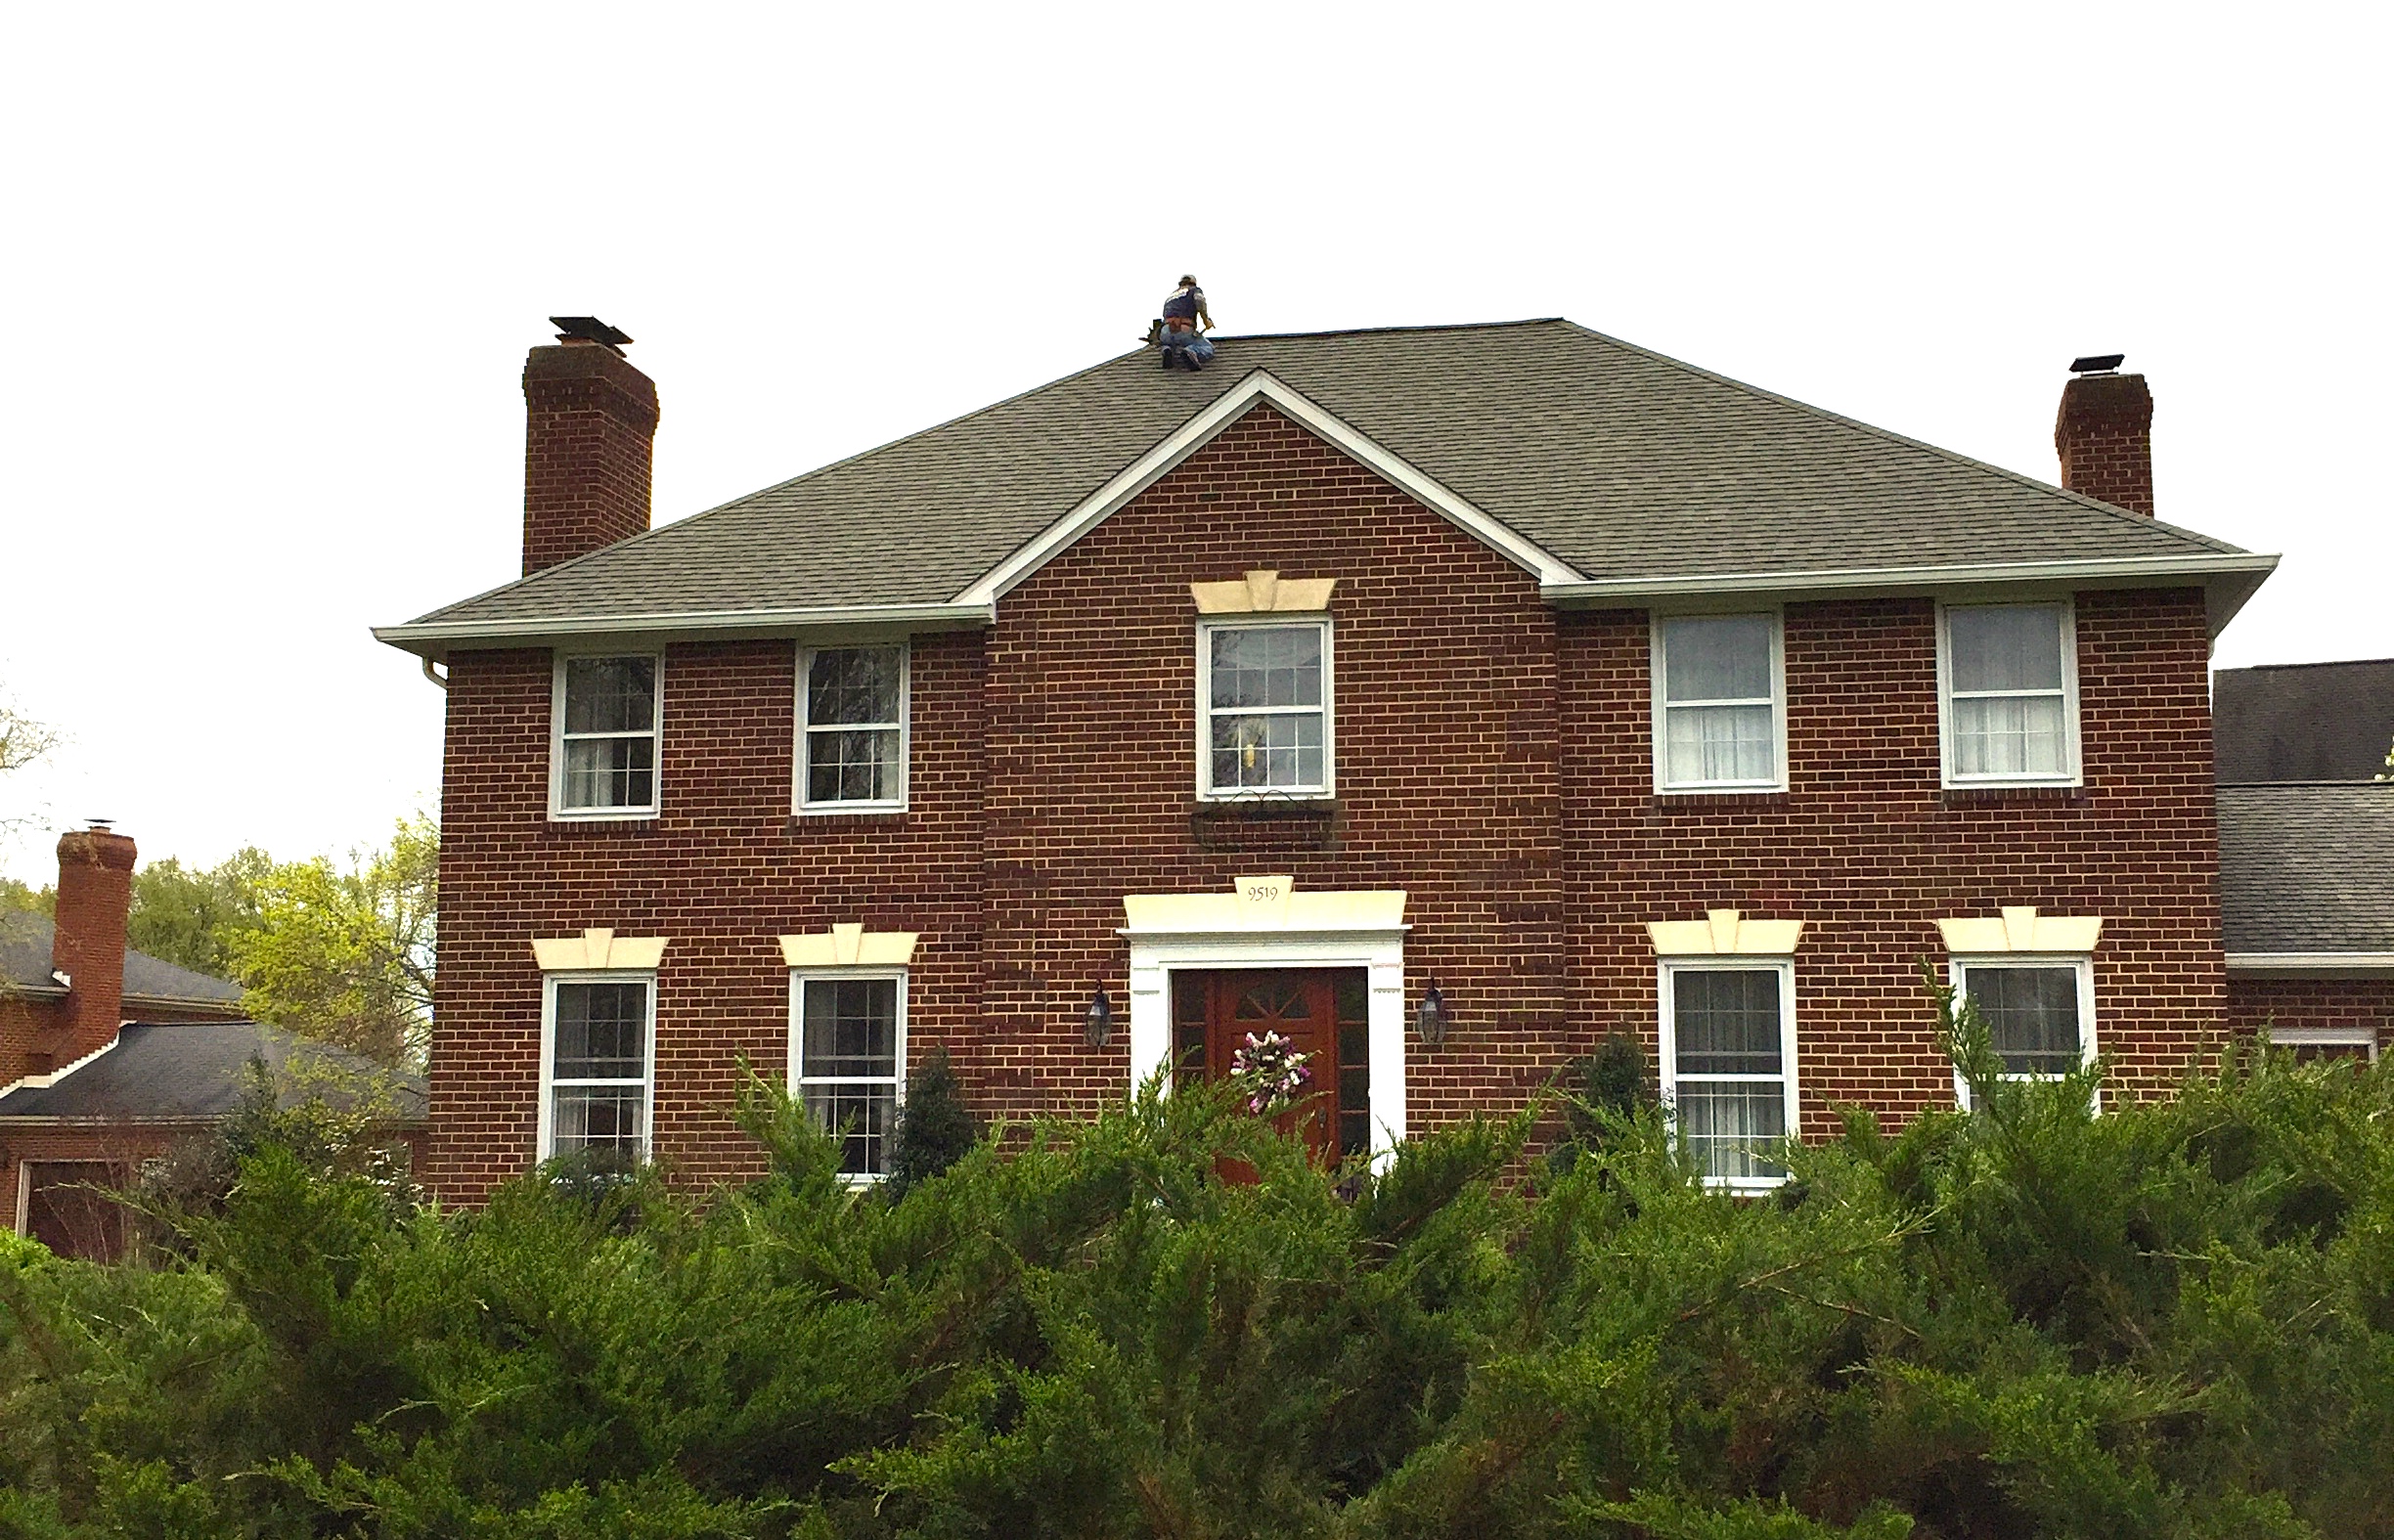
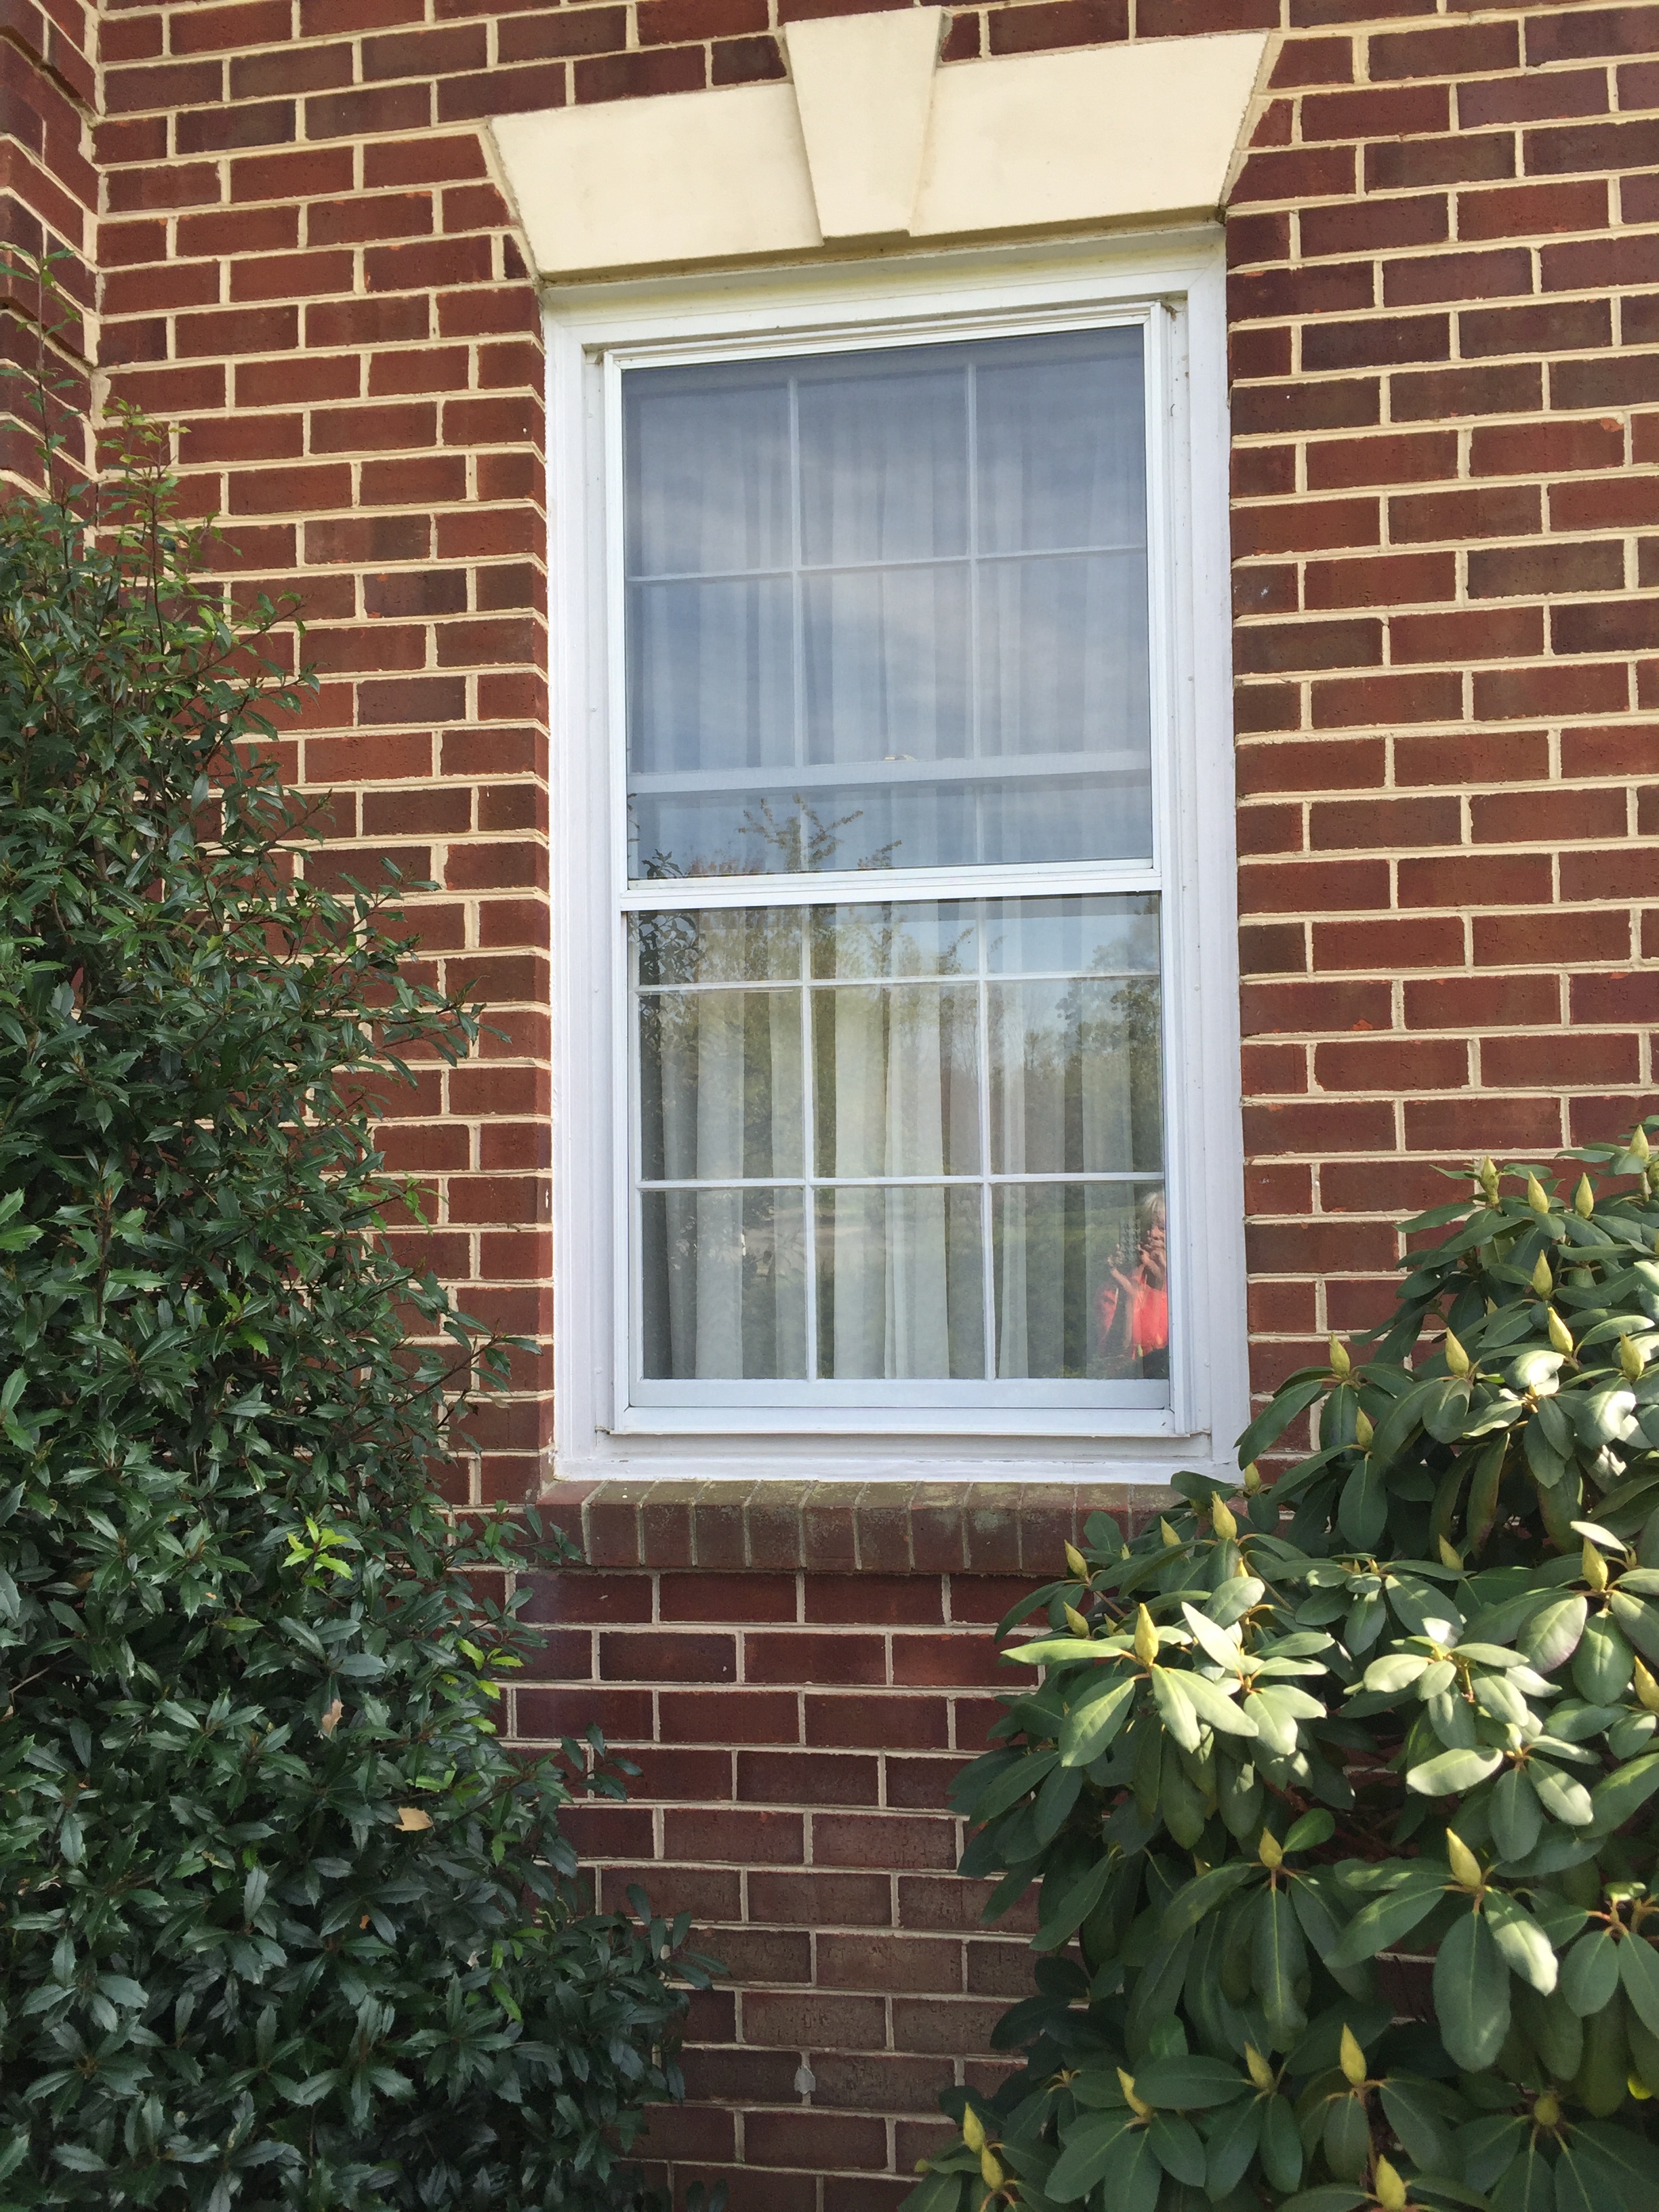
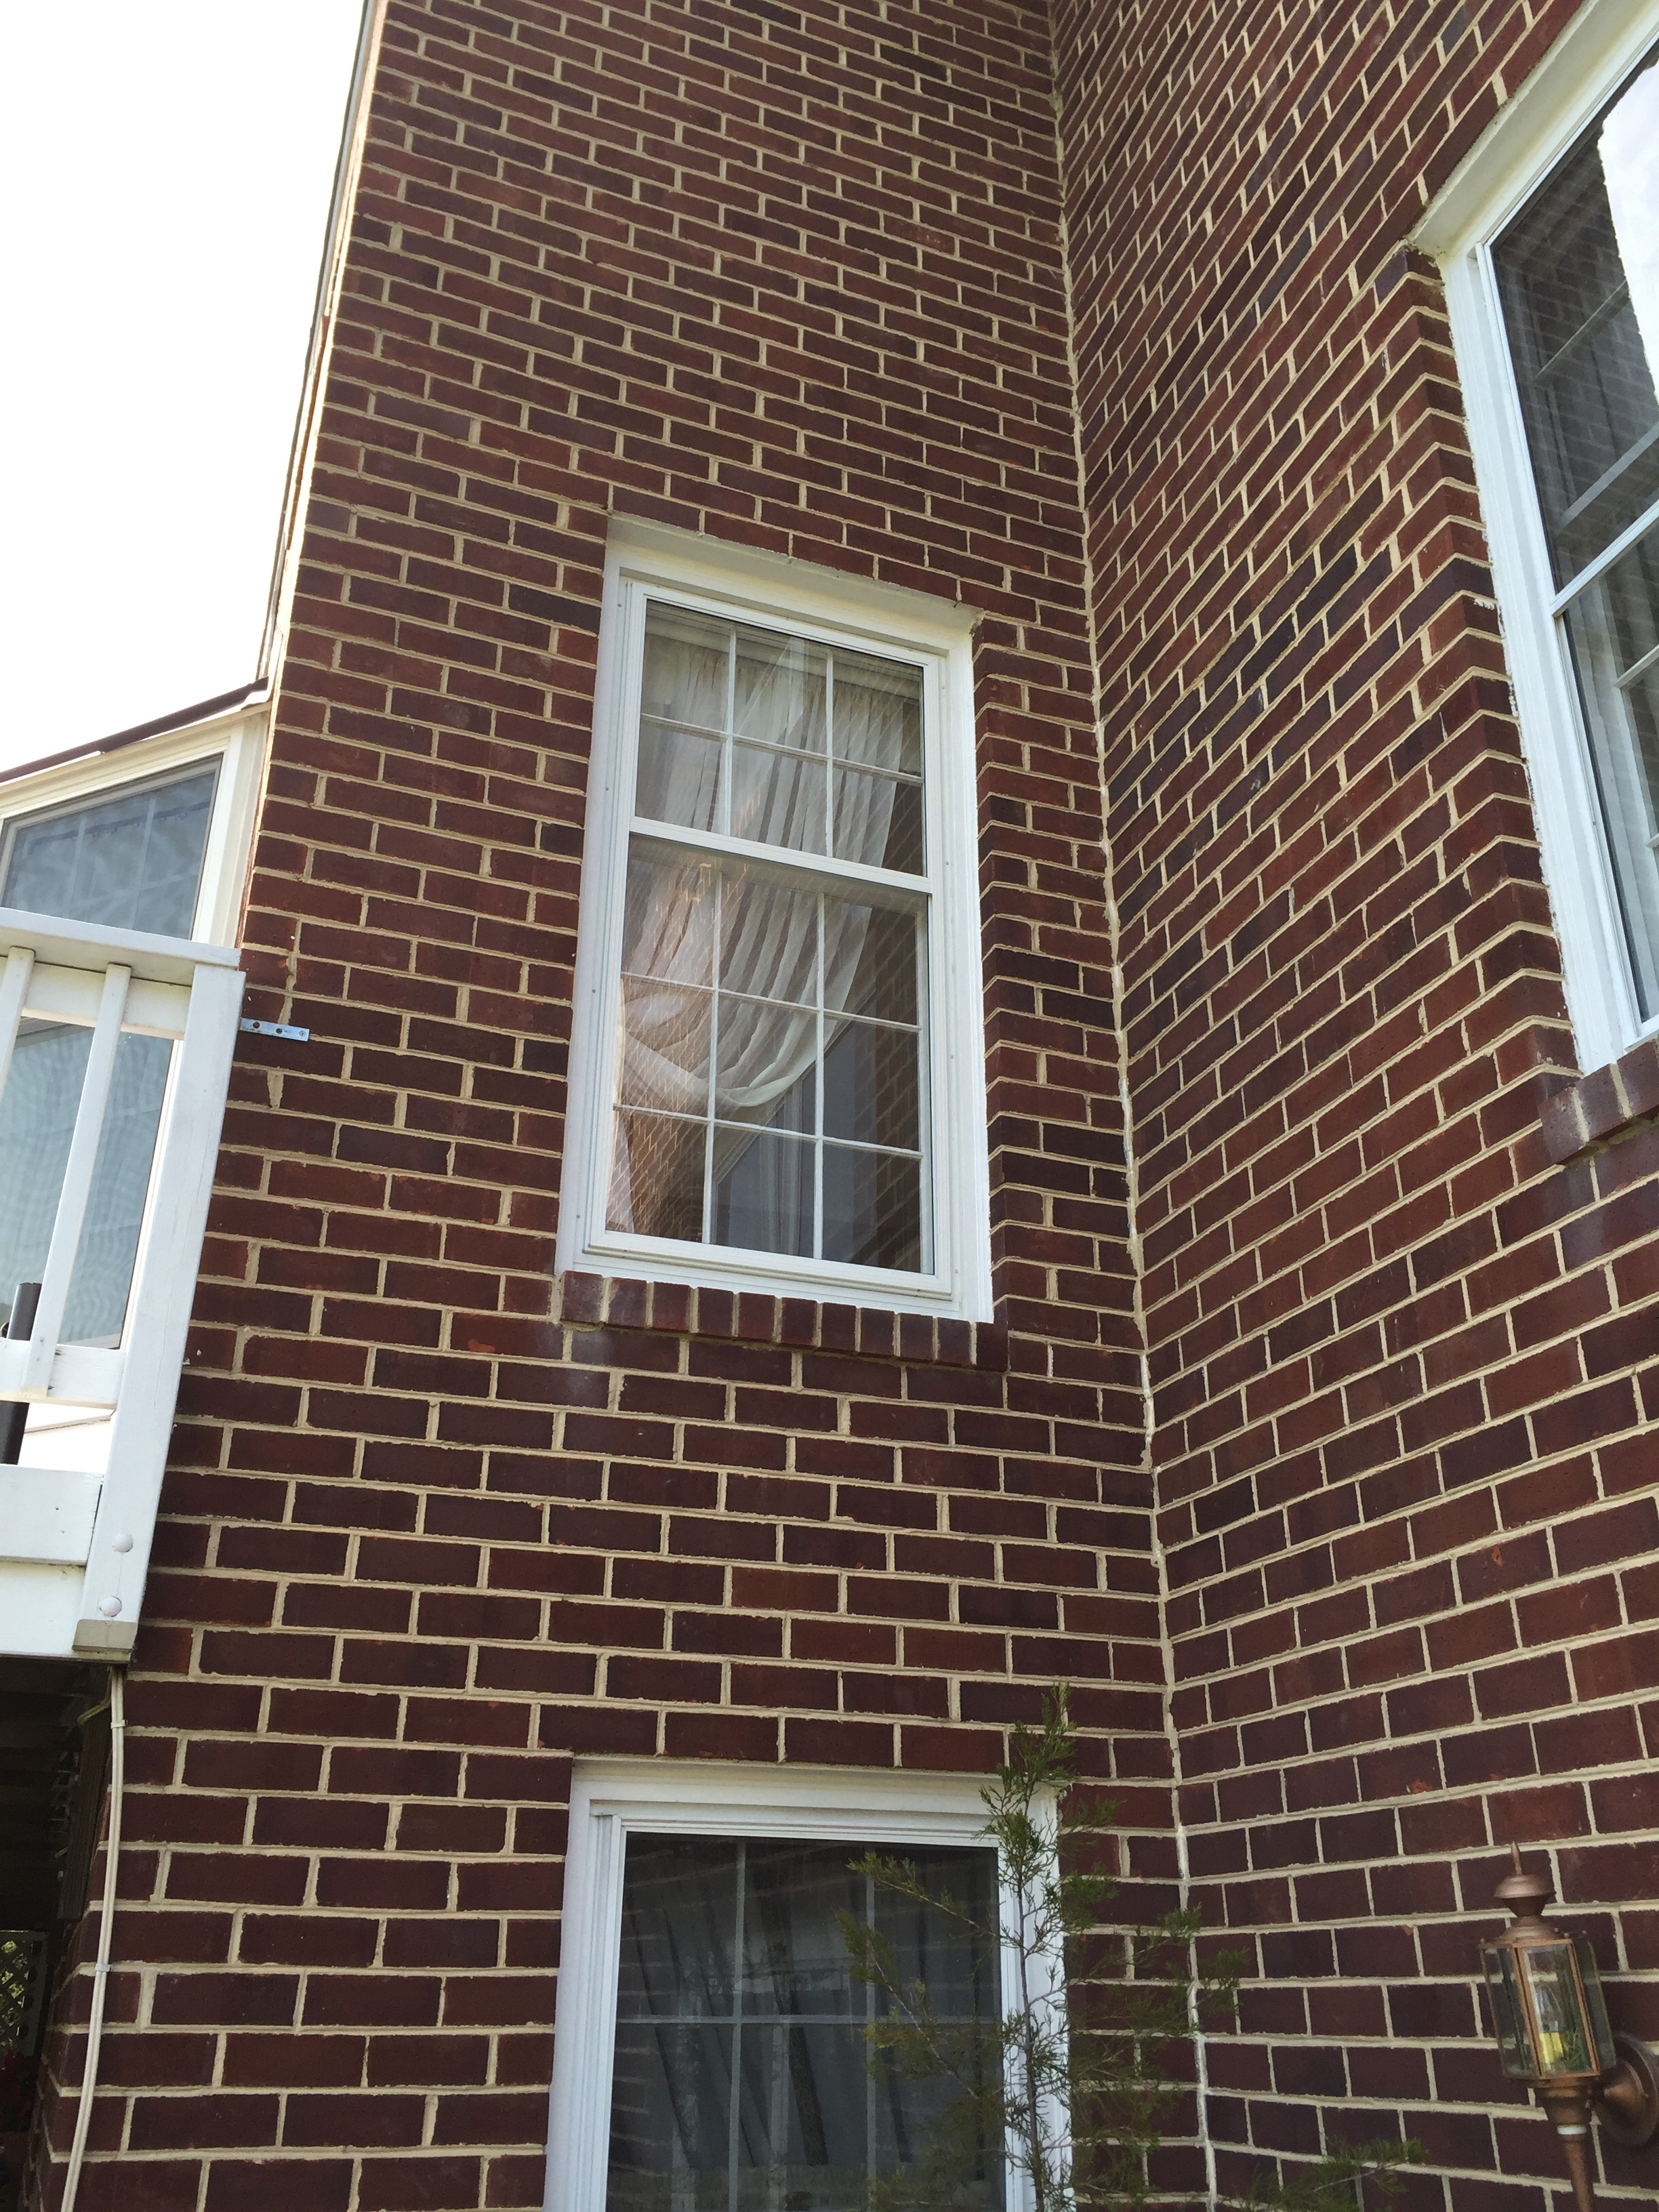
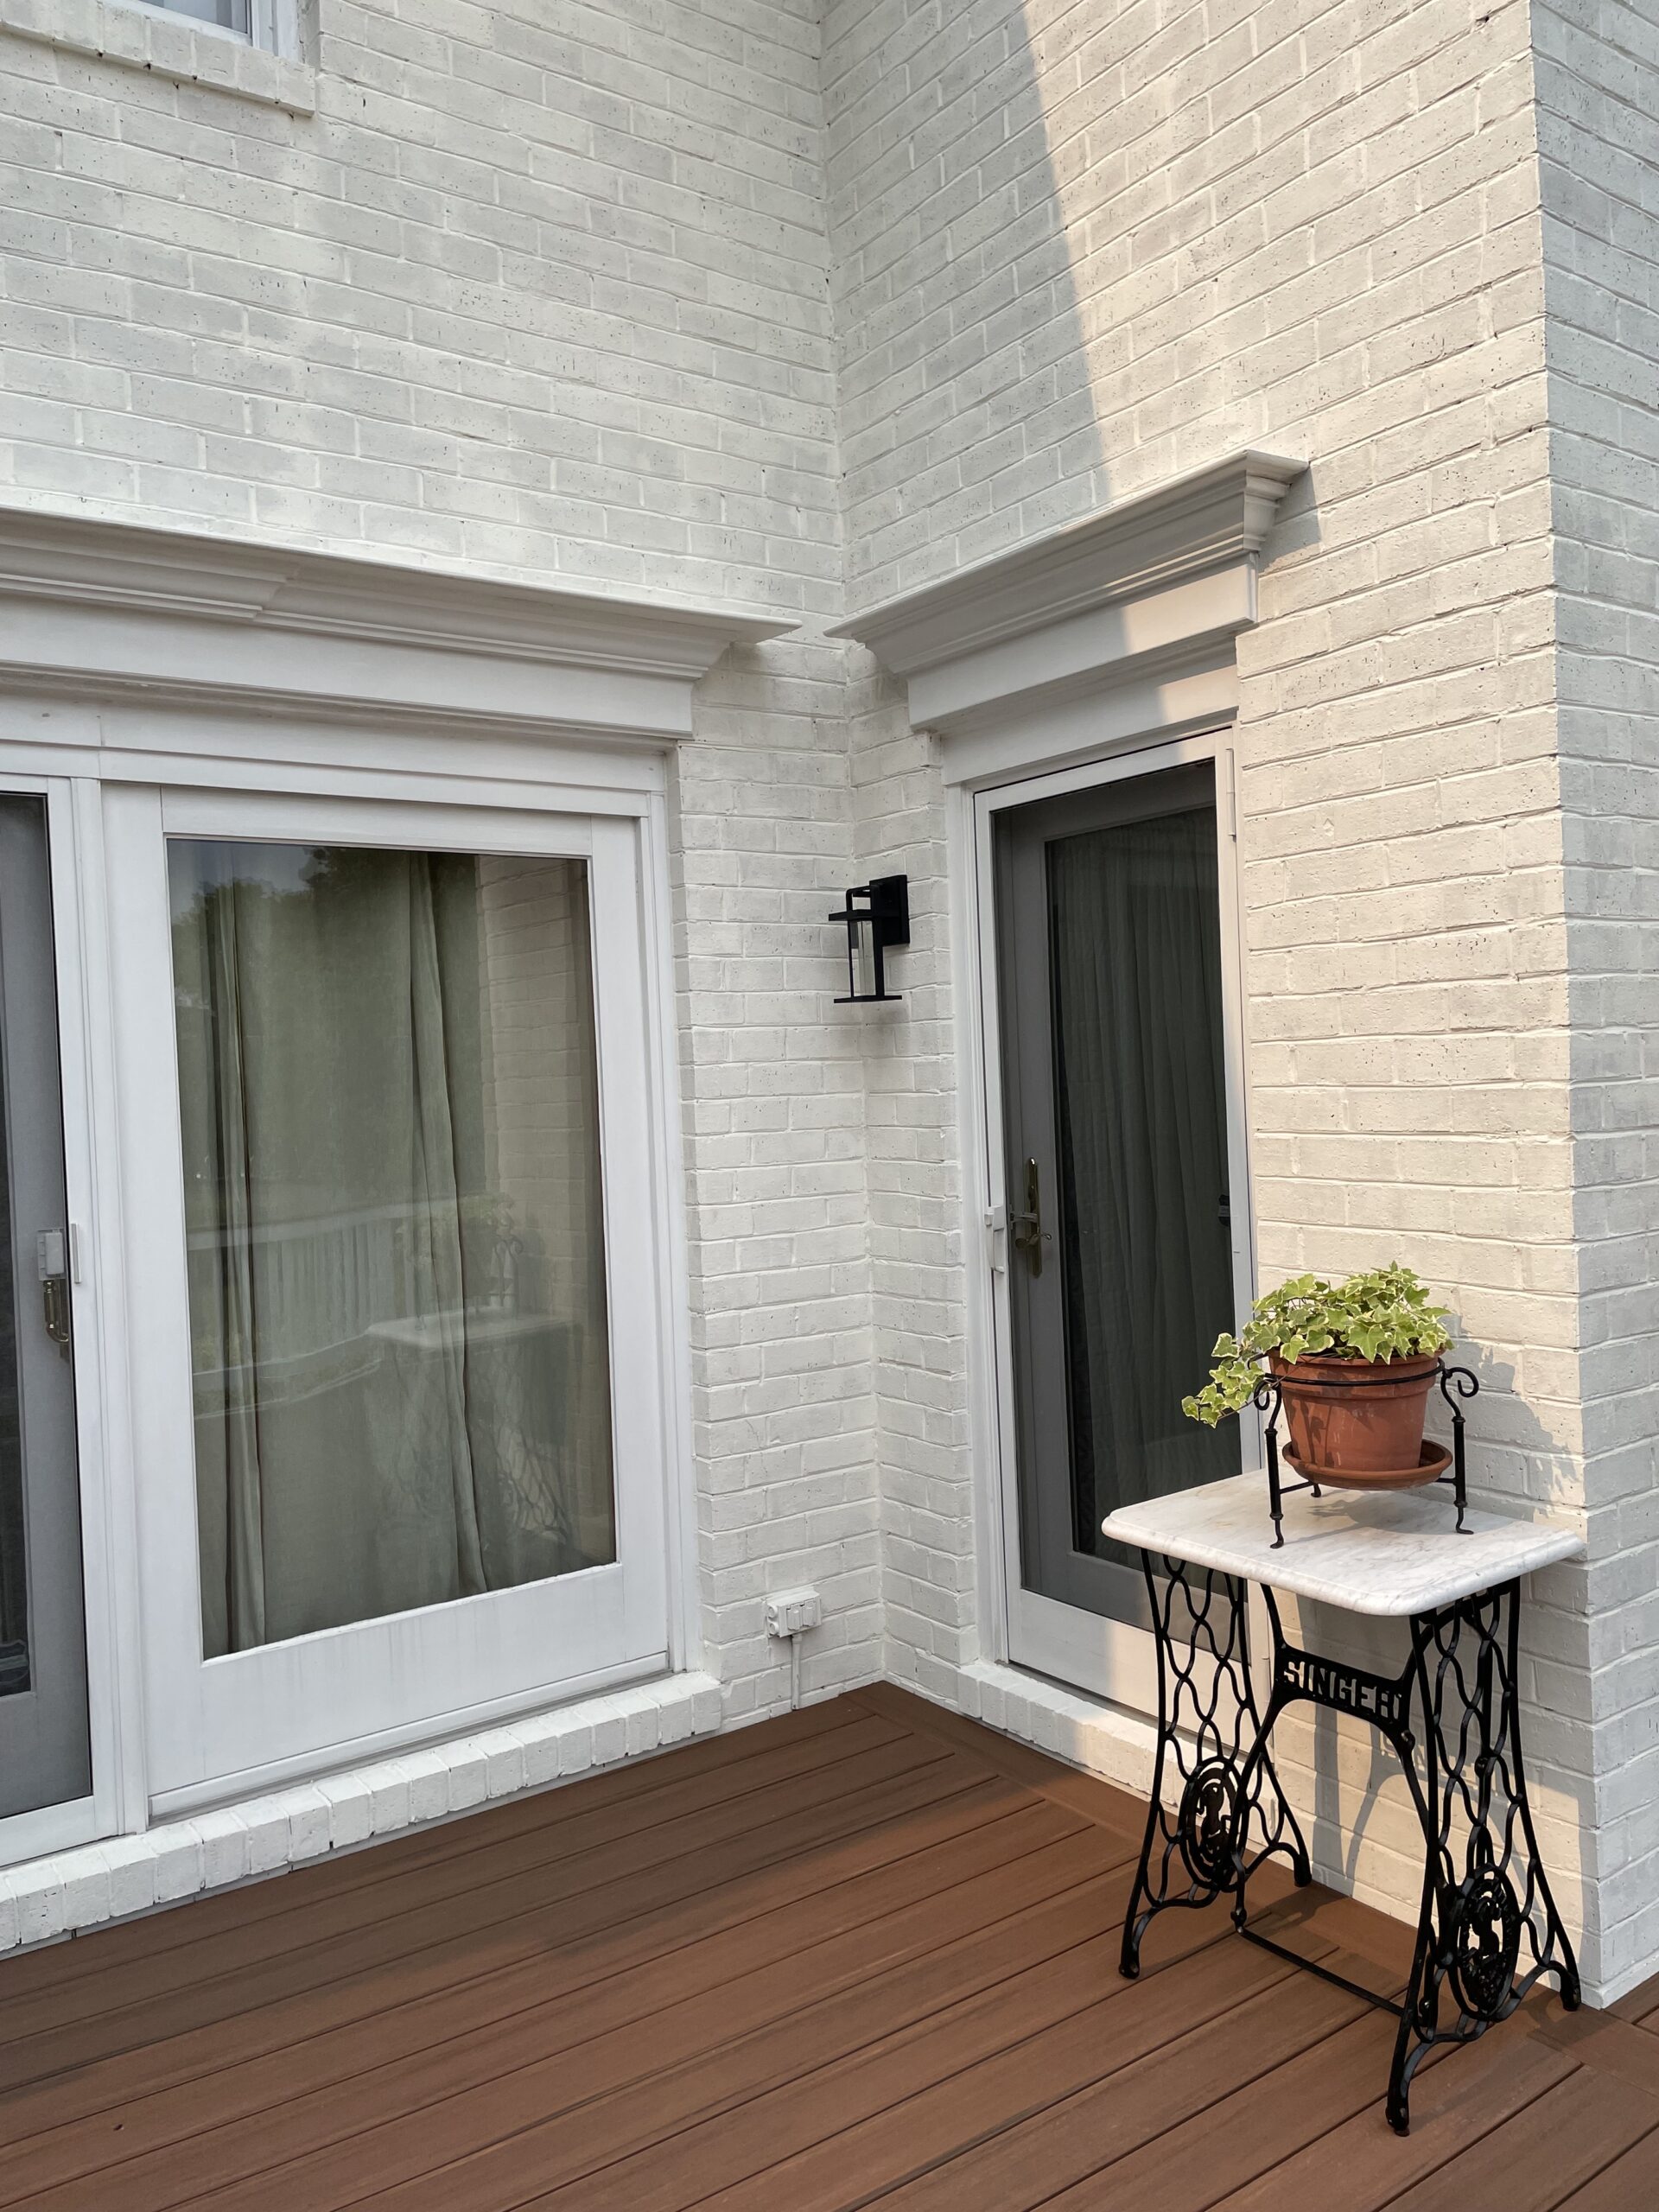
Hello everyone! I have some big changes to show you. After 23 years of living here, we decided that now was the time to do a house refresh. I have been wanting to lime wash the house for years, and my wish finally came true. The house is all brick. It was a very dark reddish brown, and the north-facing side never really was bright enough to show off the plants that surrounded it. Well, now that’s history! Come take a tour of our finished new look —

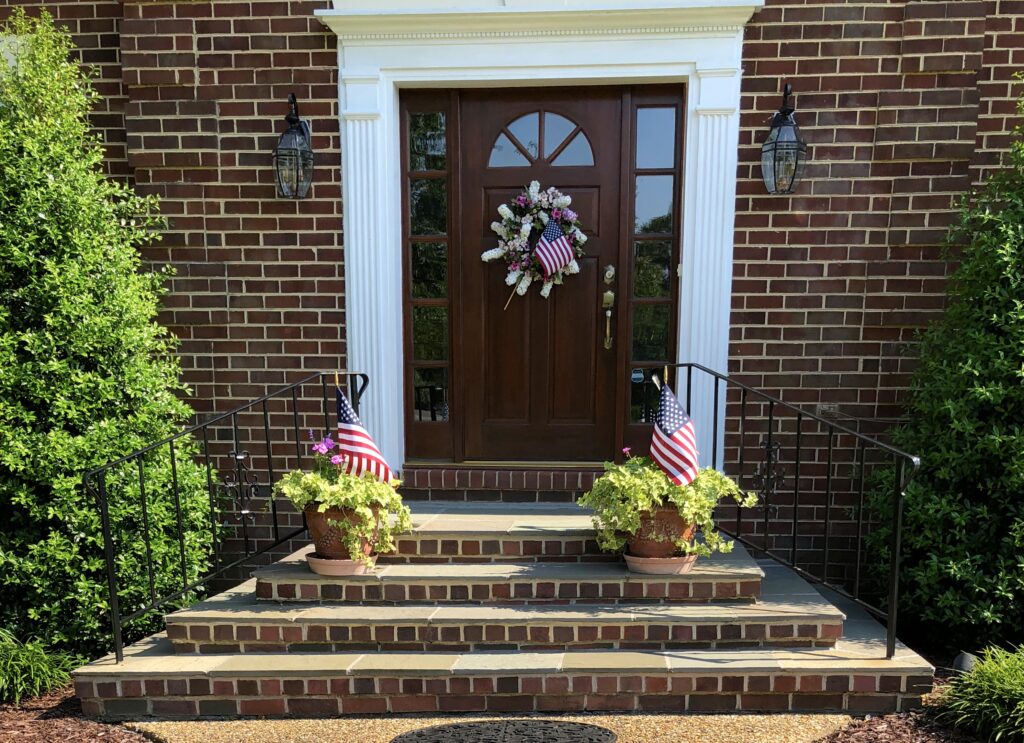
Our fresh new appearance, with lime wash.
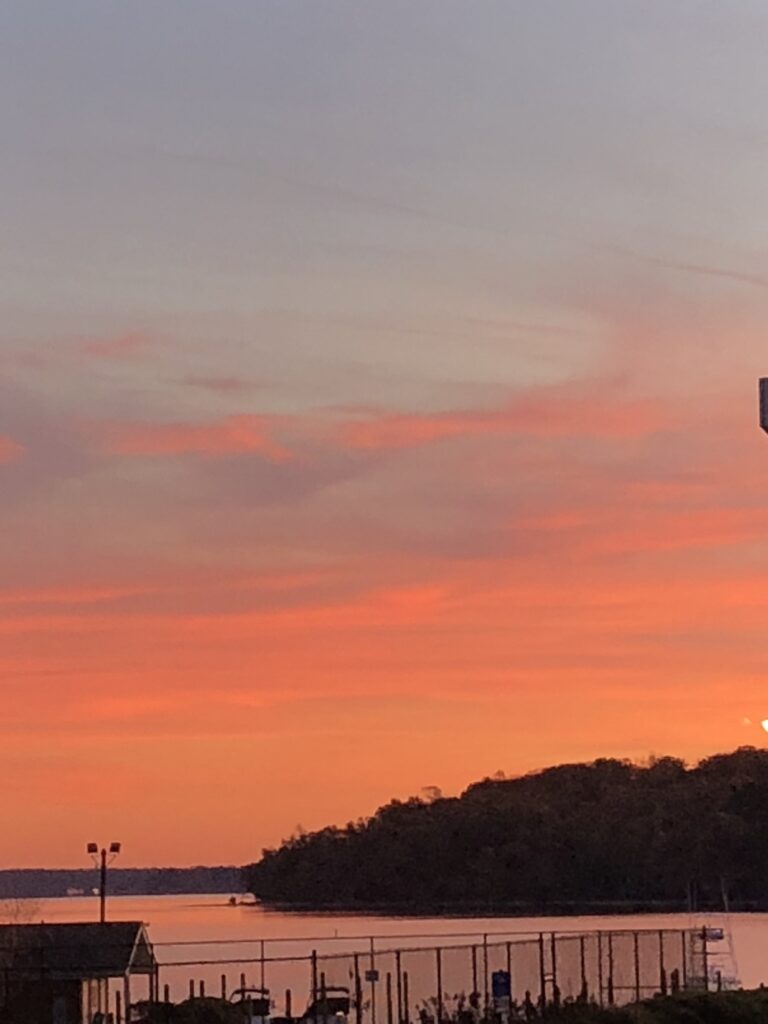
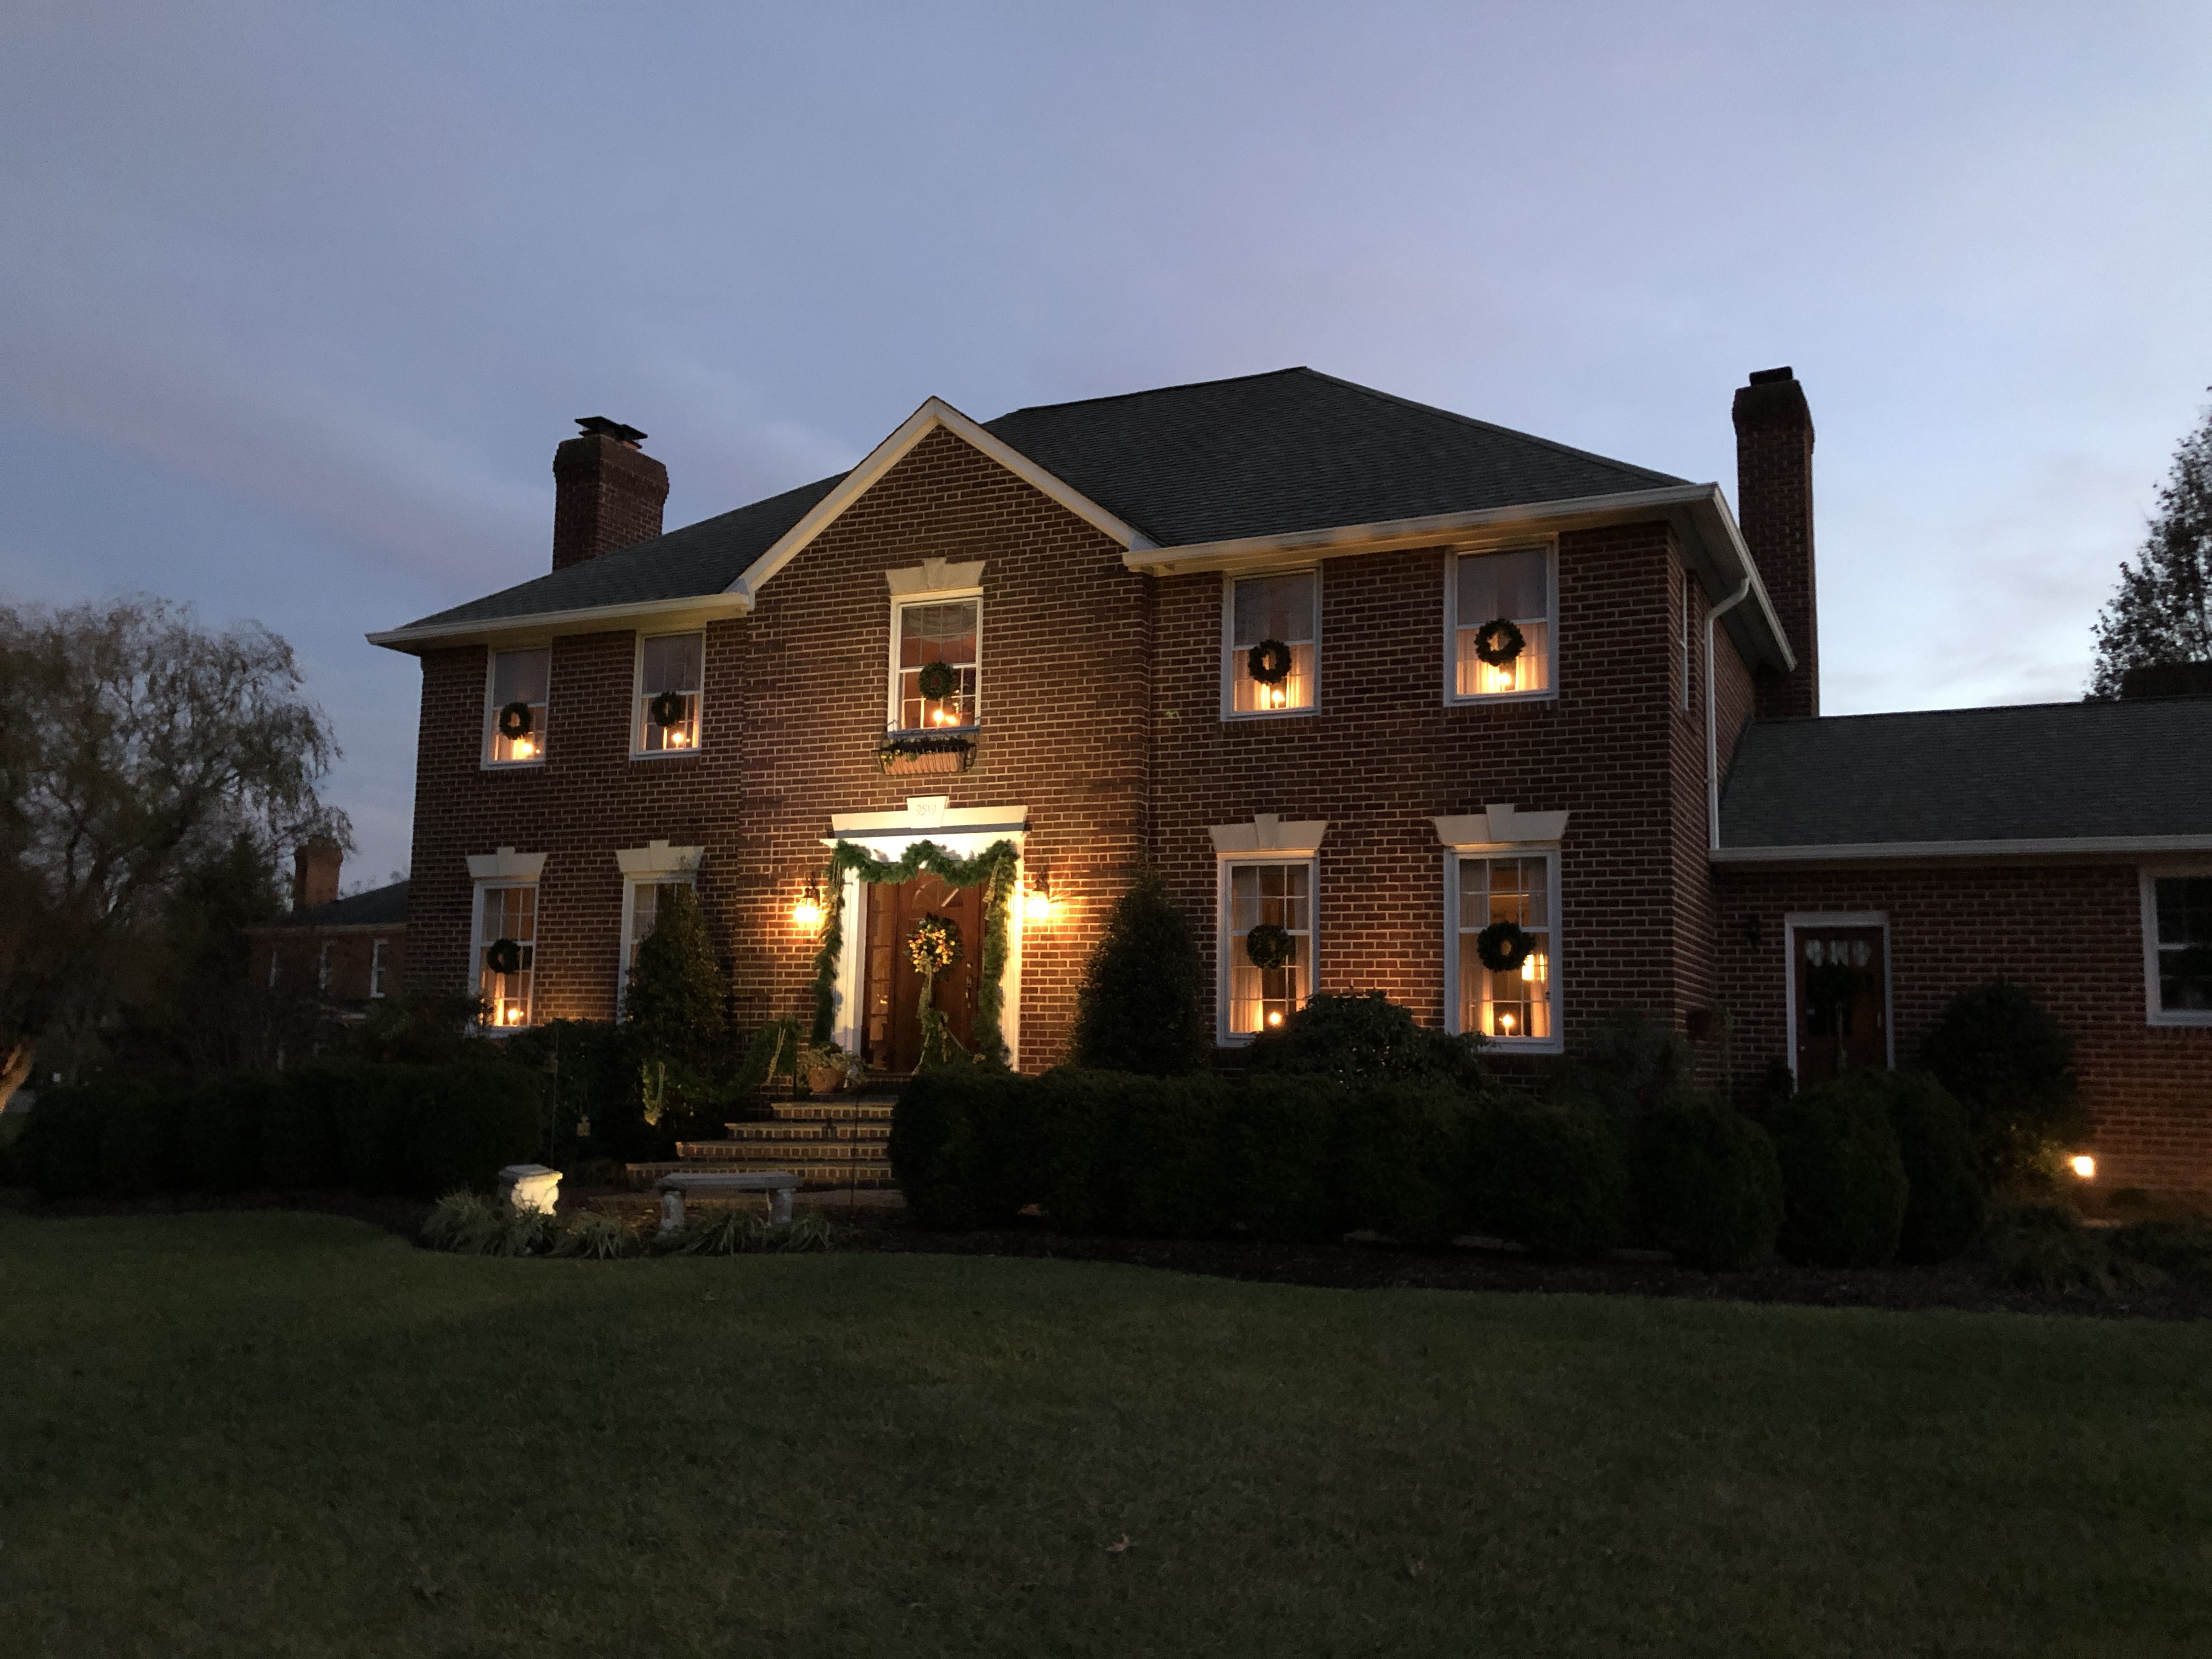
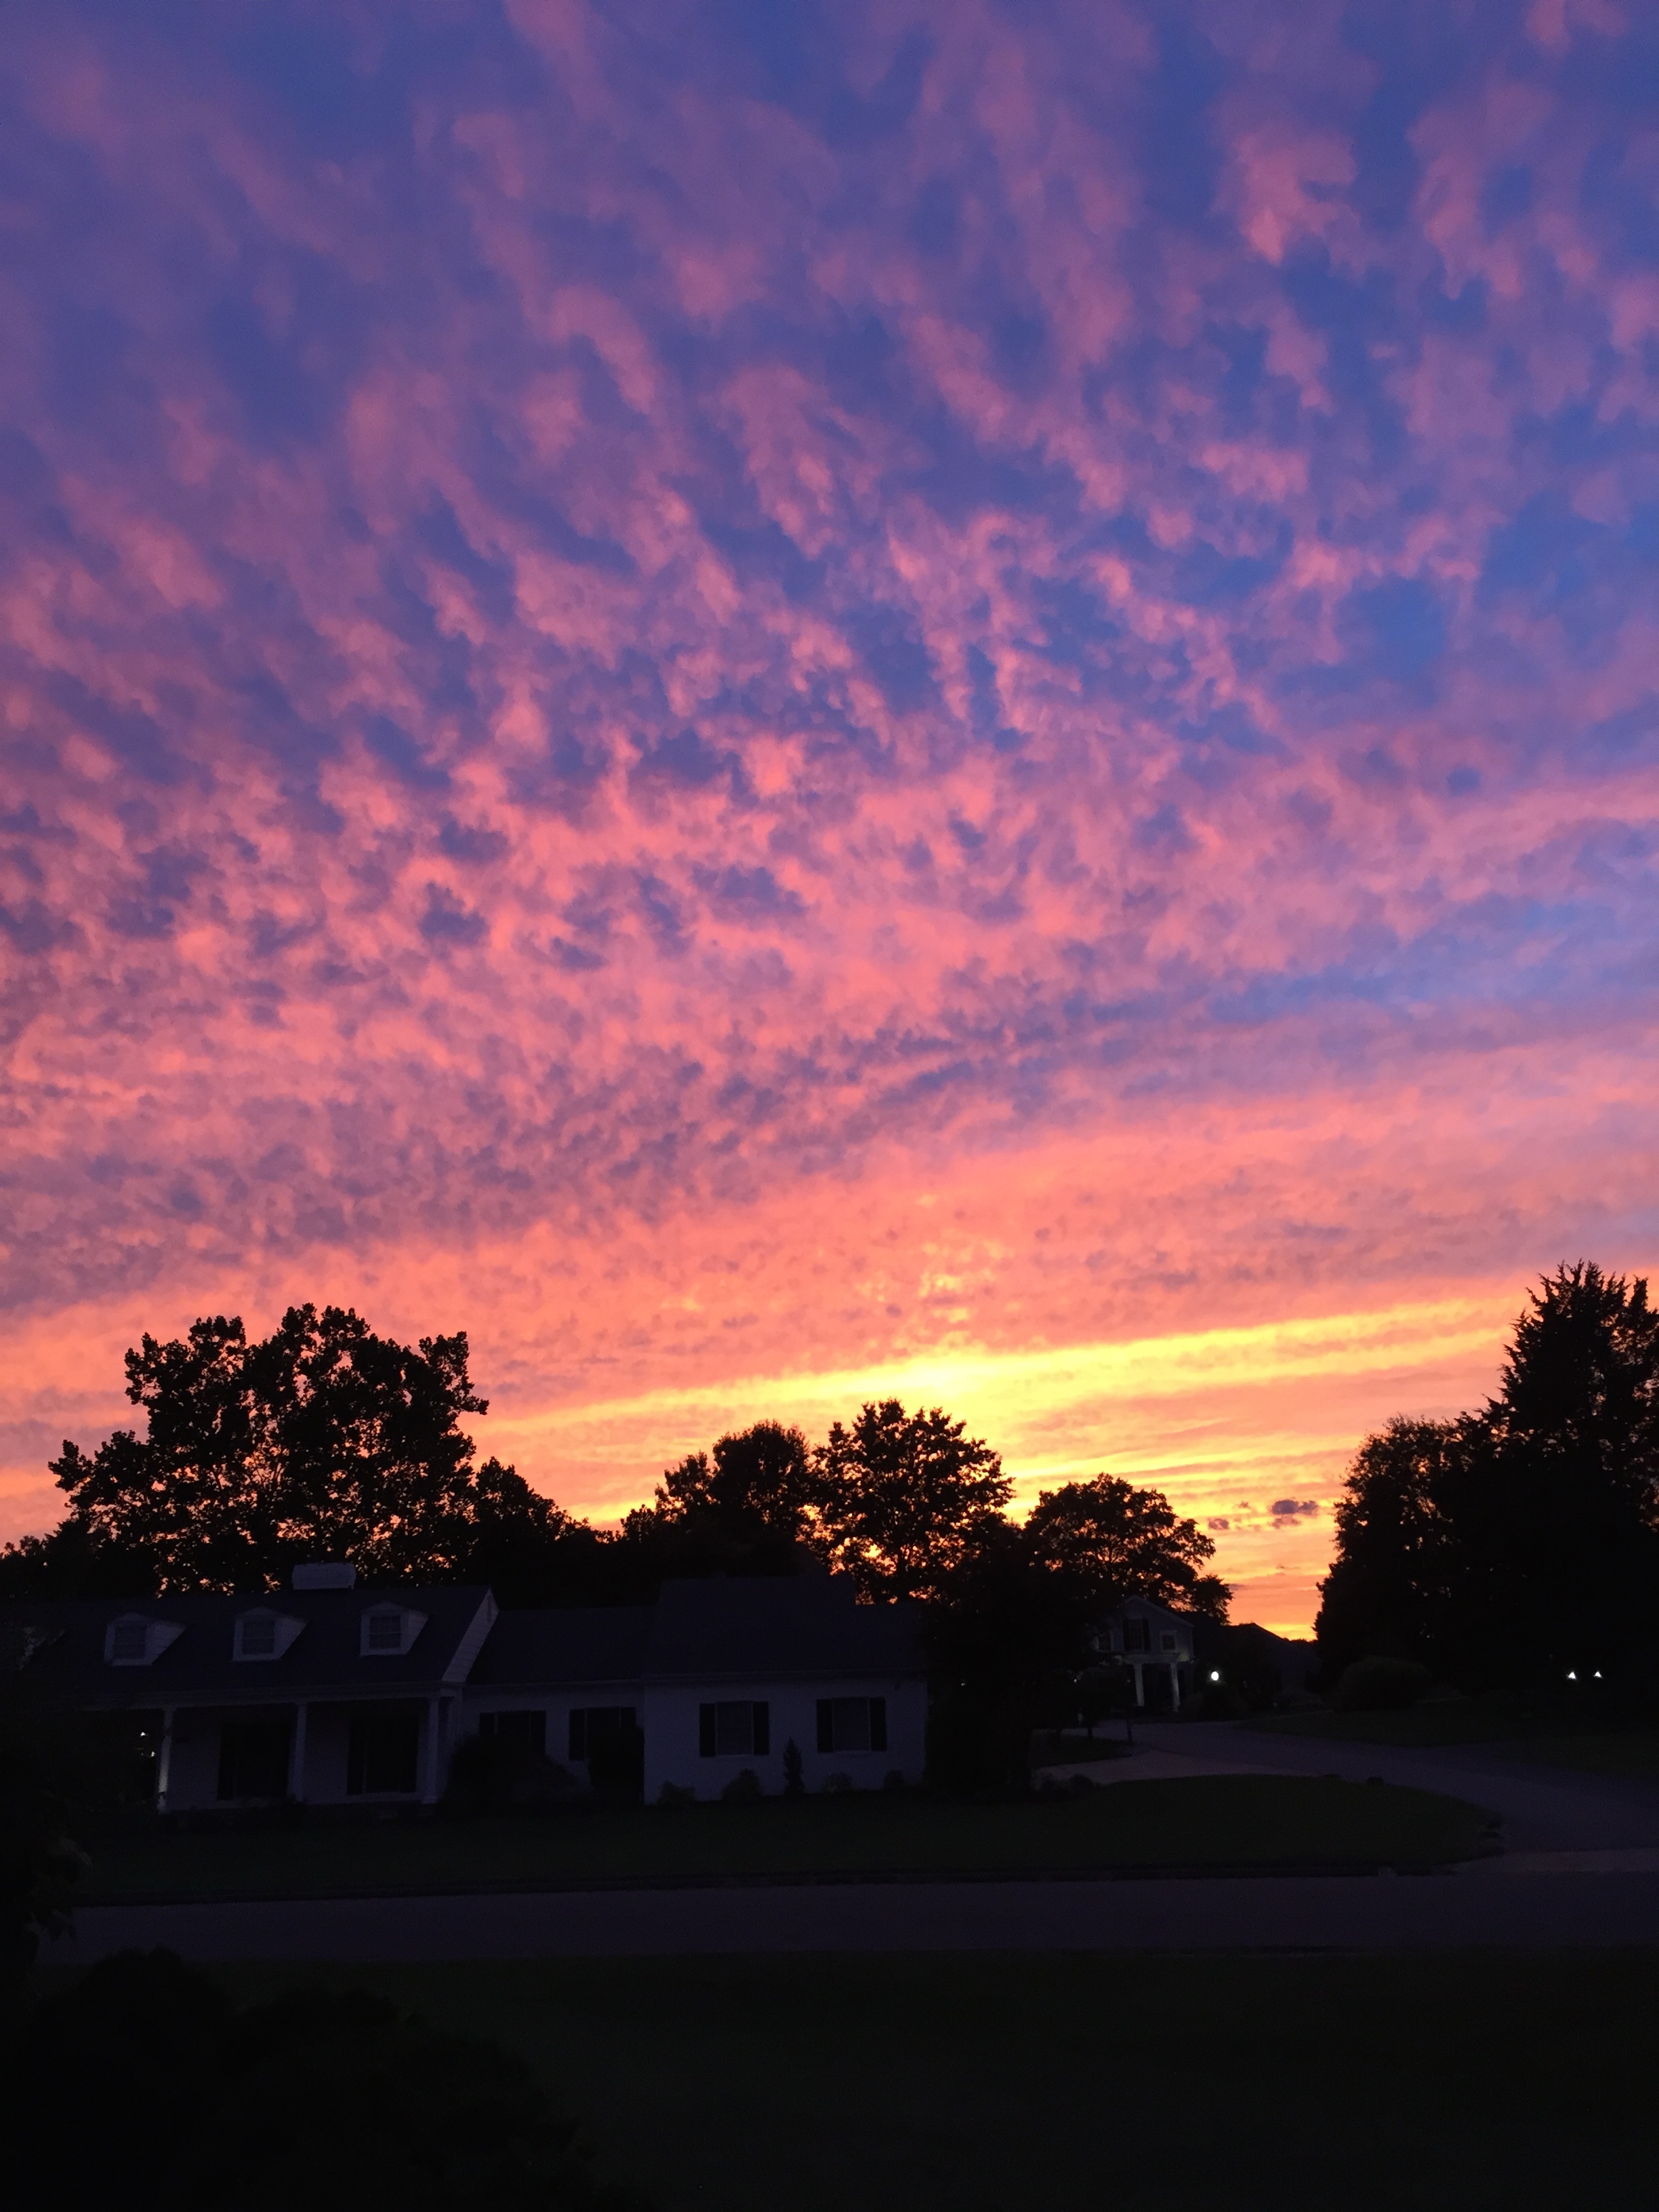
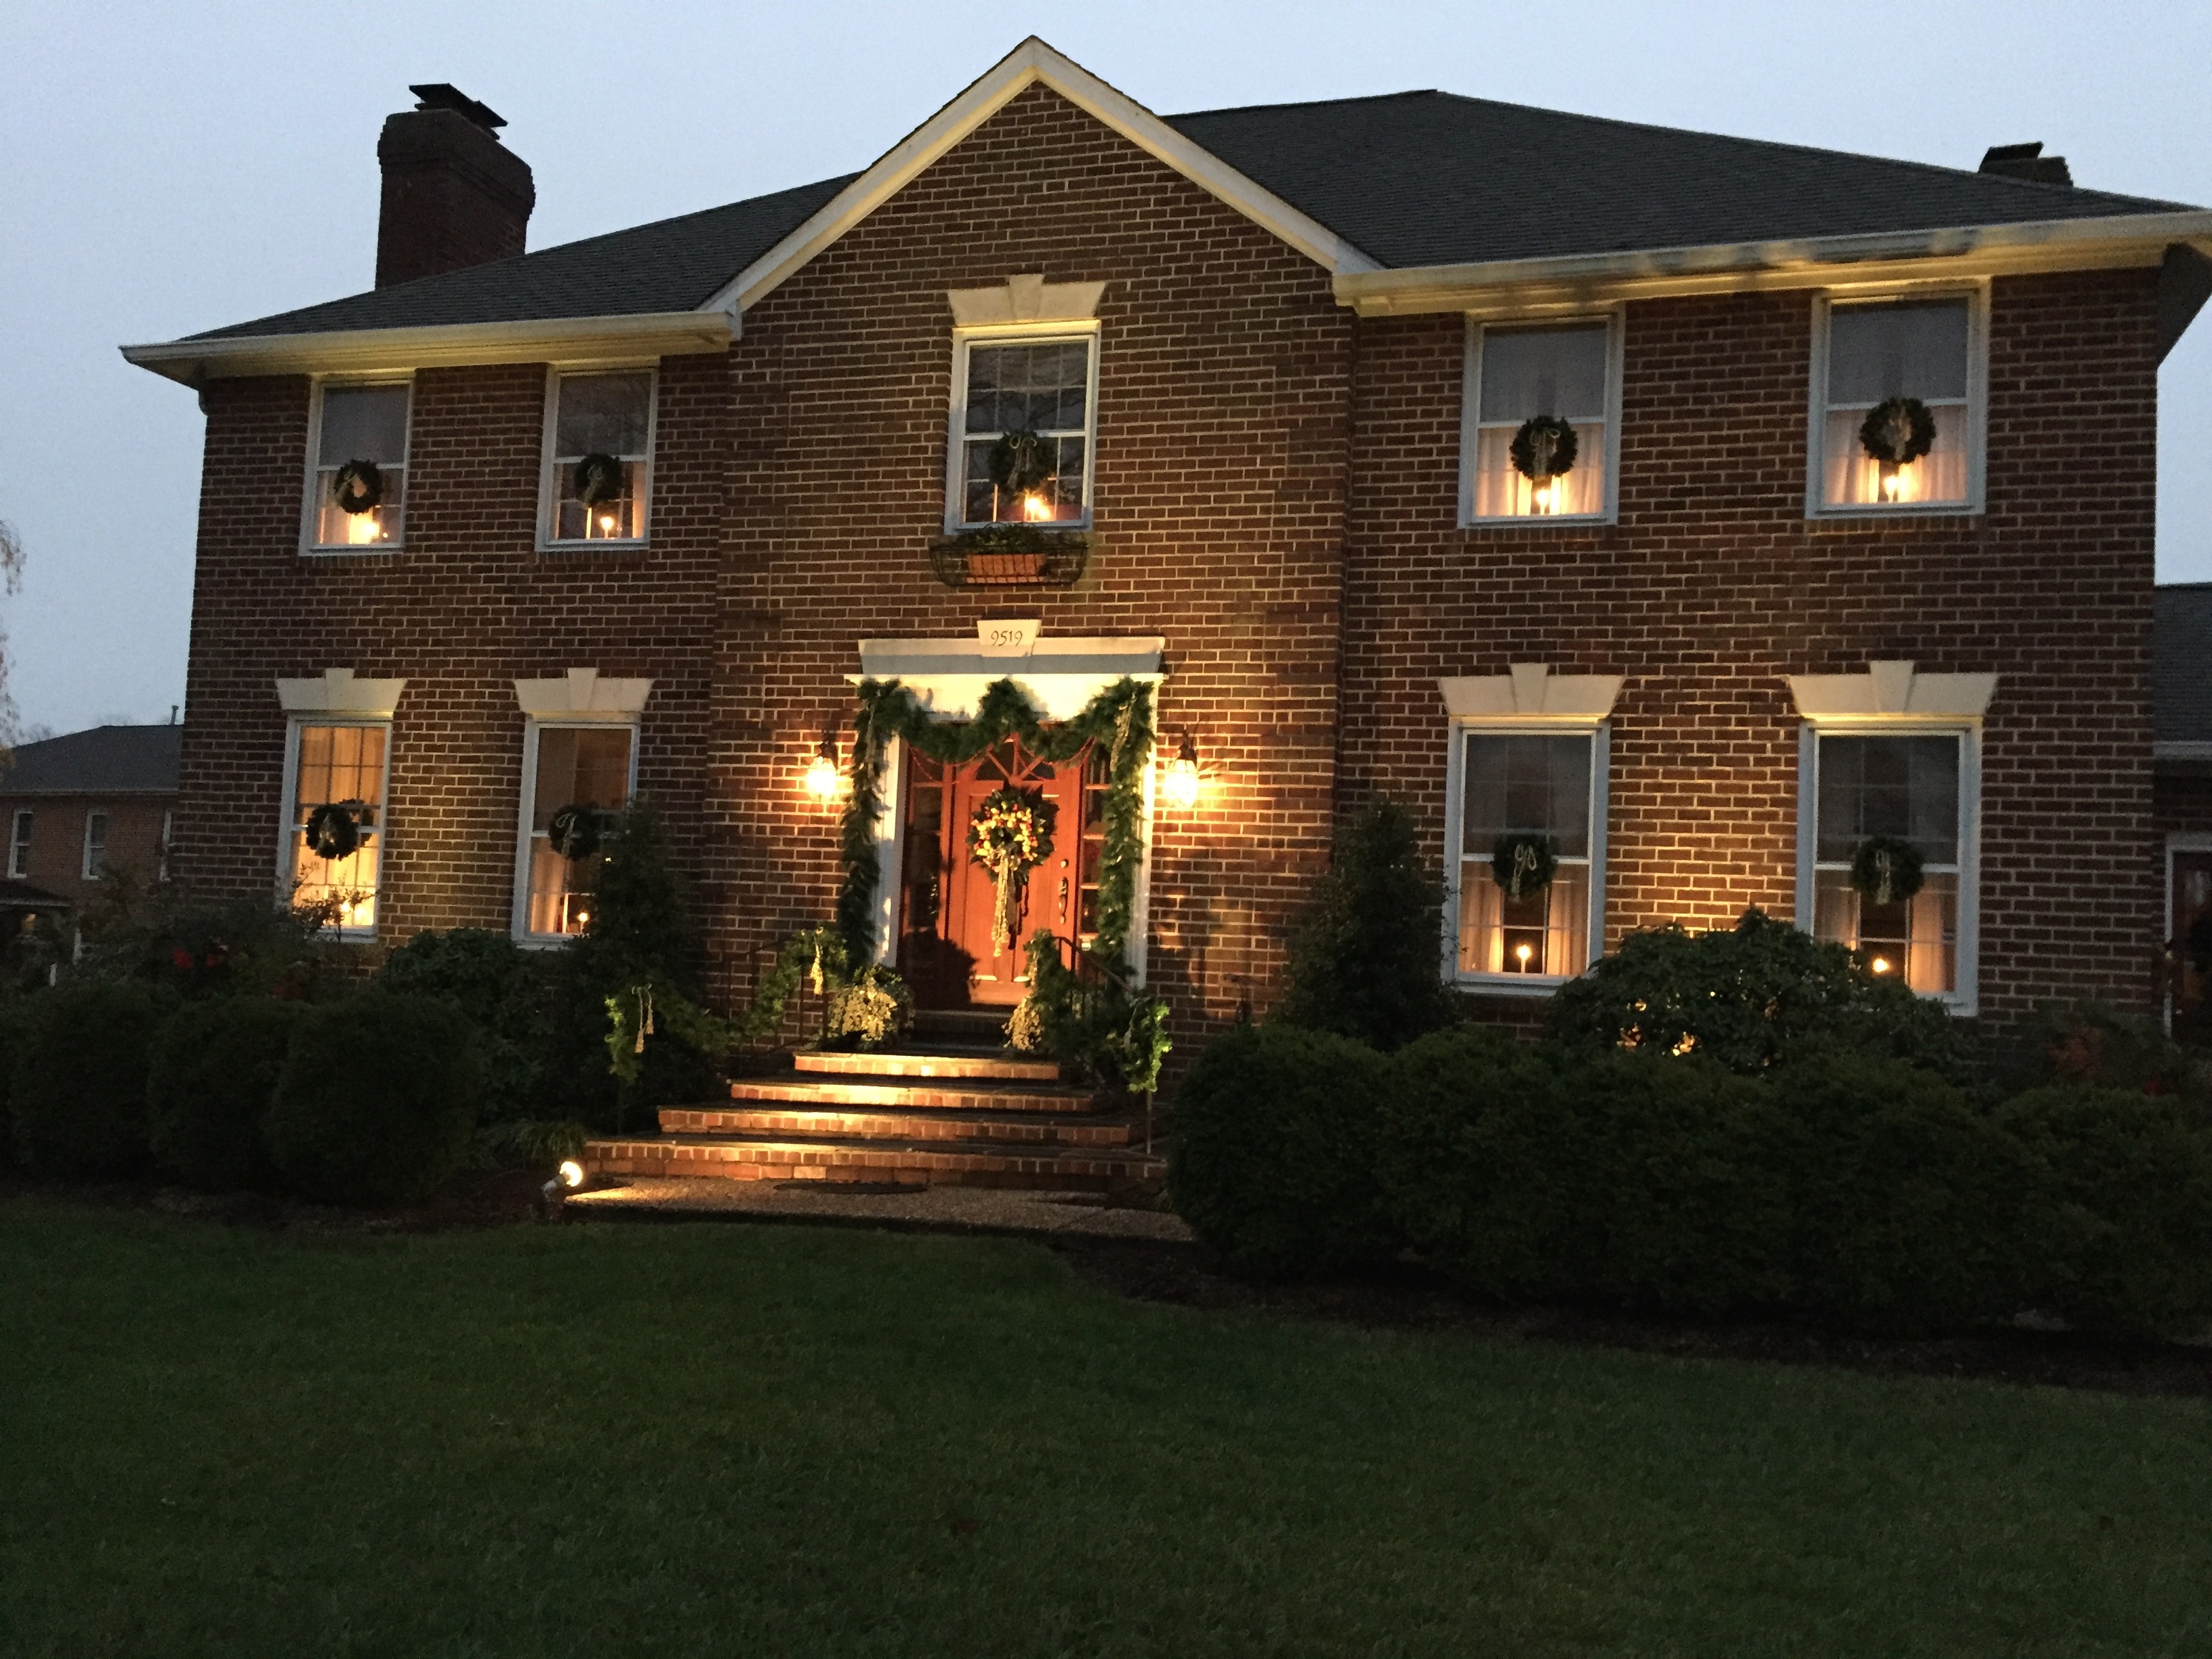
We chose to use a great product from Romabio Paints. Their formula is totally organic, mineral based, and the origins of lime wash go back several thousand years. It stands the test of time and mellows with each passing year in a natural way. The color we chose is Avorio White, which I love because as the hours of the day pass, the color shifts to take on the colors of the setting sun. And after dark, it truly glows.
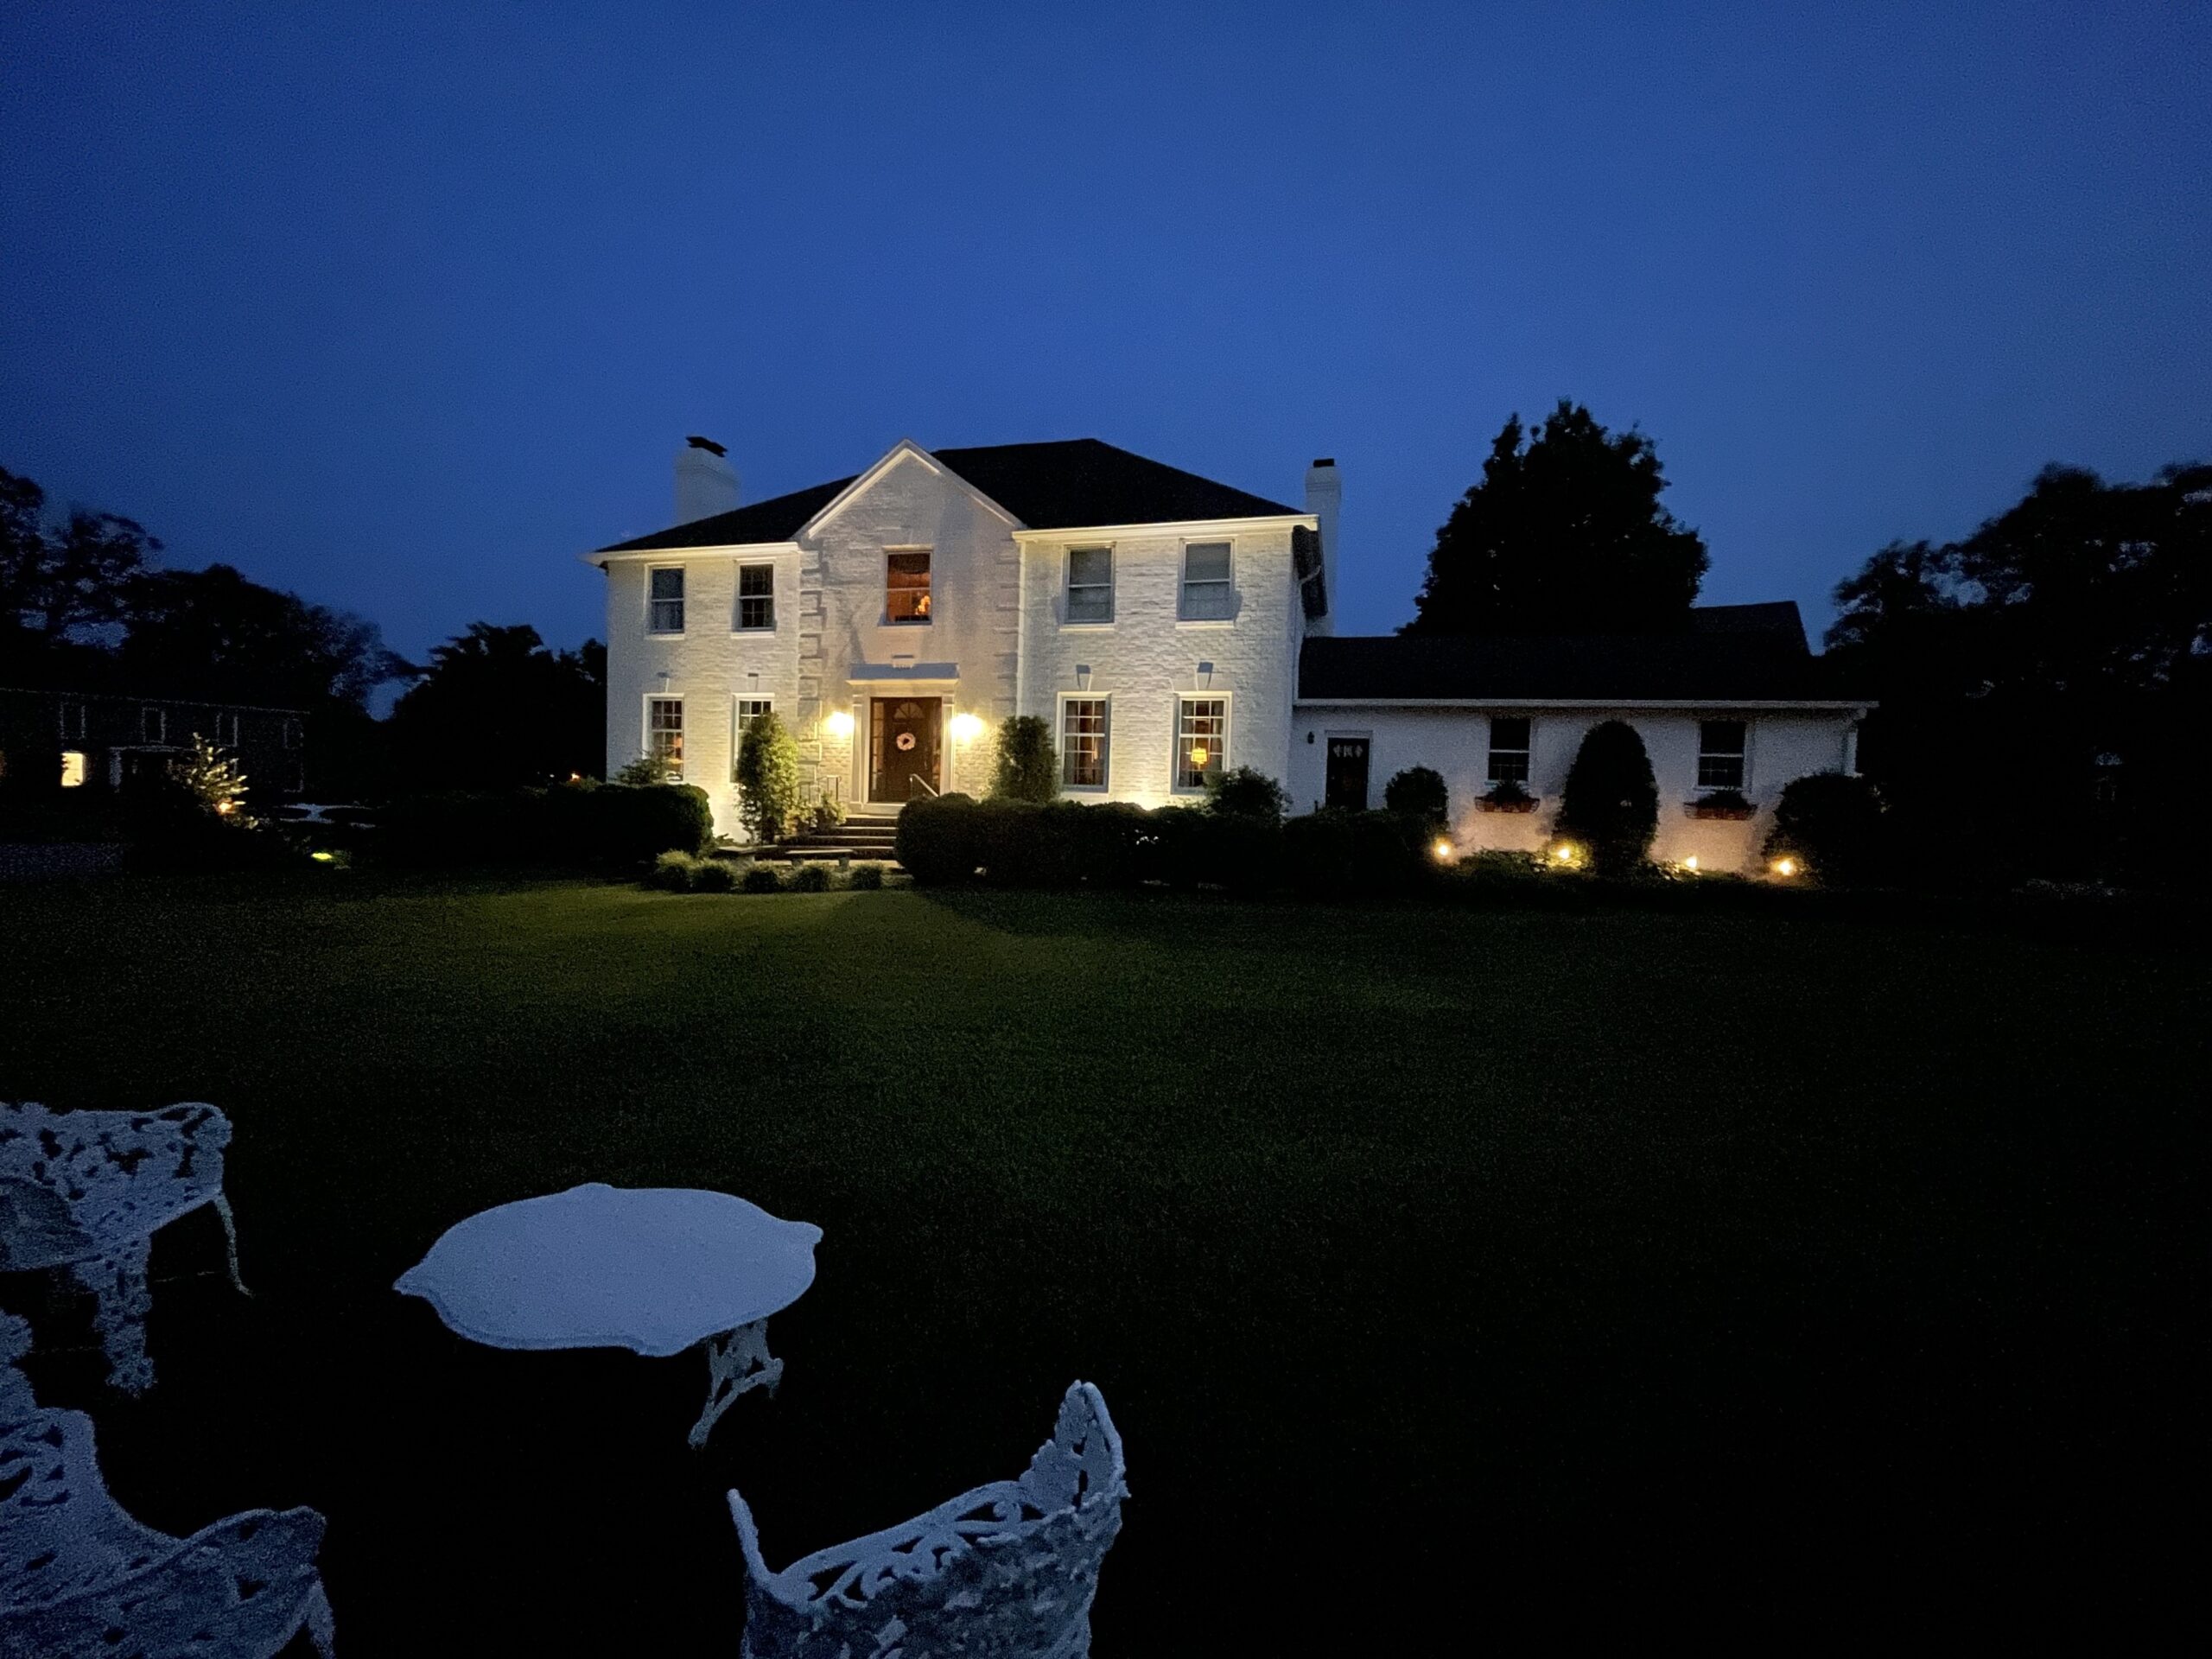
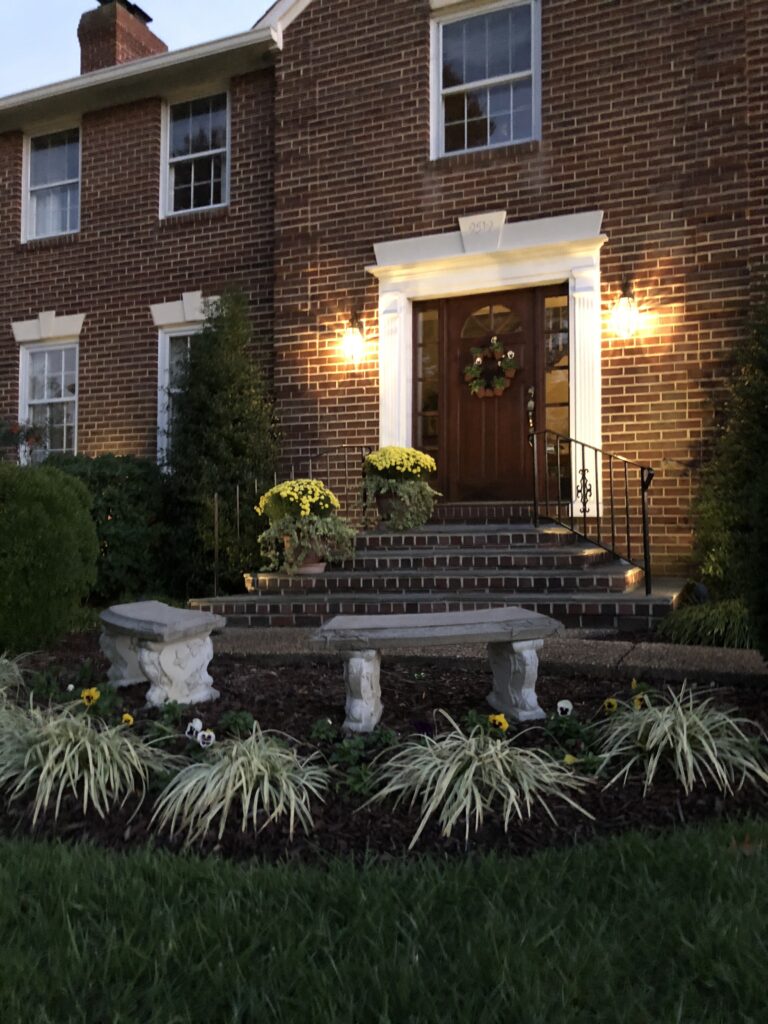
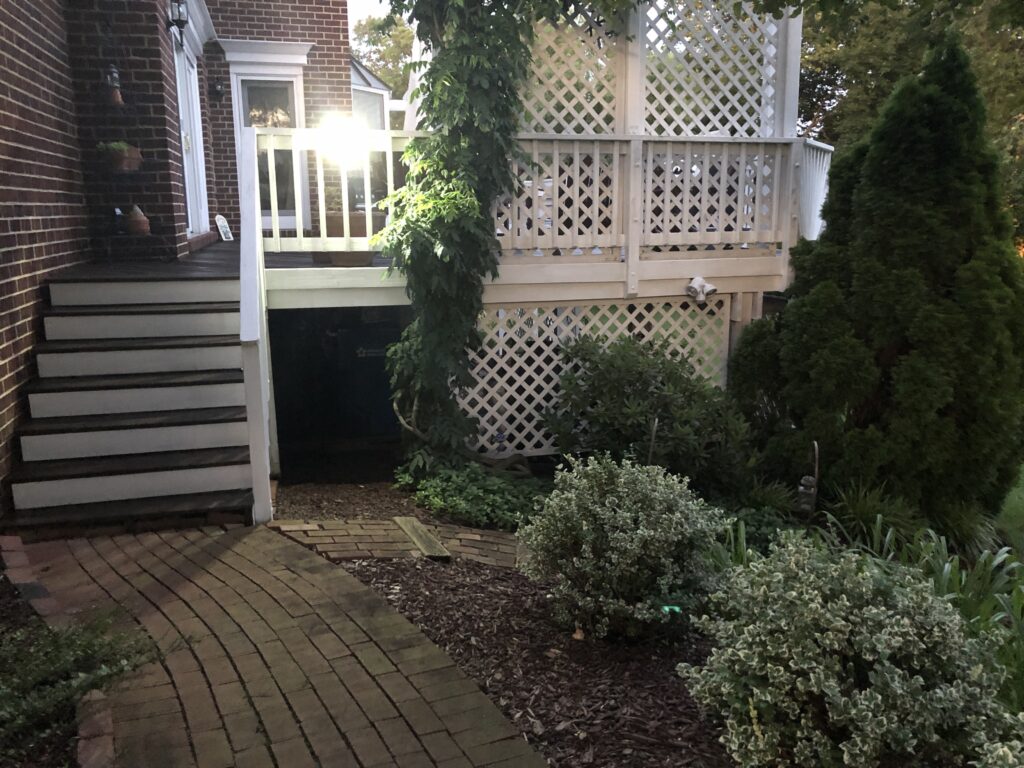
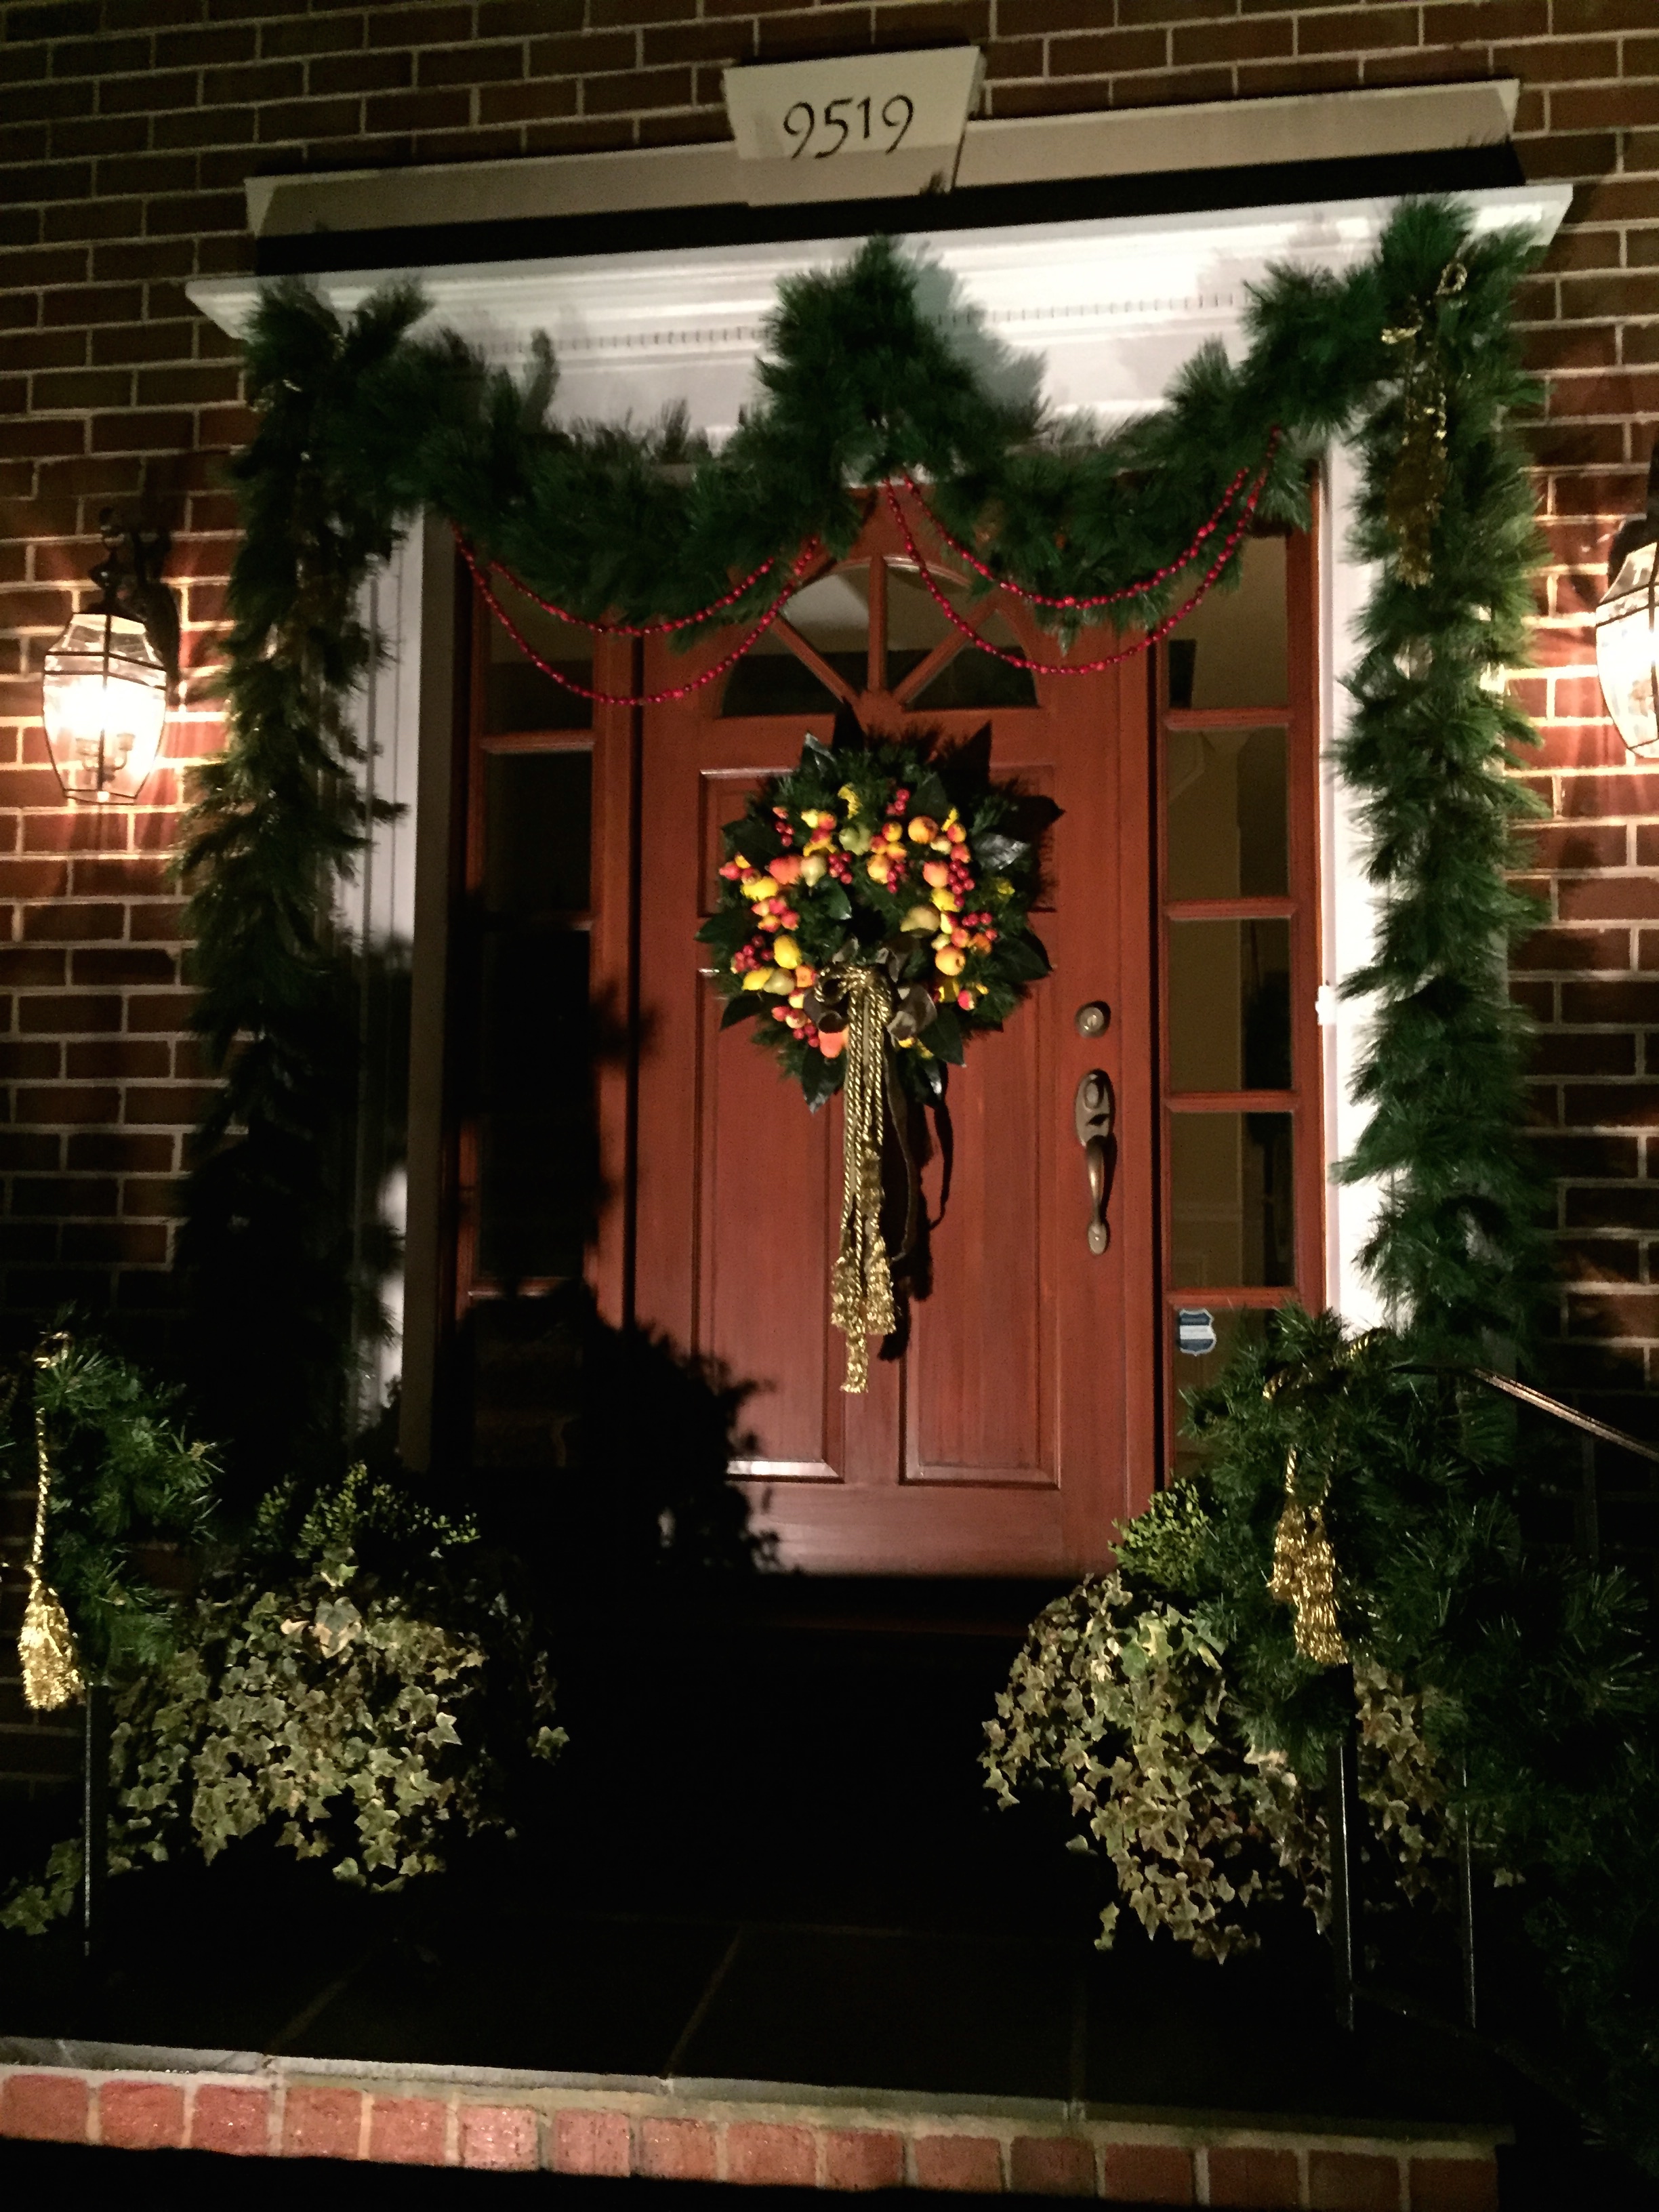
After dark the new lime wash glows.
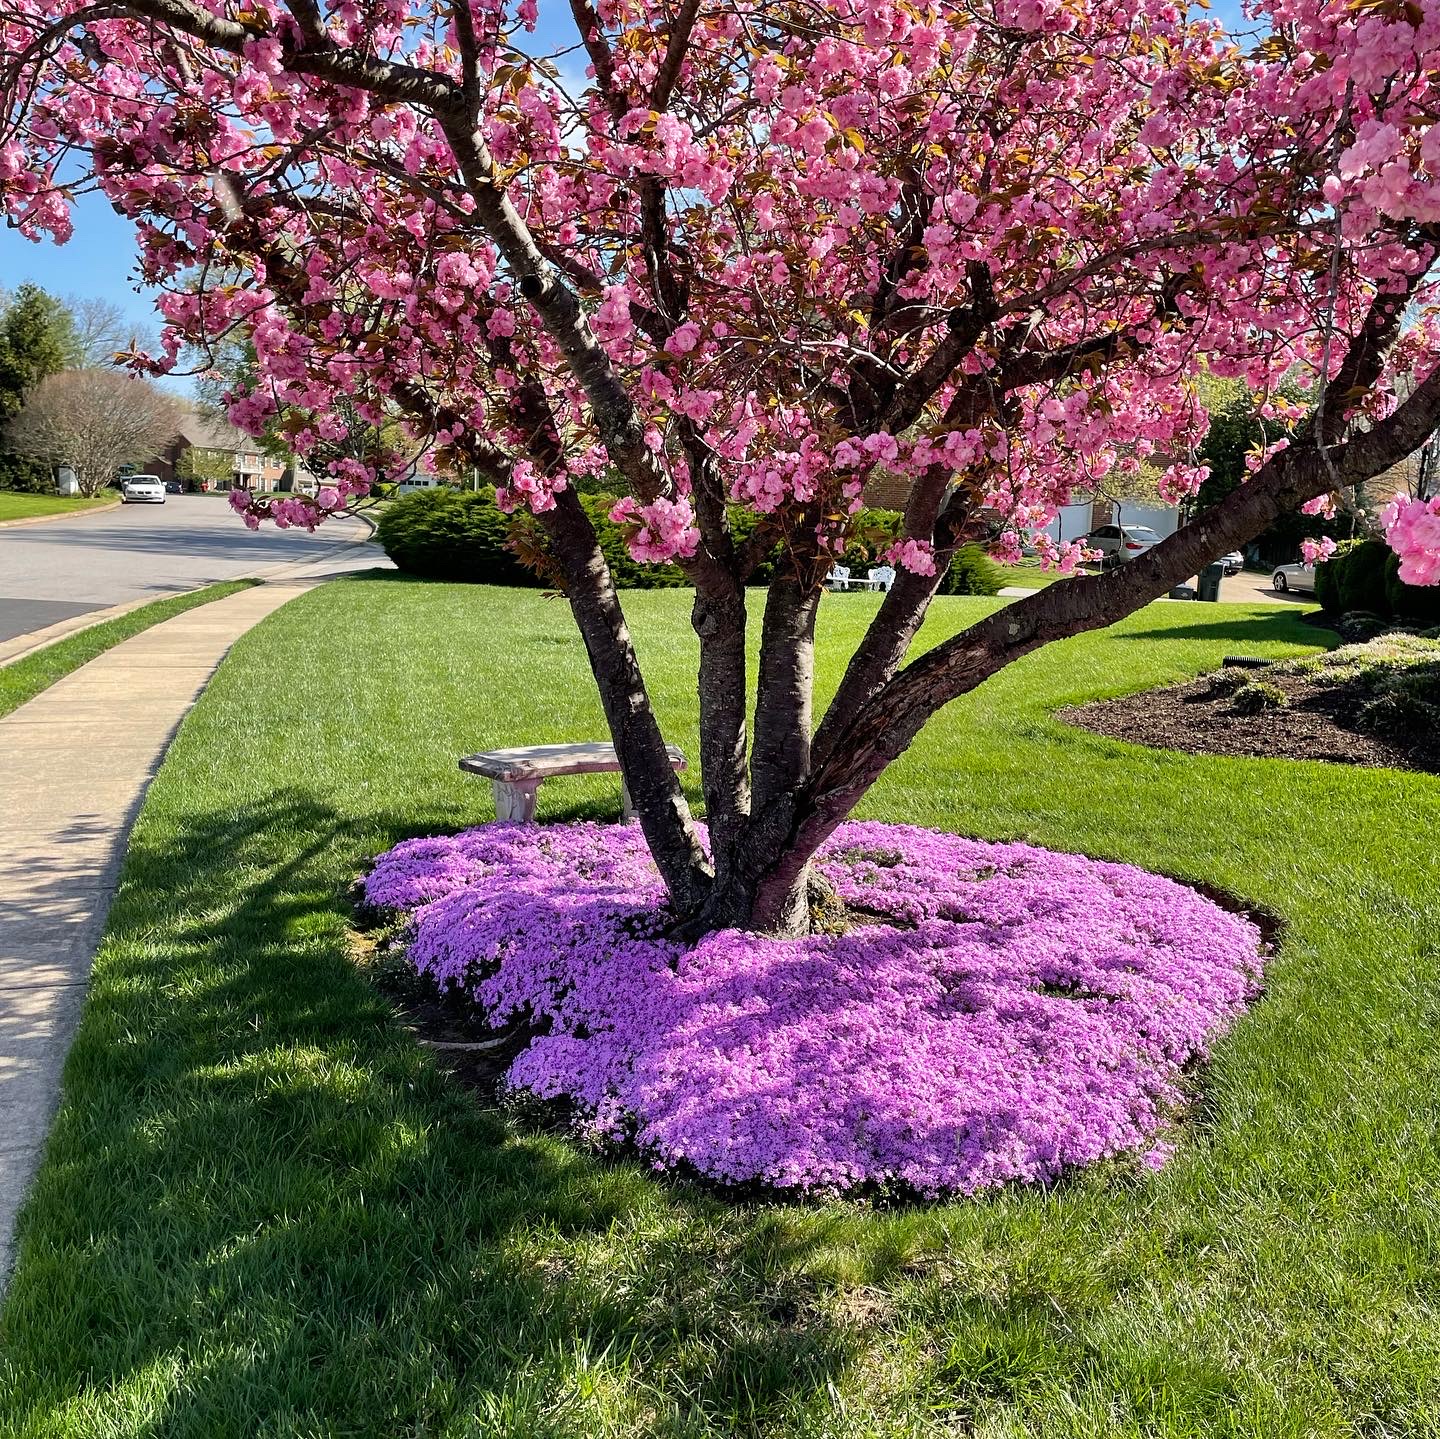
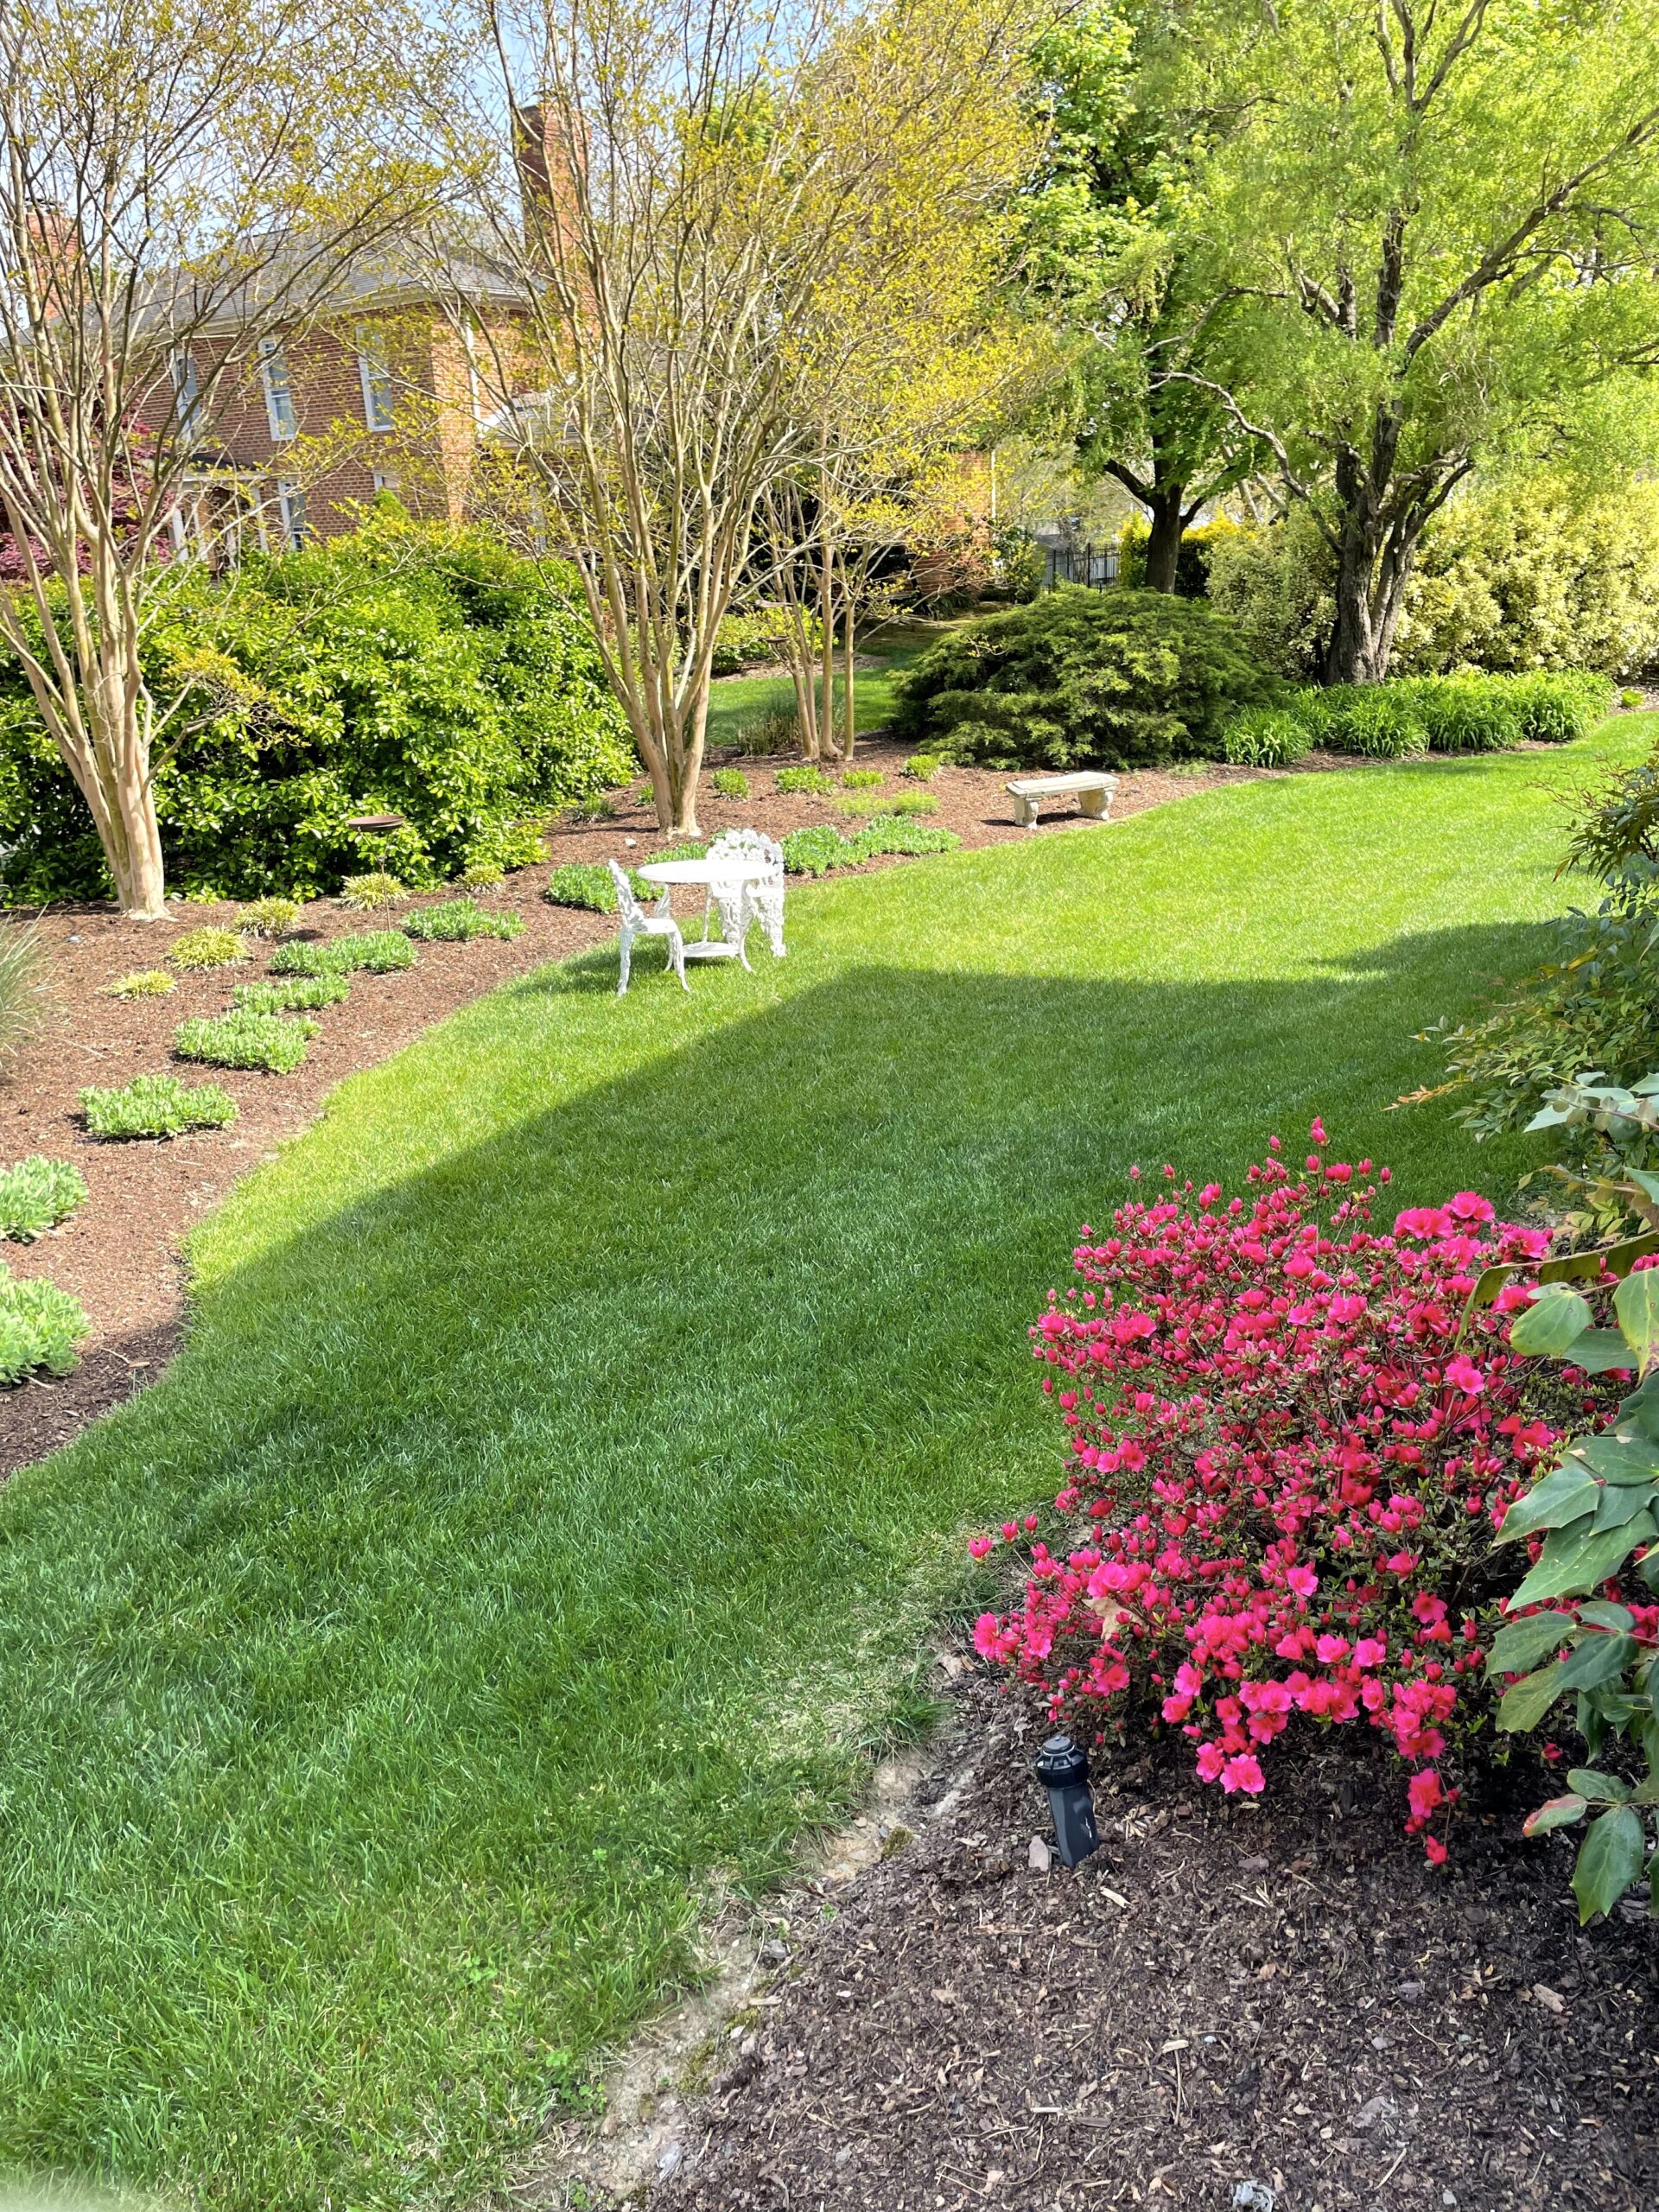
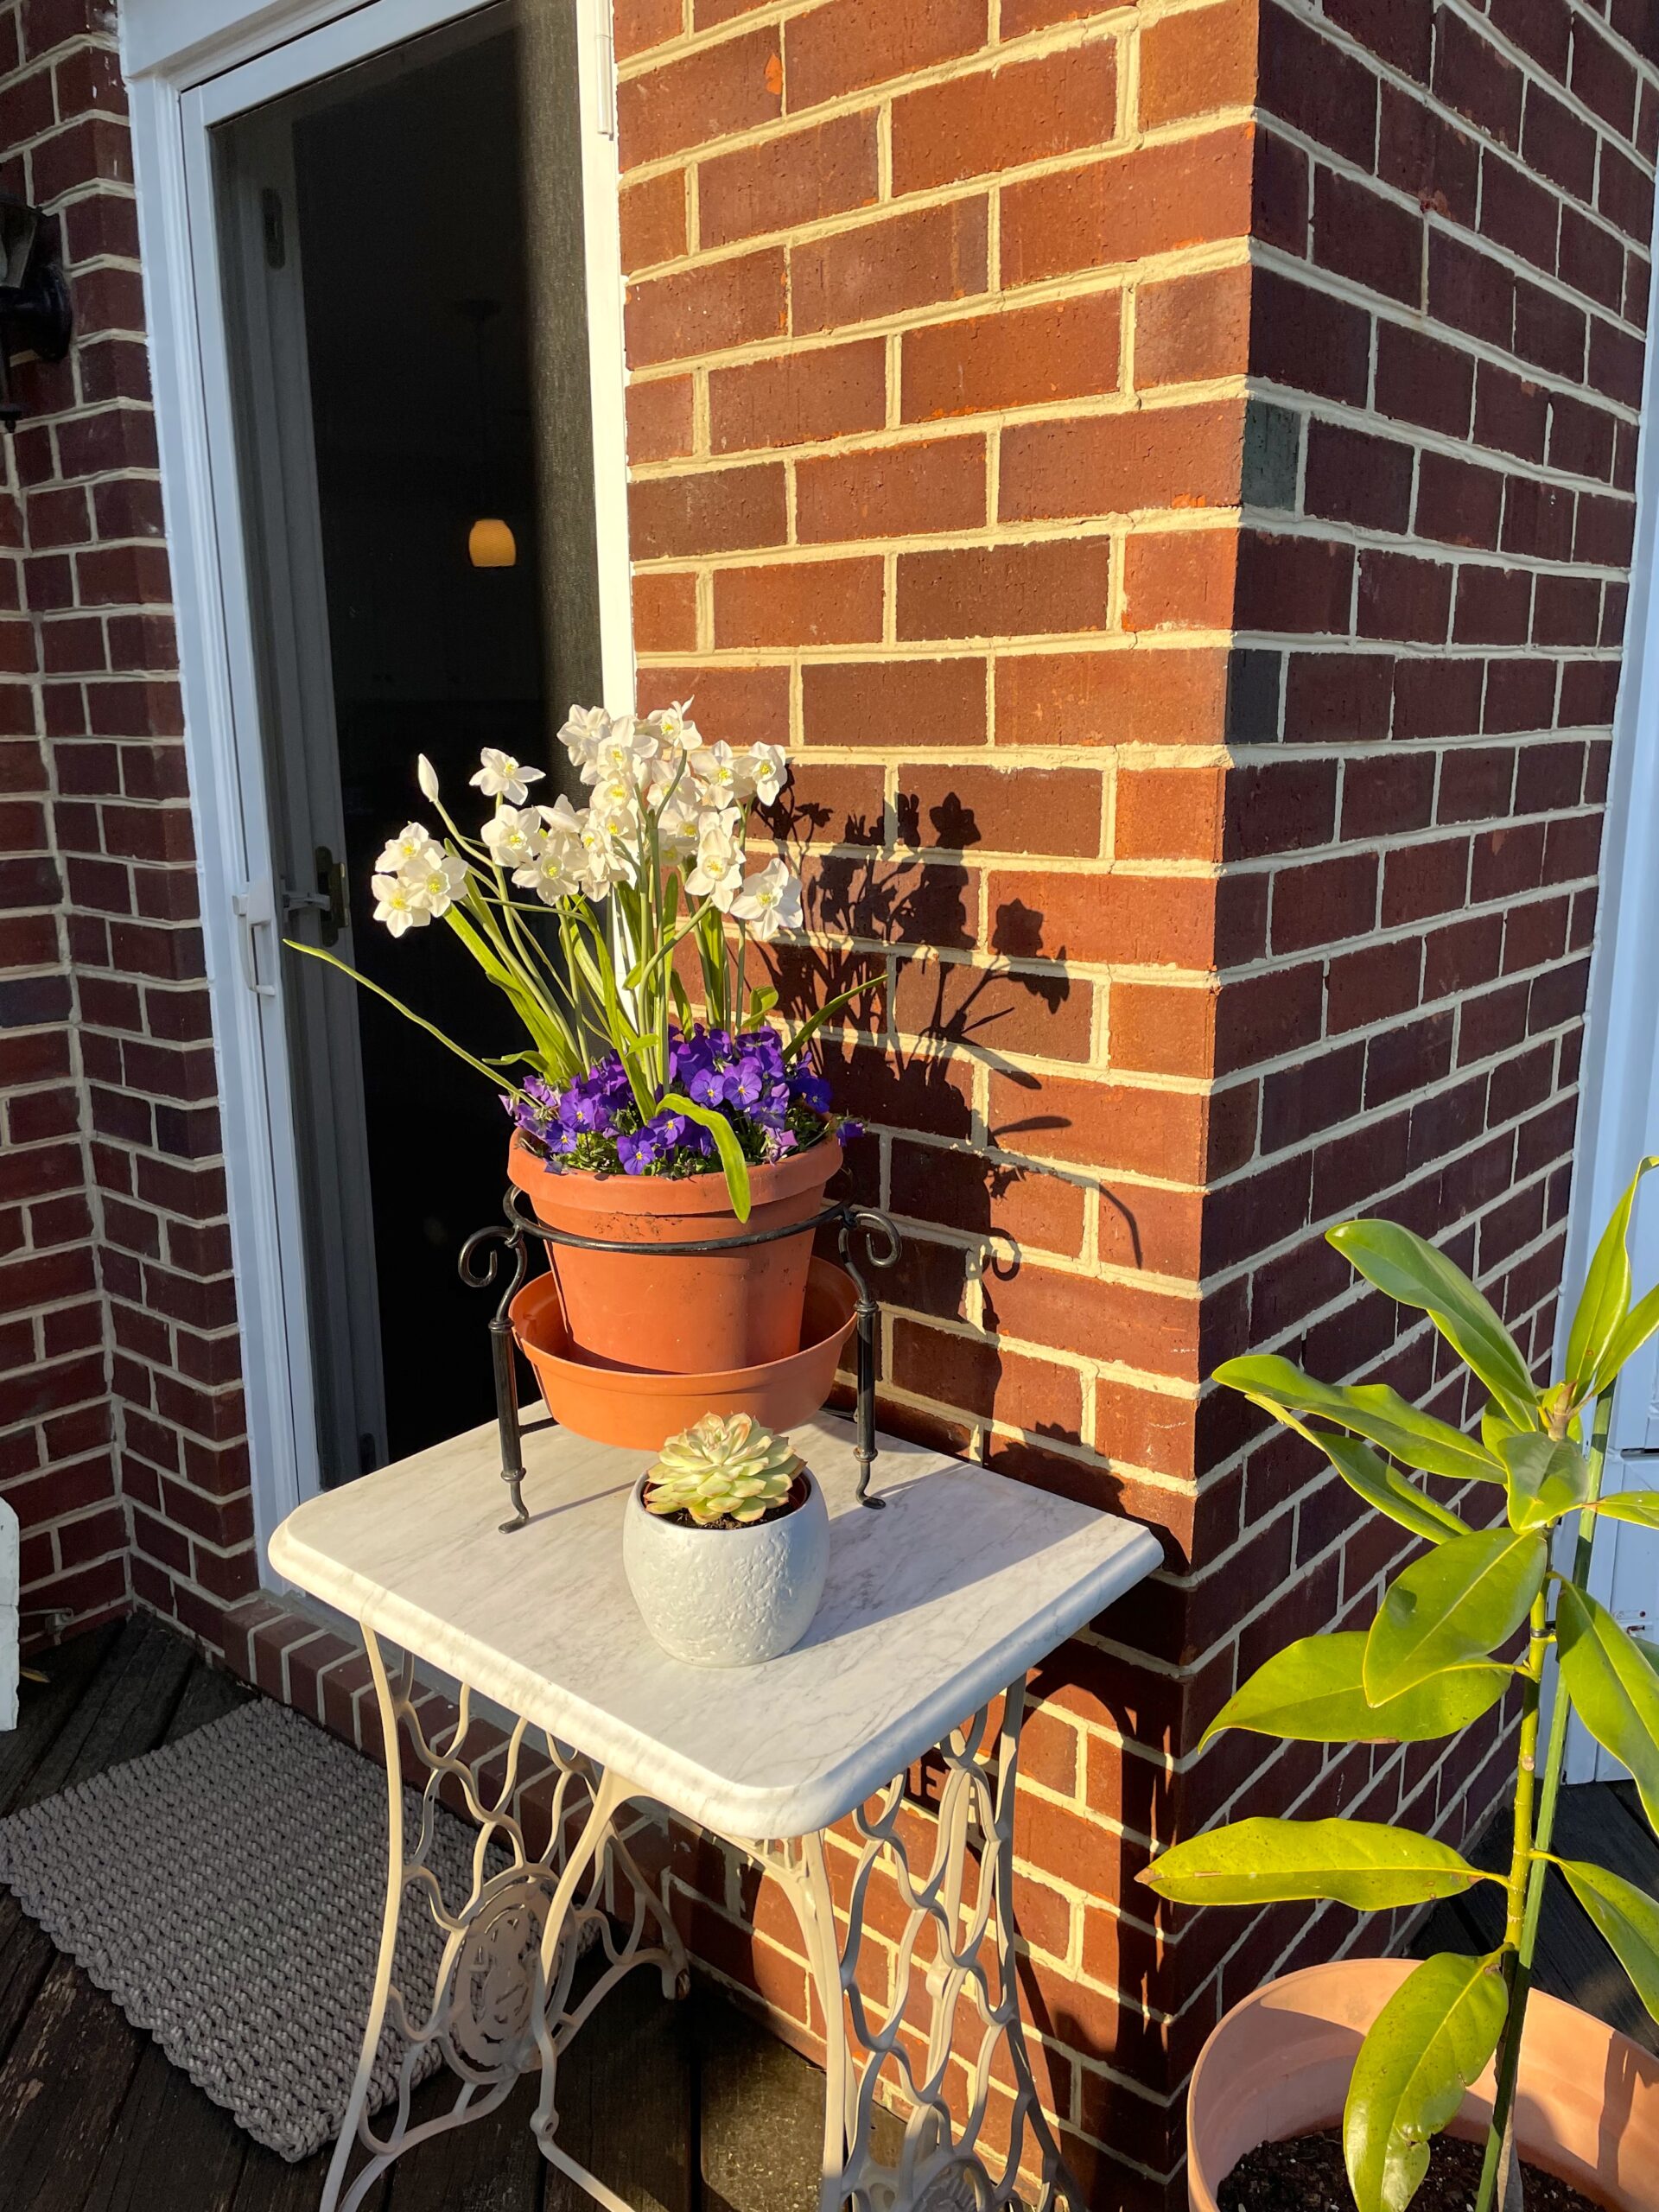
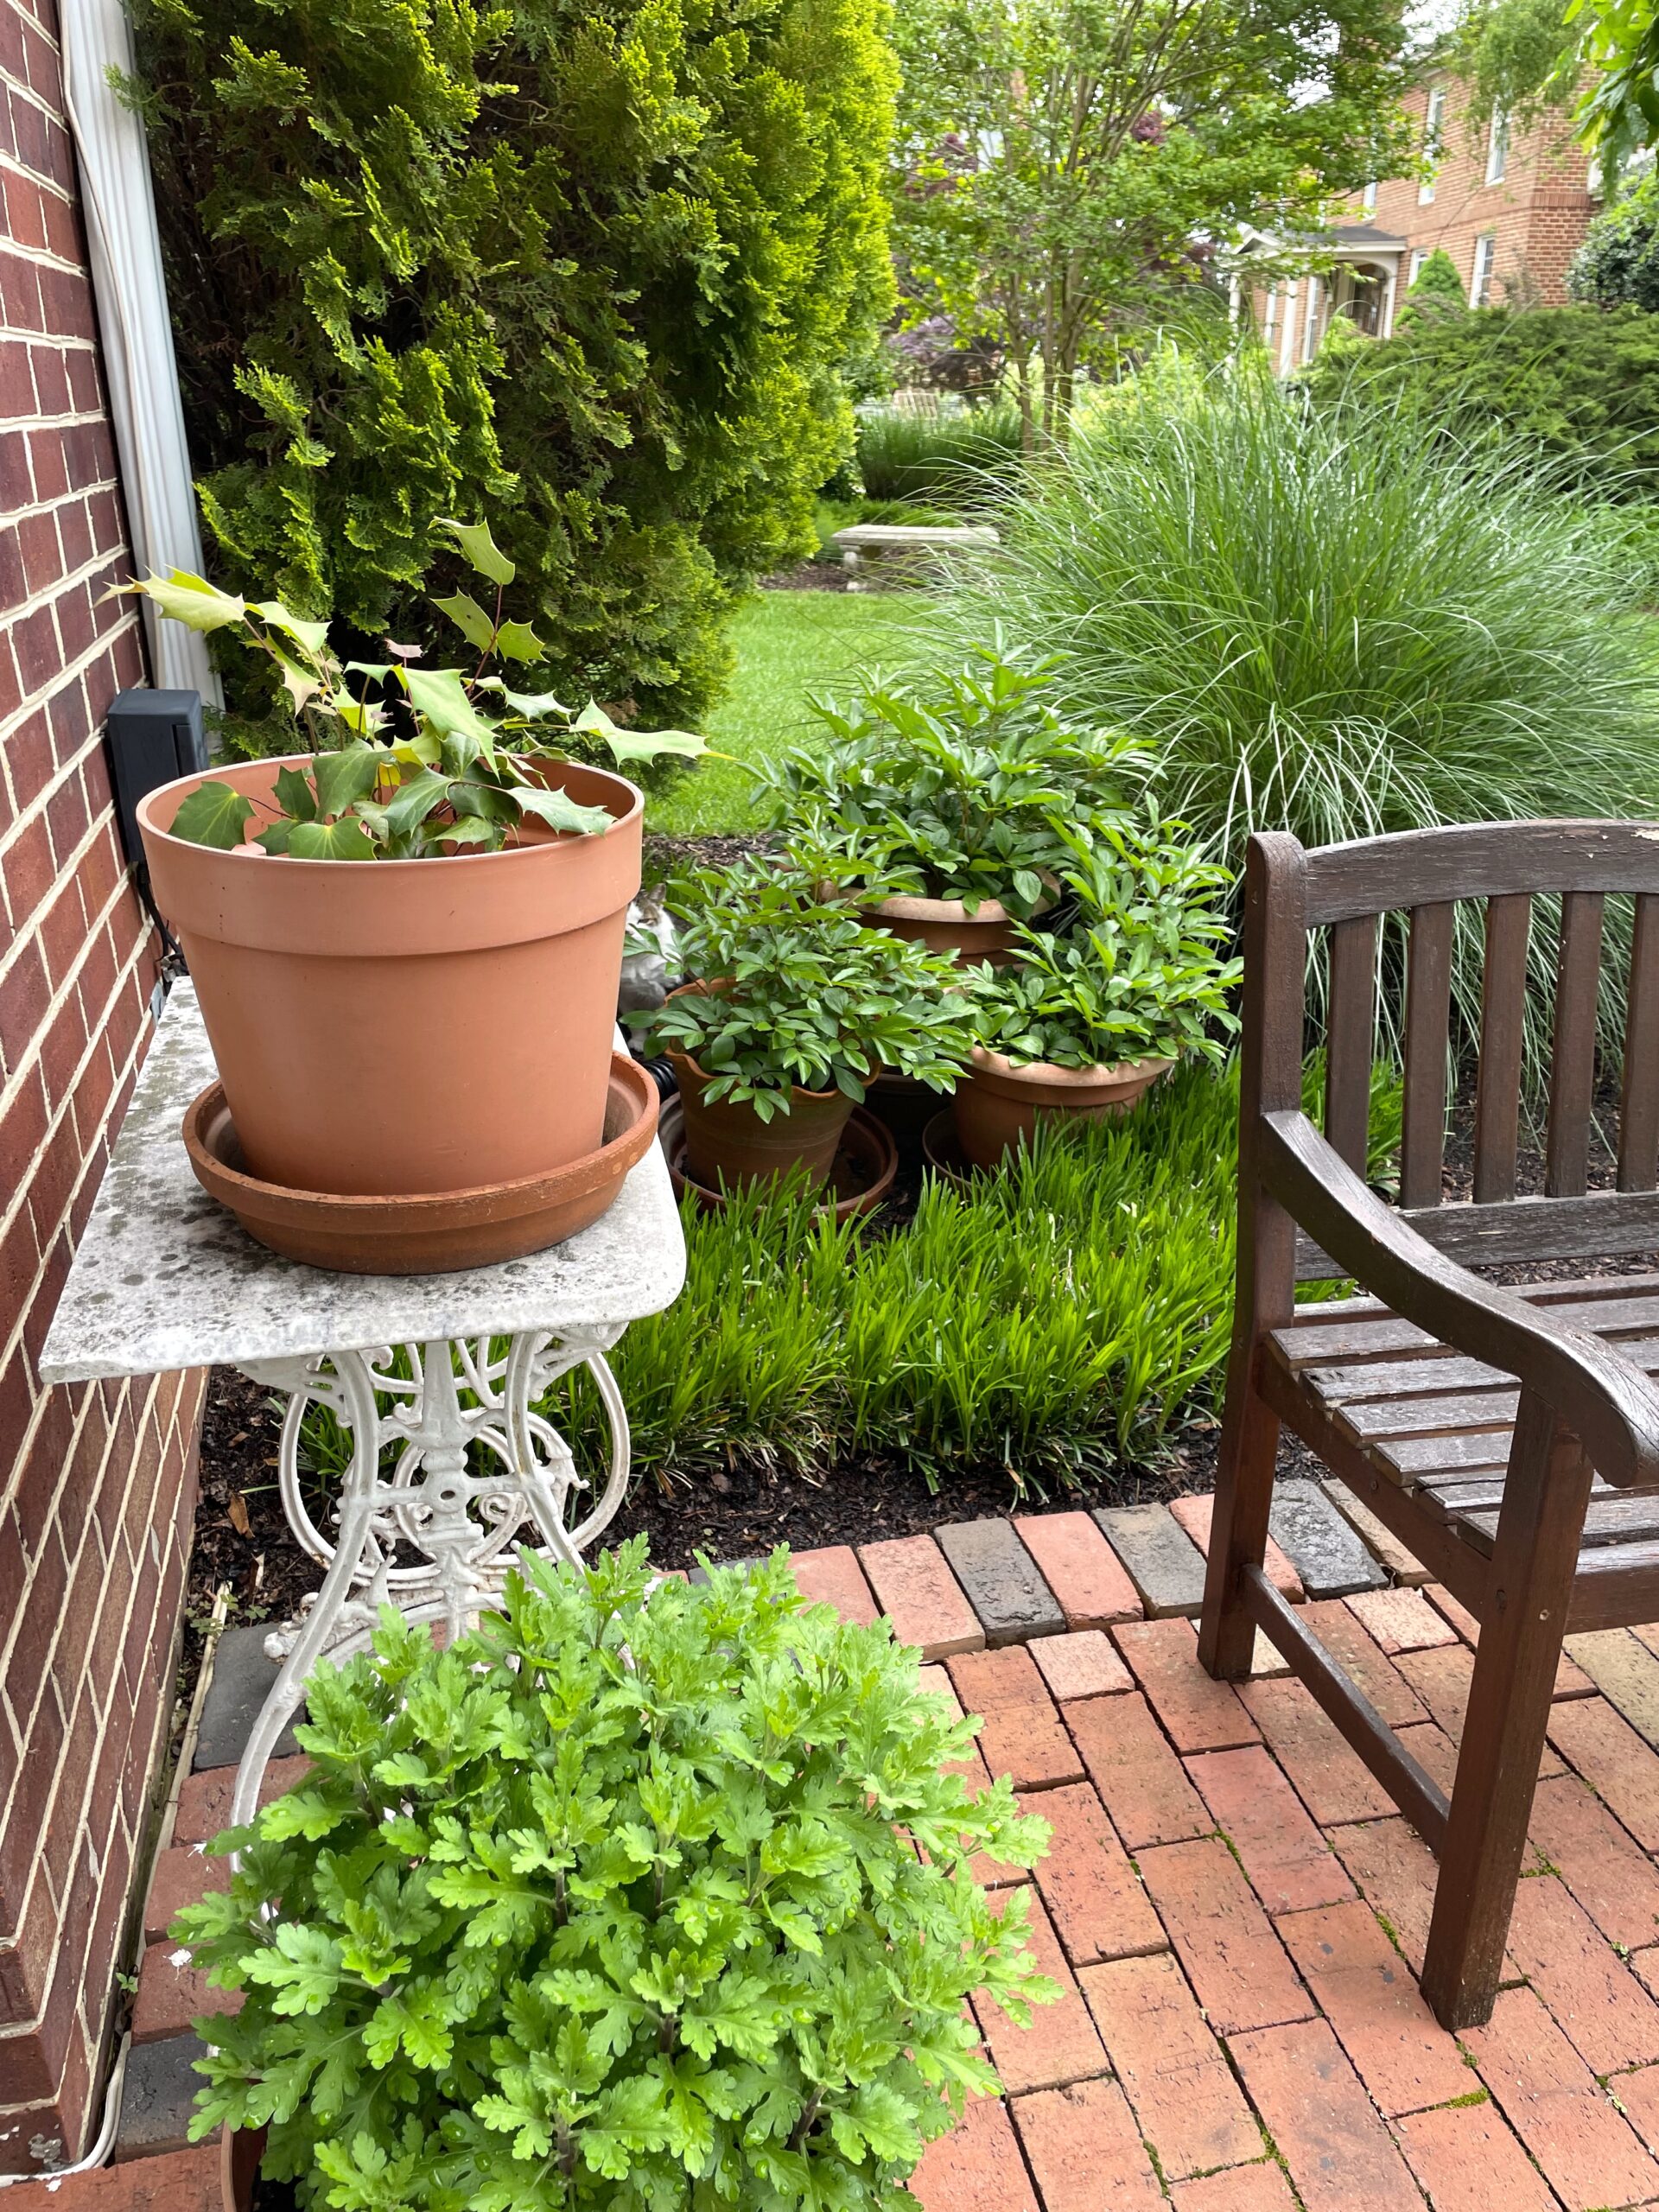
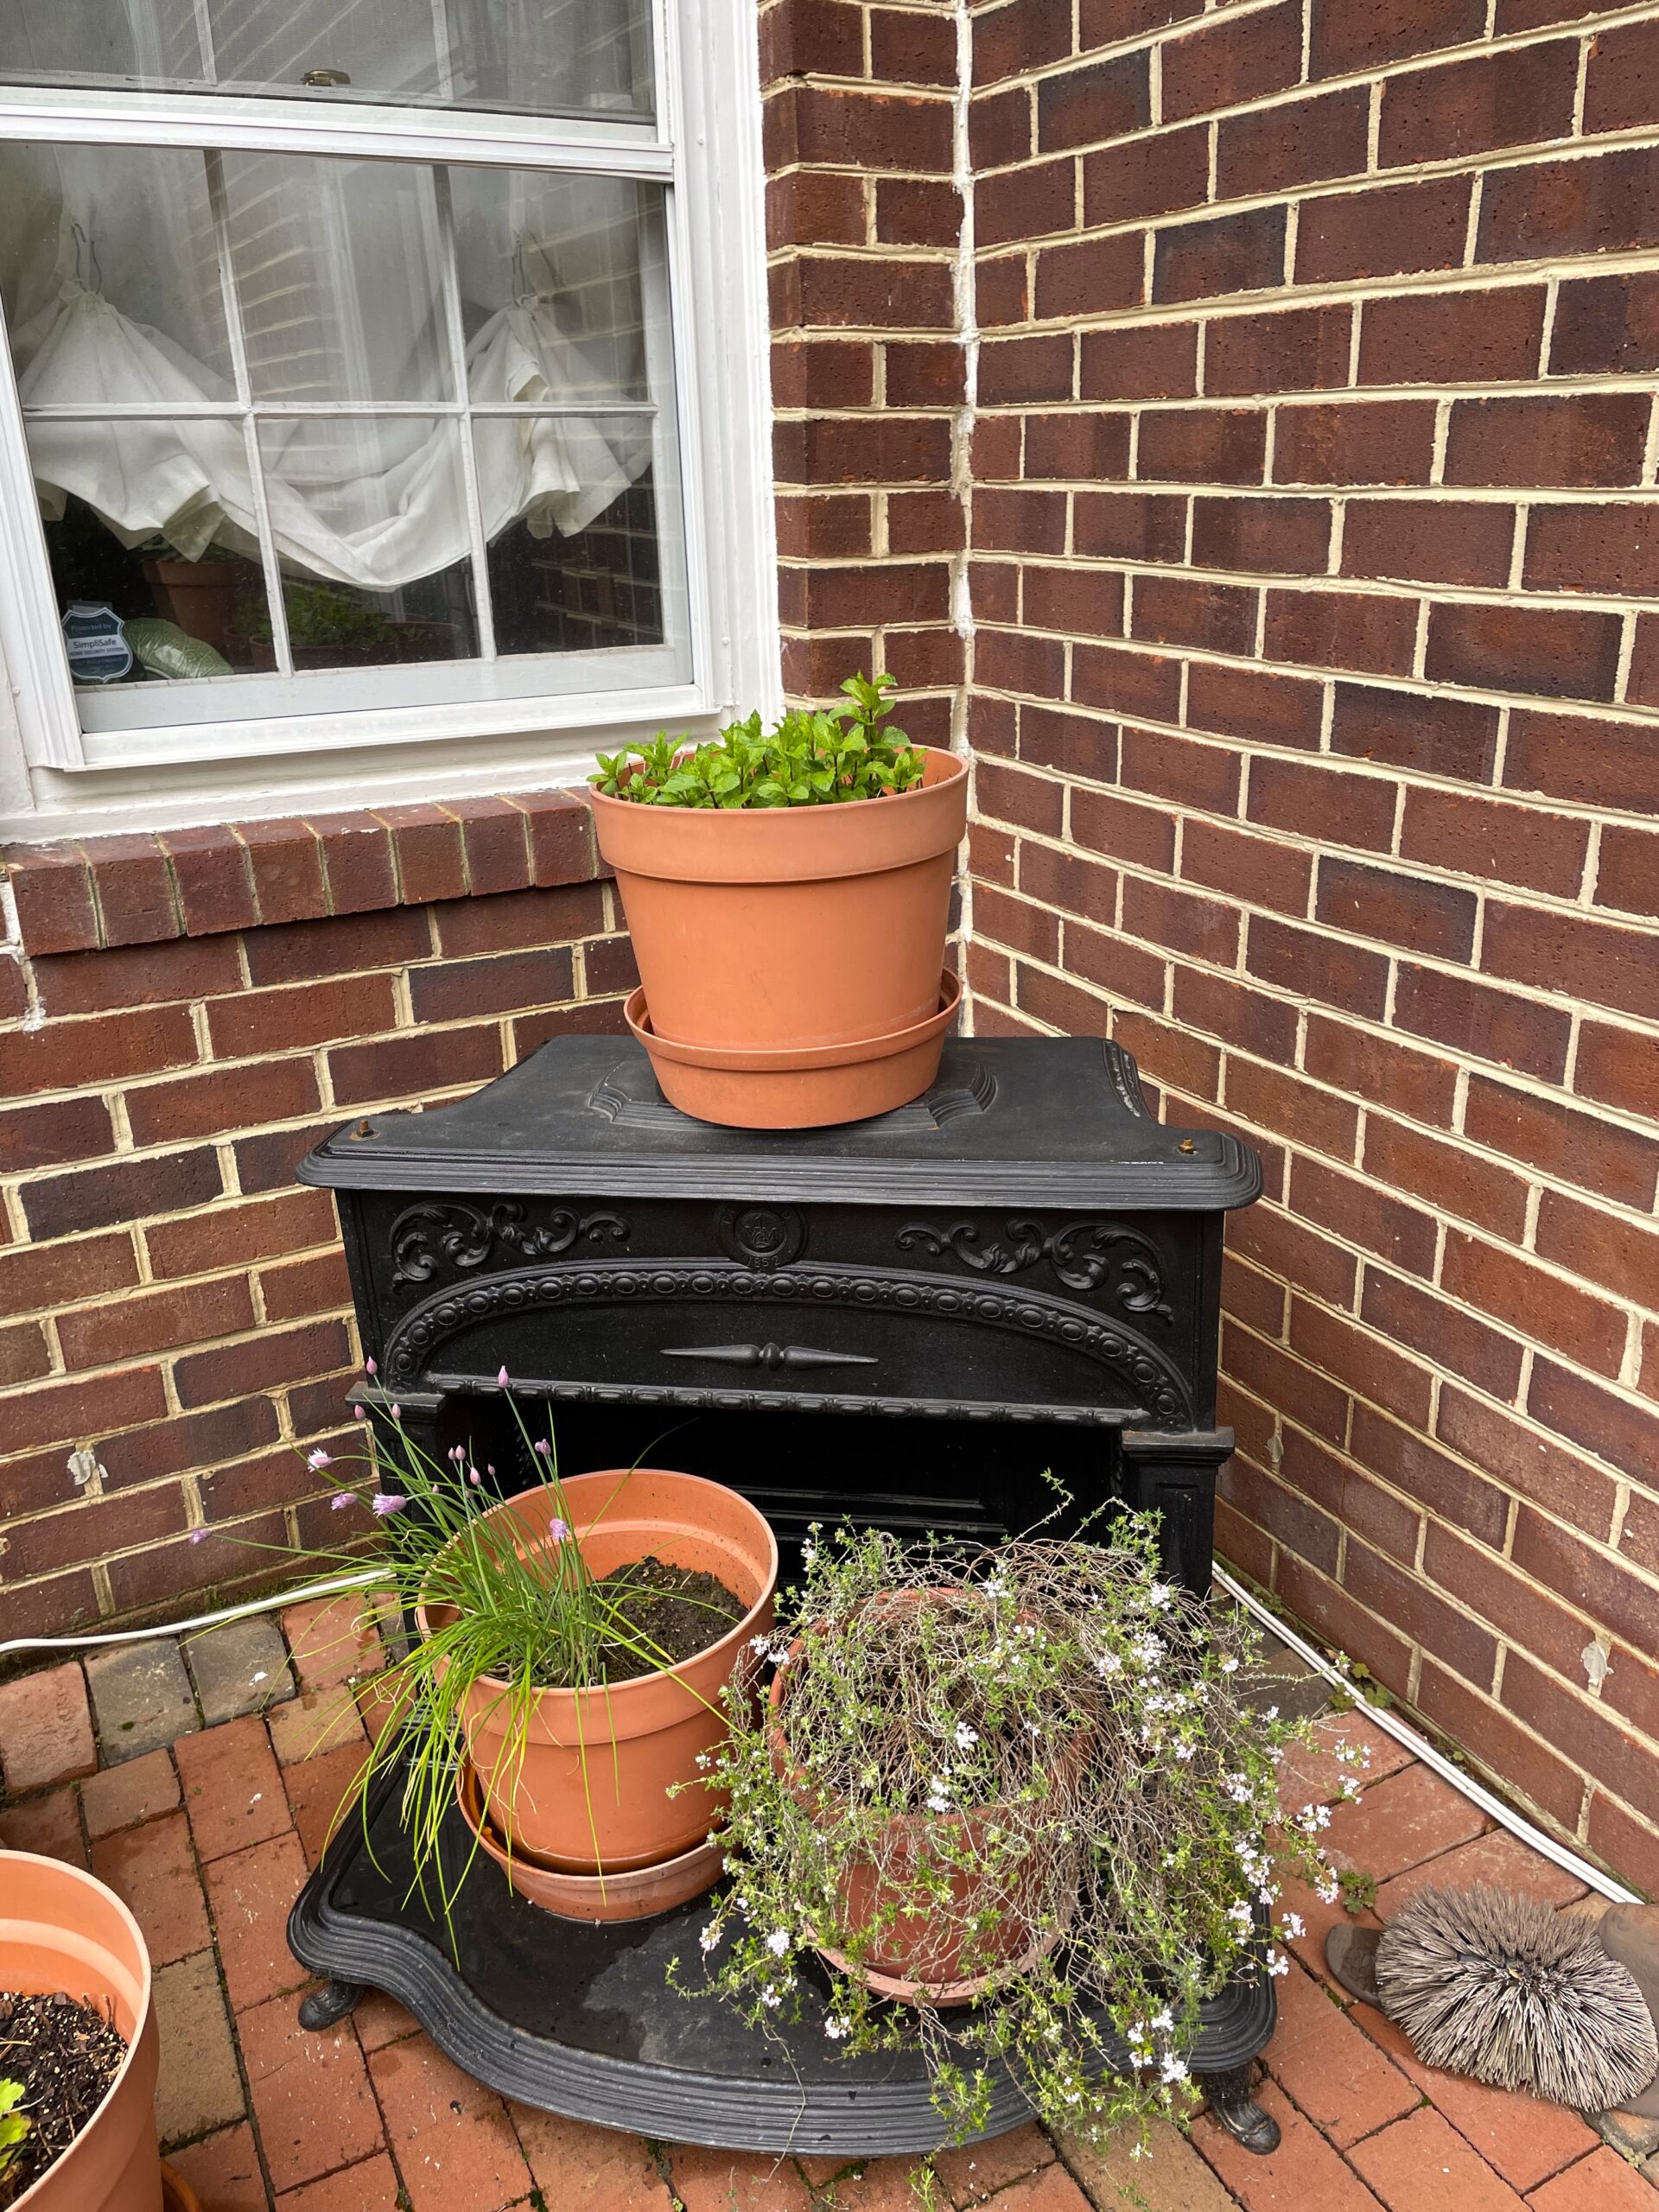
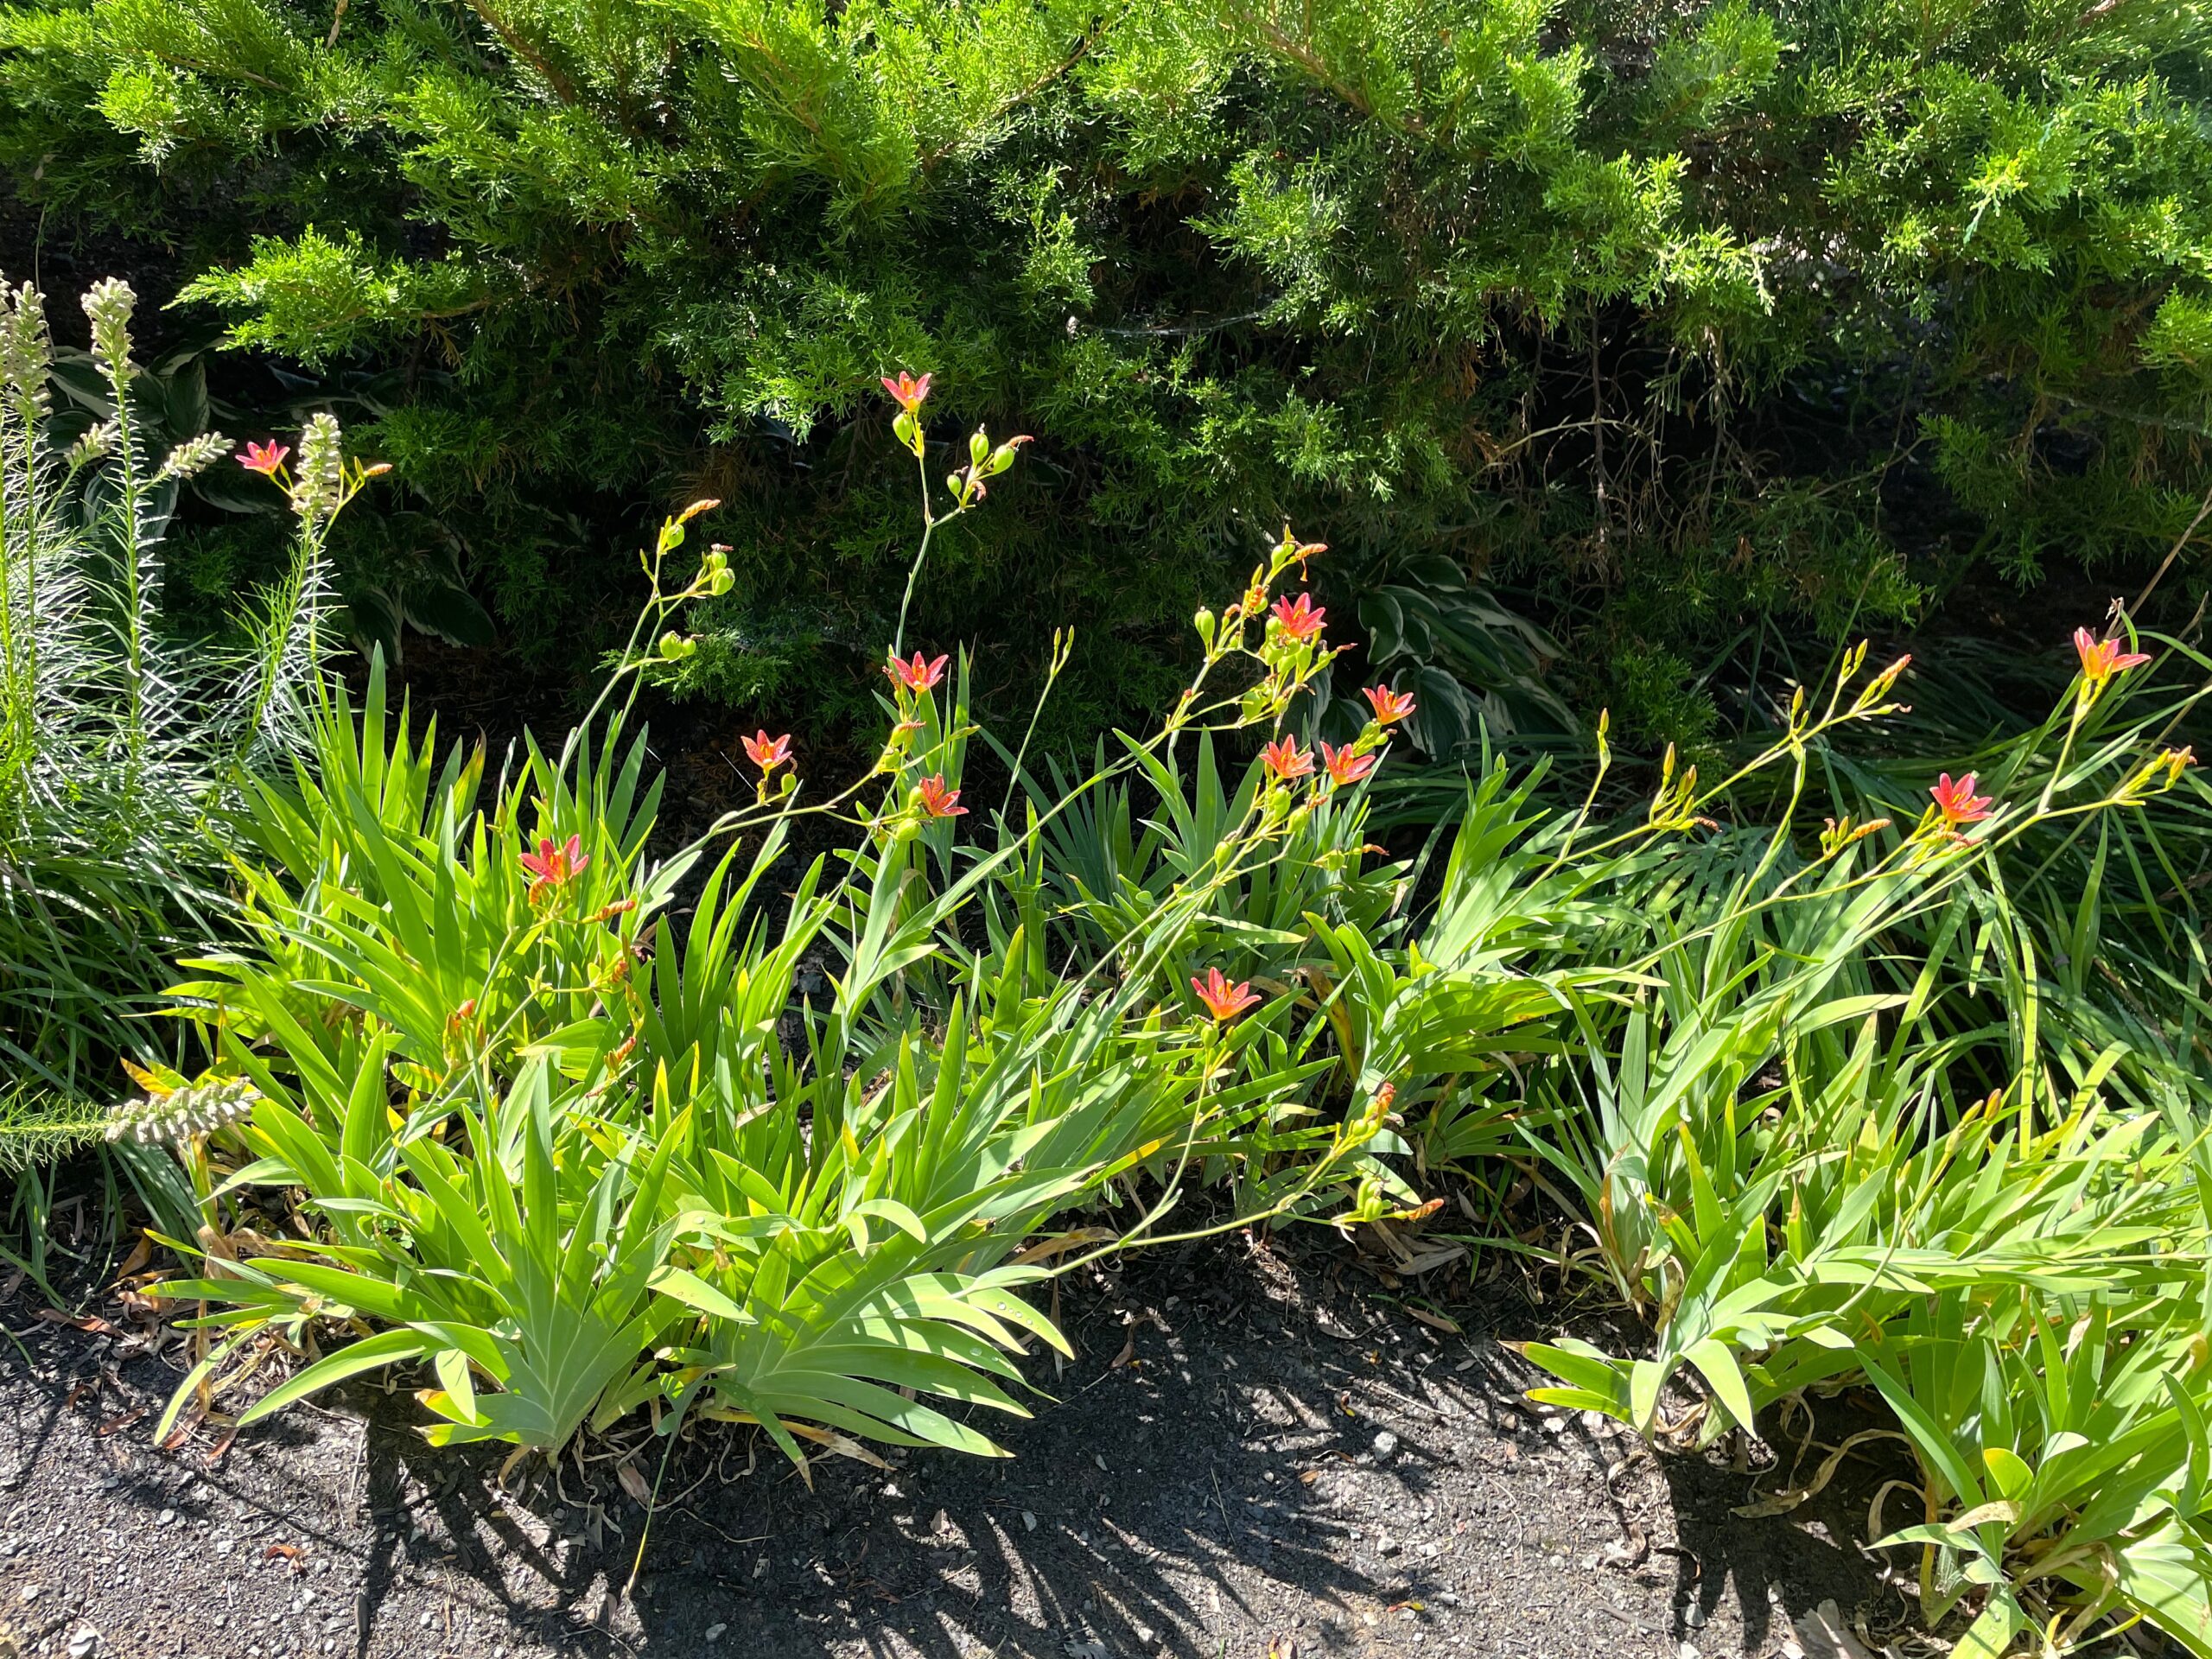
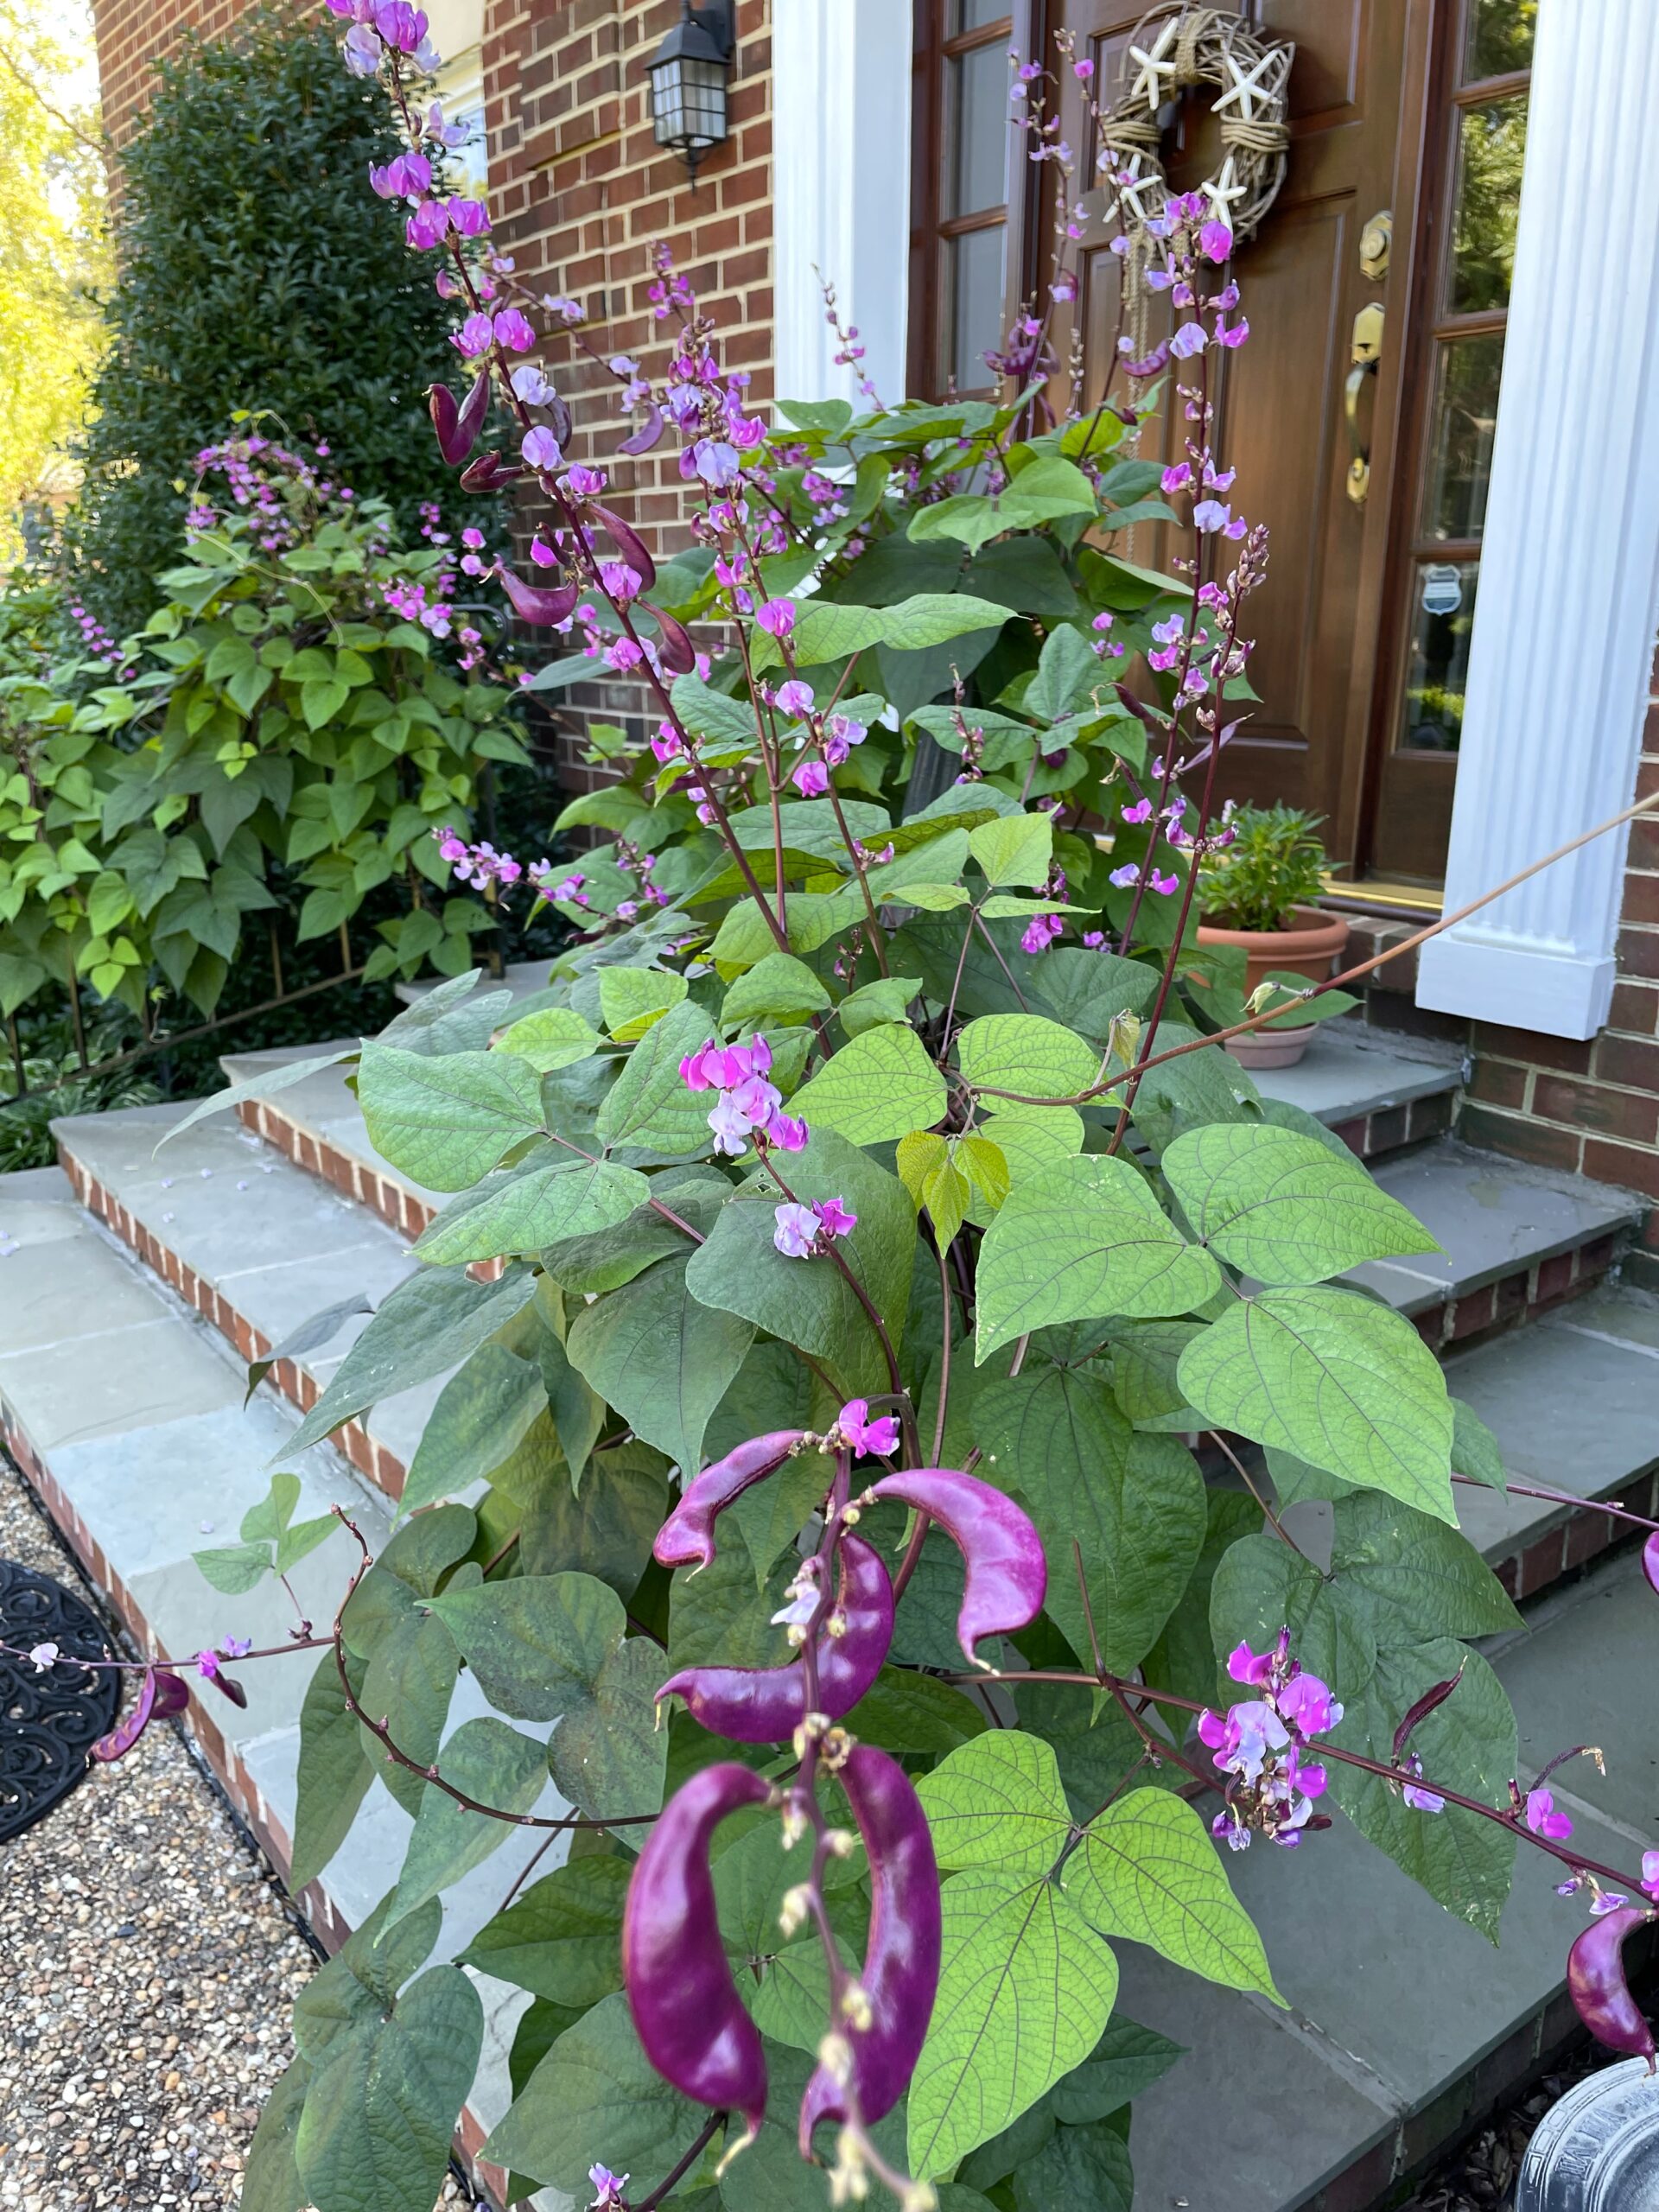
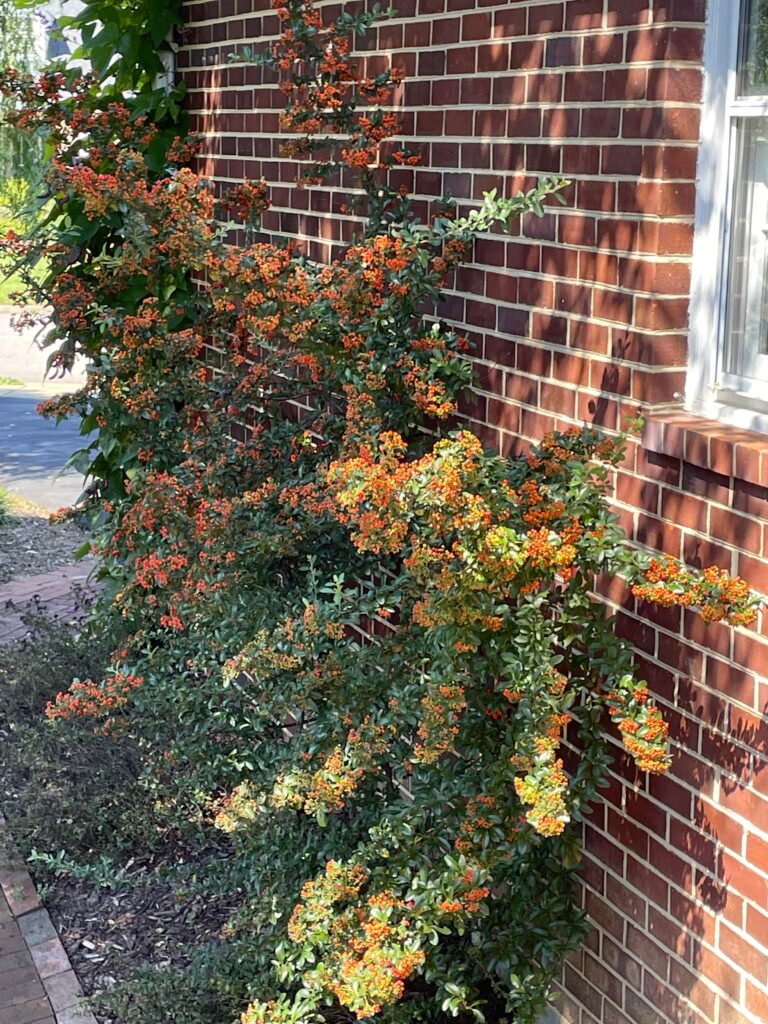
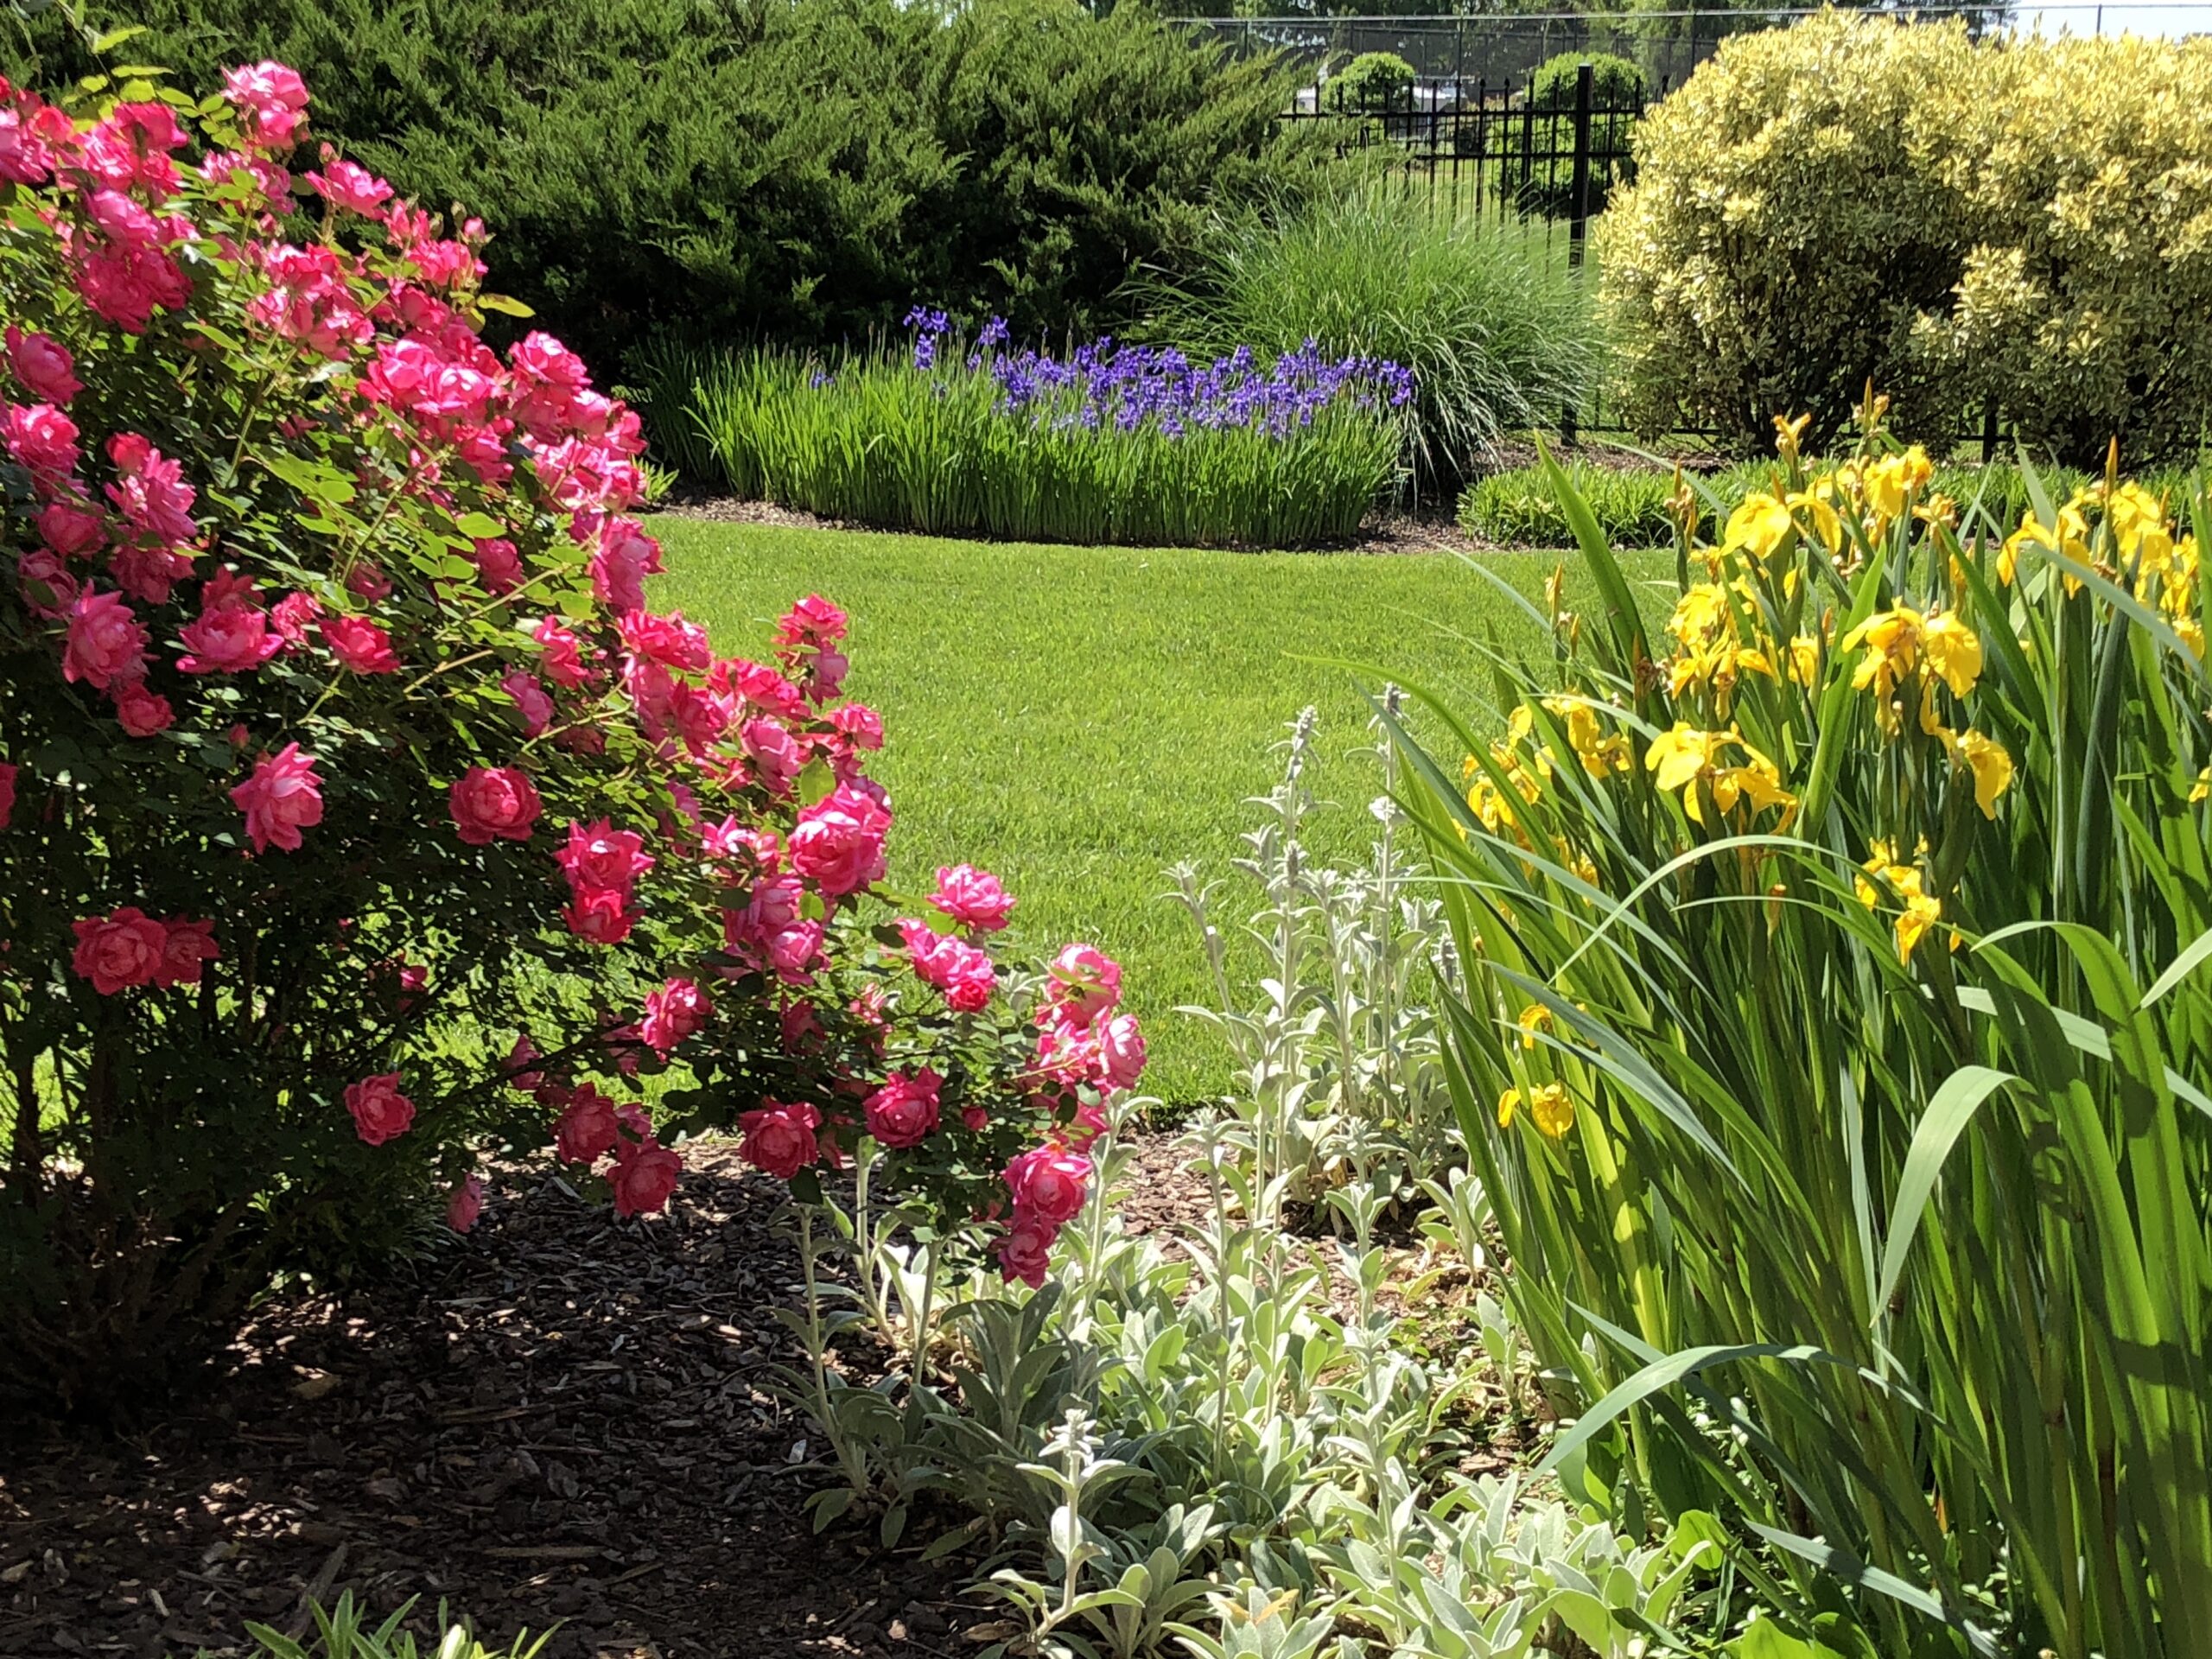
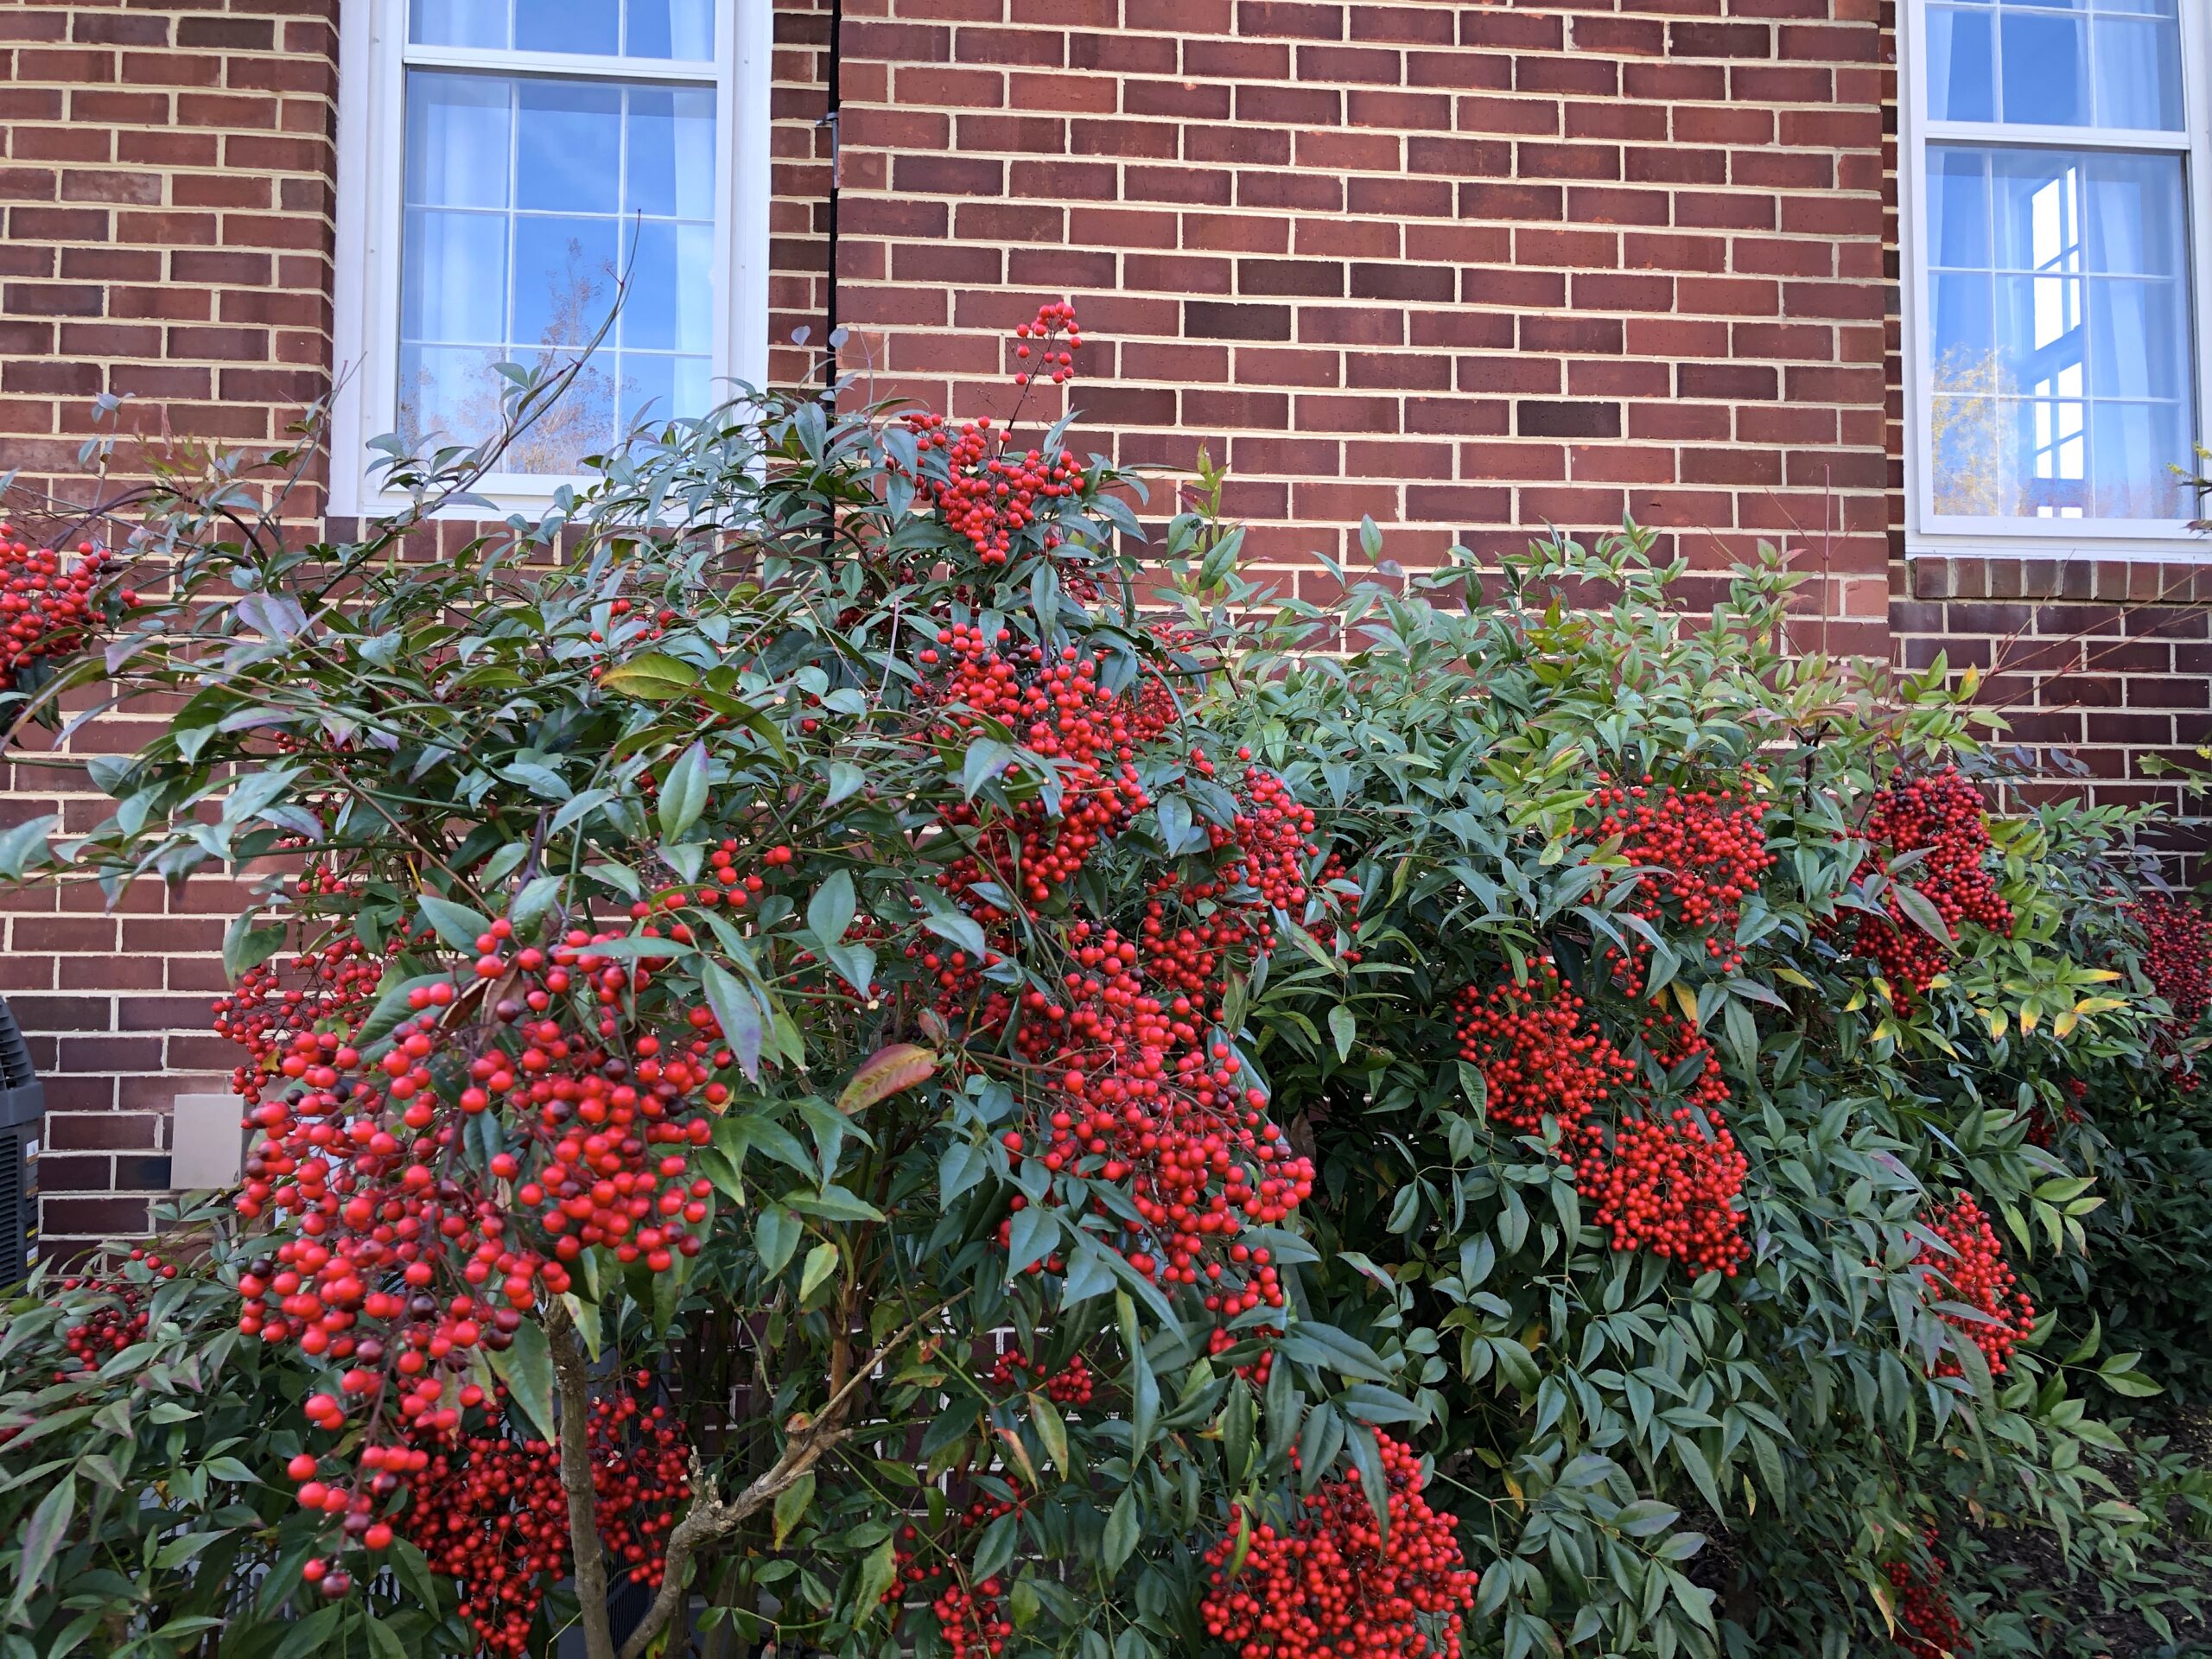
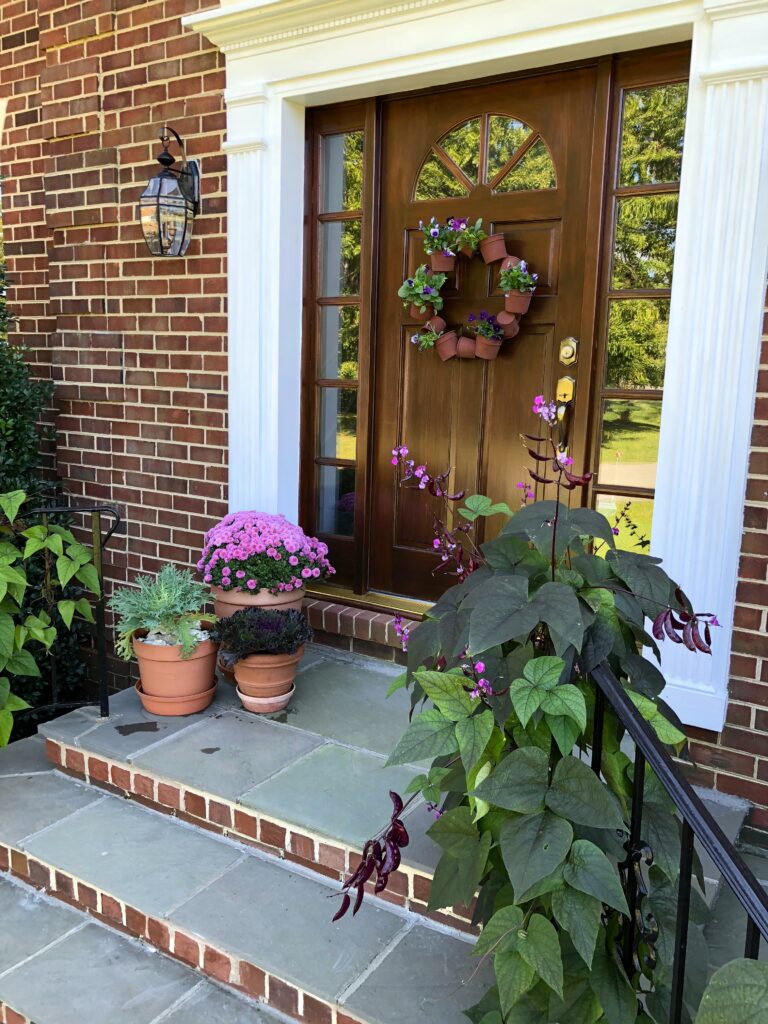
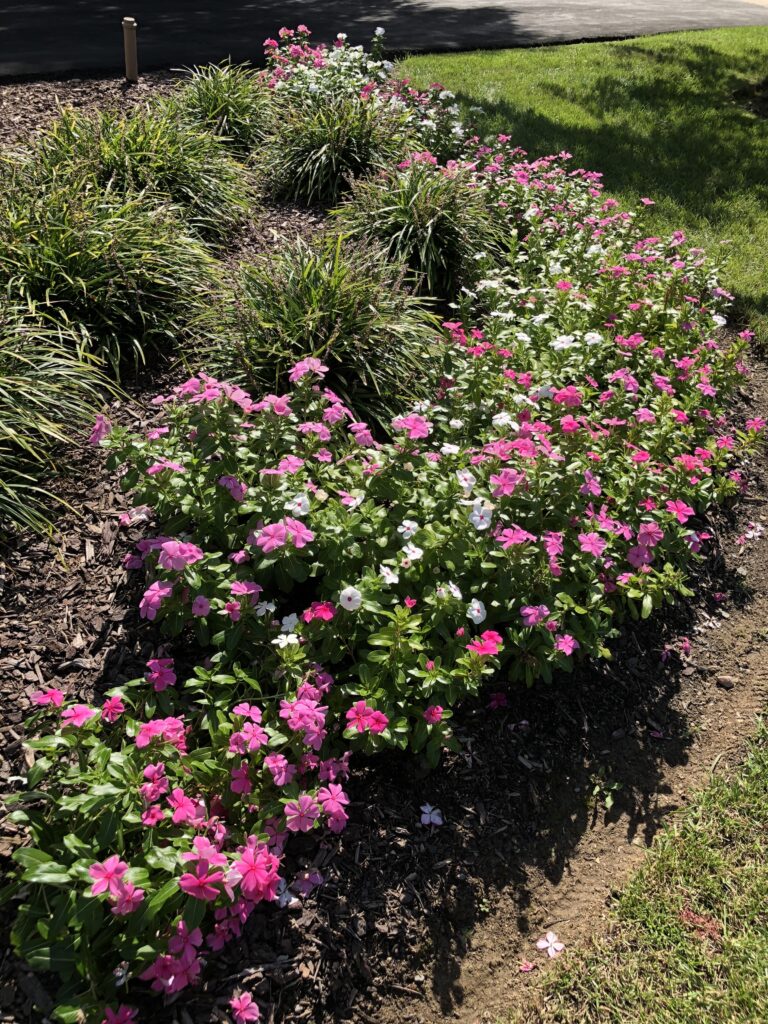
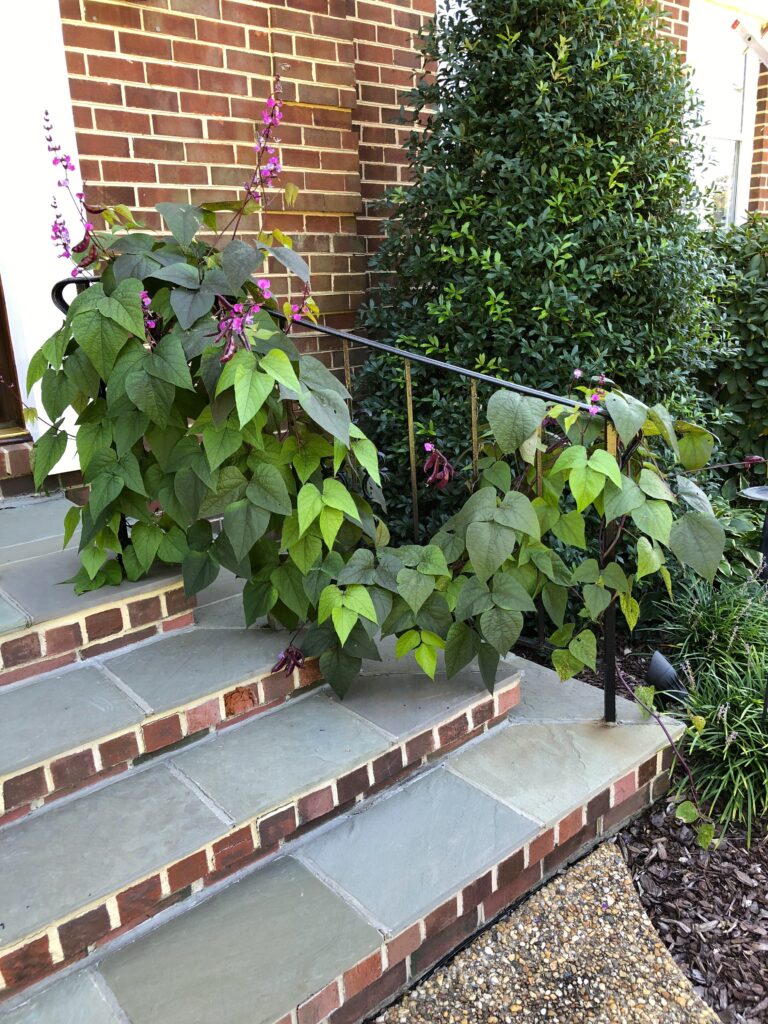
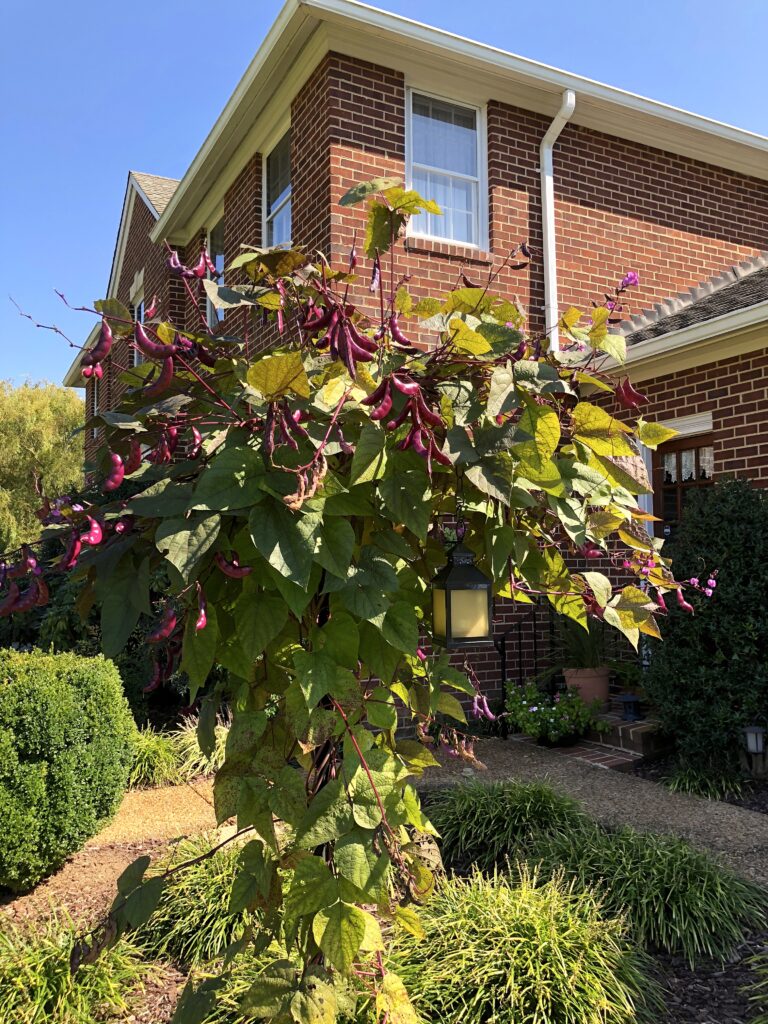
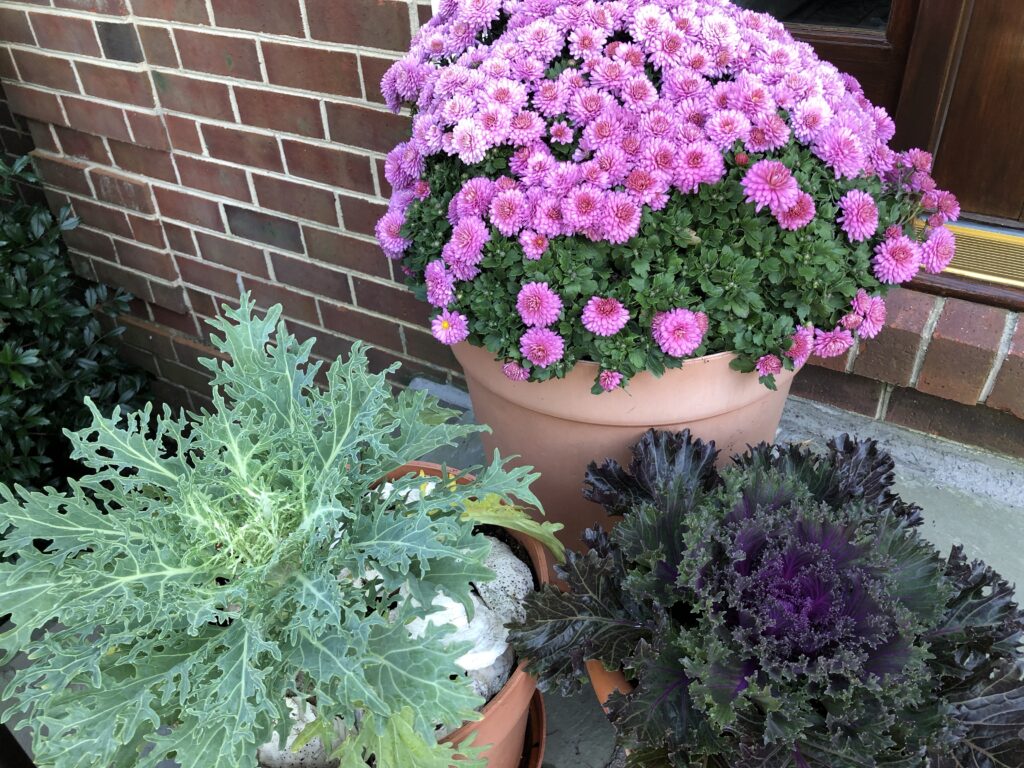
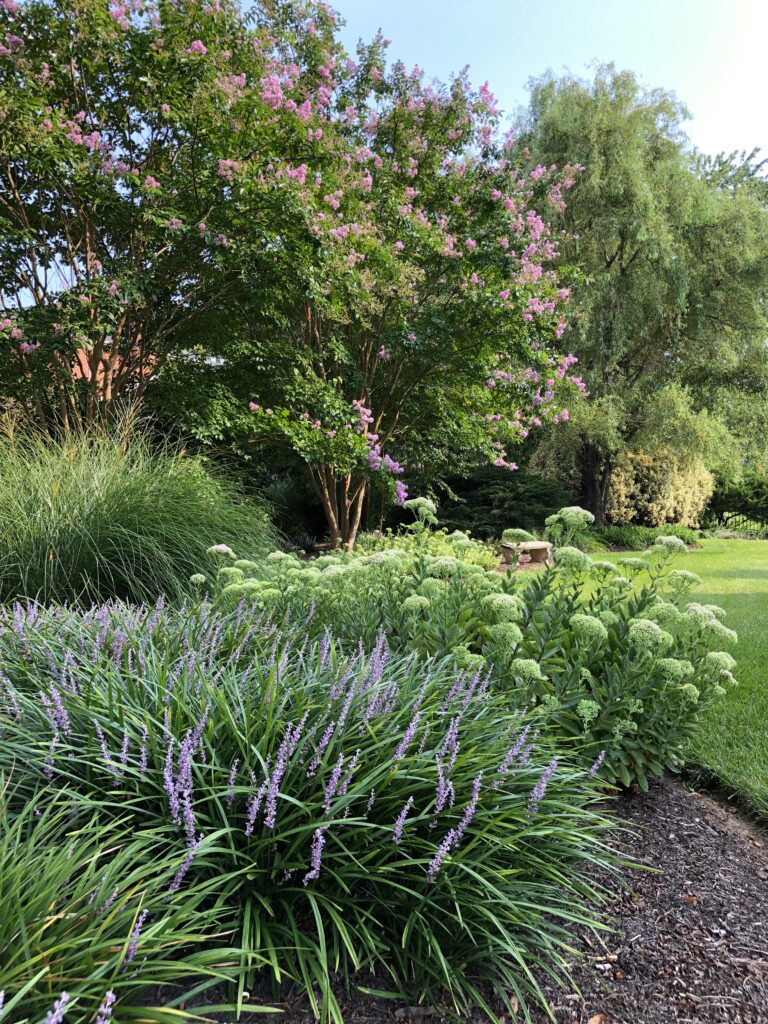
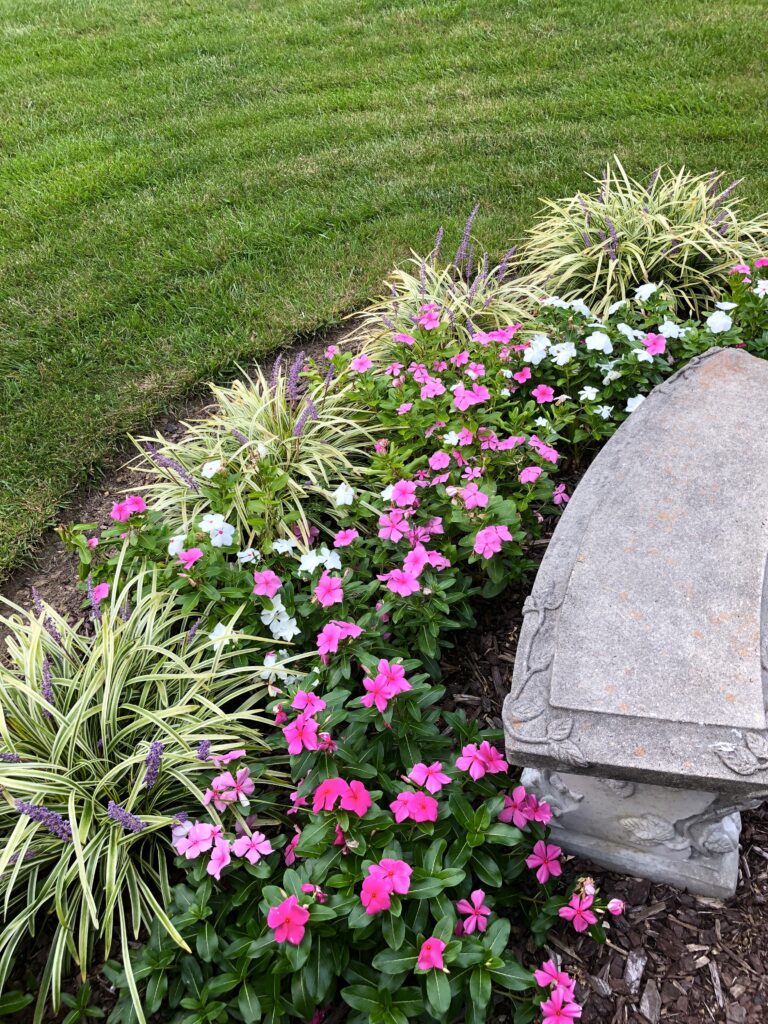
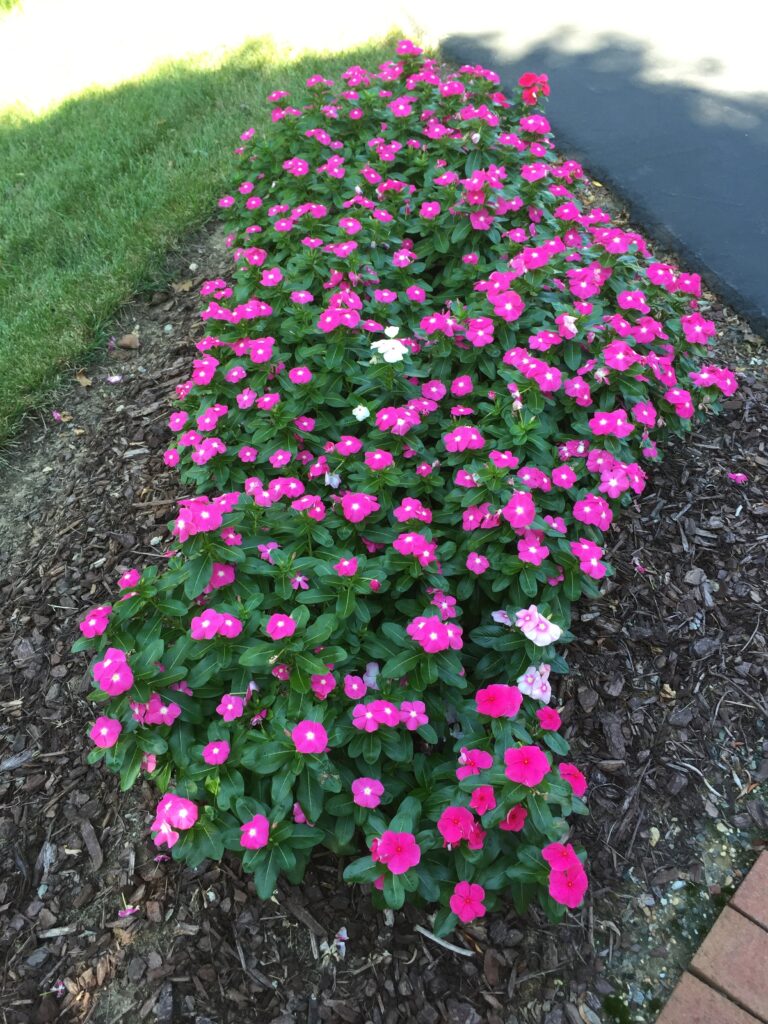
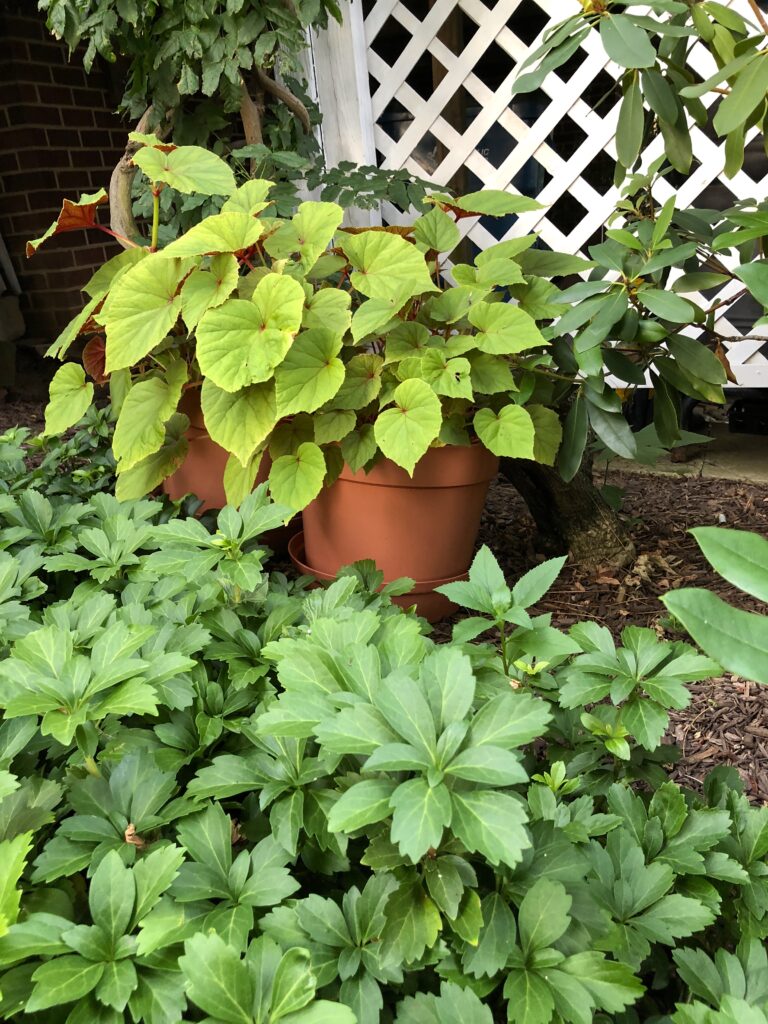
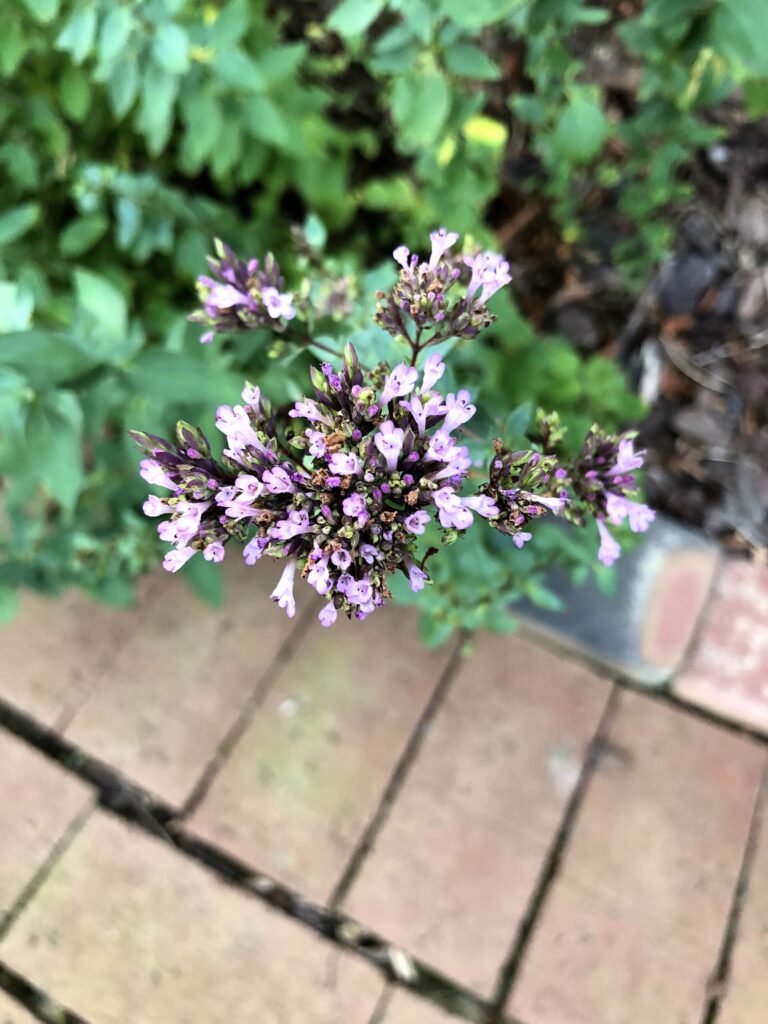
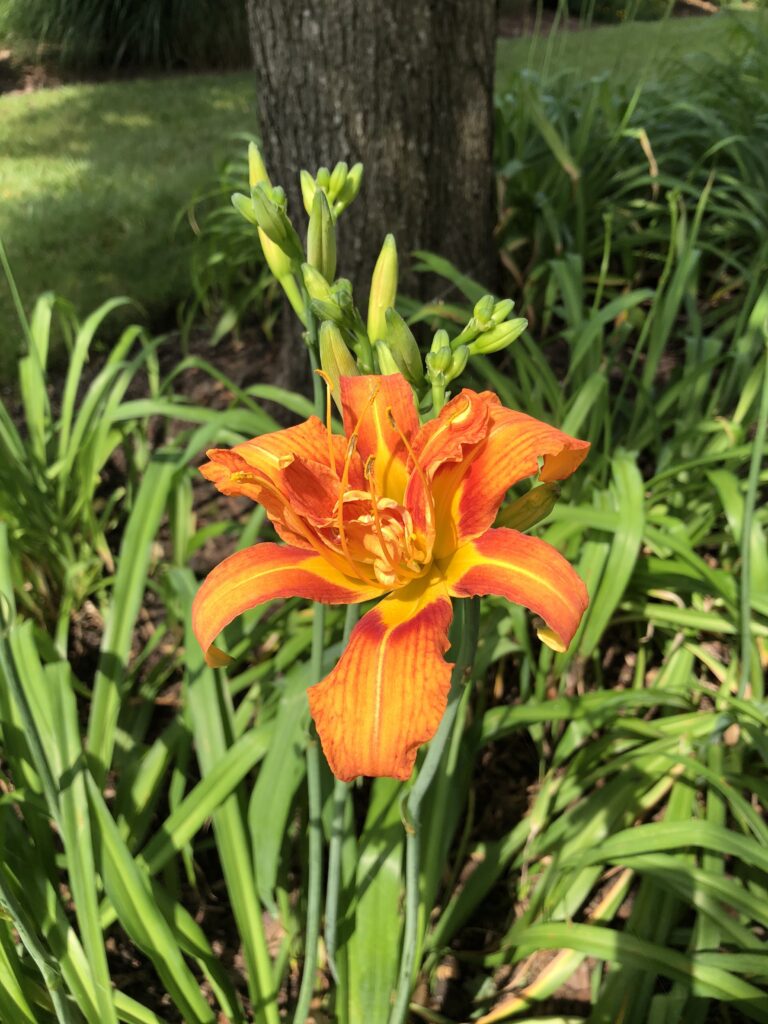
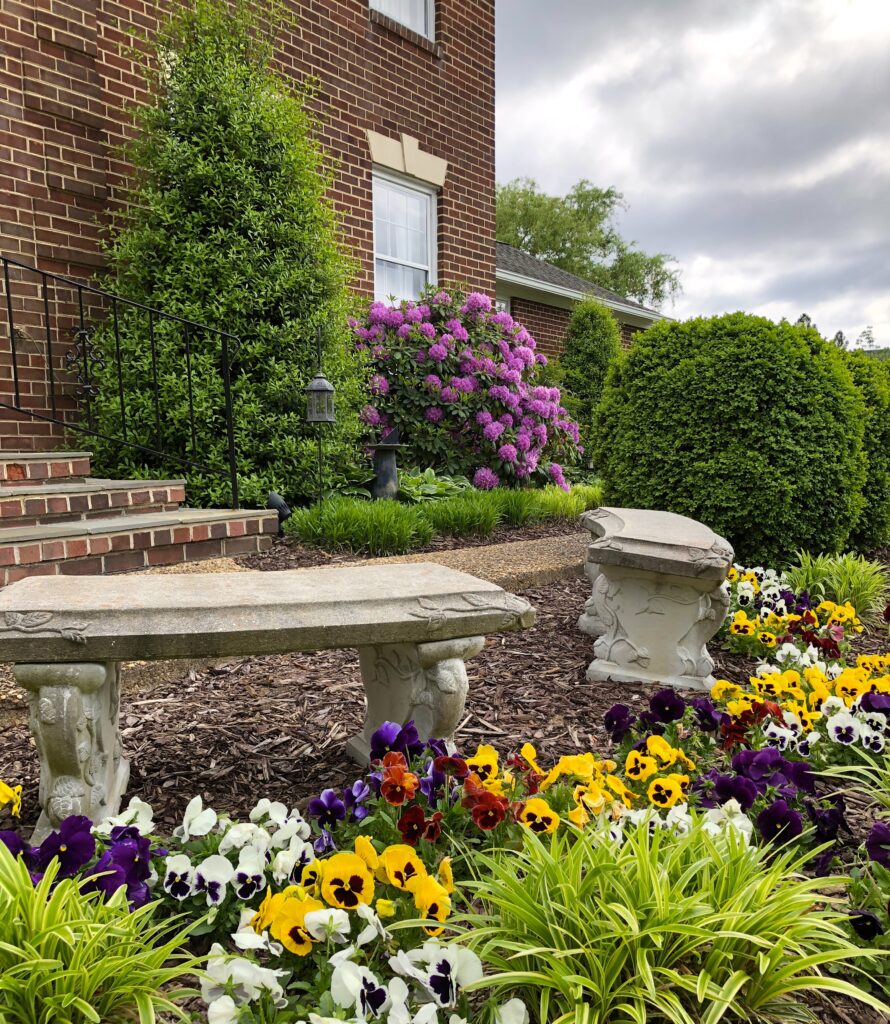
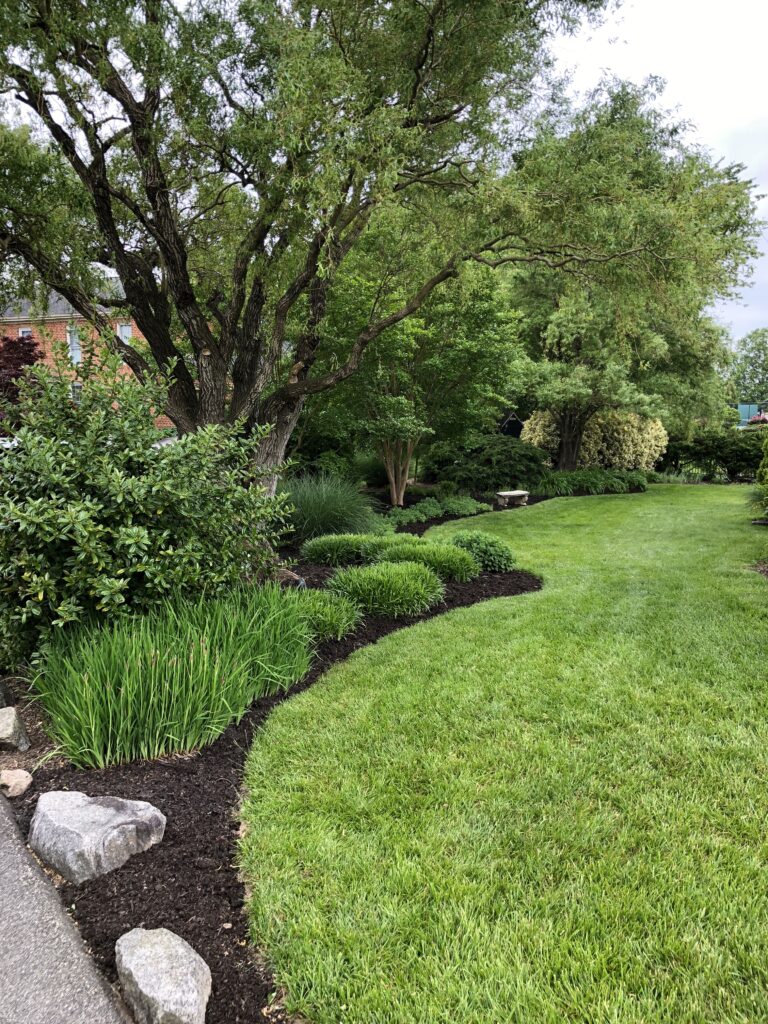
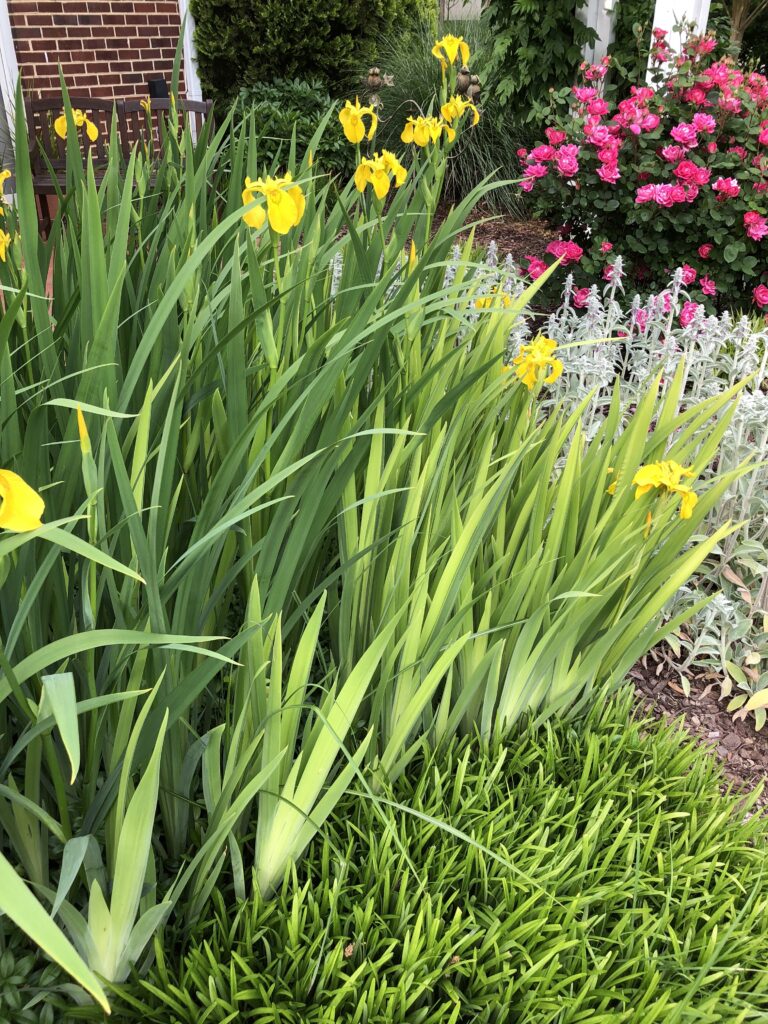
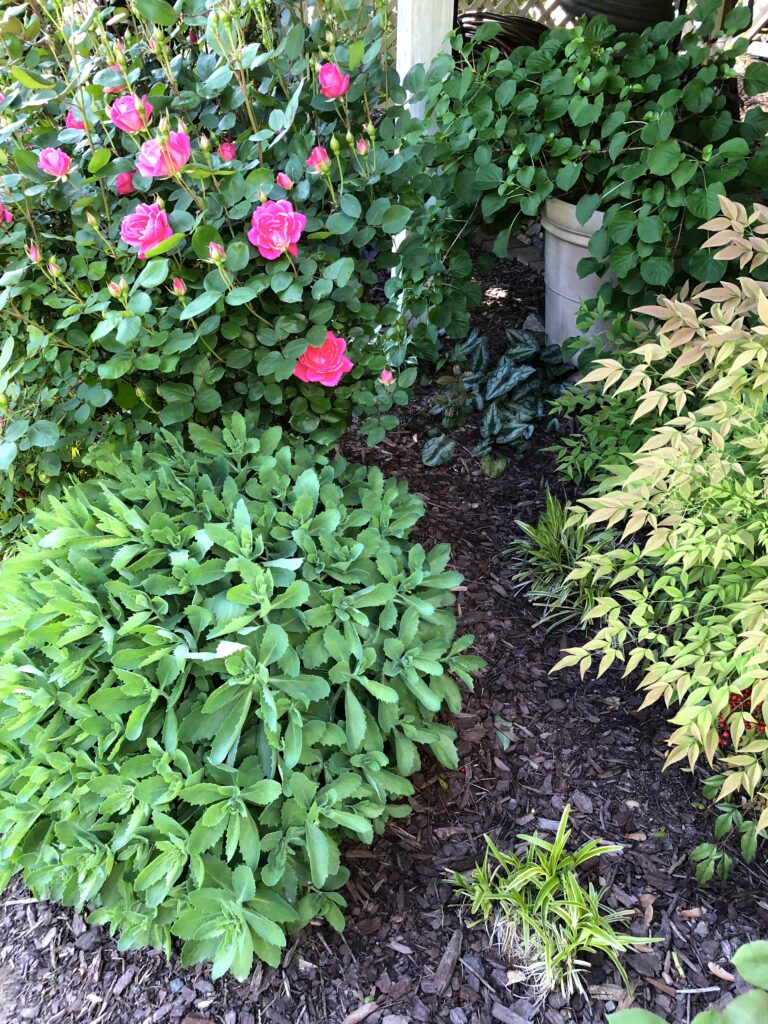
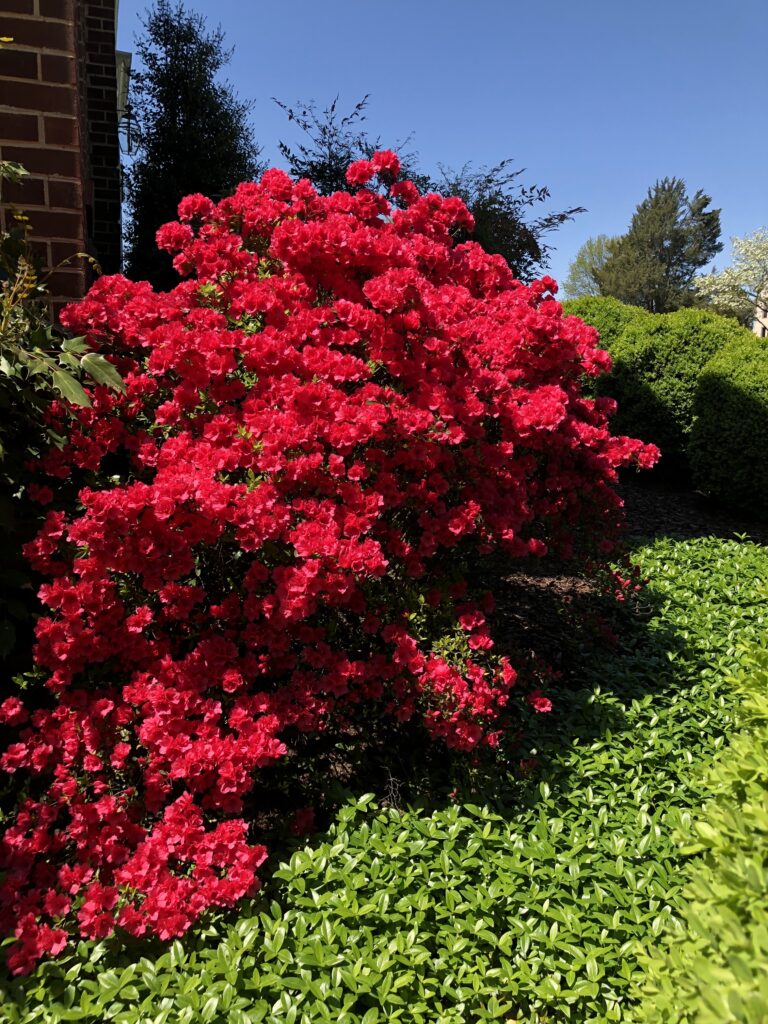
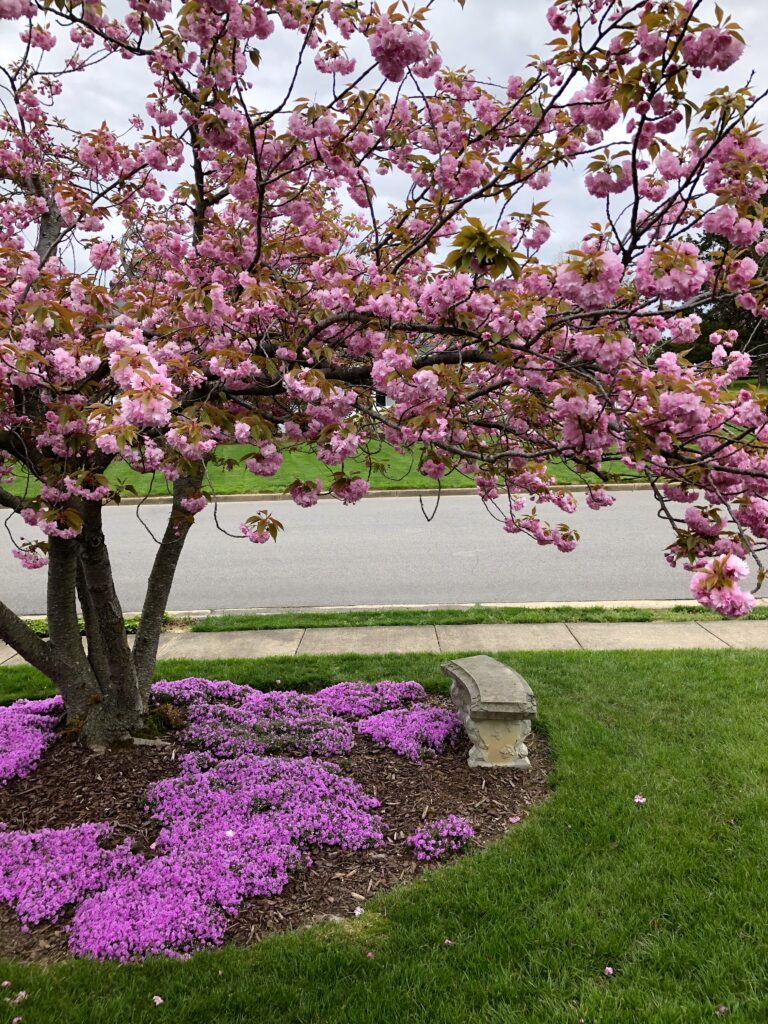
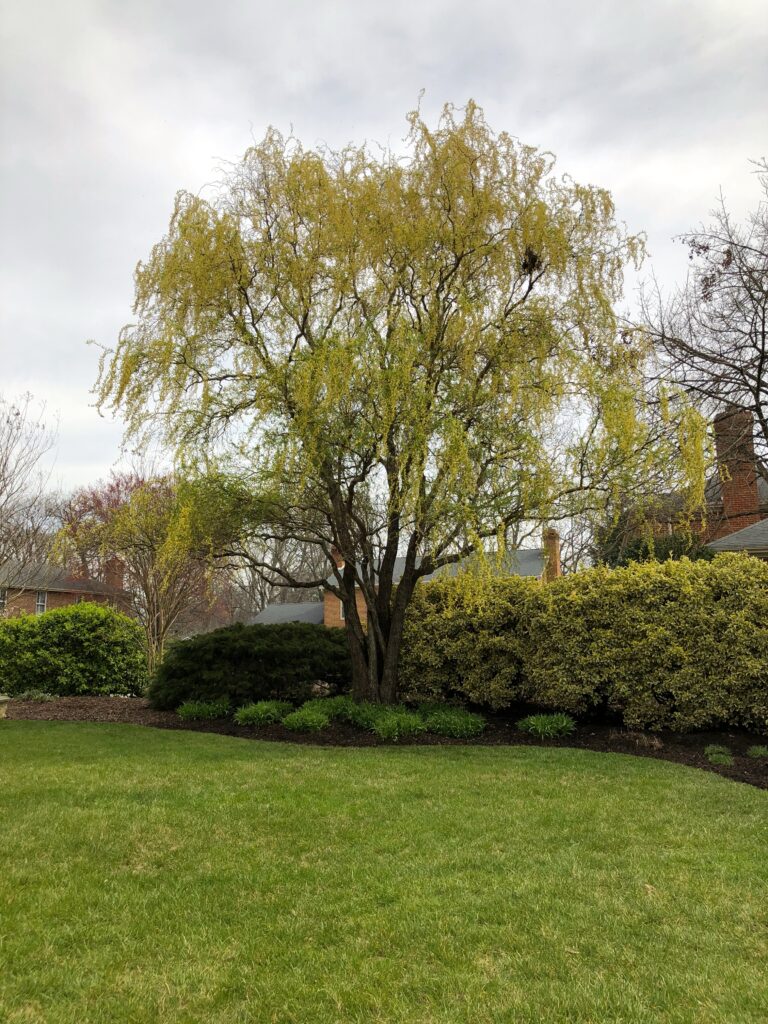
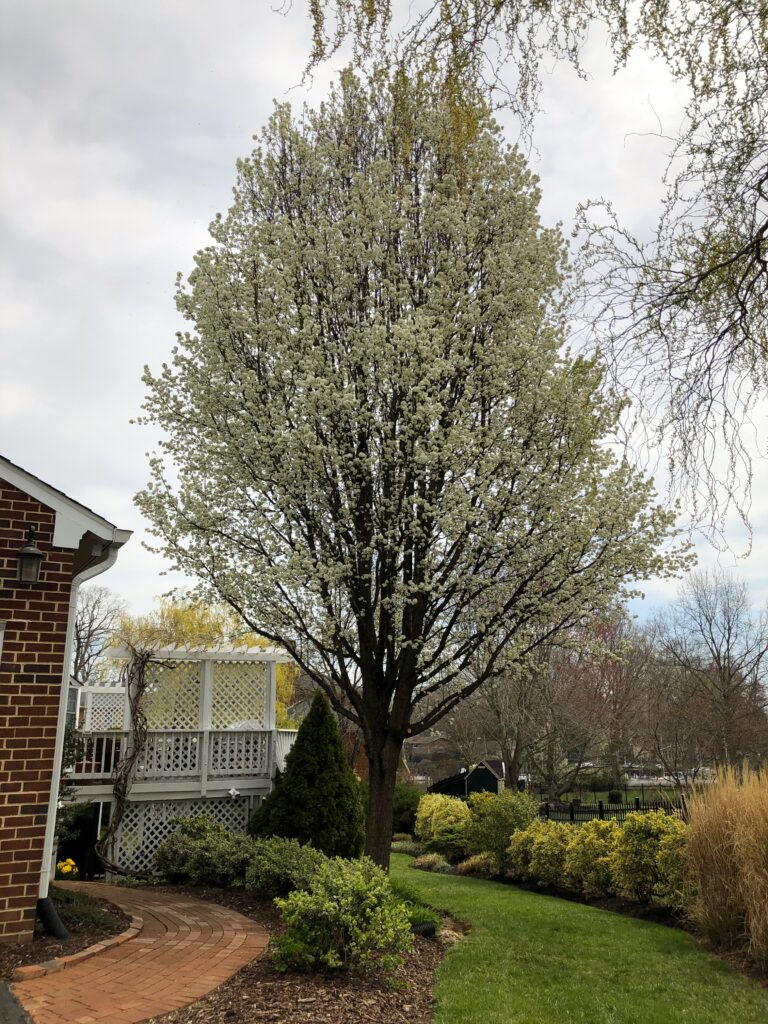
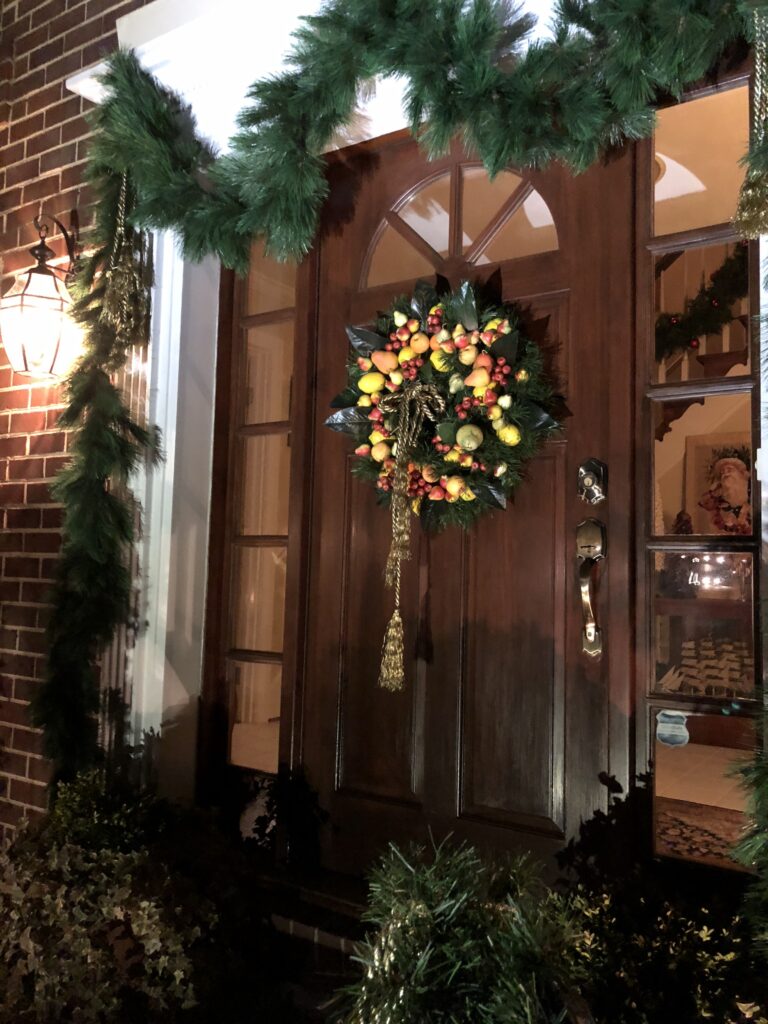
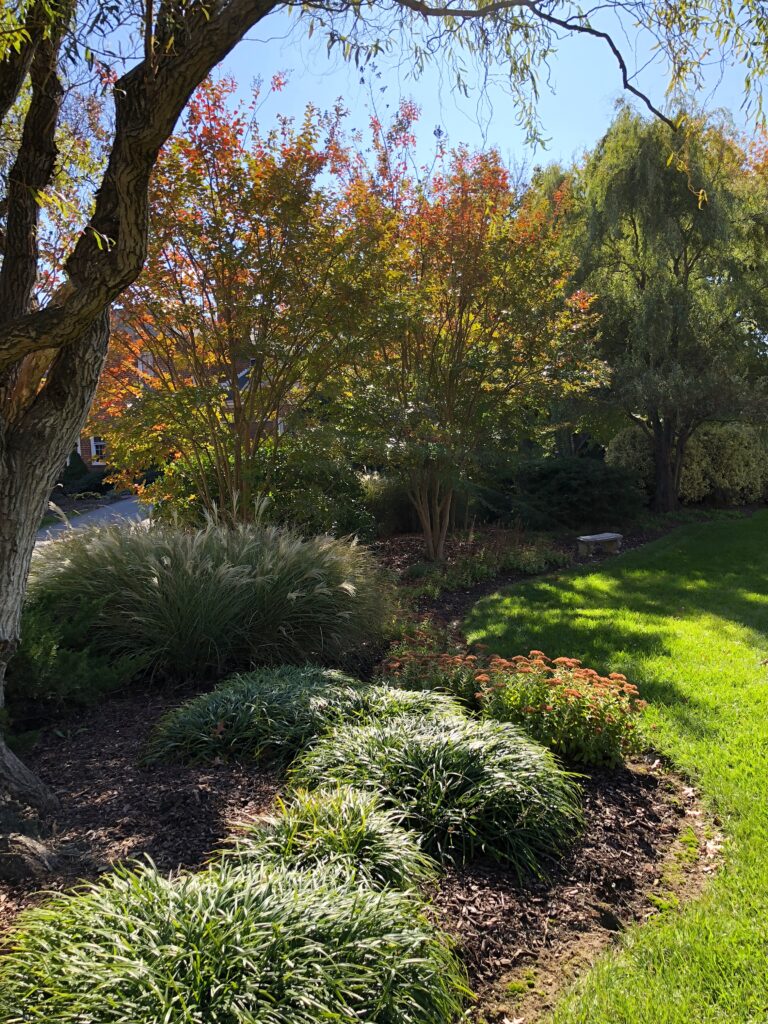
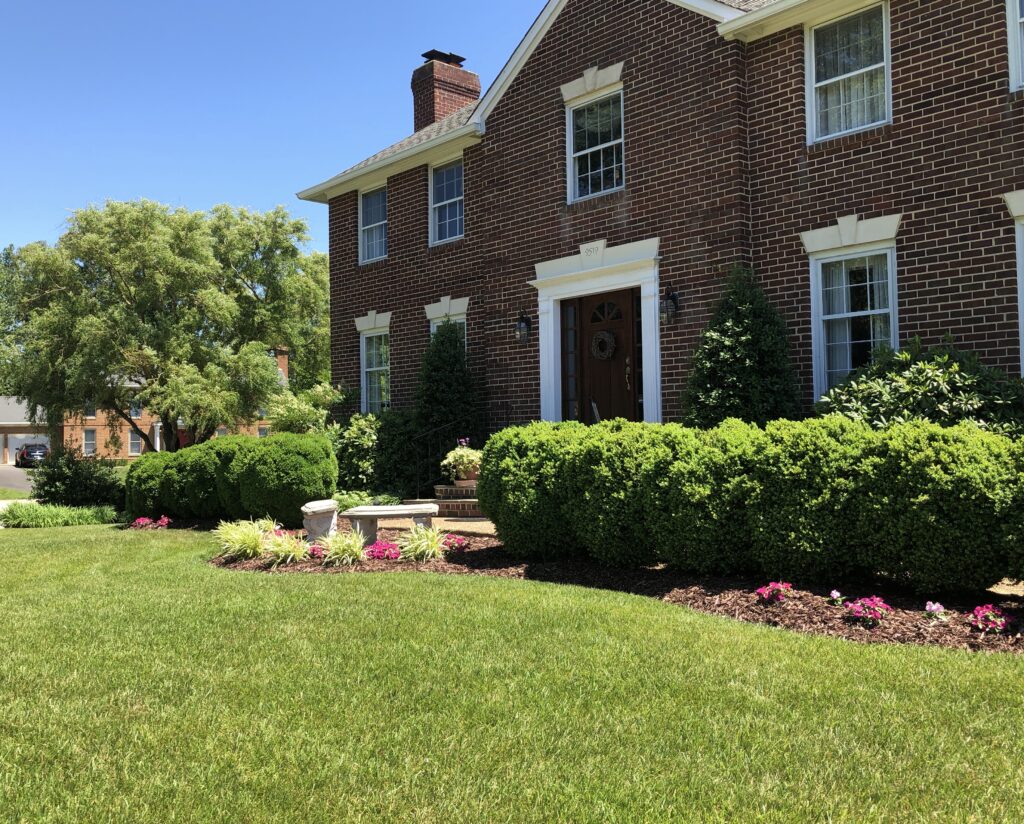
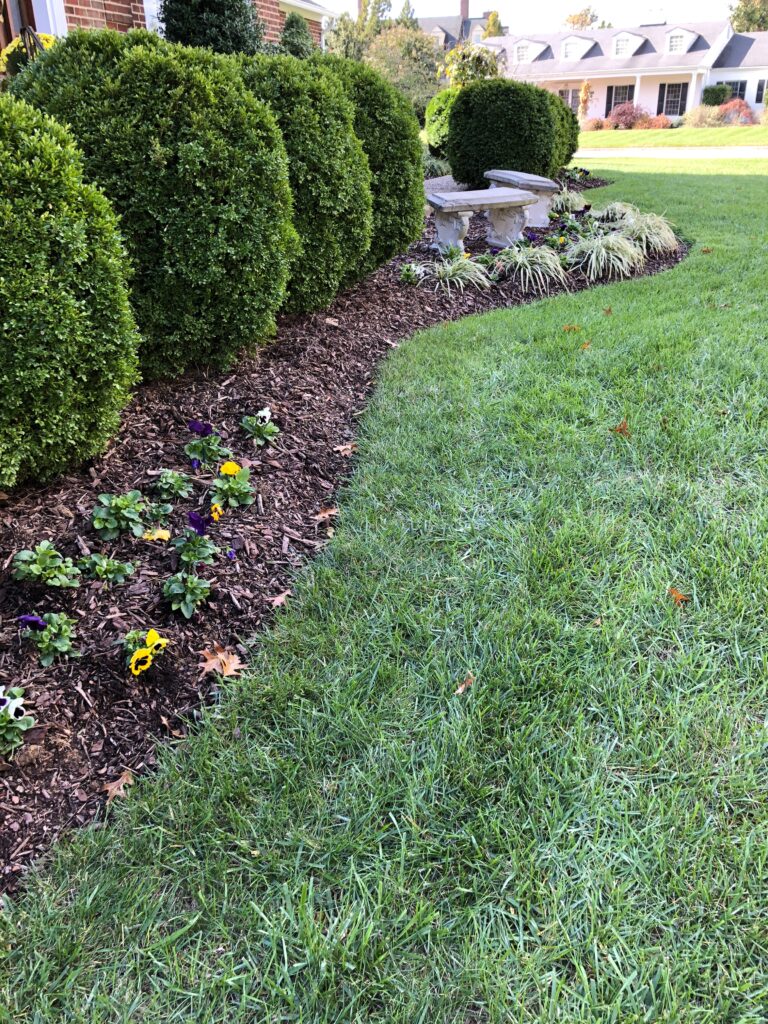
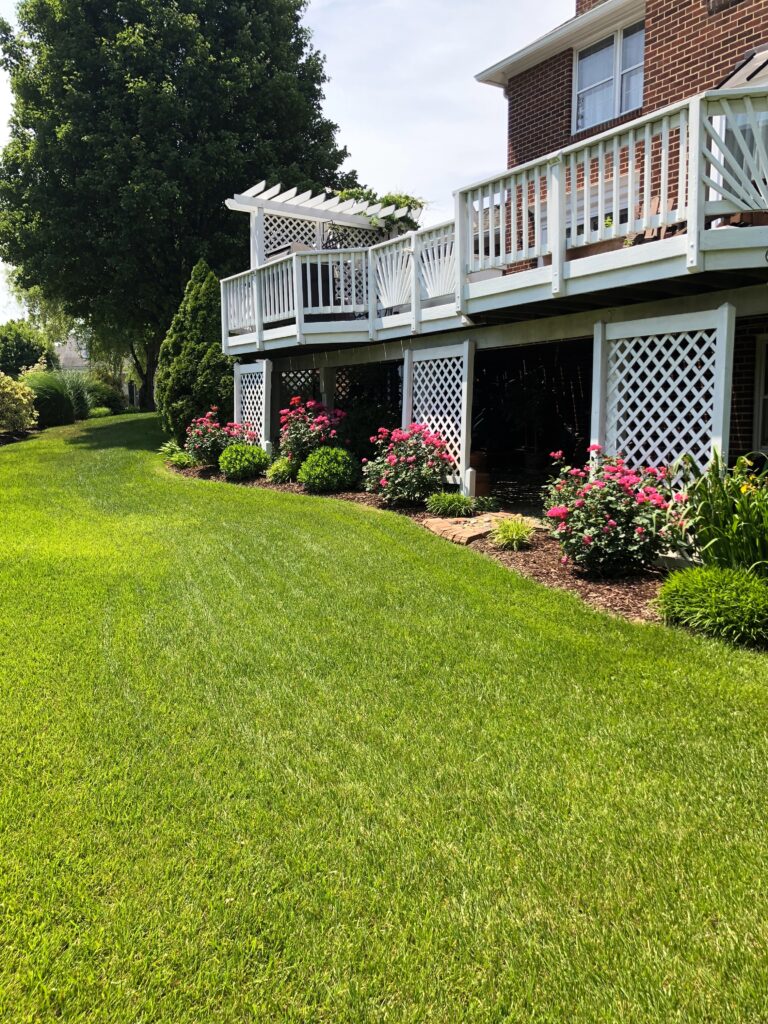
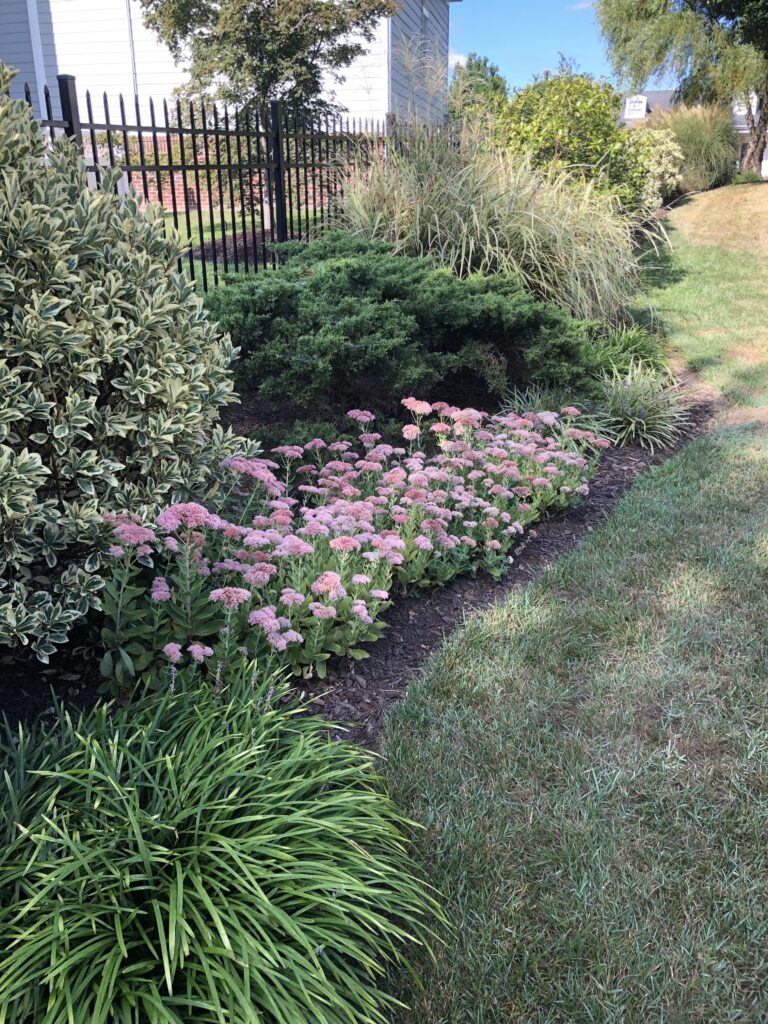
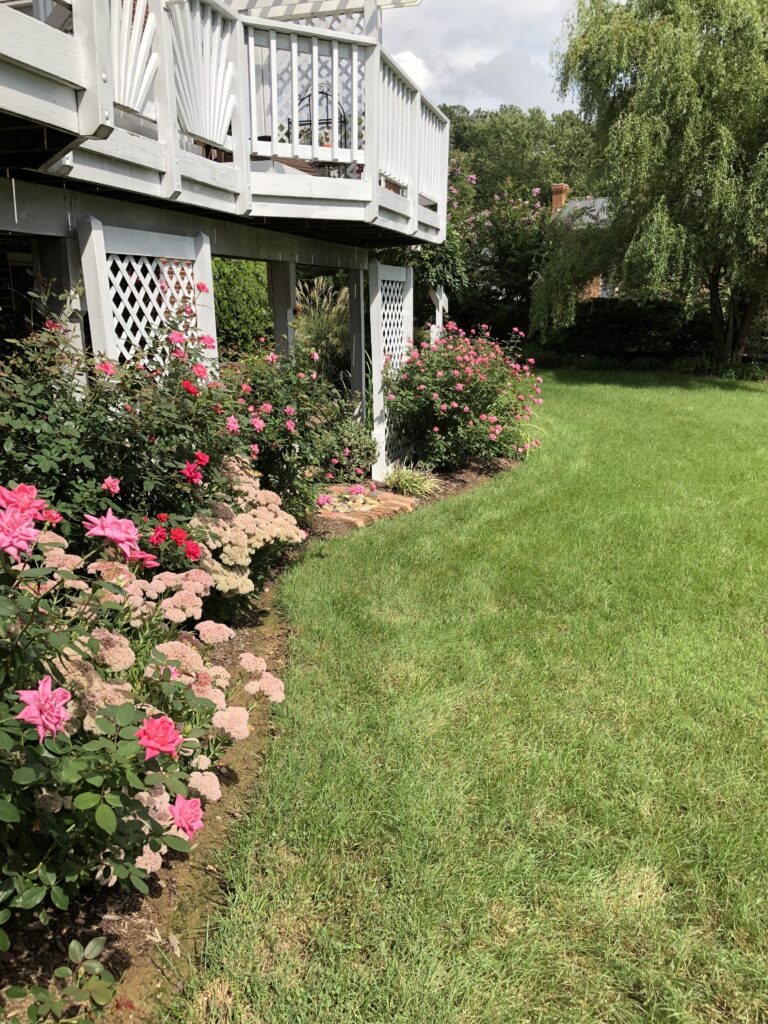
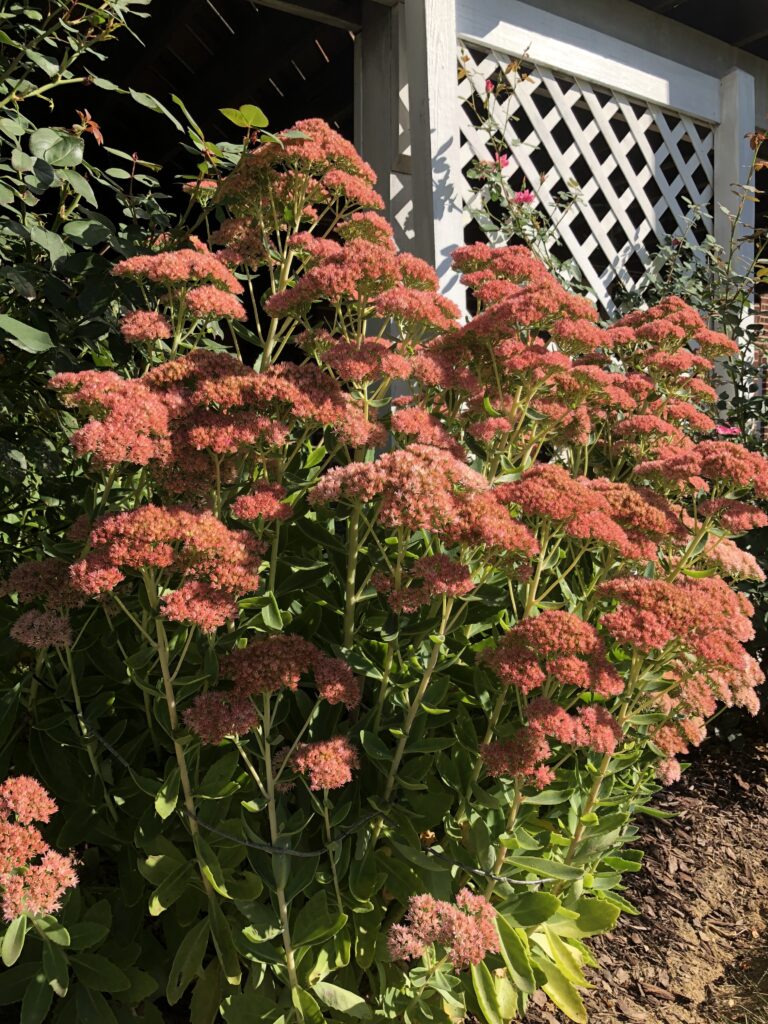
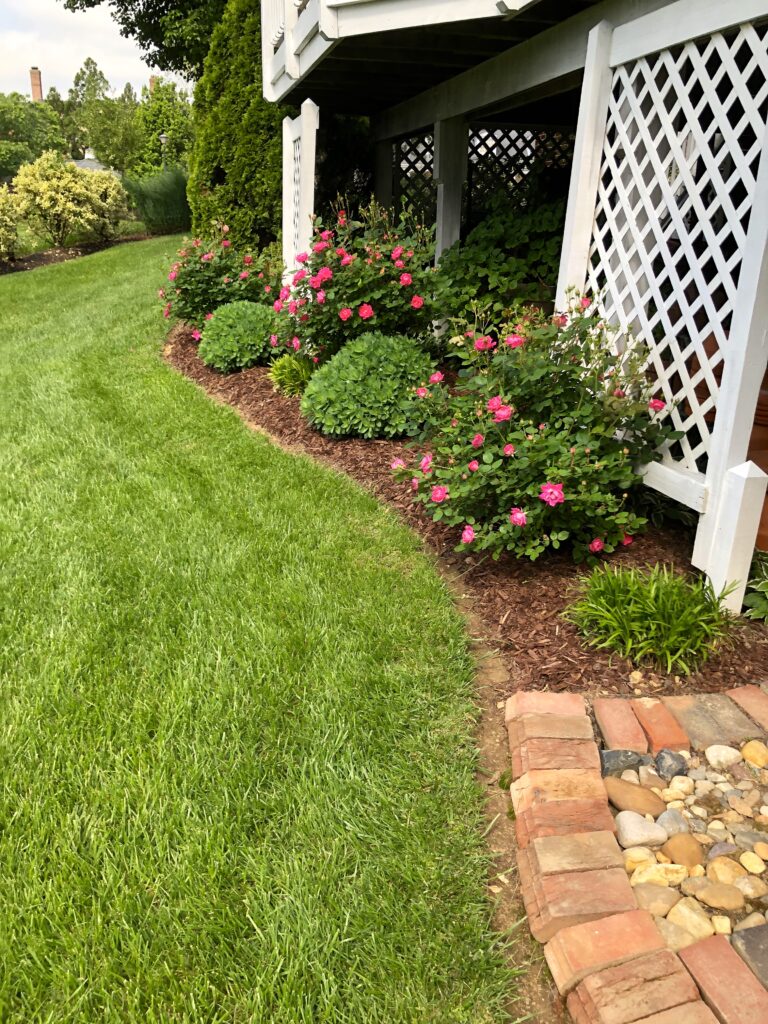
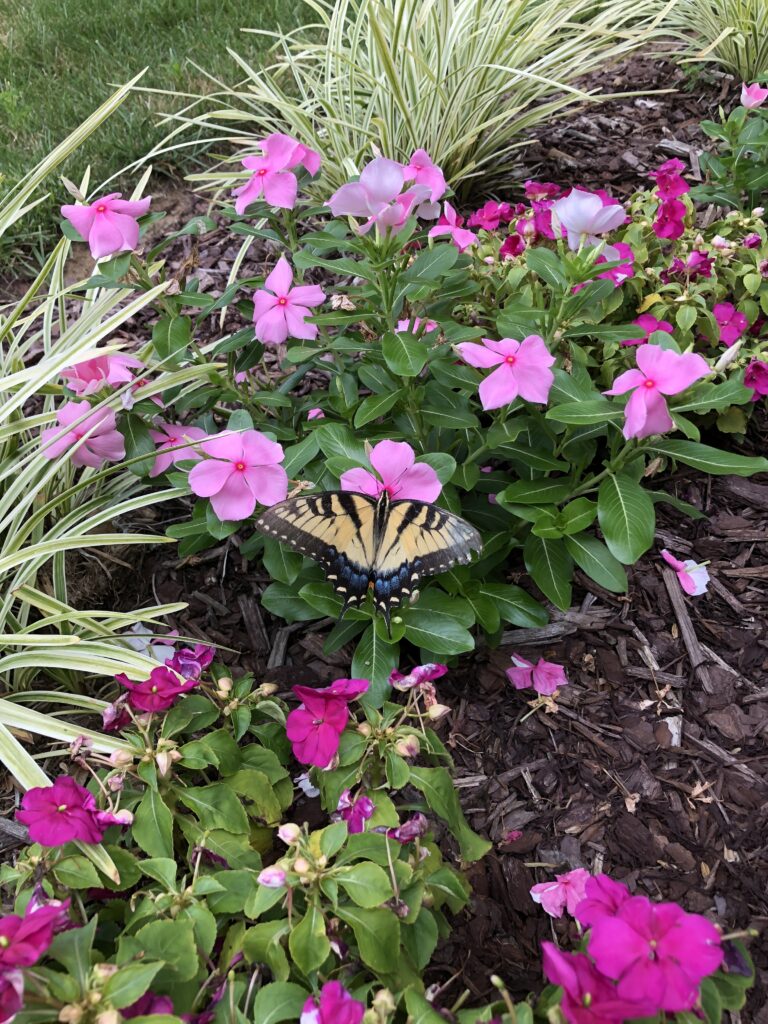
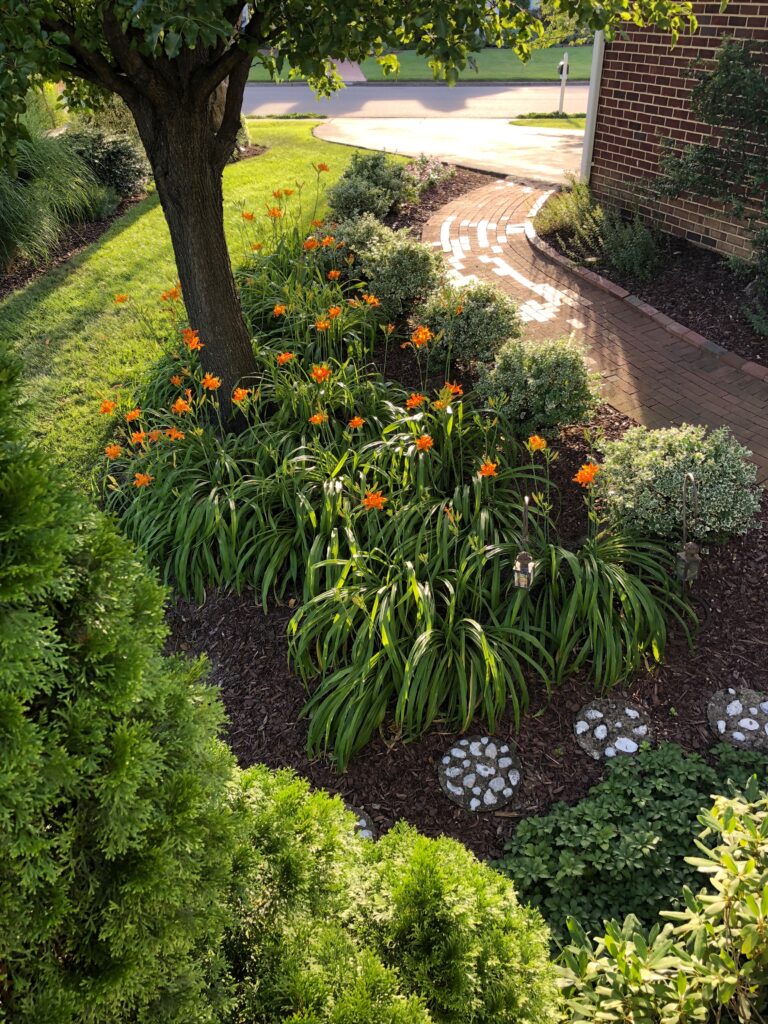
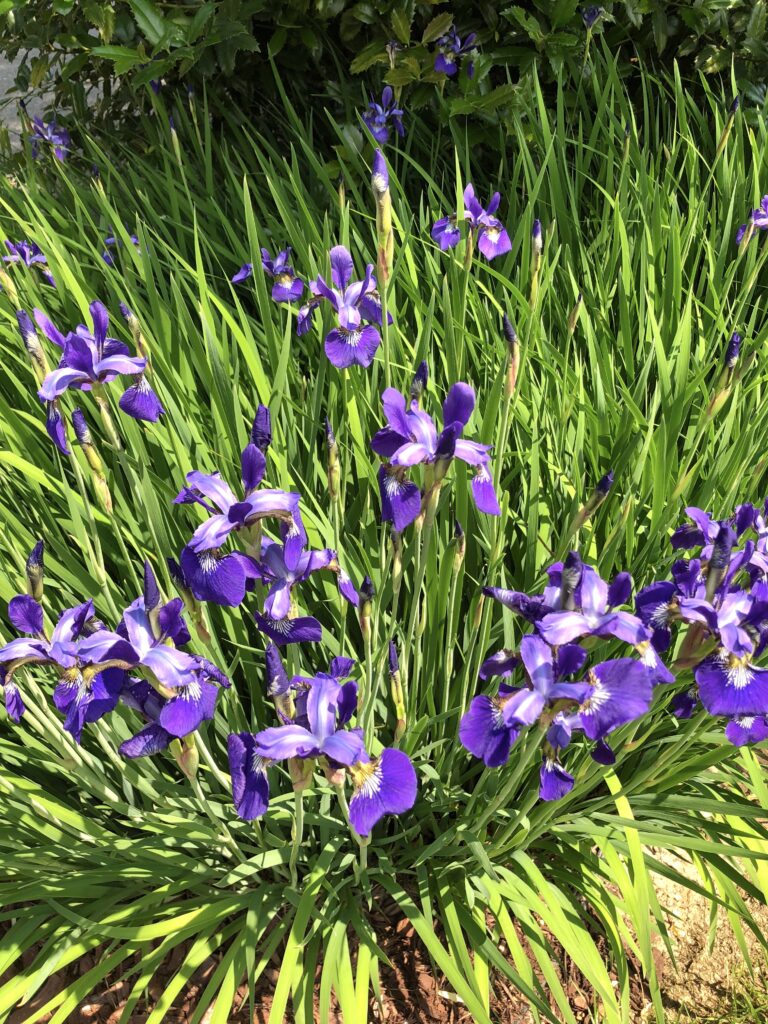
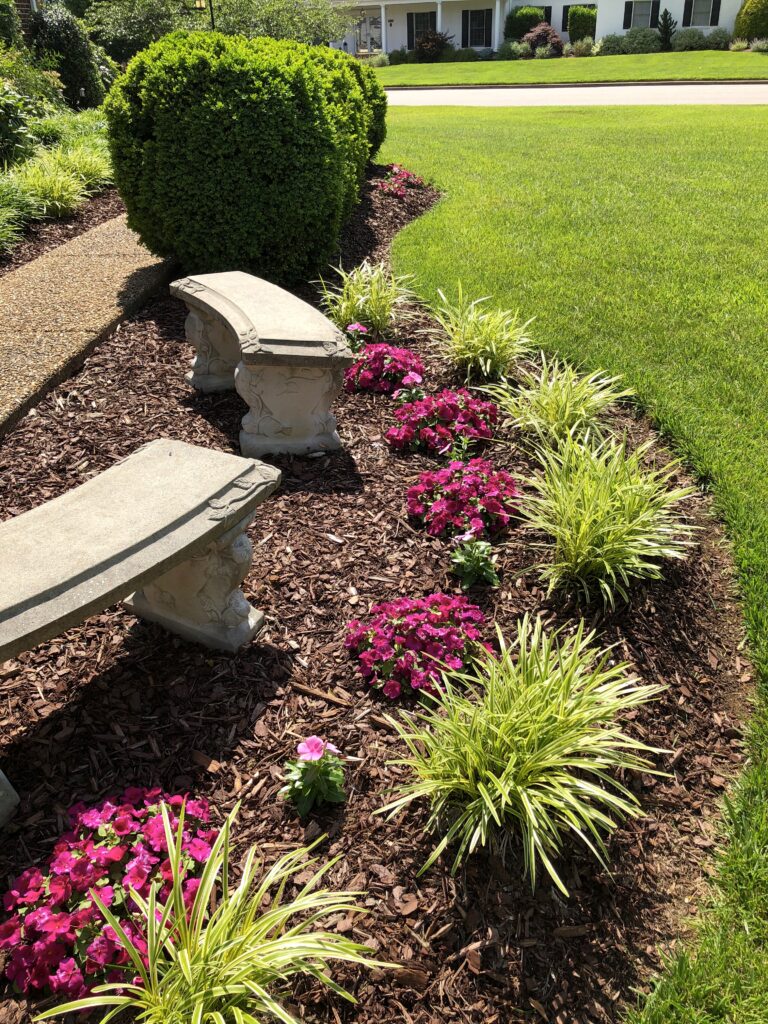
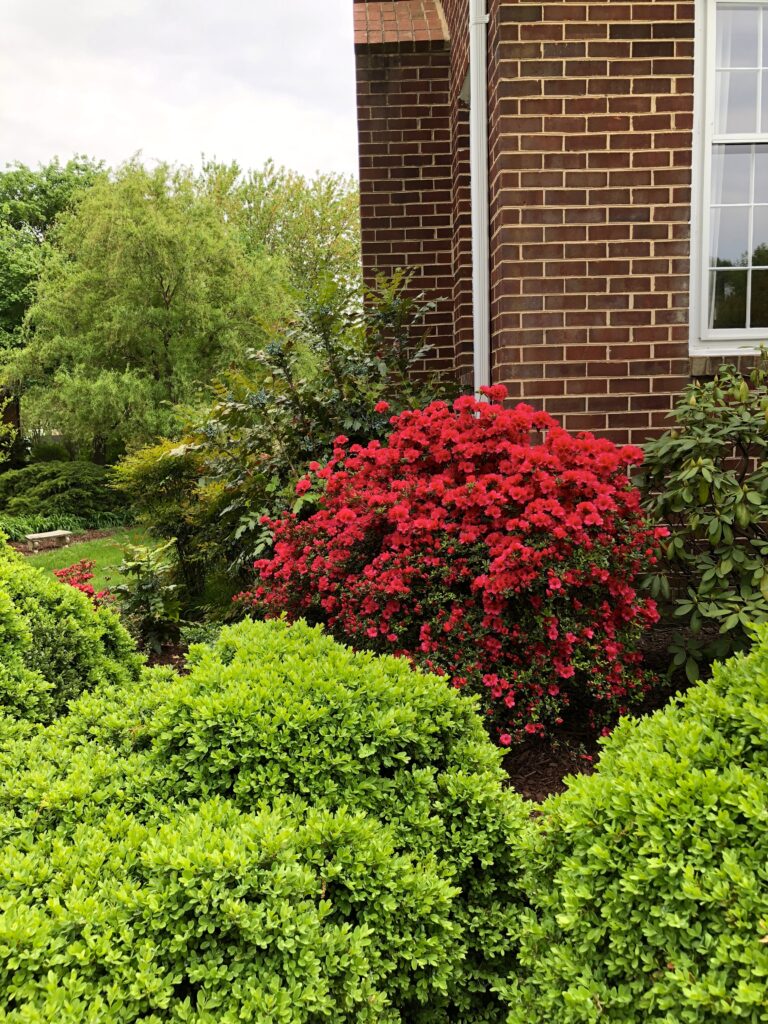
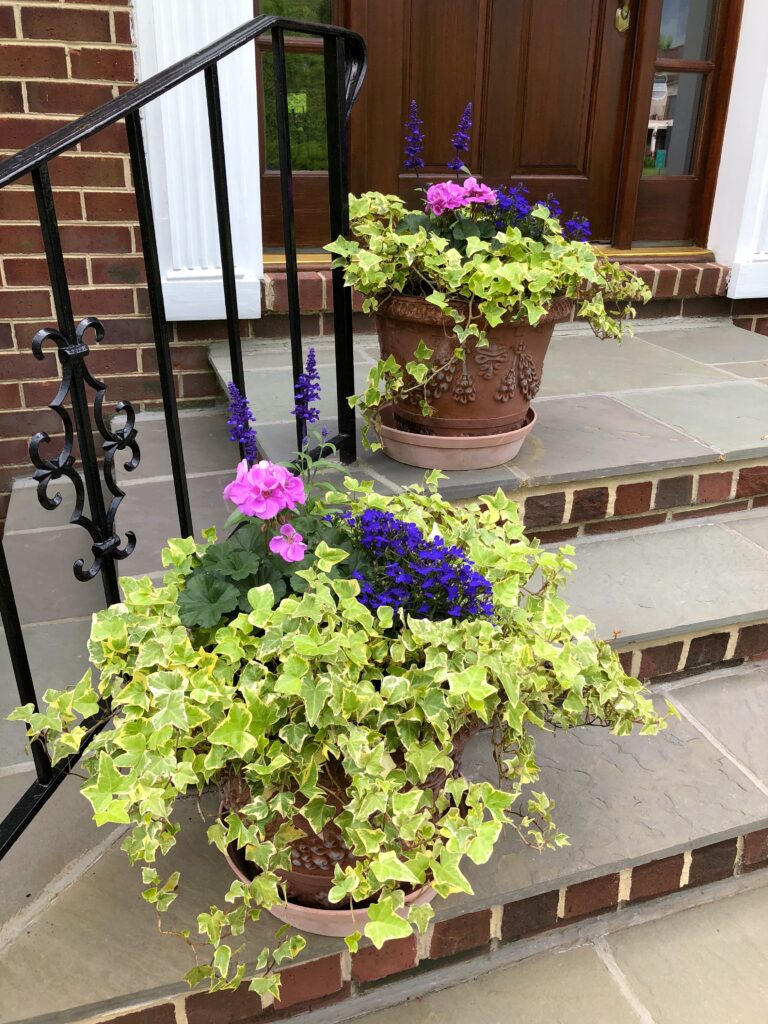
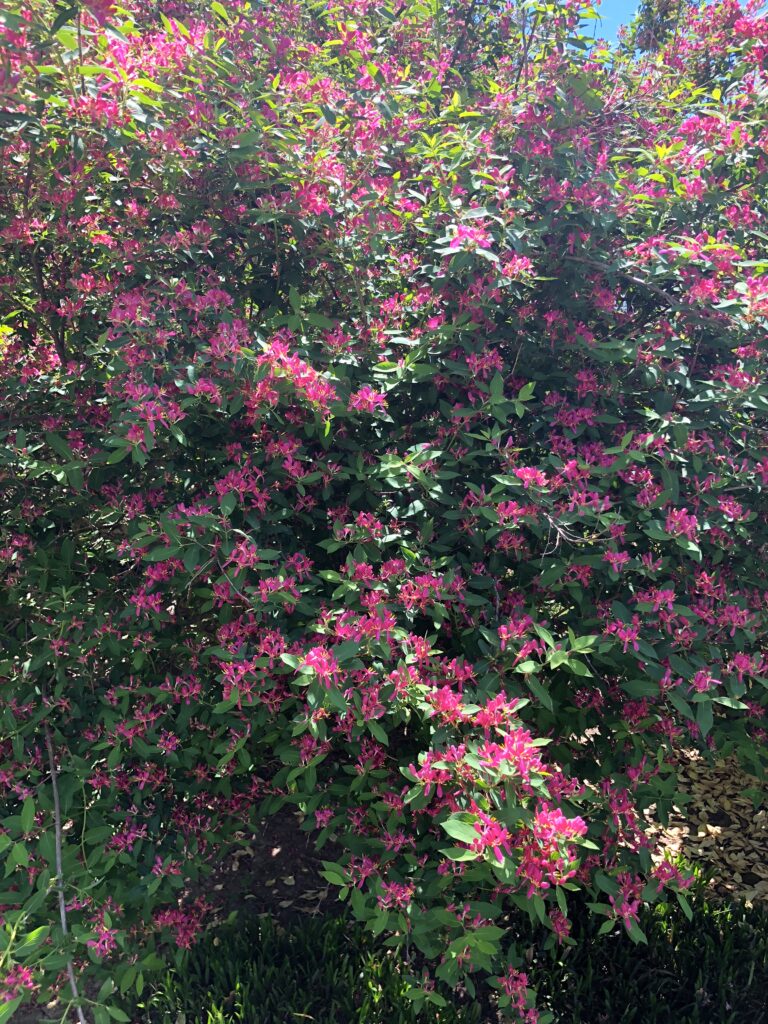
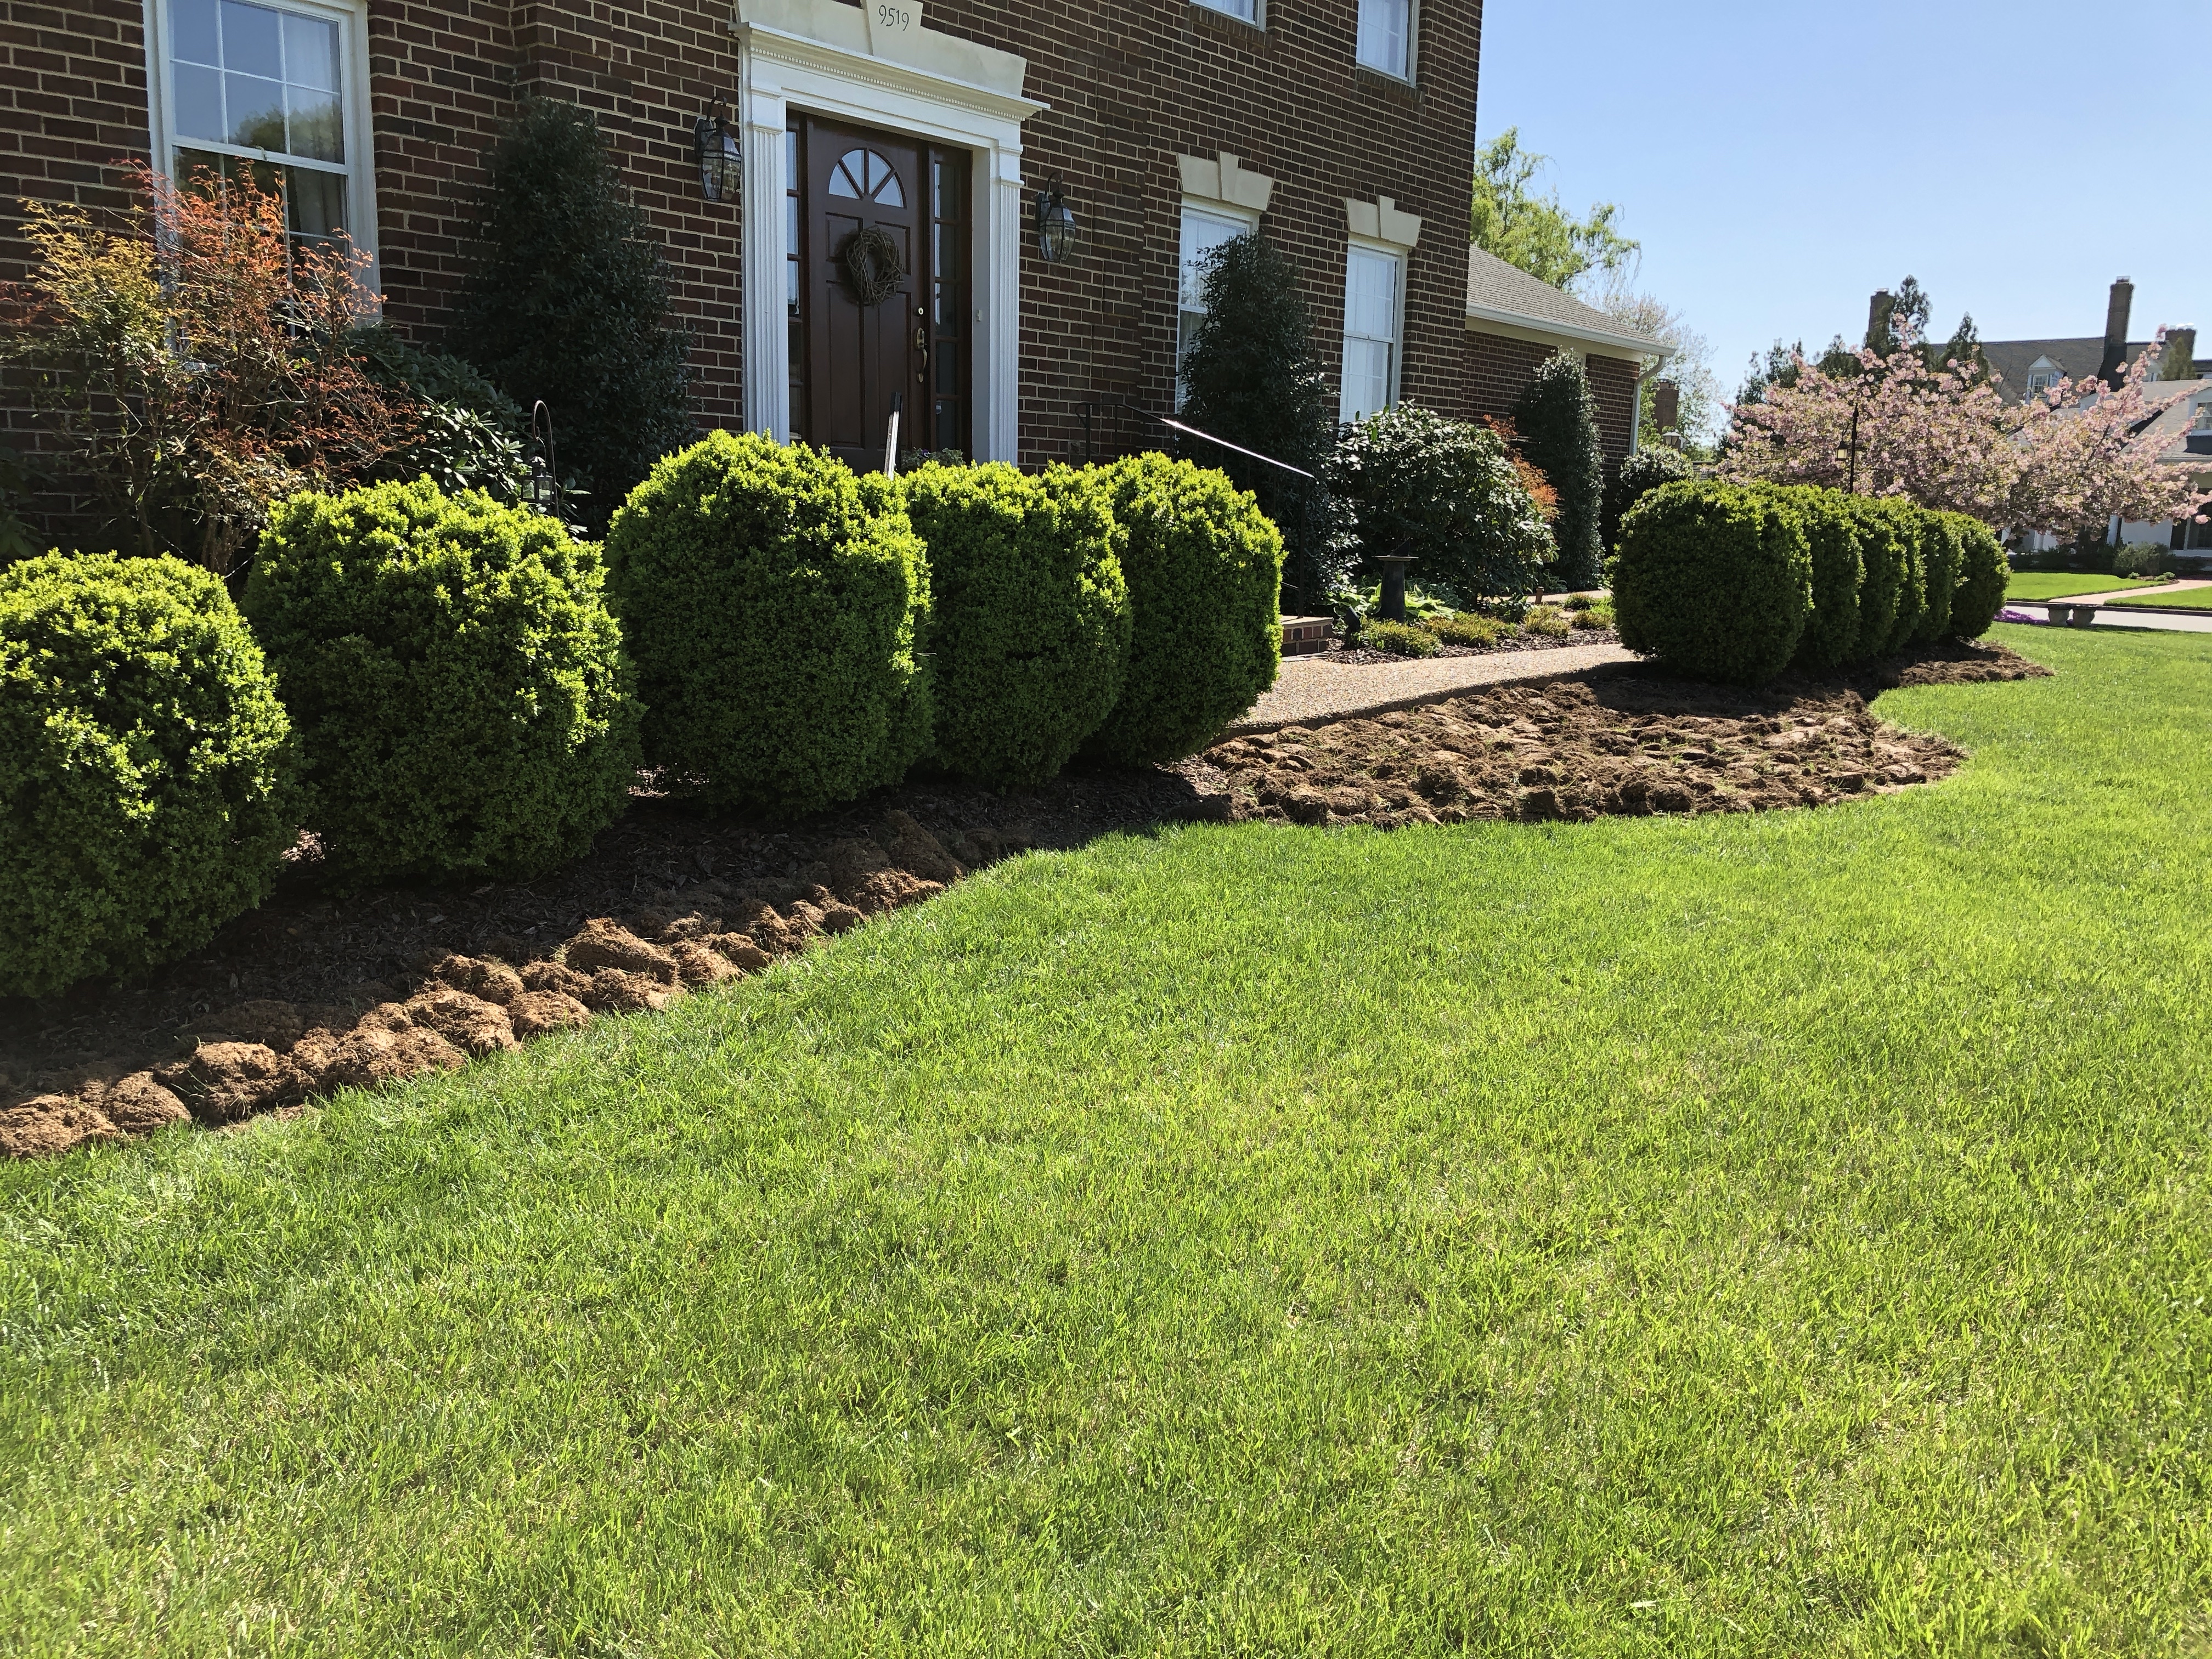
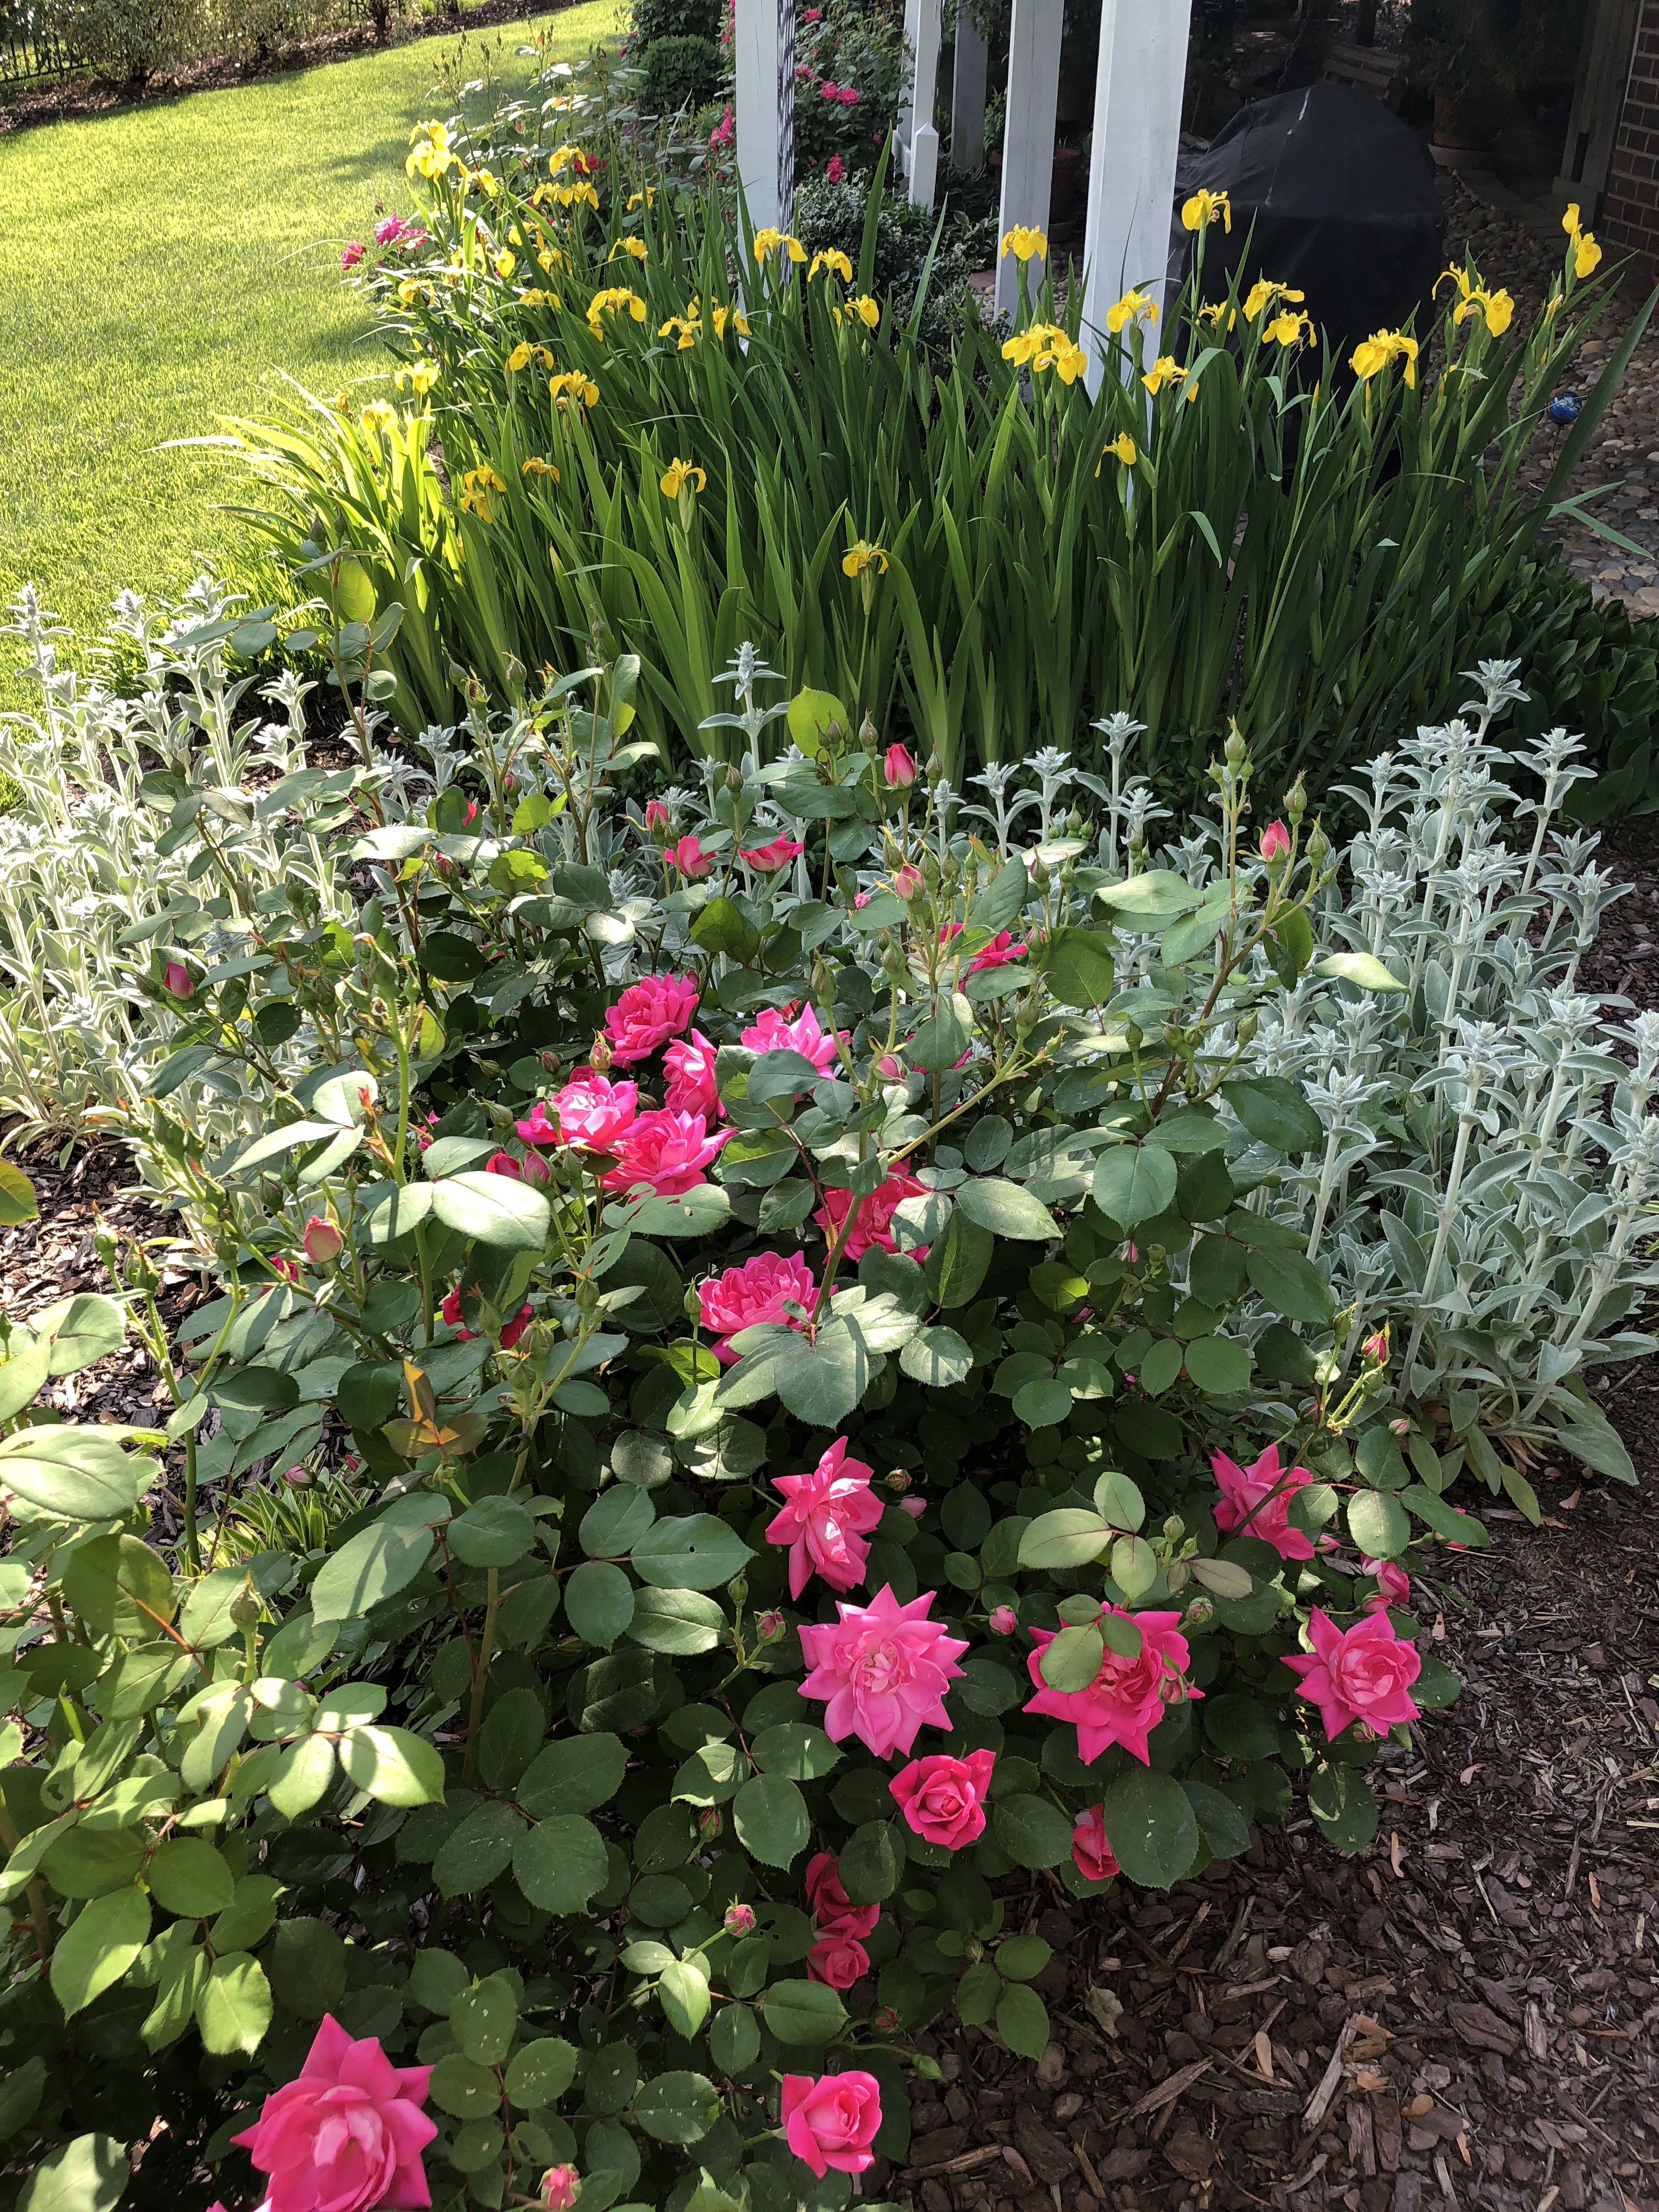
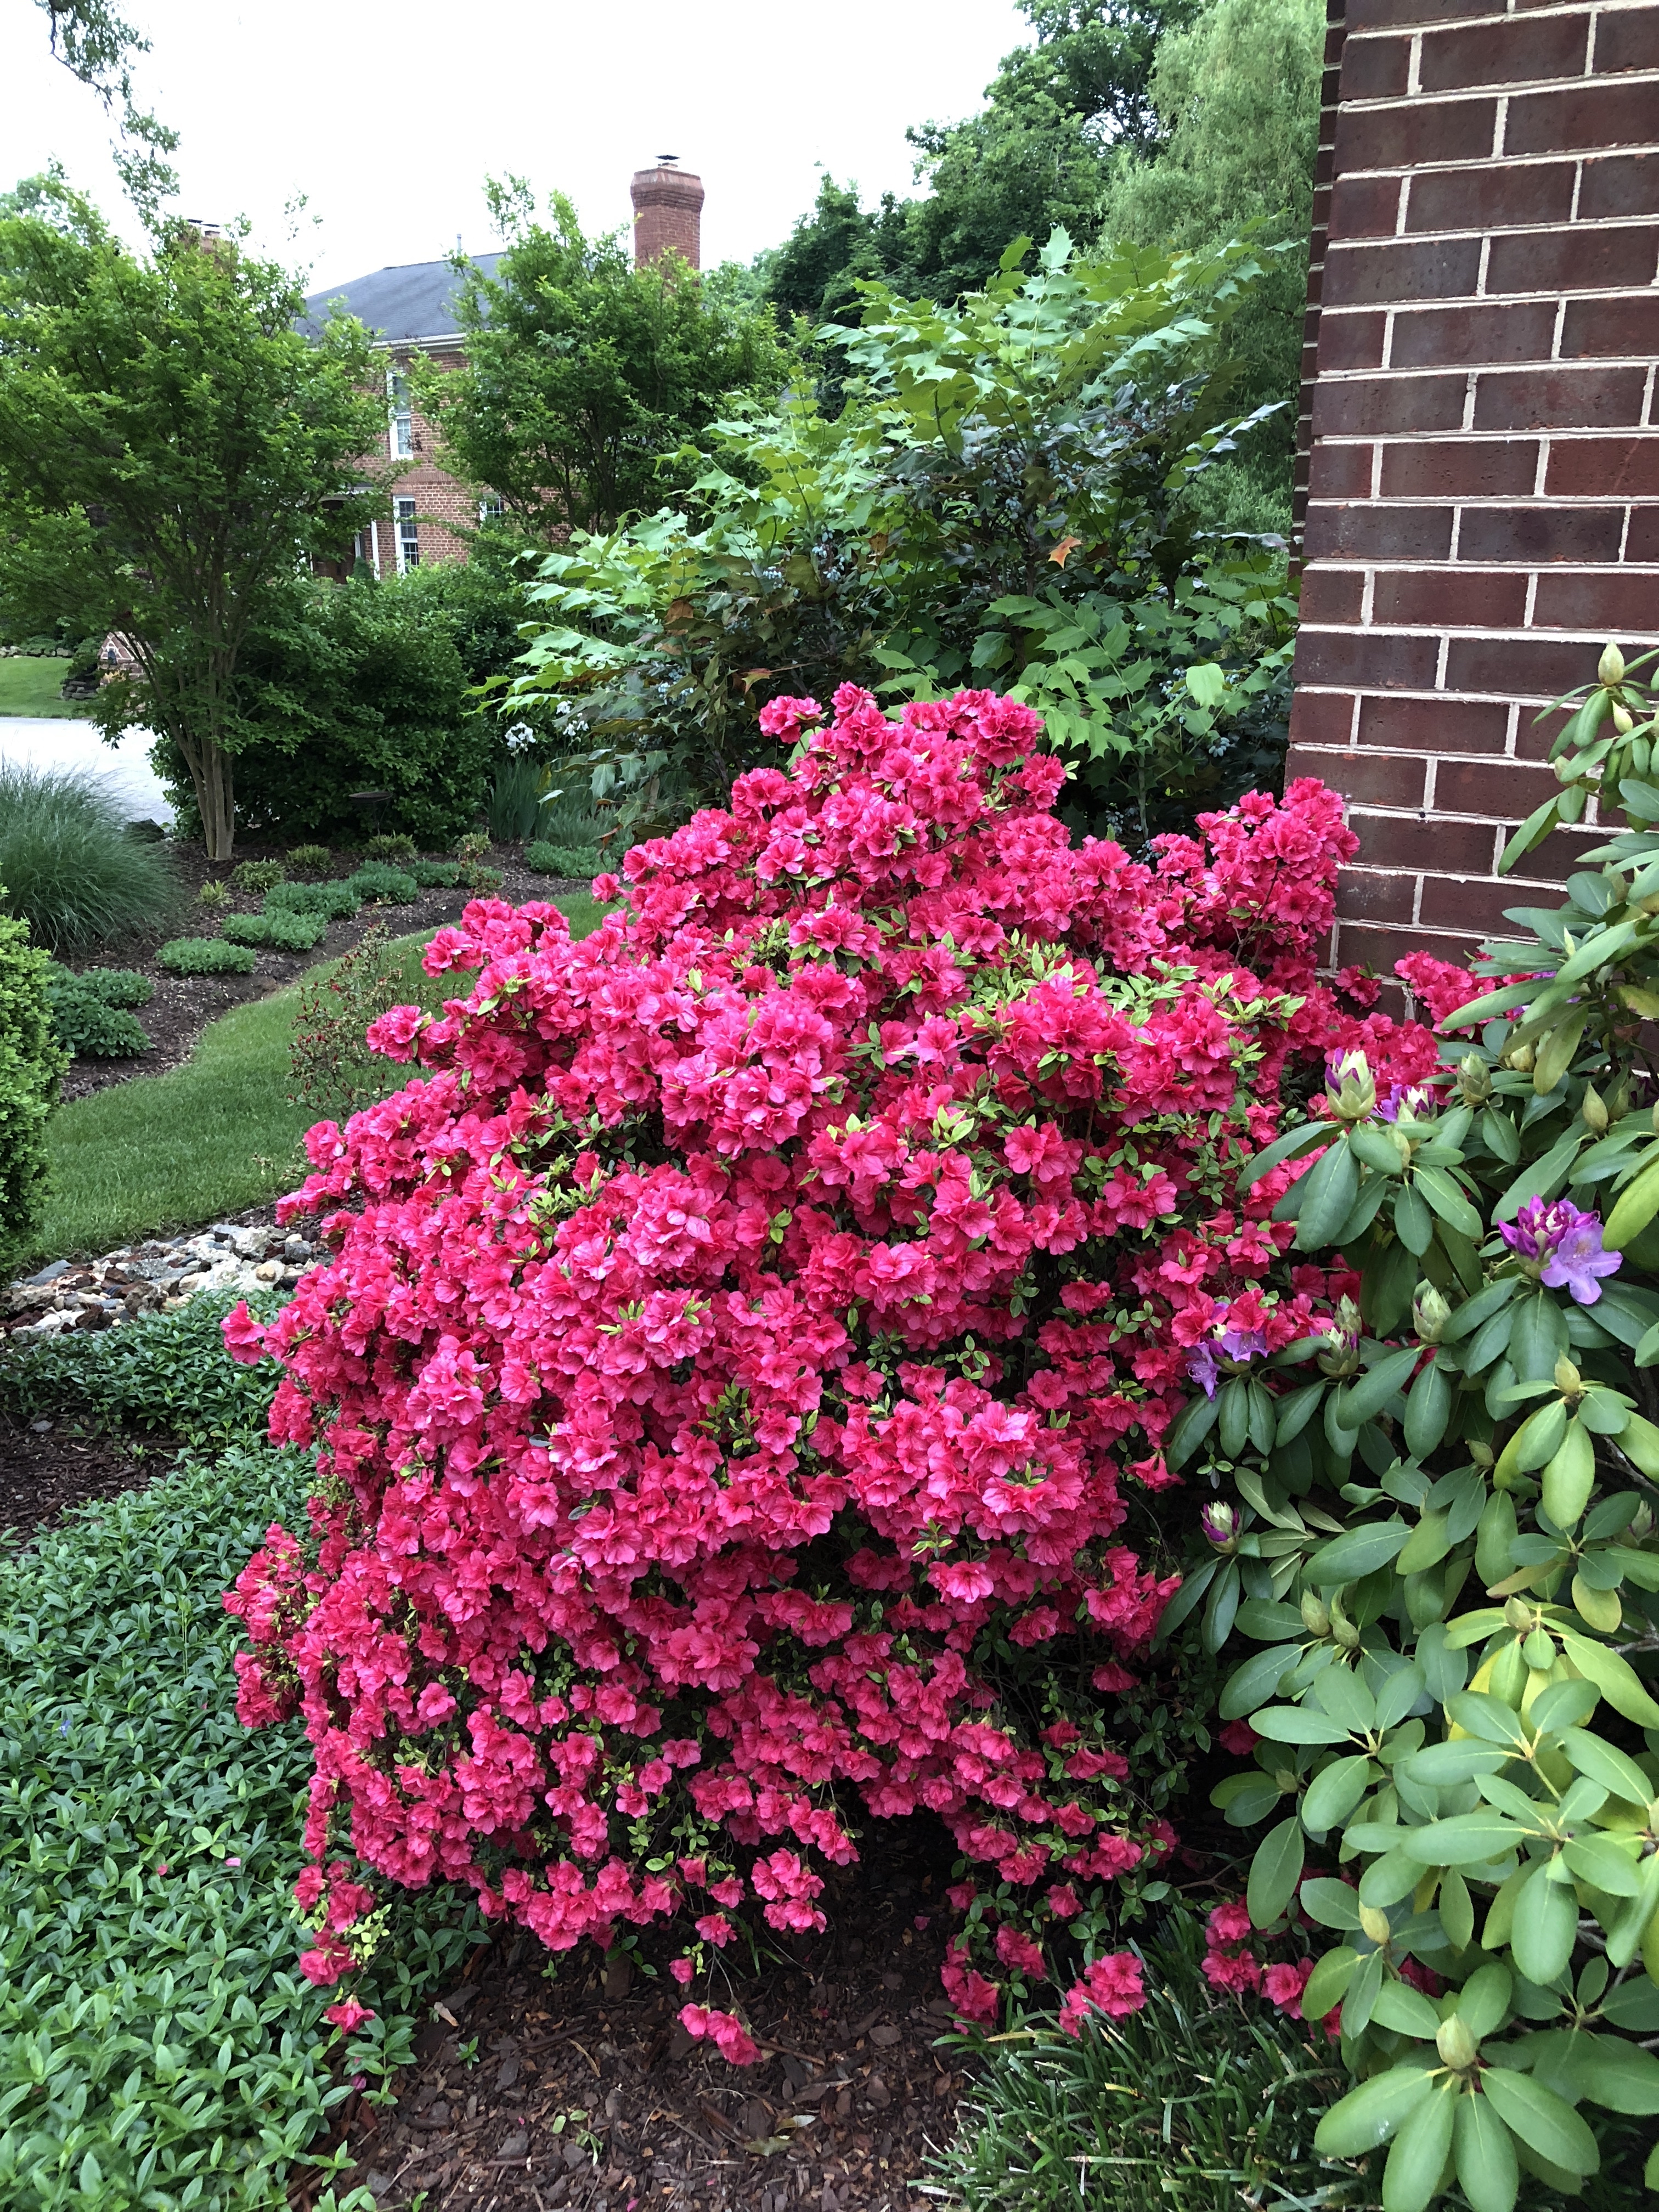
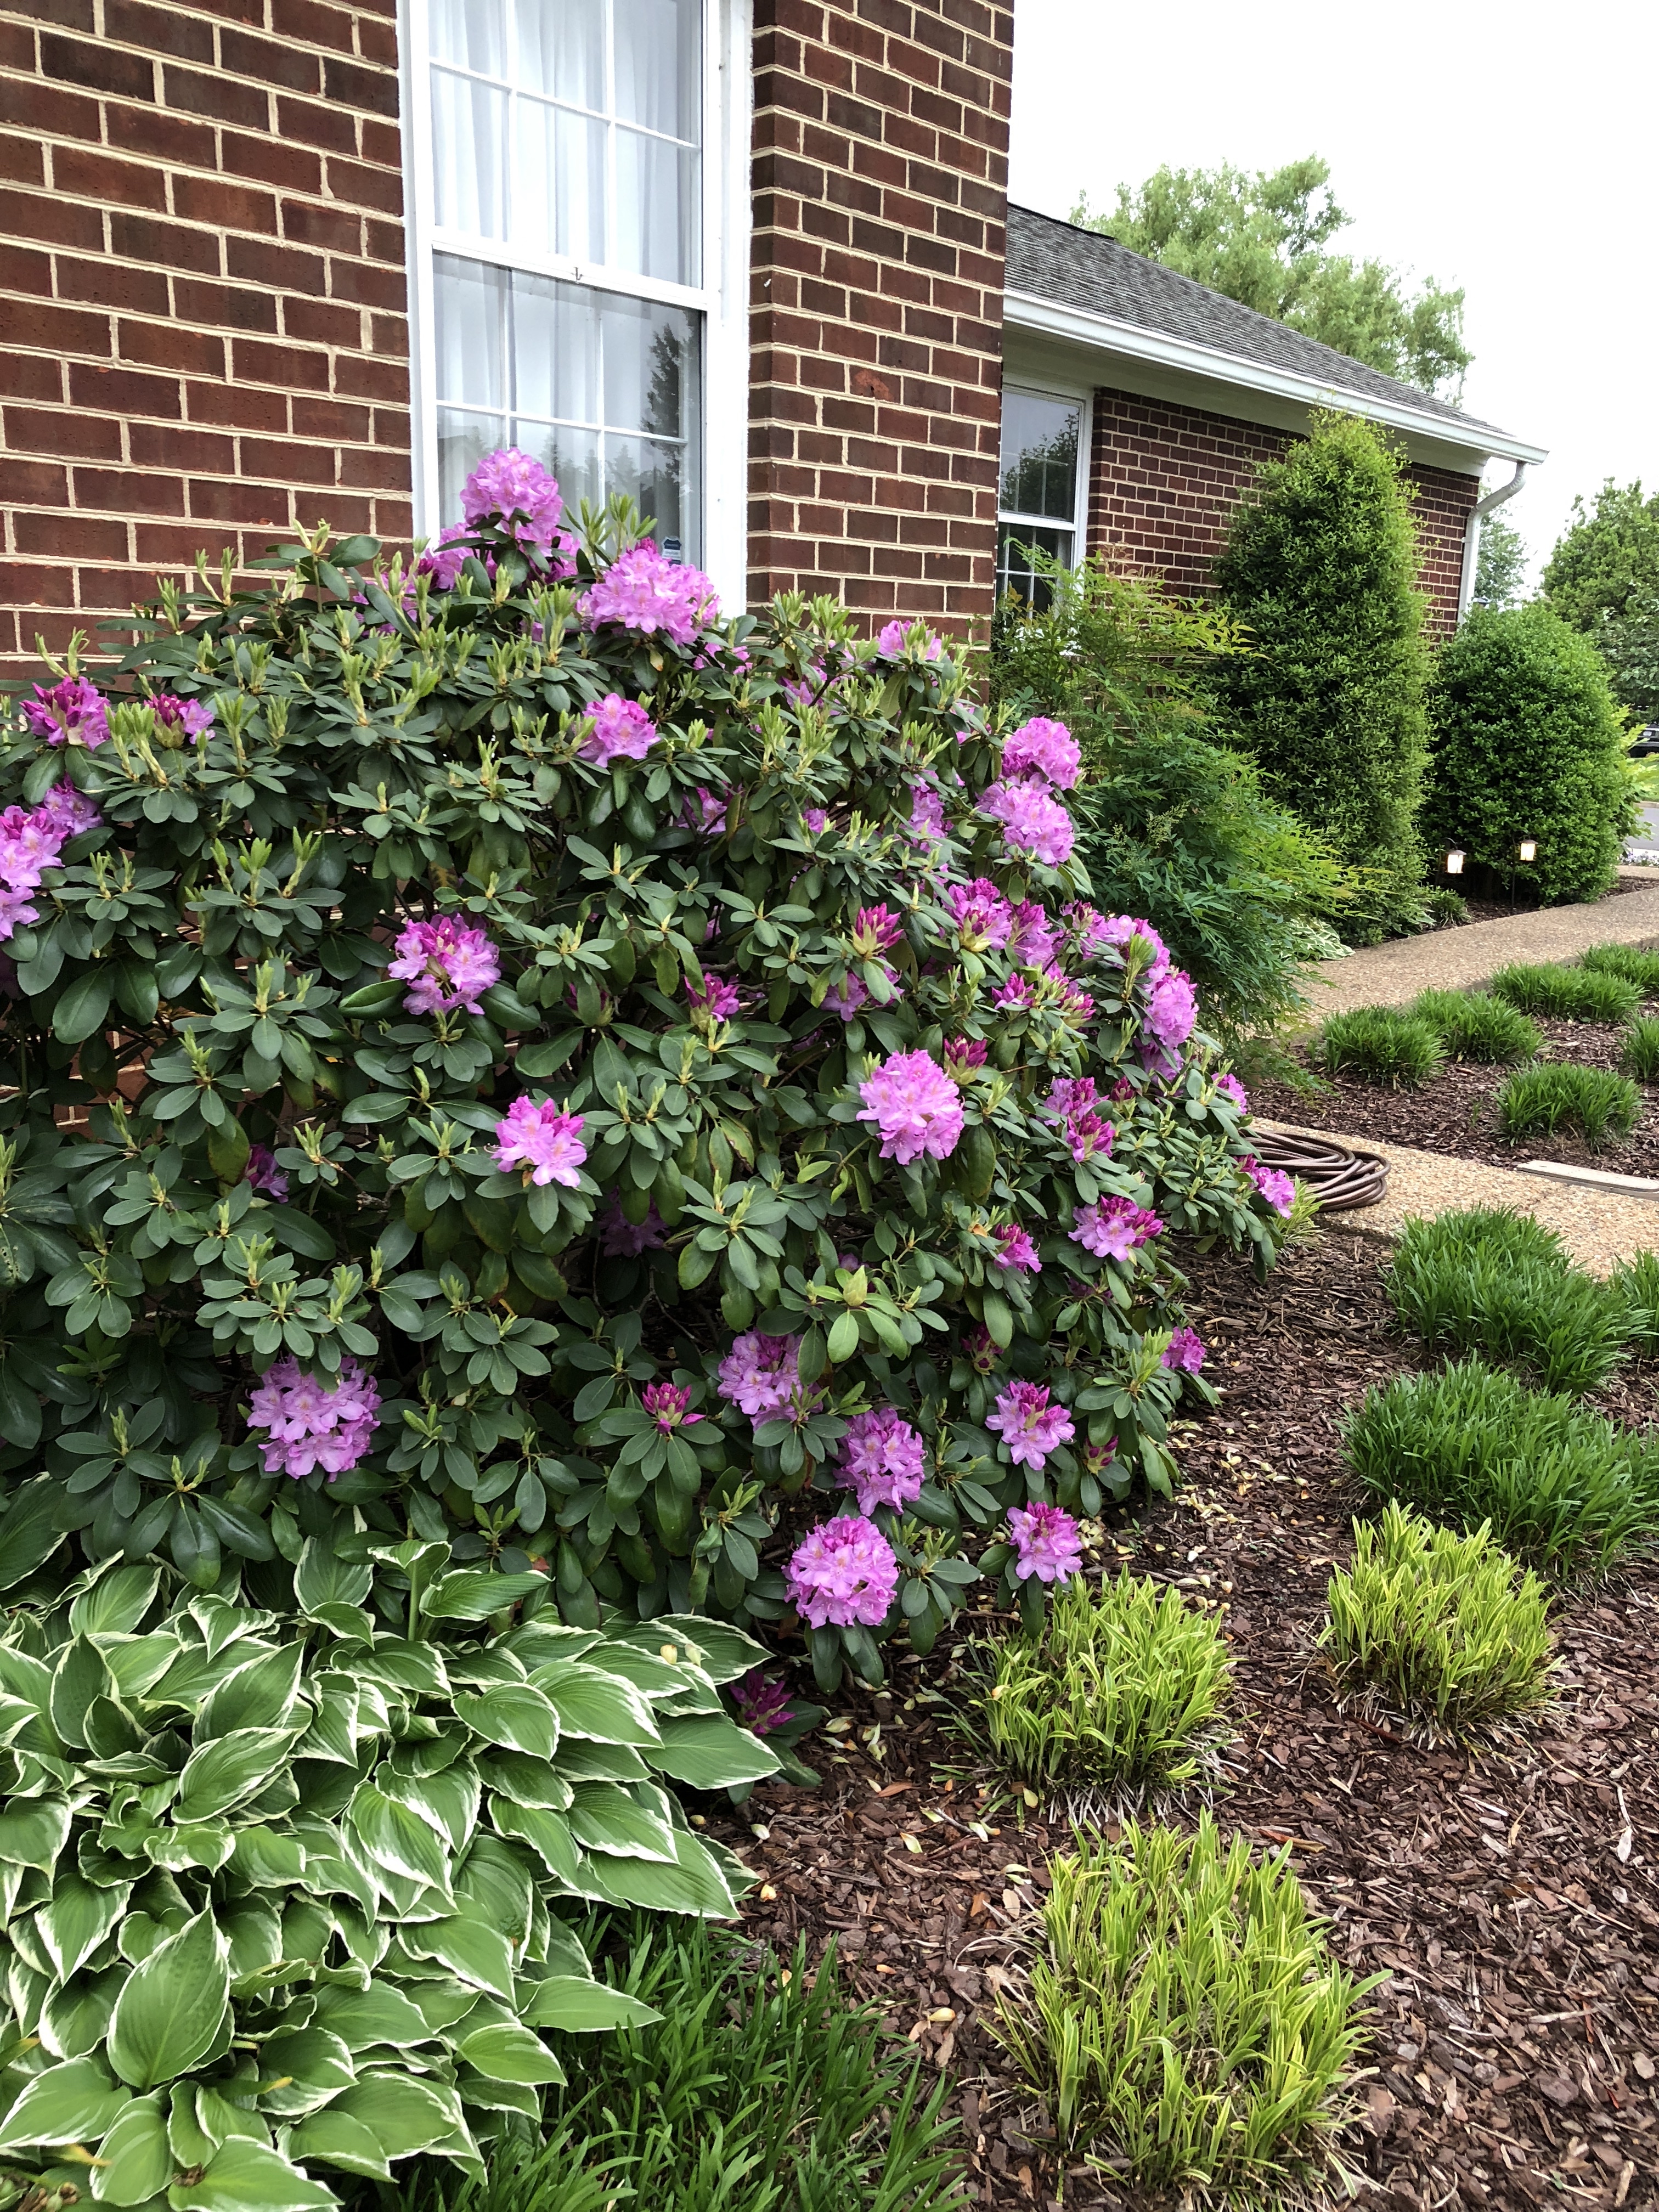
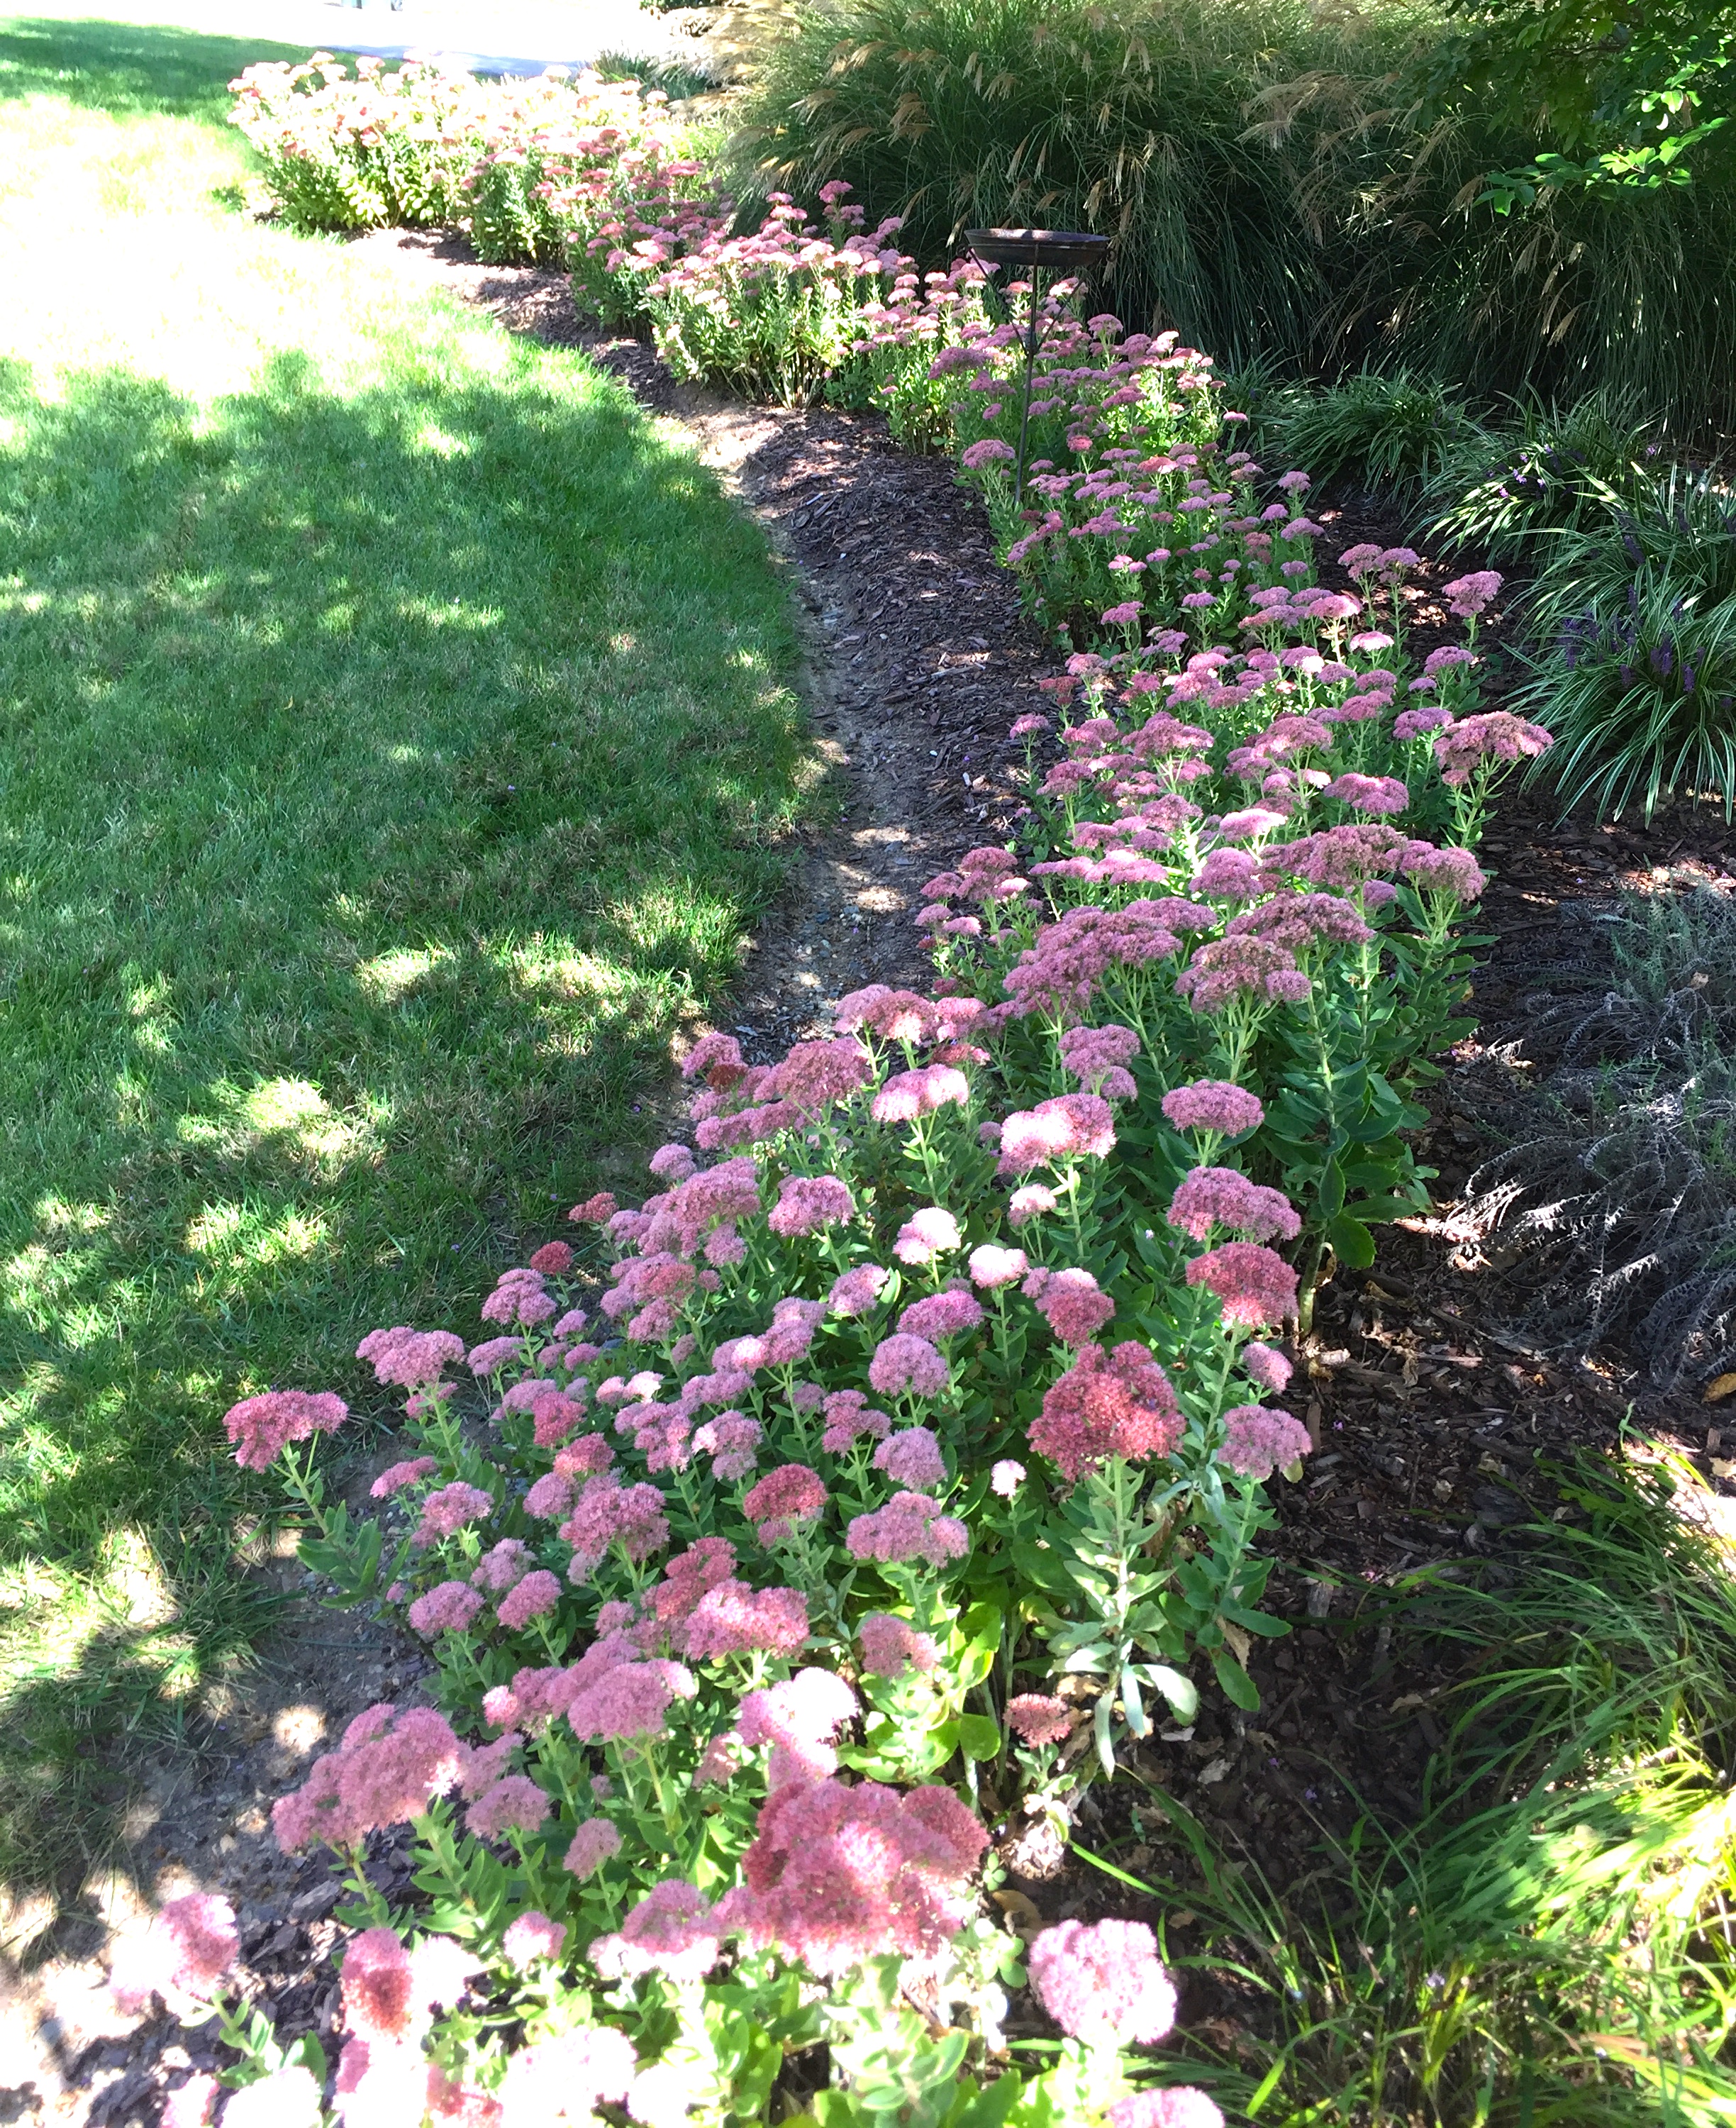
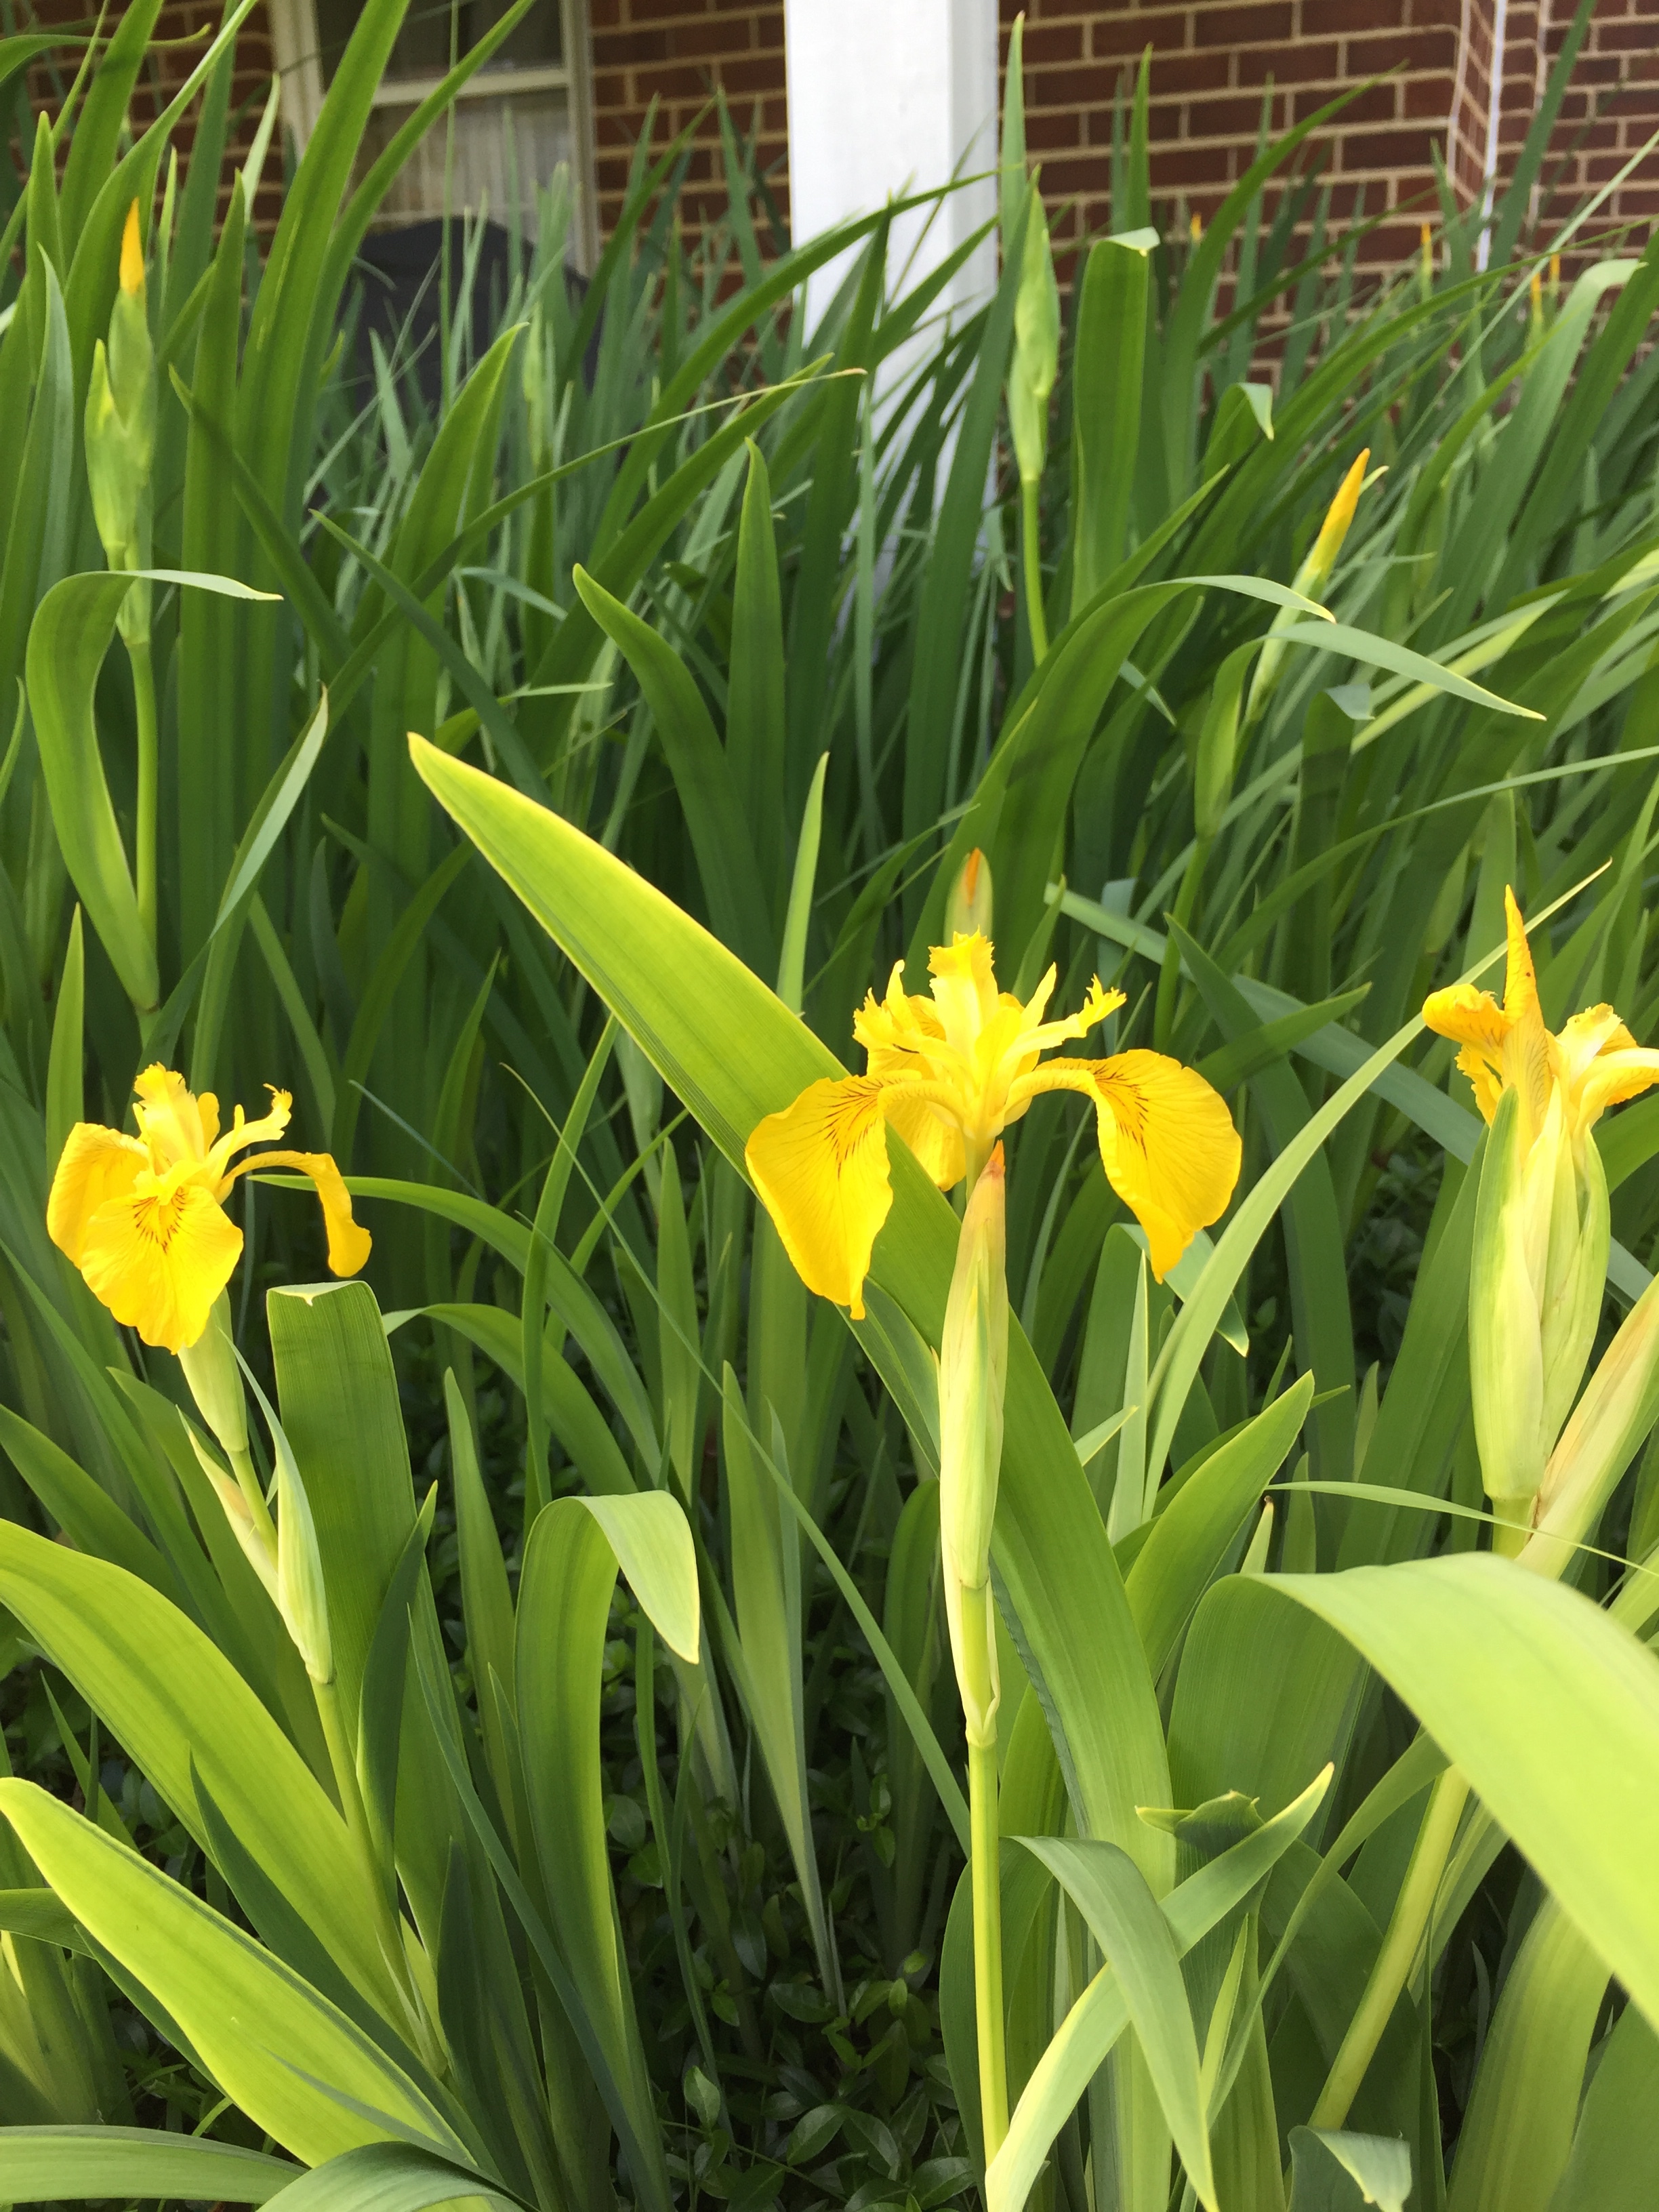
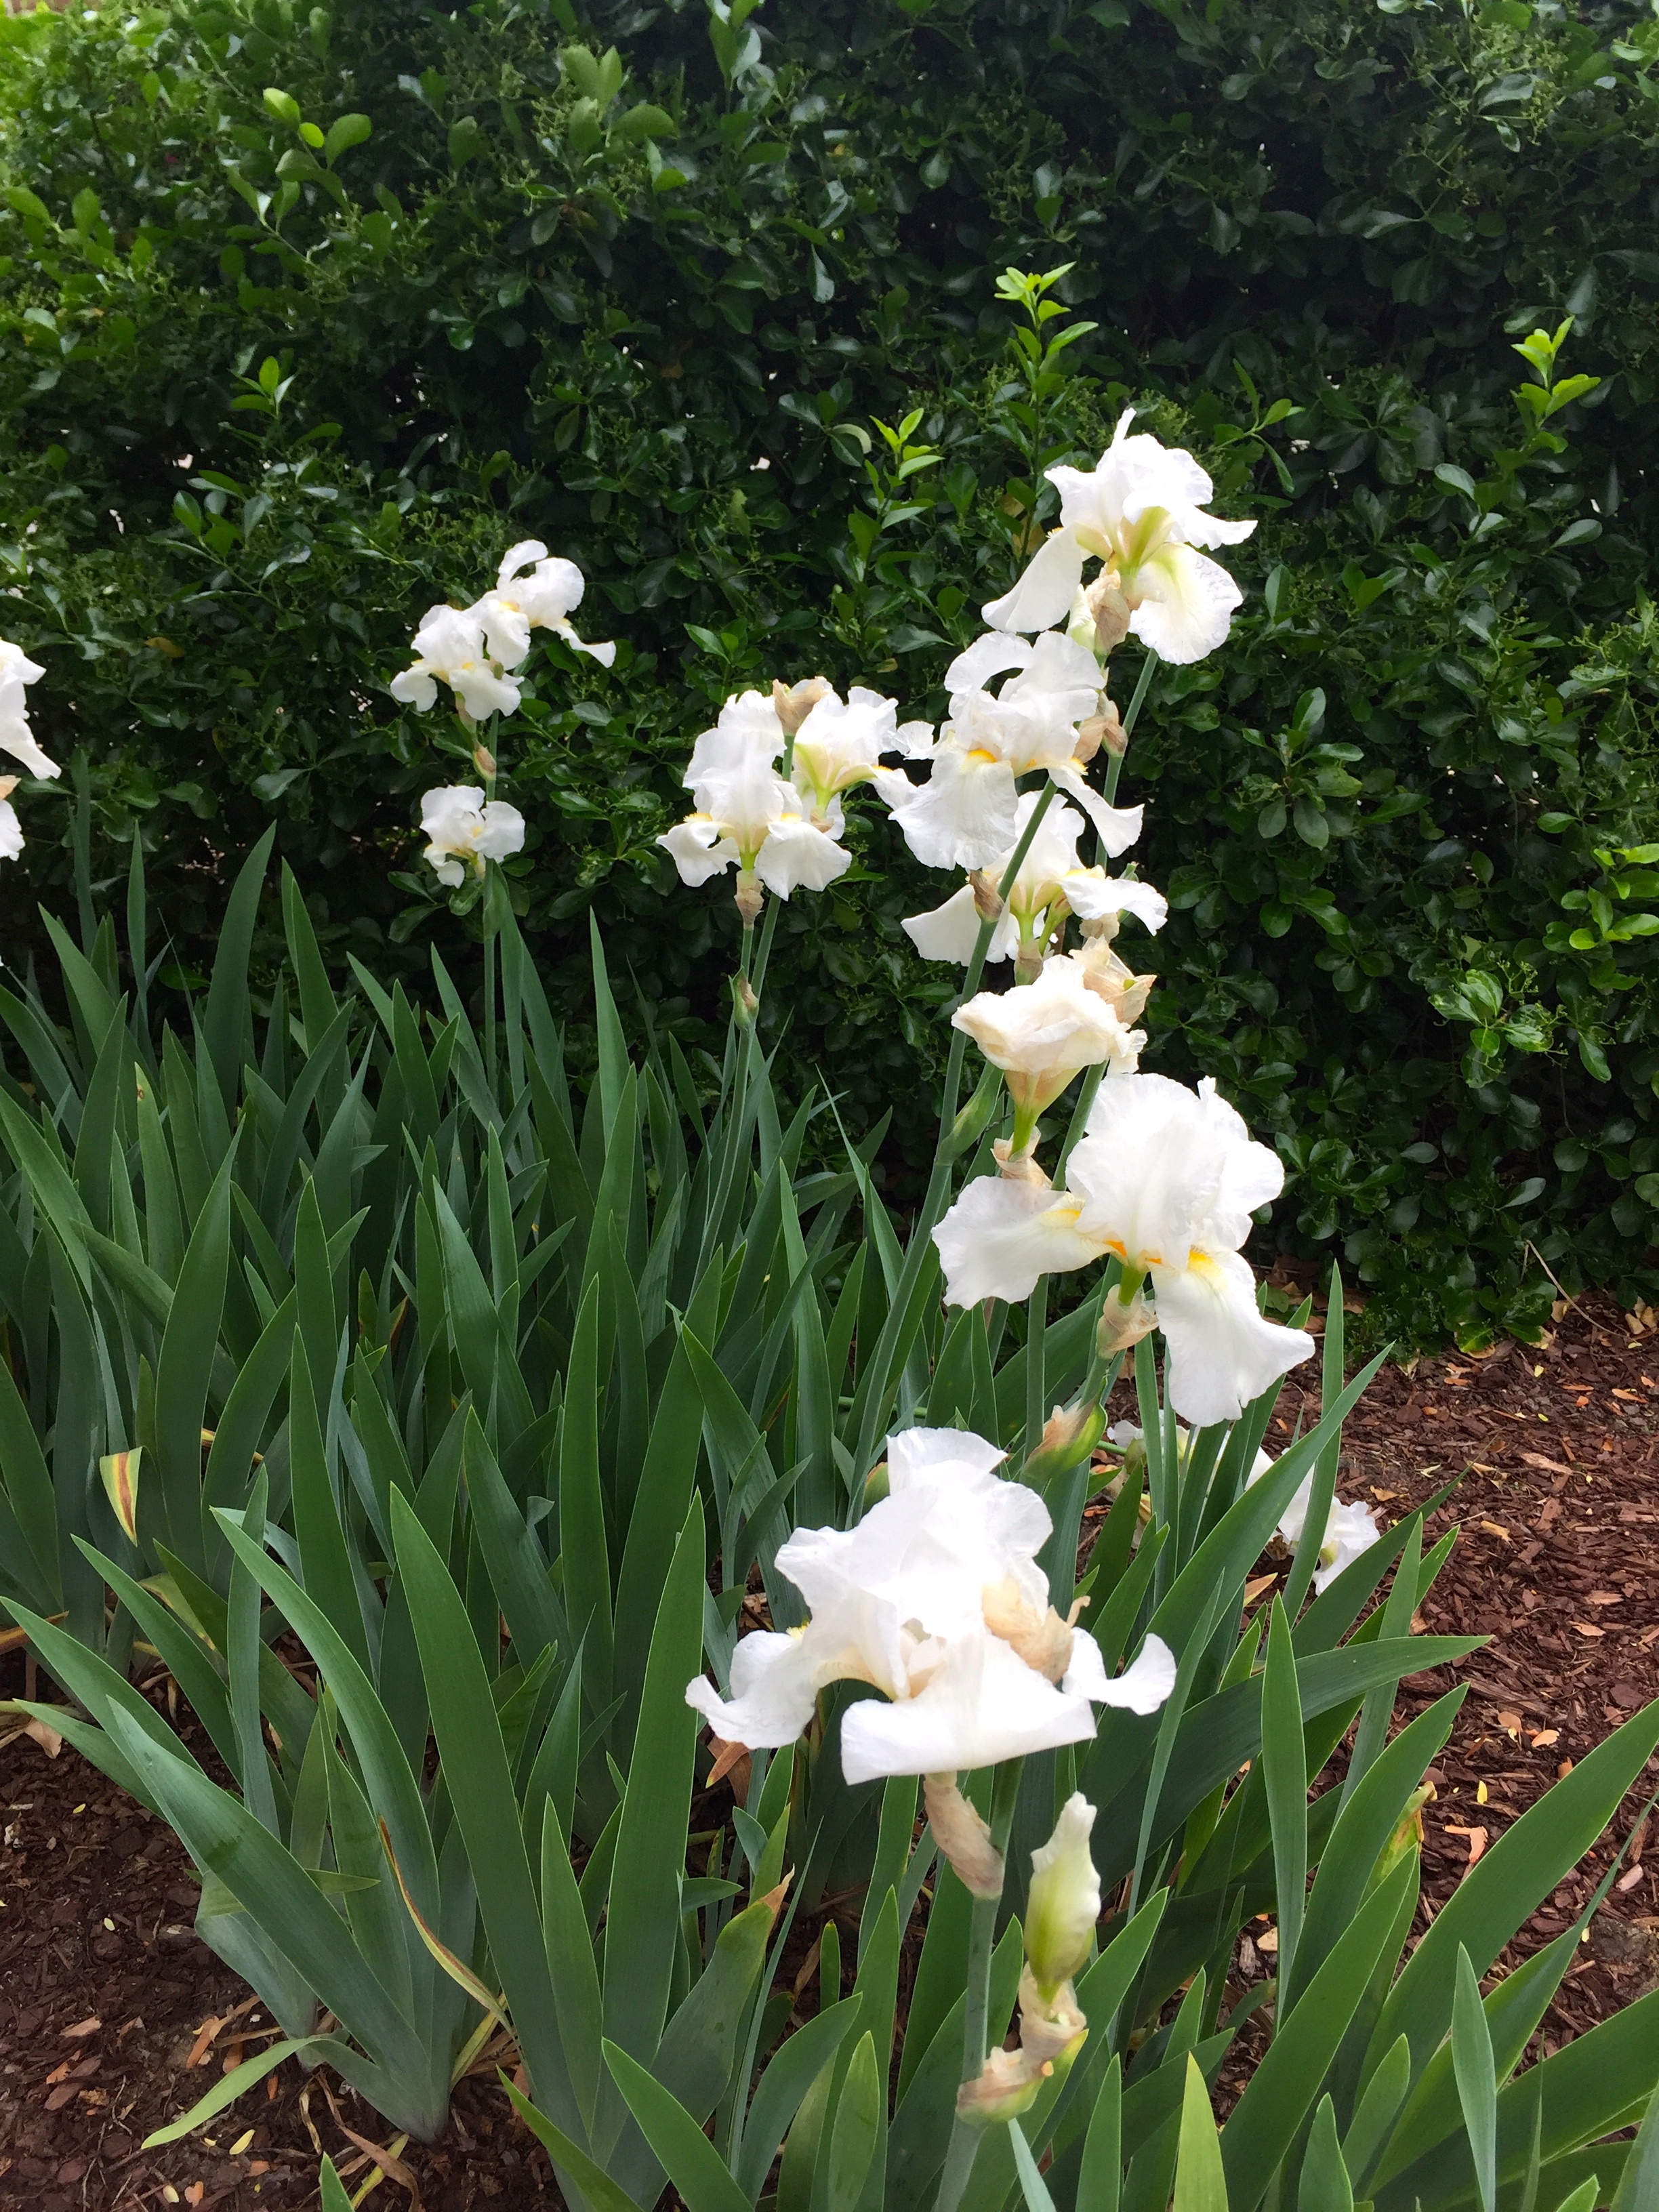
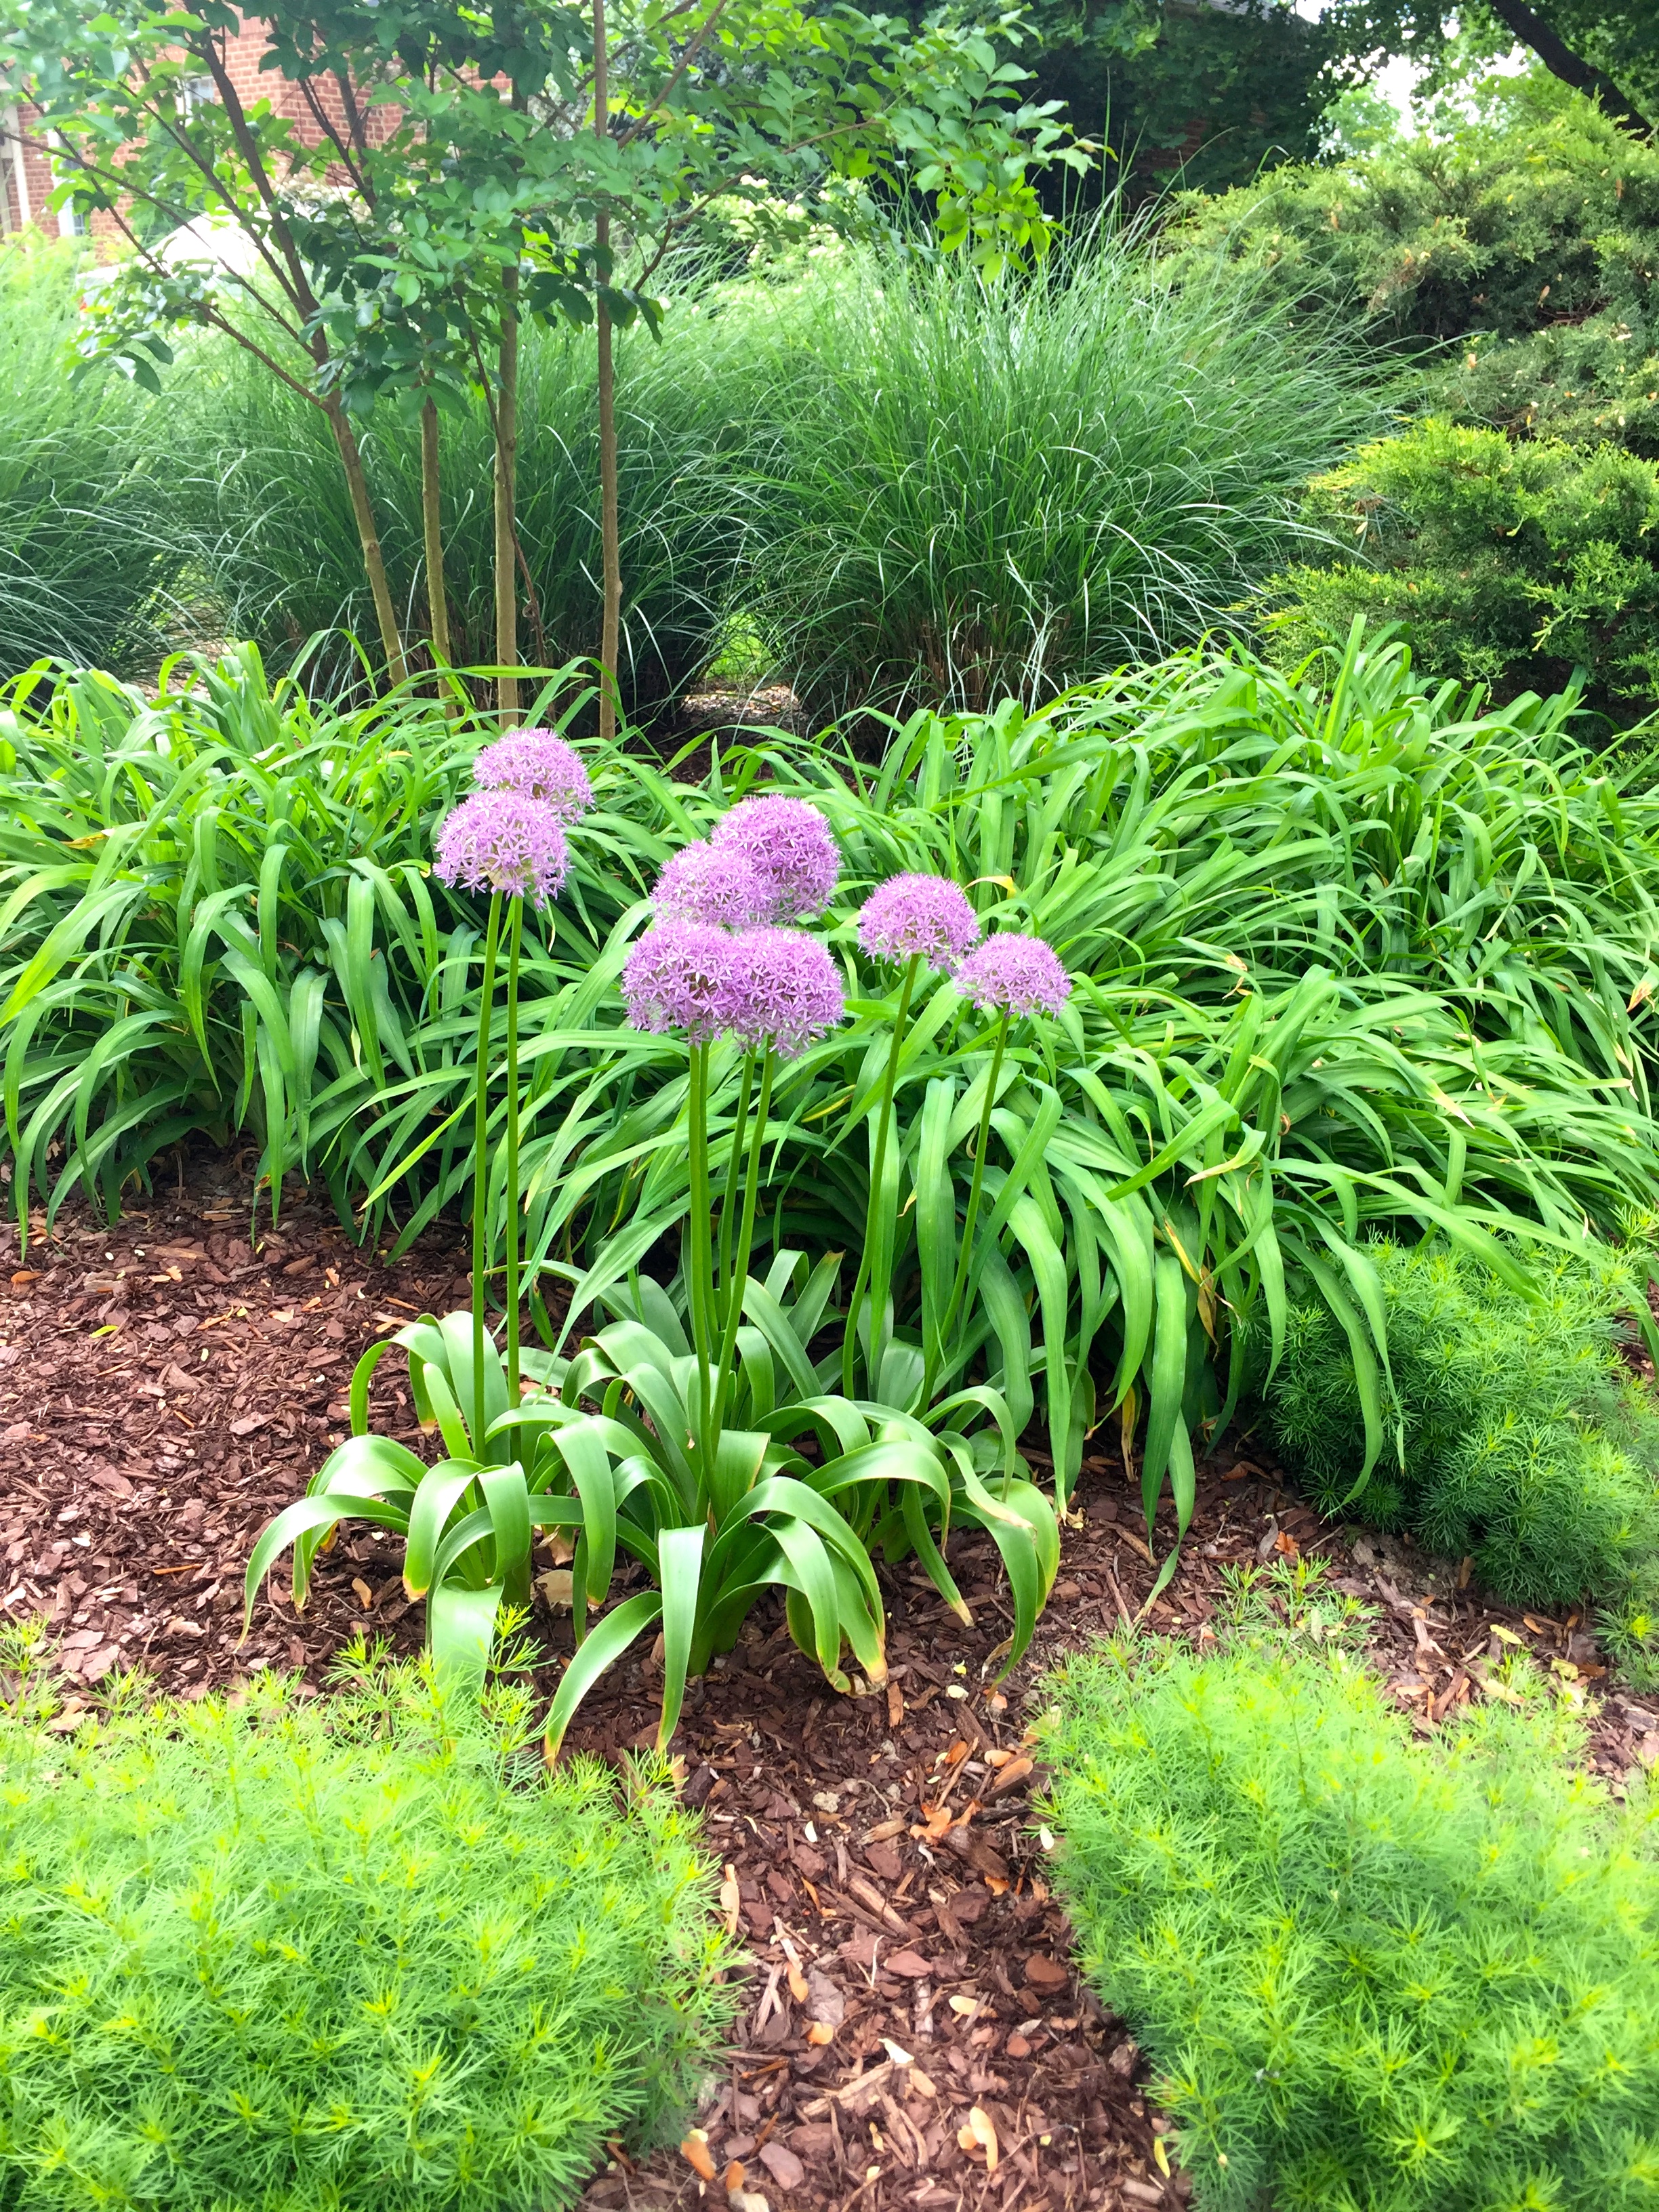
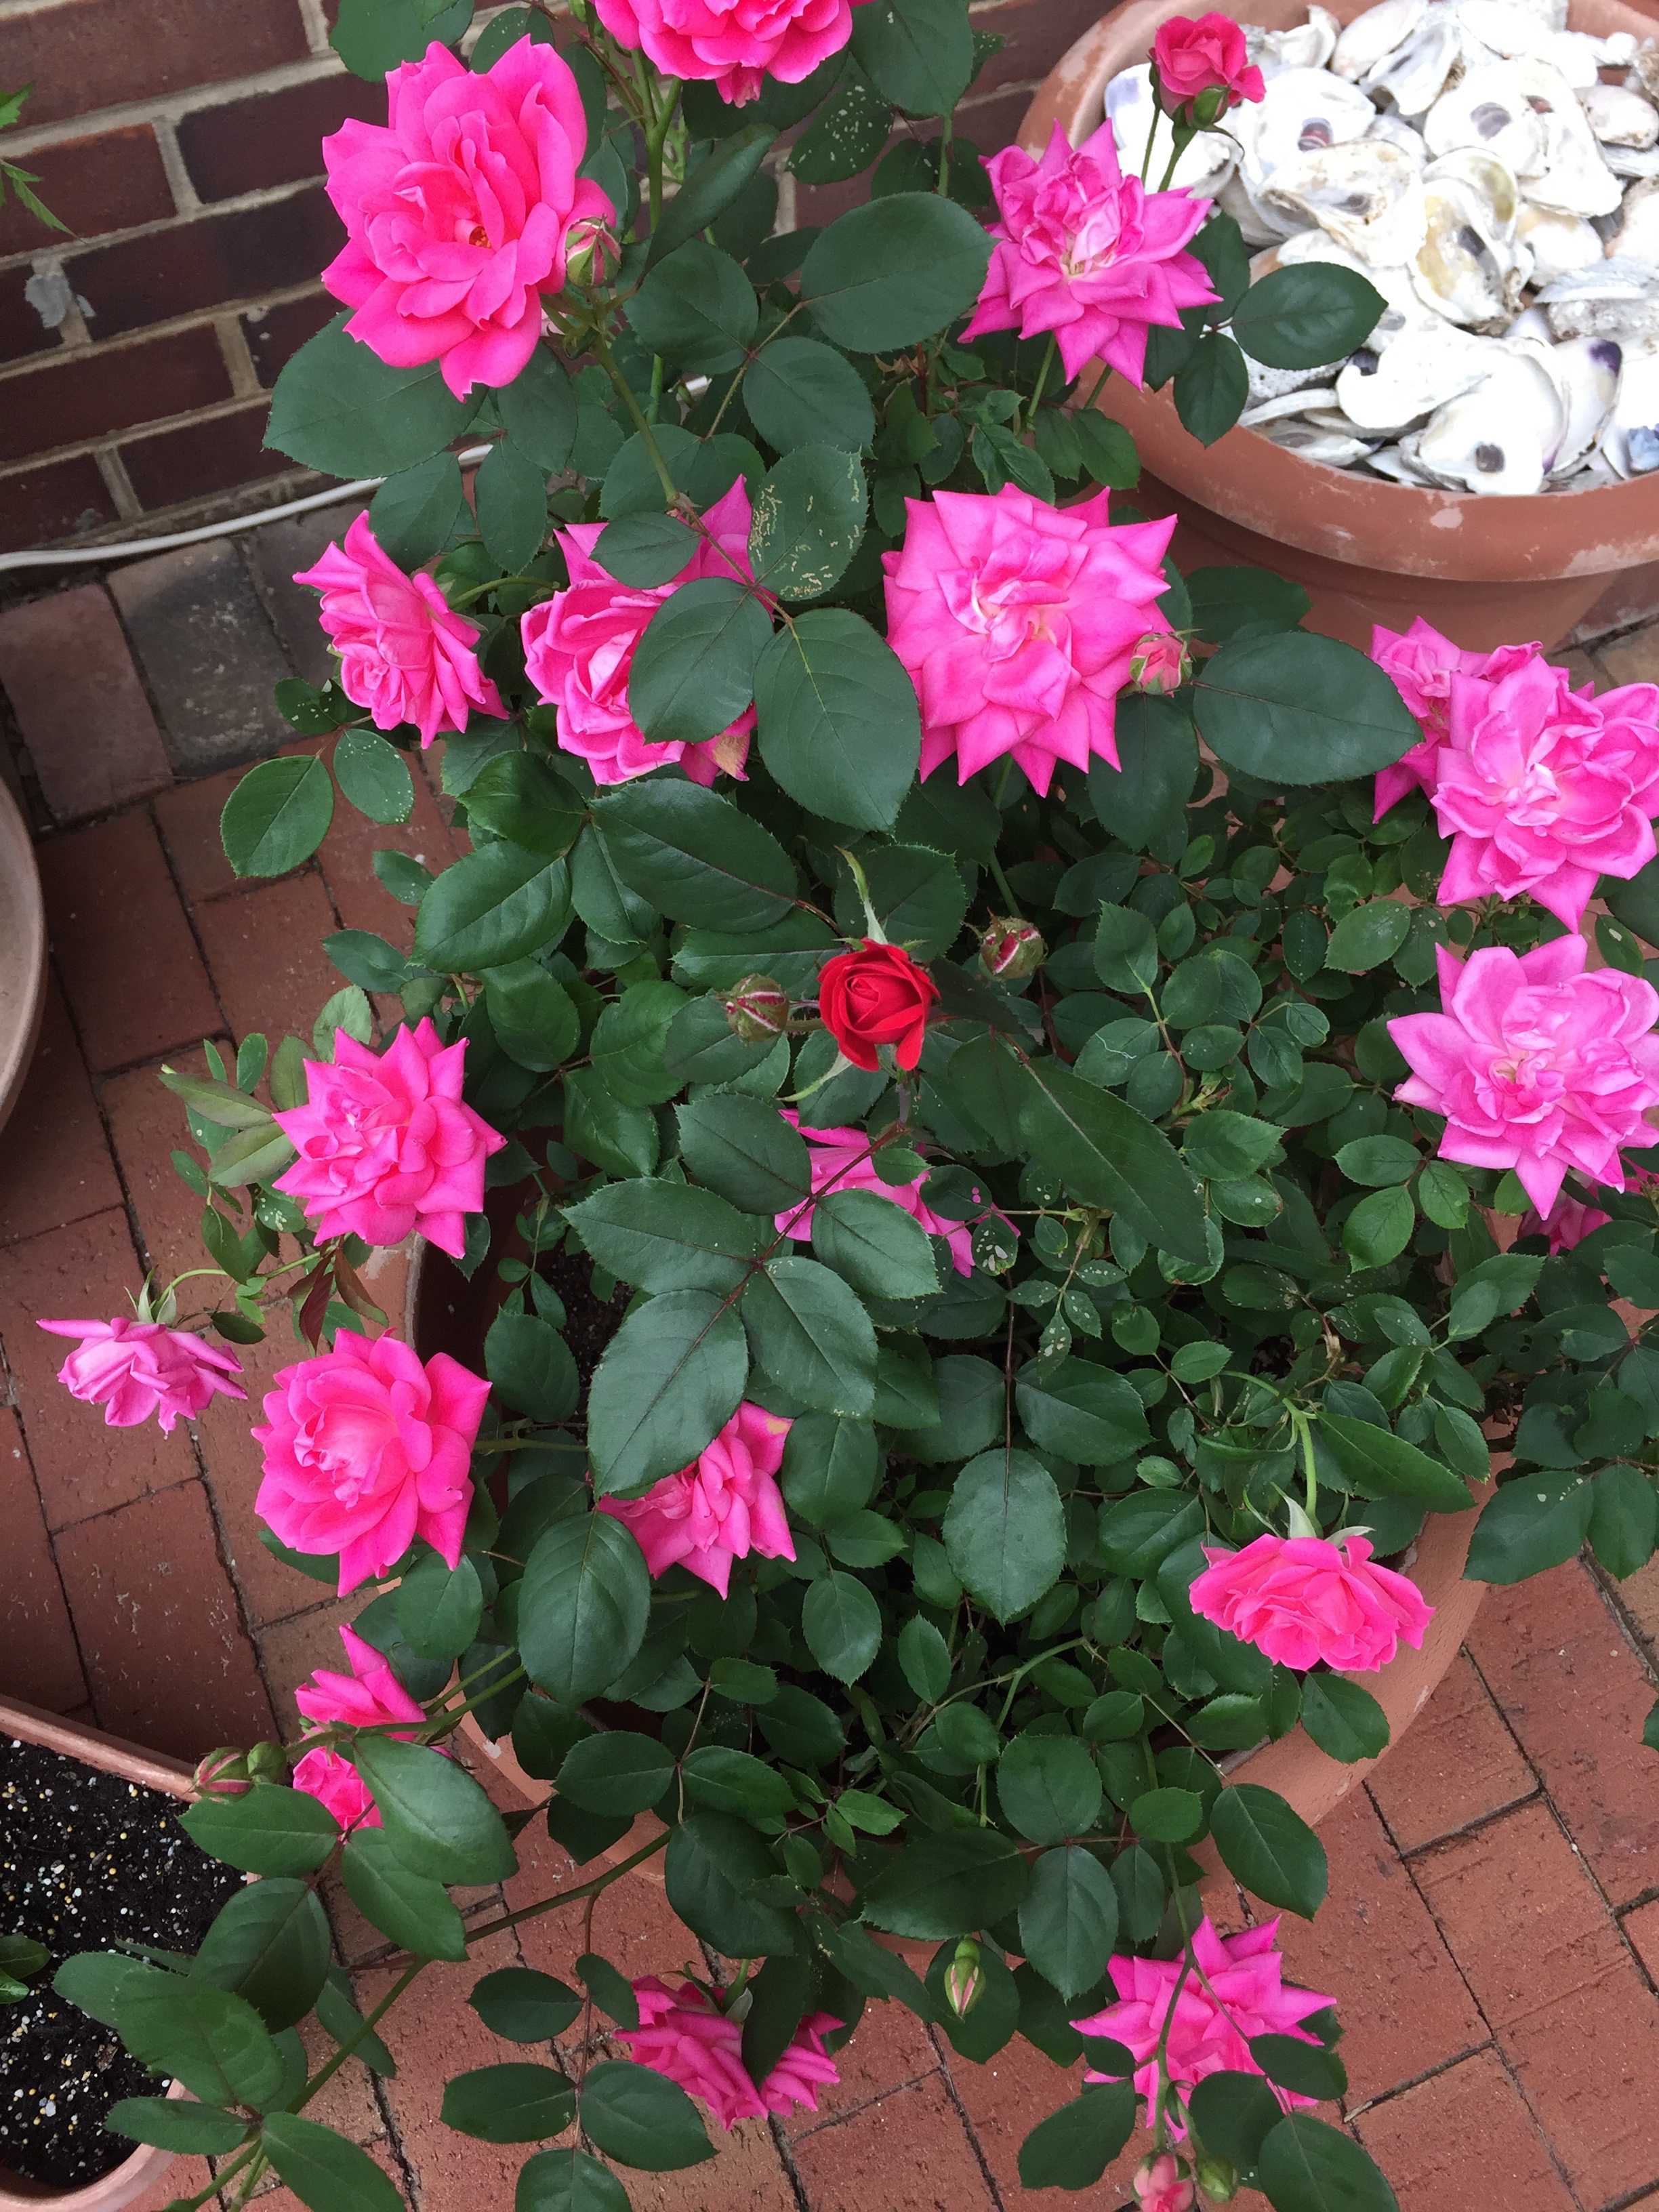
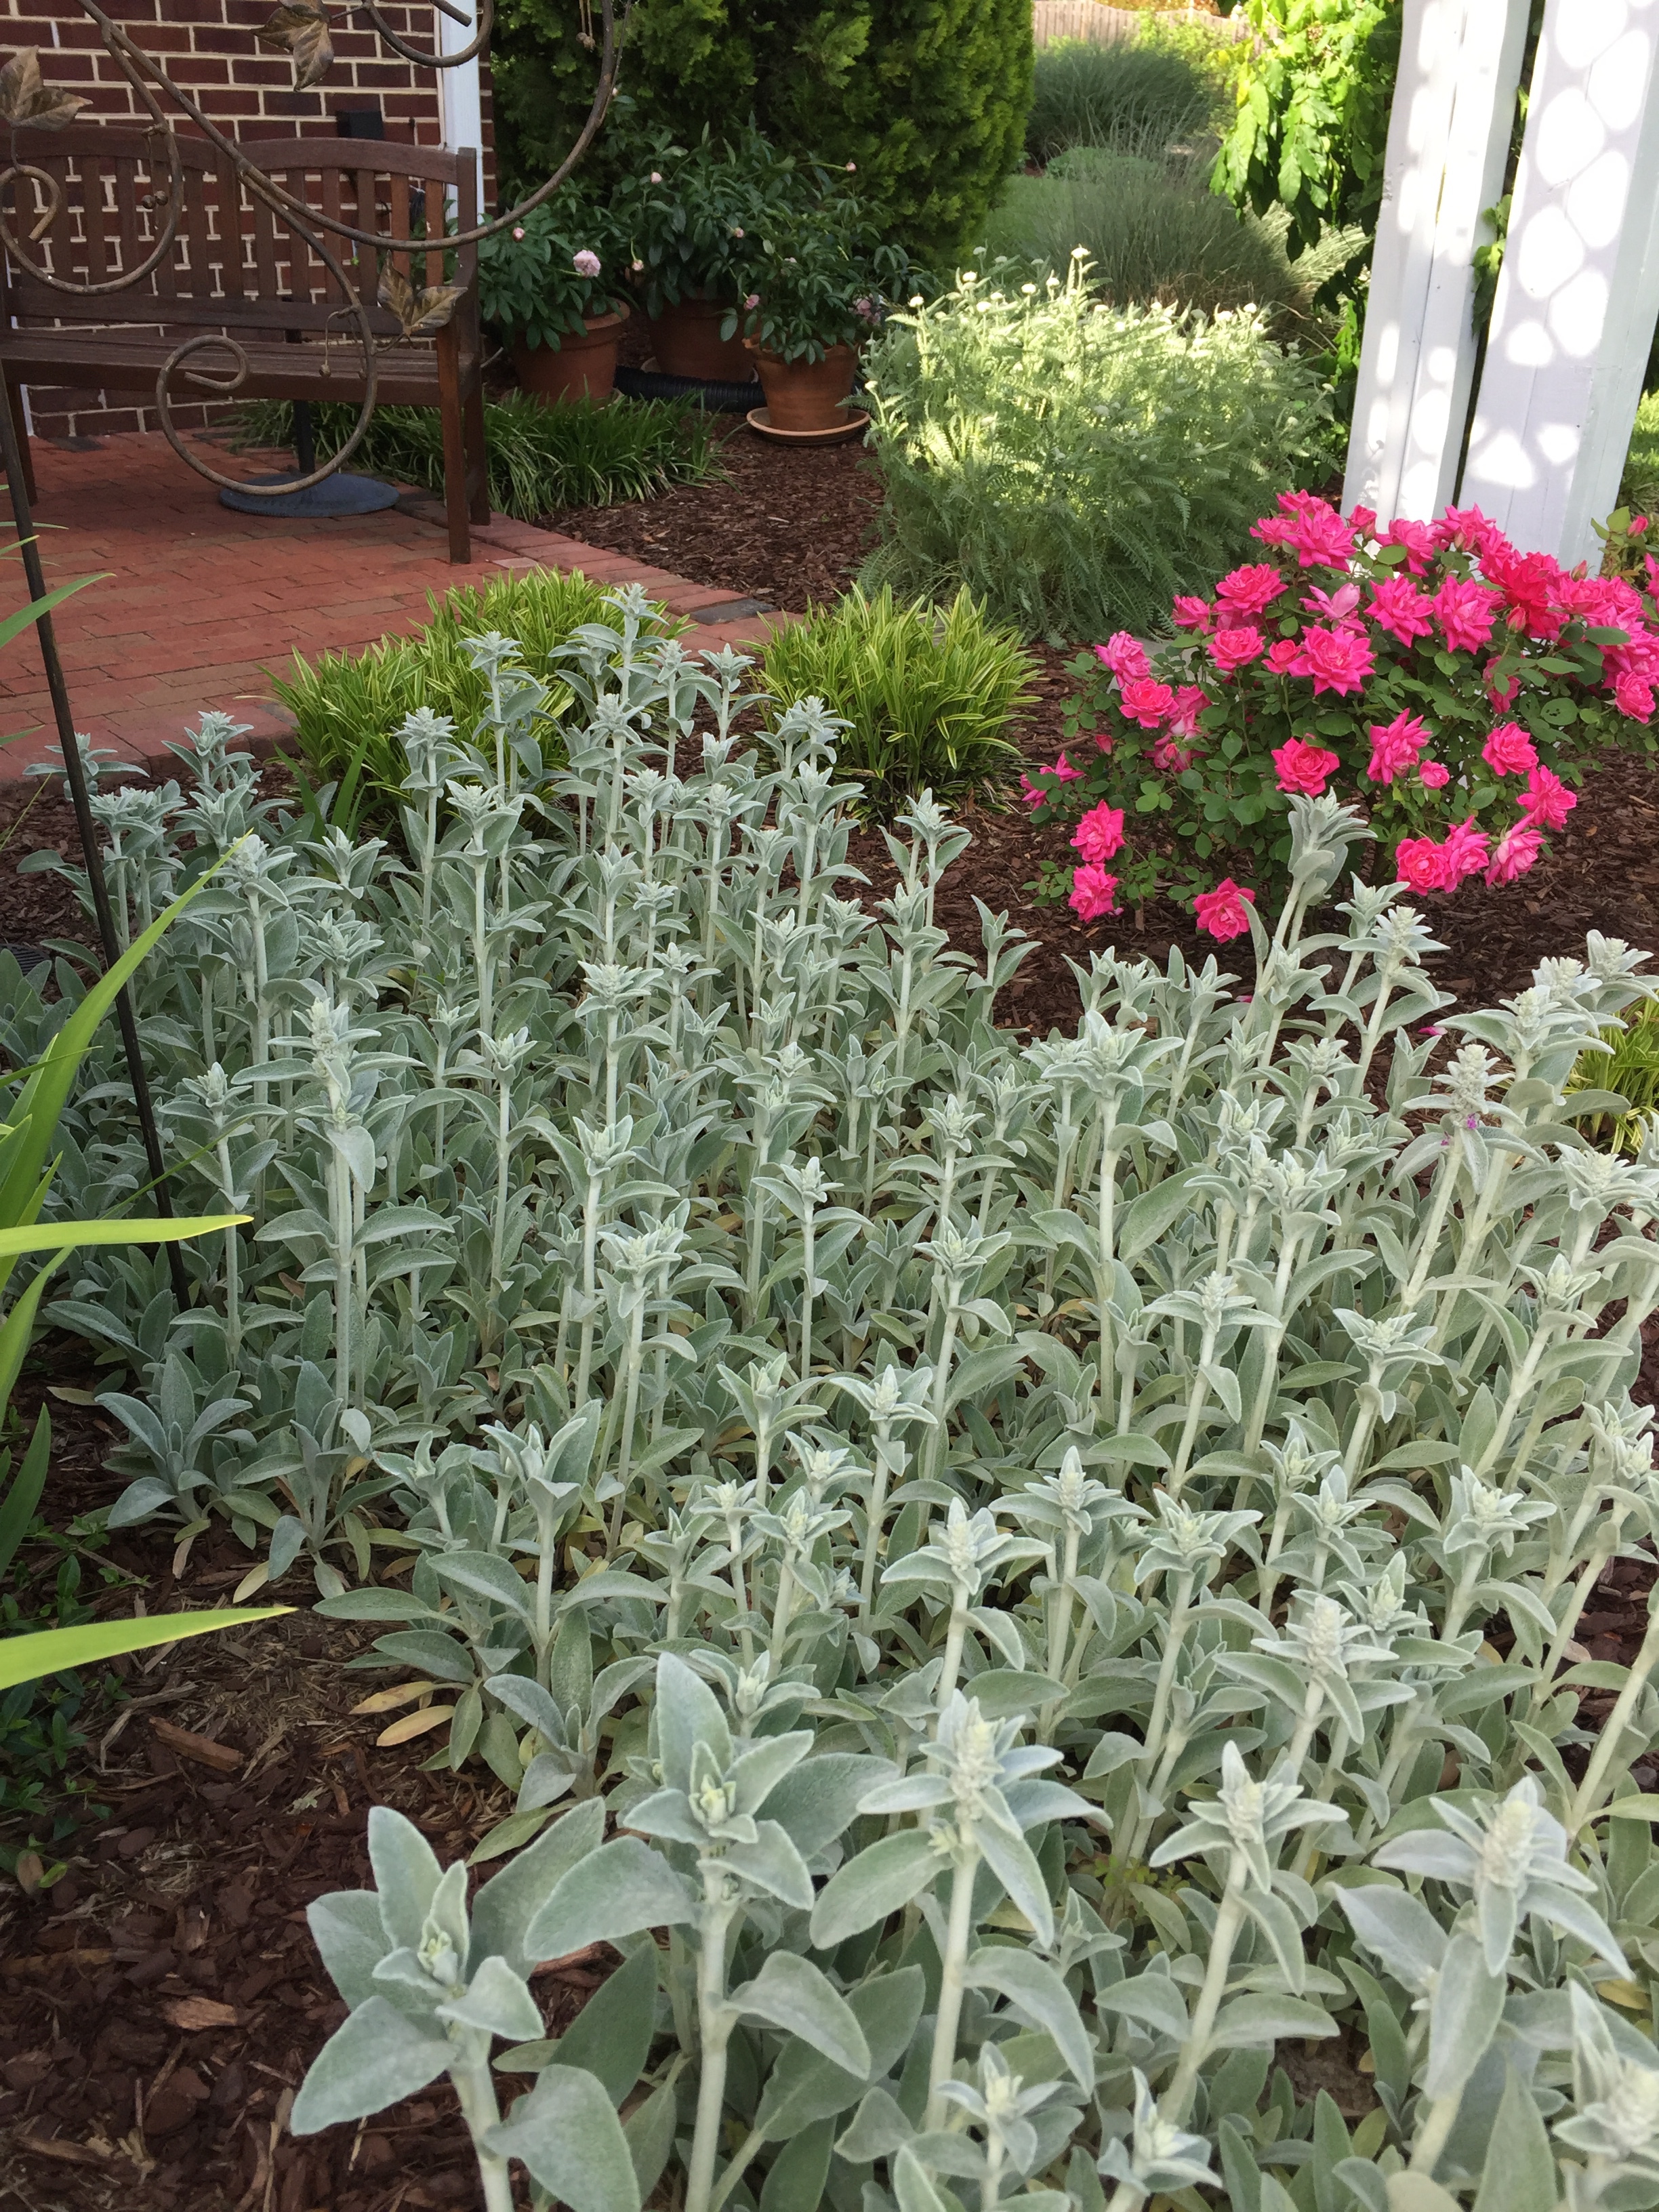
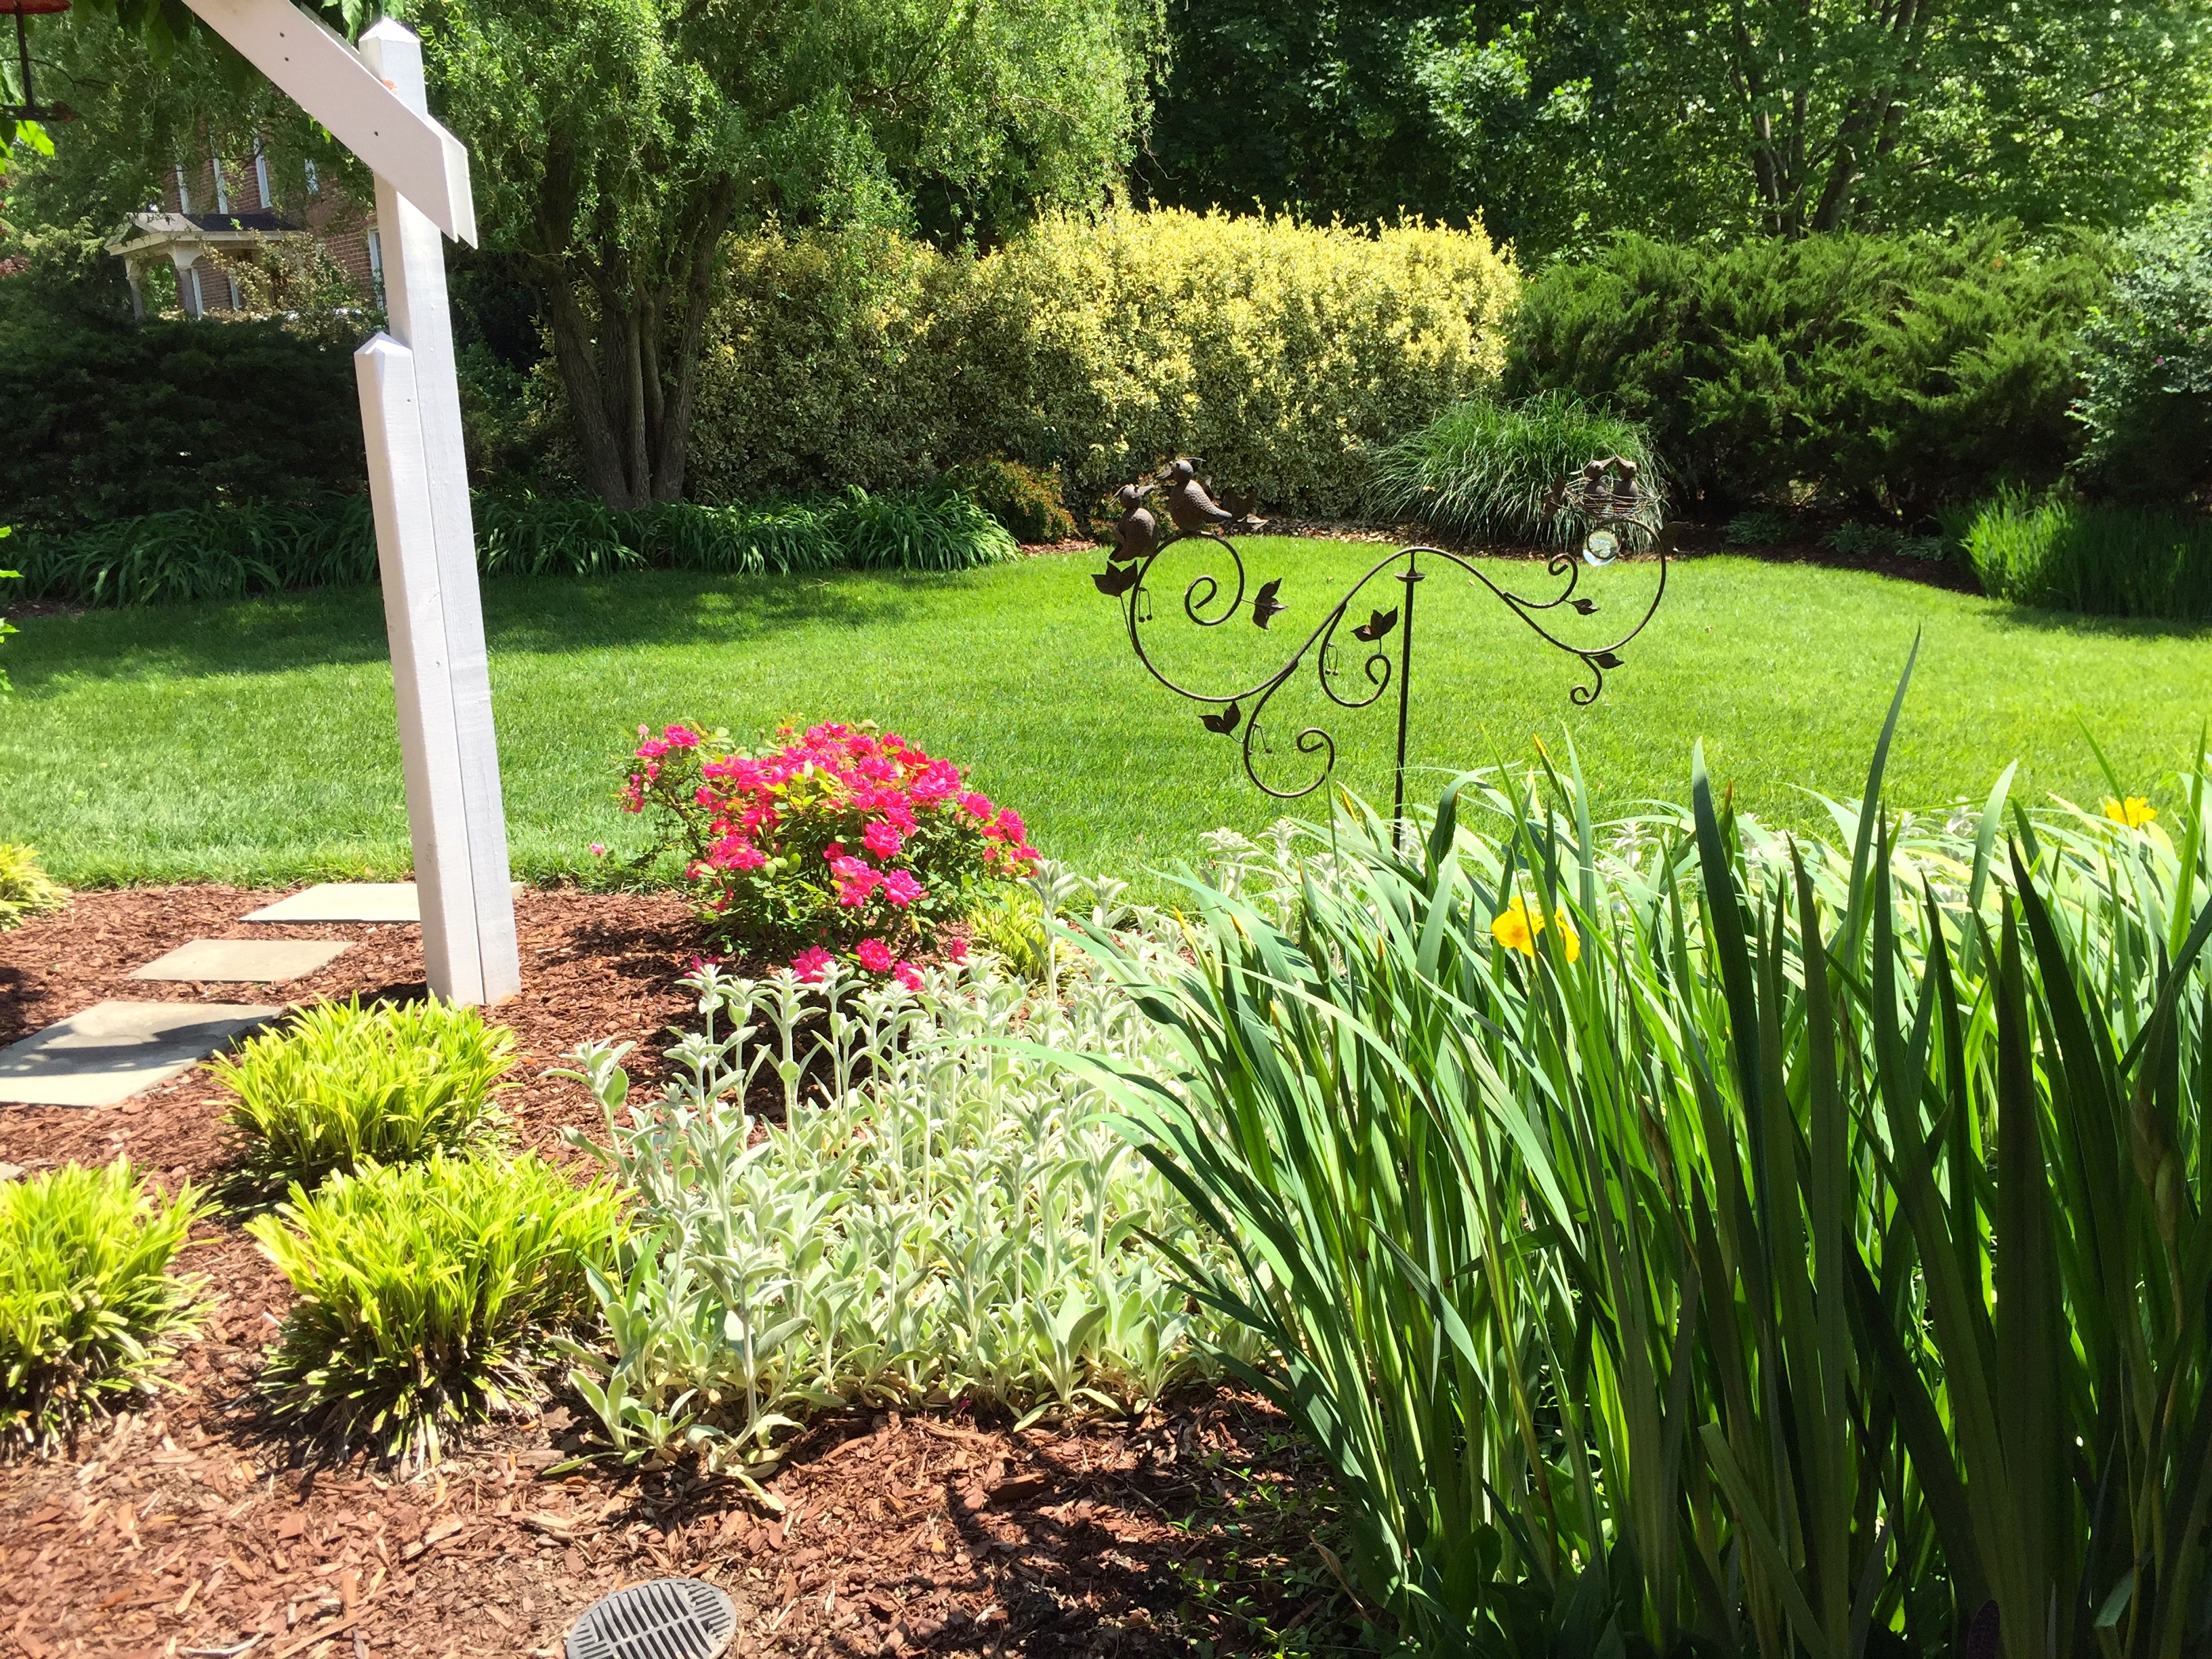
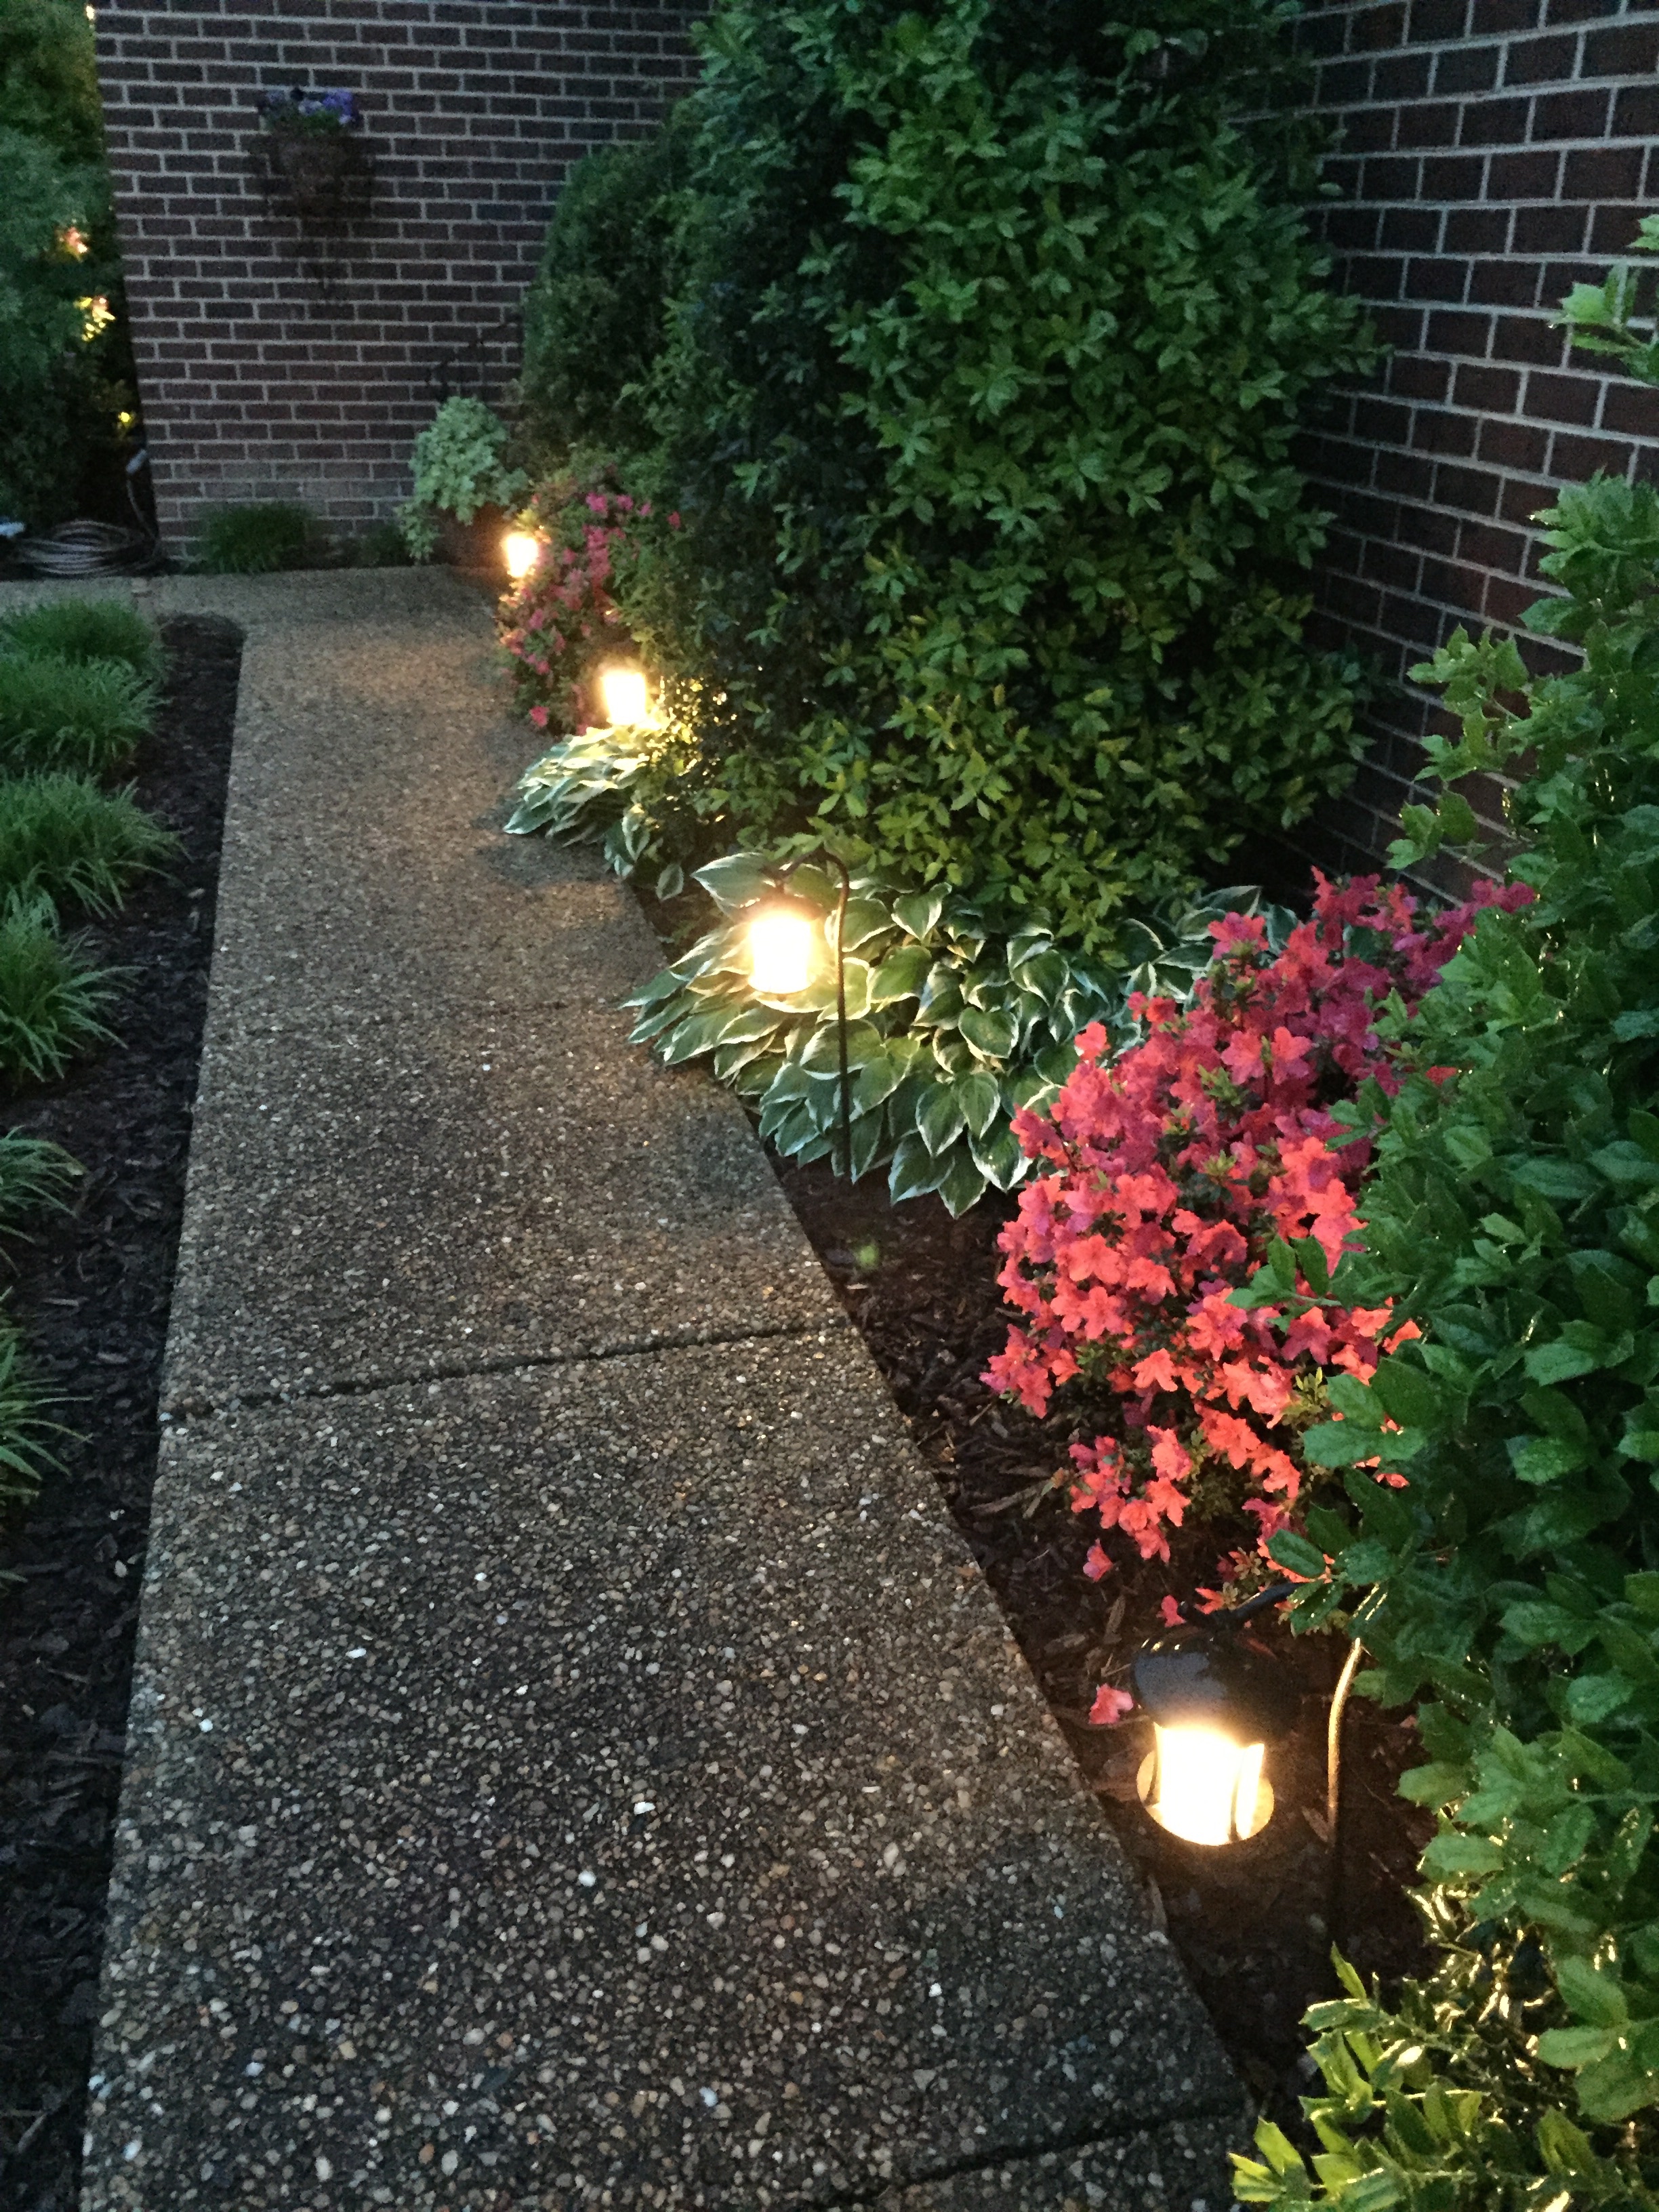
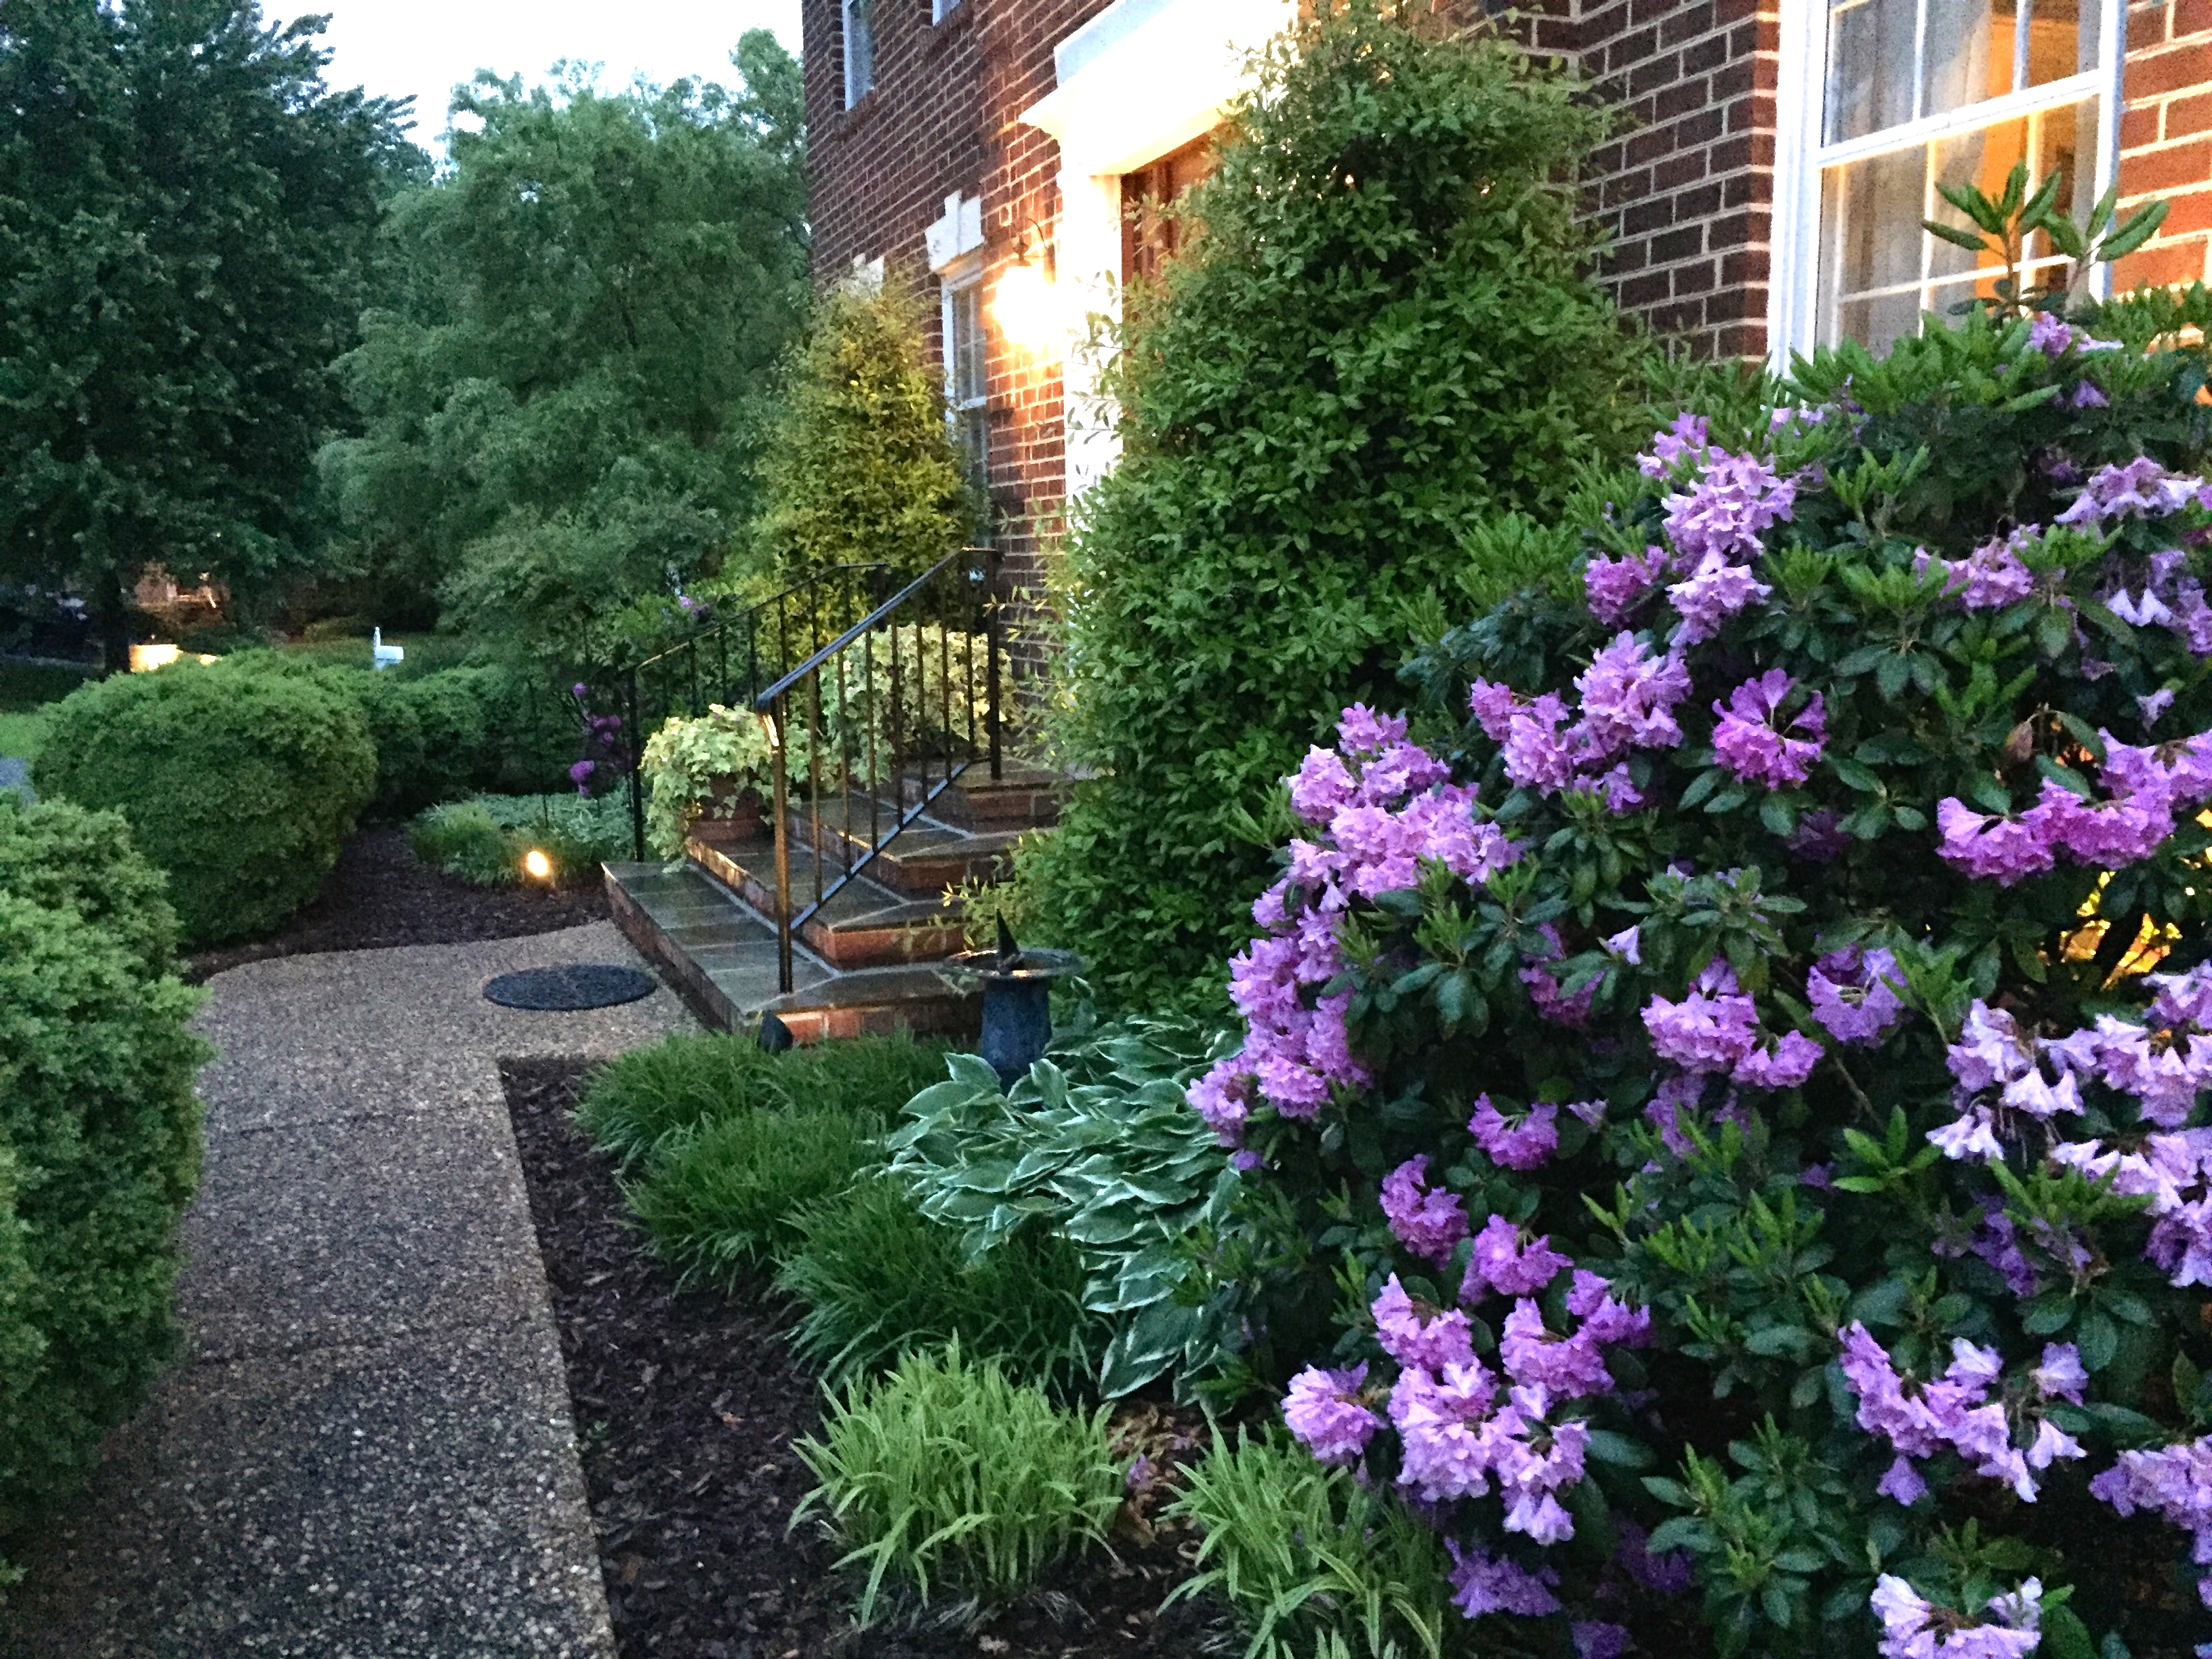
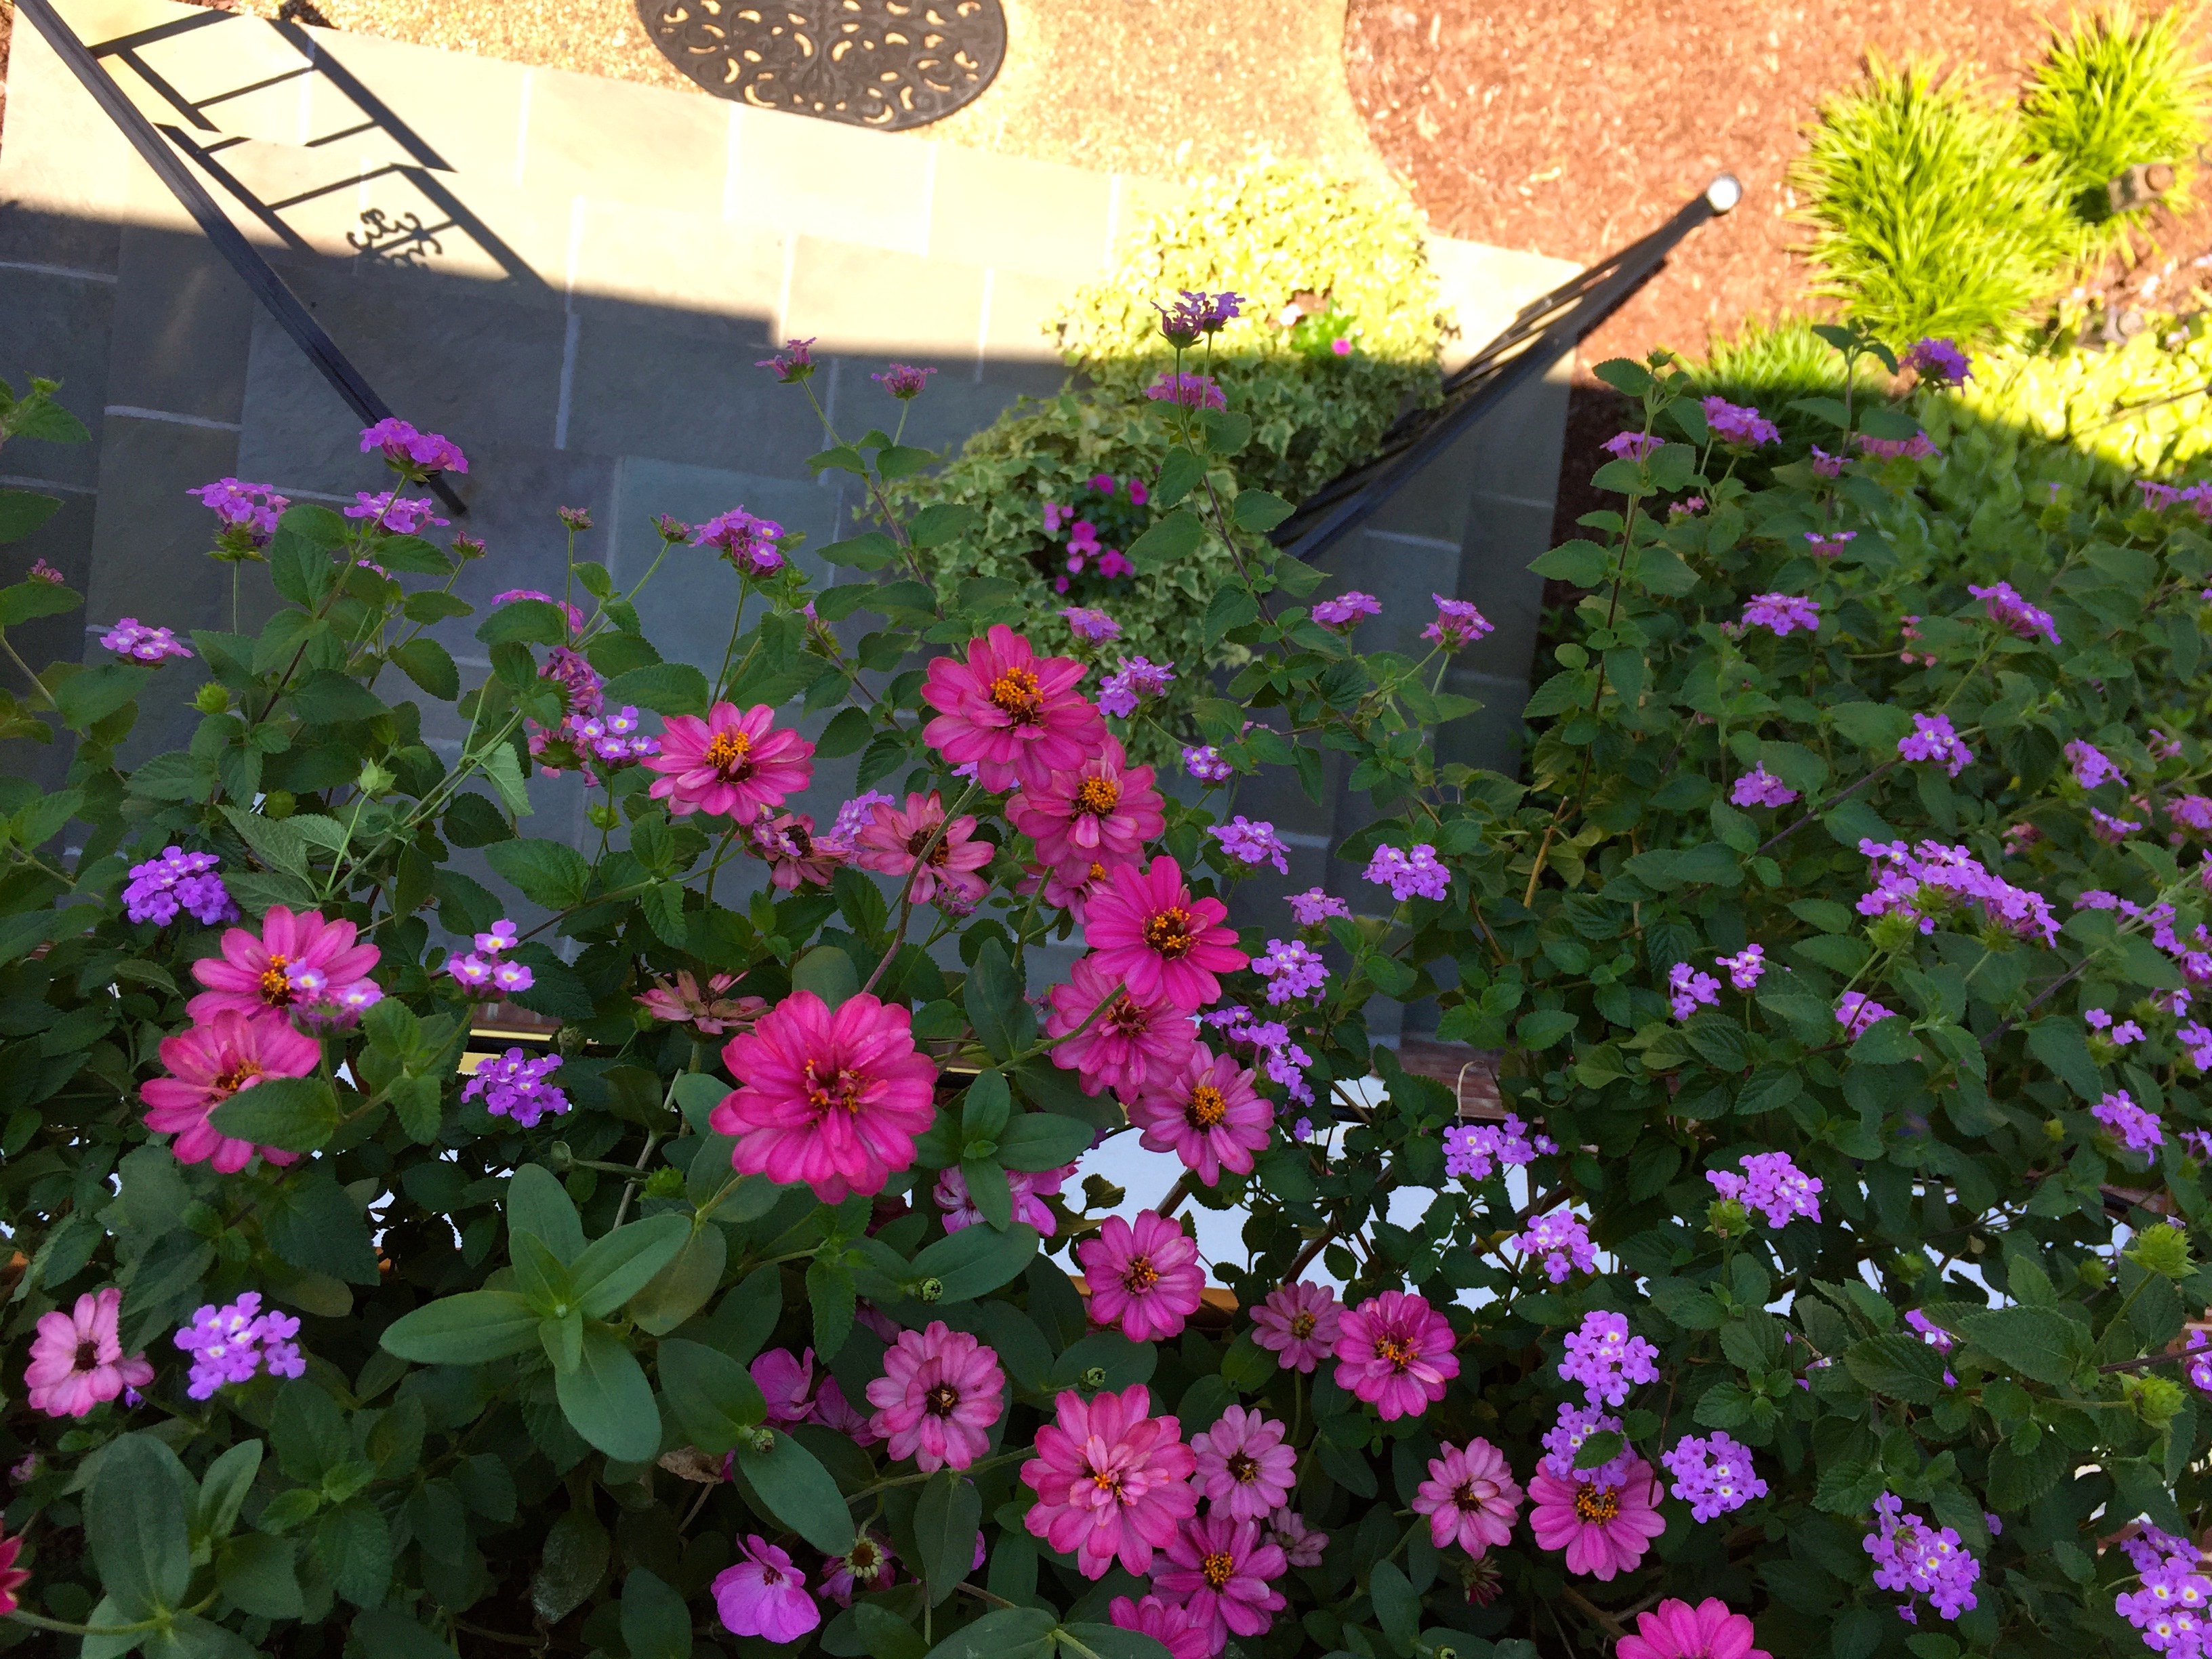
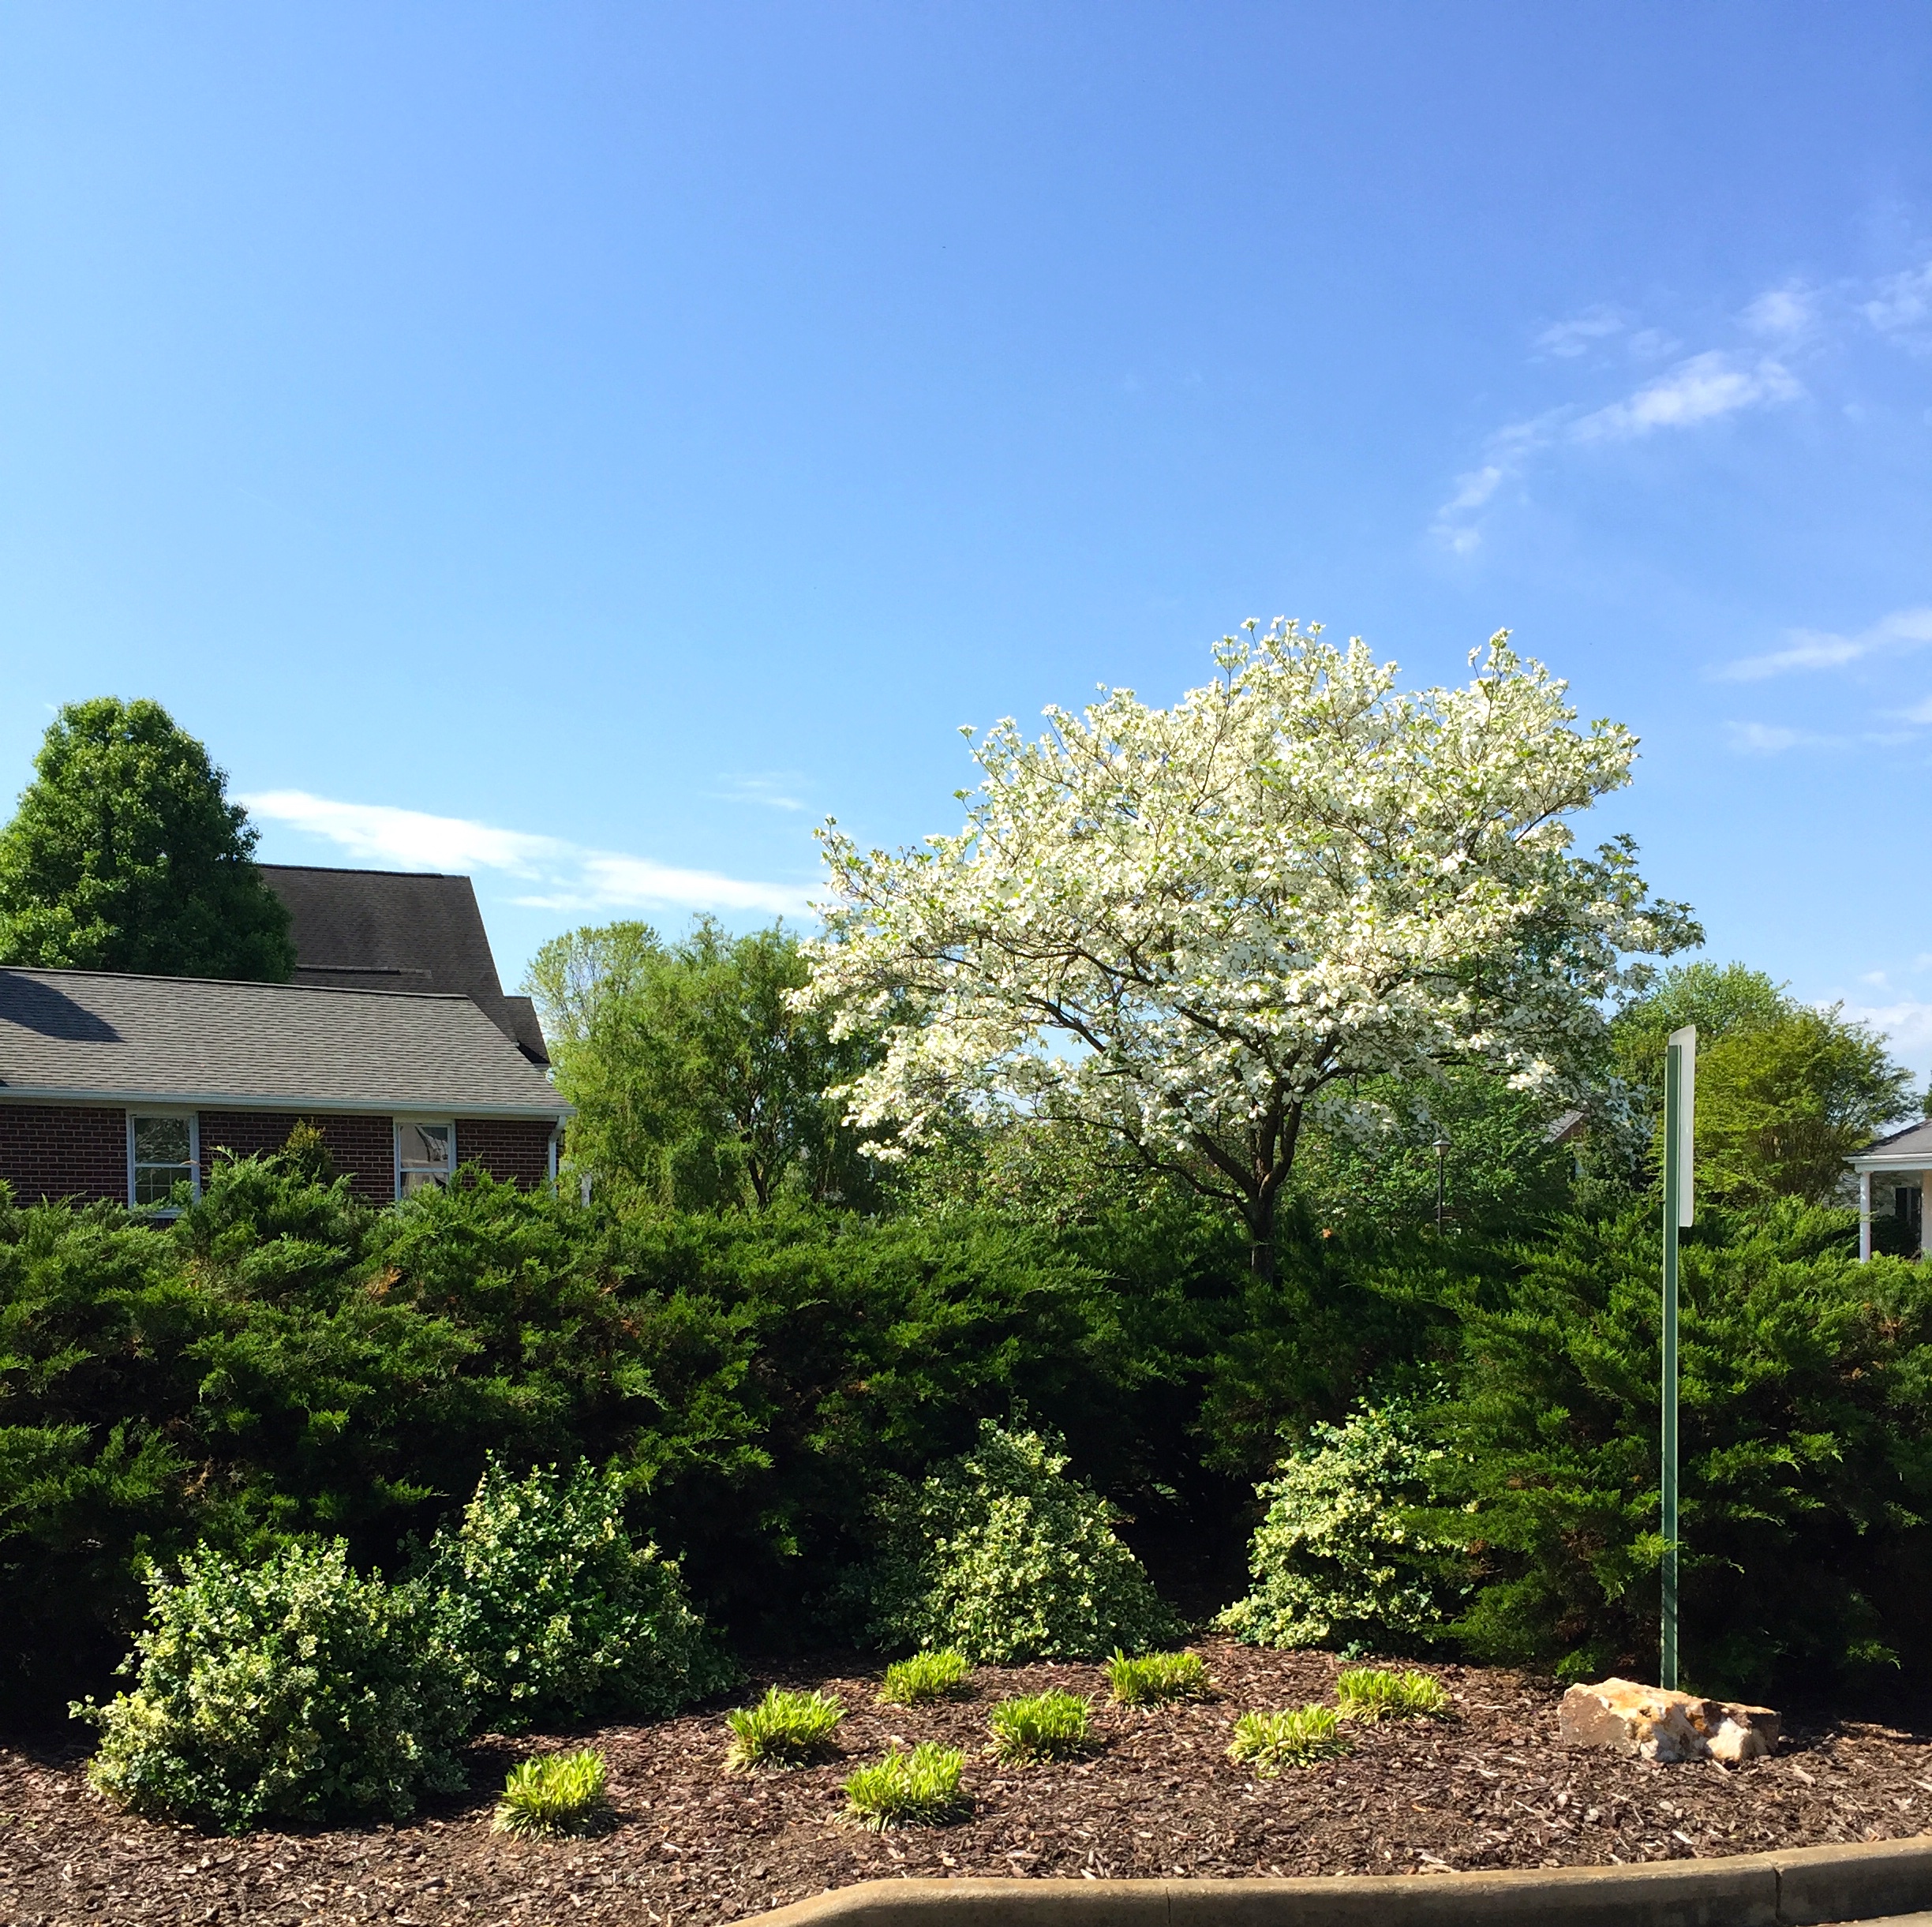
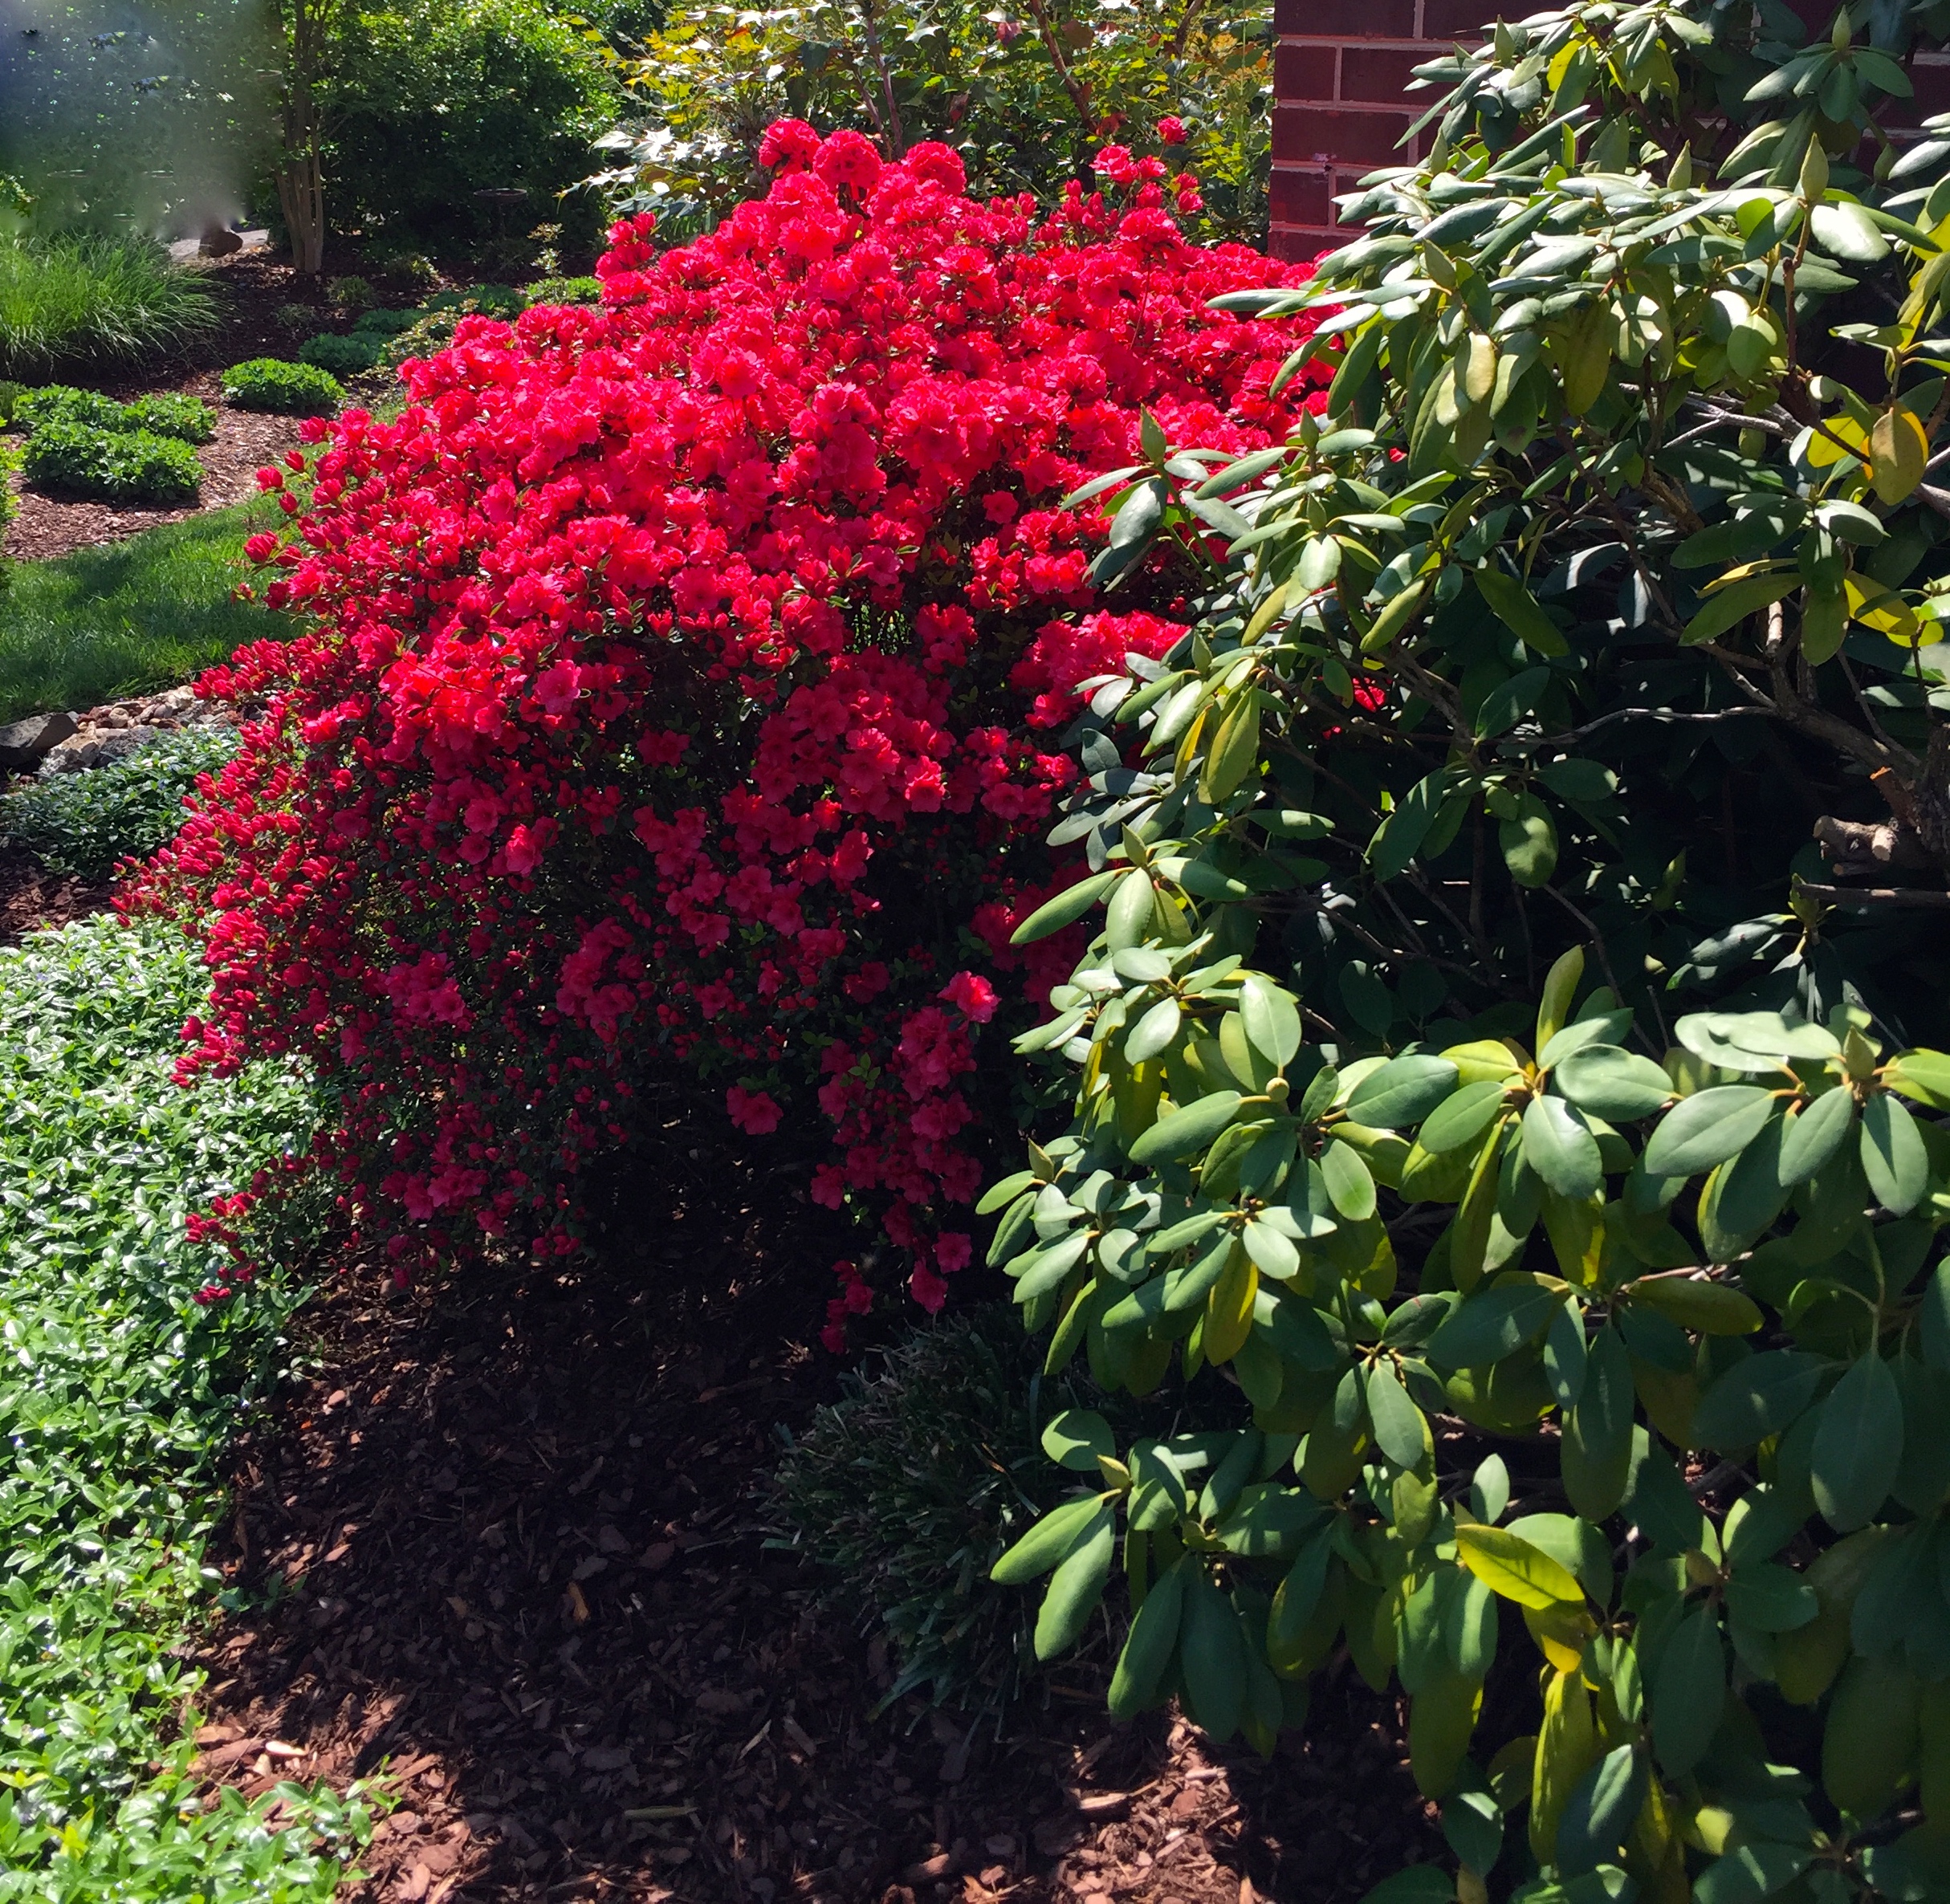
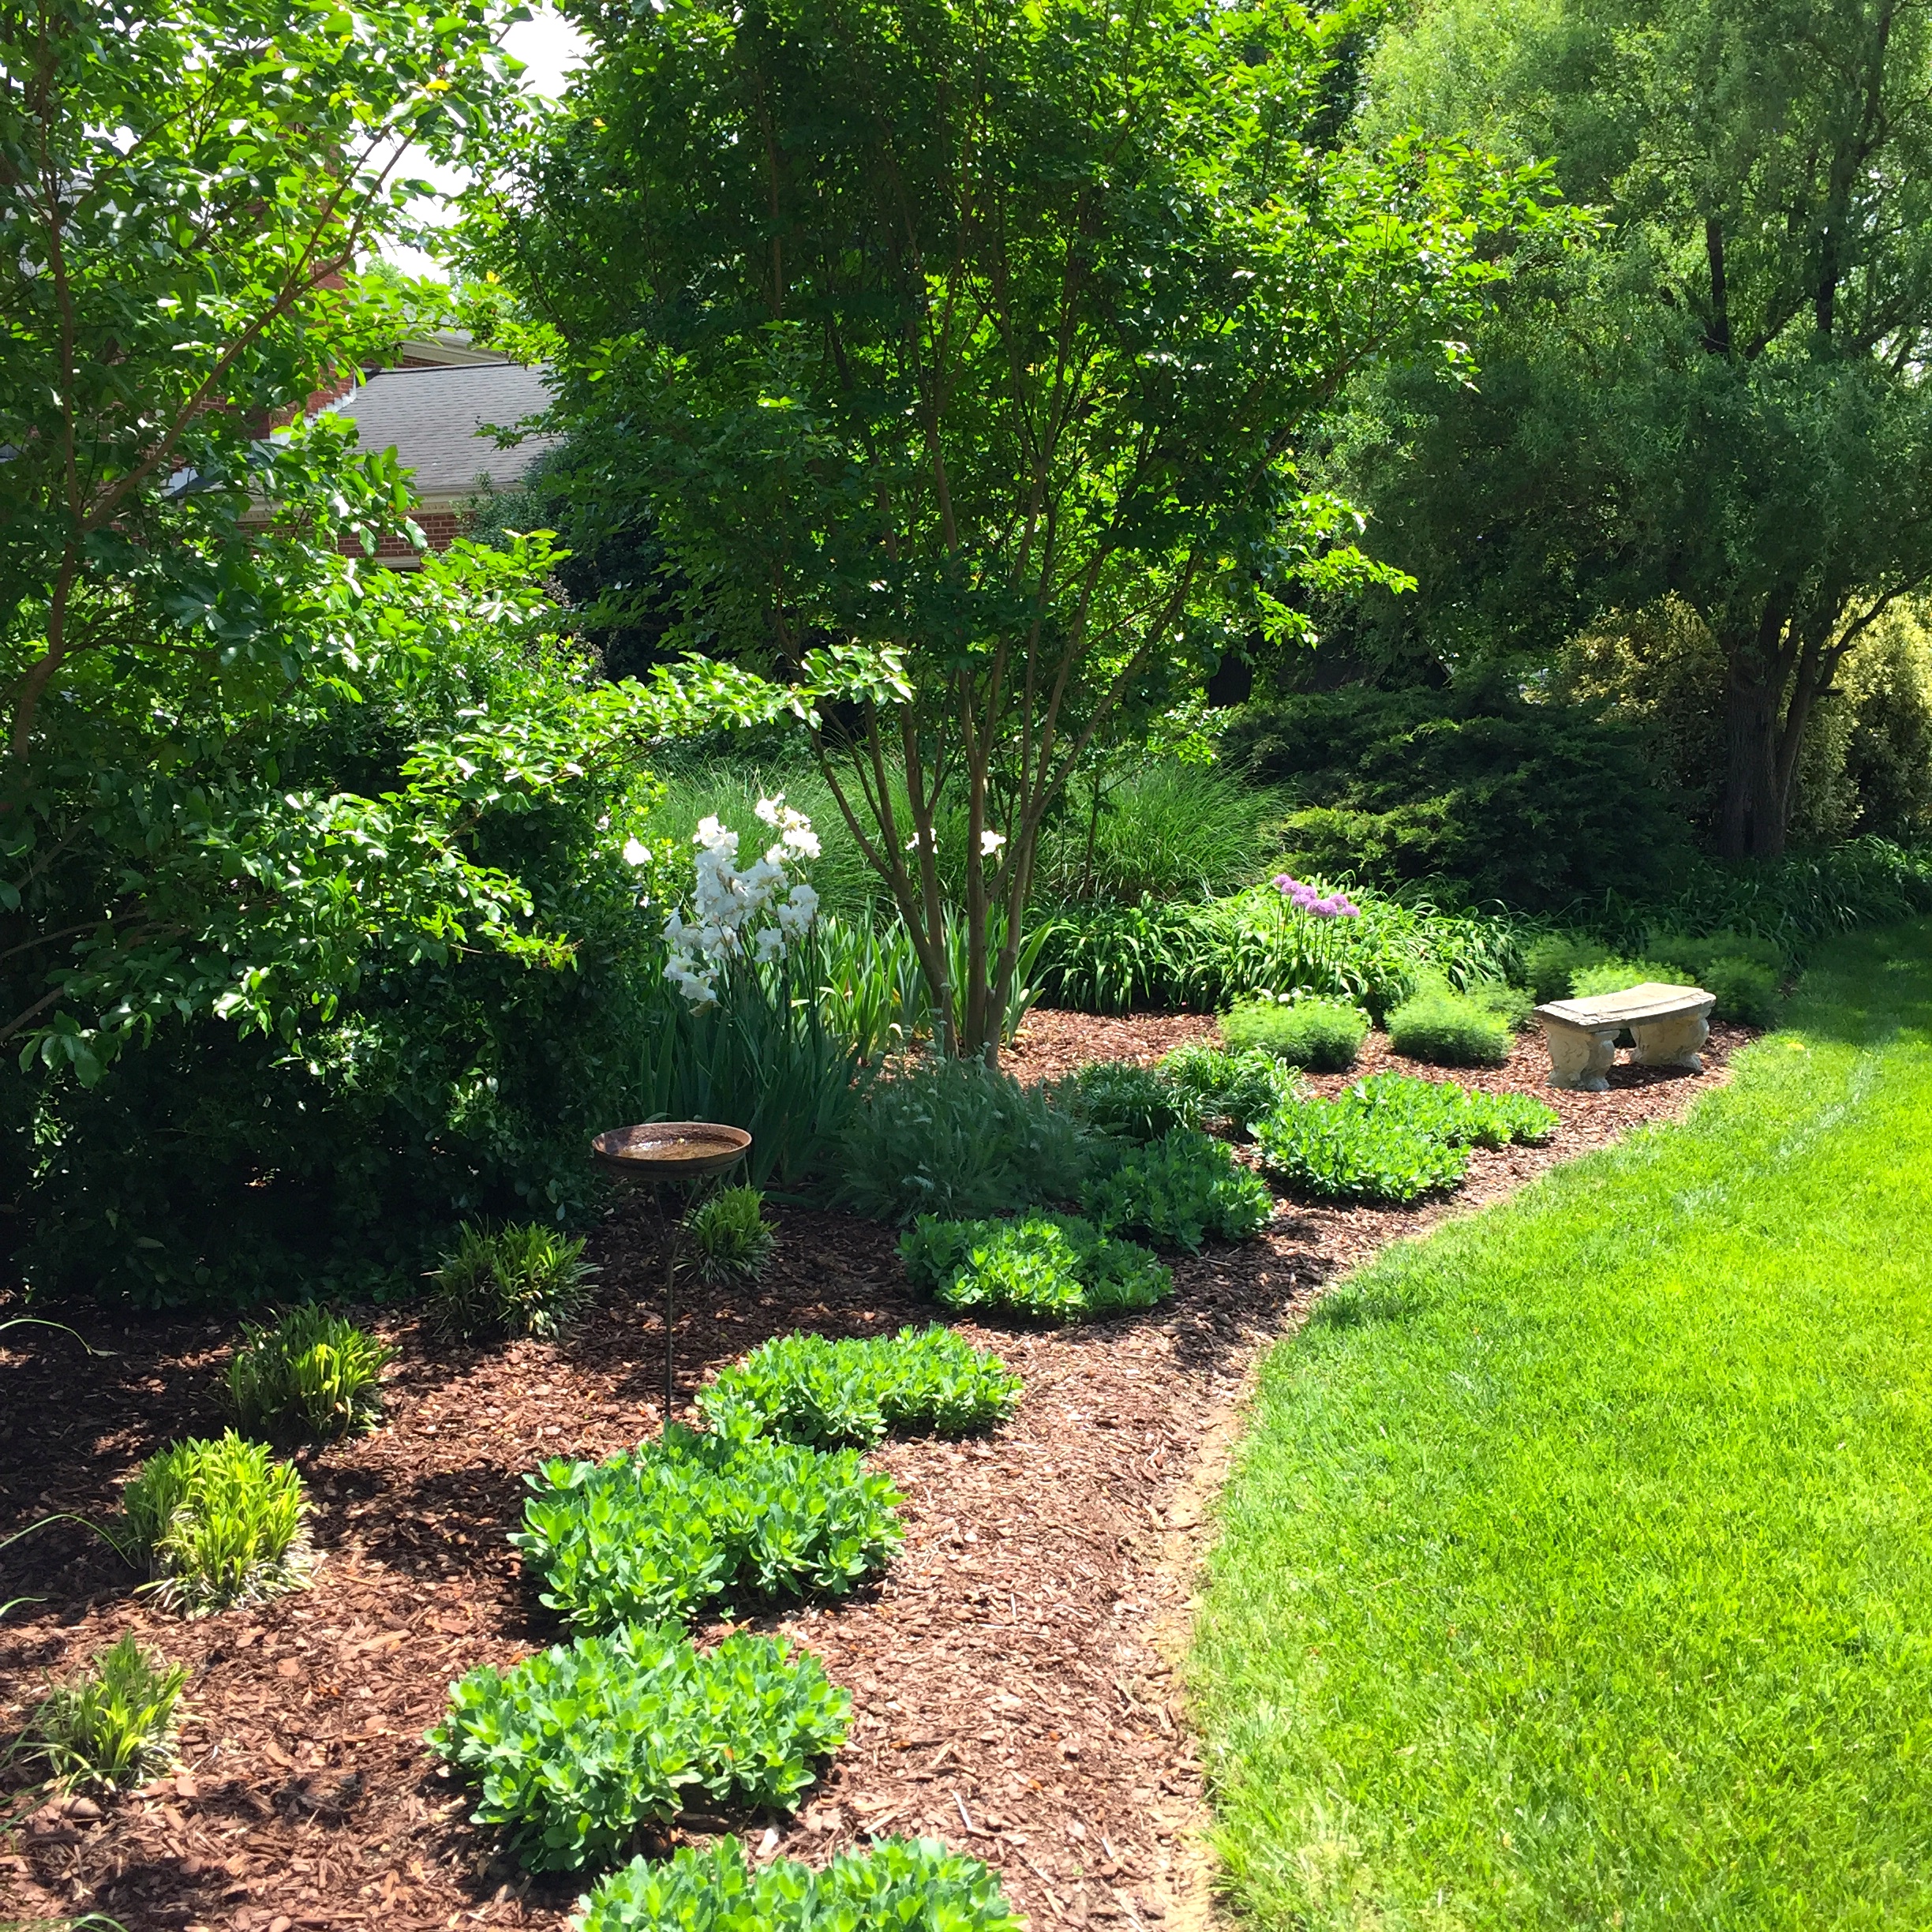
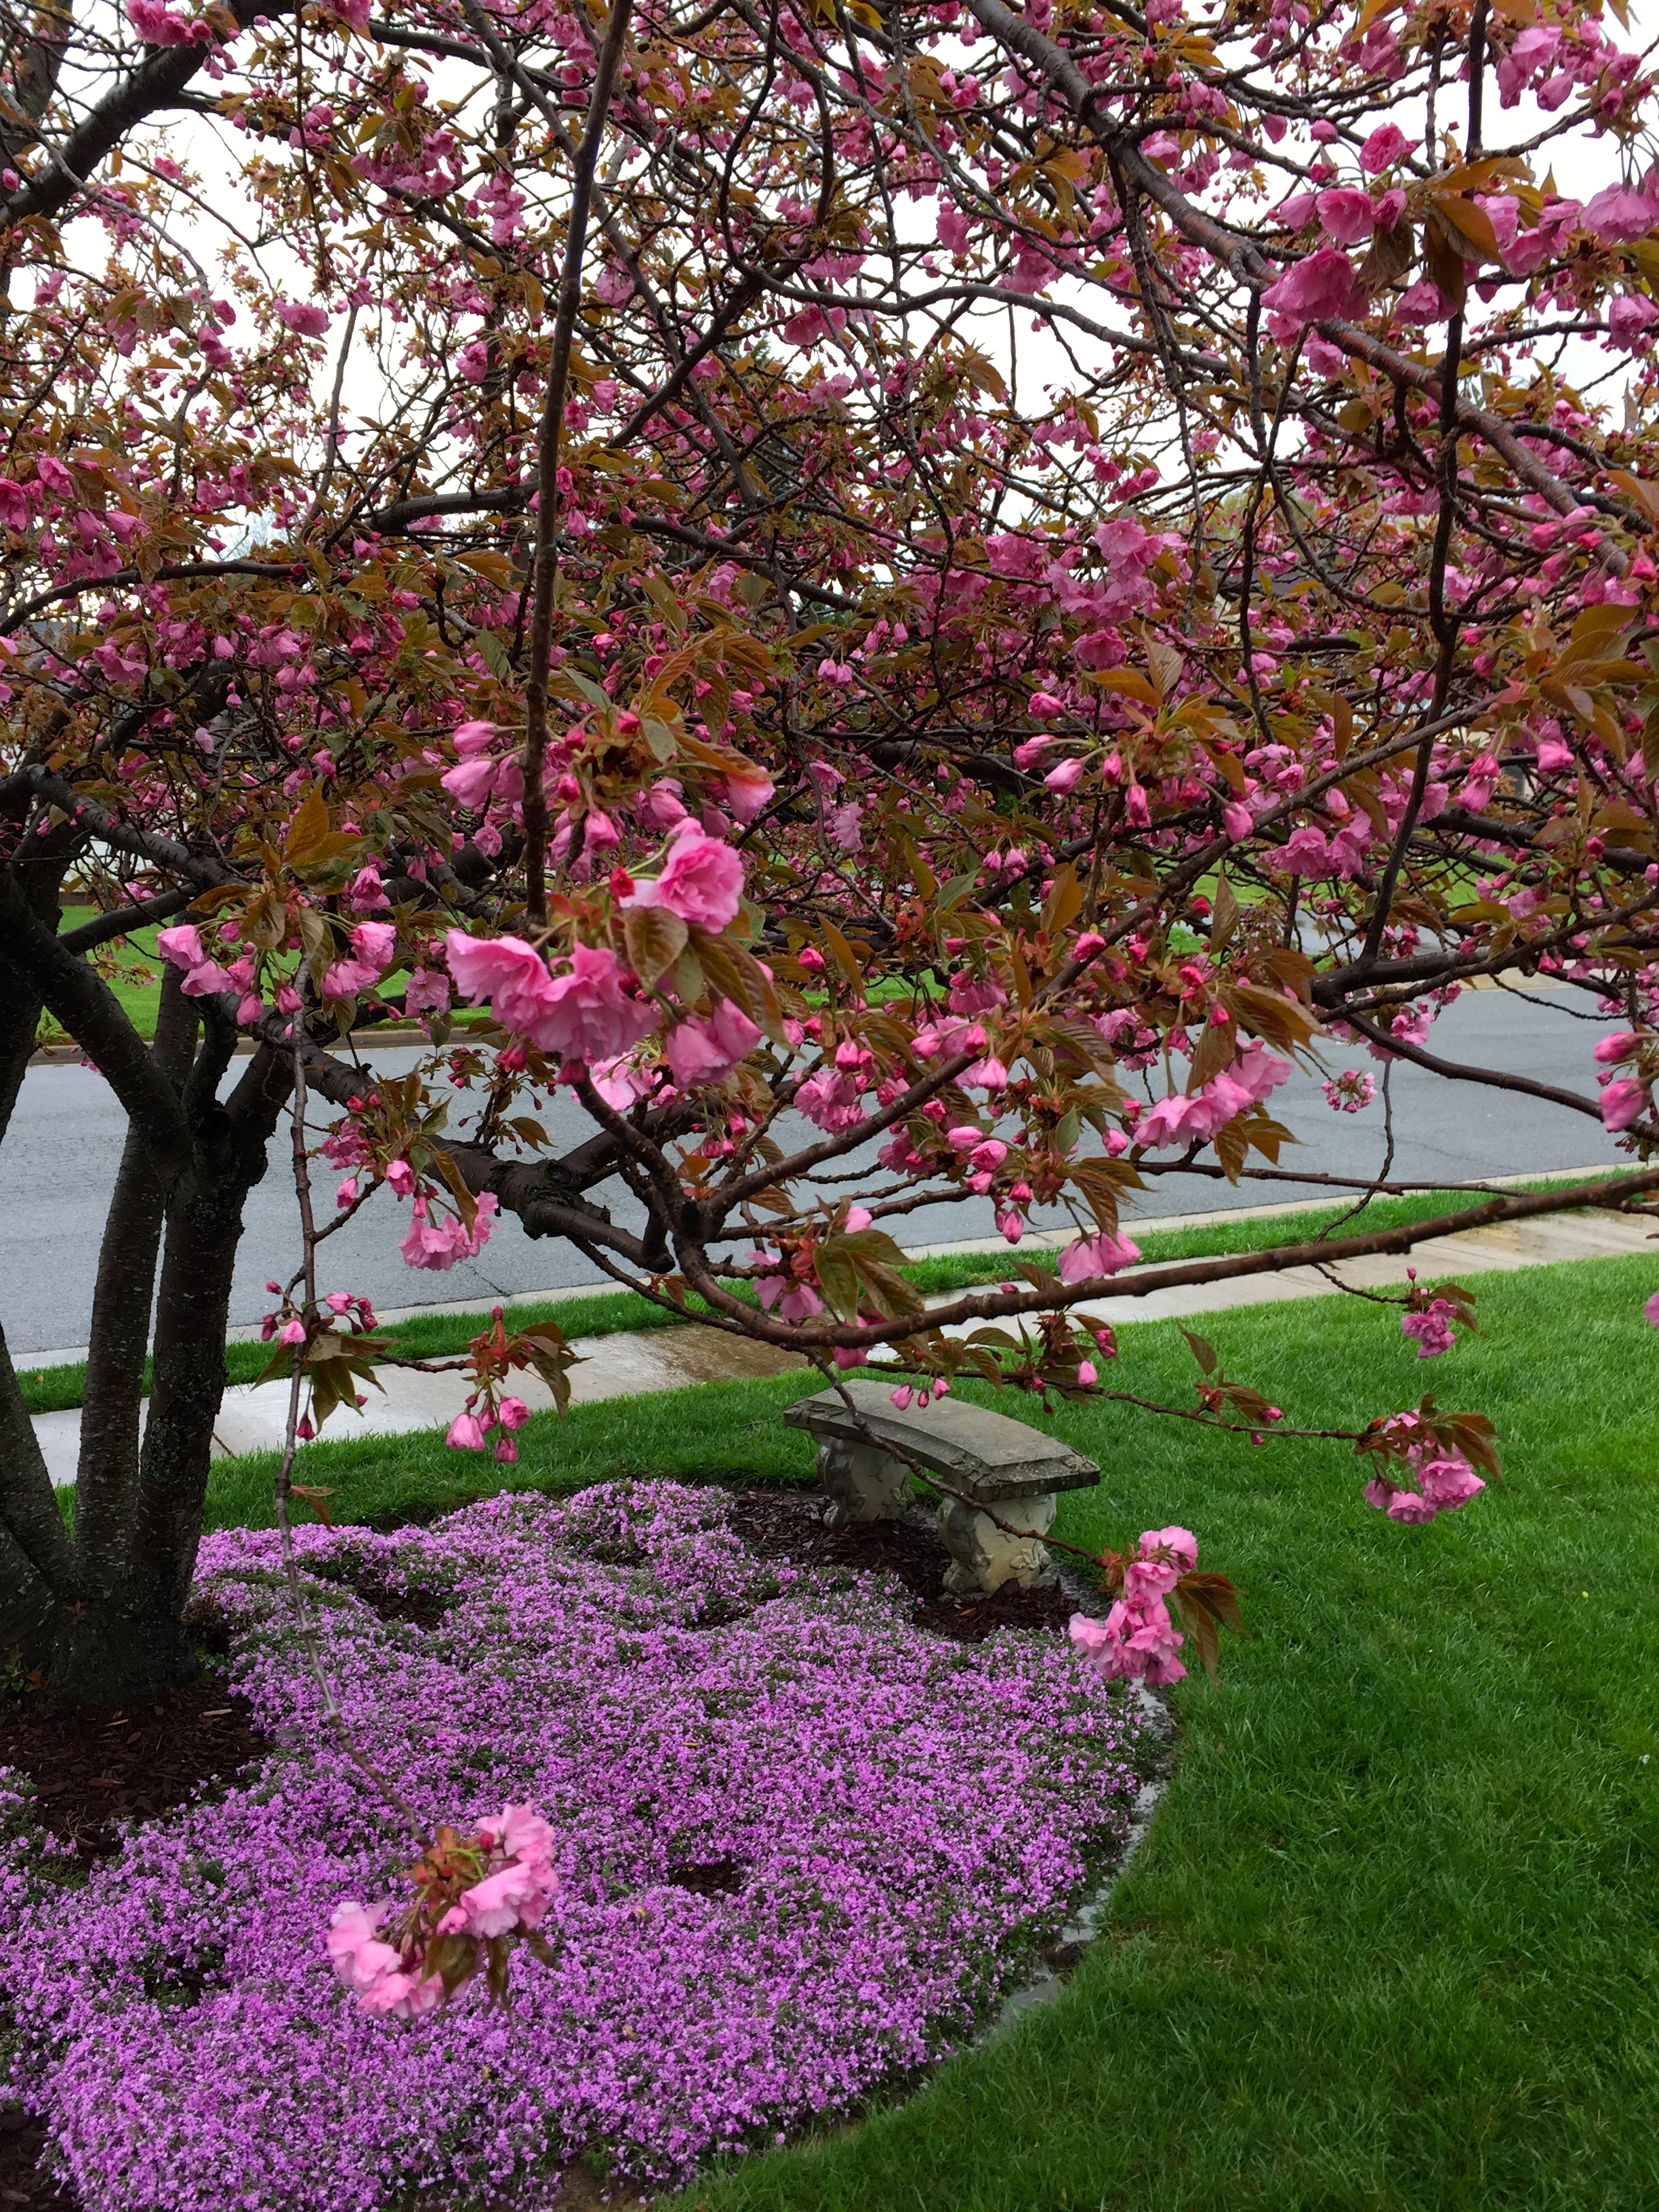
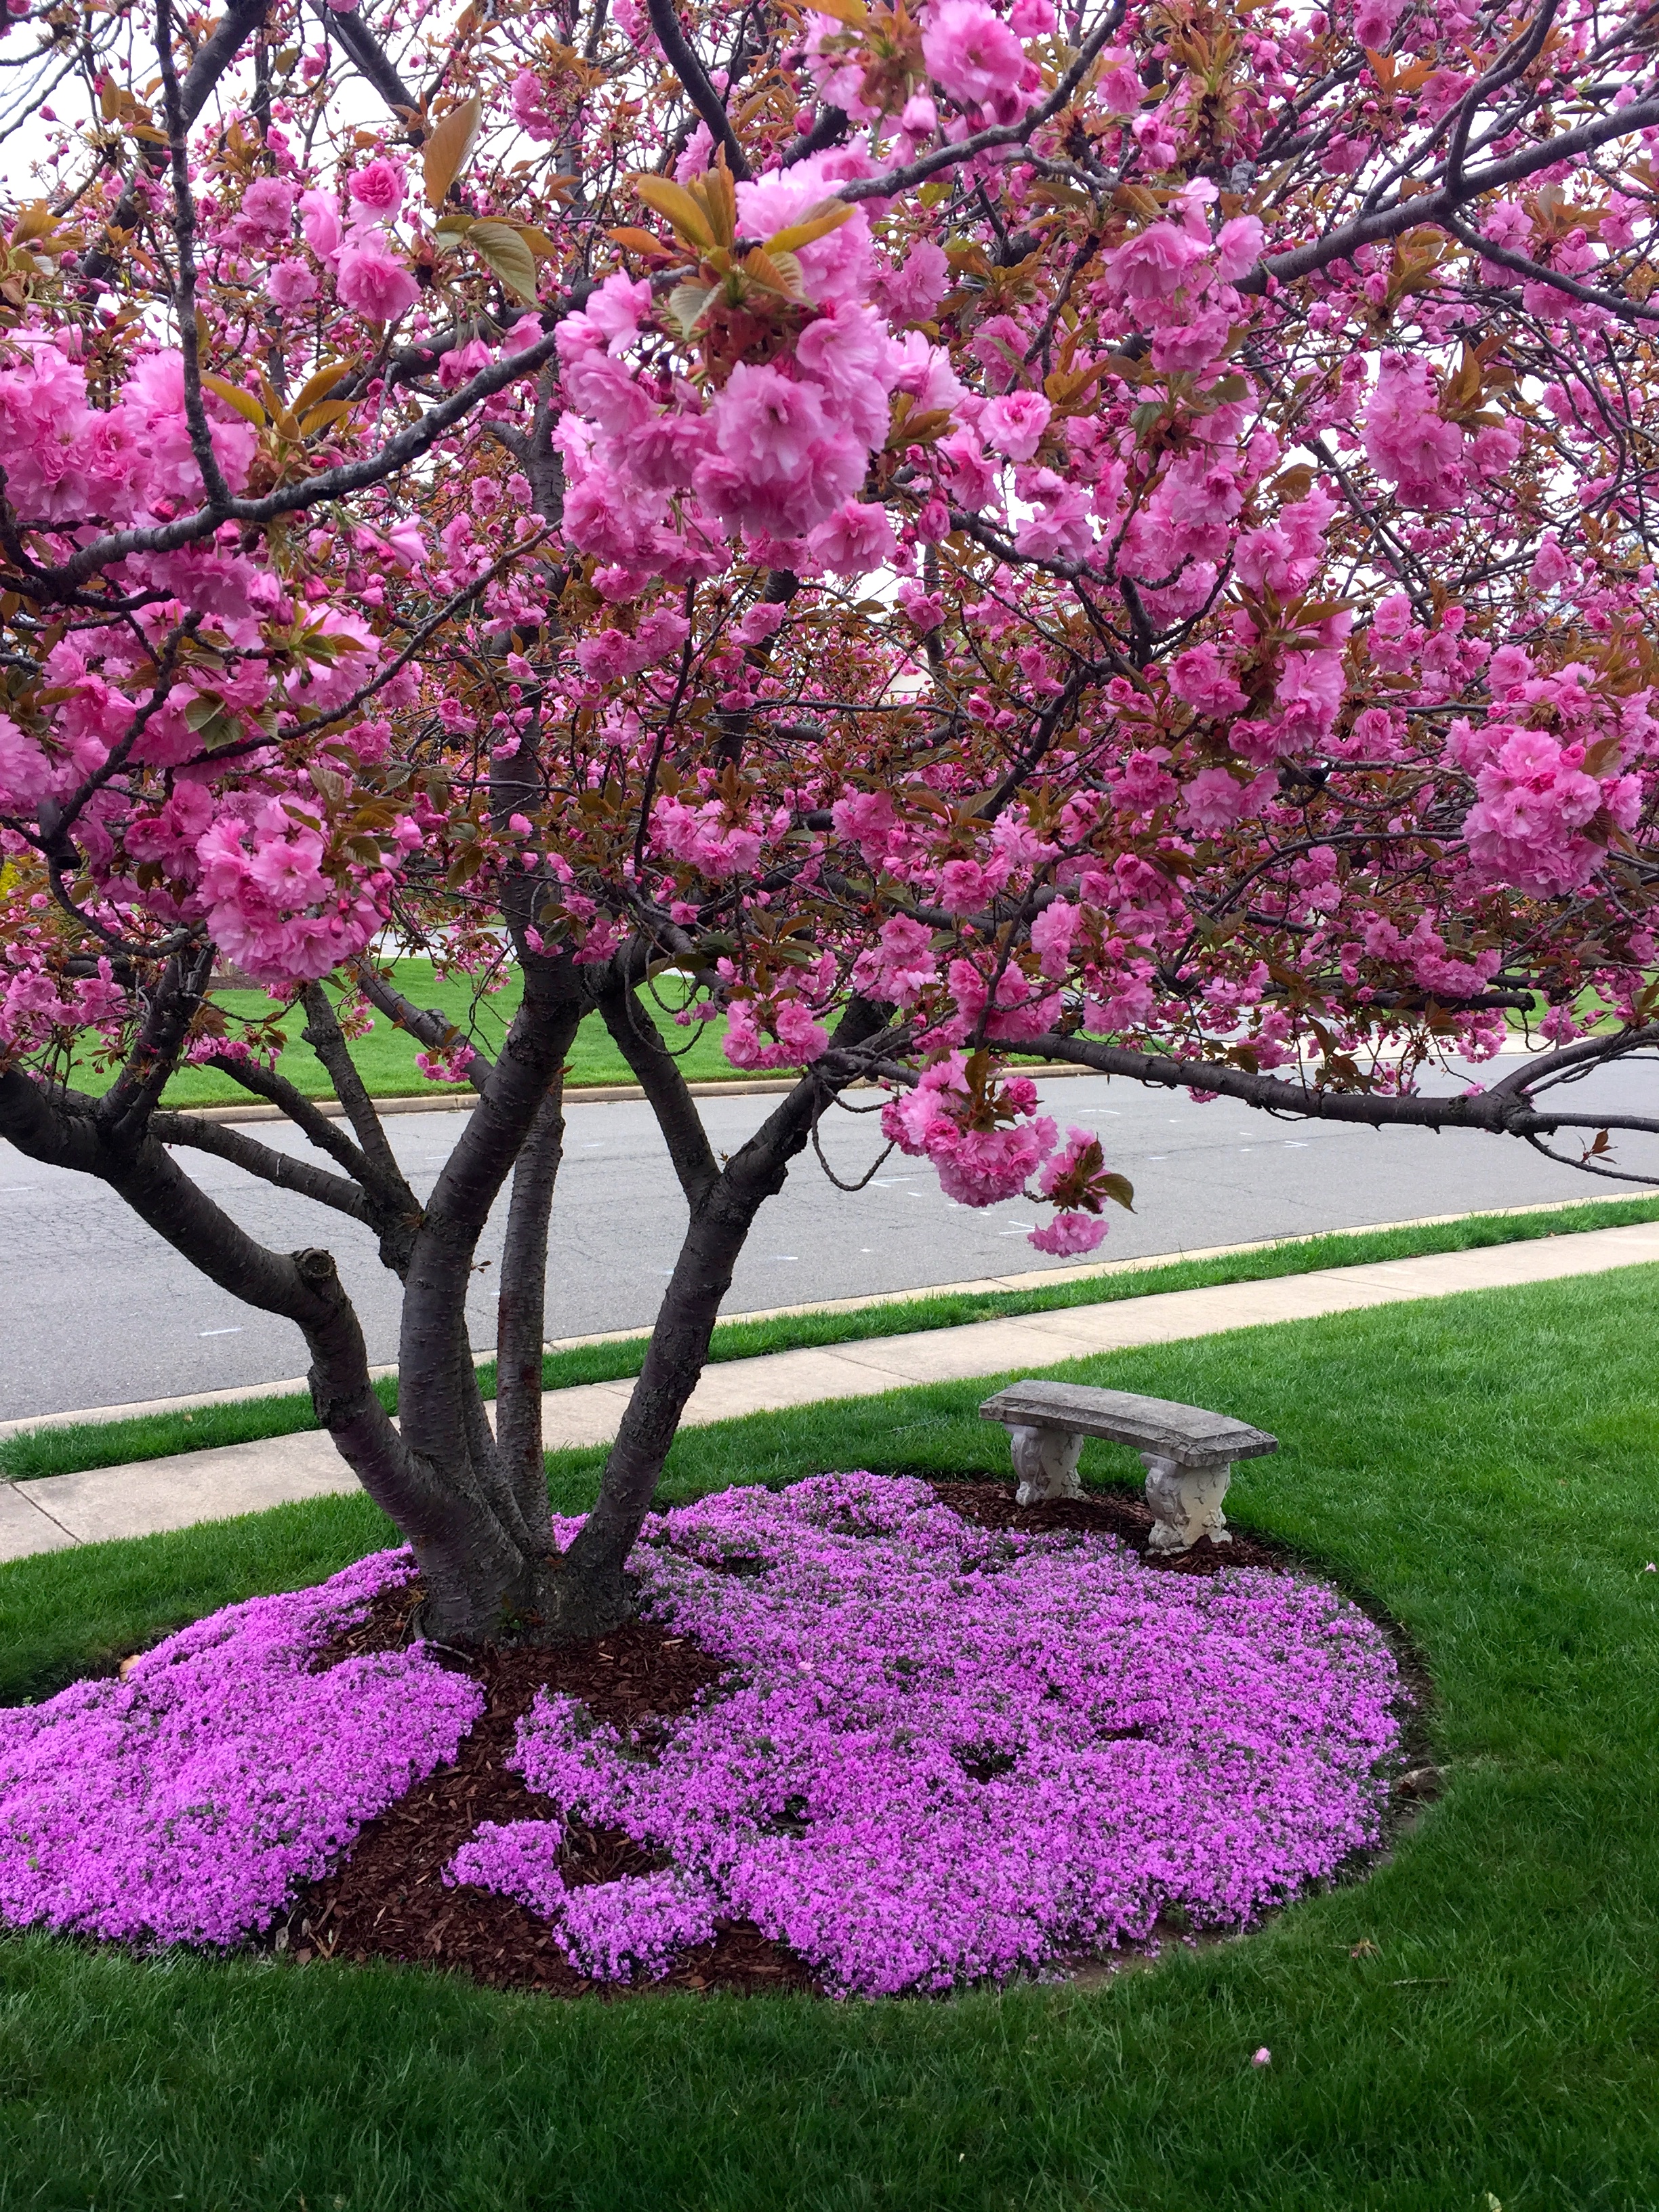
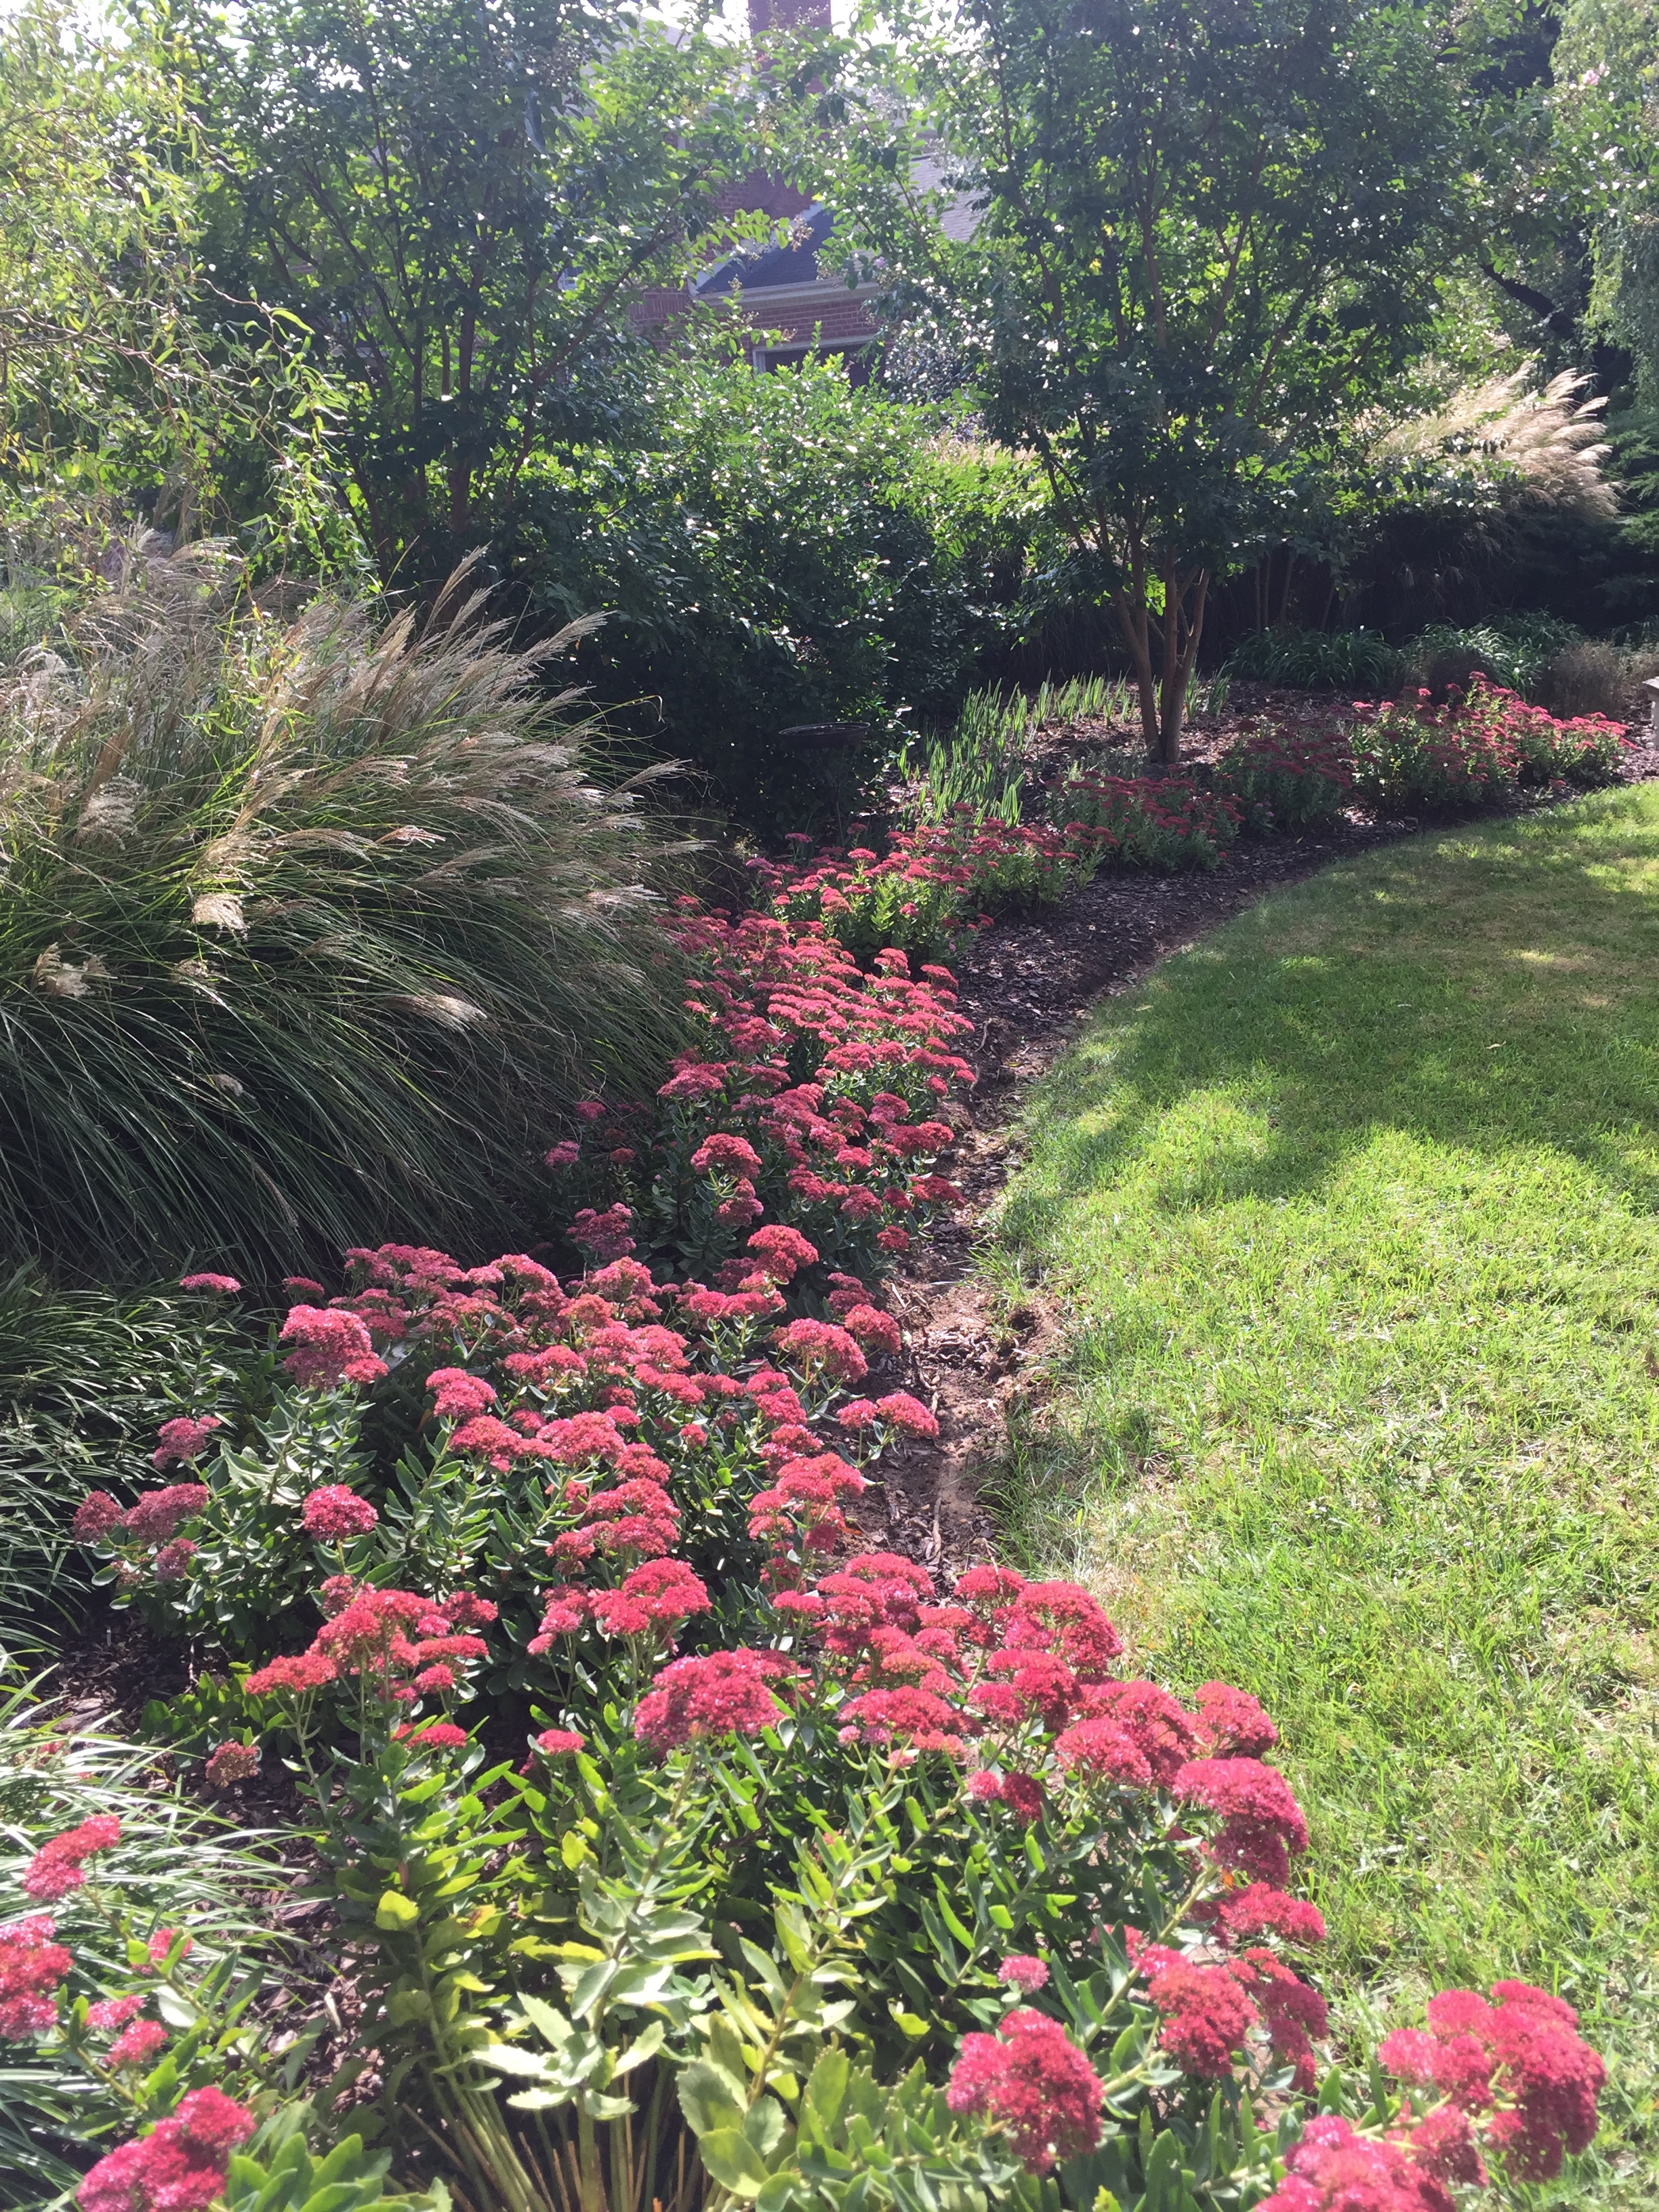
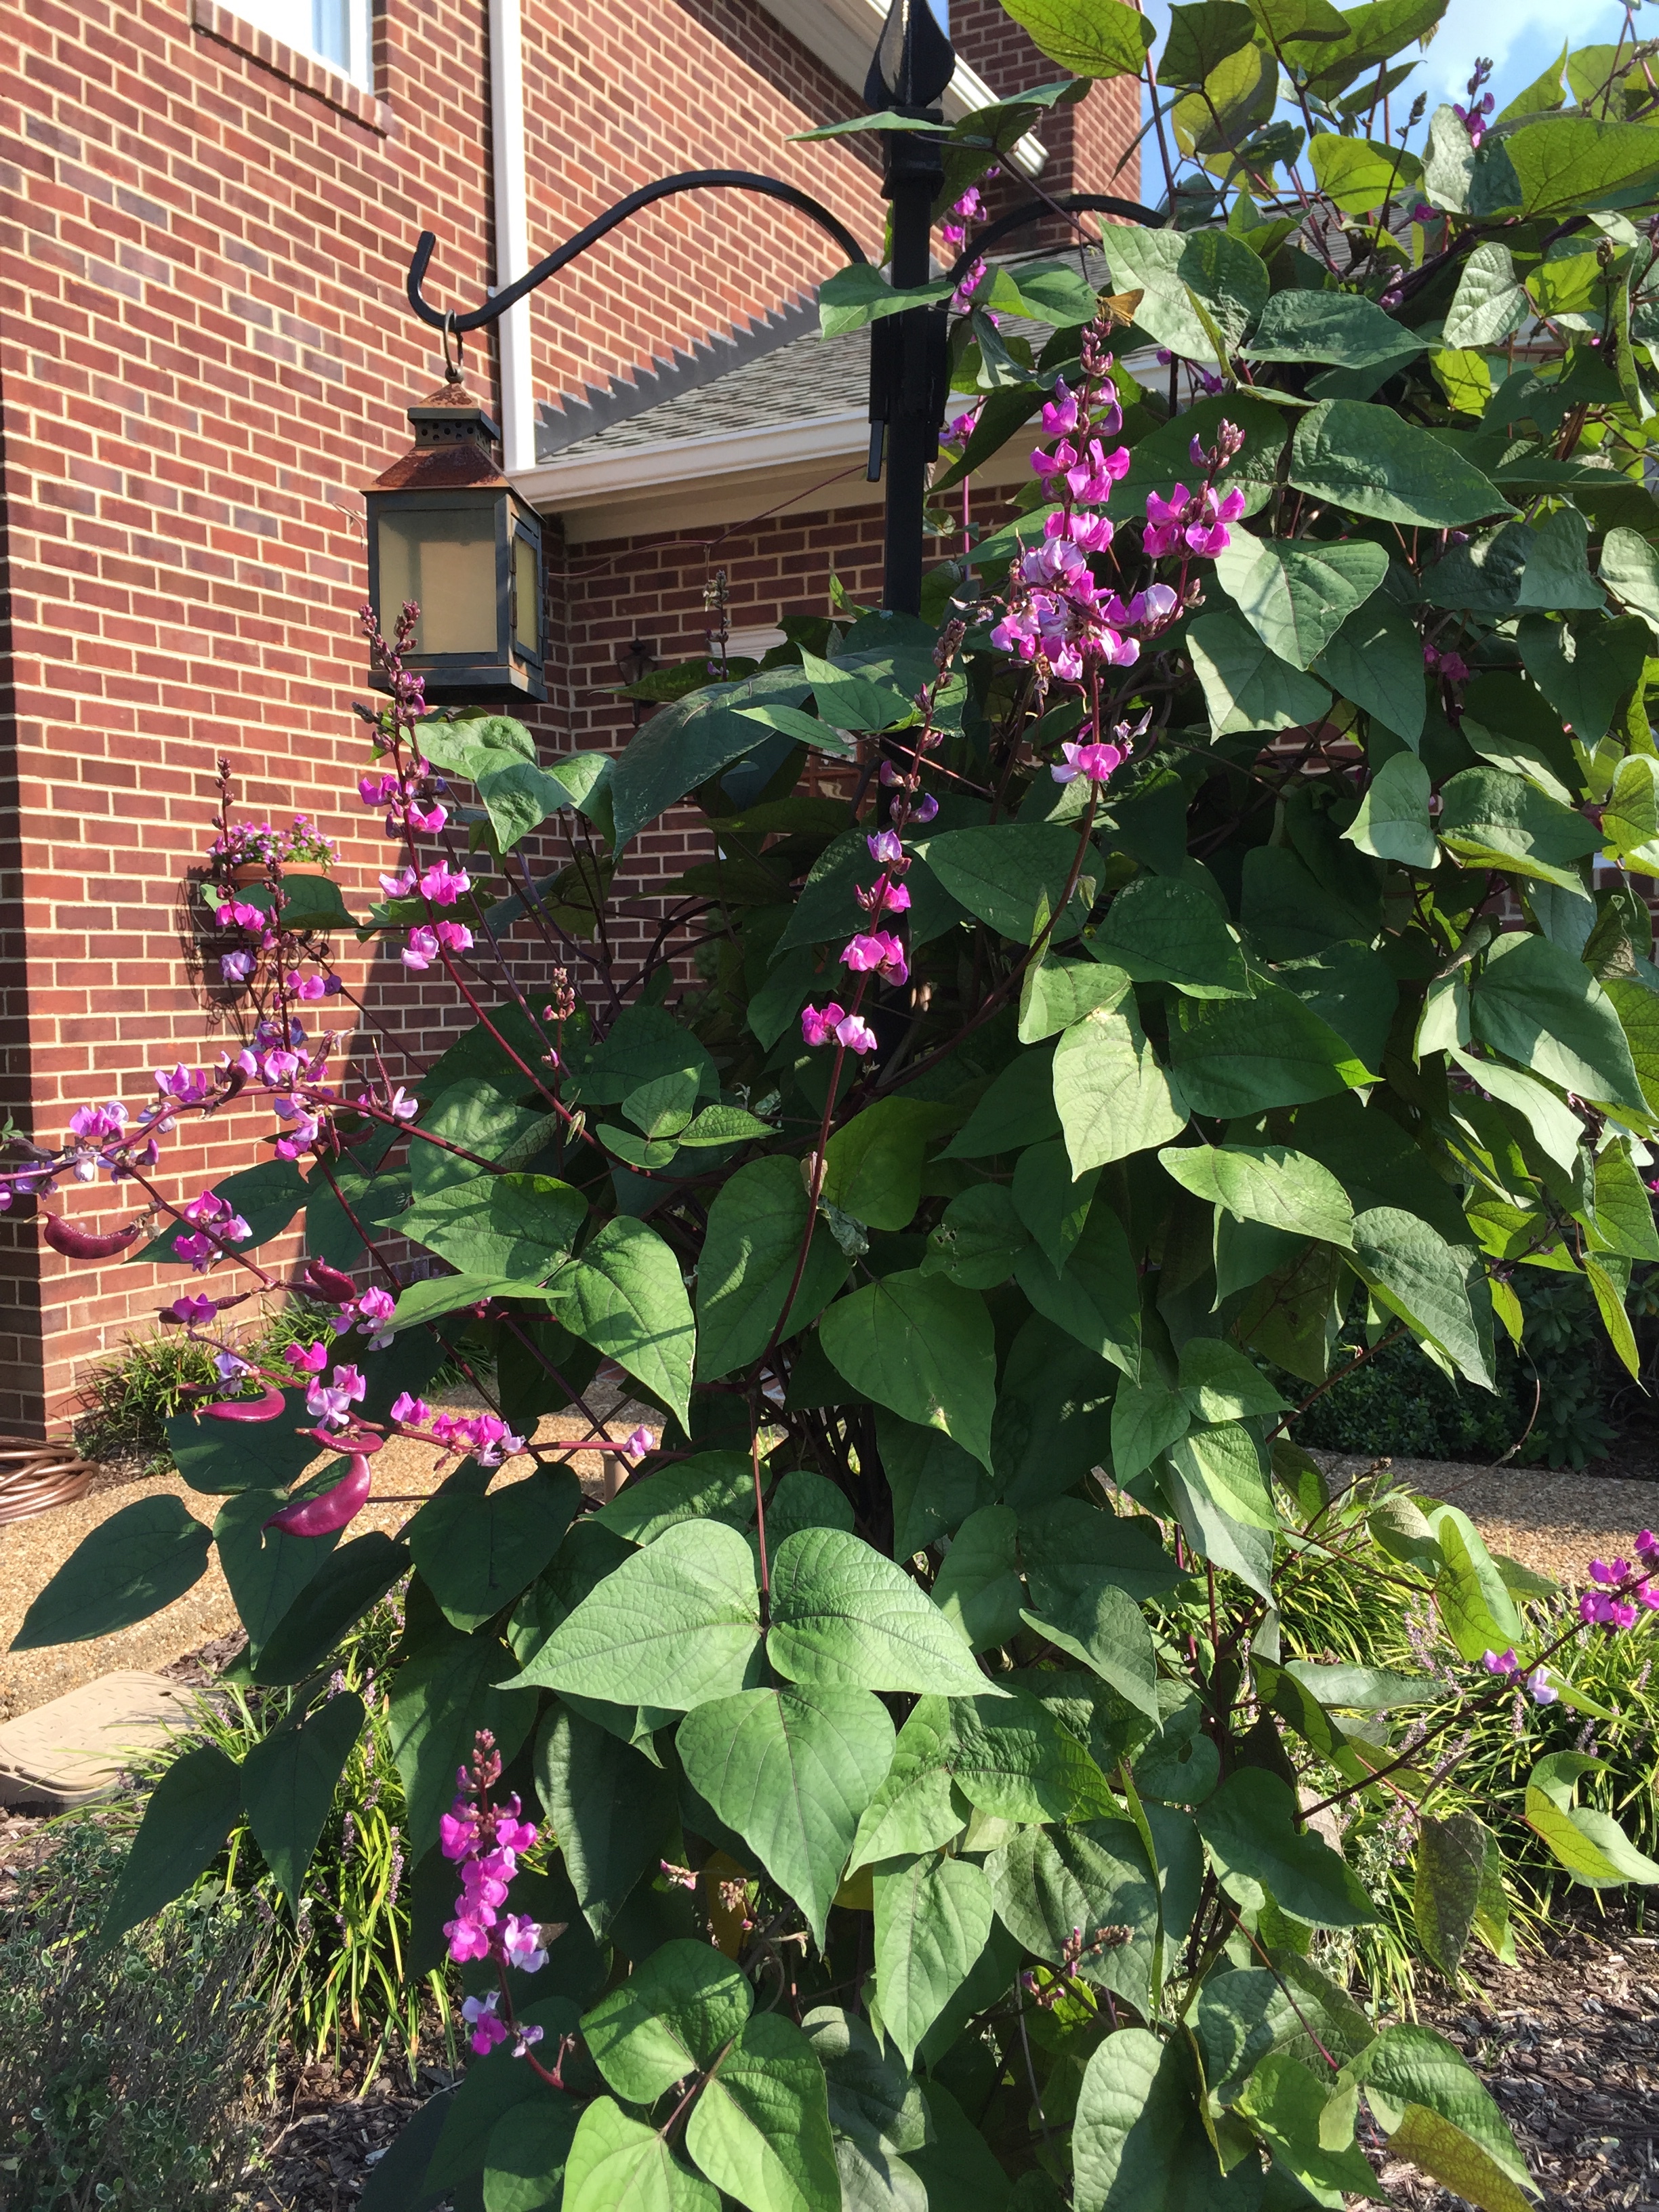
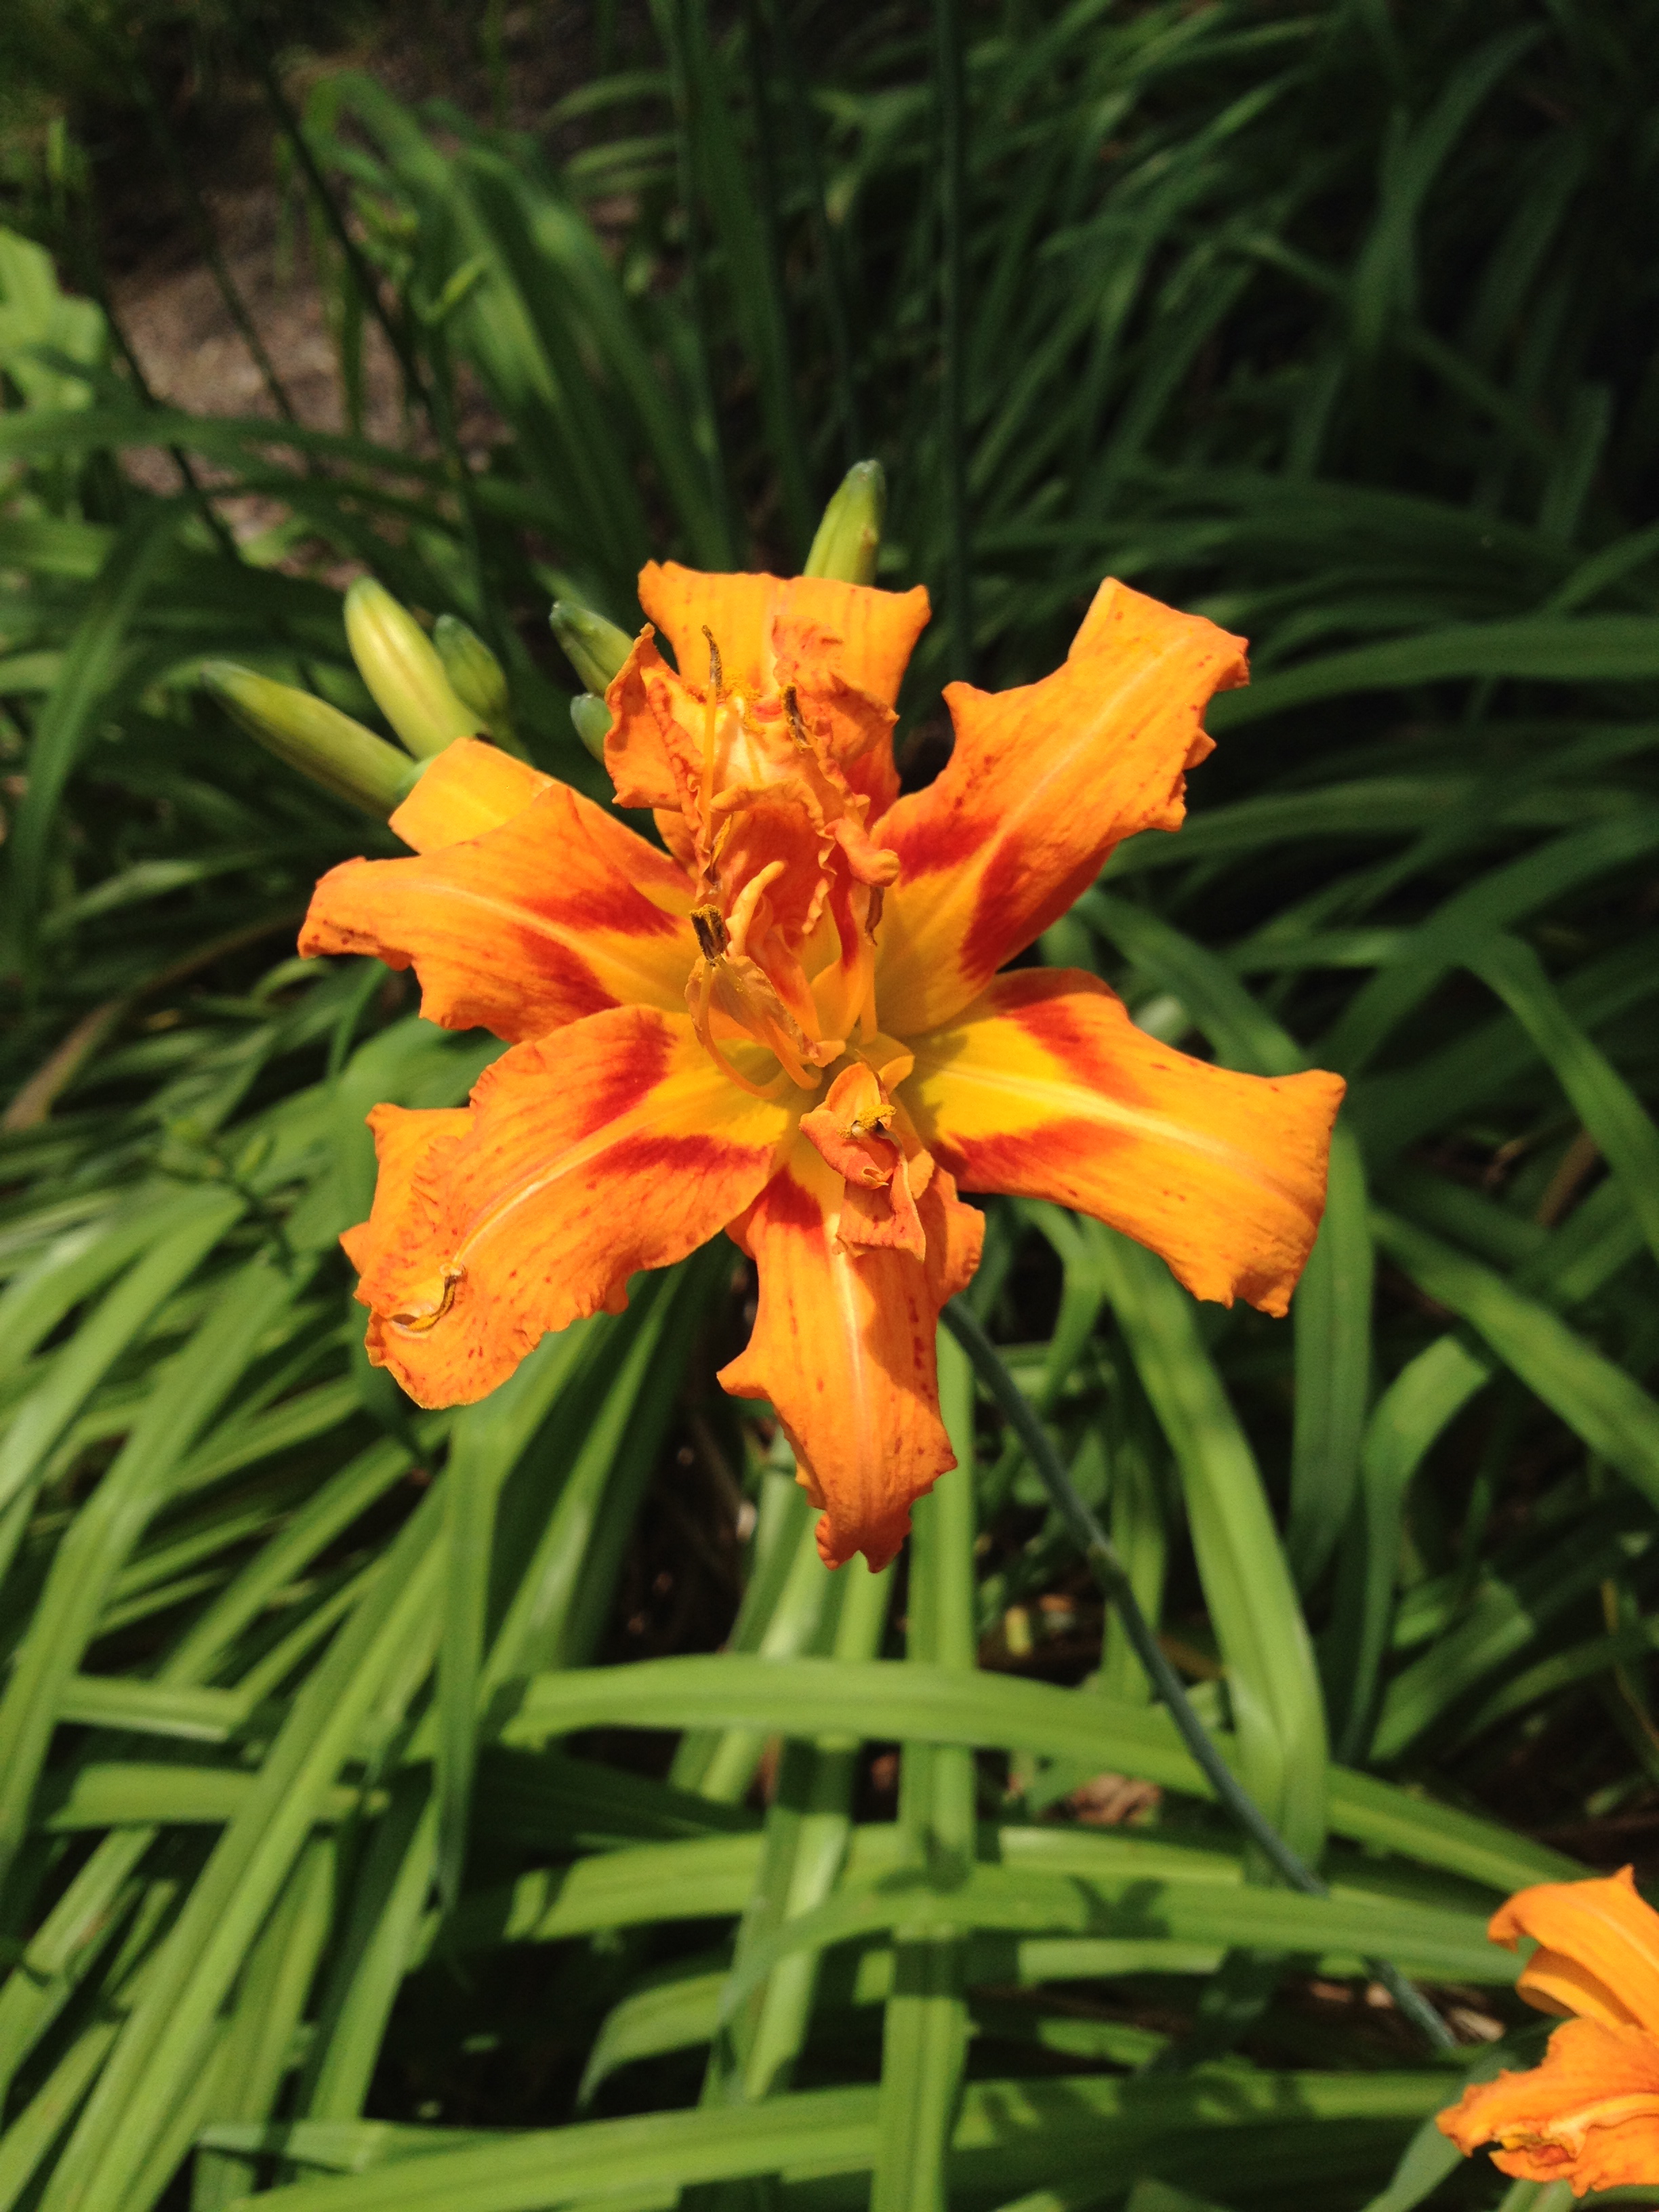
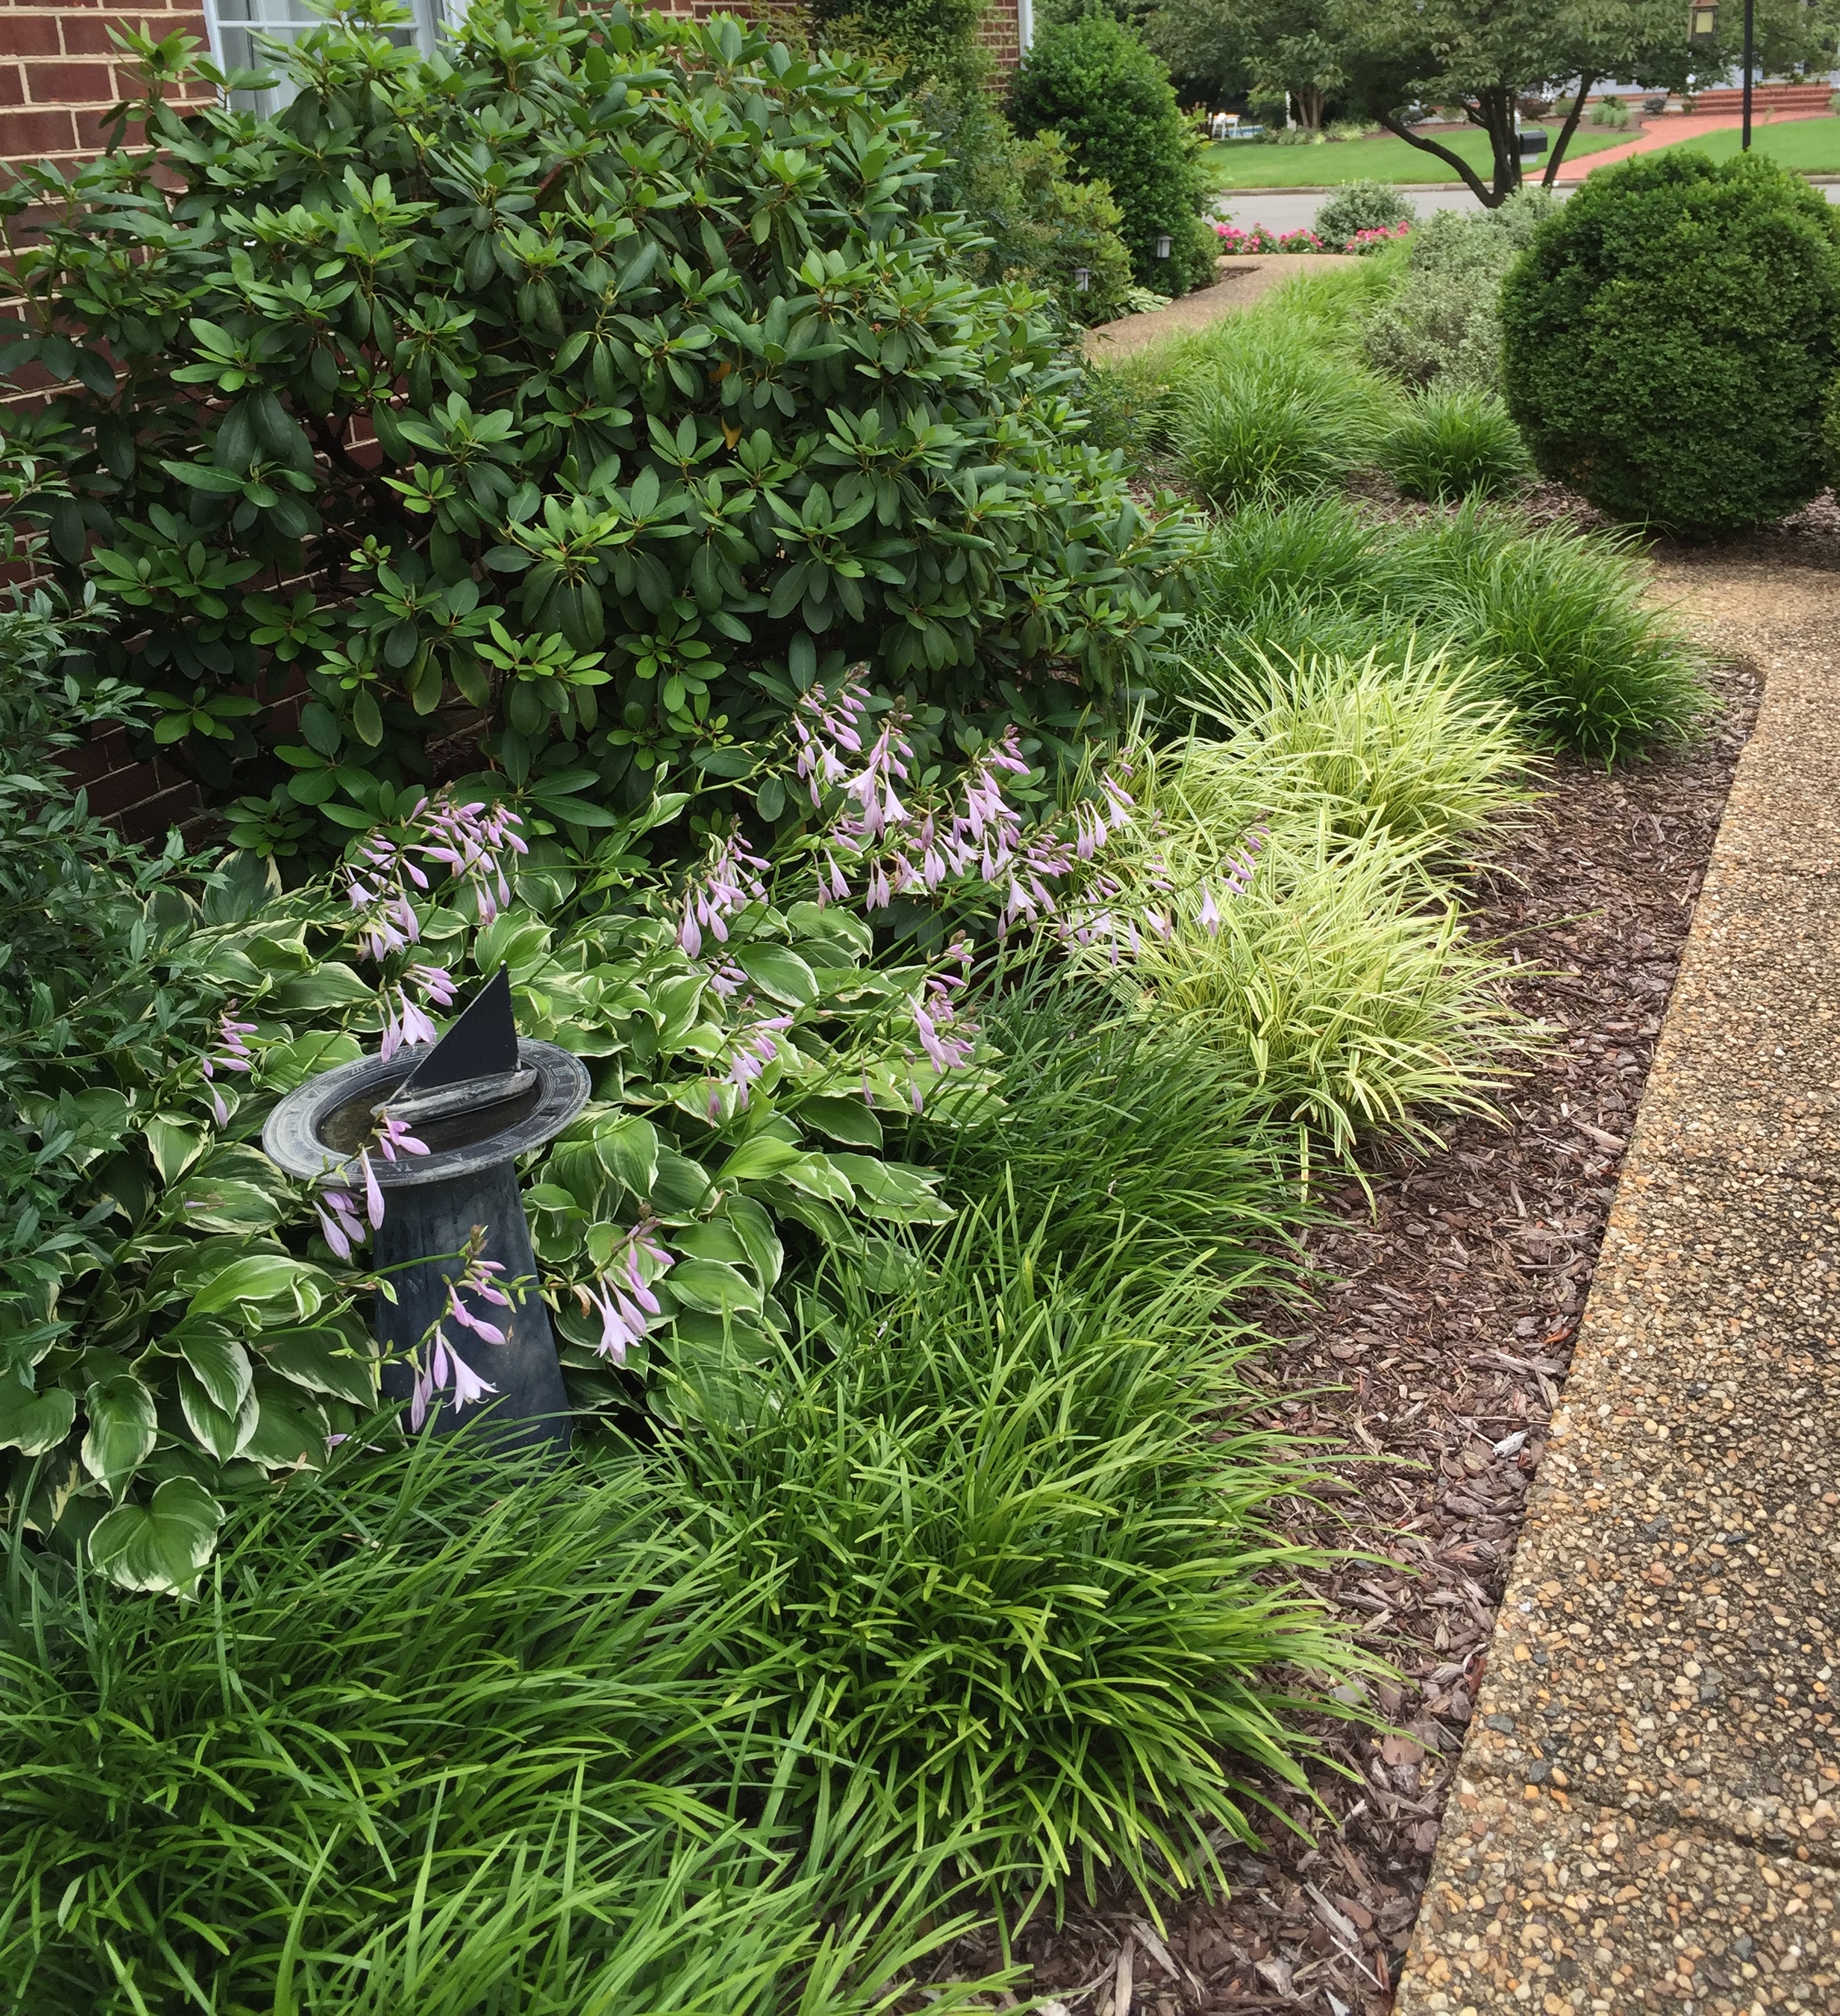
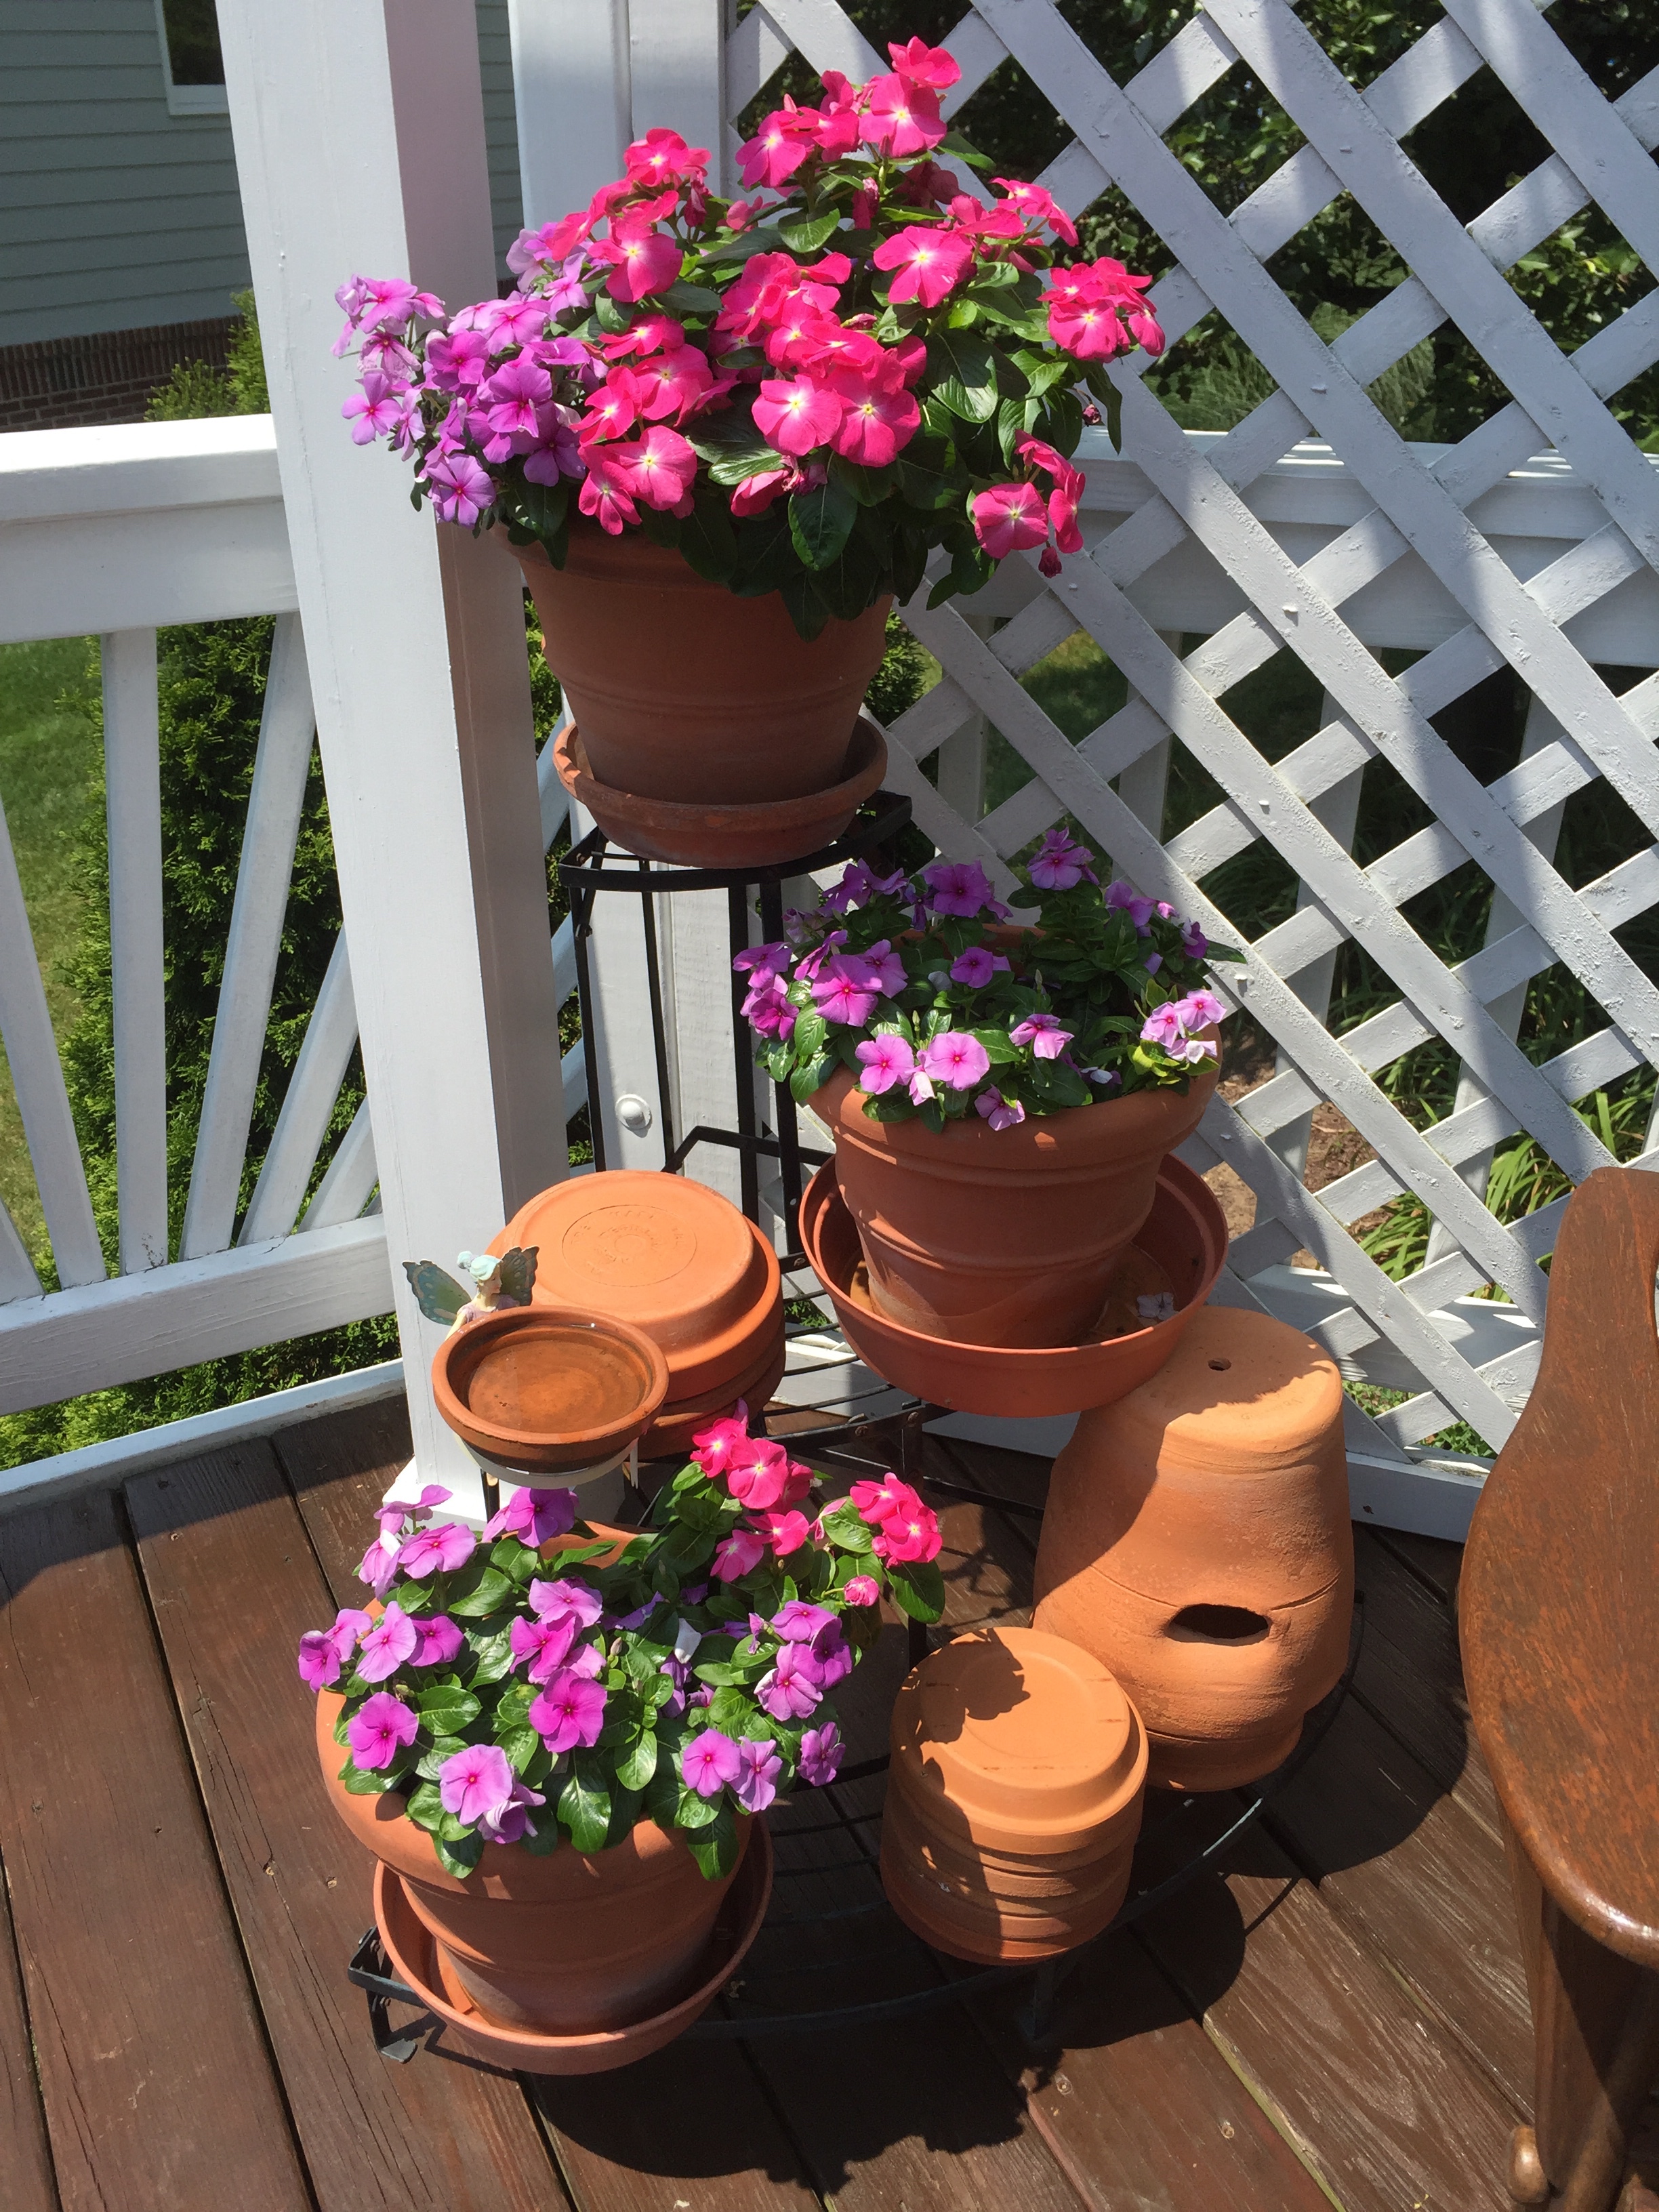
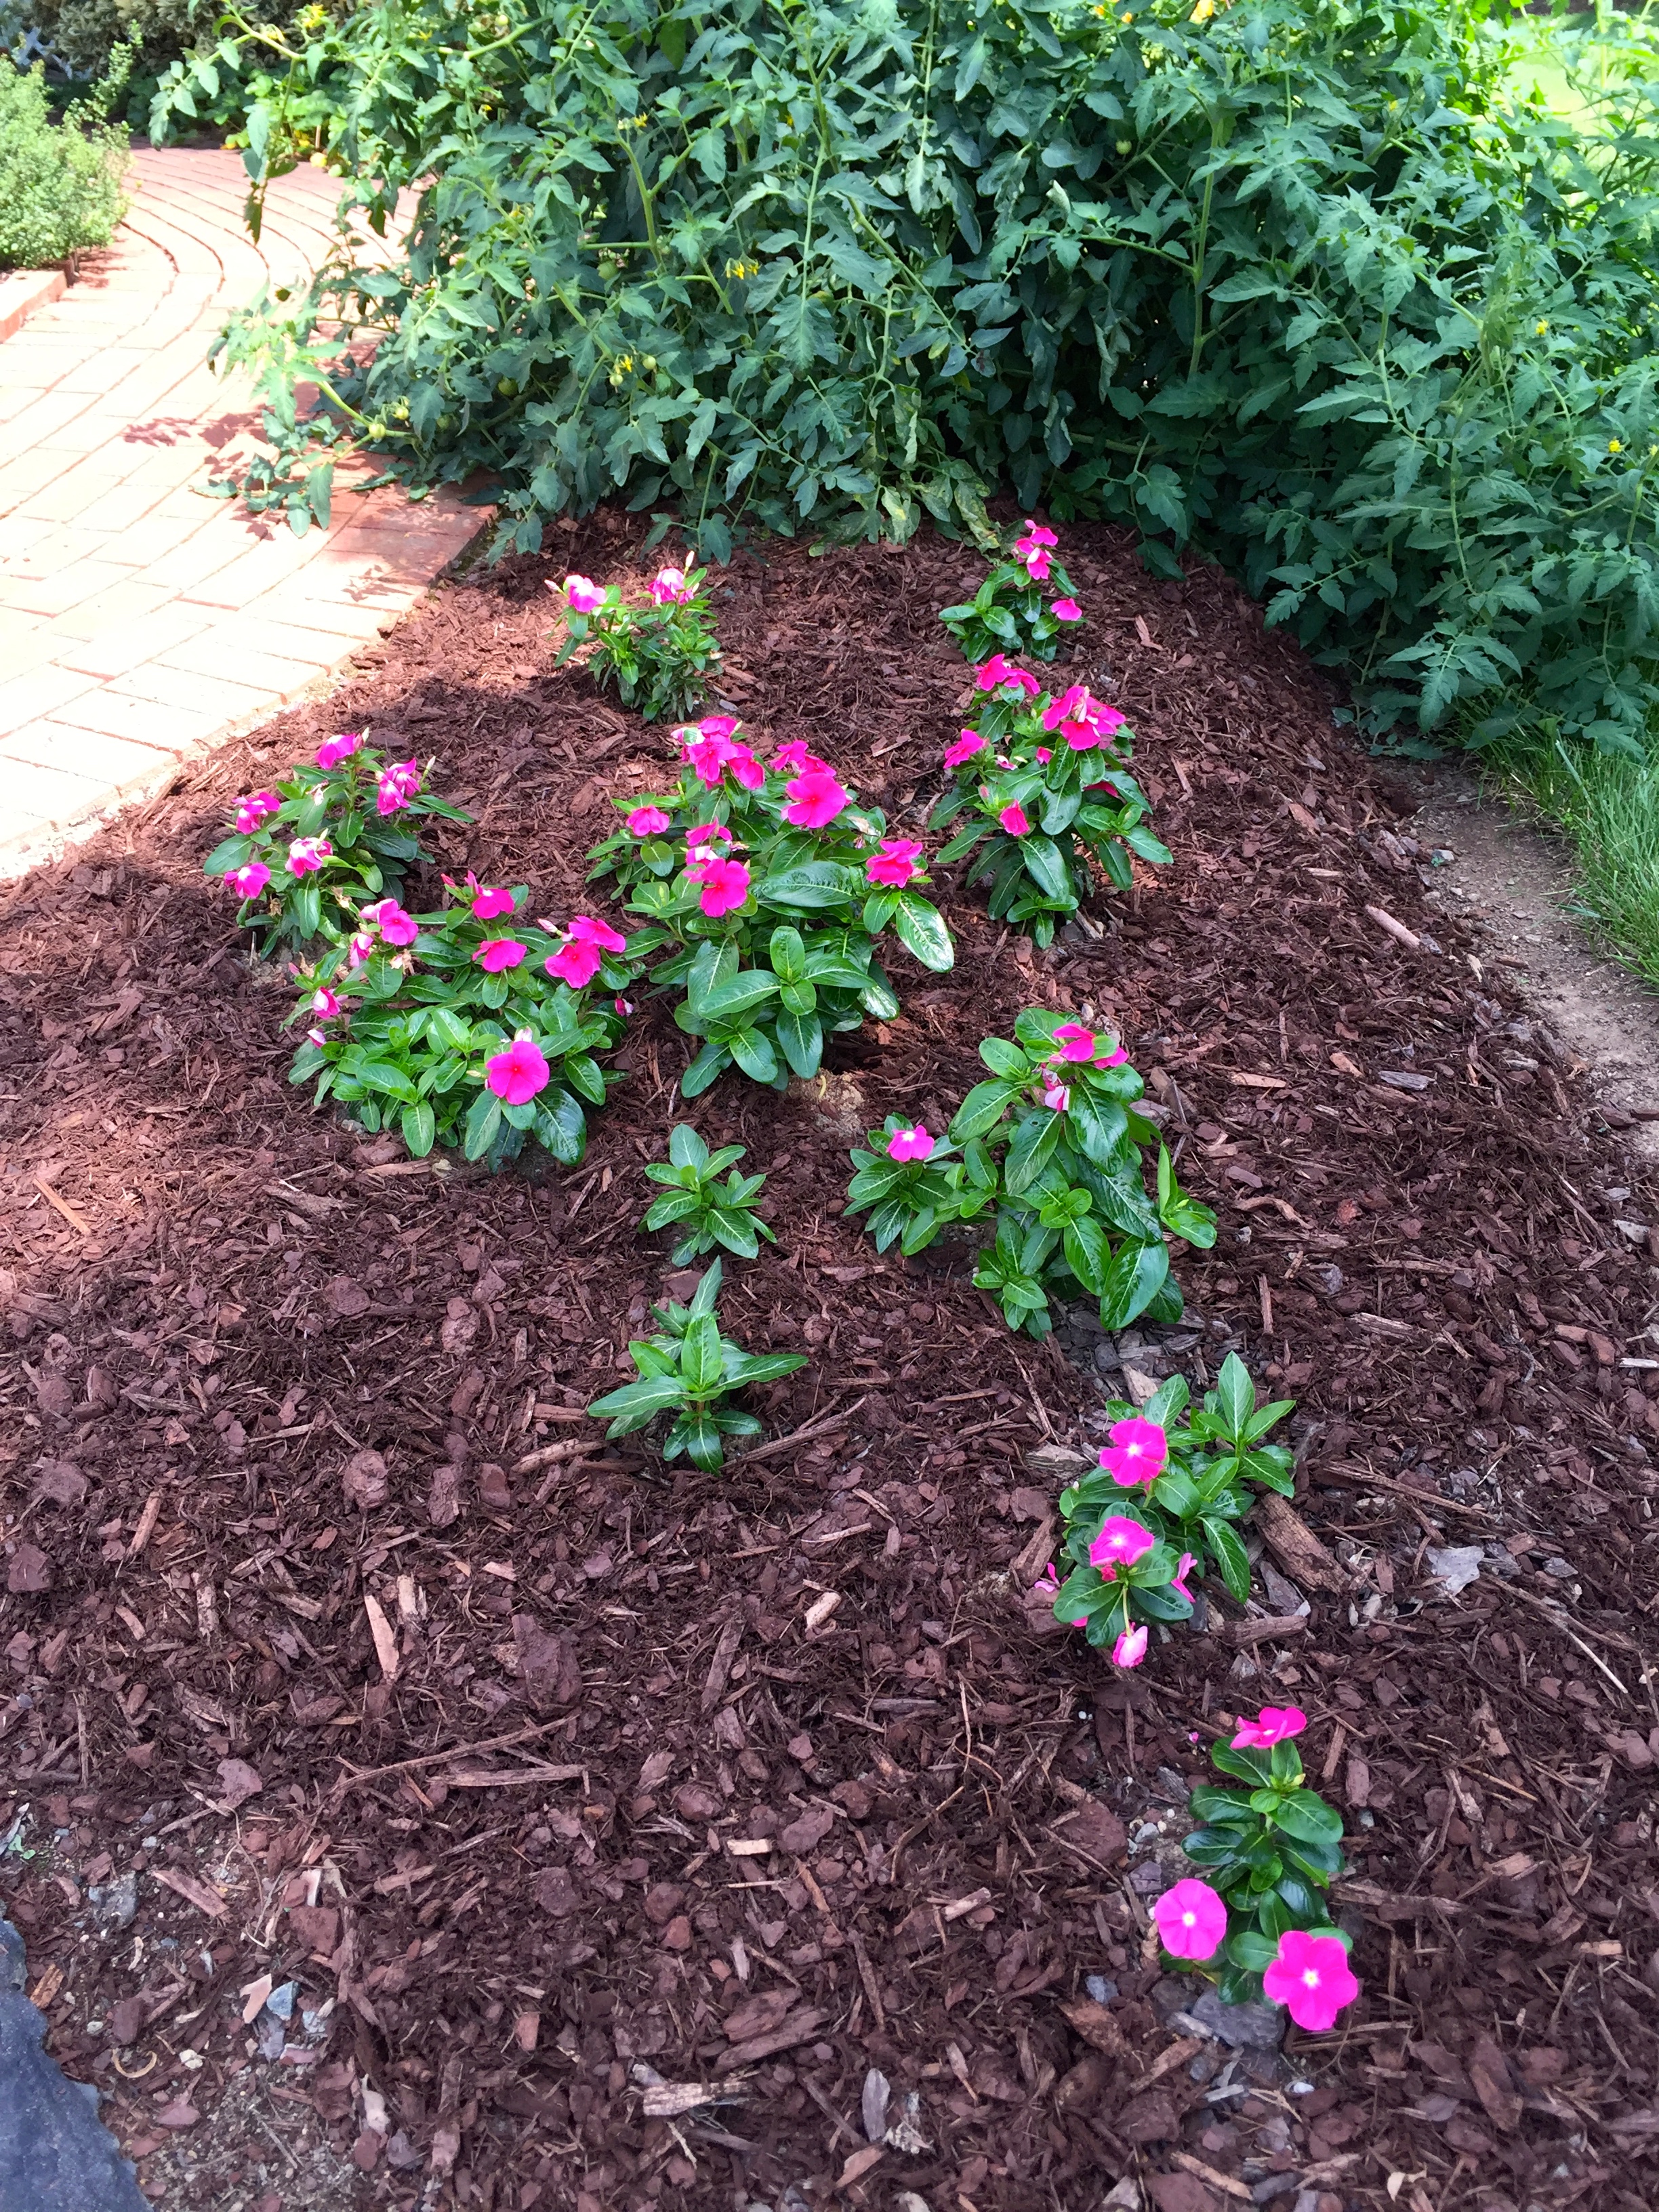
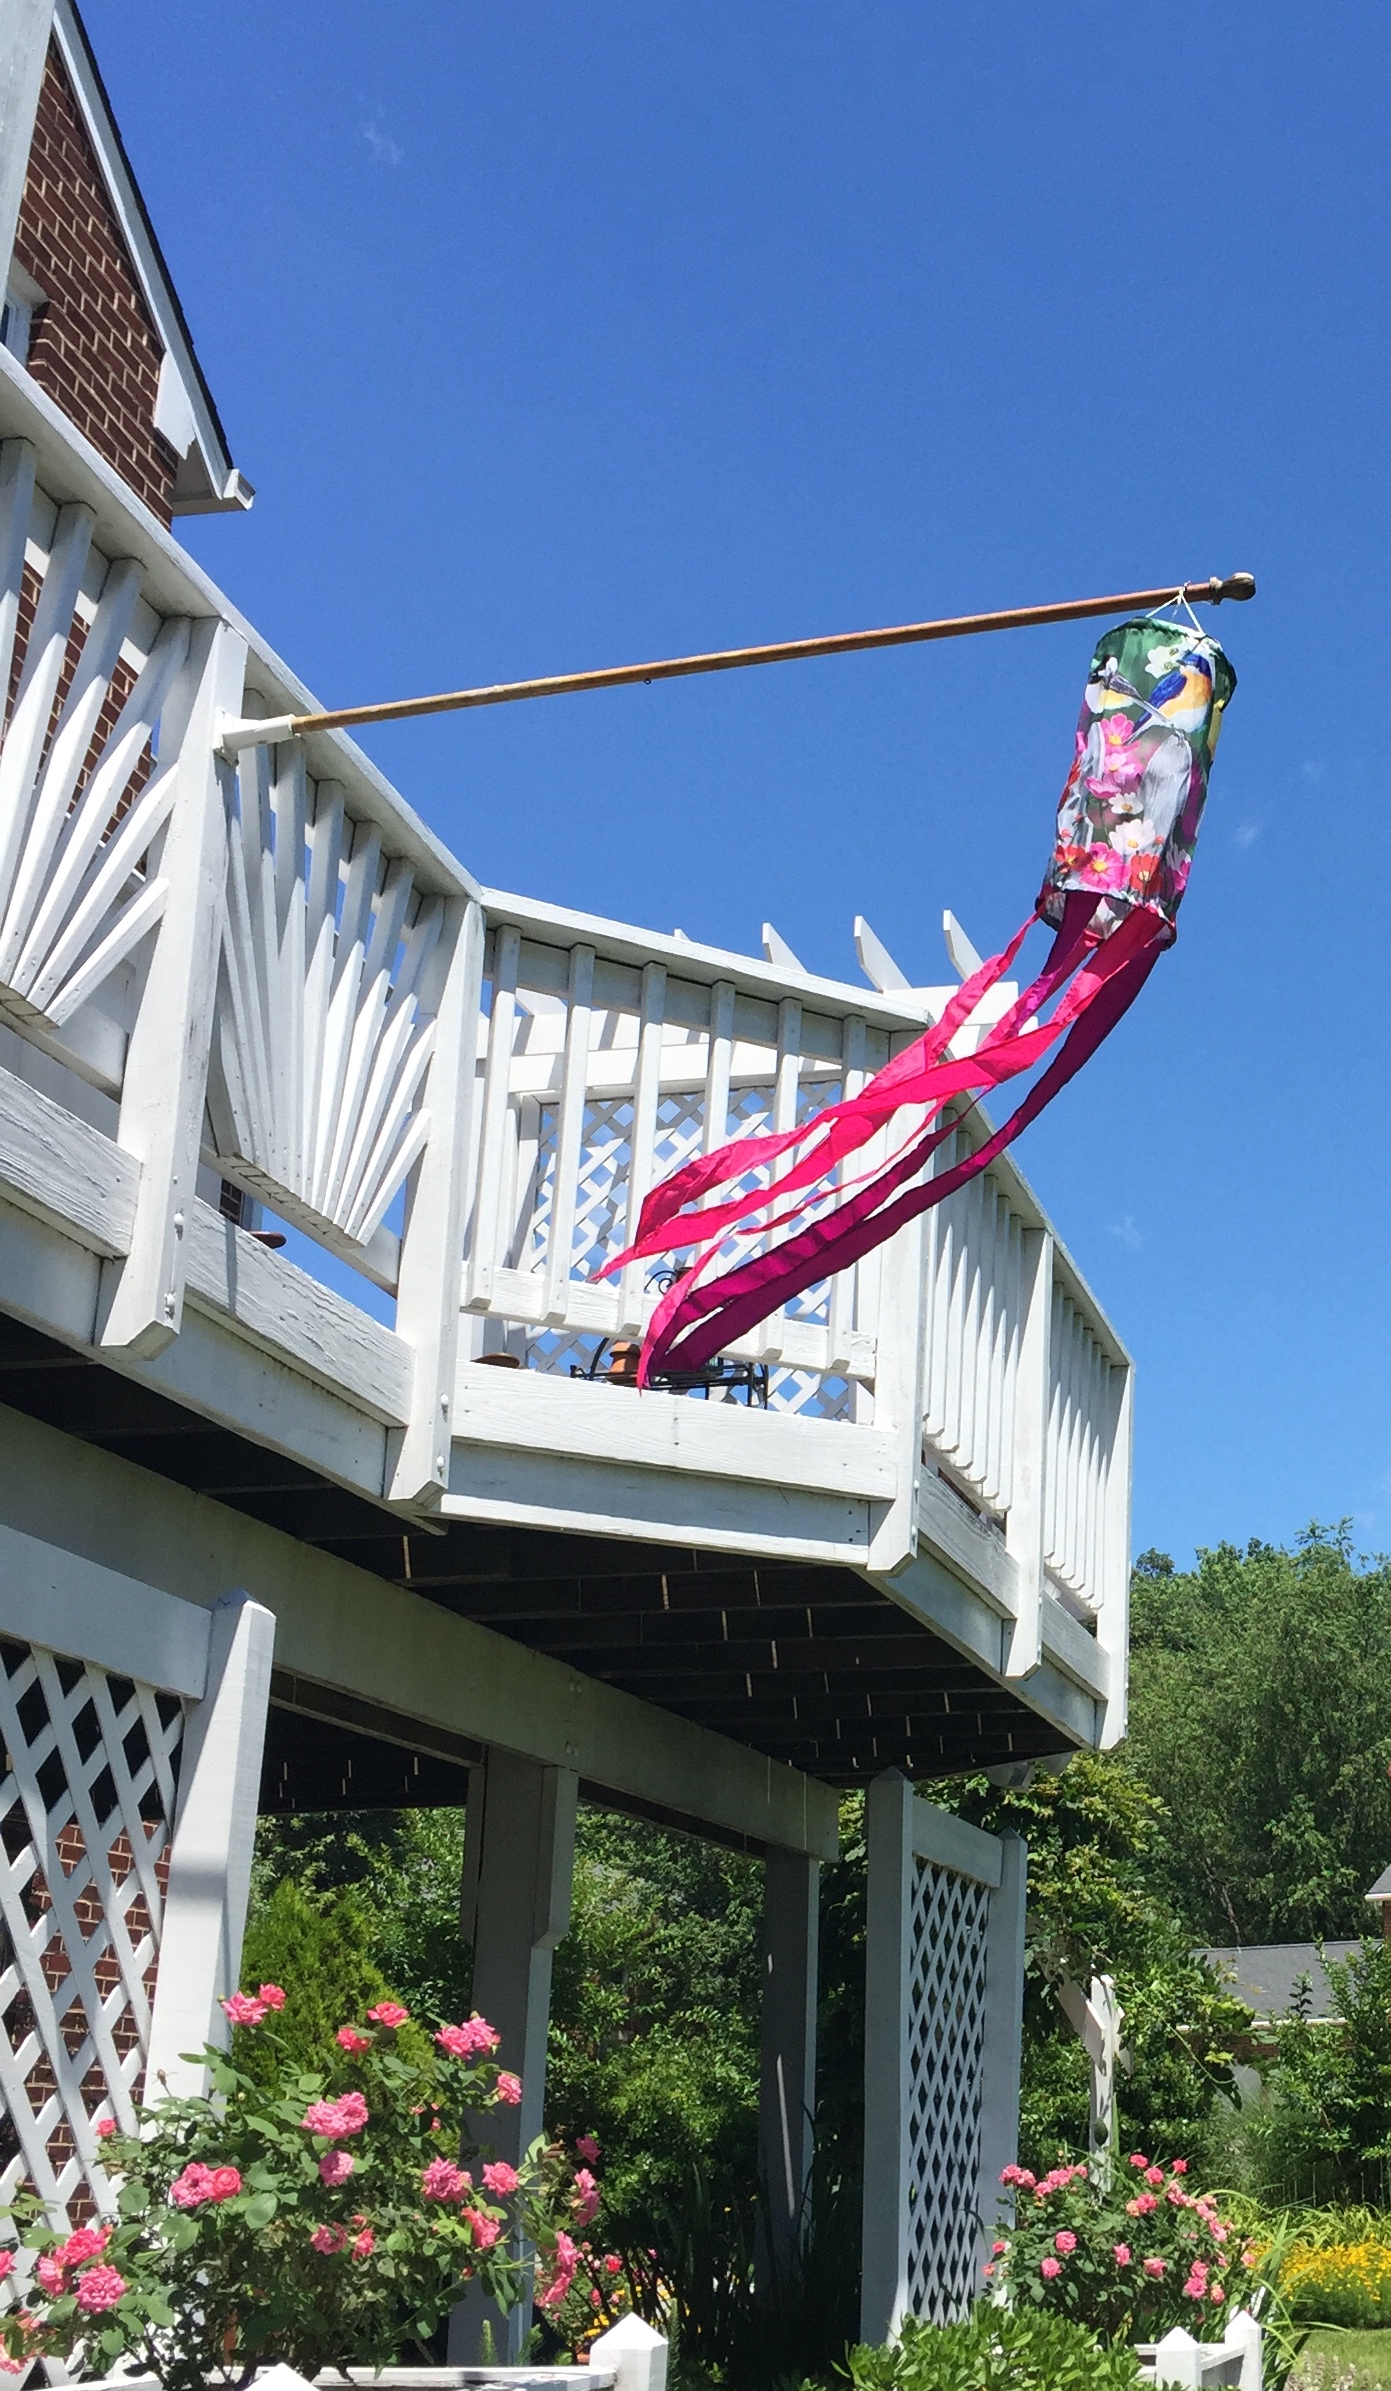
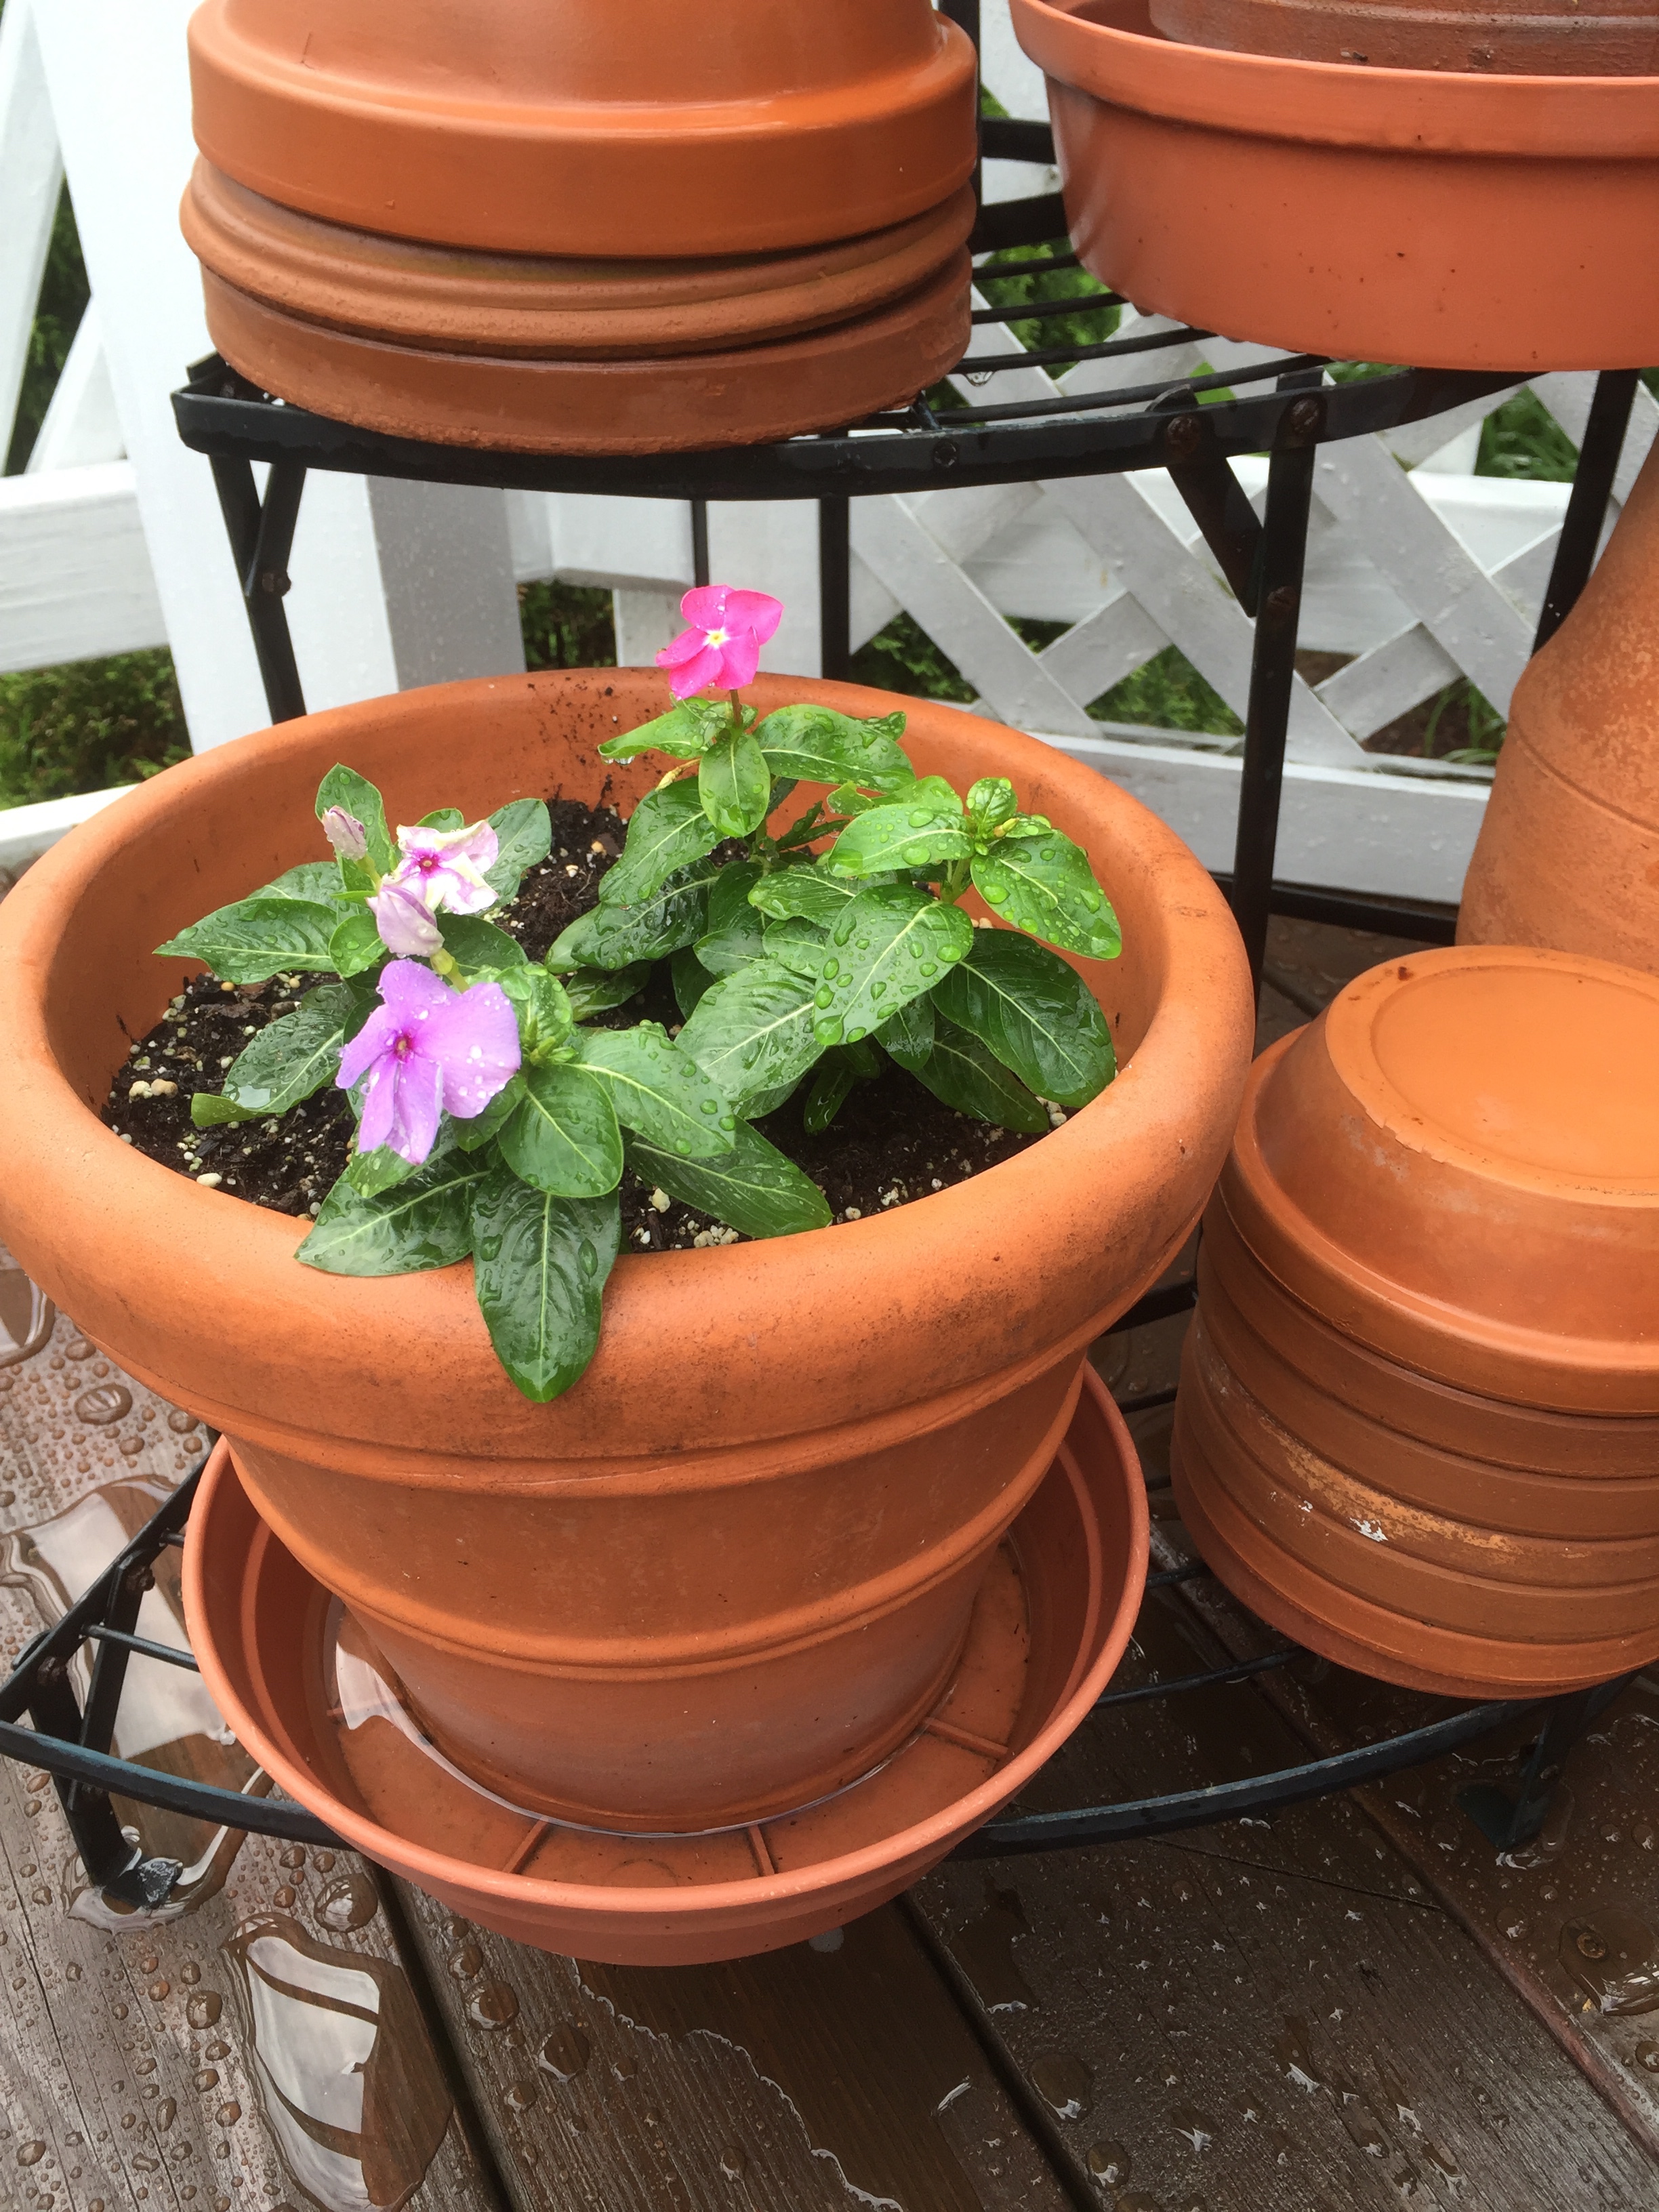
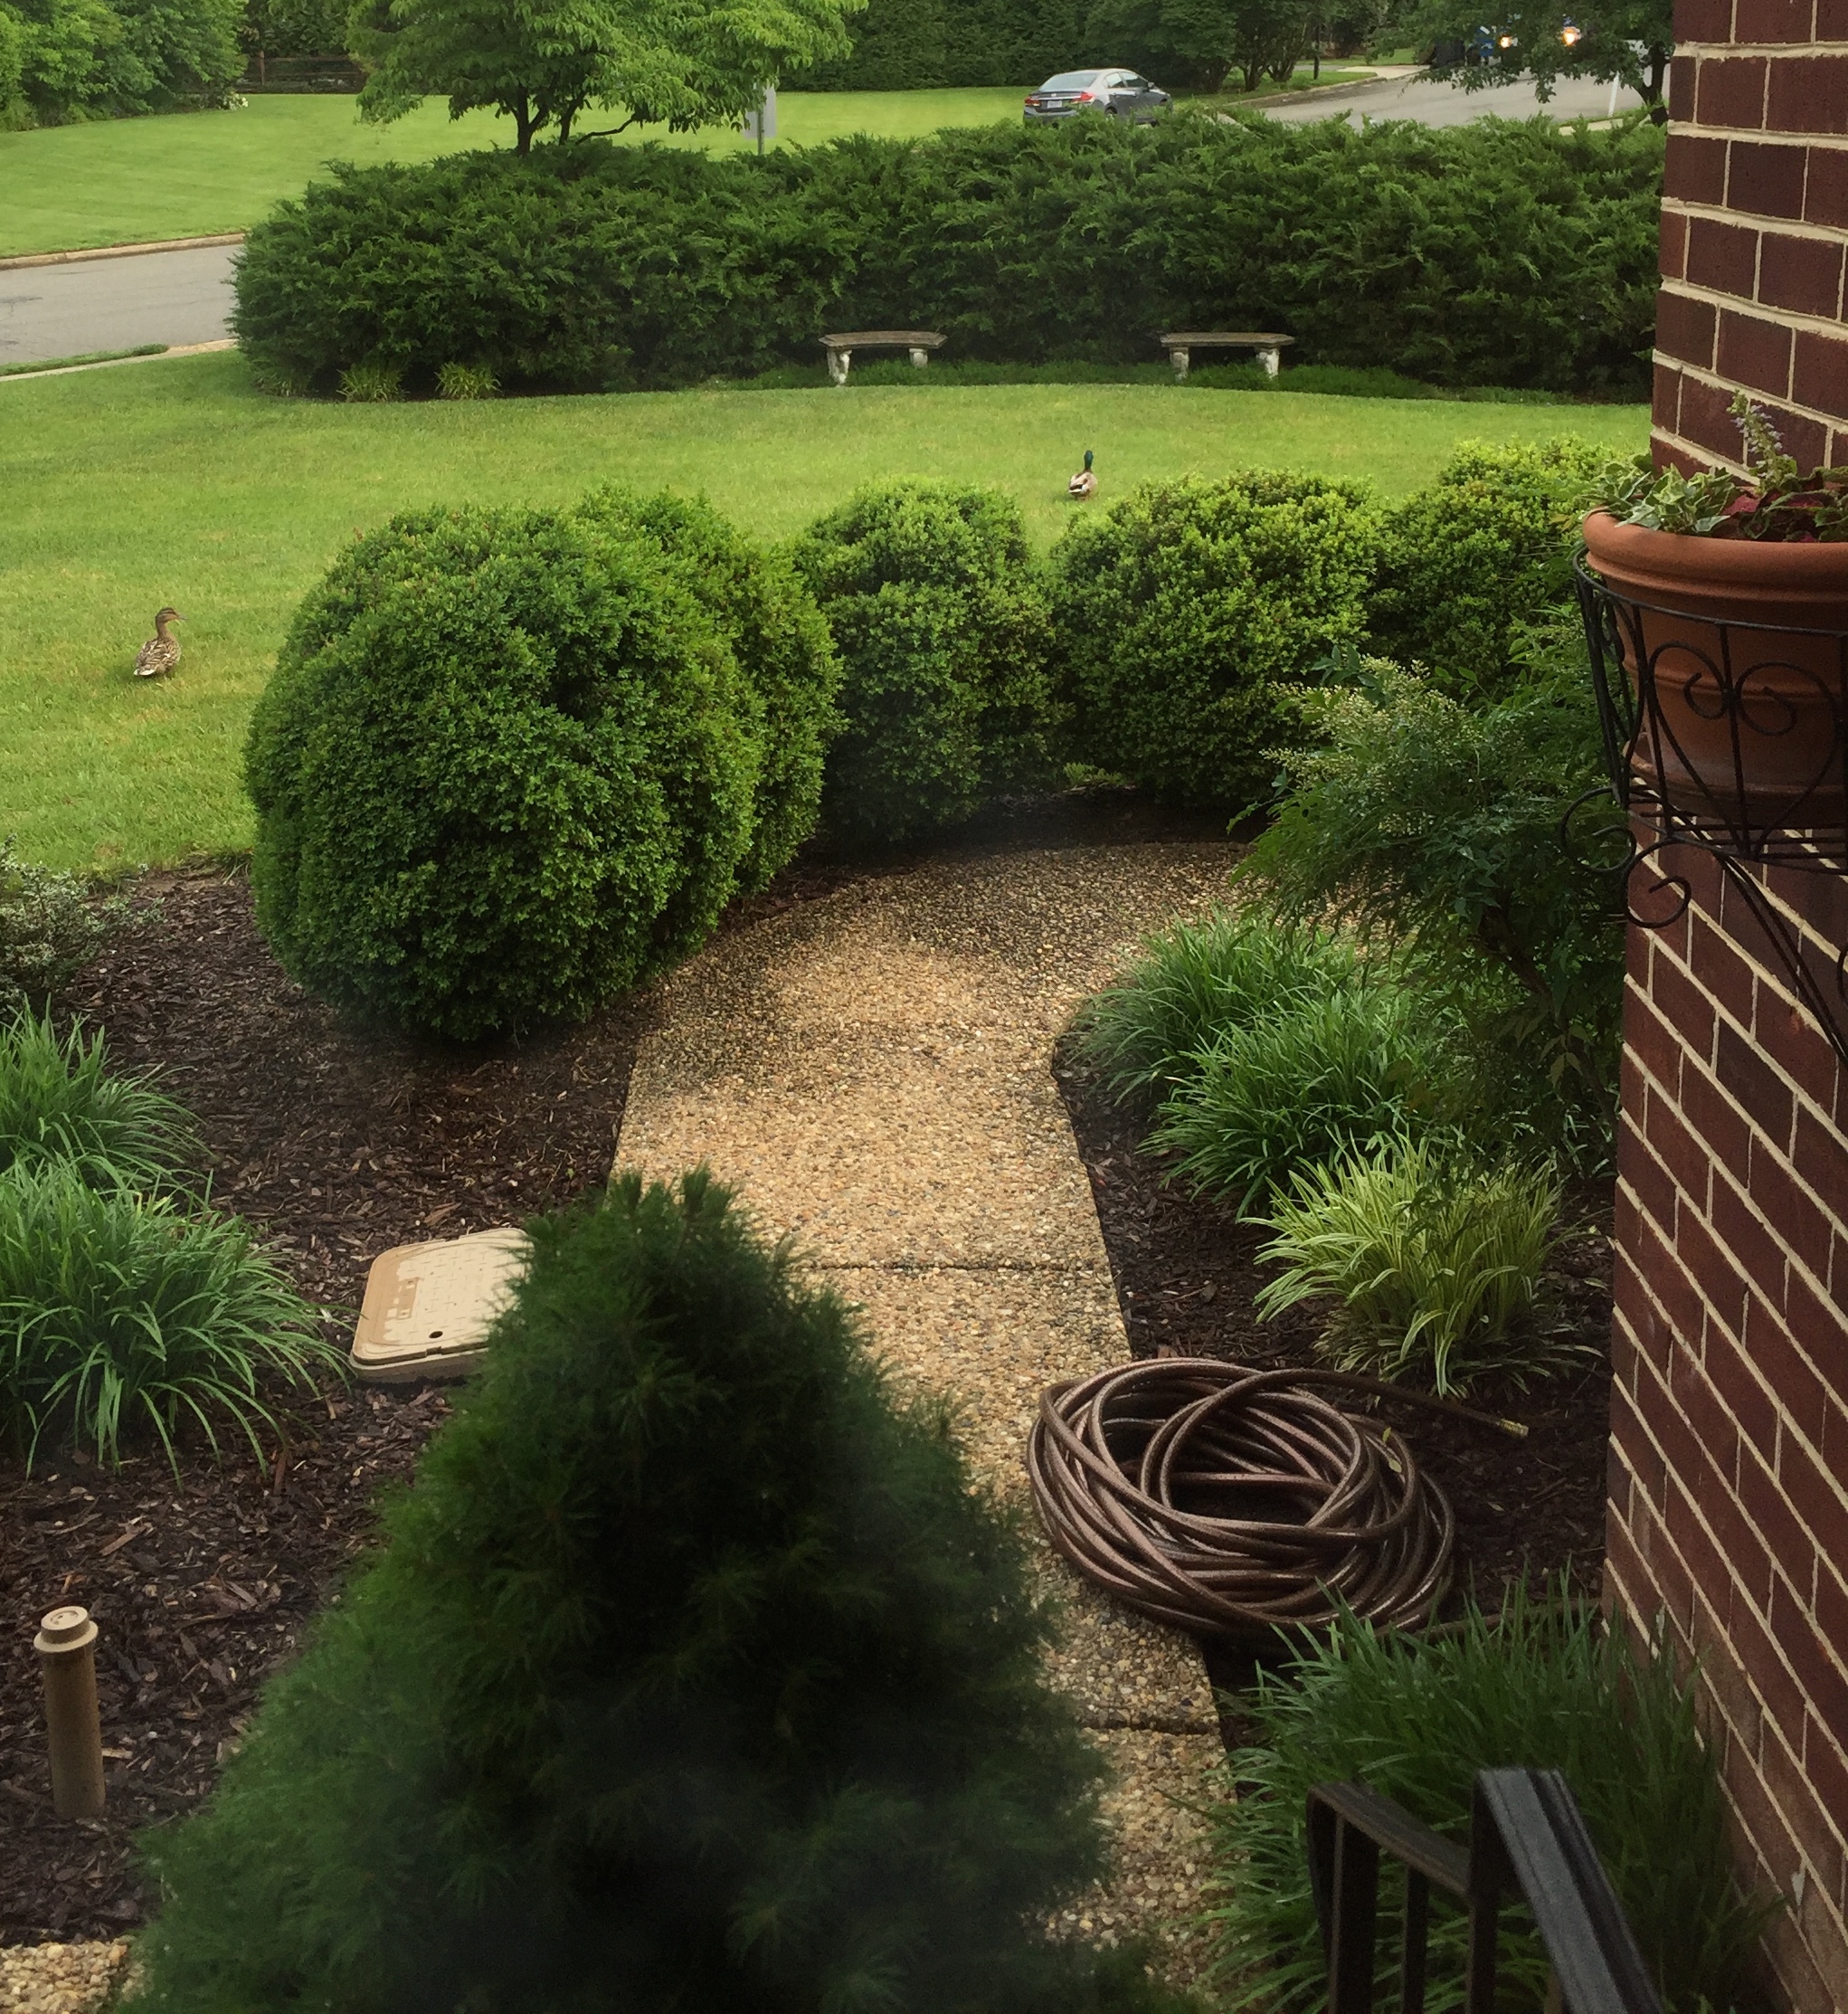
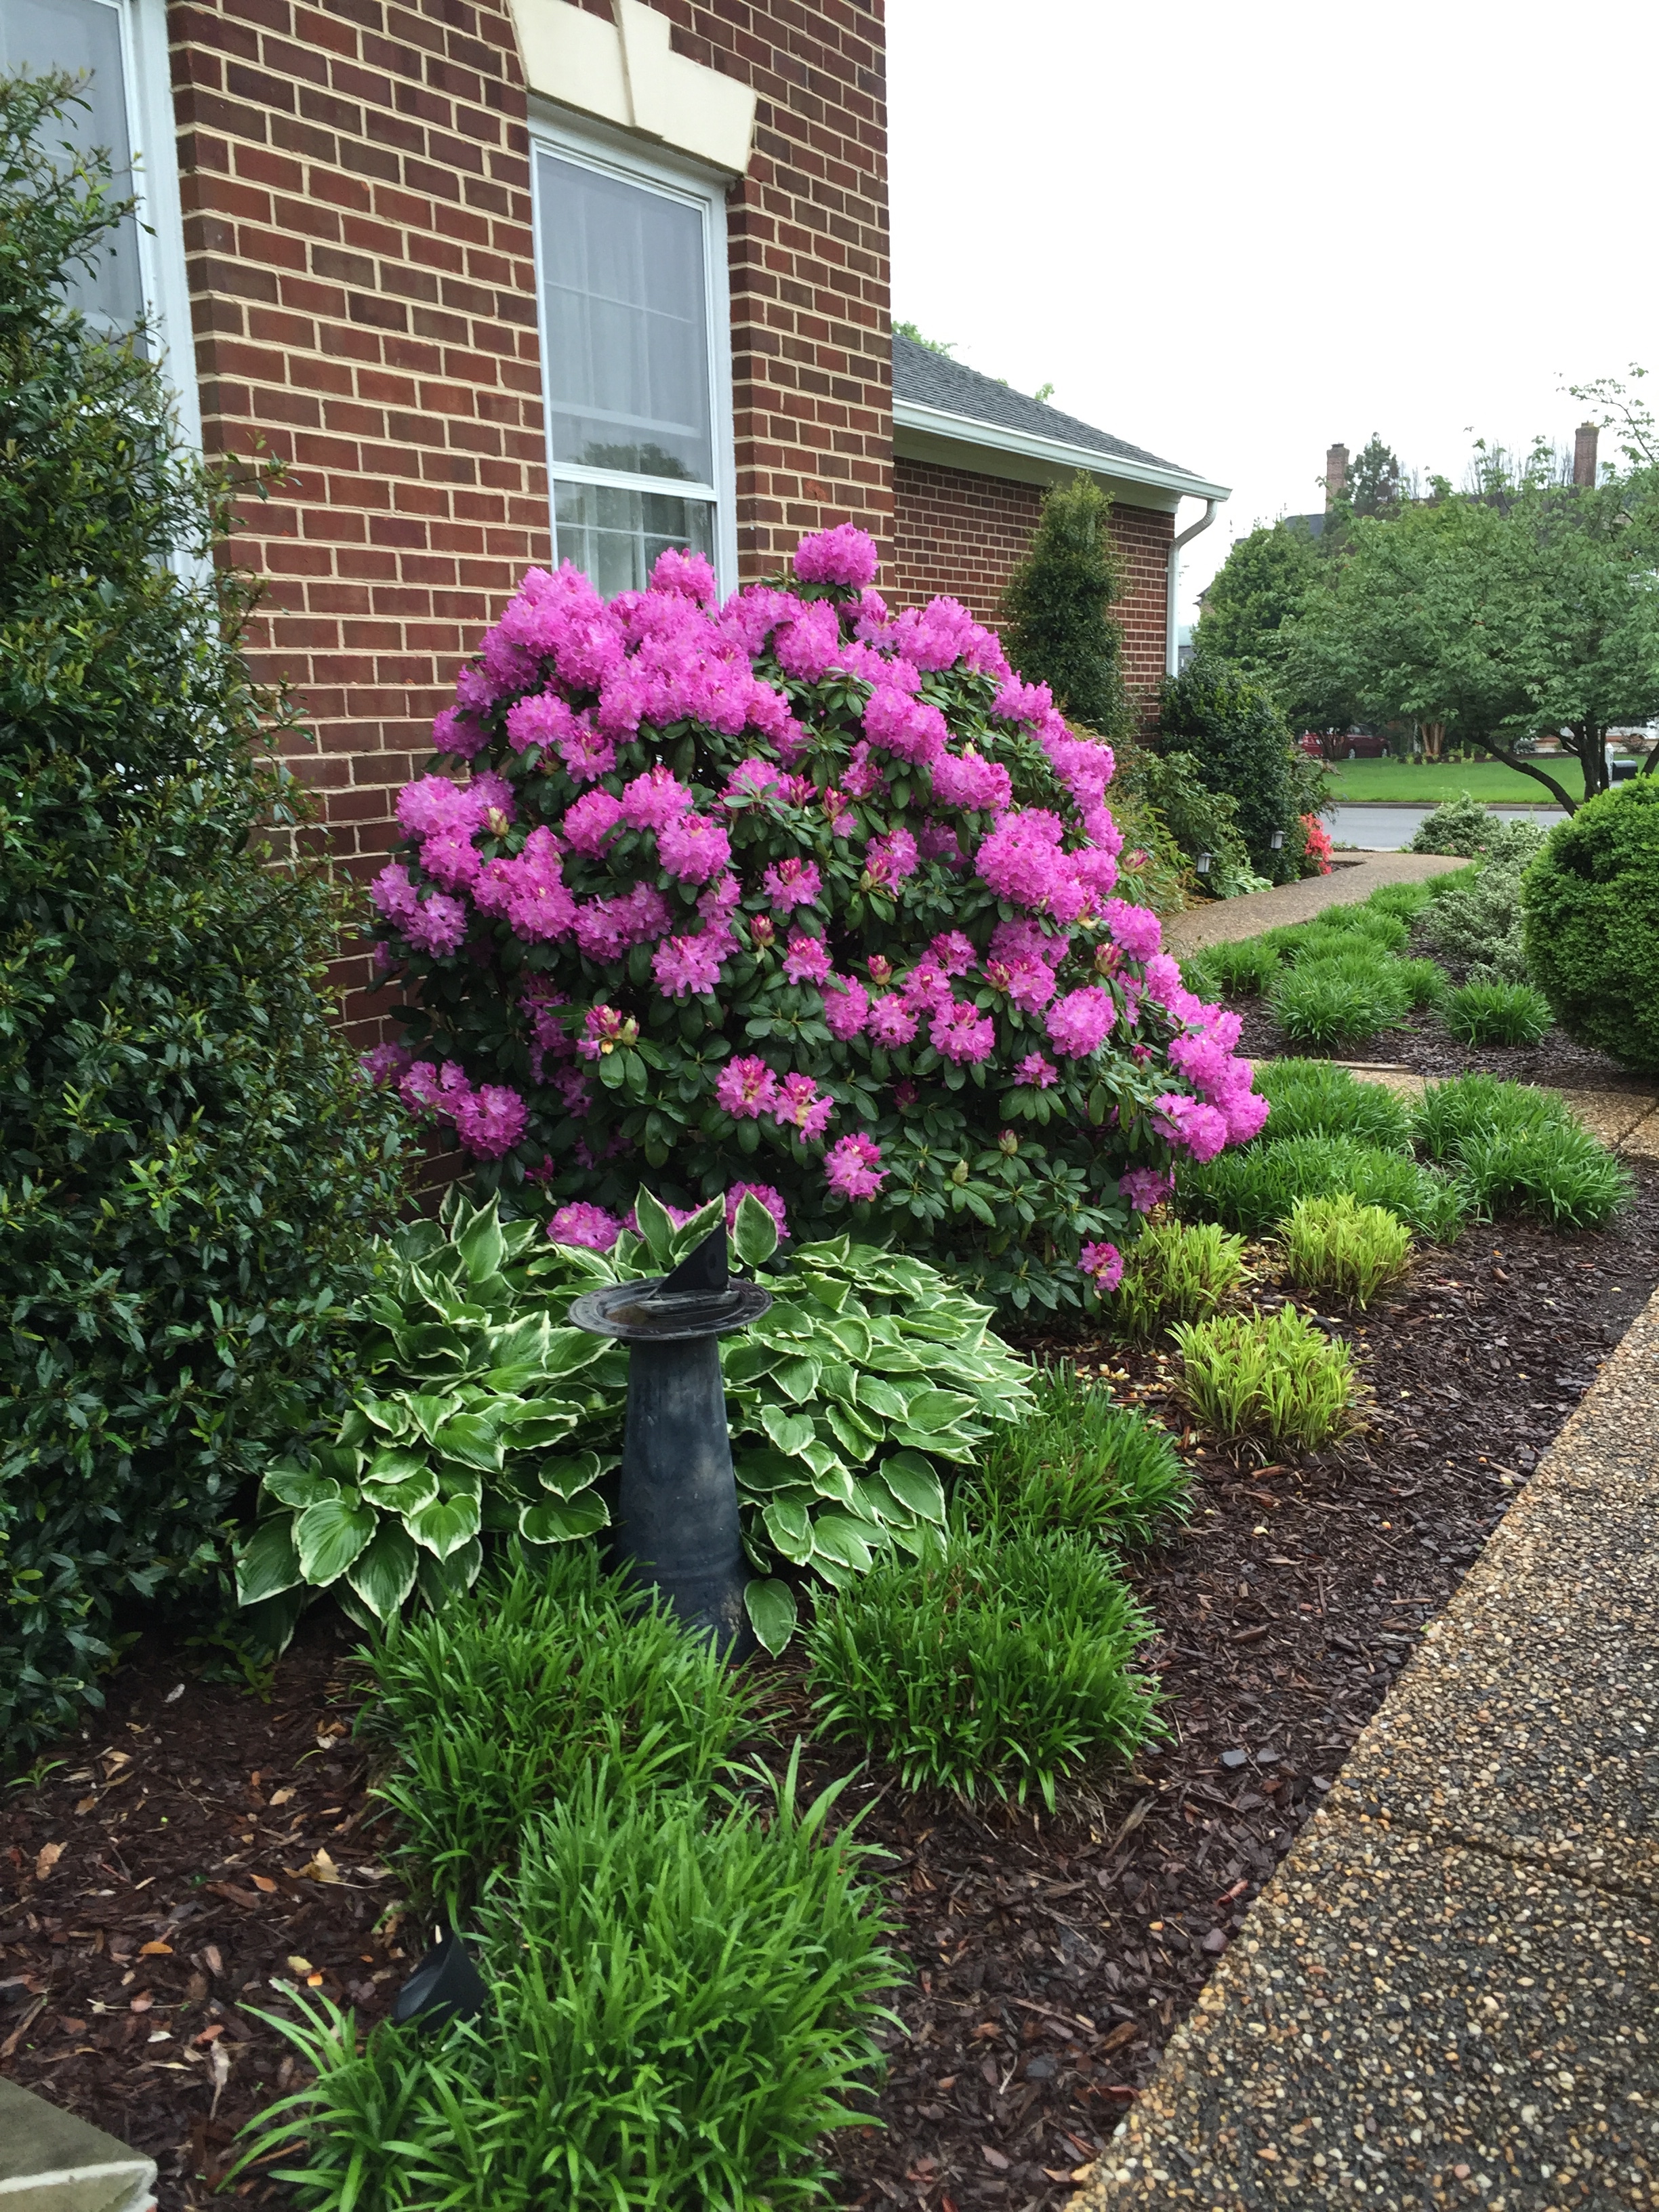
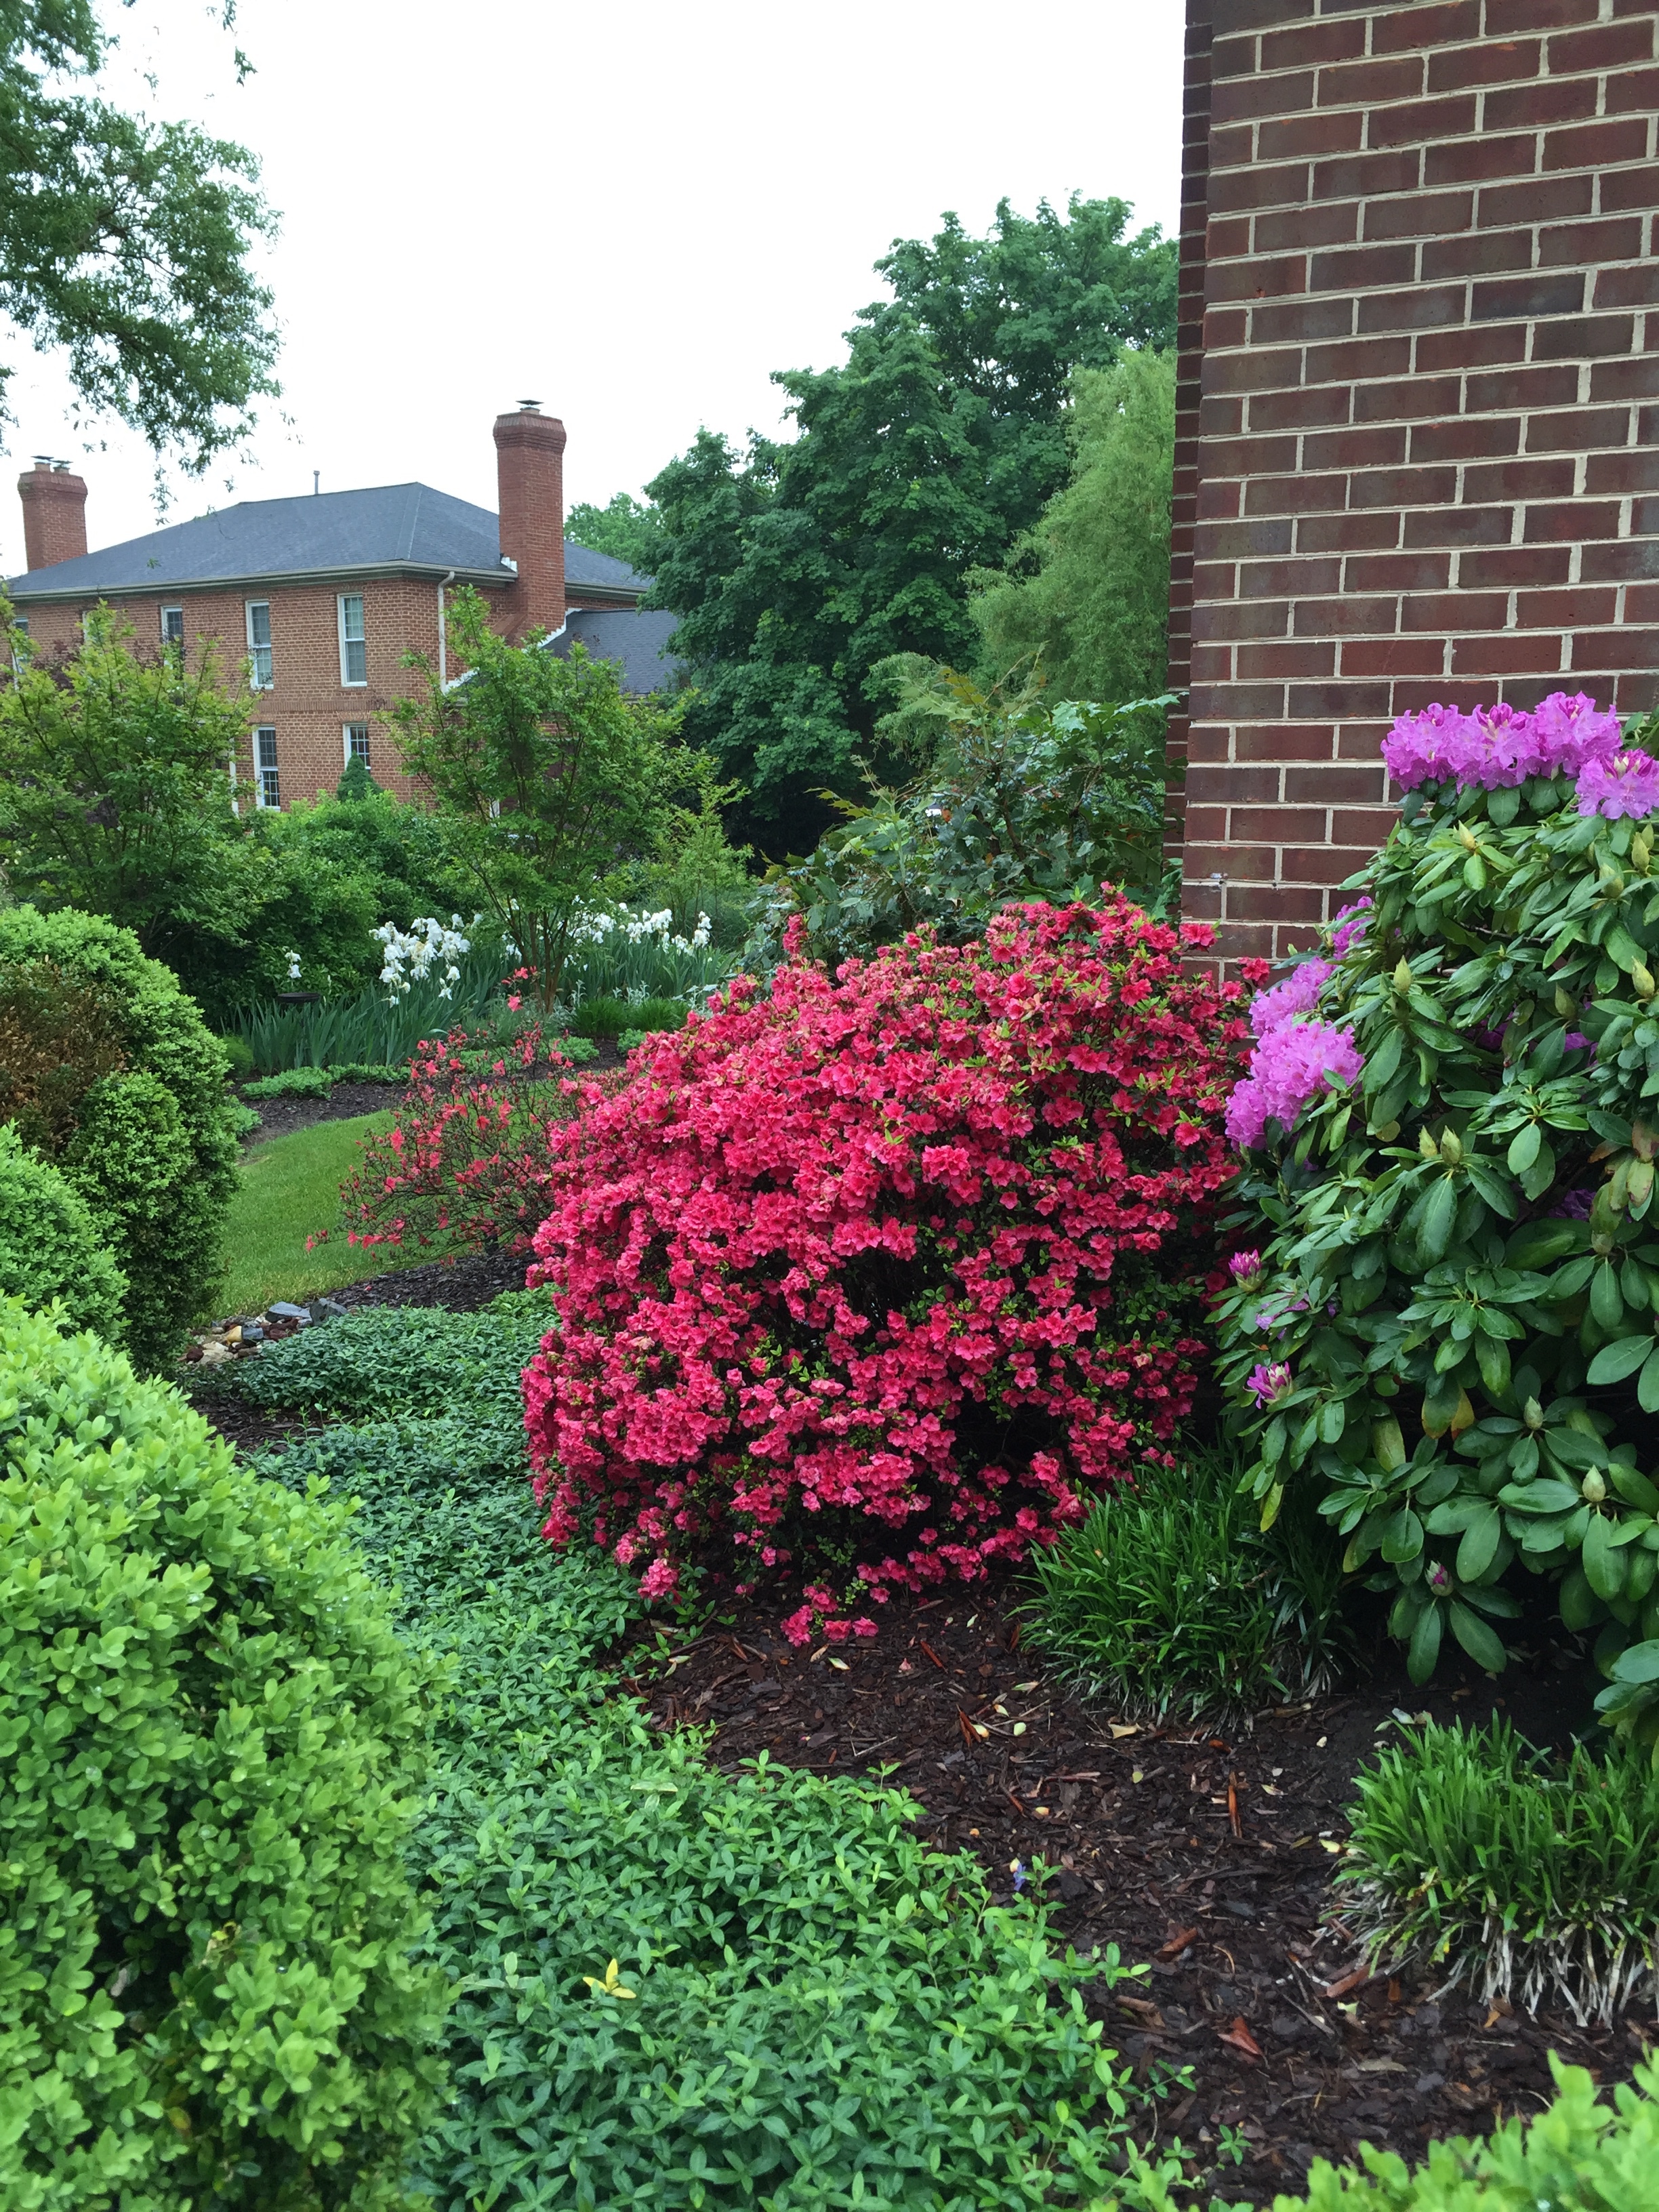
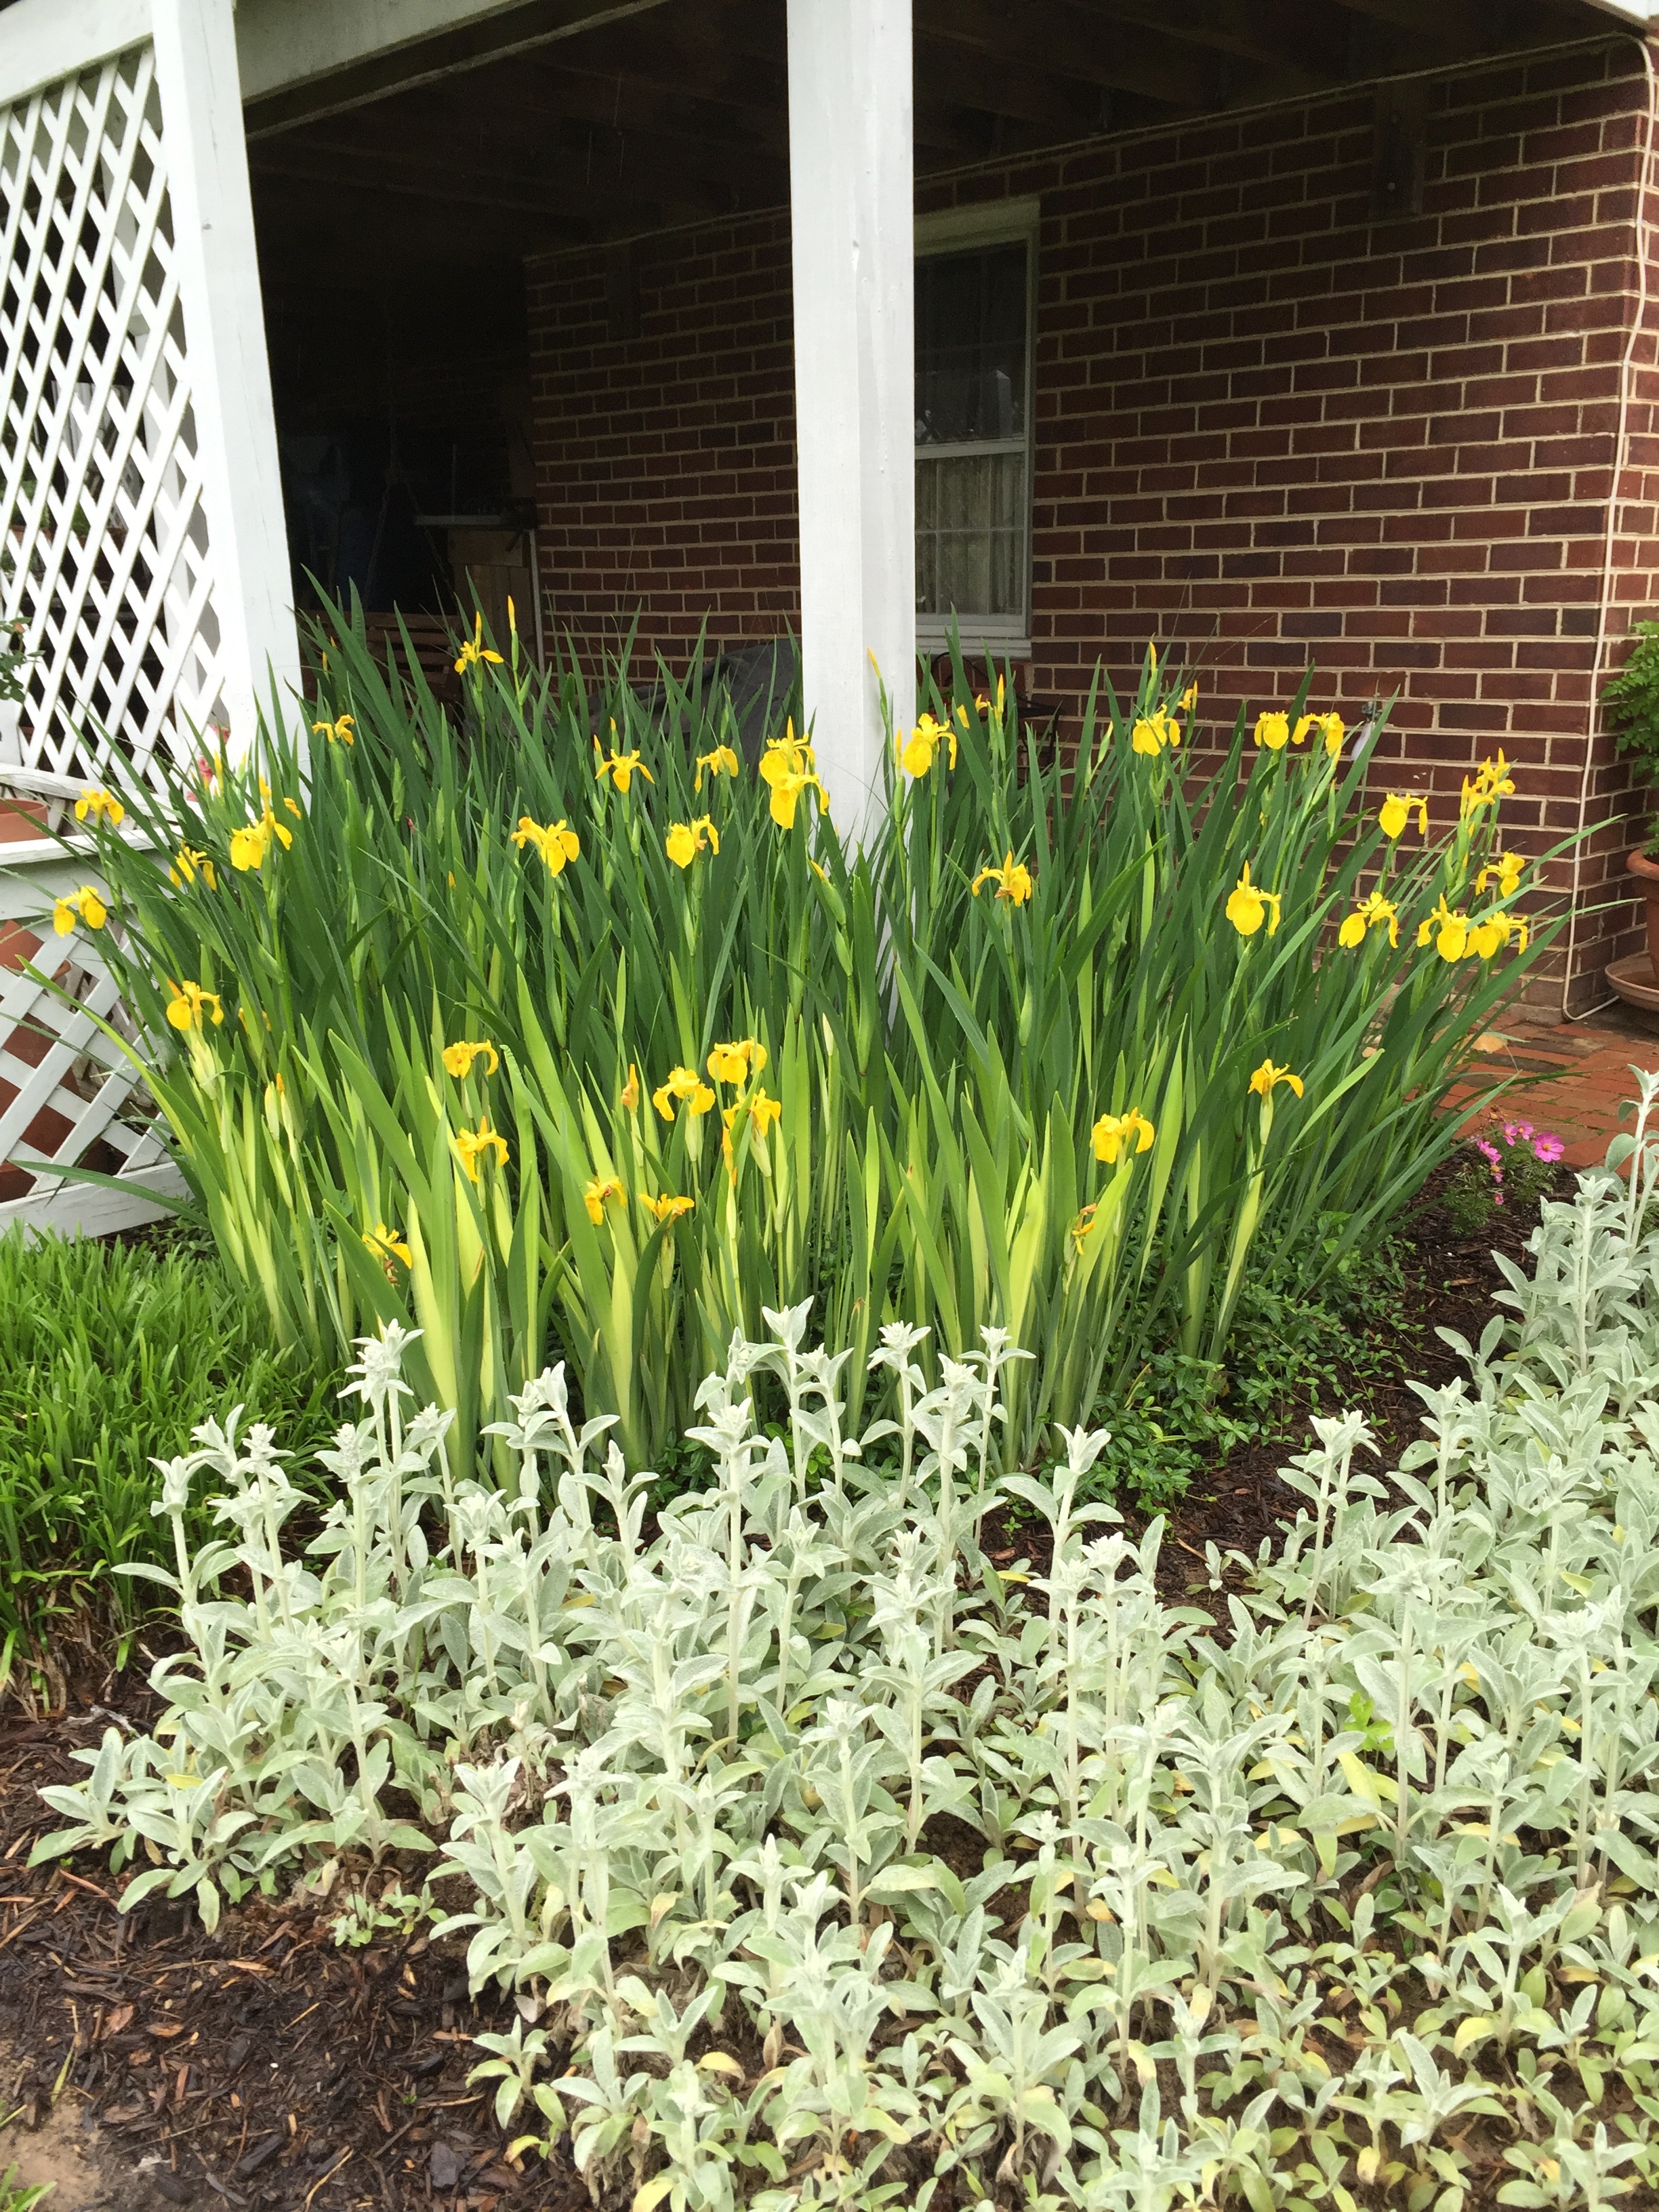
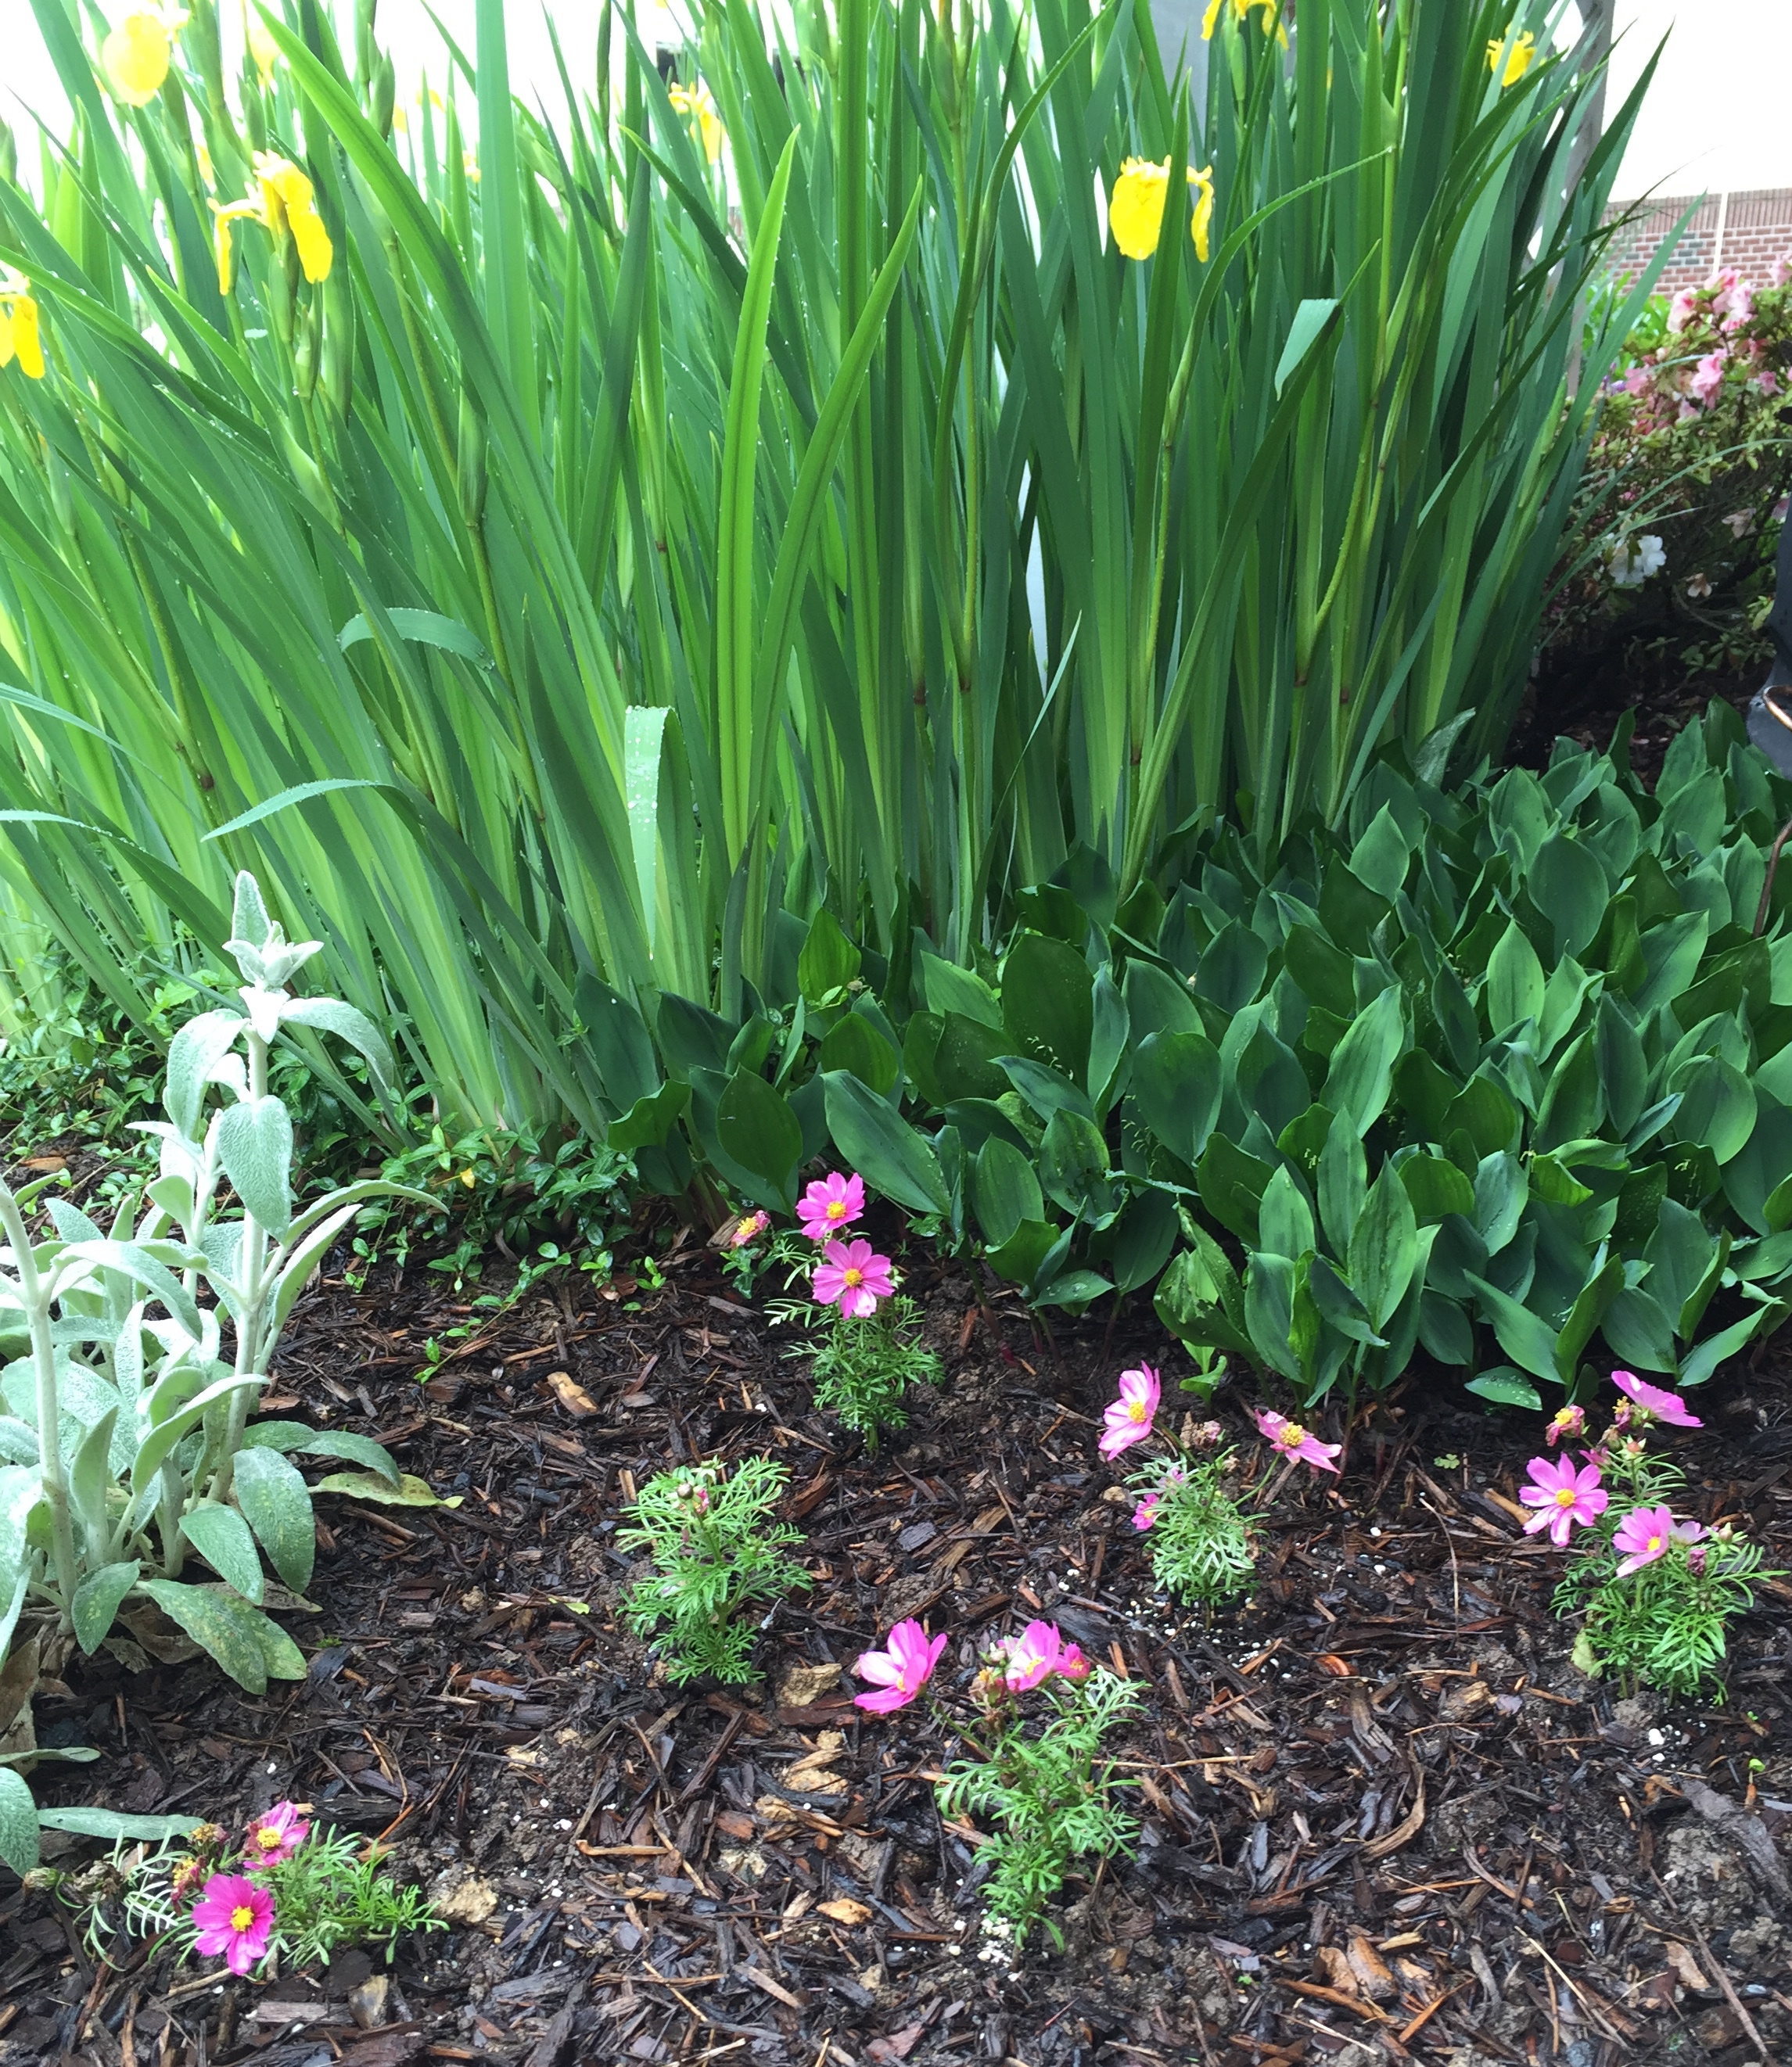
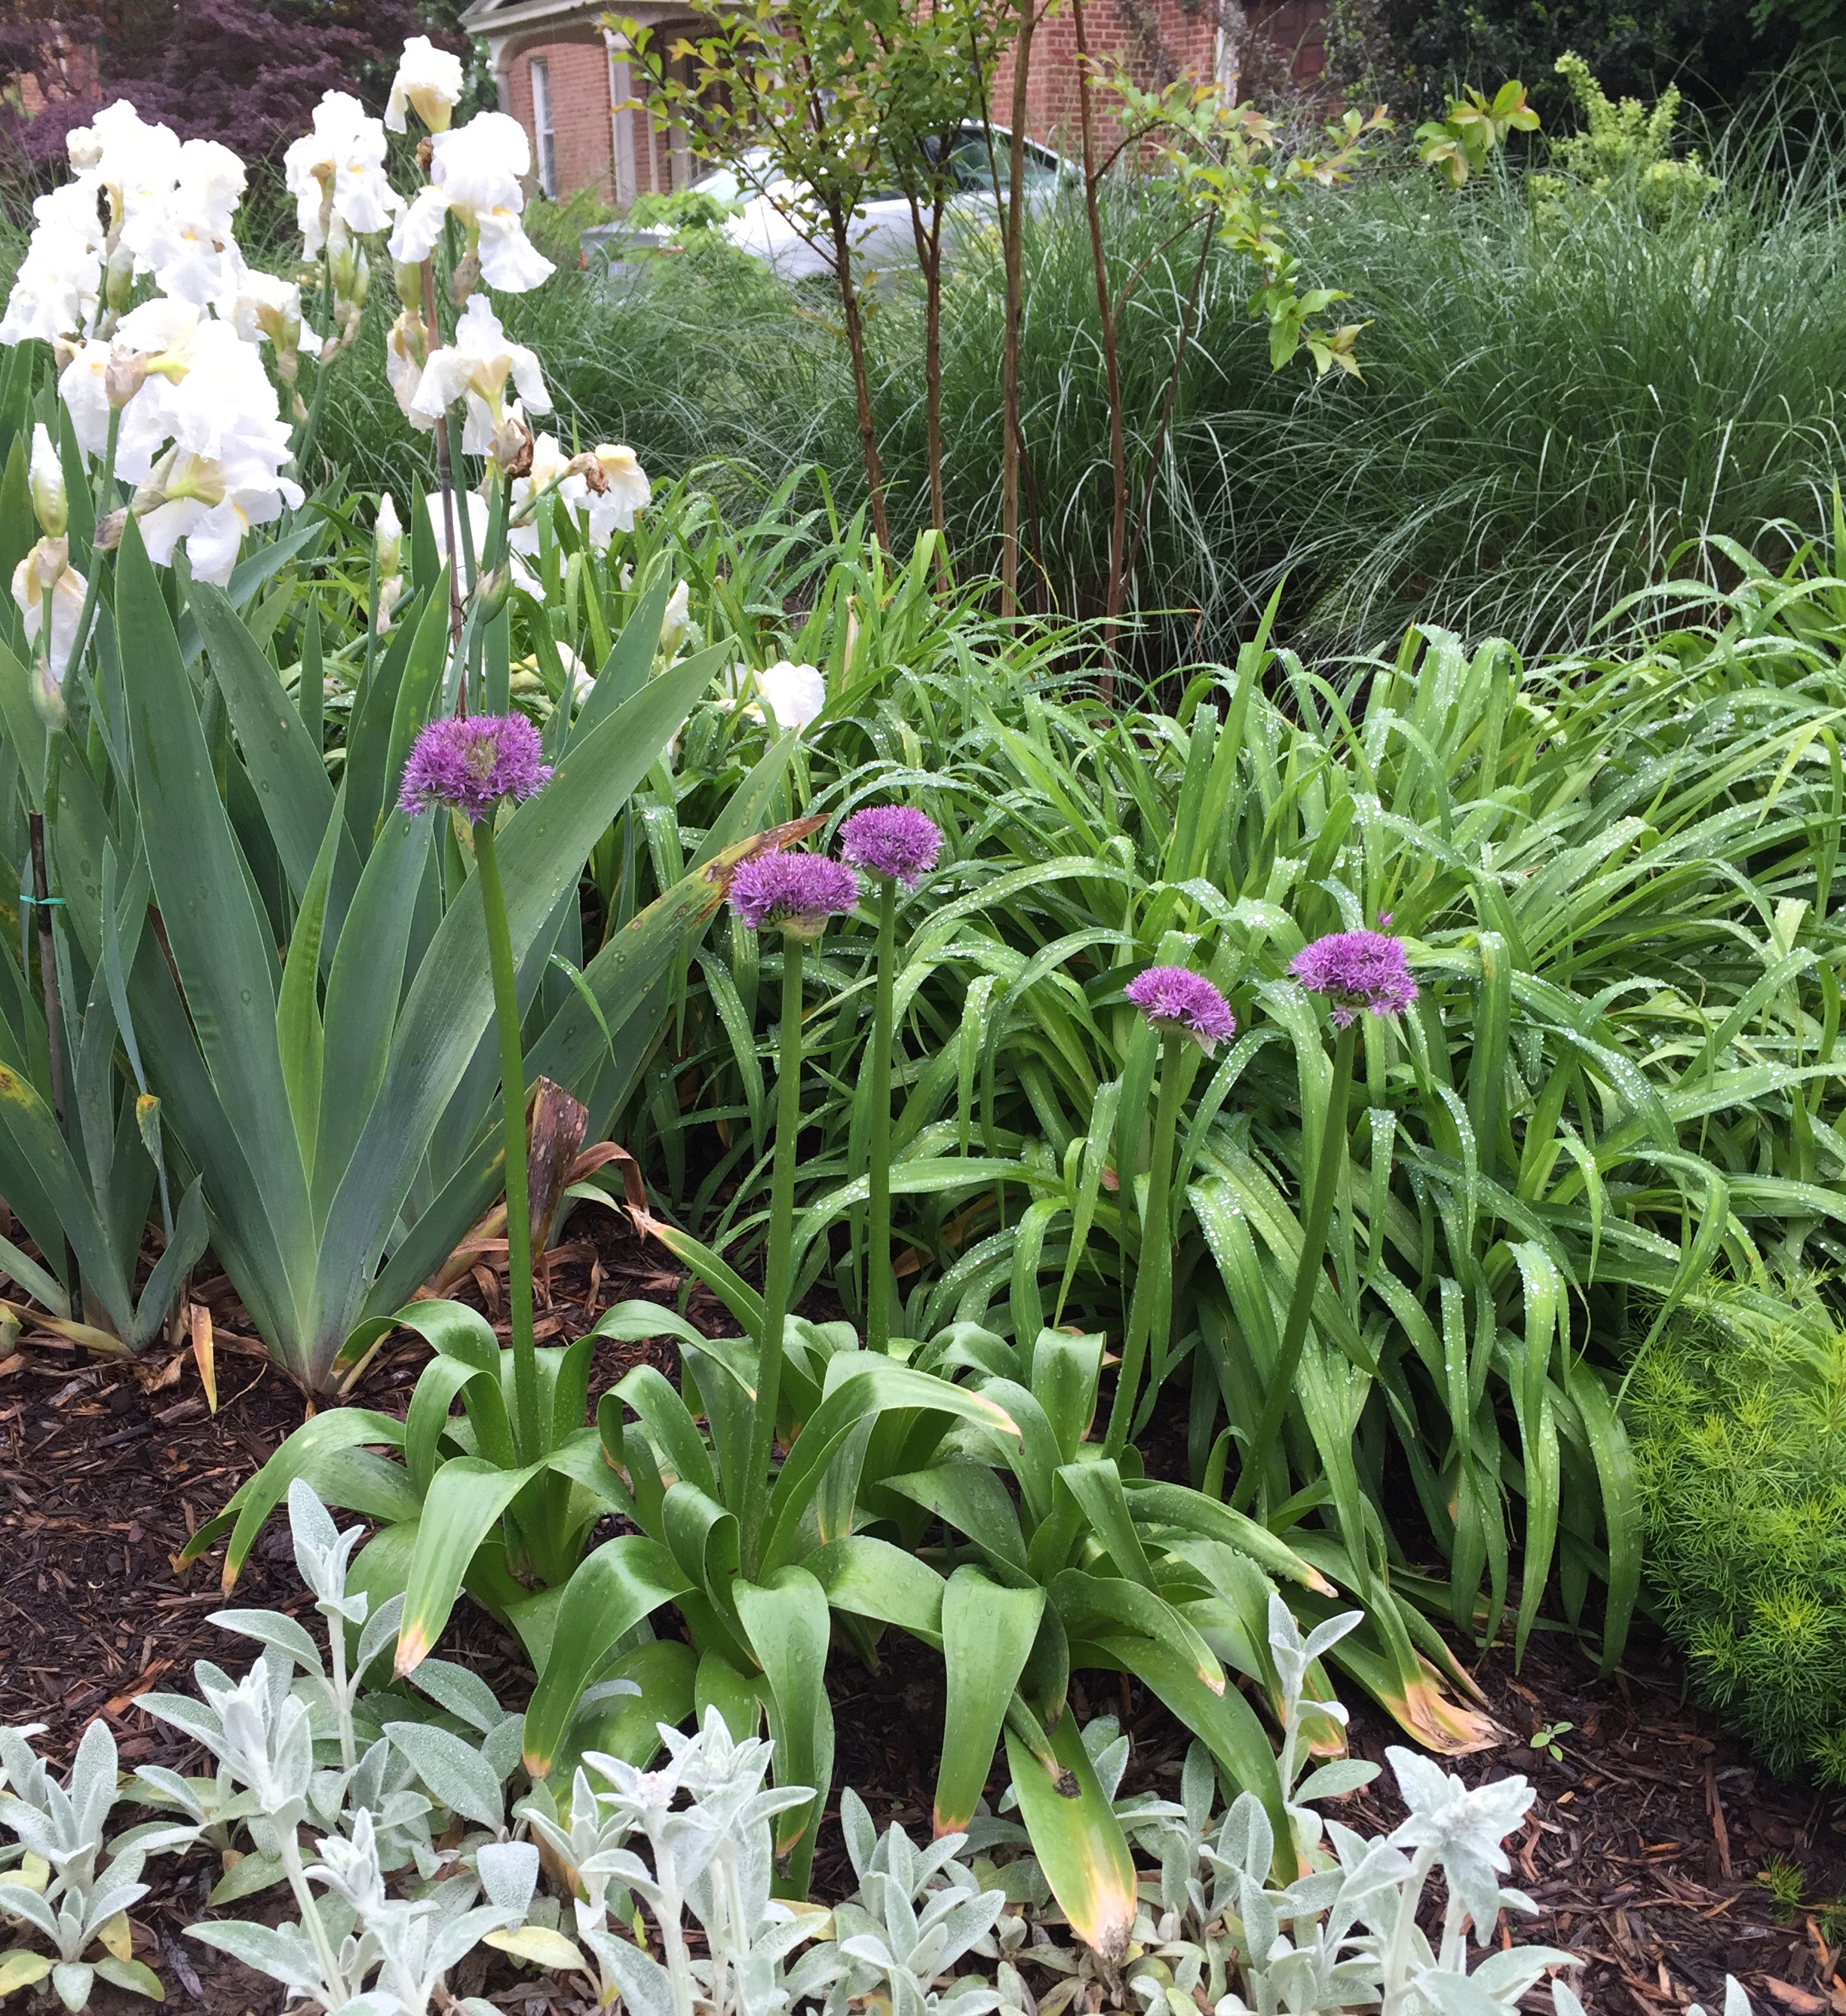
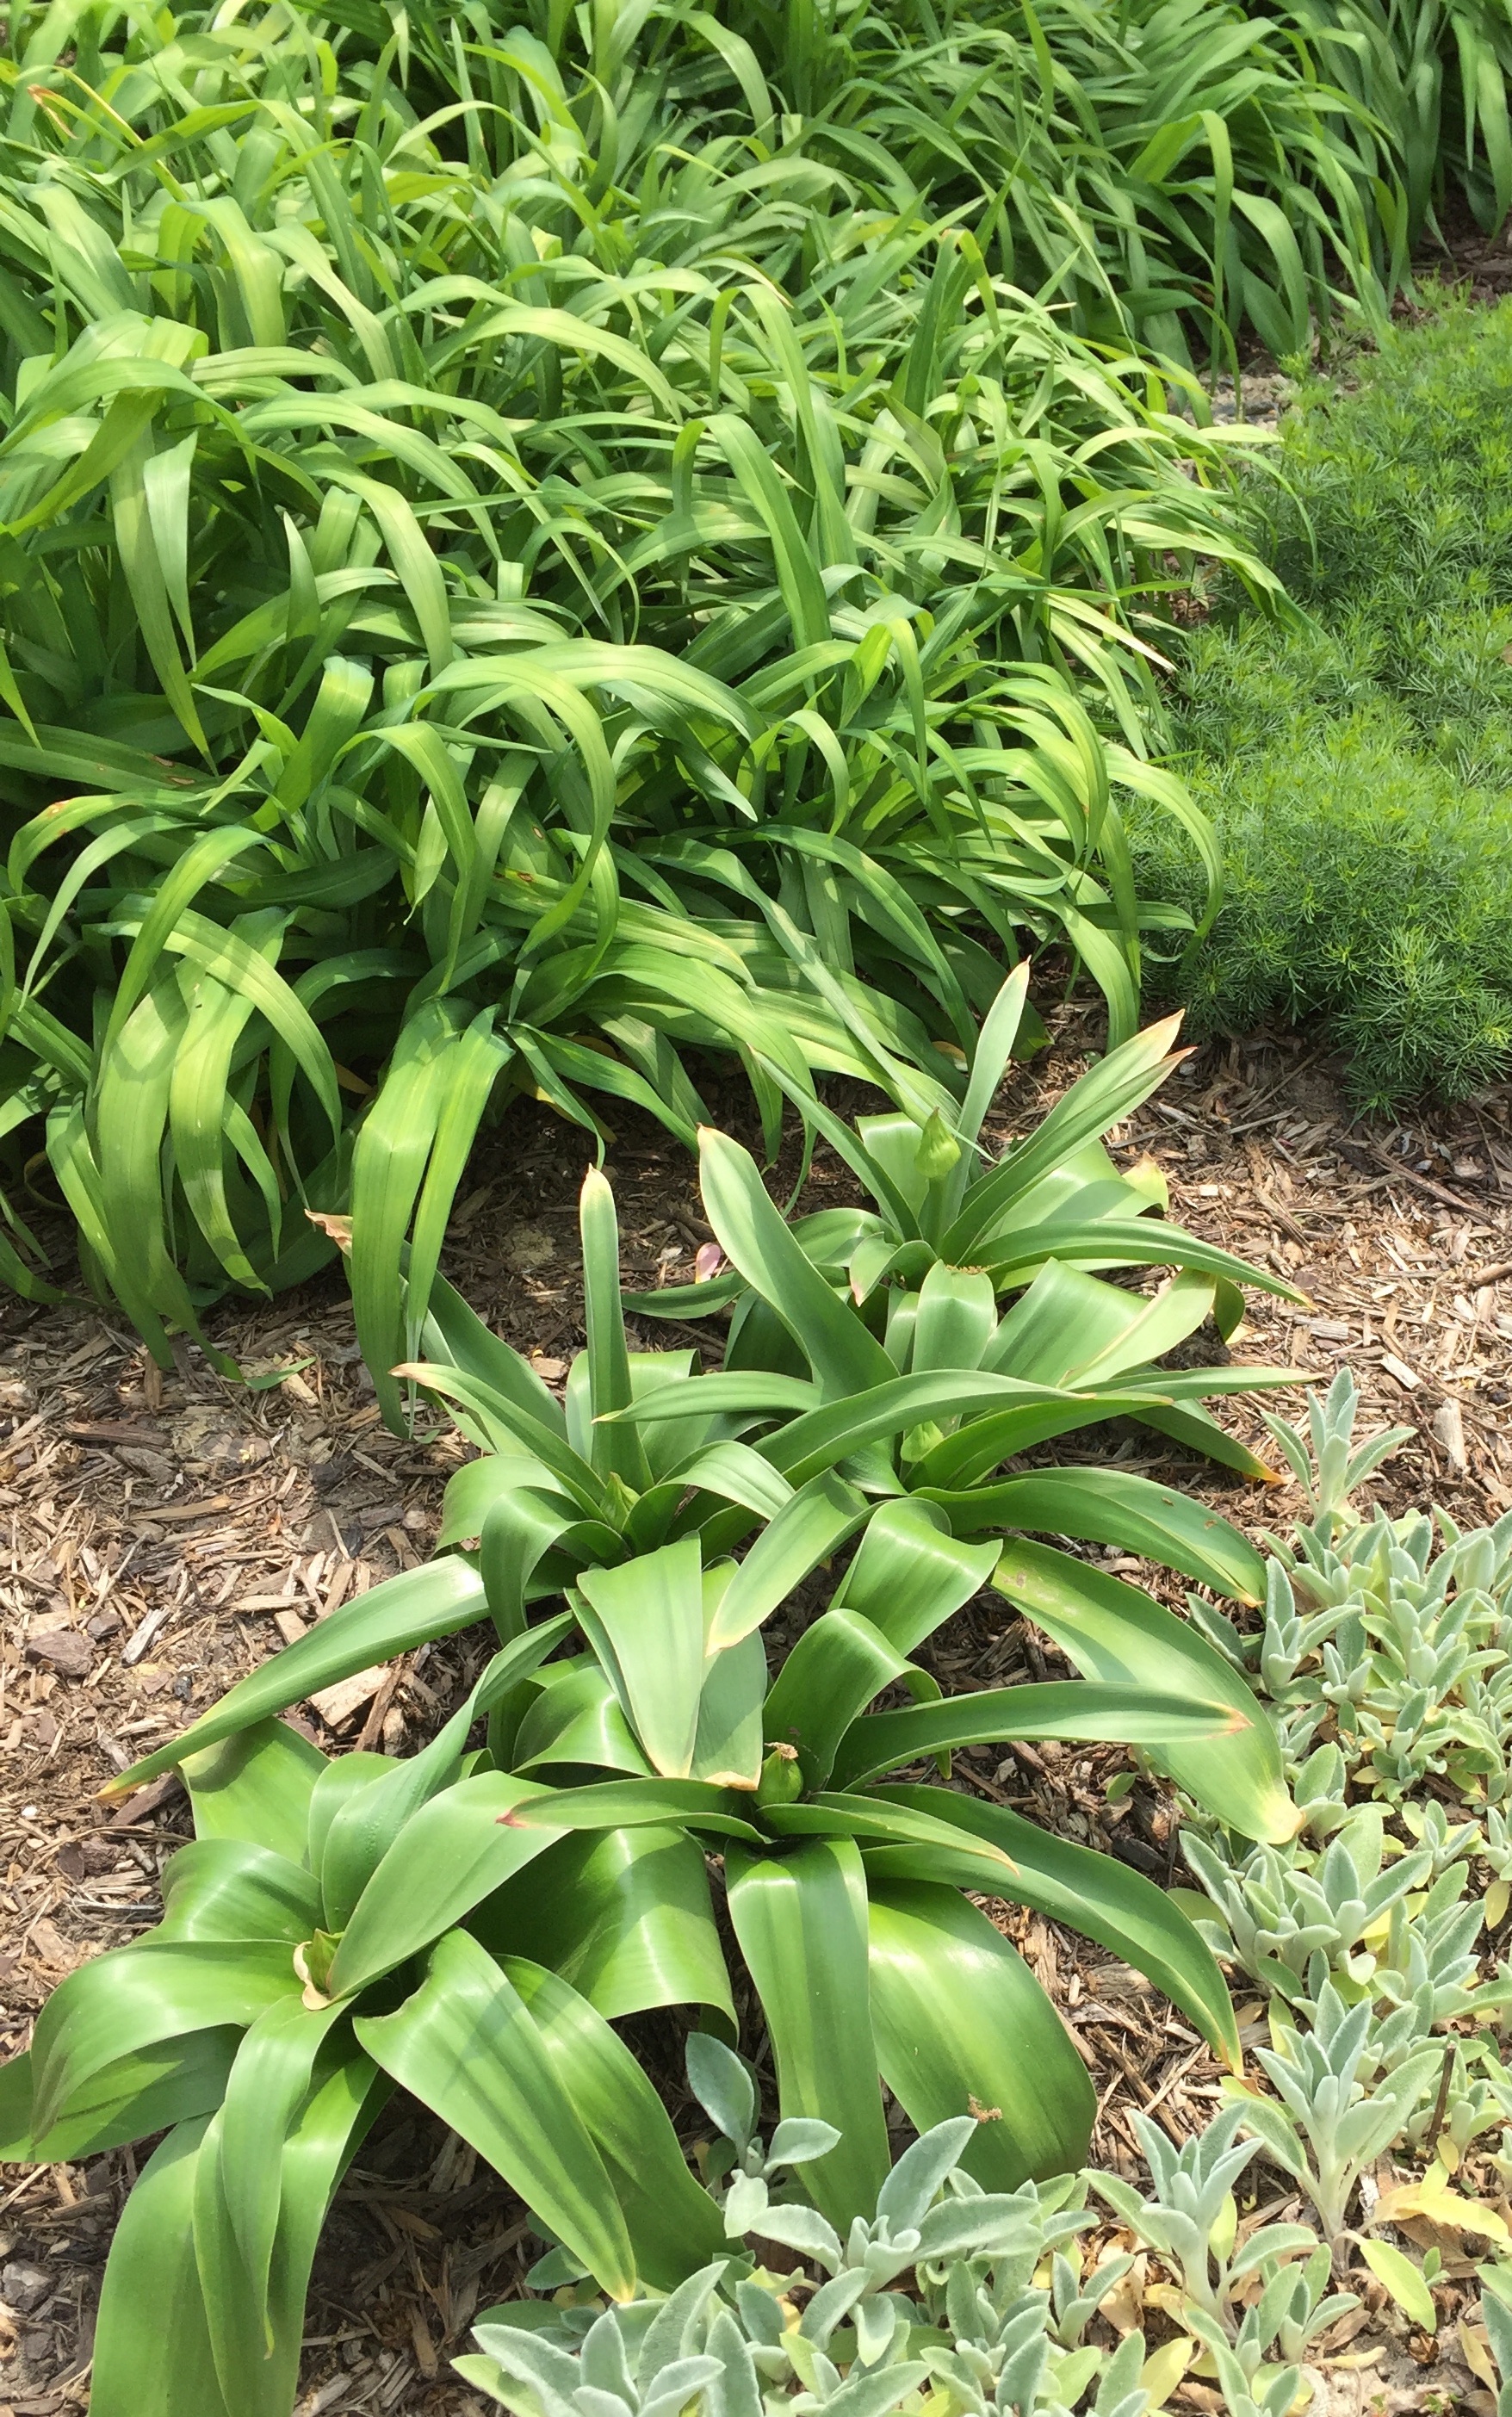
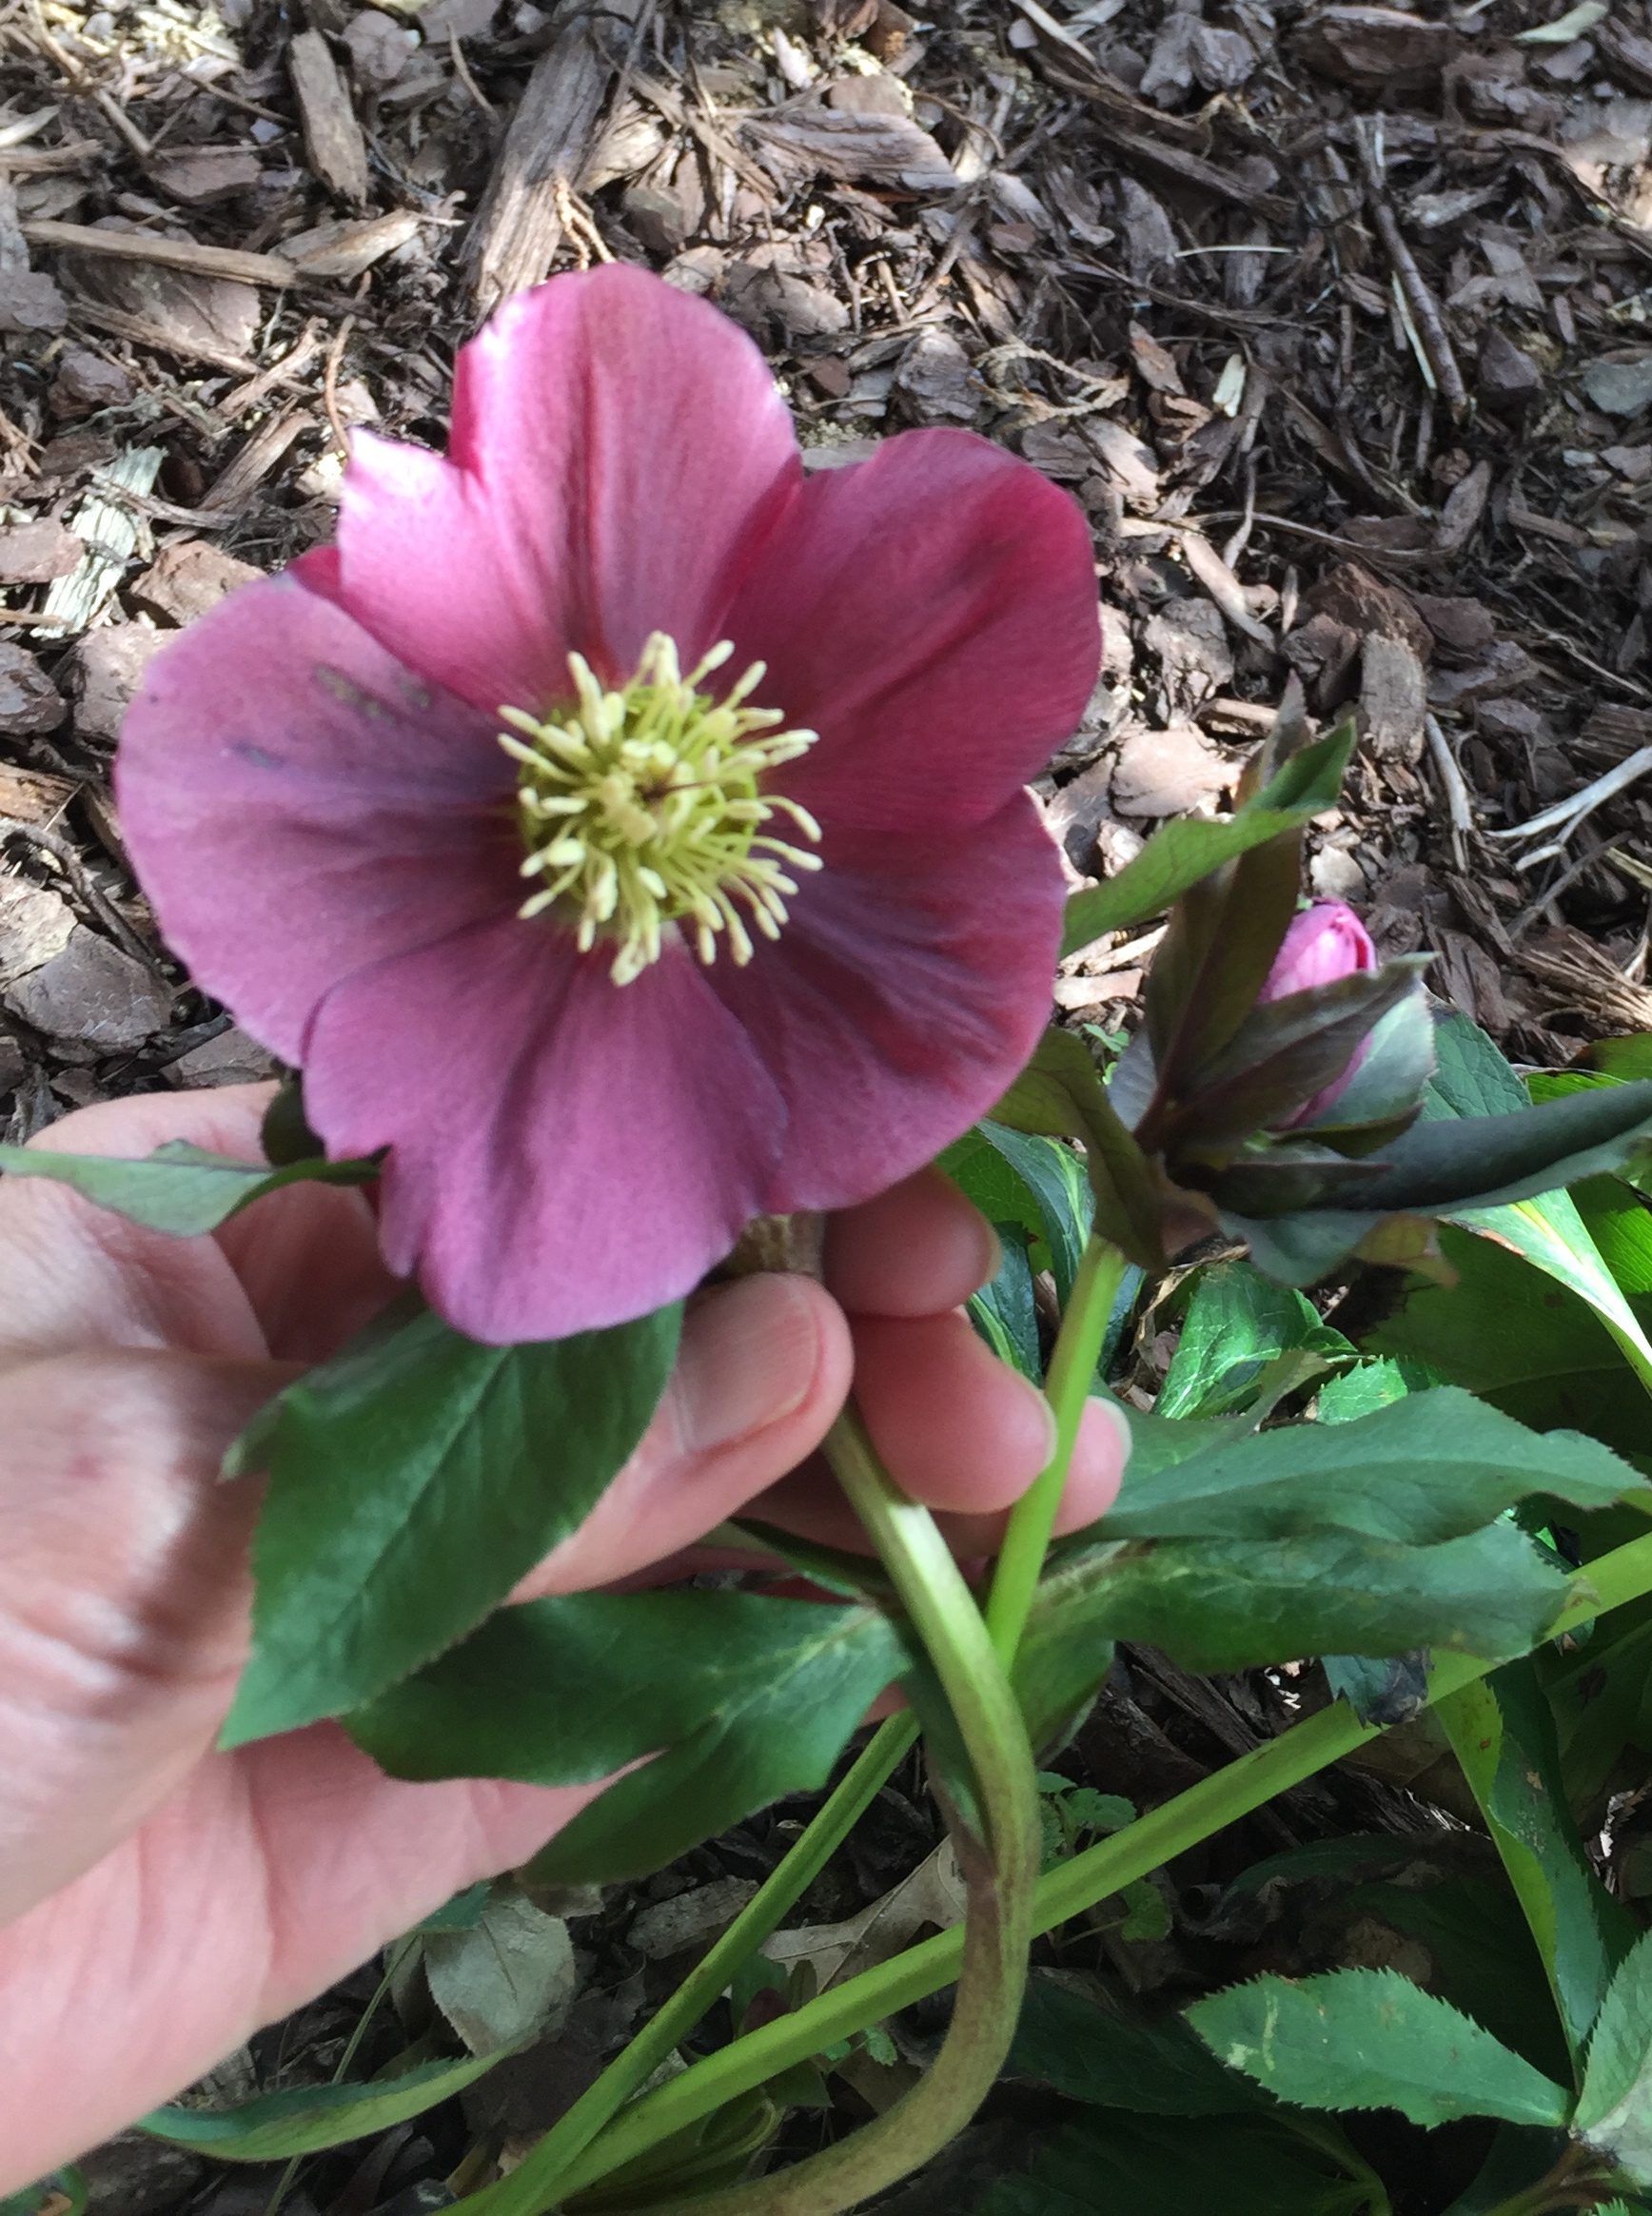
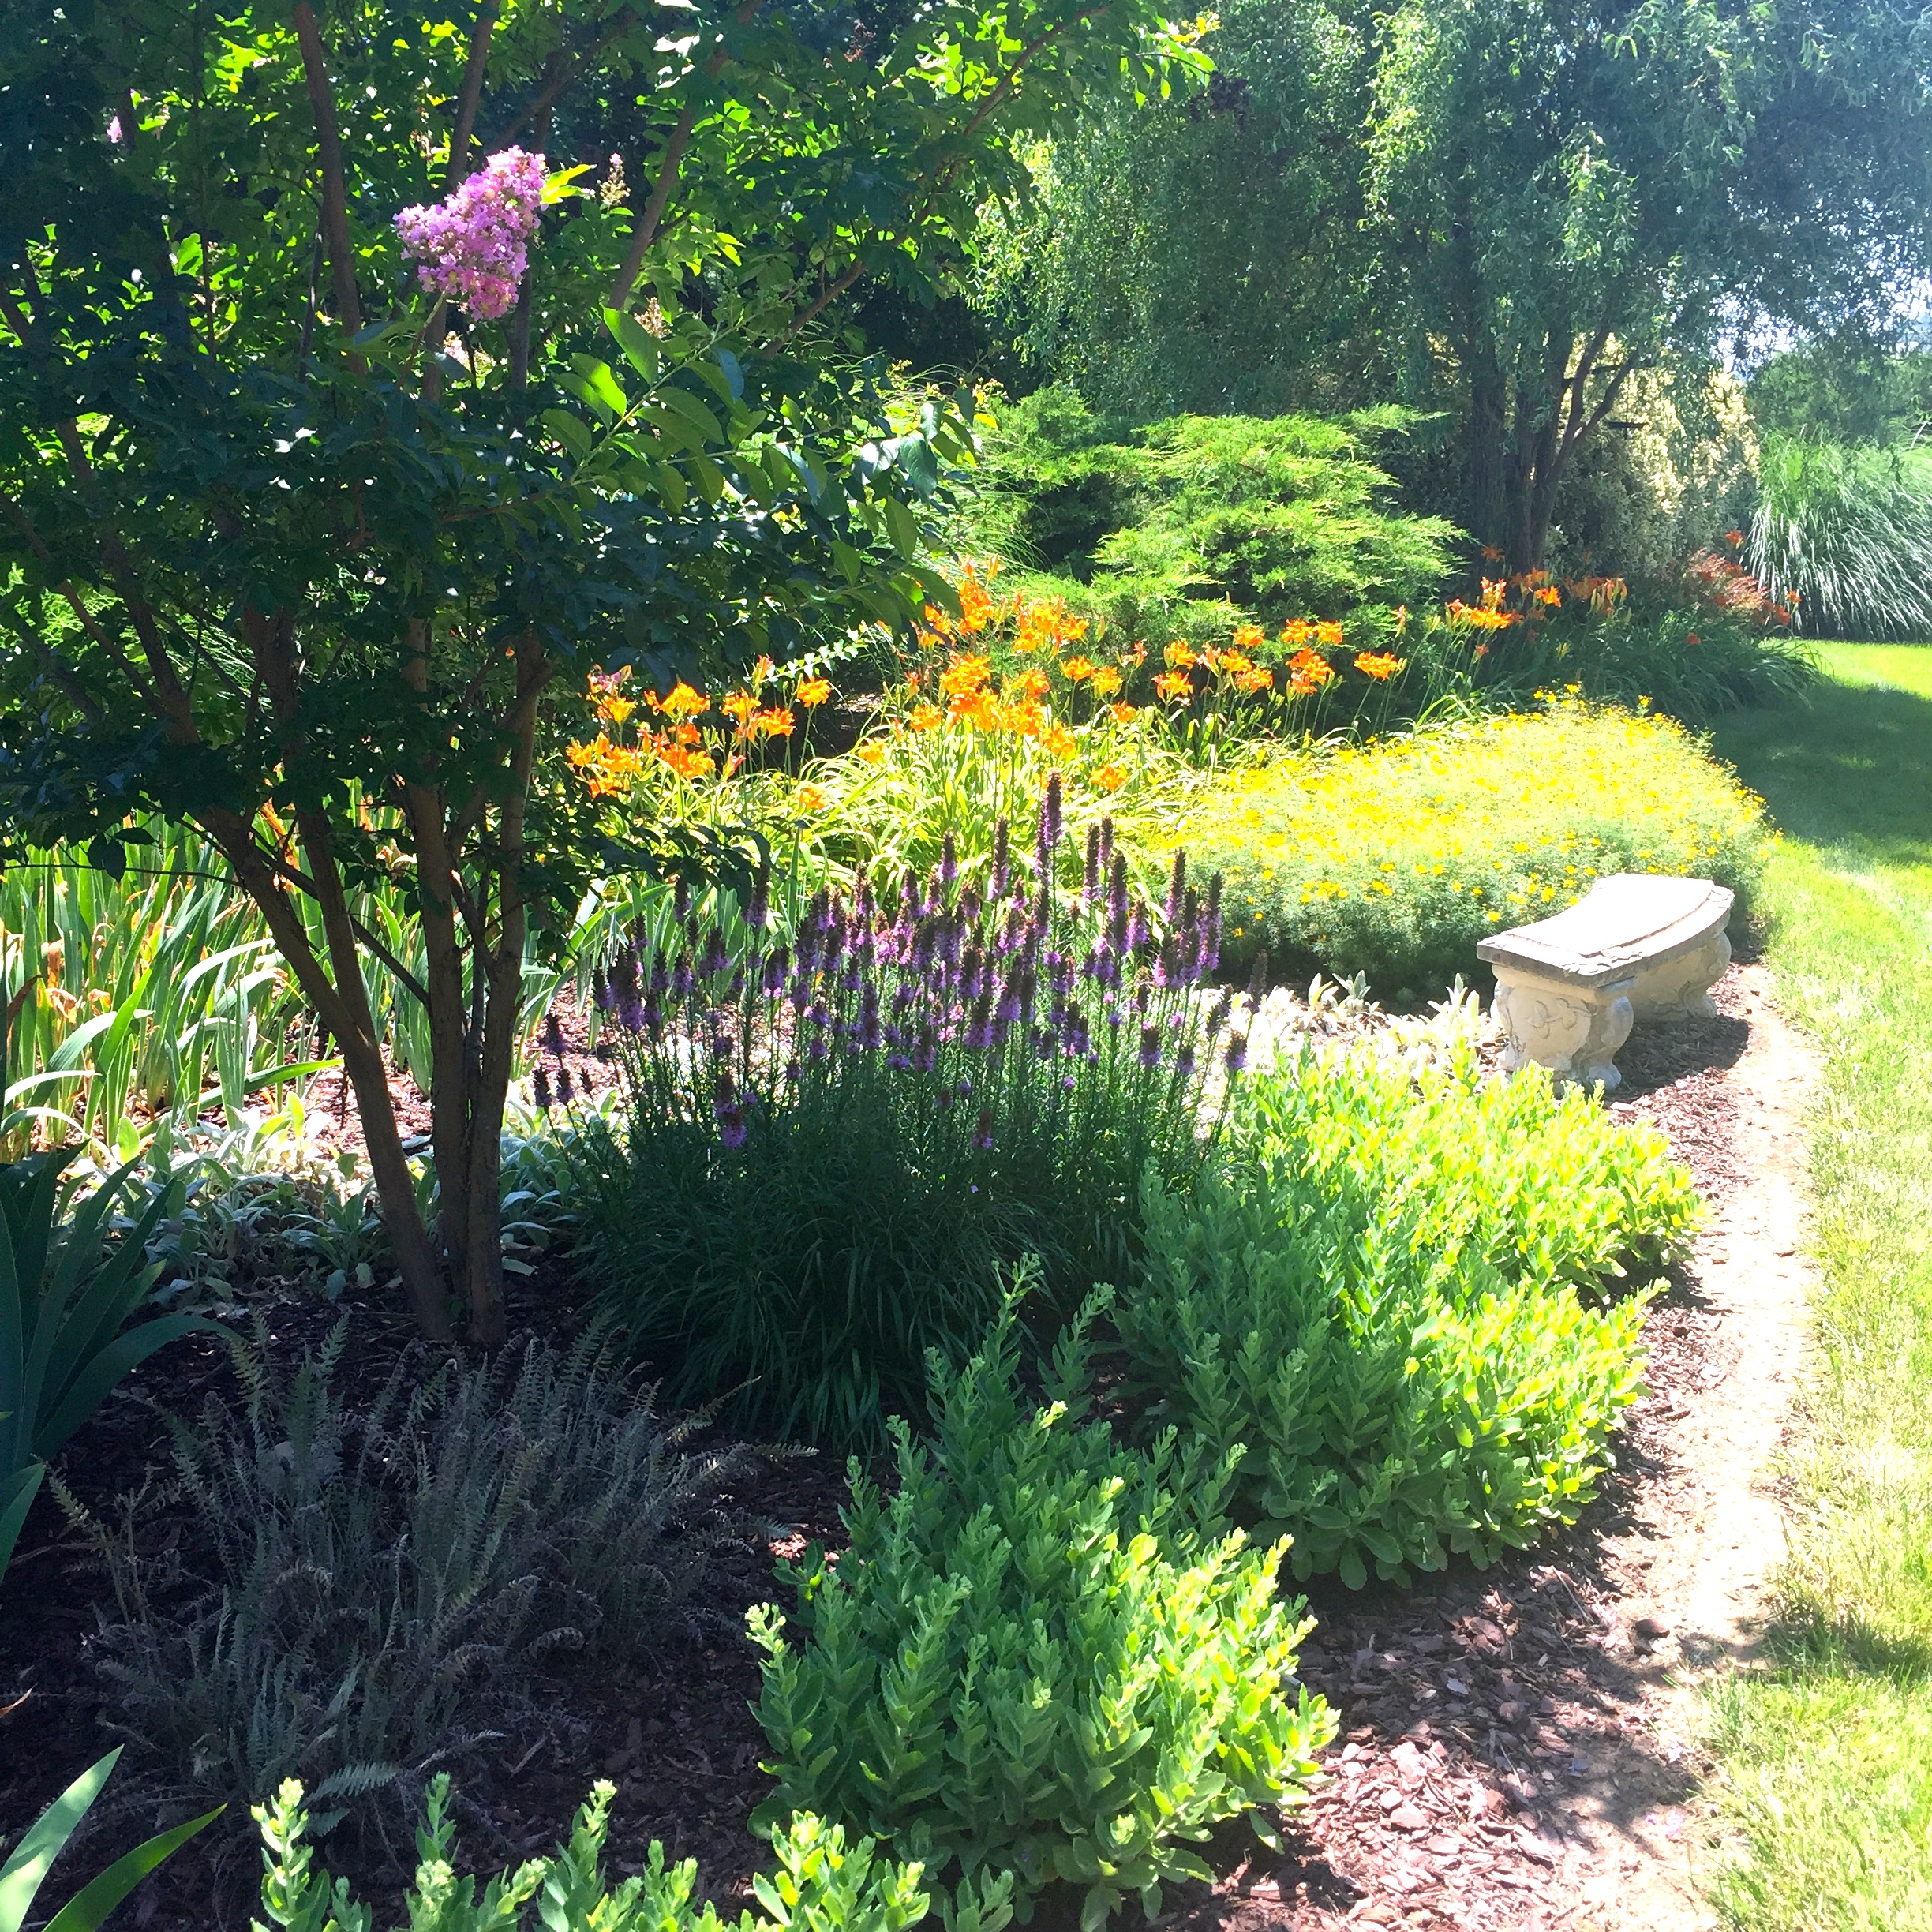
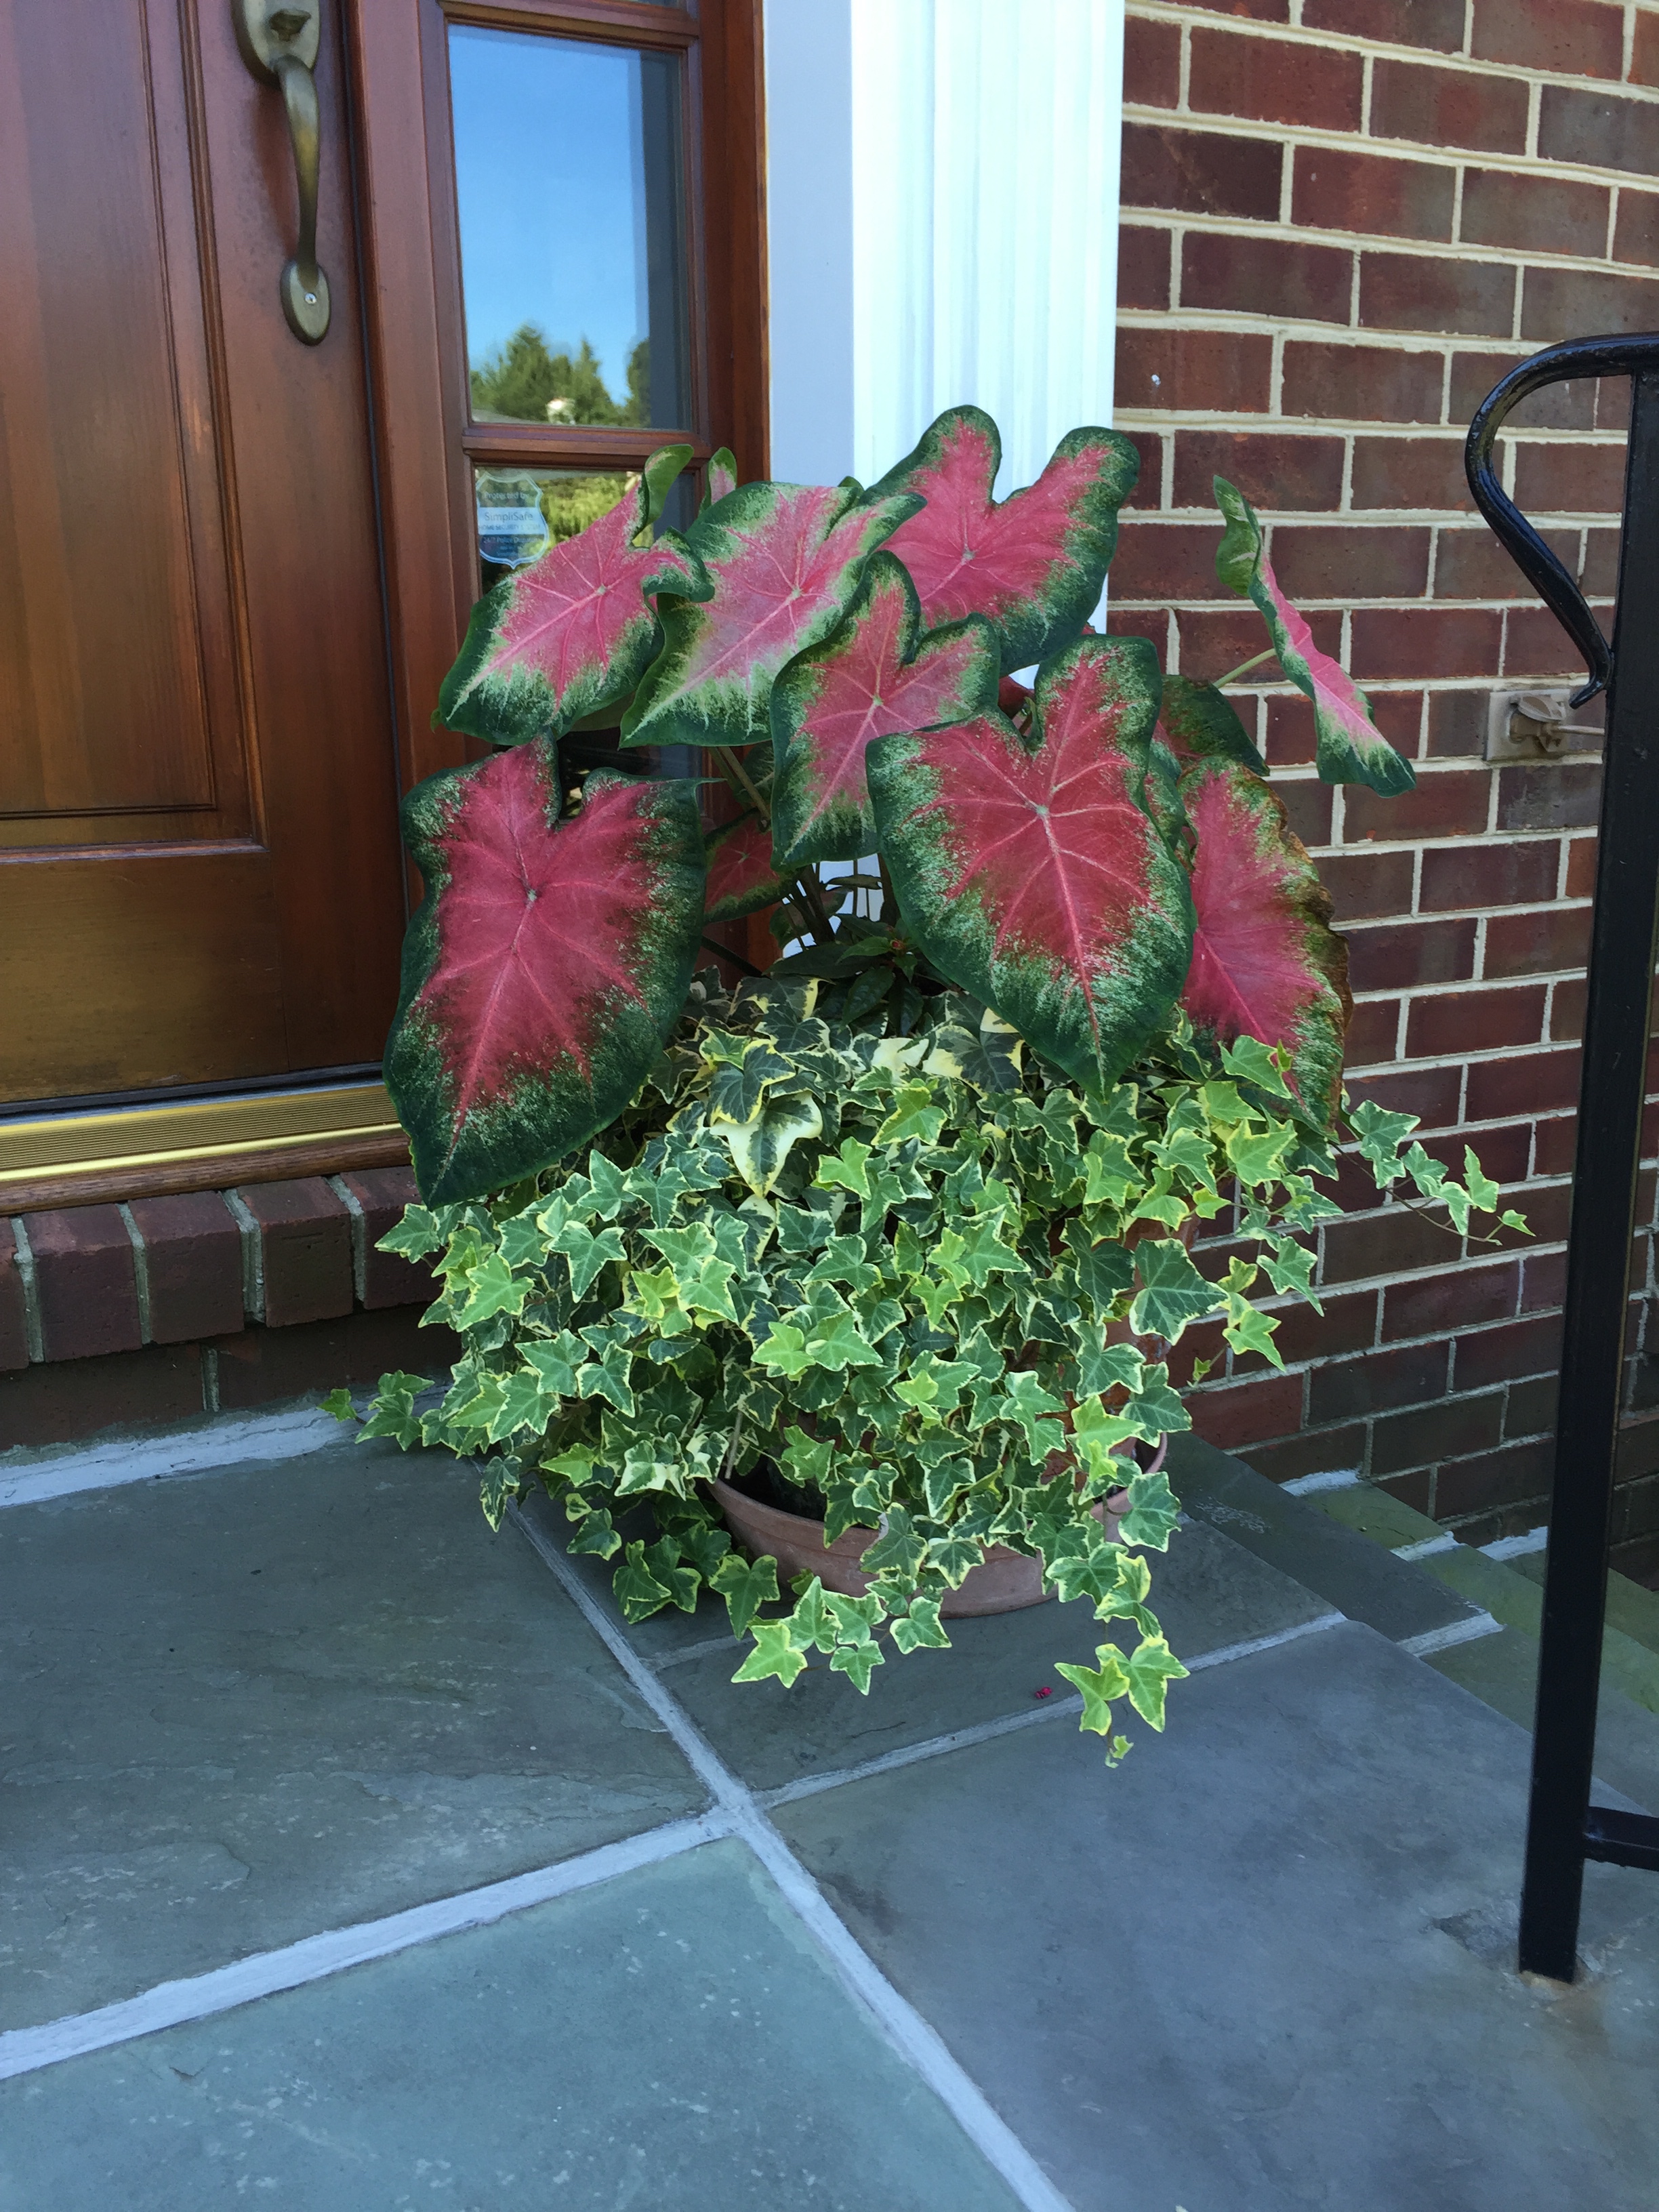
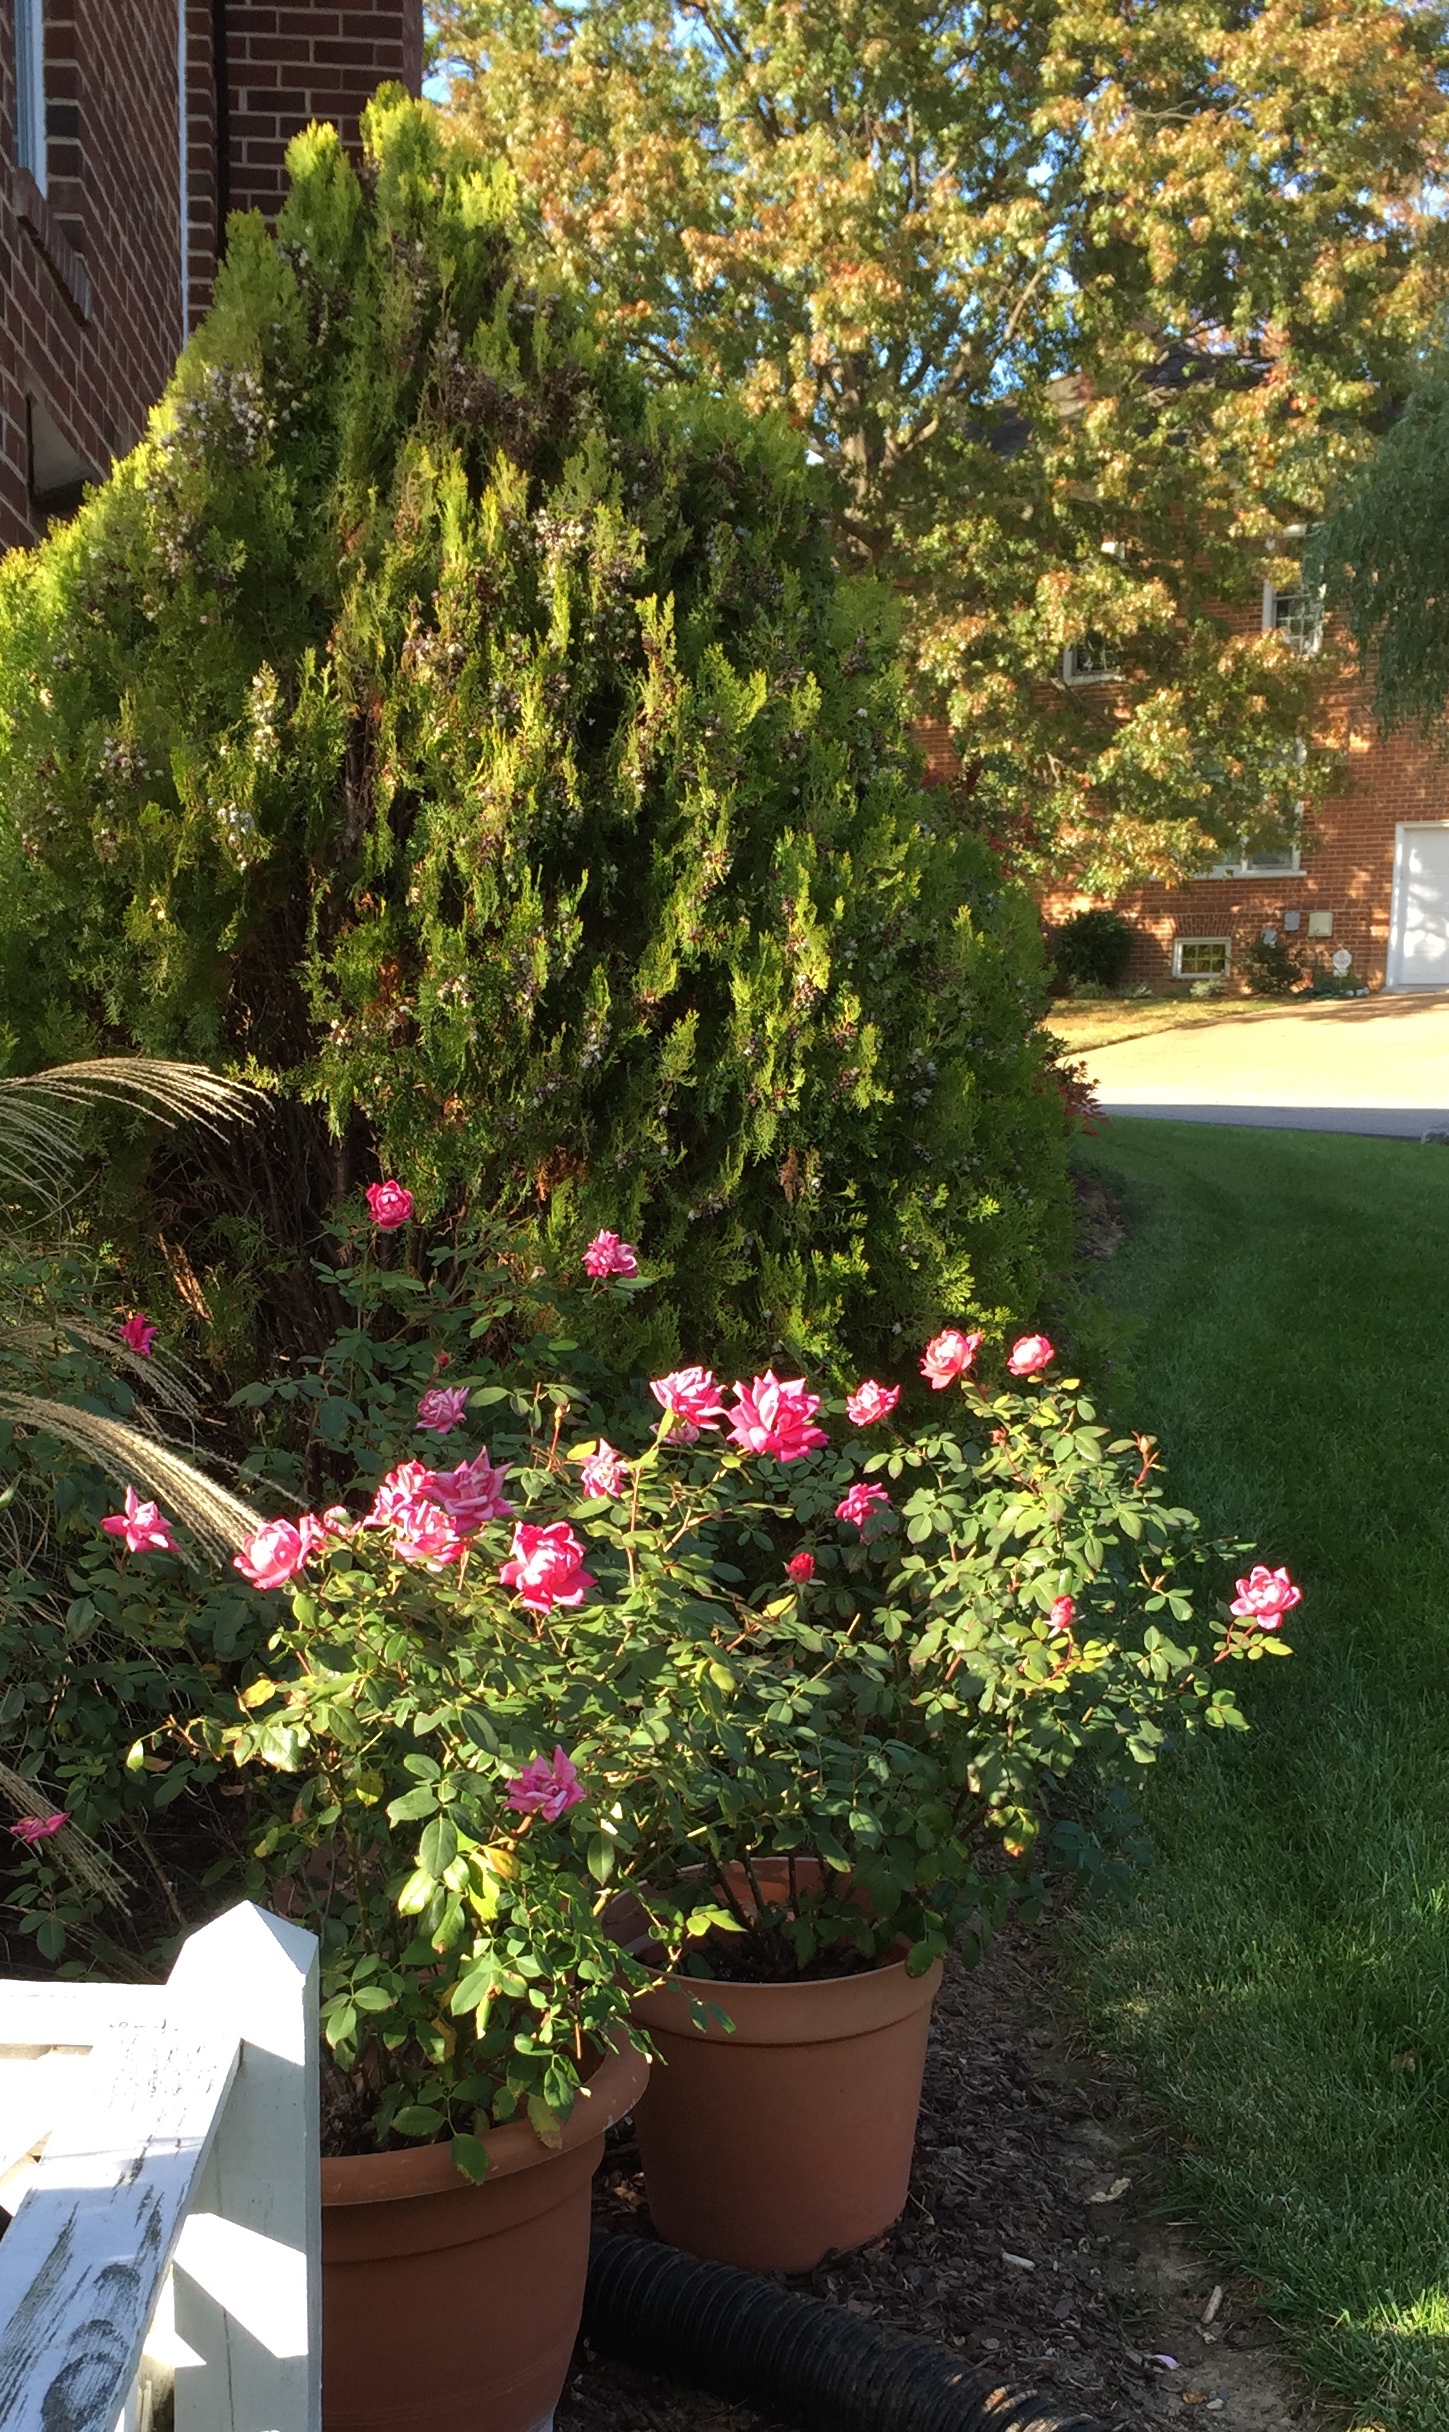
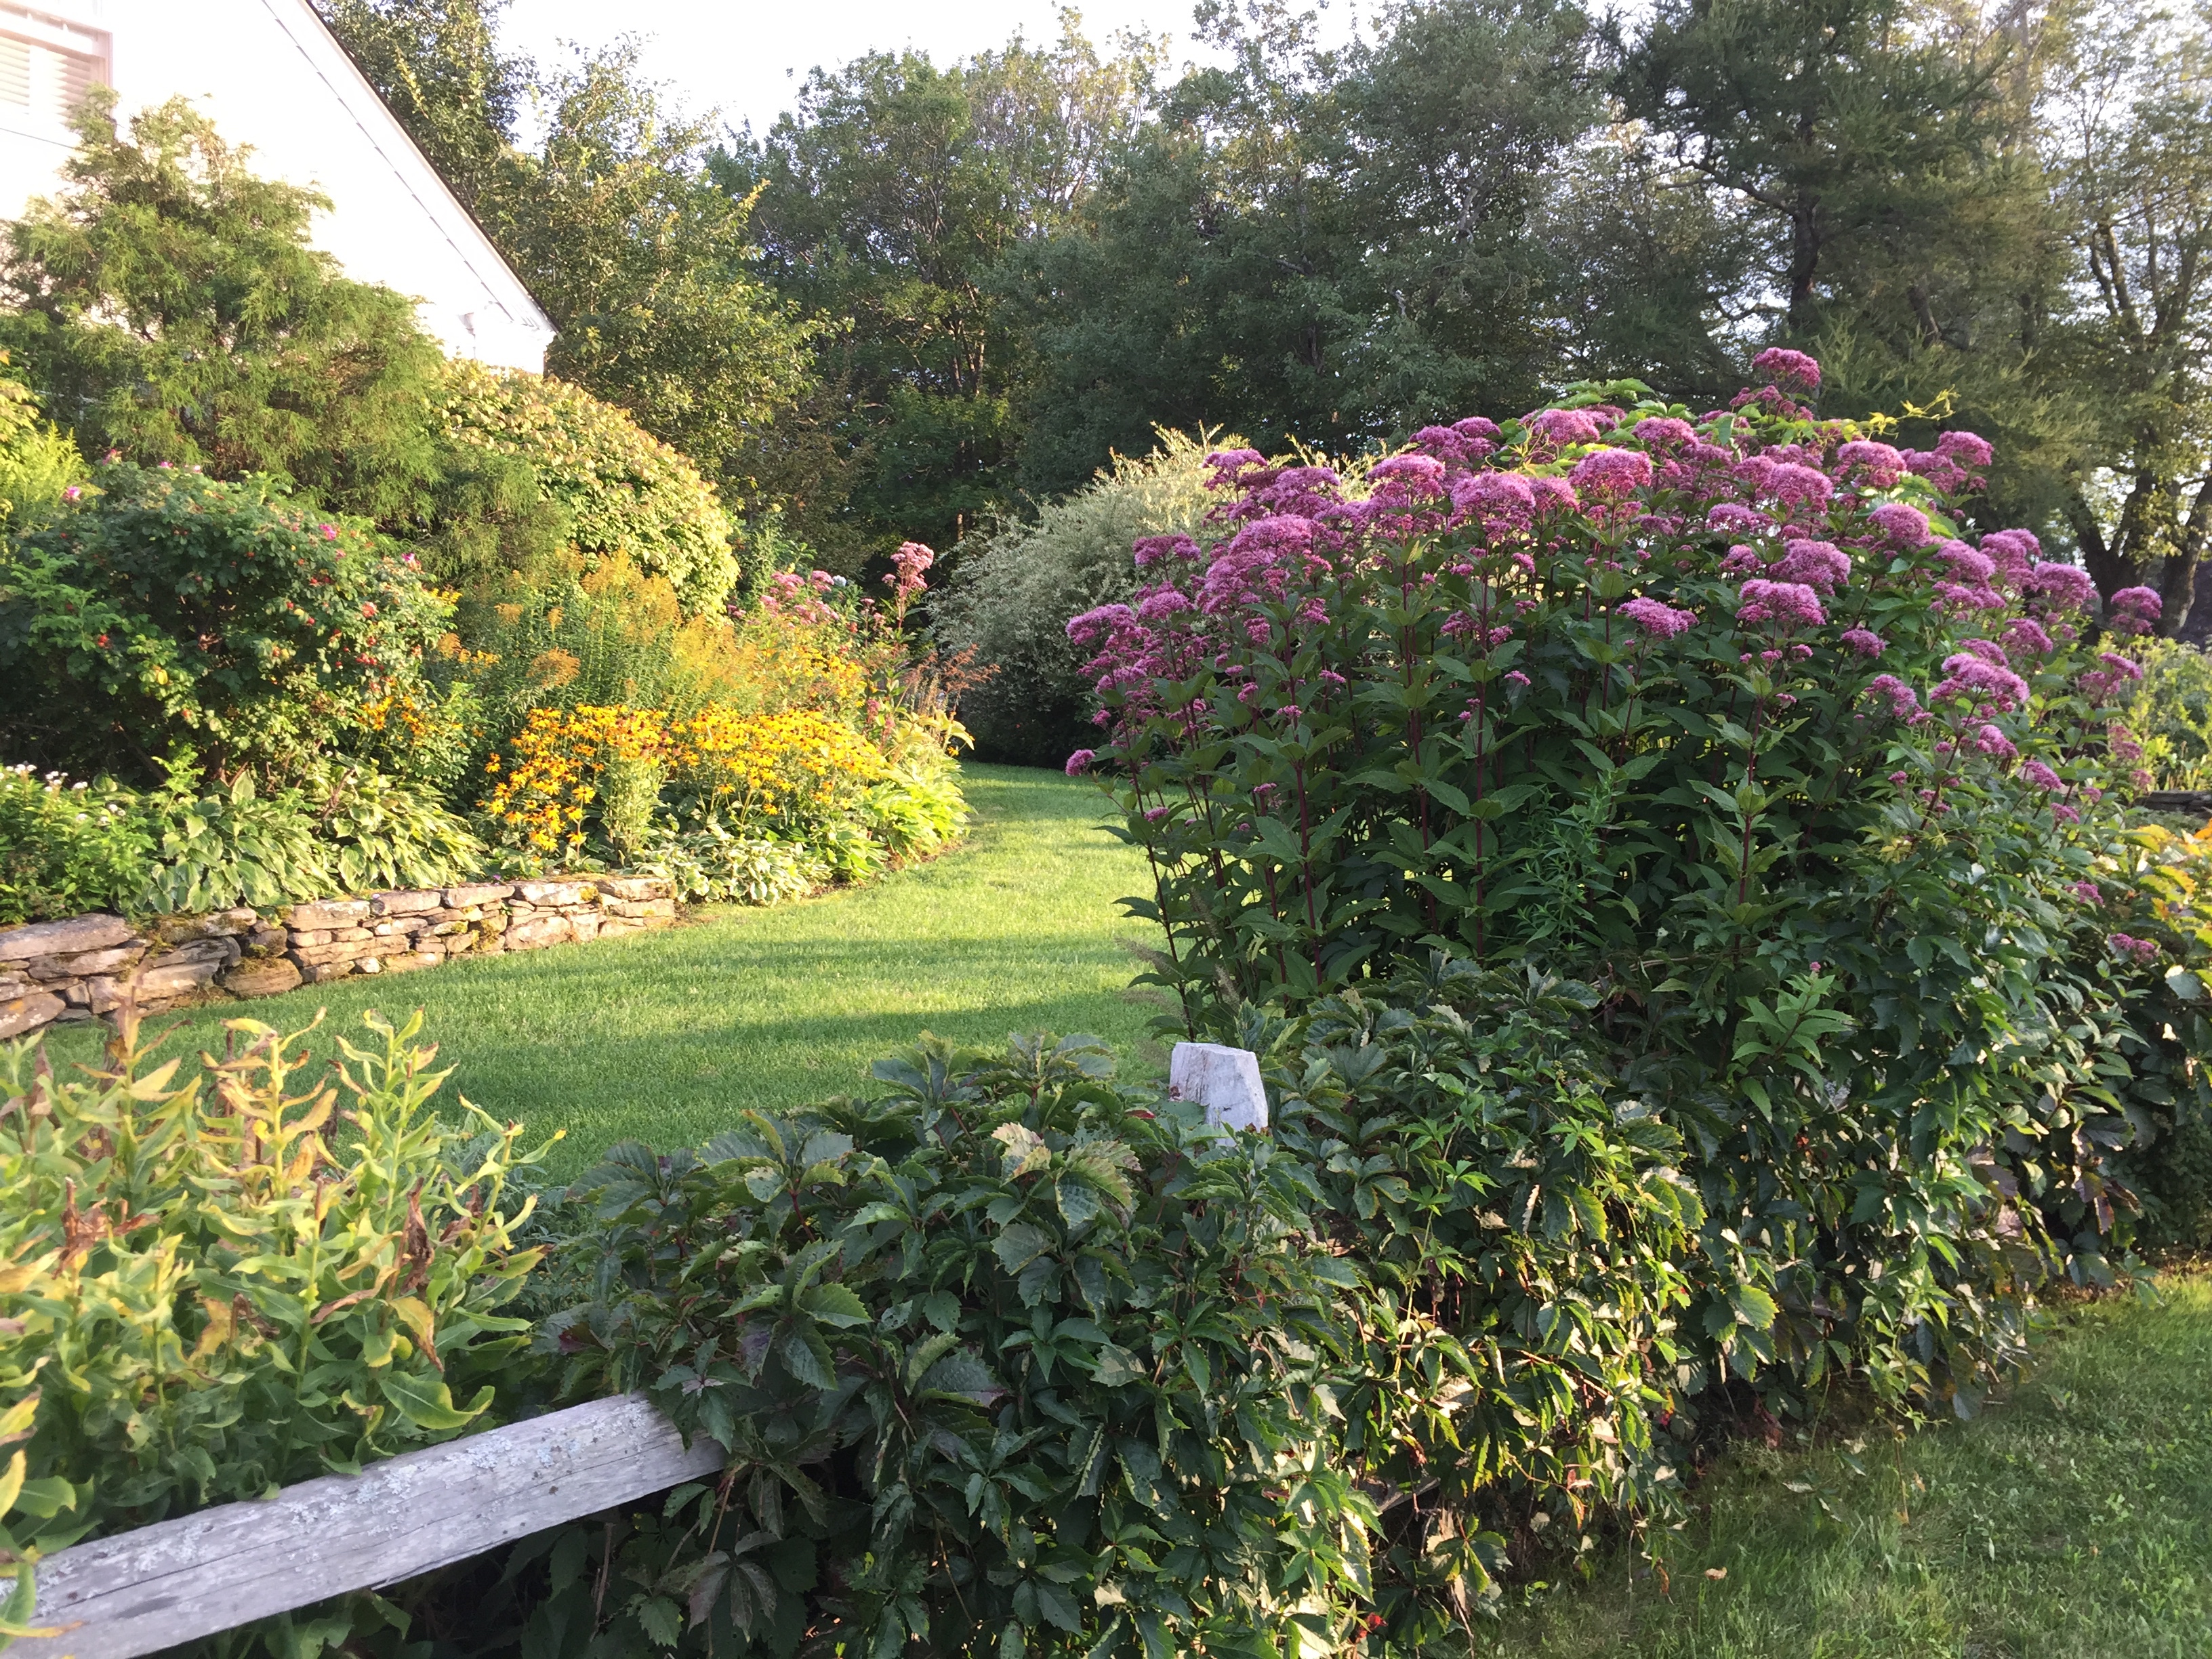
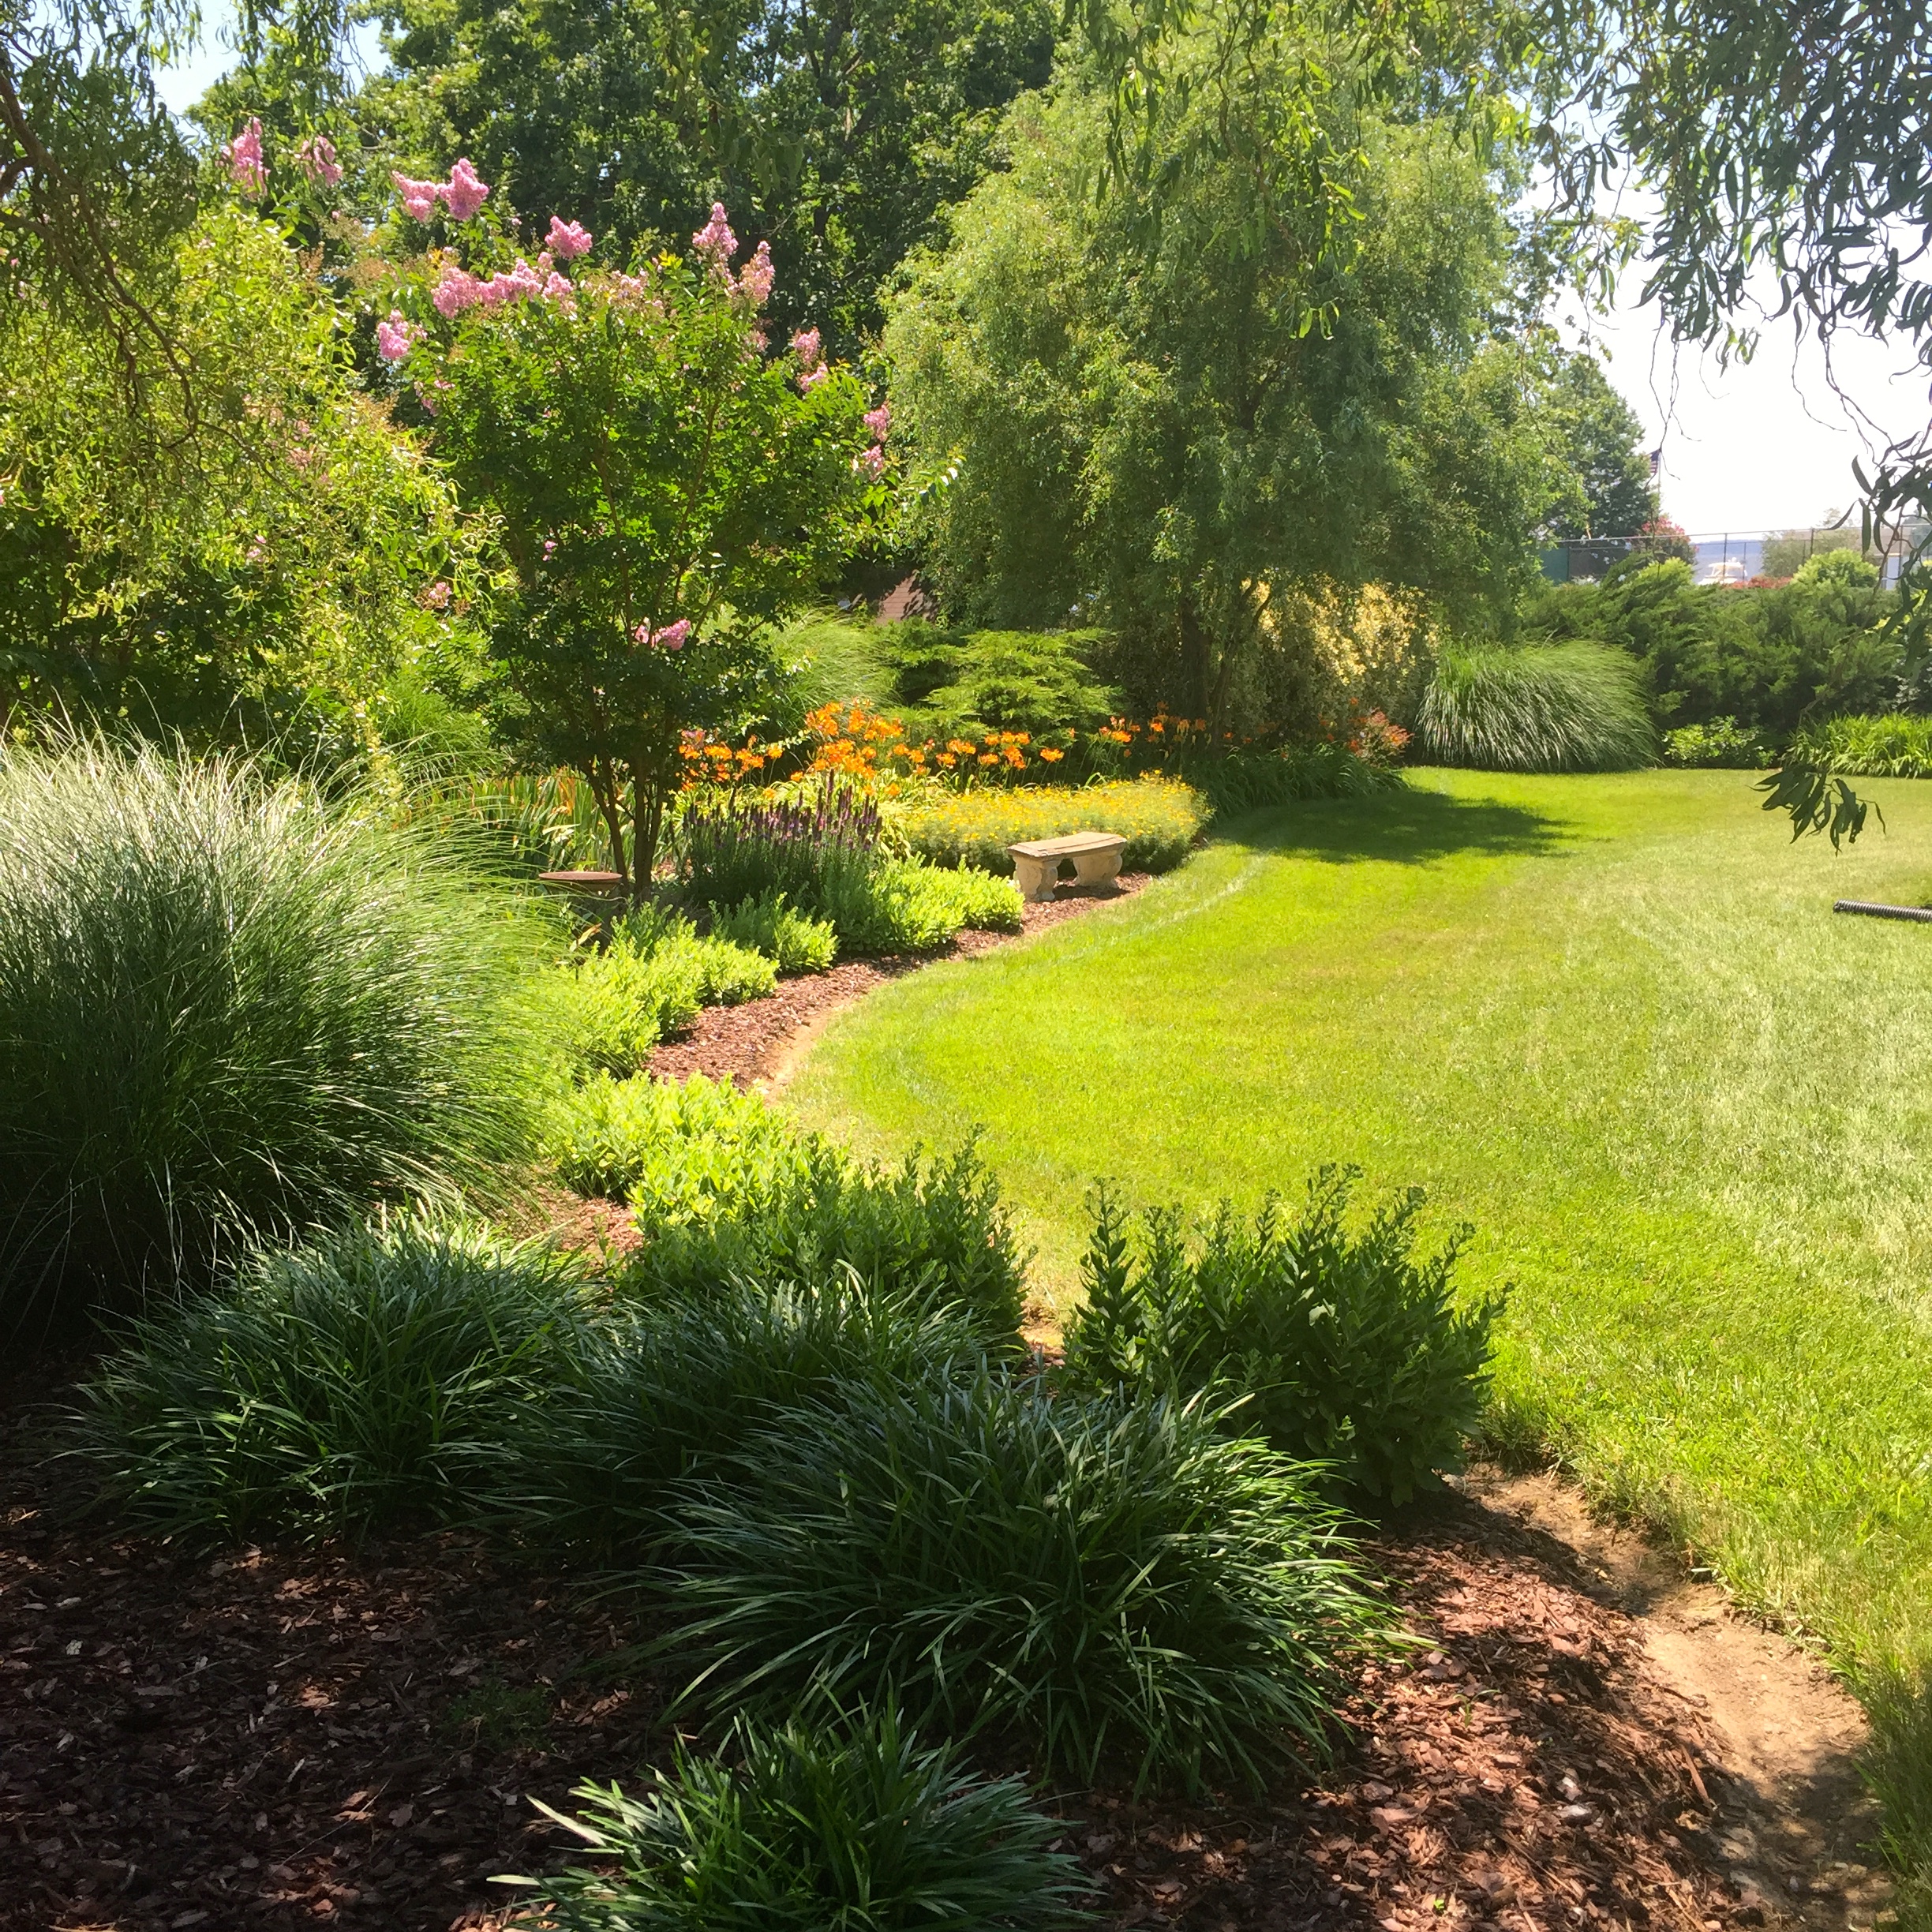
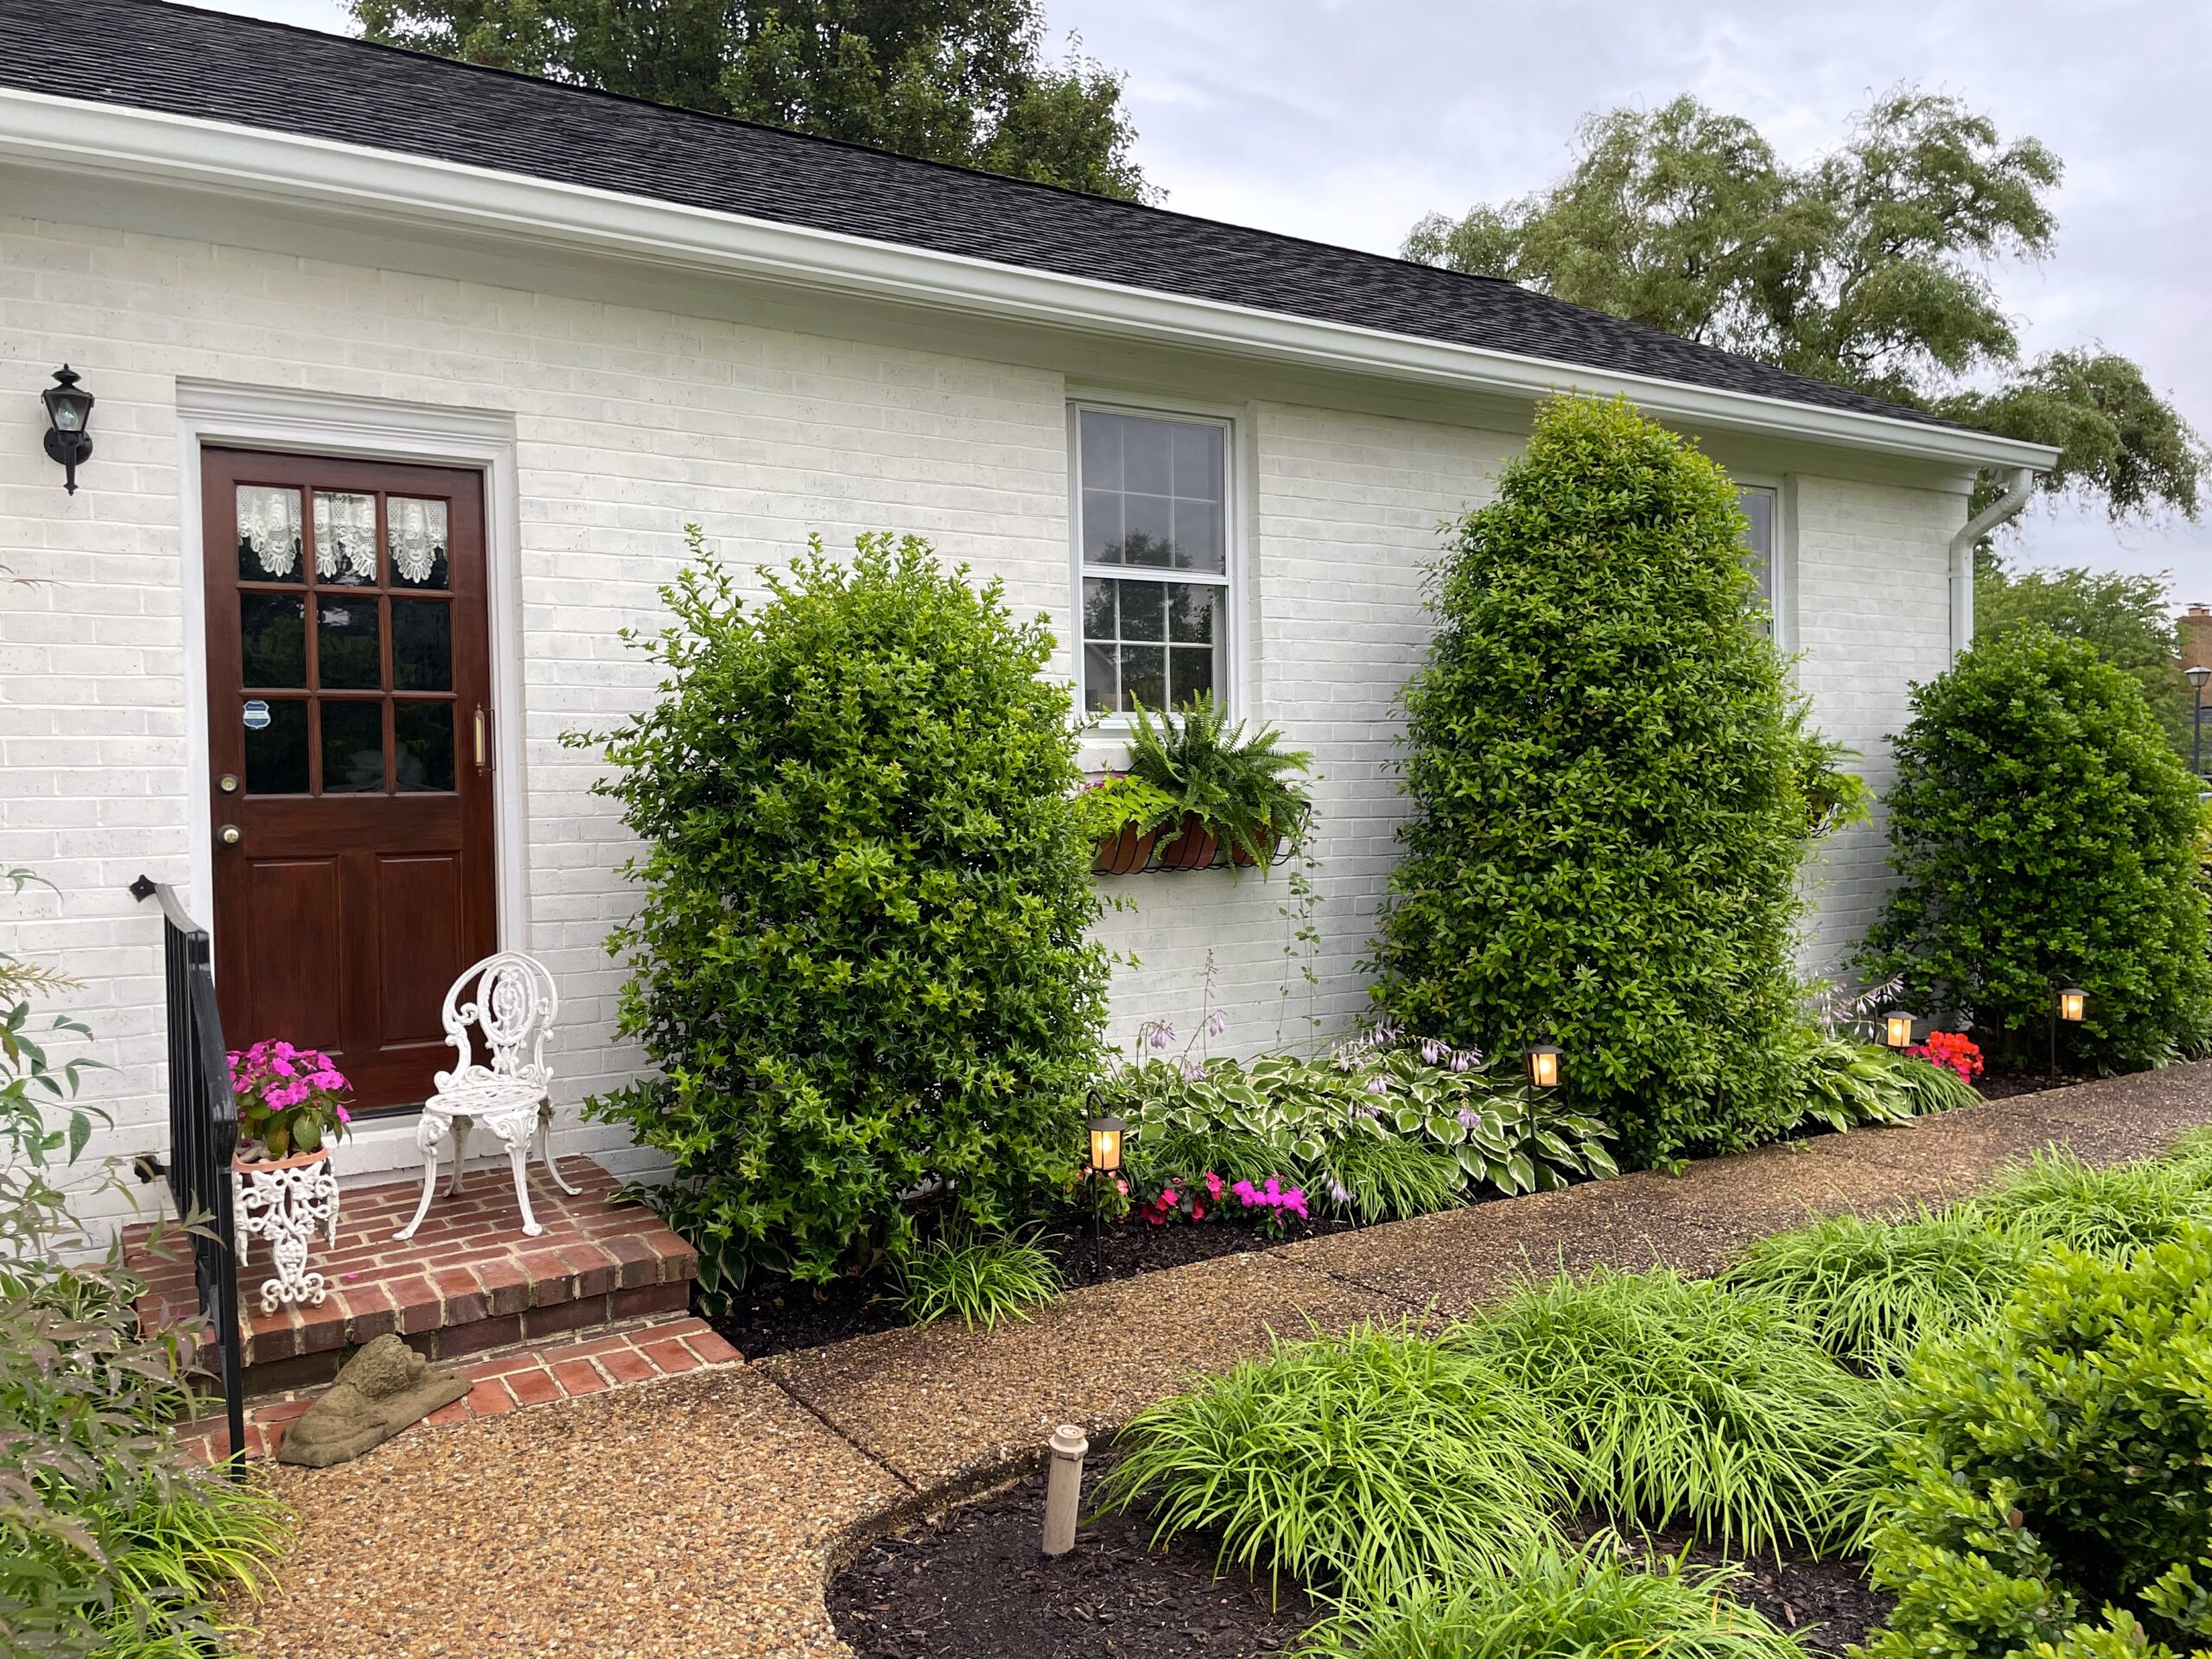
Another exciting aspect for me is I now have a light backdrop that shows off the garden. I can use the bright tropical colors of summer in flowers. I’ve filled the garden with magenta, coral, red and purple flowers. It’s so much fun! I’m already planning what colors to use in the autumn, and I am so looking forward to seeing how the house will look decorated for Christmas.
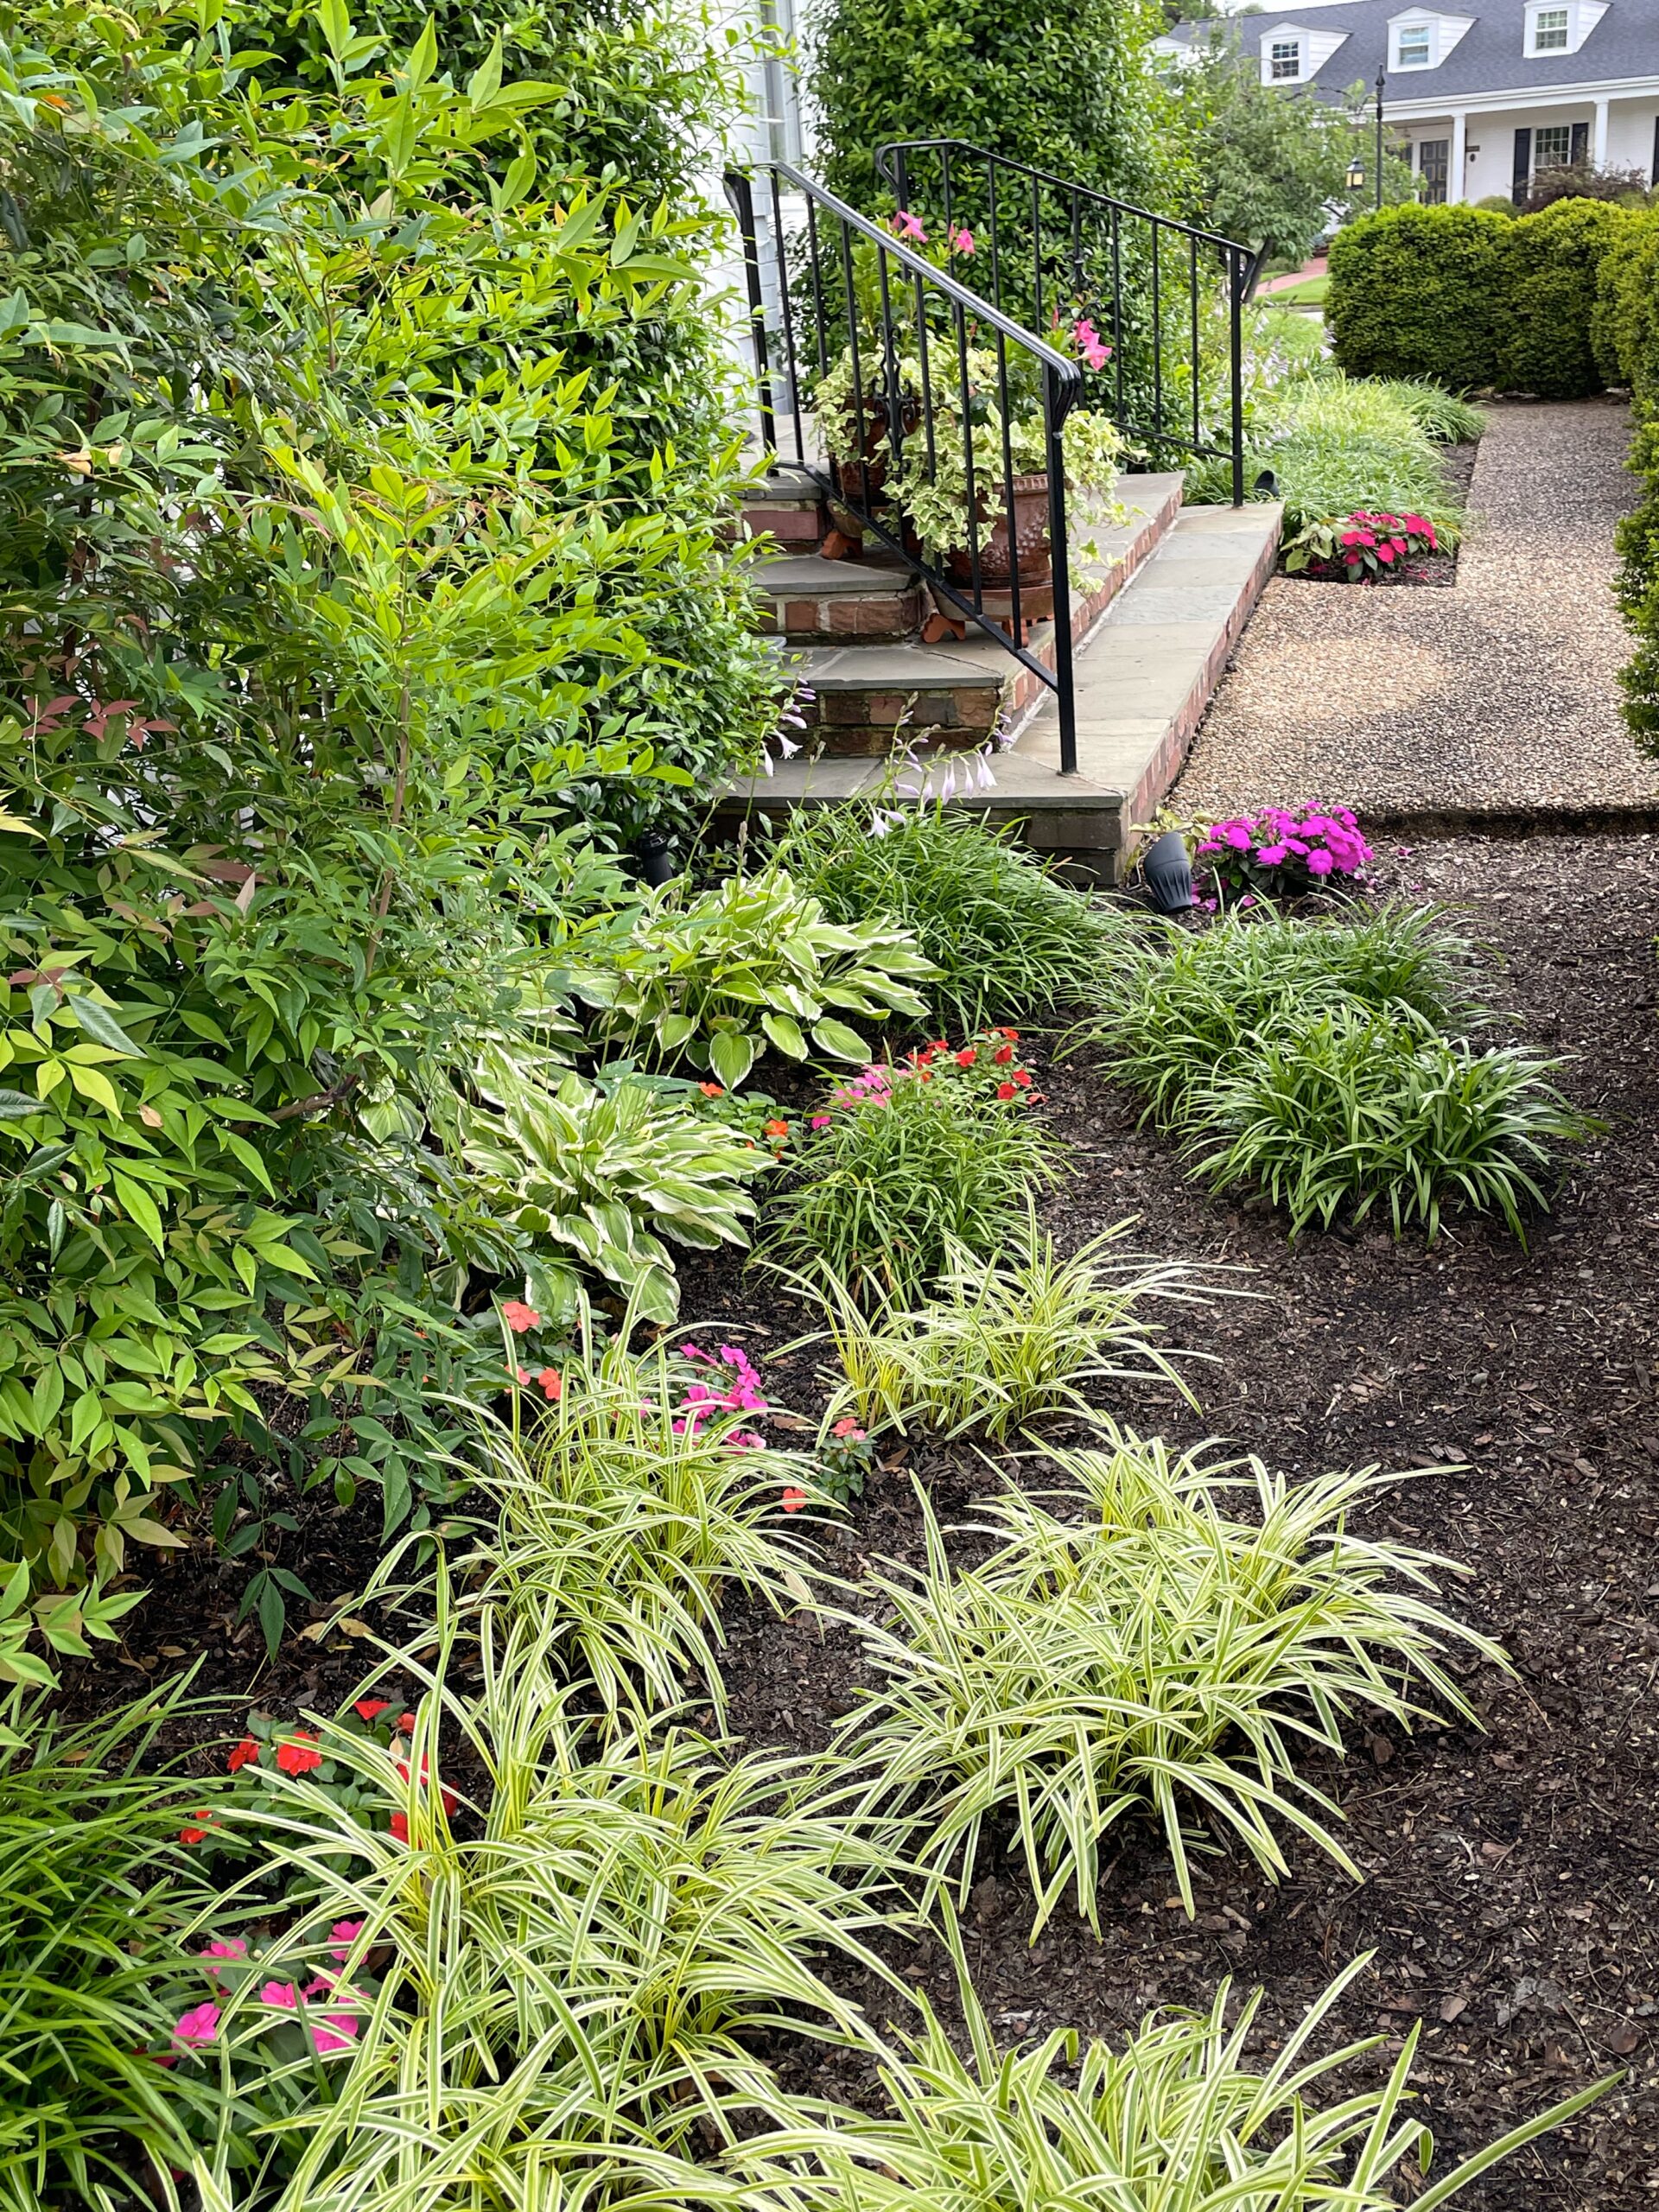
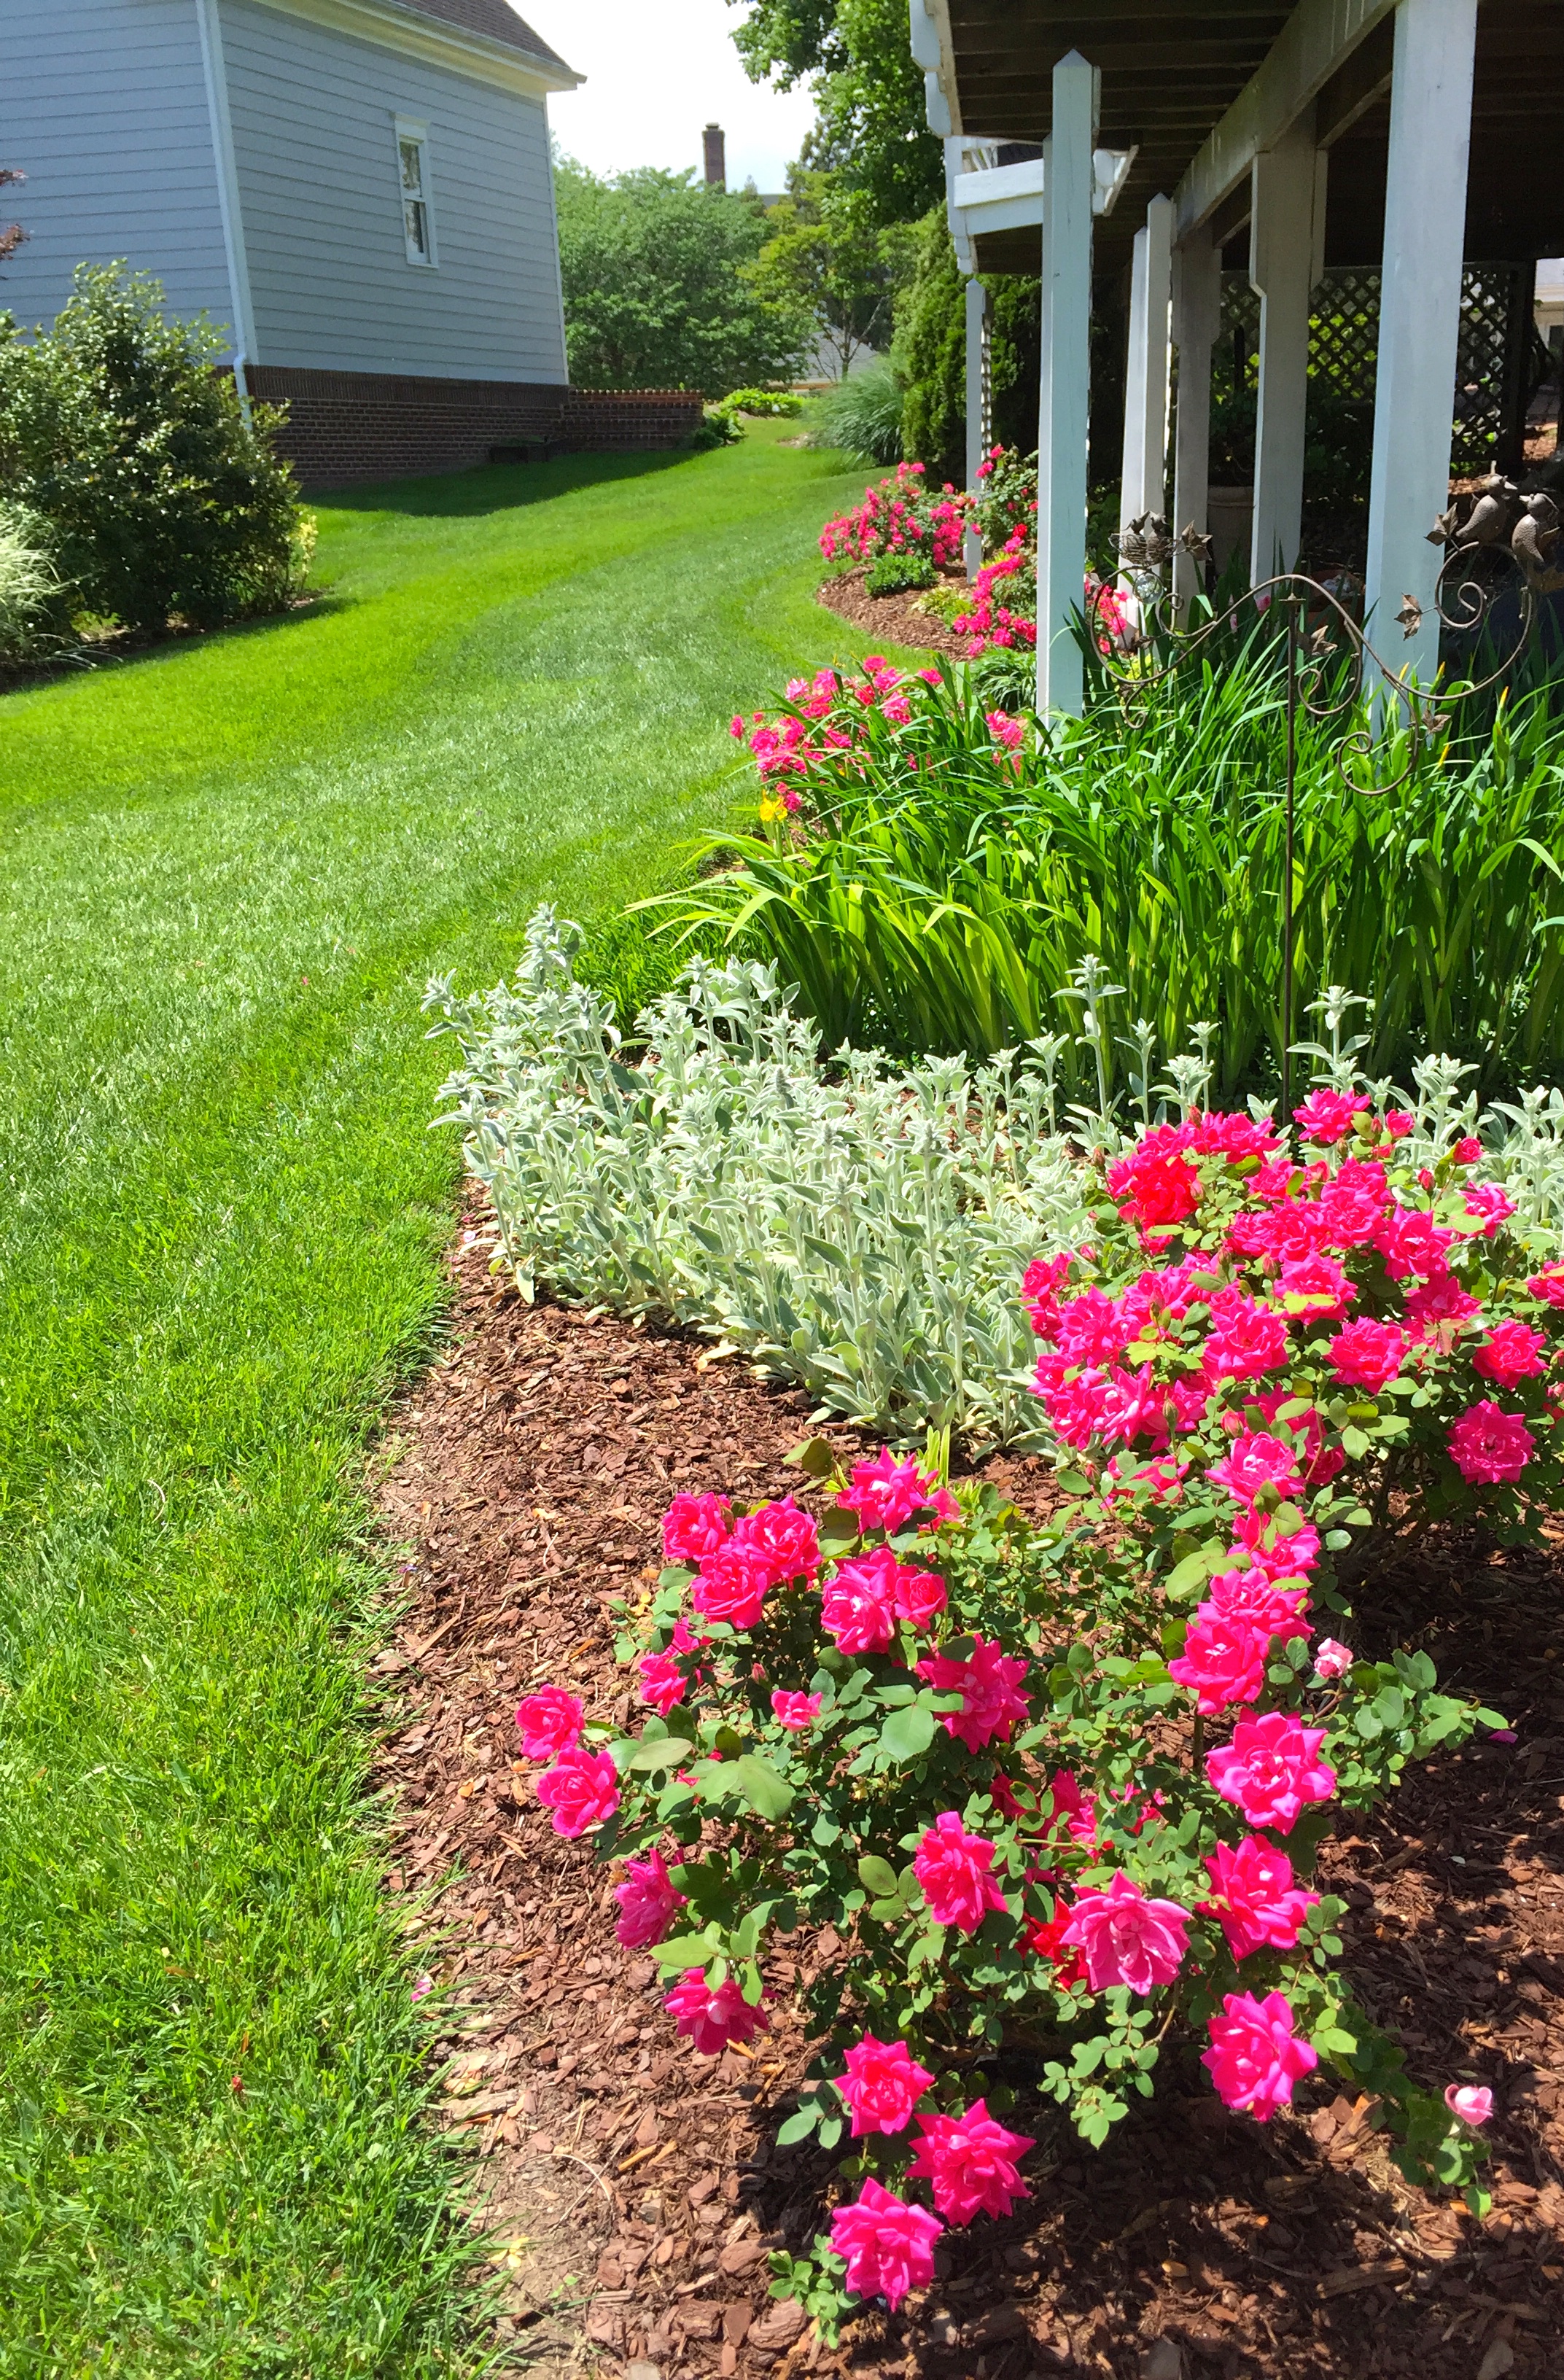
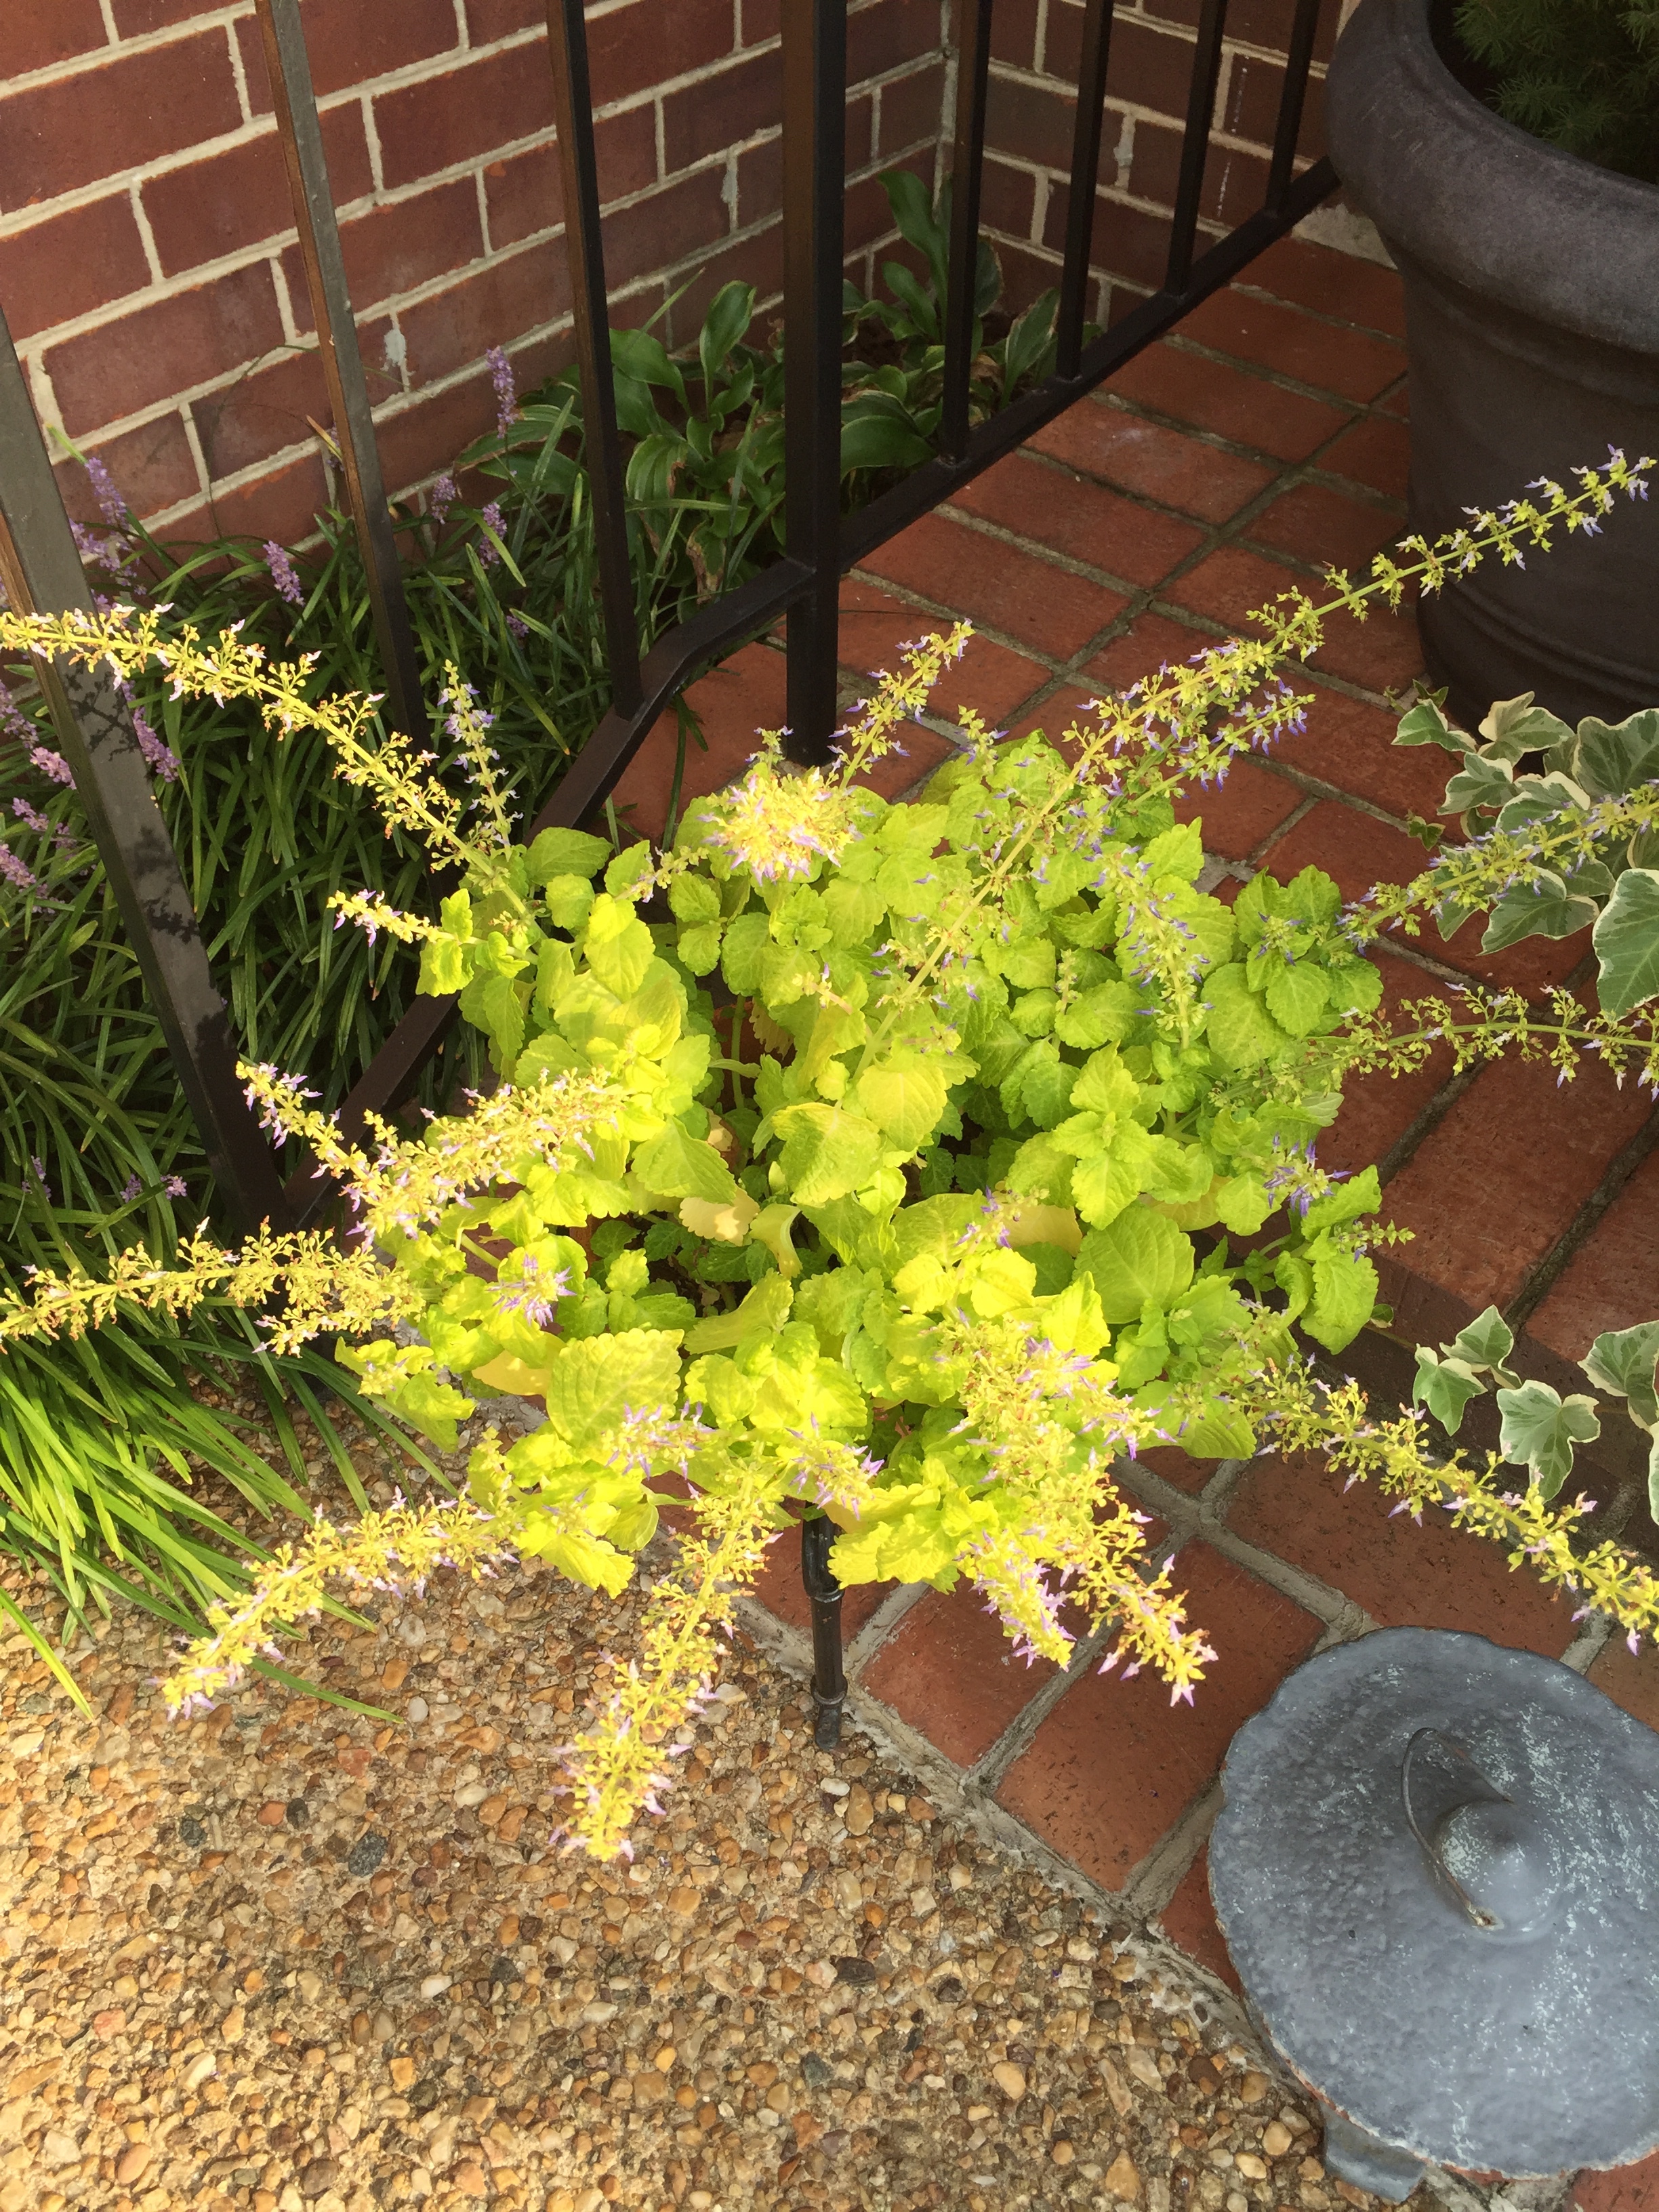
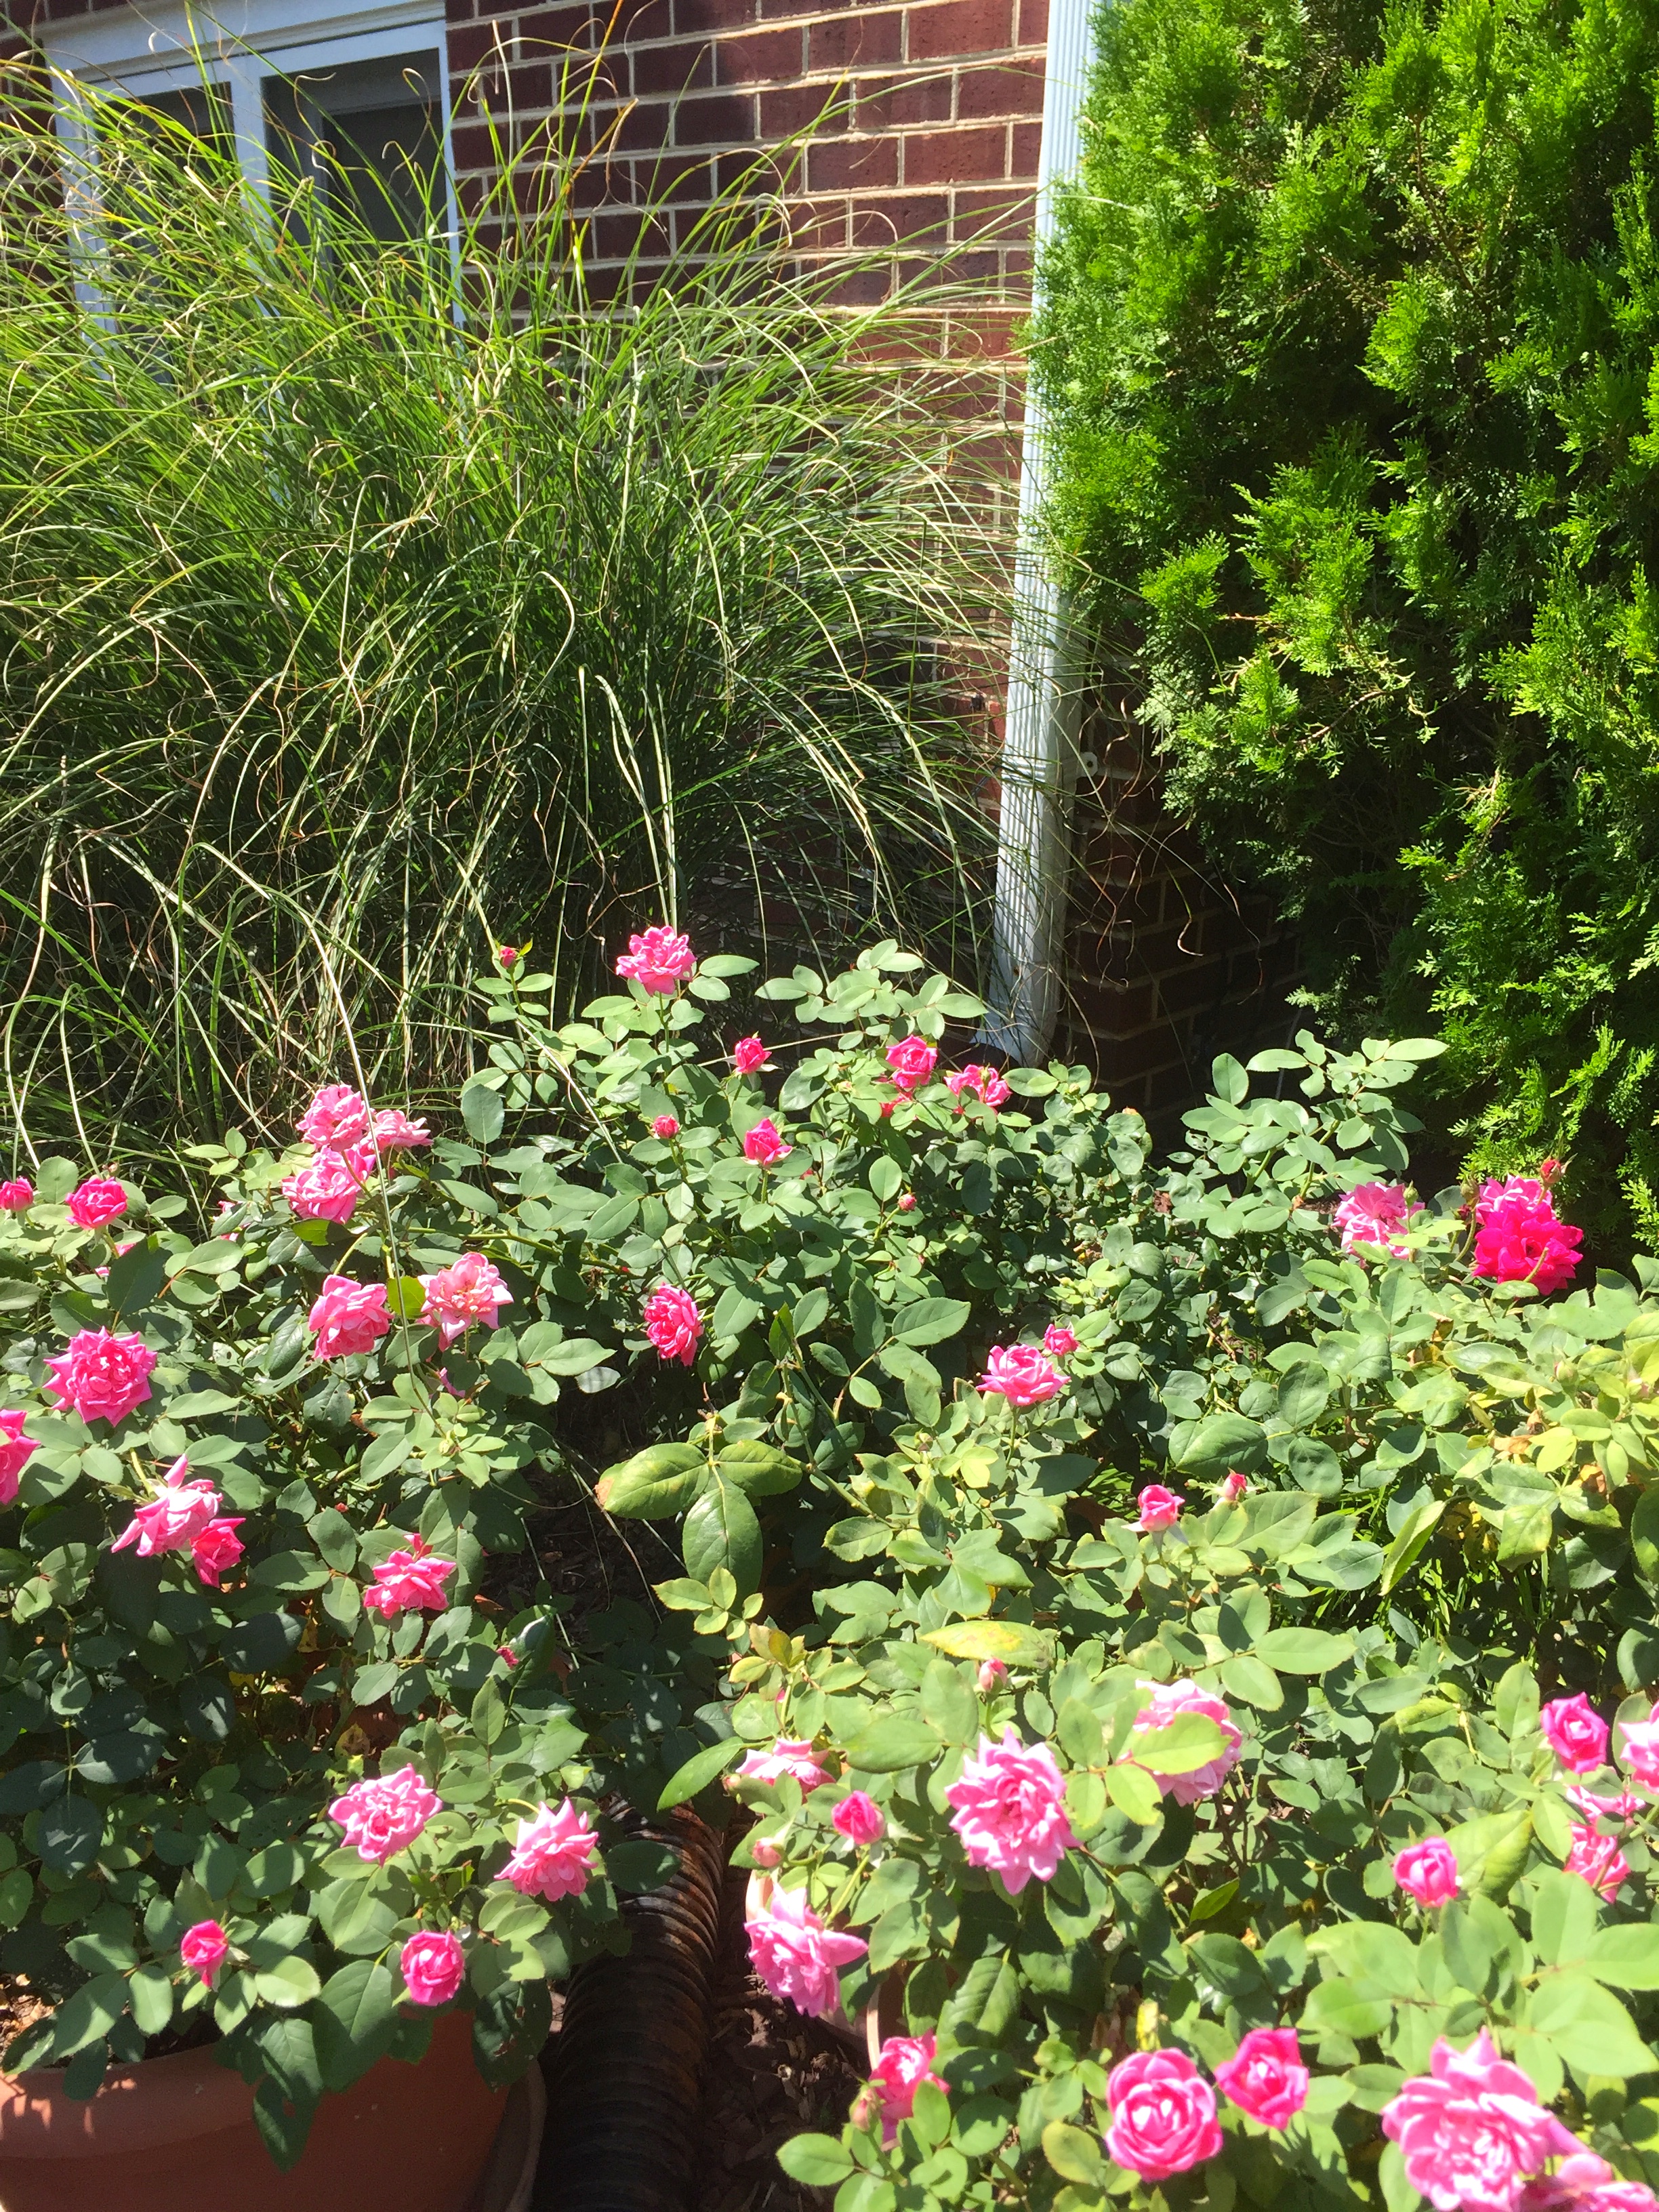
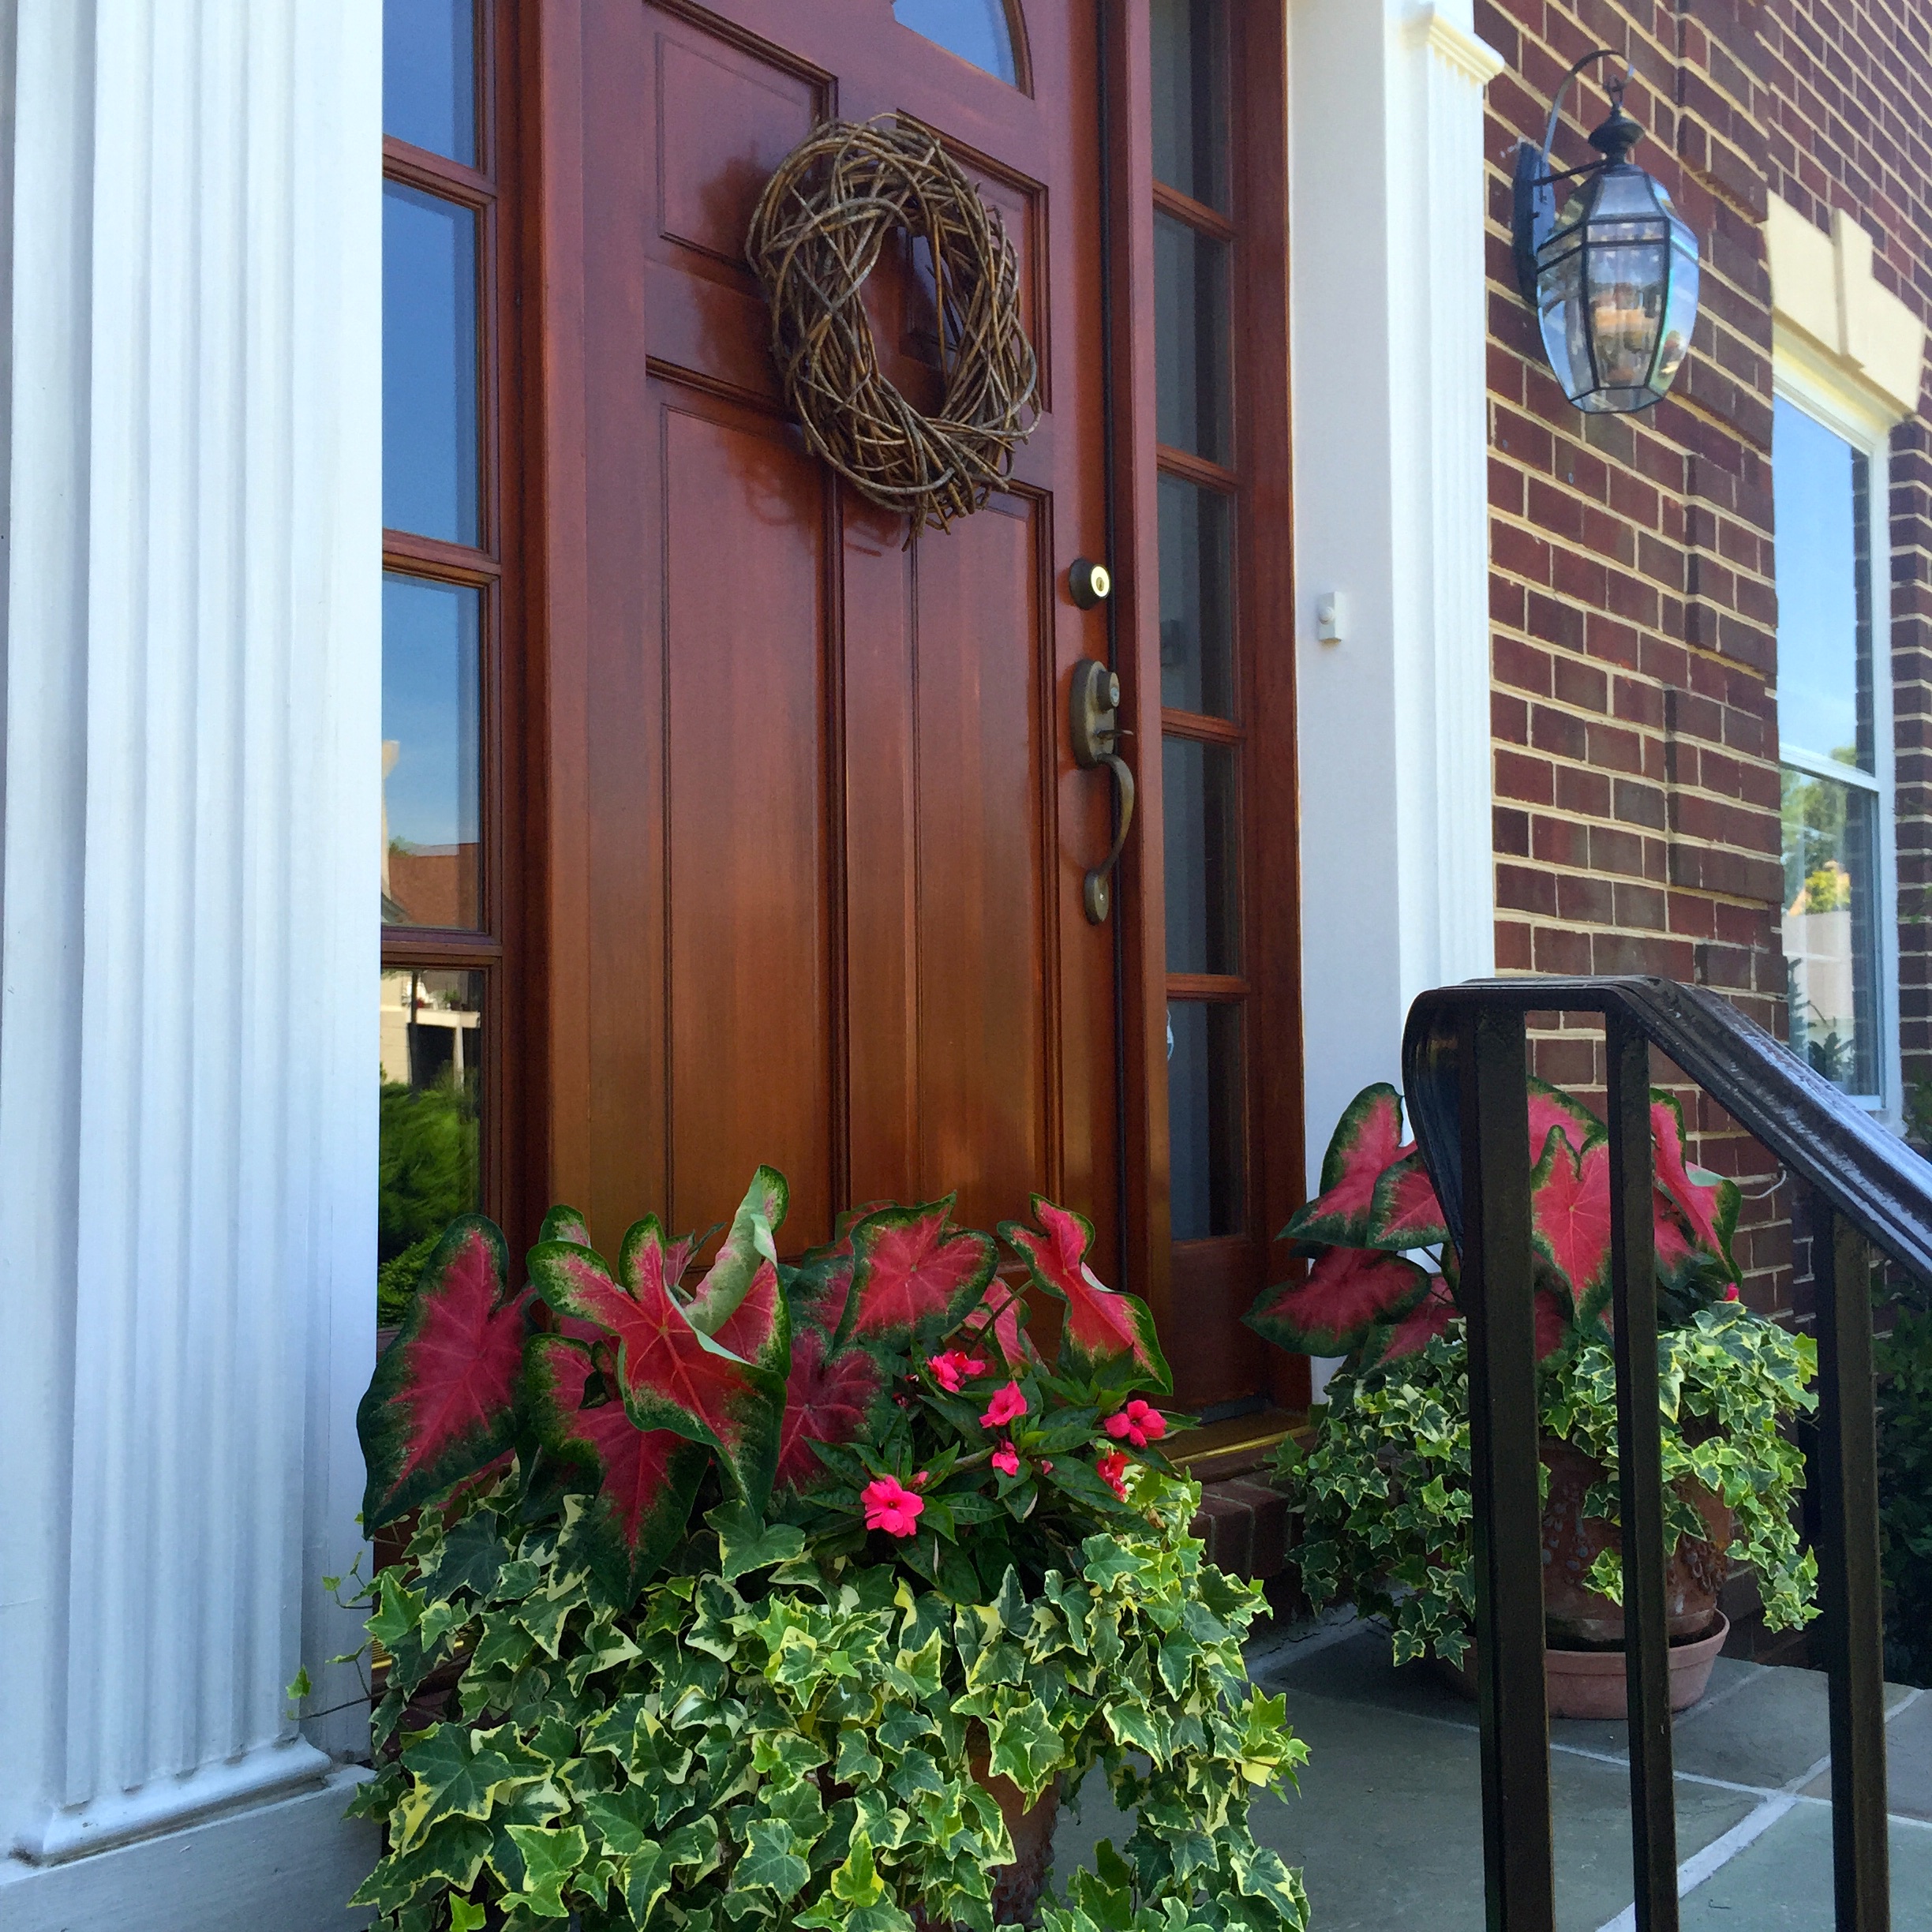
Using tropical colors in the flowers outside really pop with the new light color of the bricks.
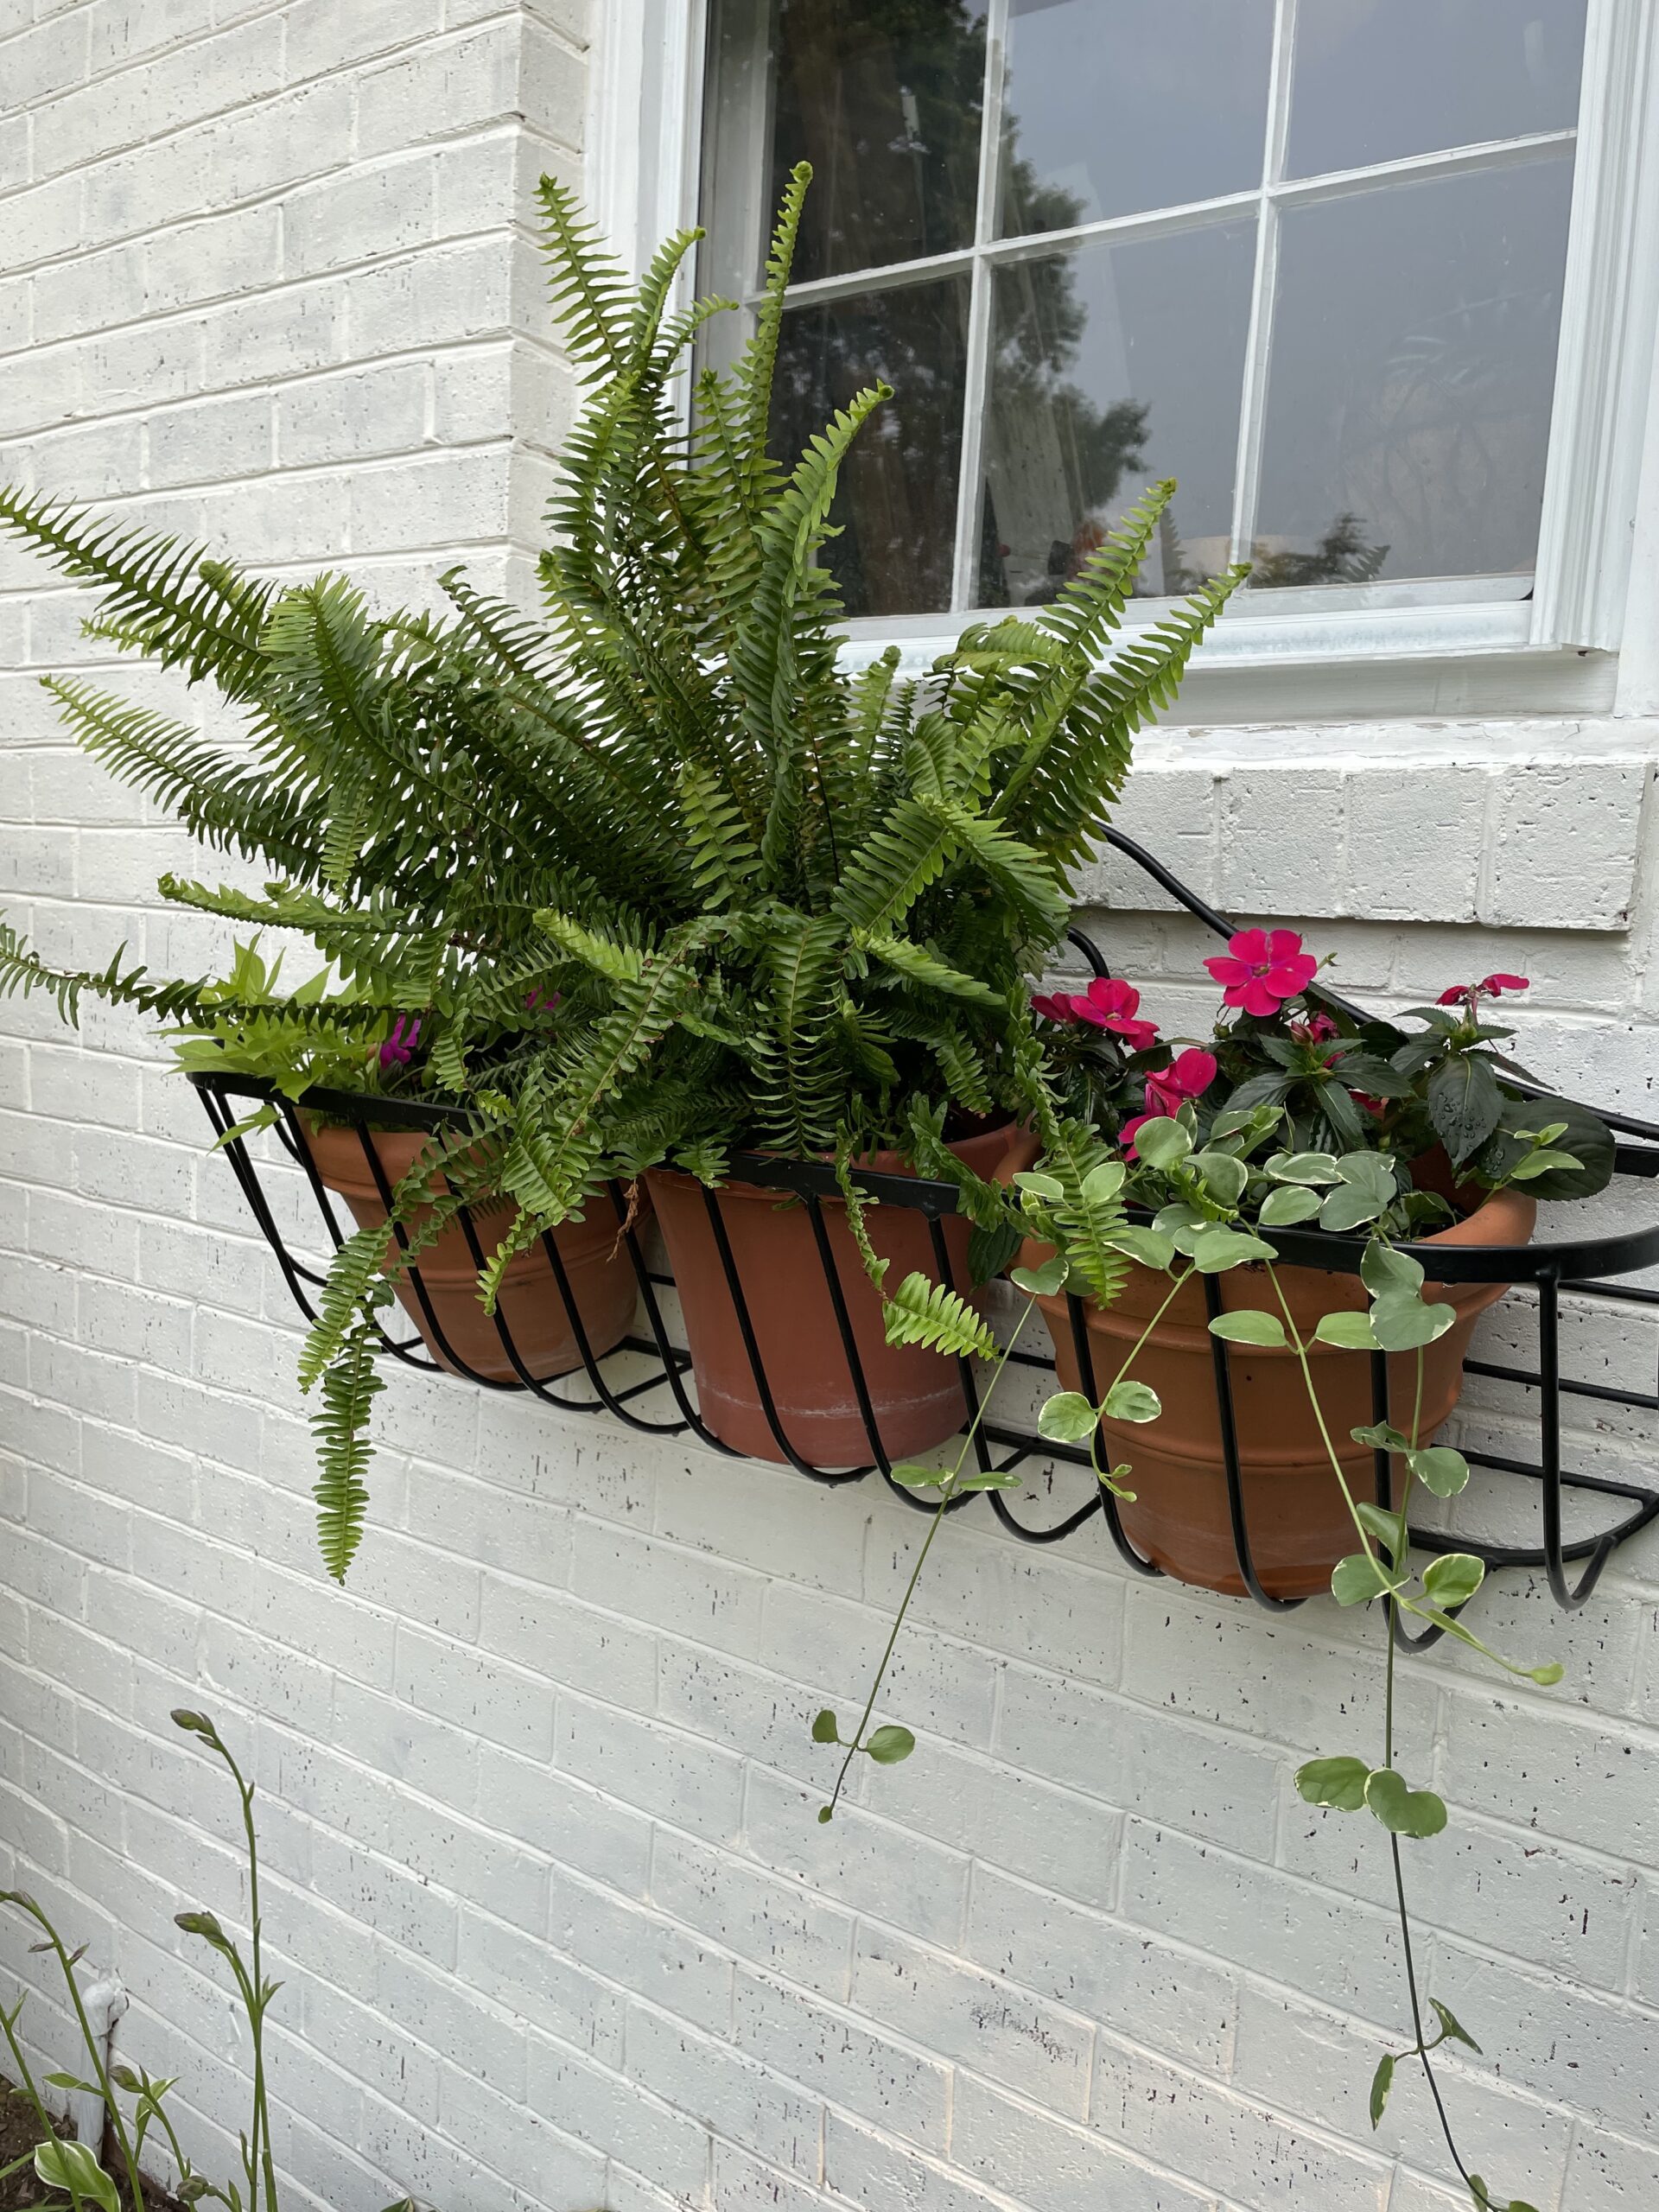
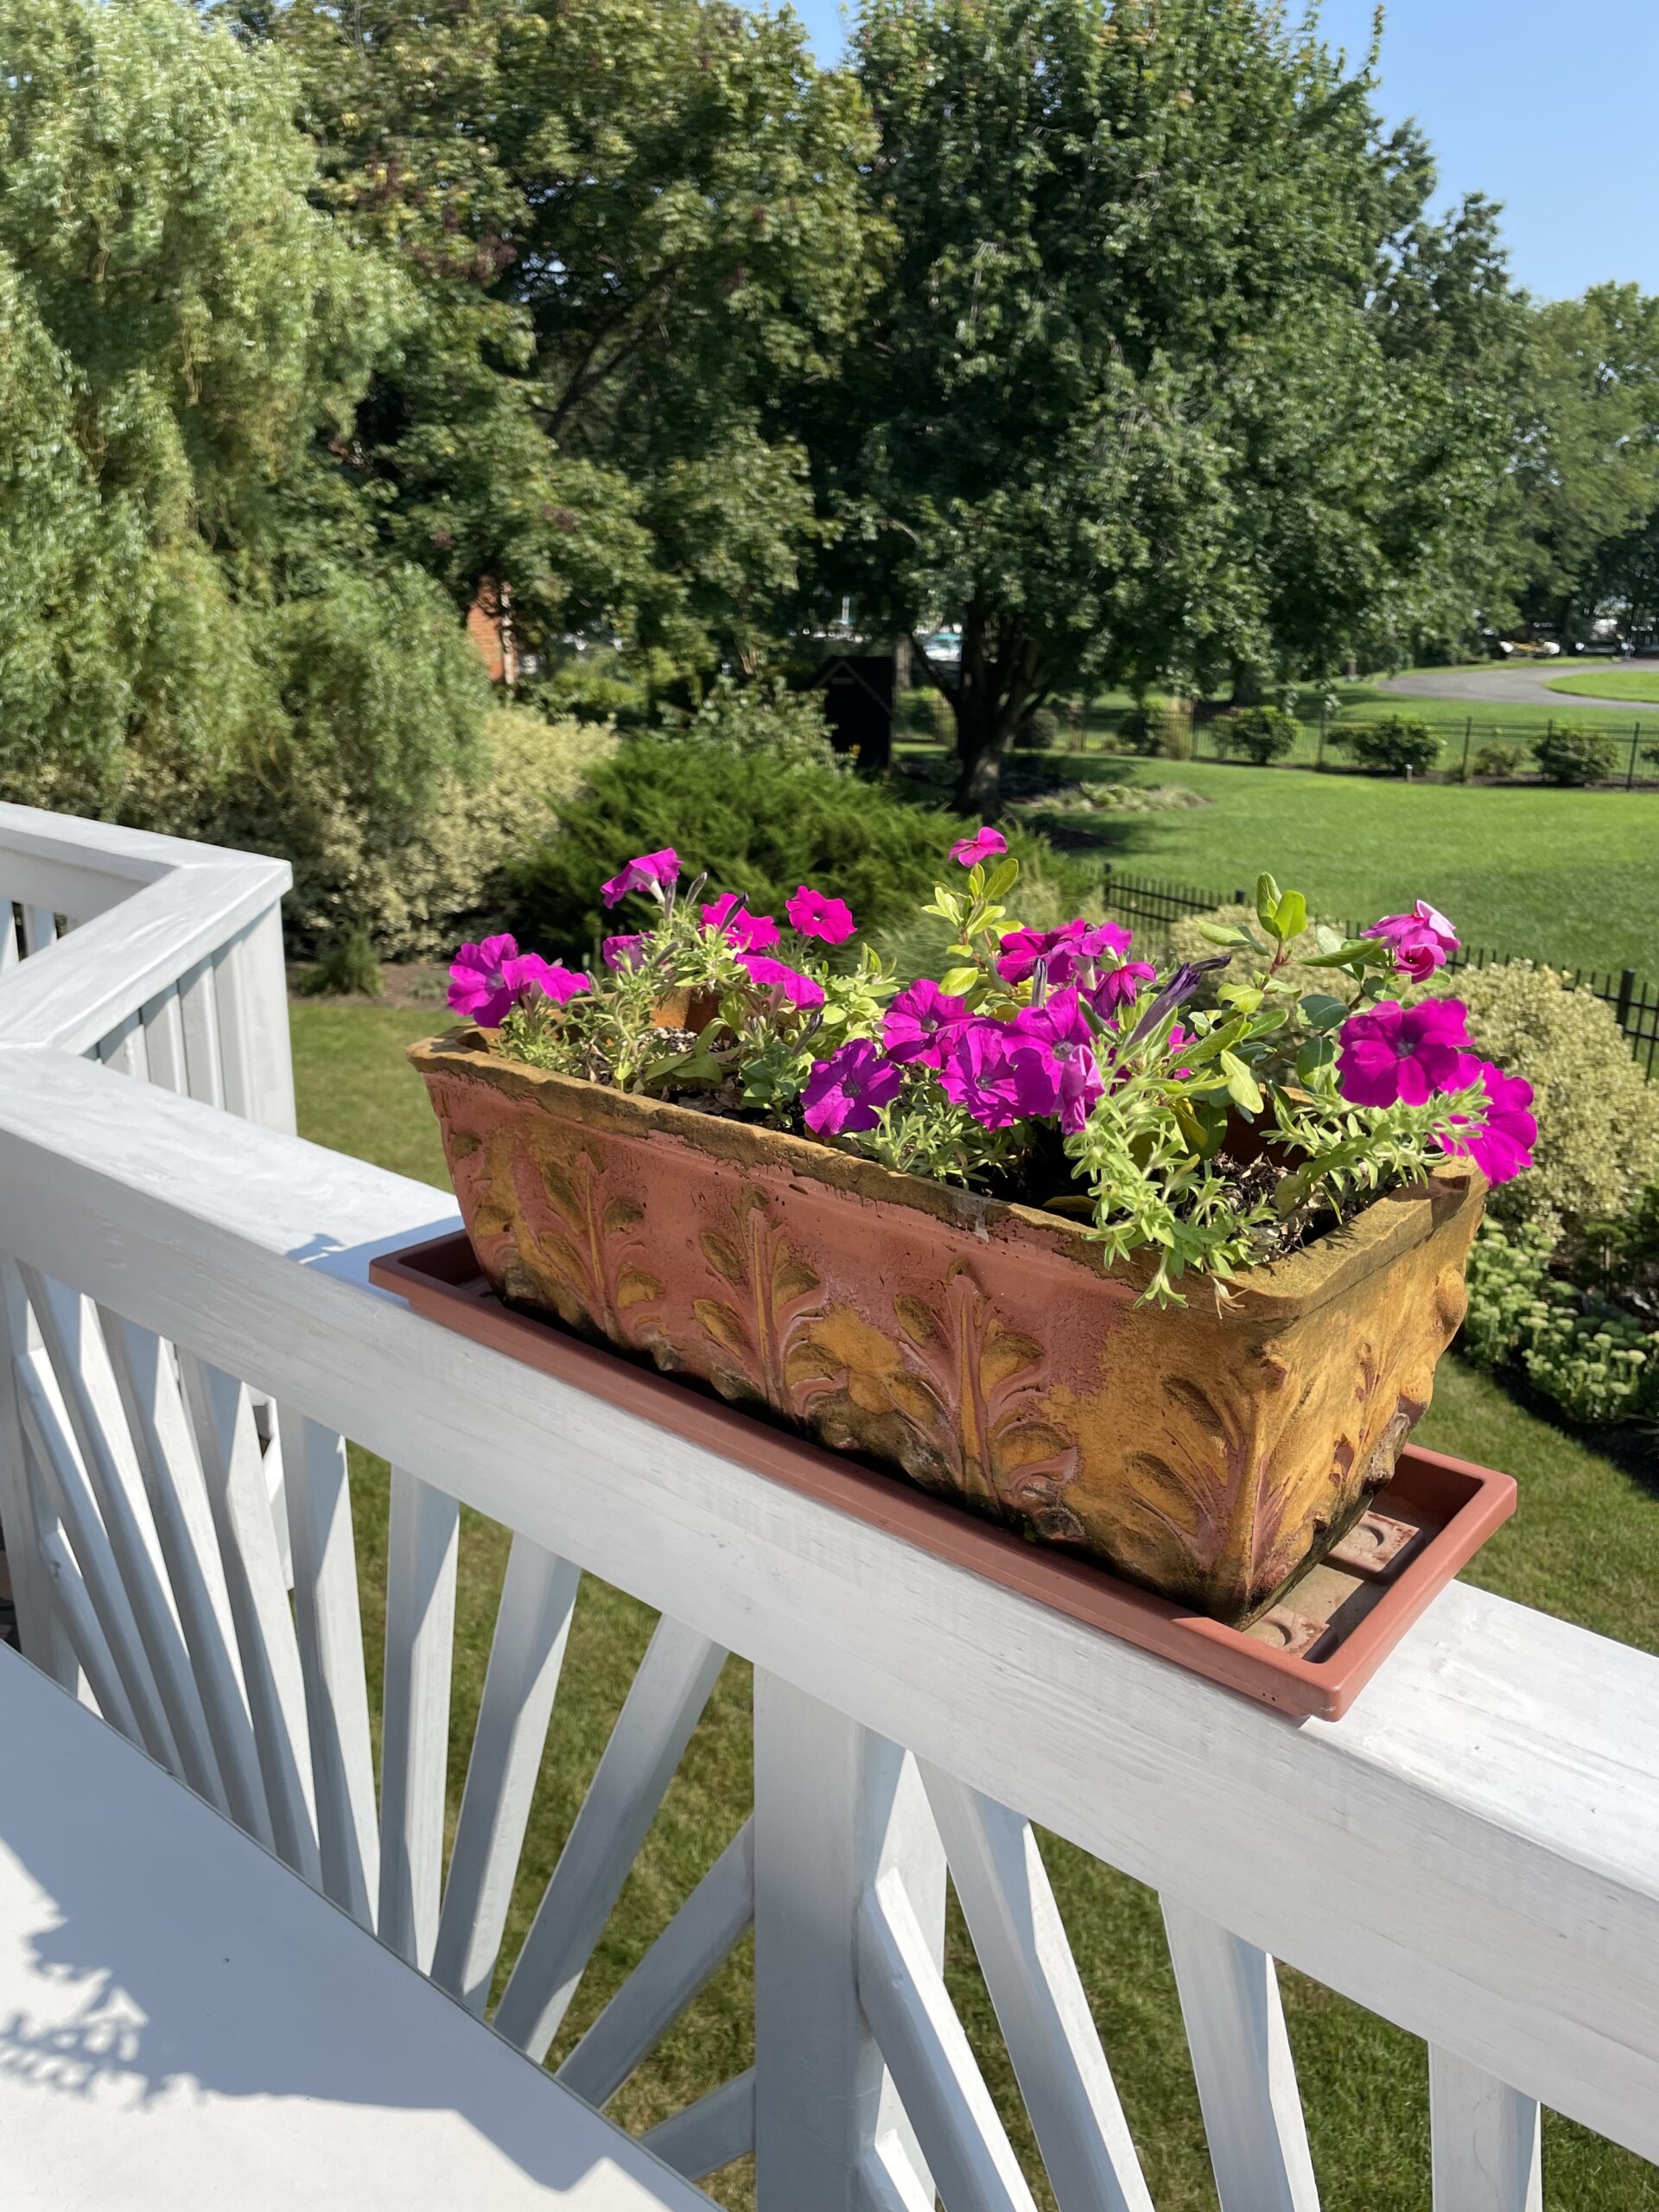
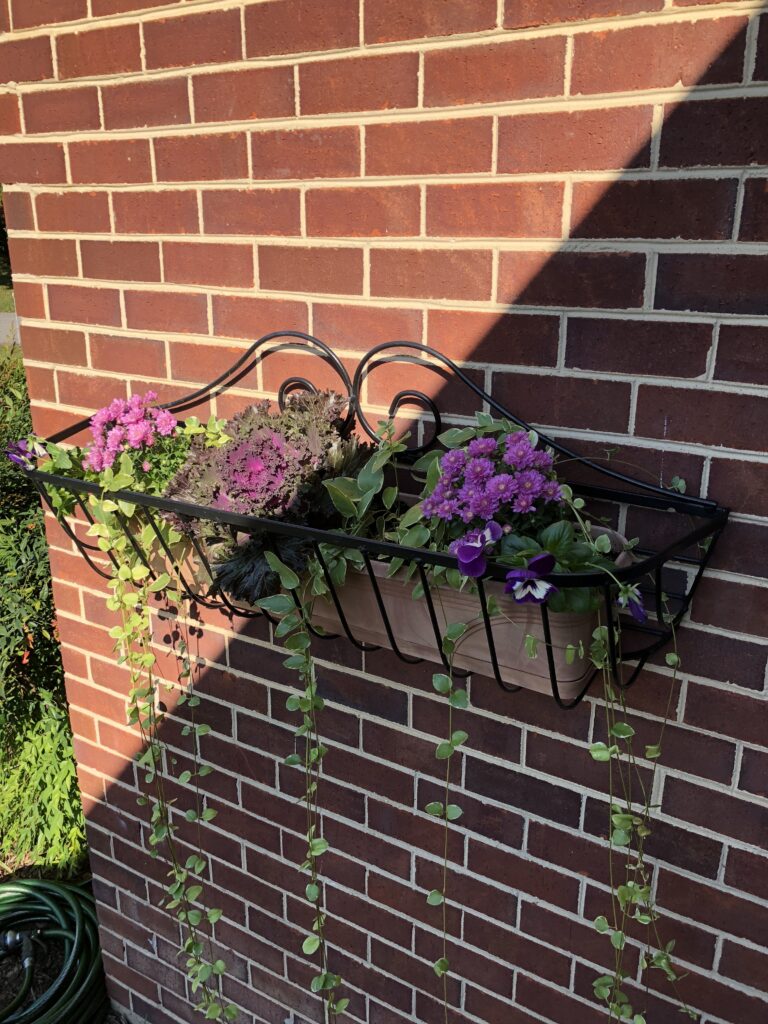
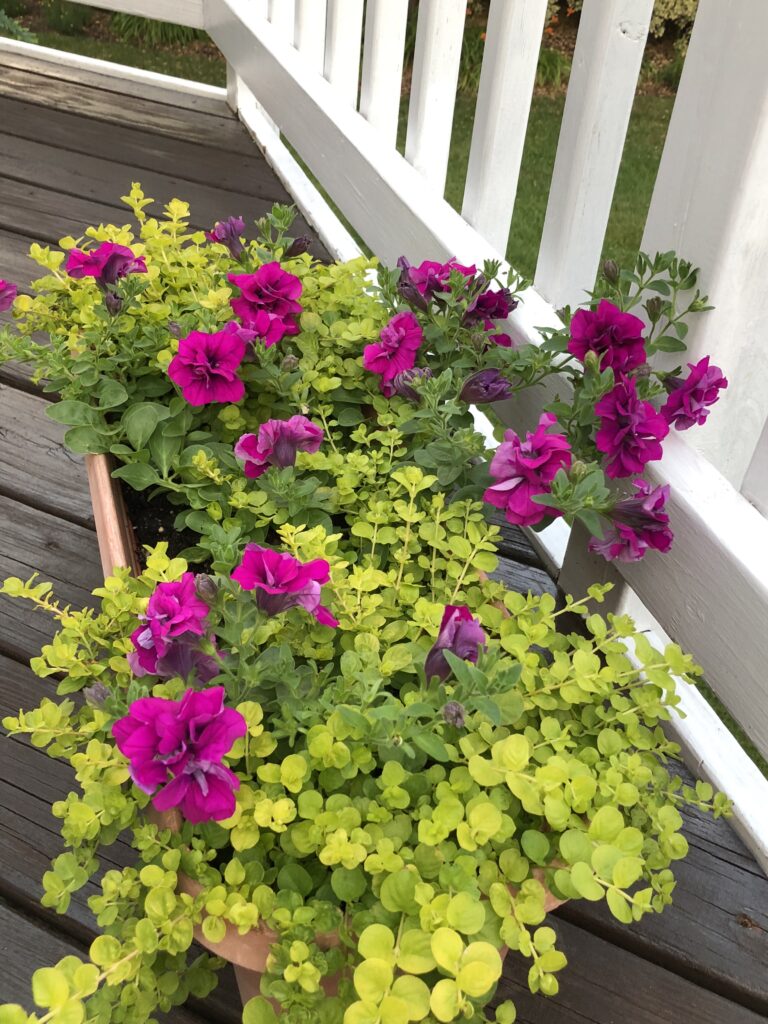
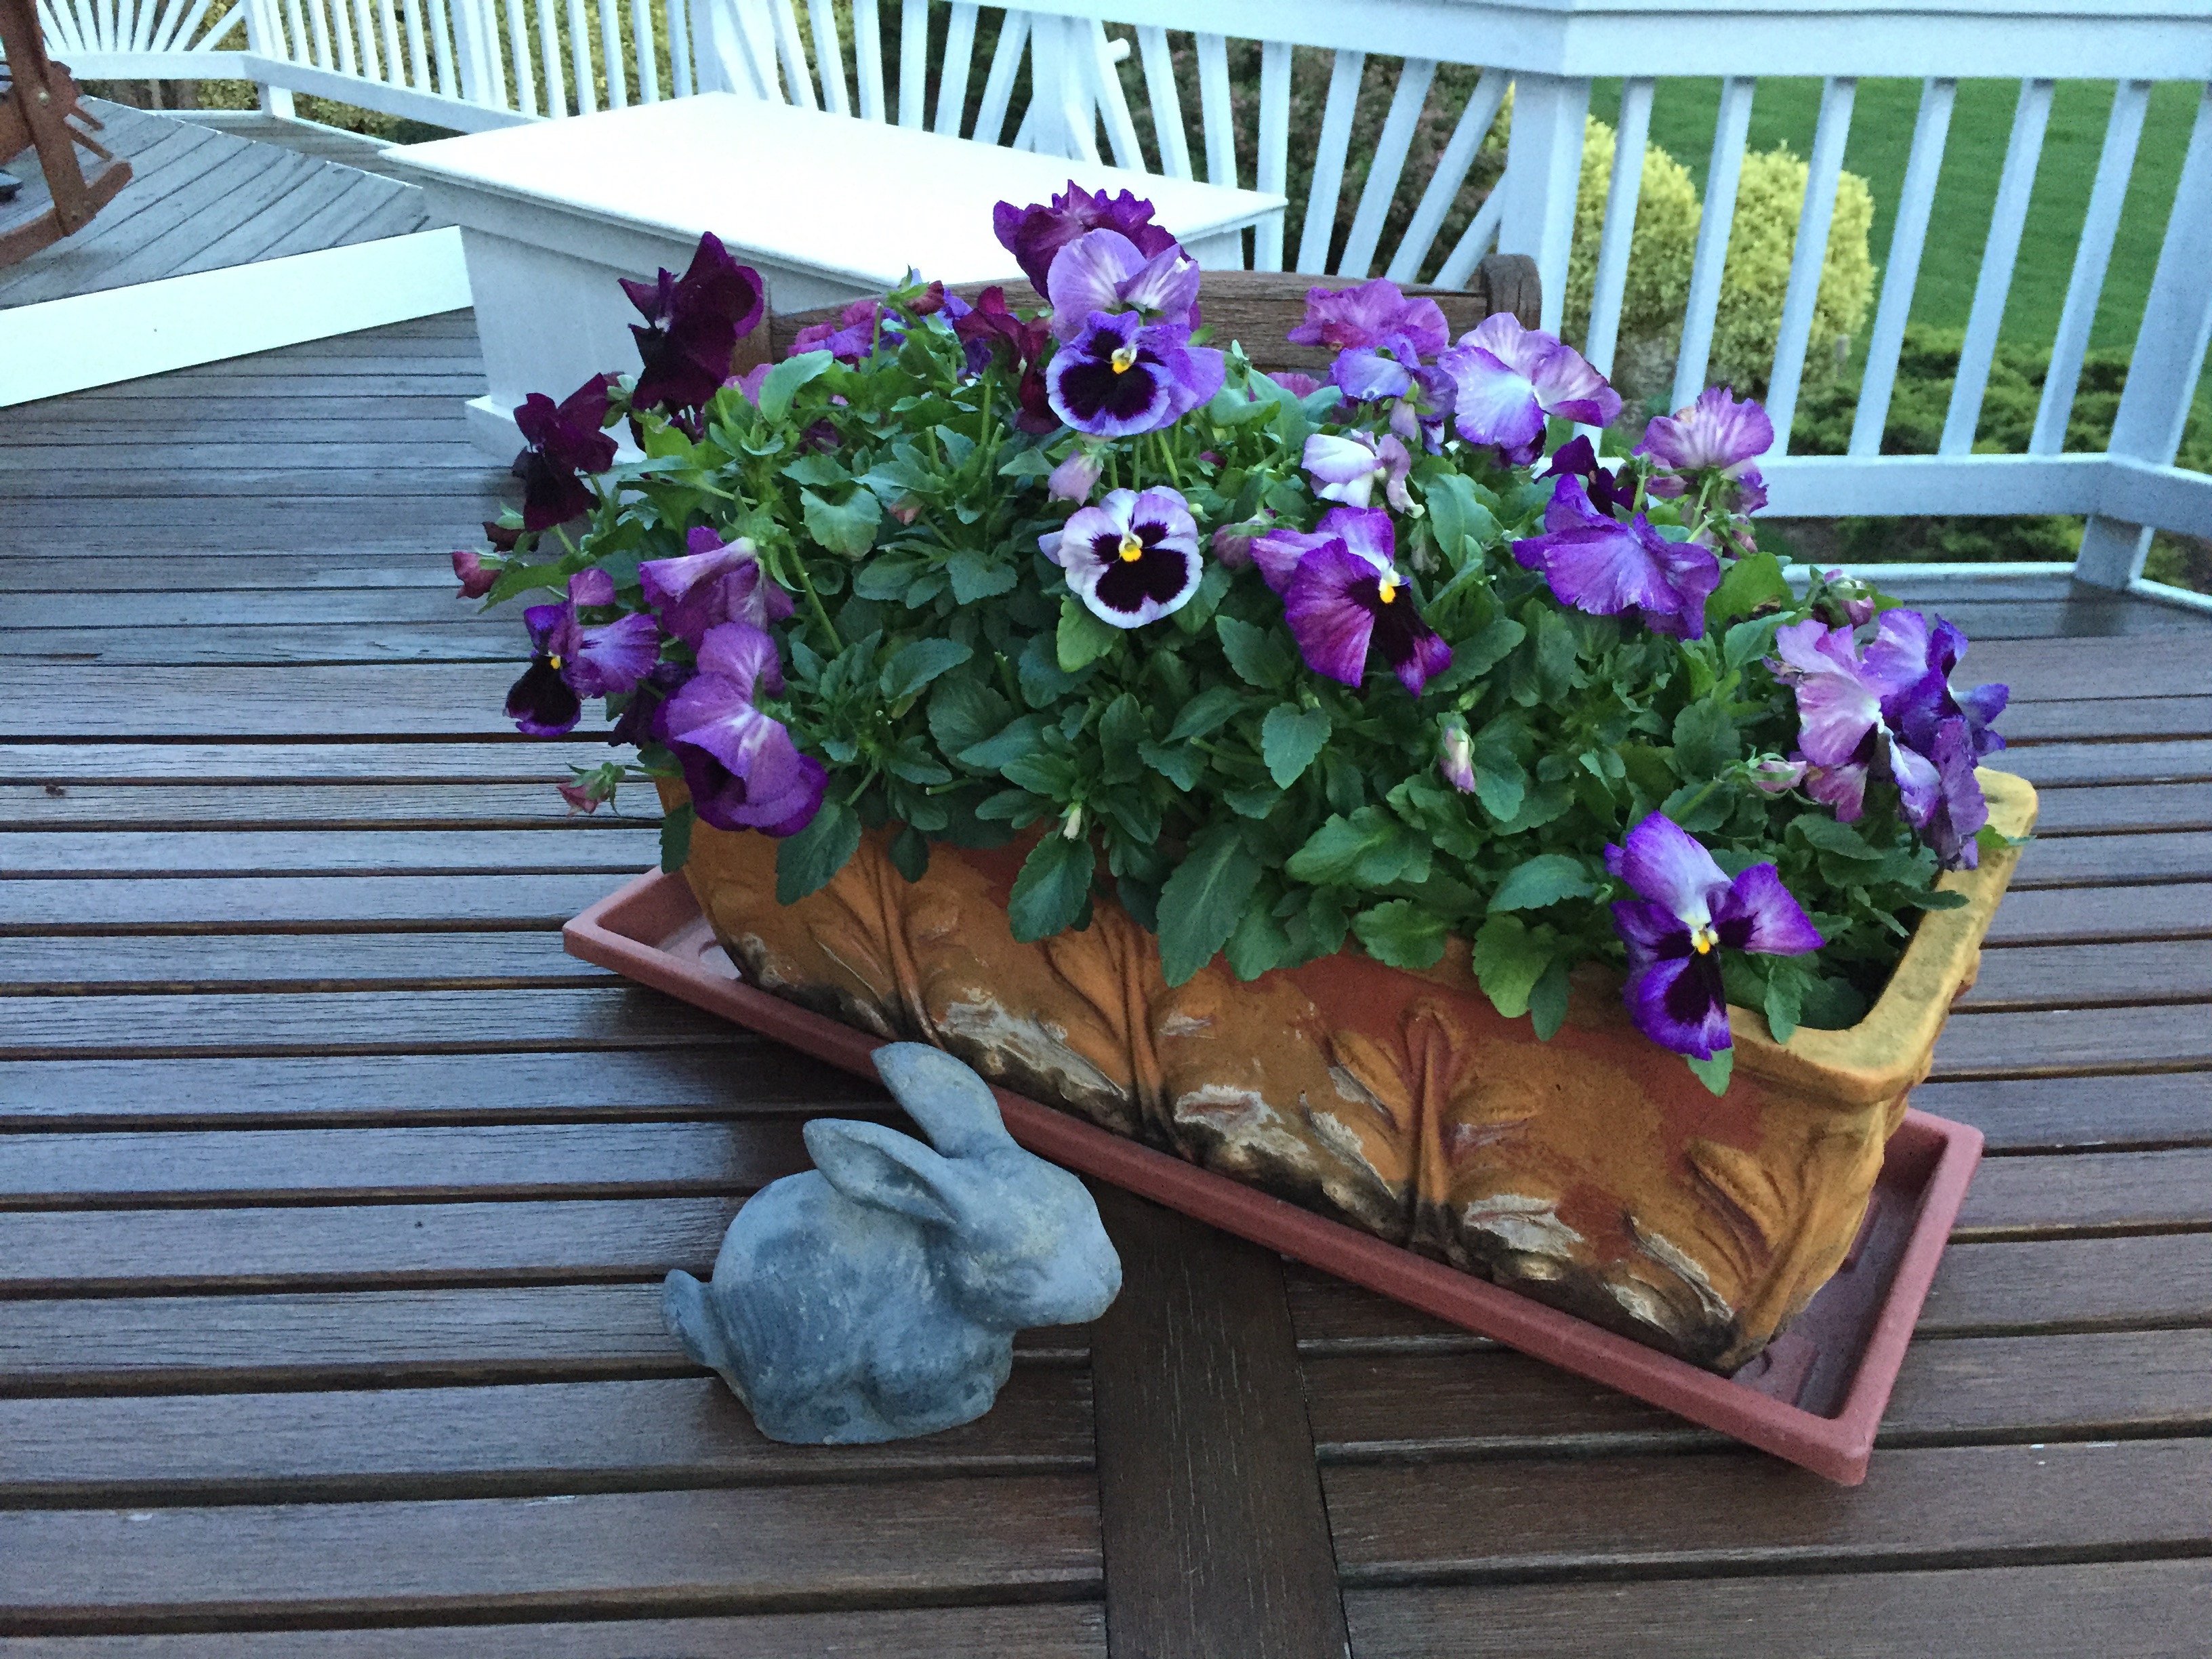
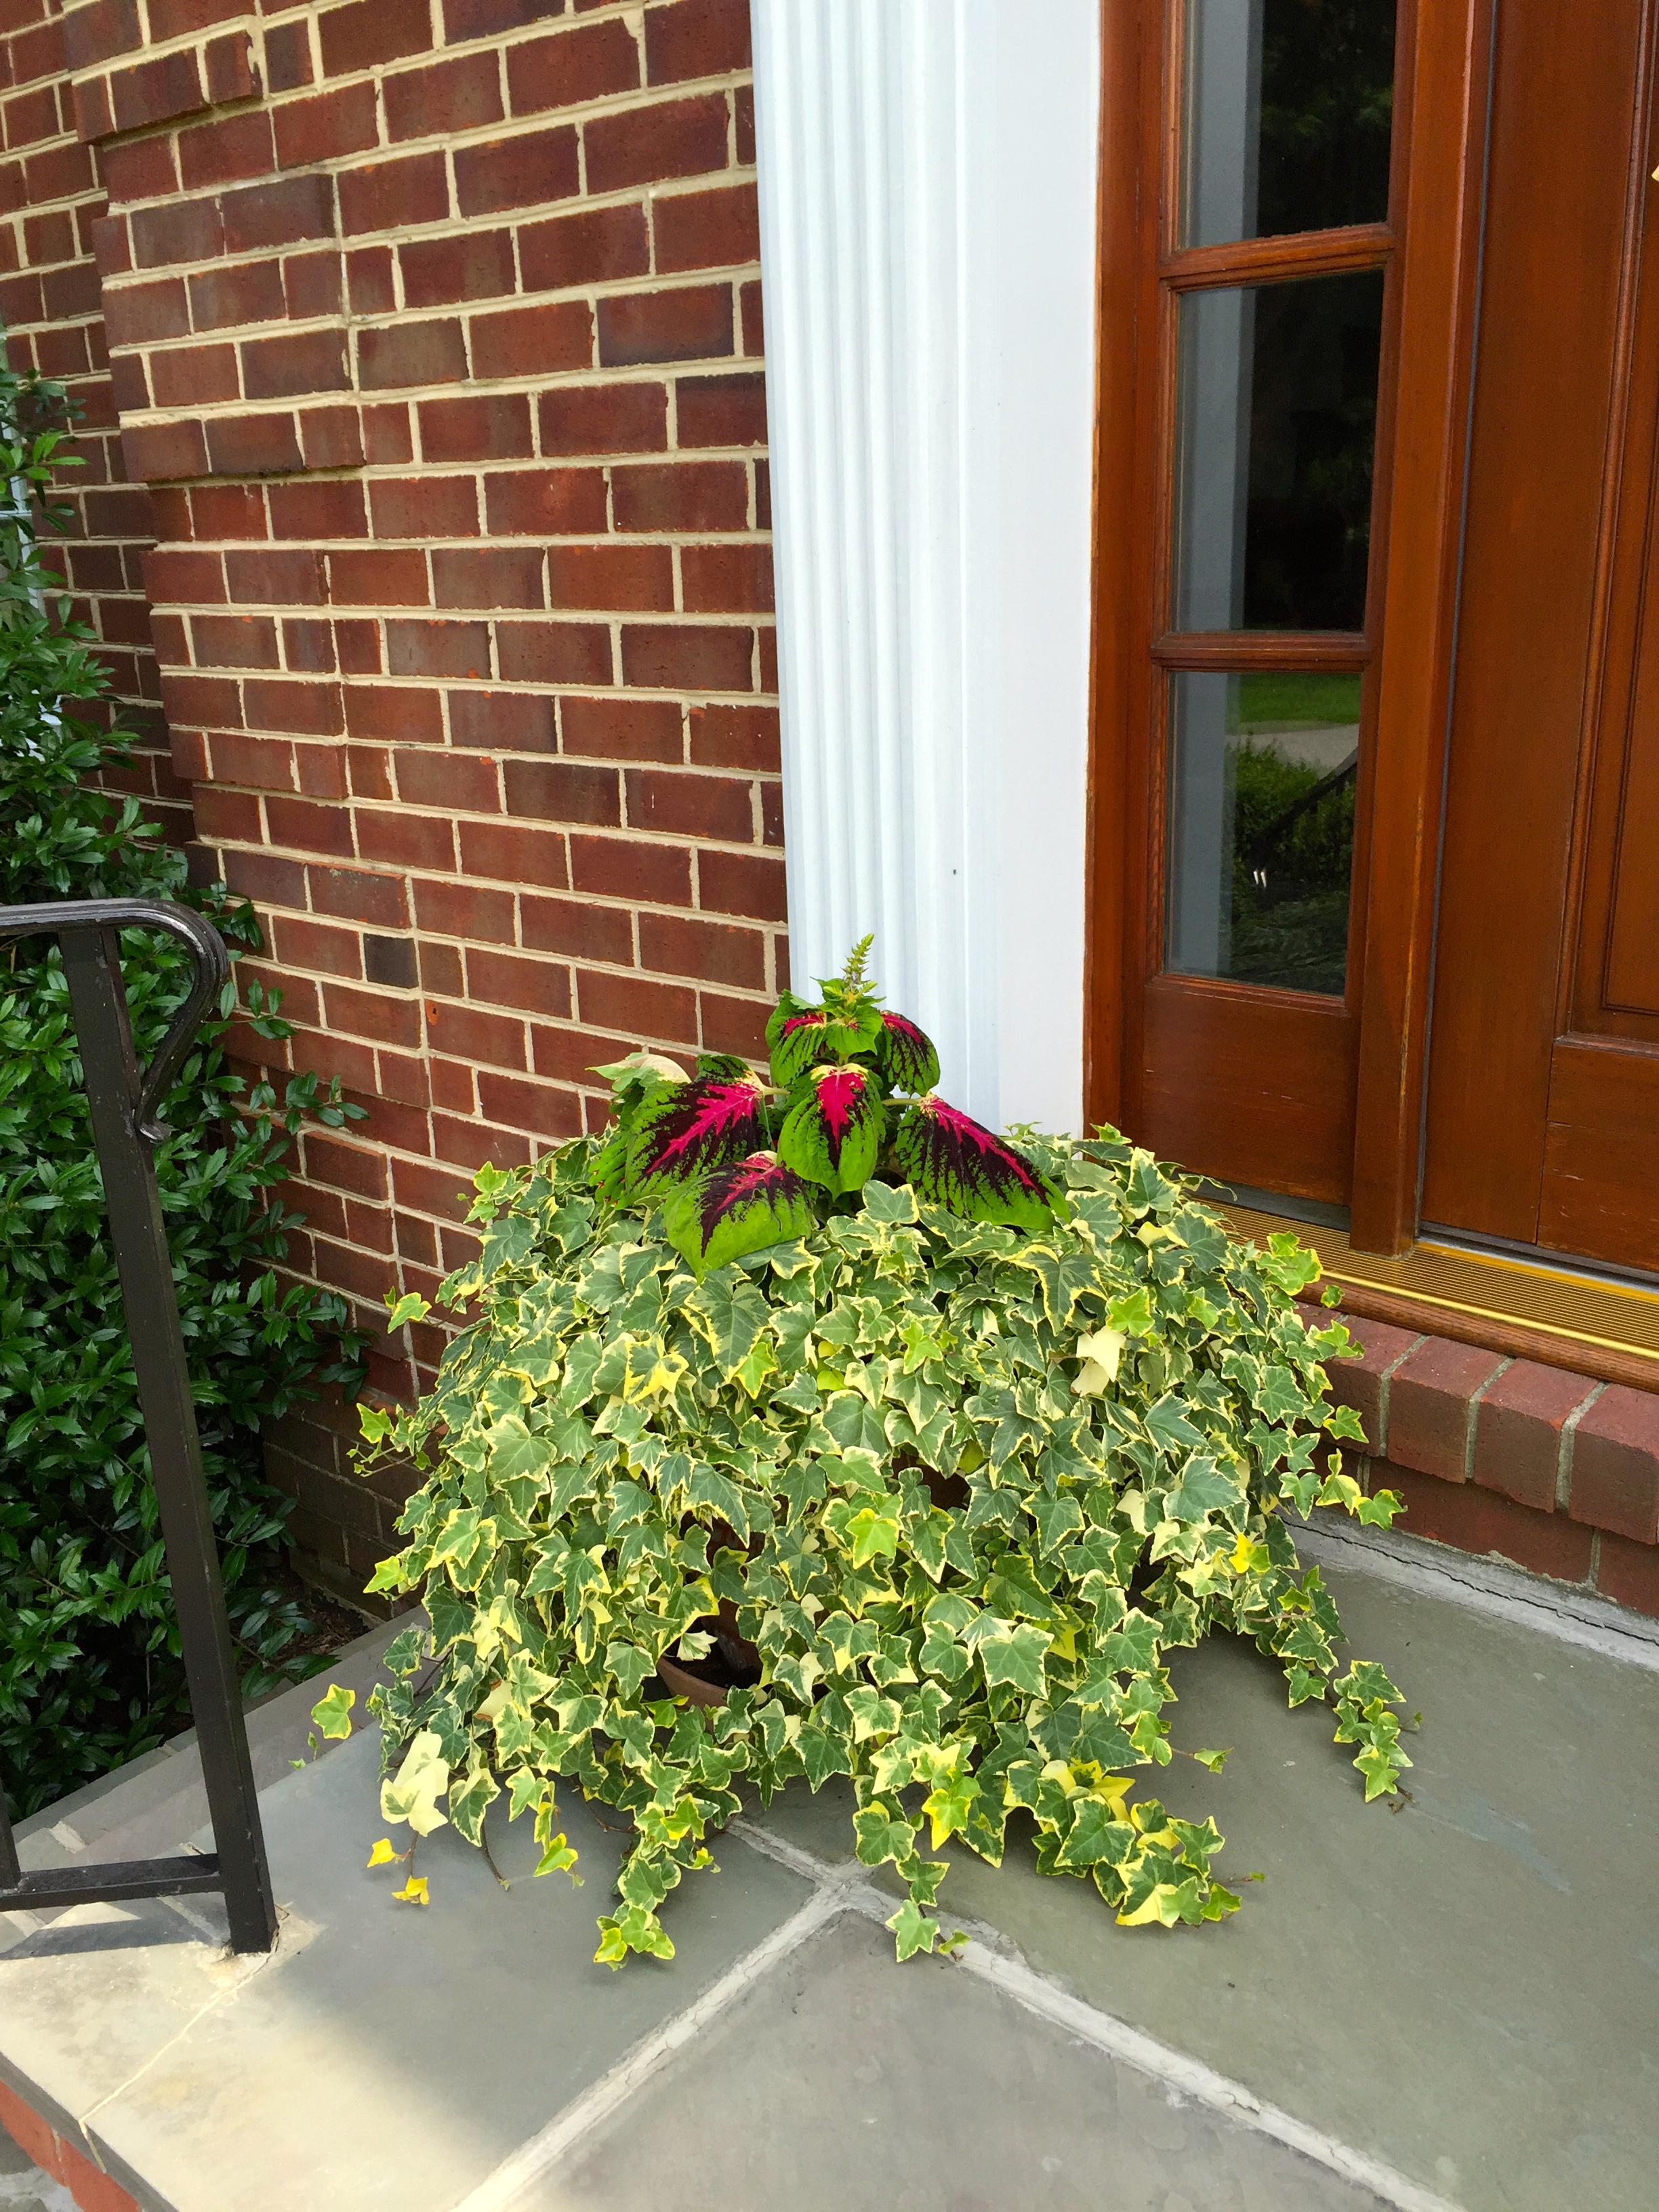
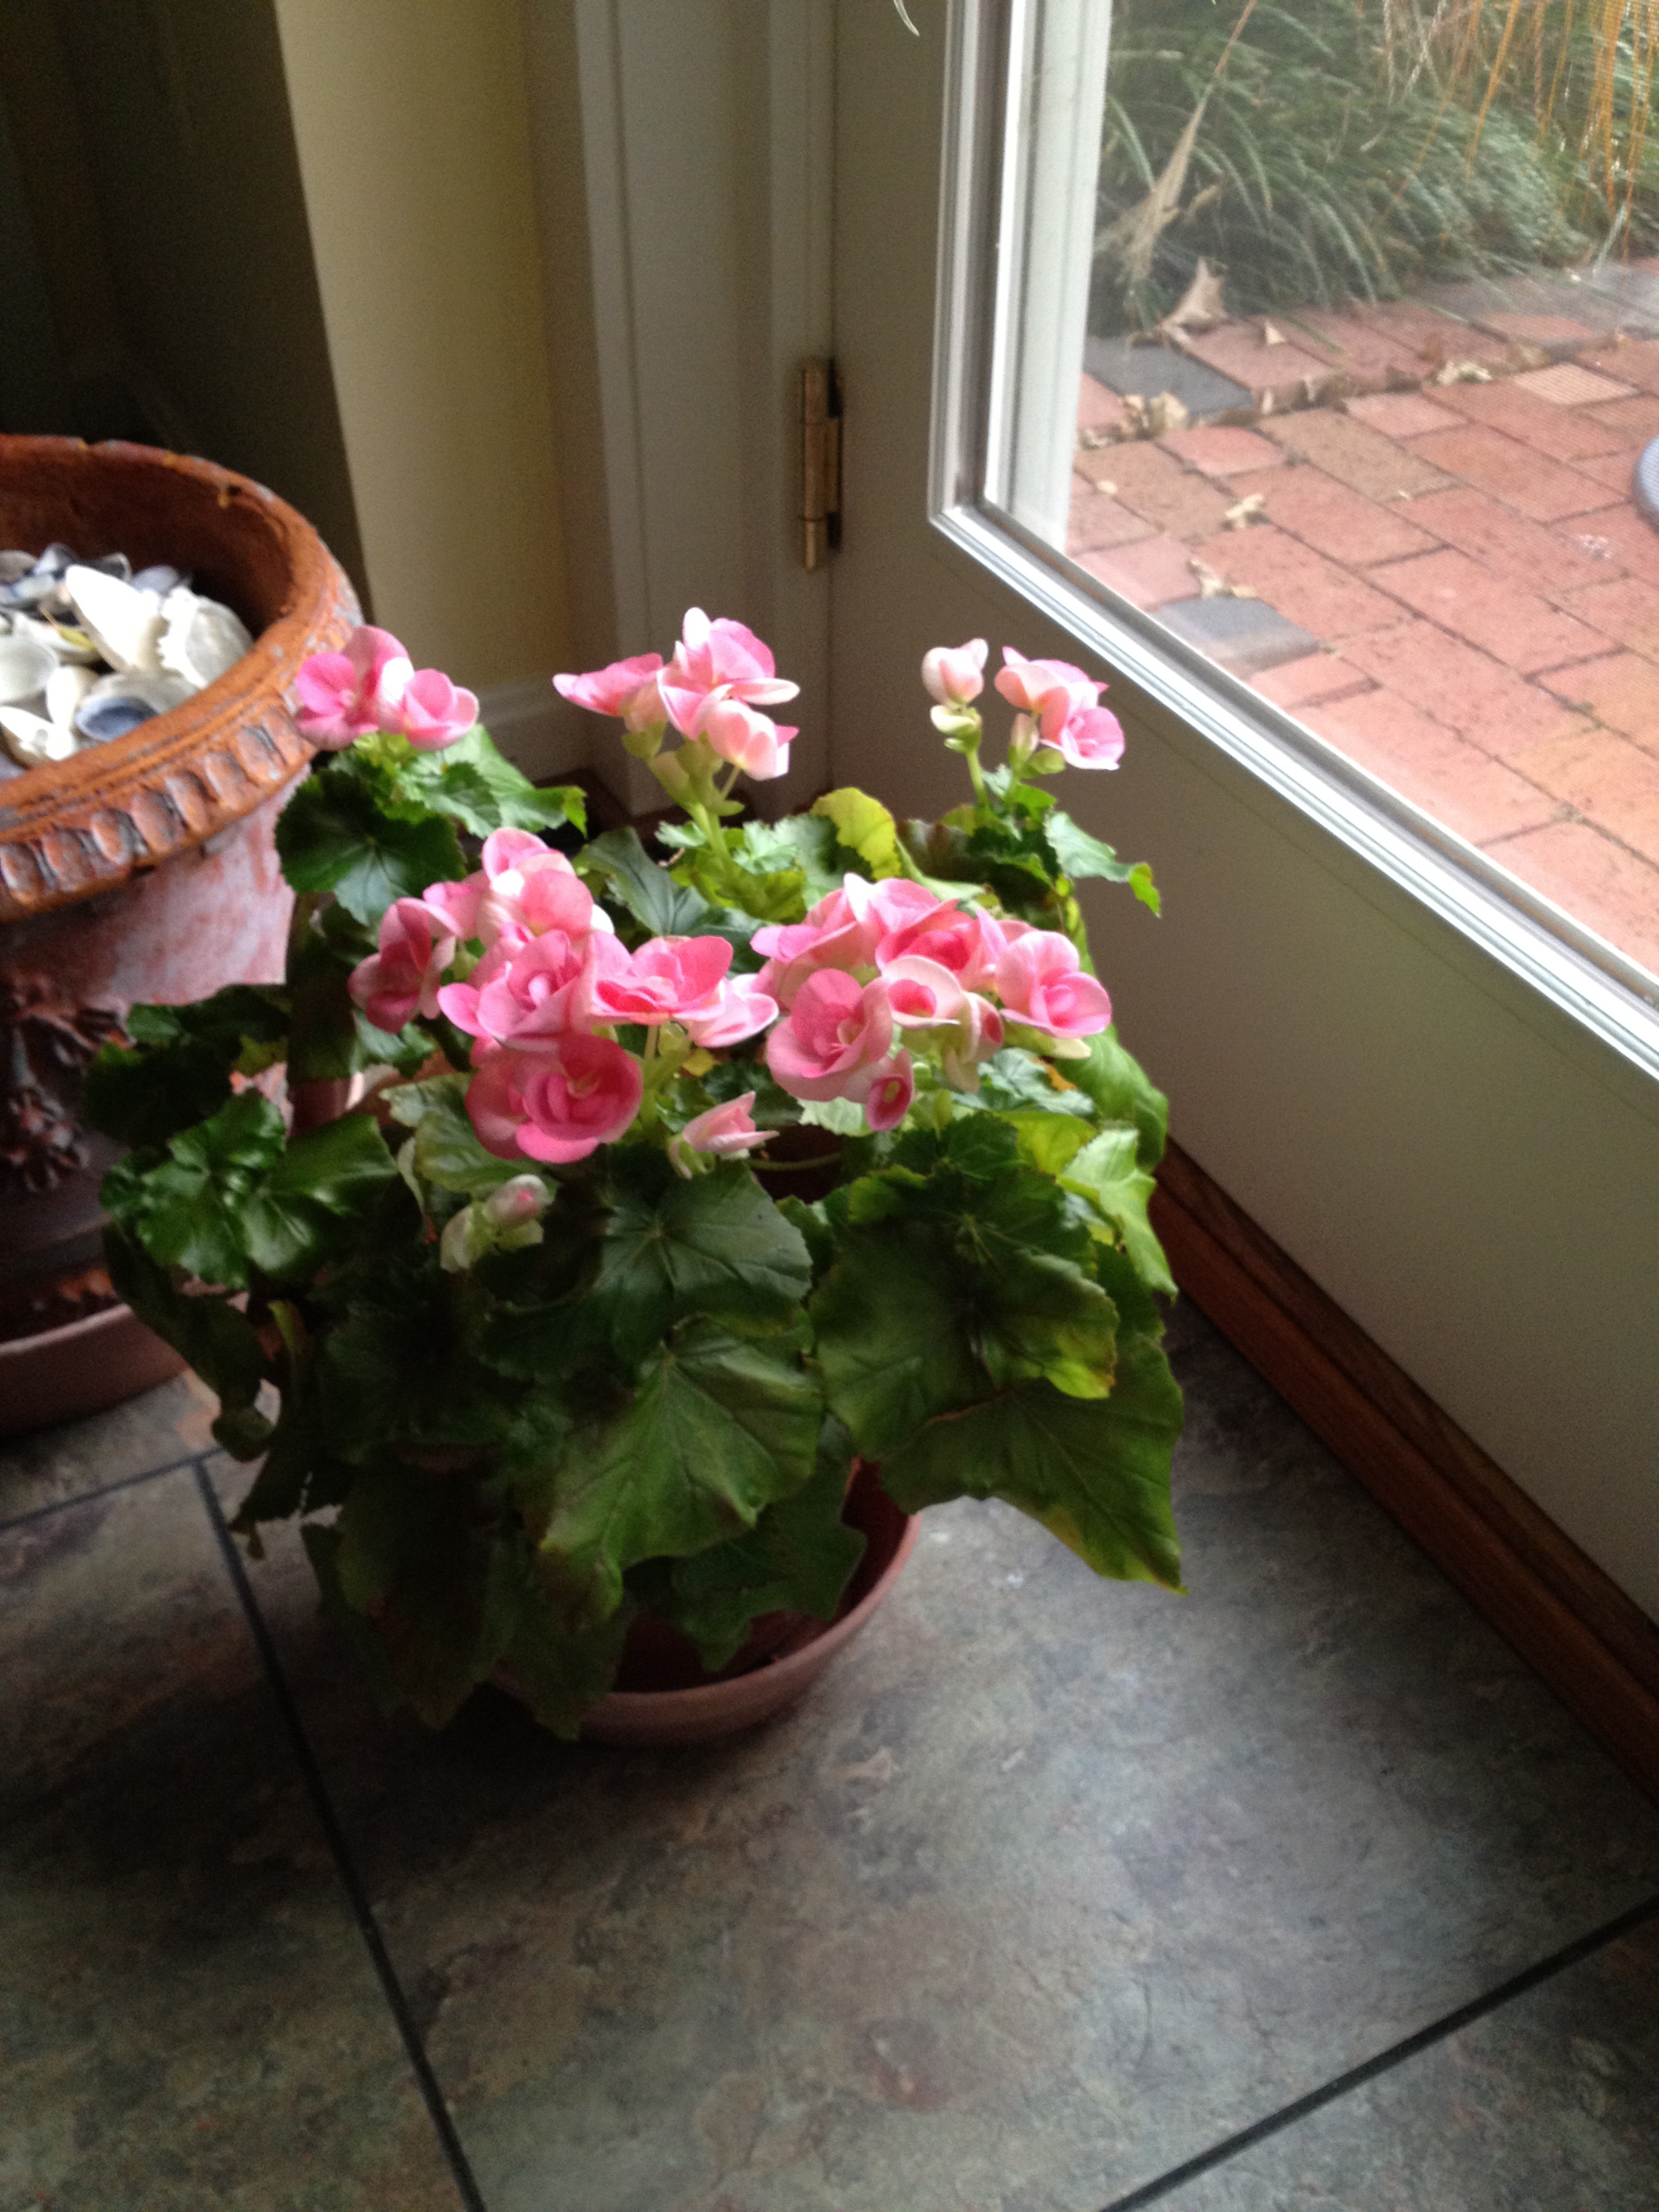
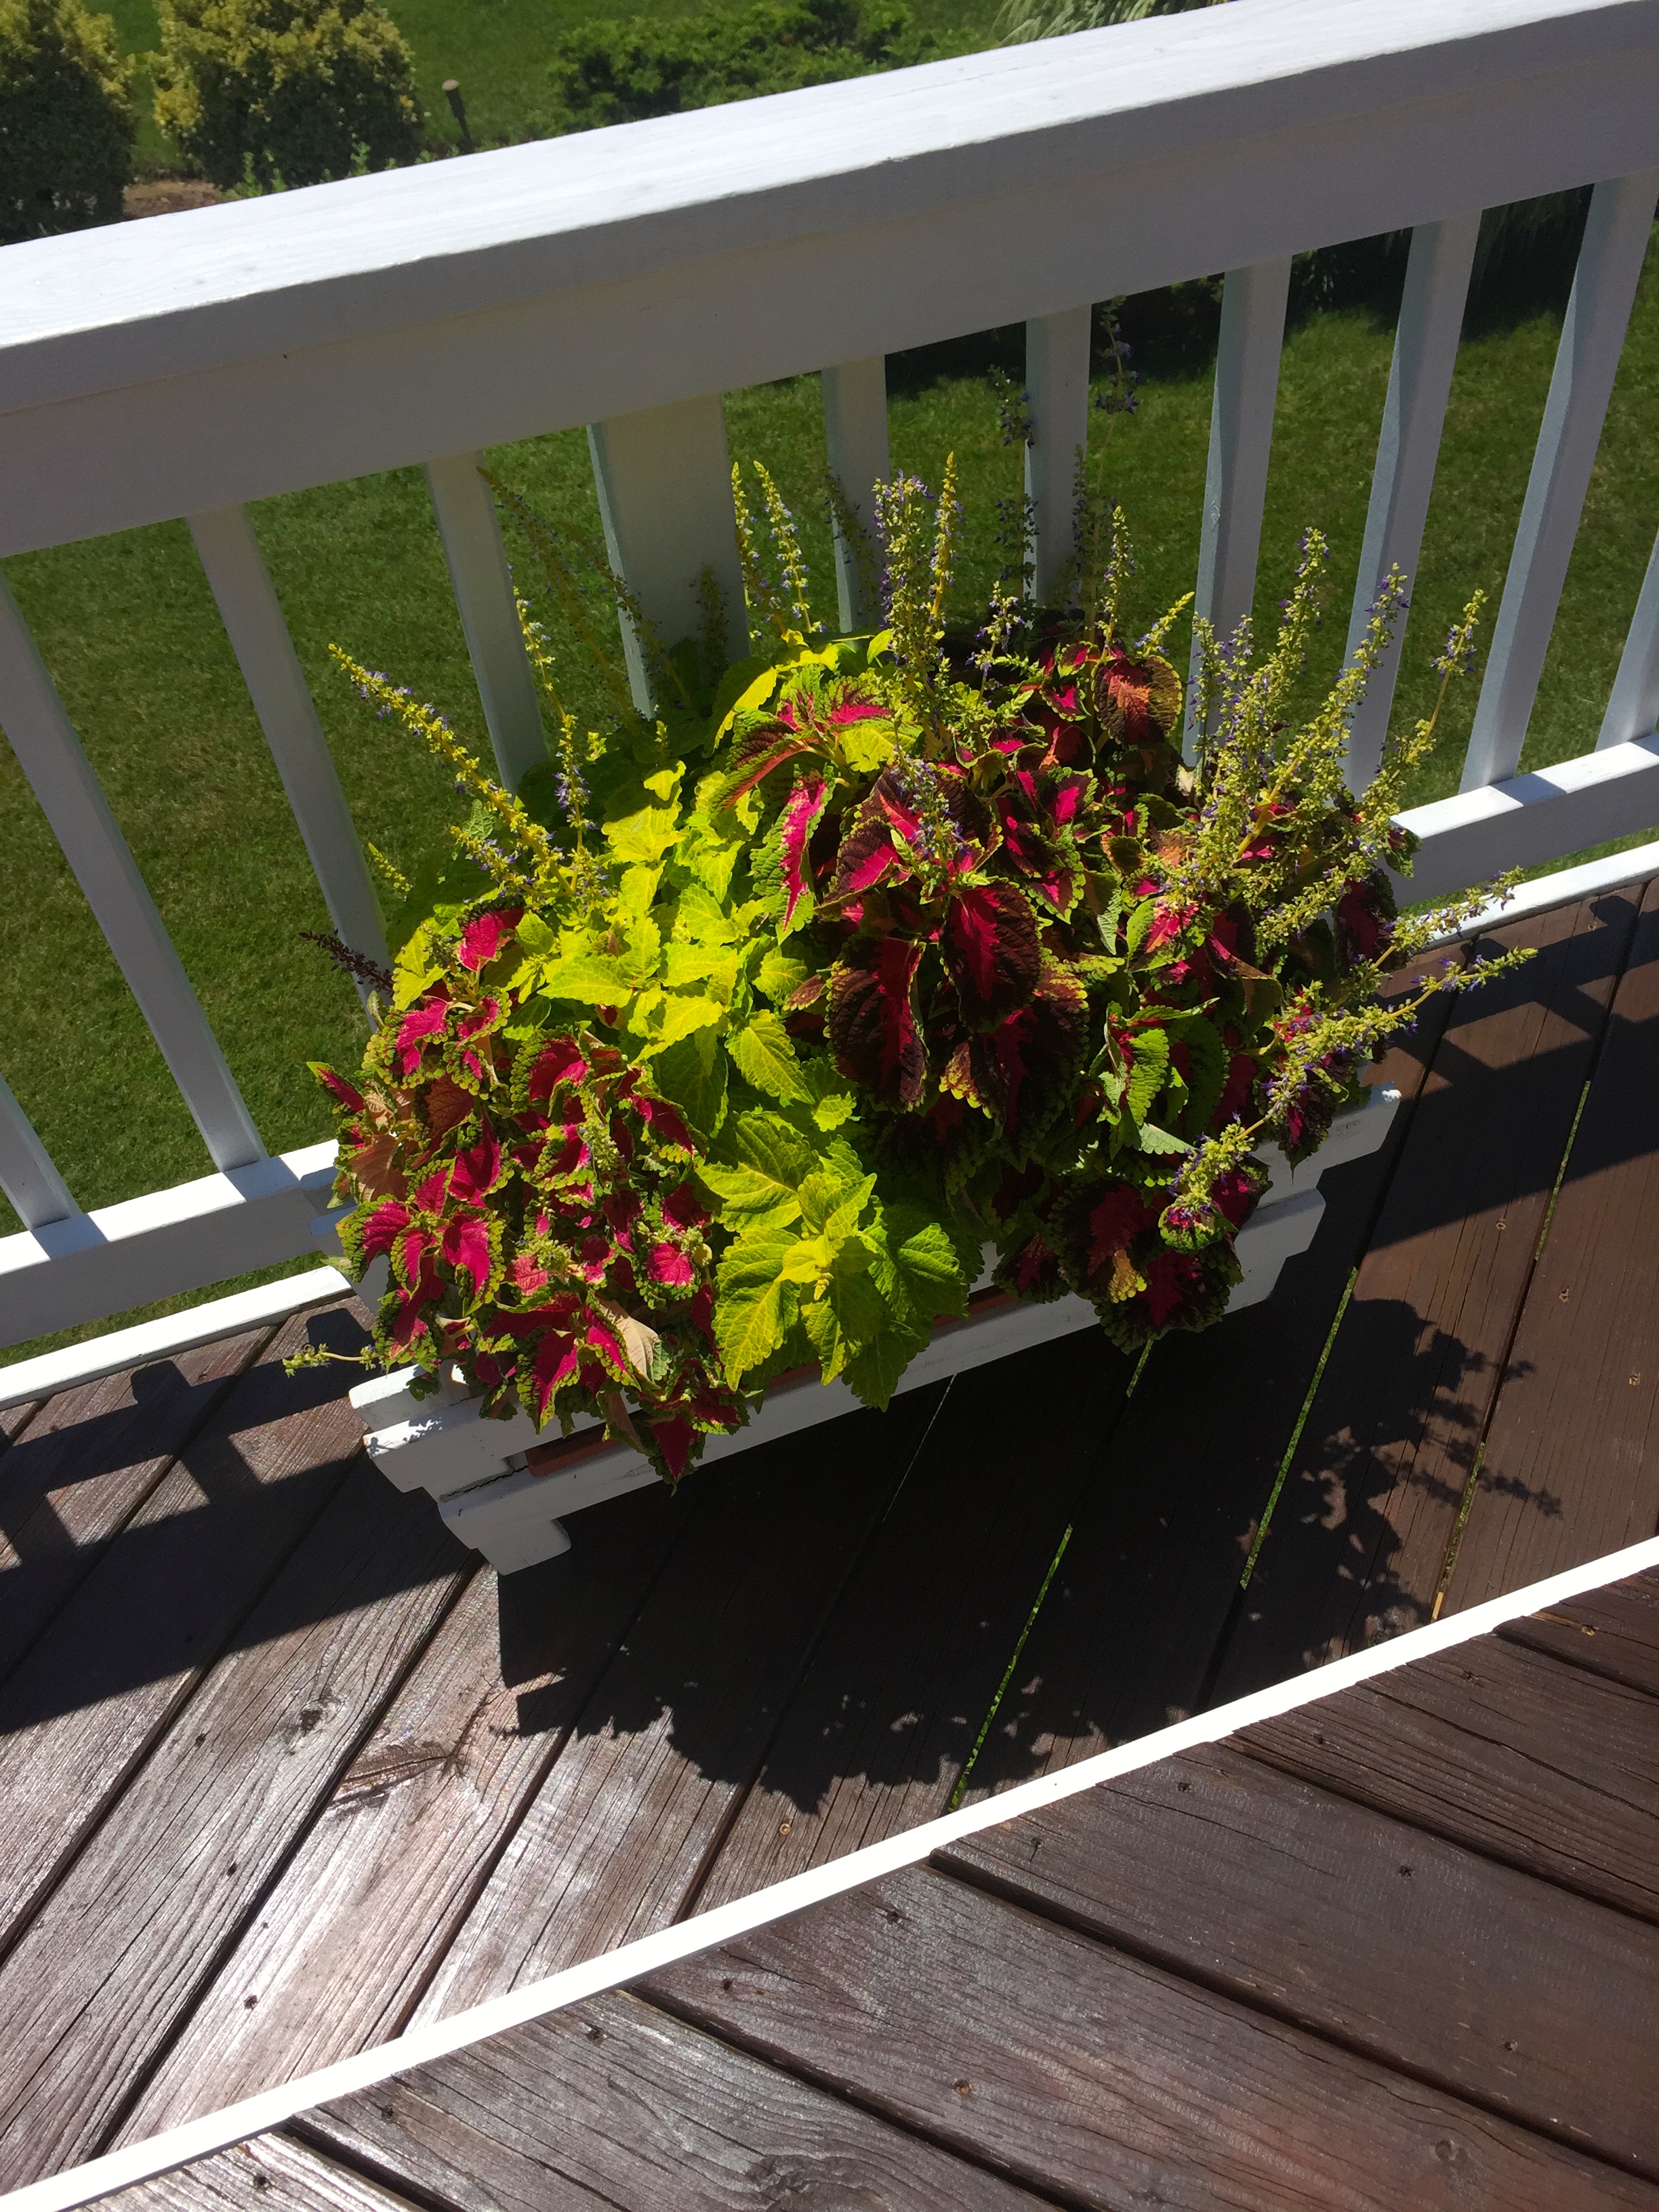
The window boxes got more of the same with lots of tropical foliage and flowers!
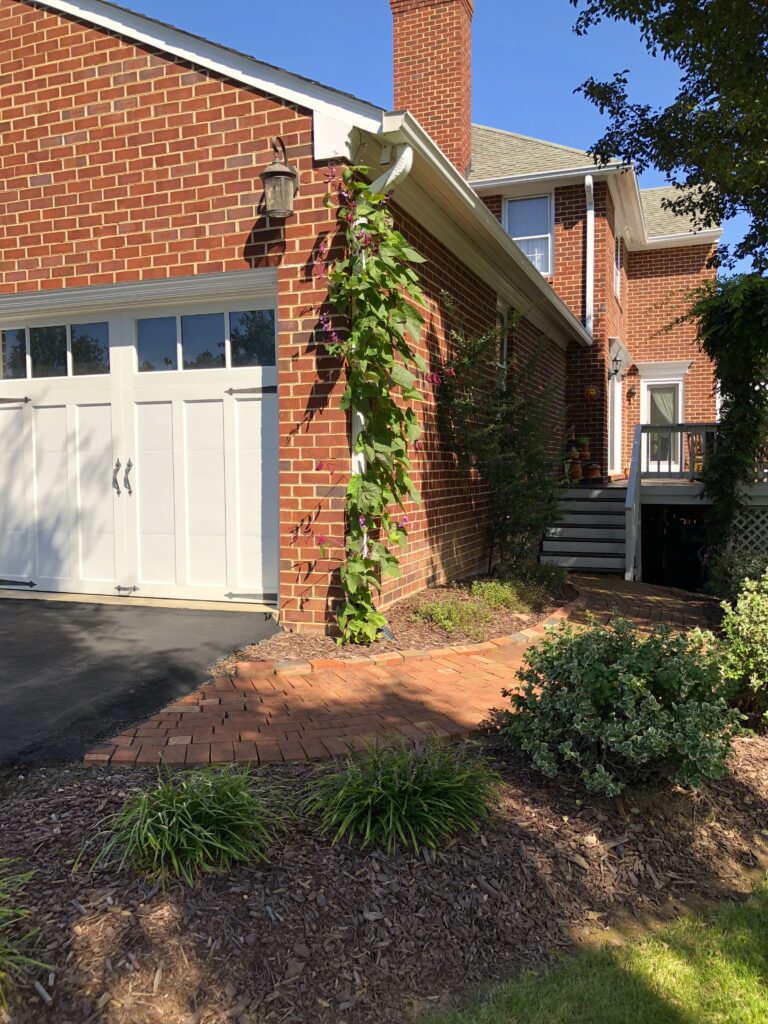
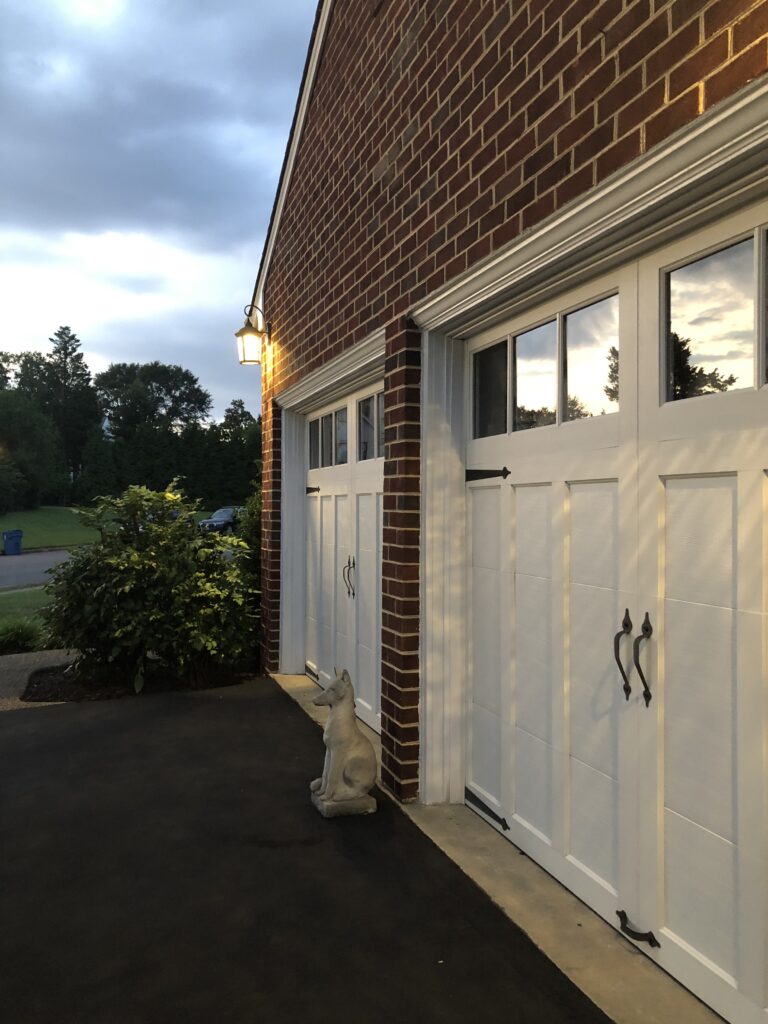
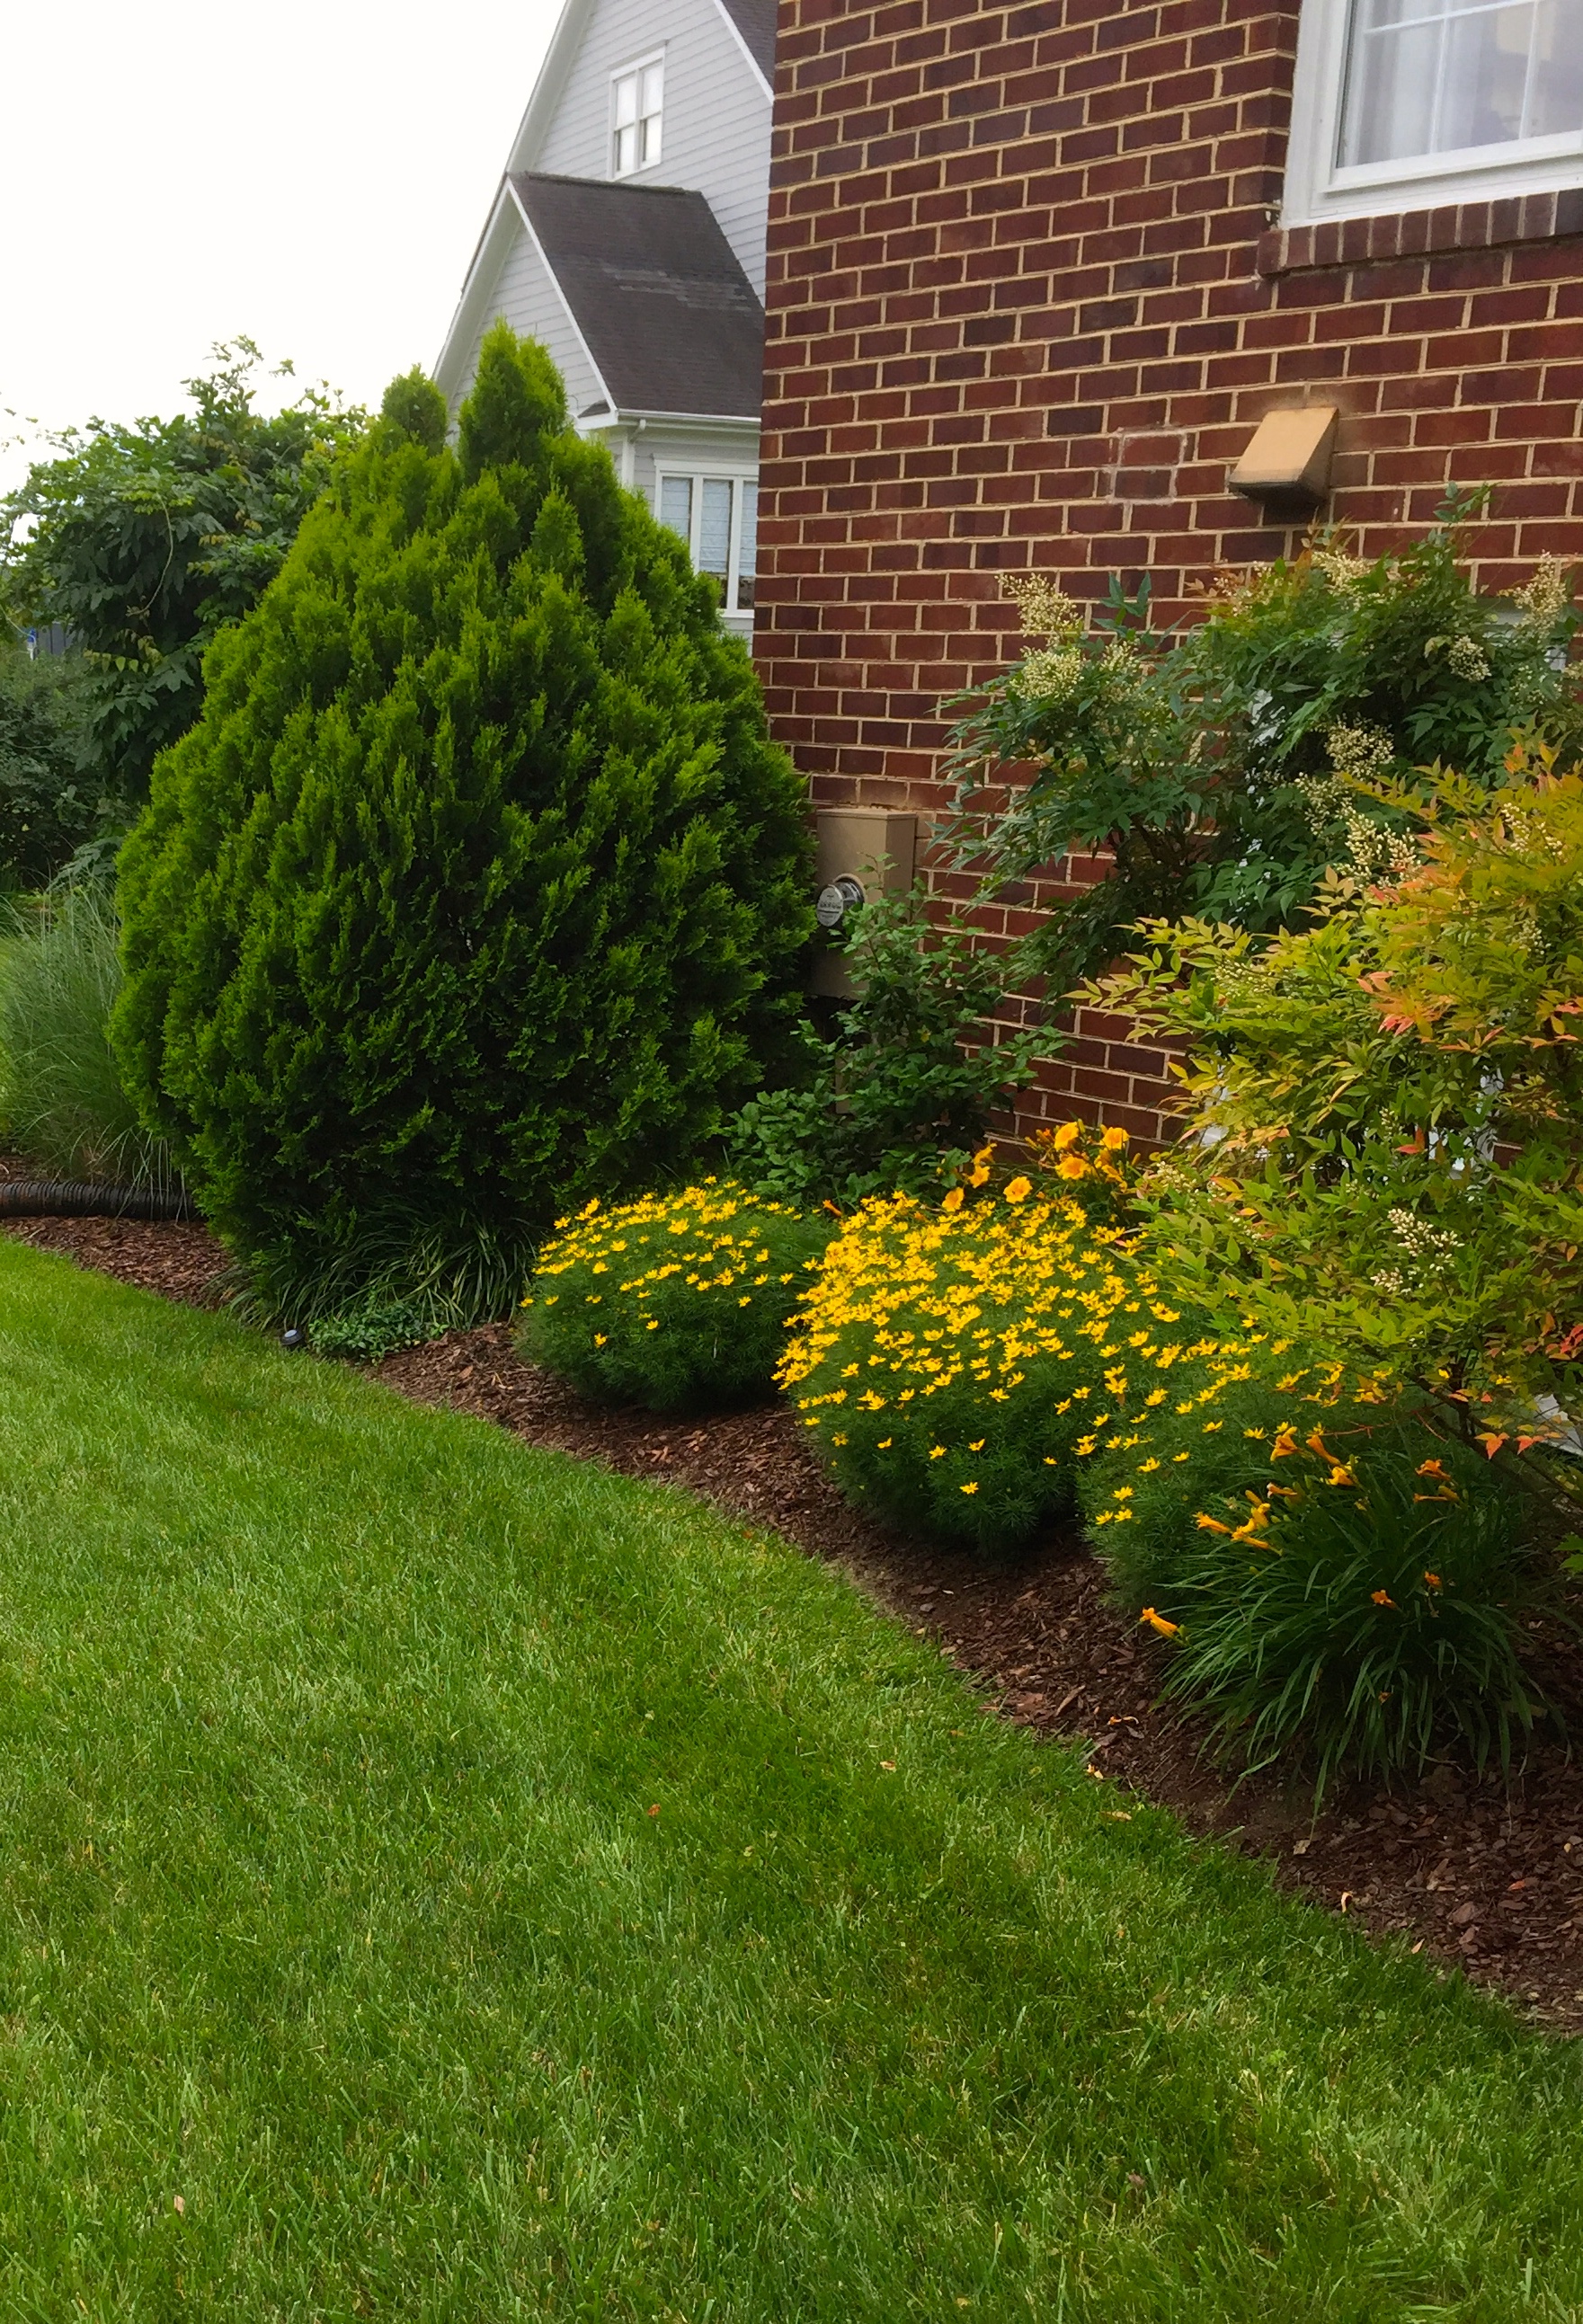
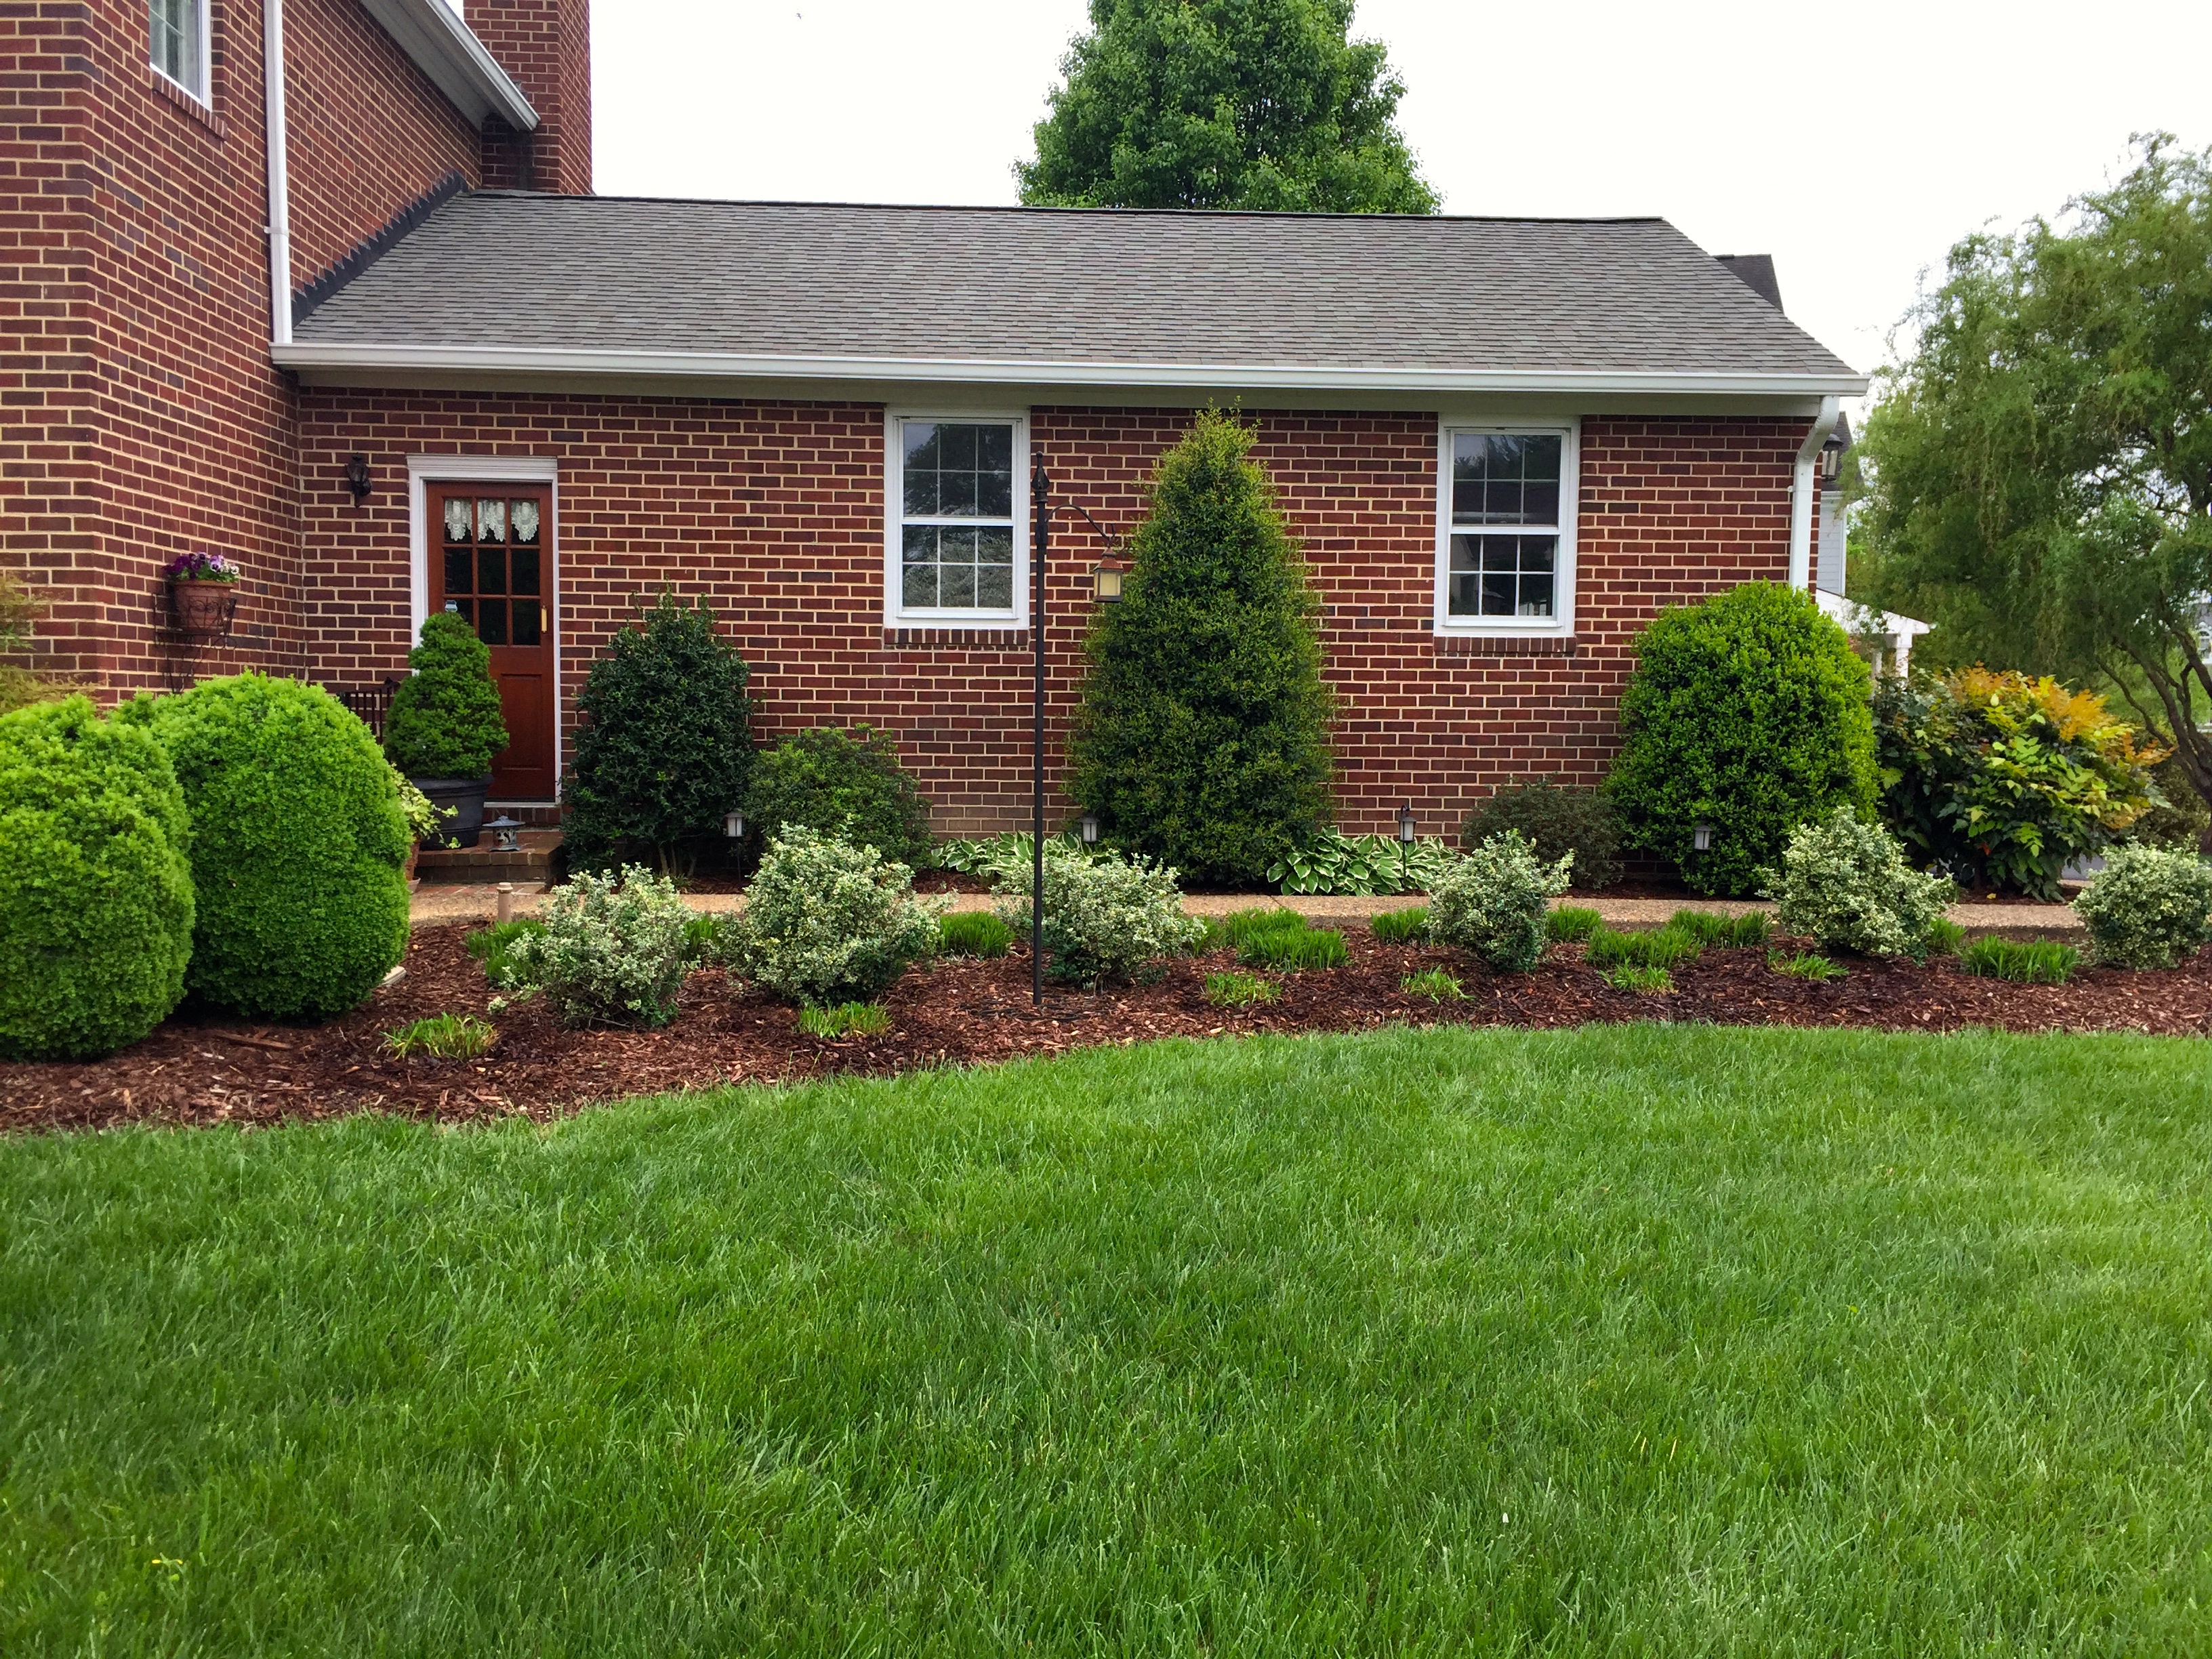
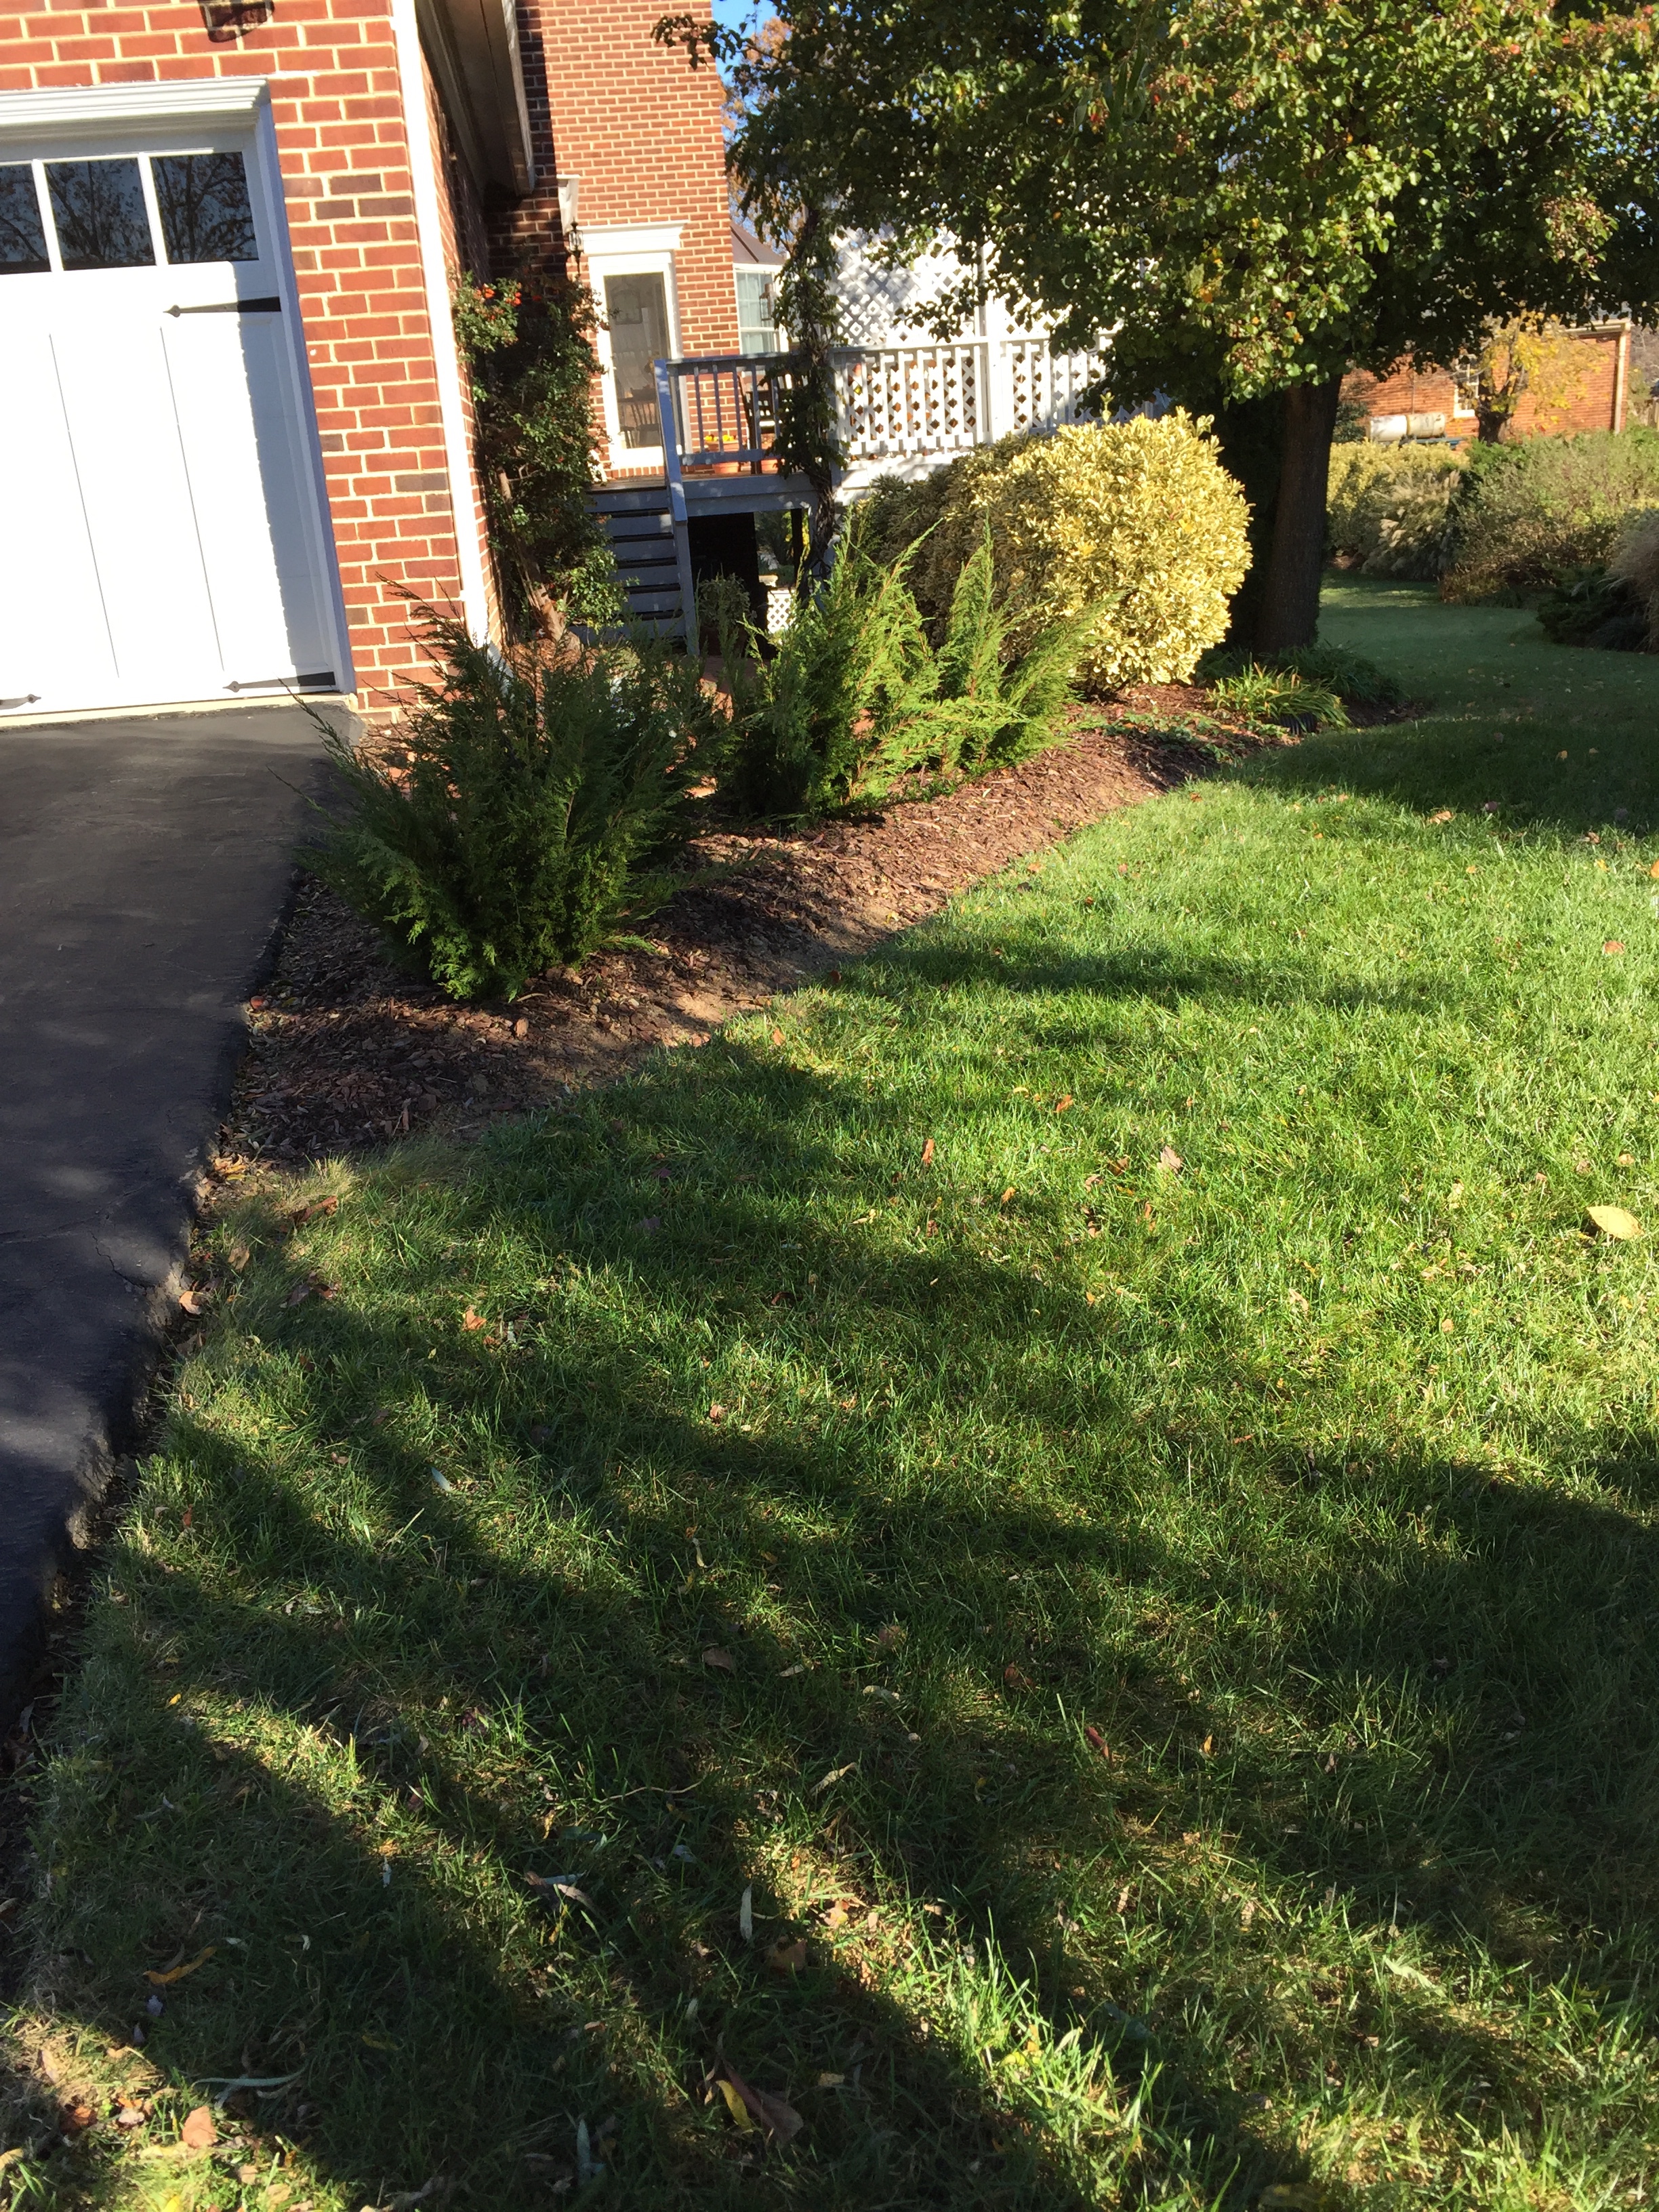
This is the front of the garage — now the flower colors really show up, and even the doors do, too.
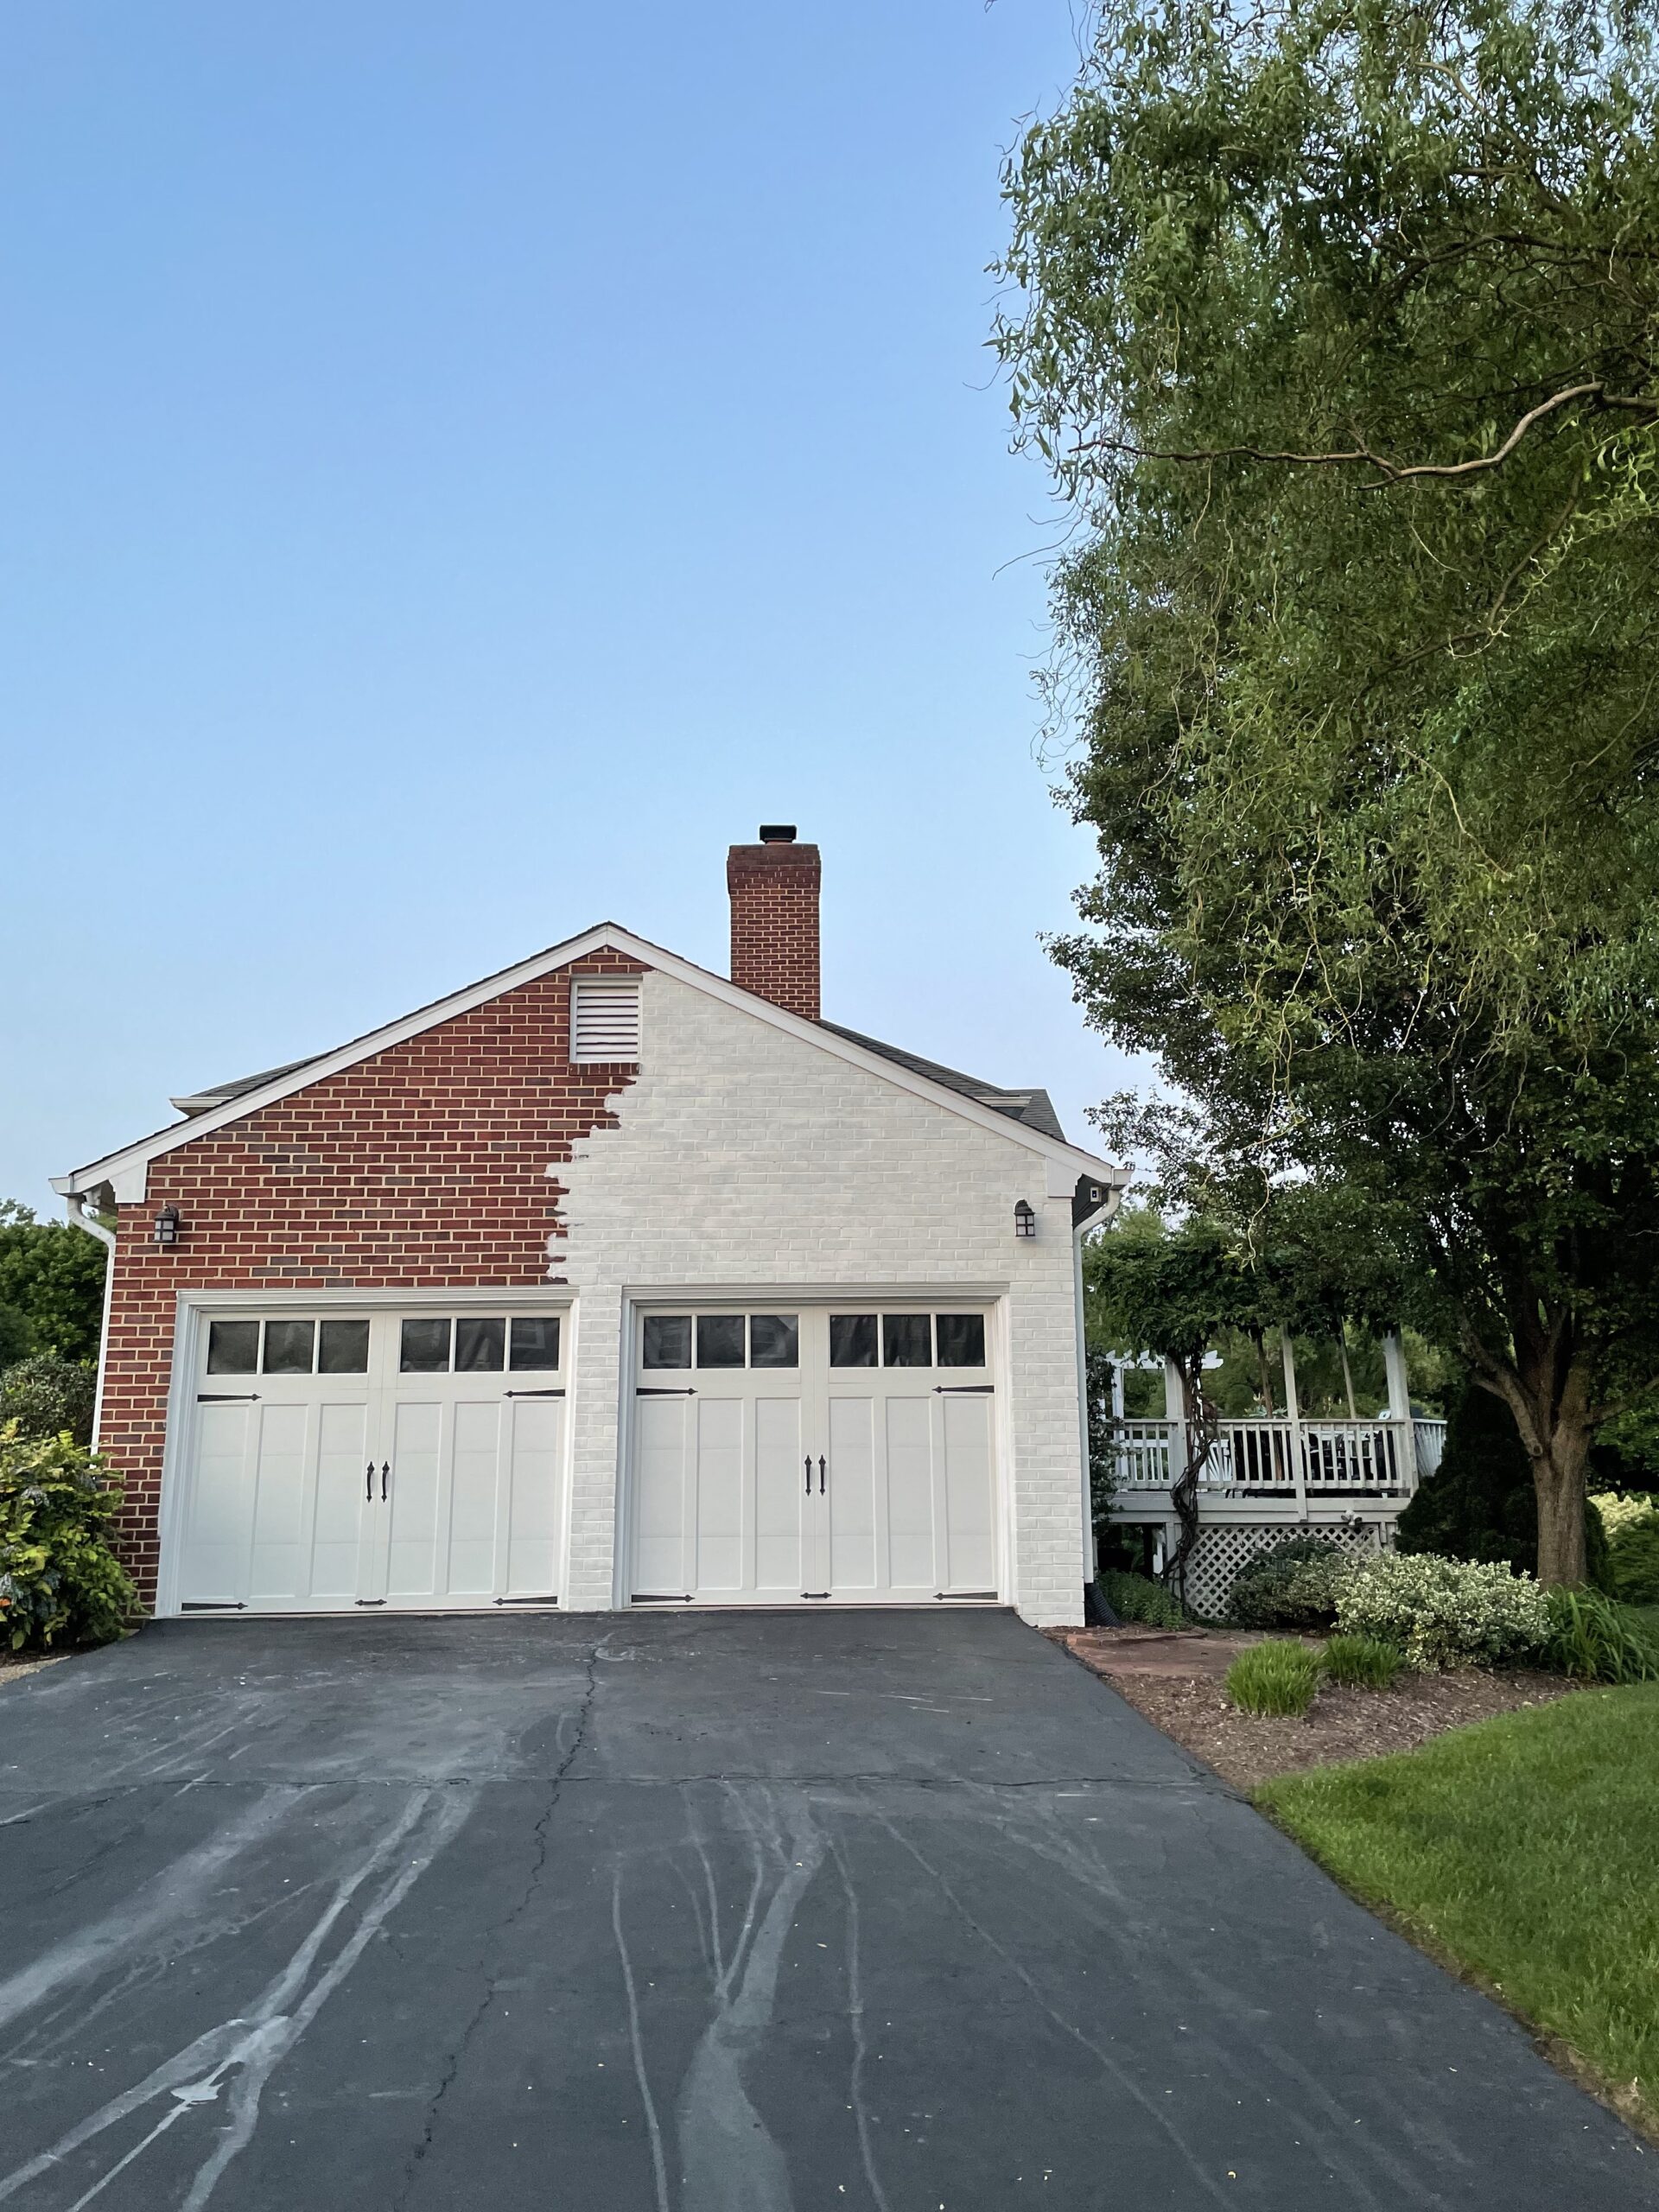
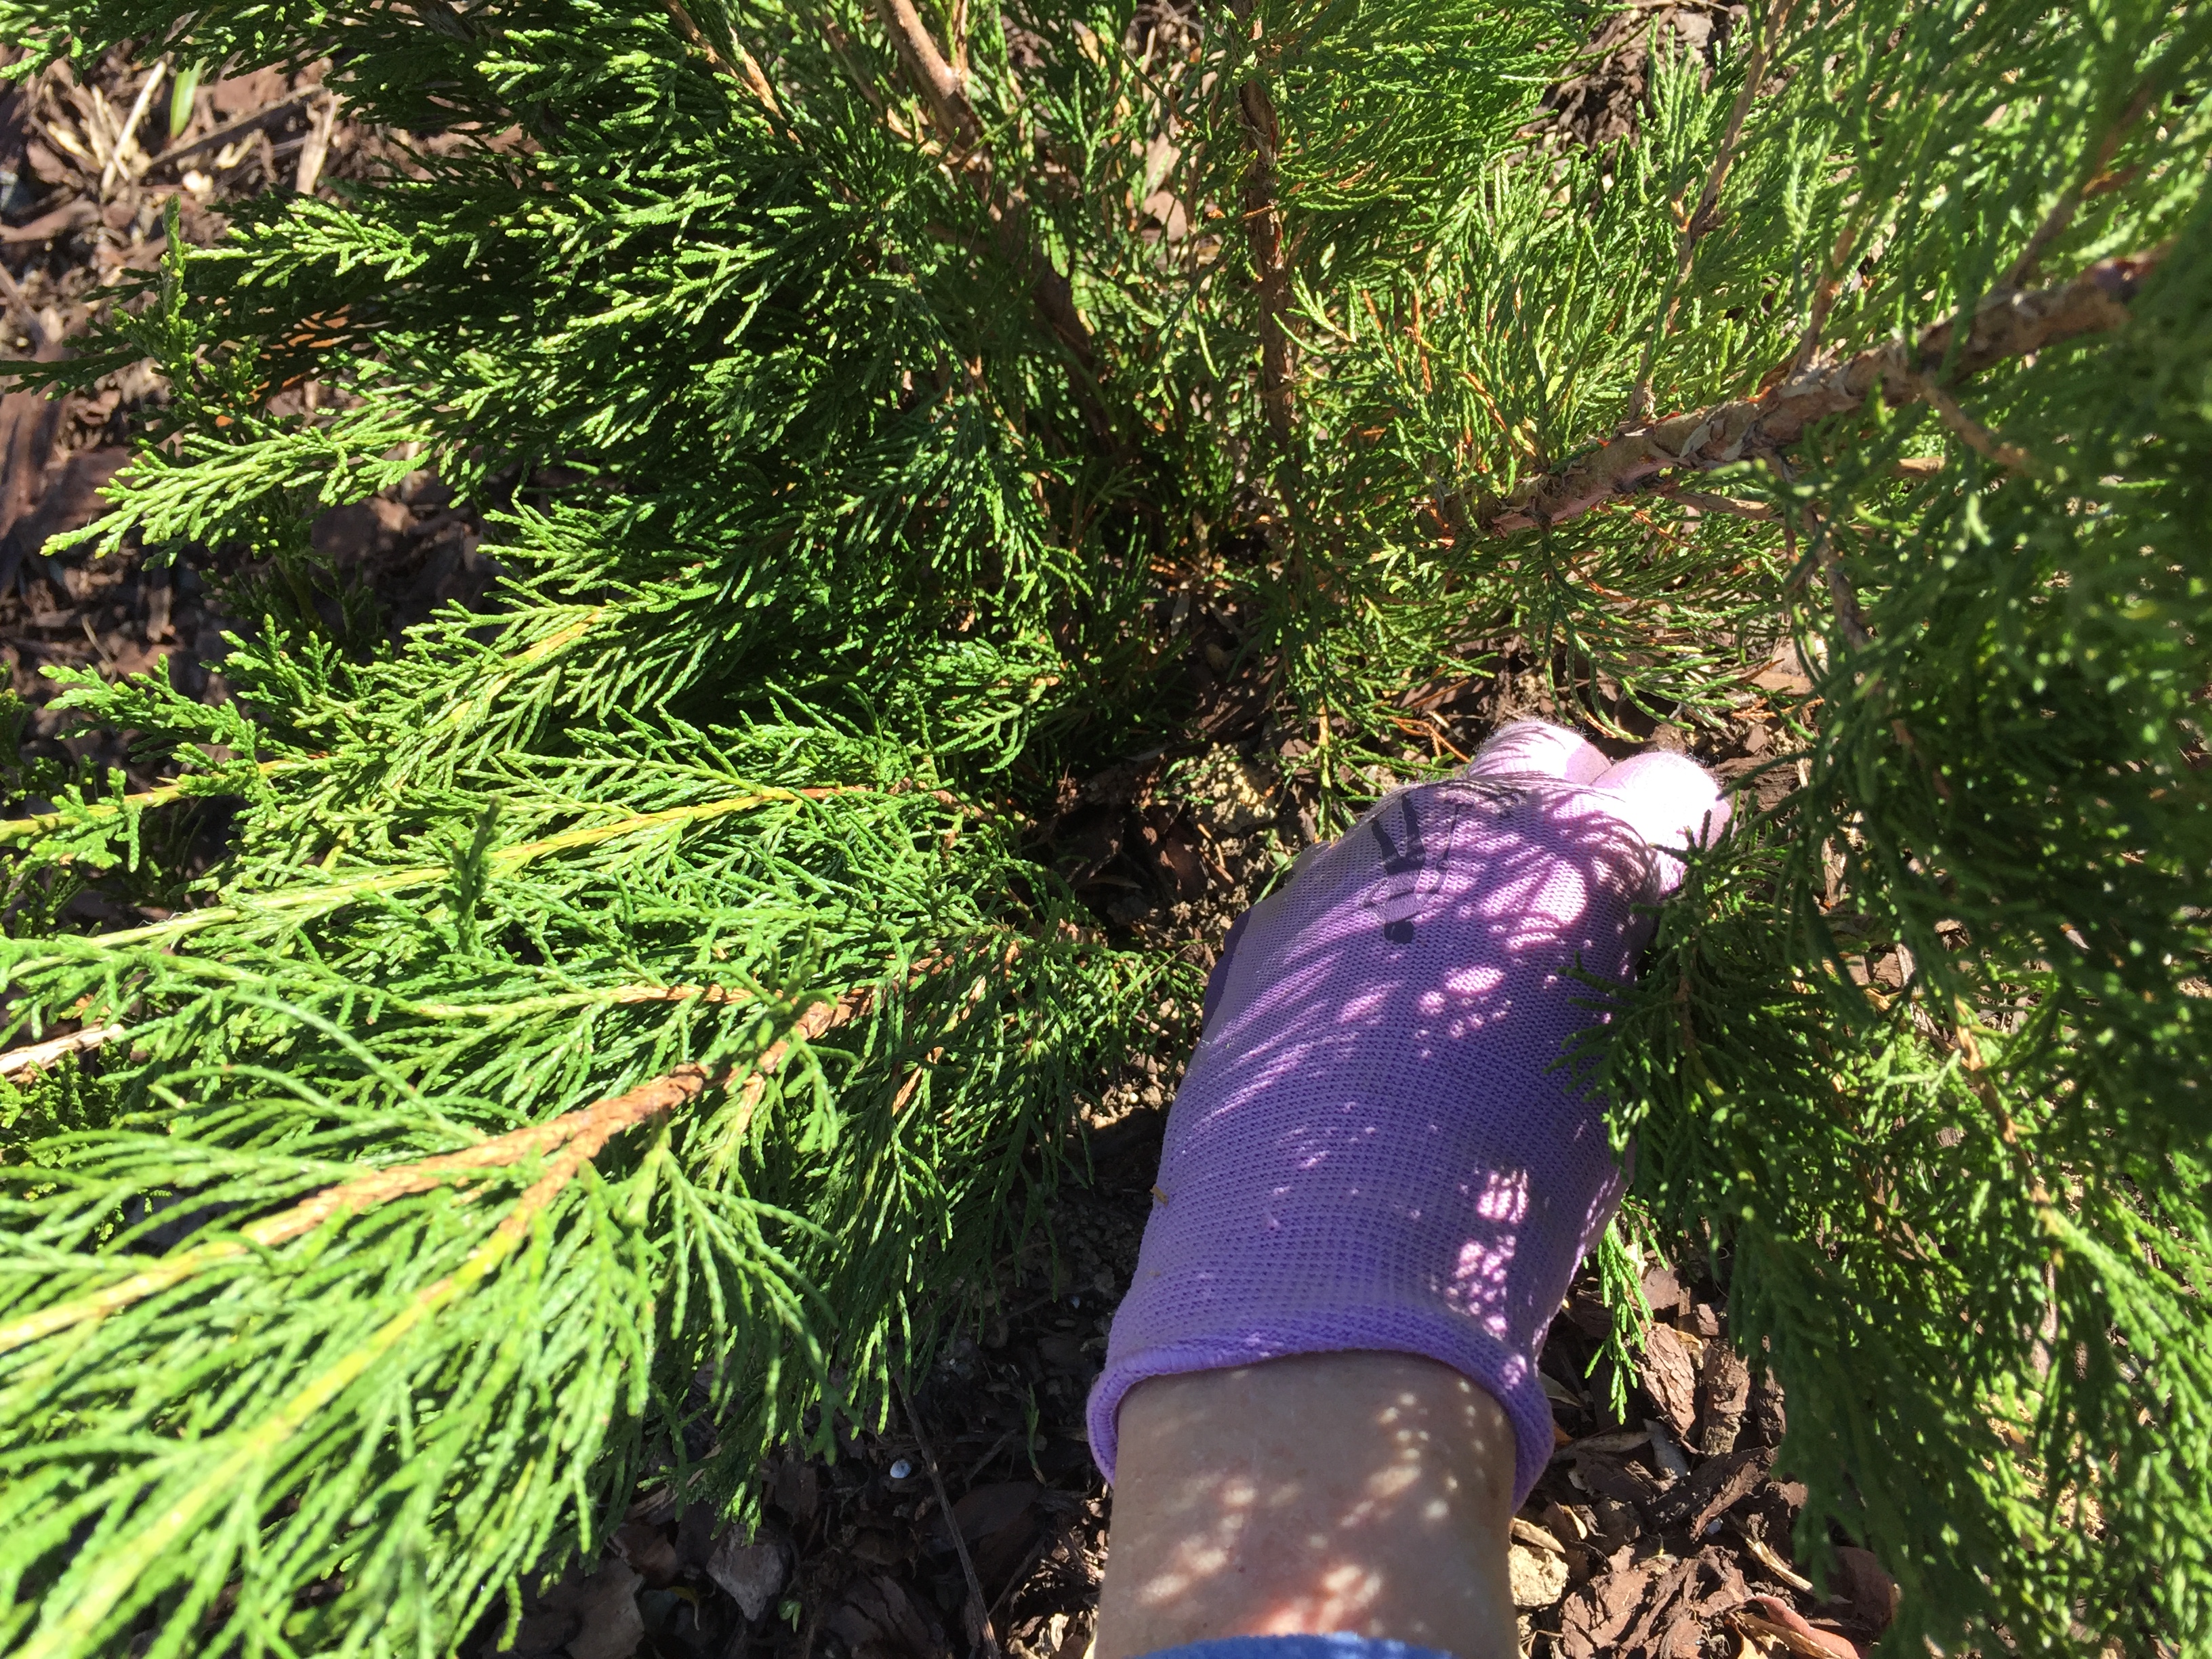
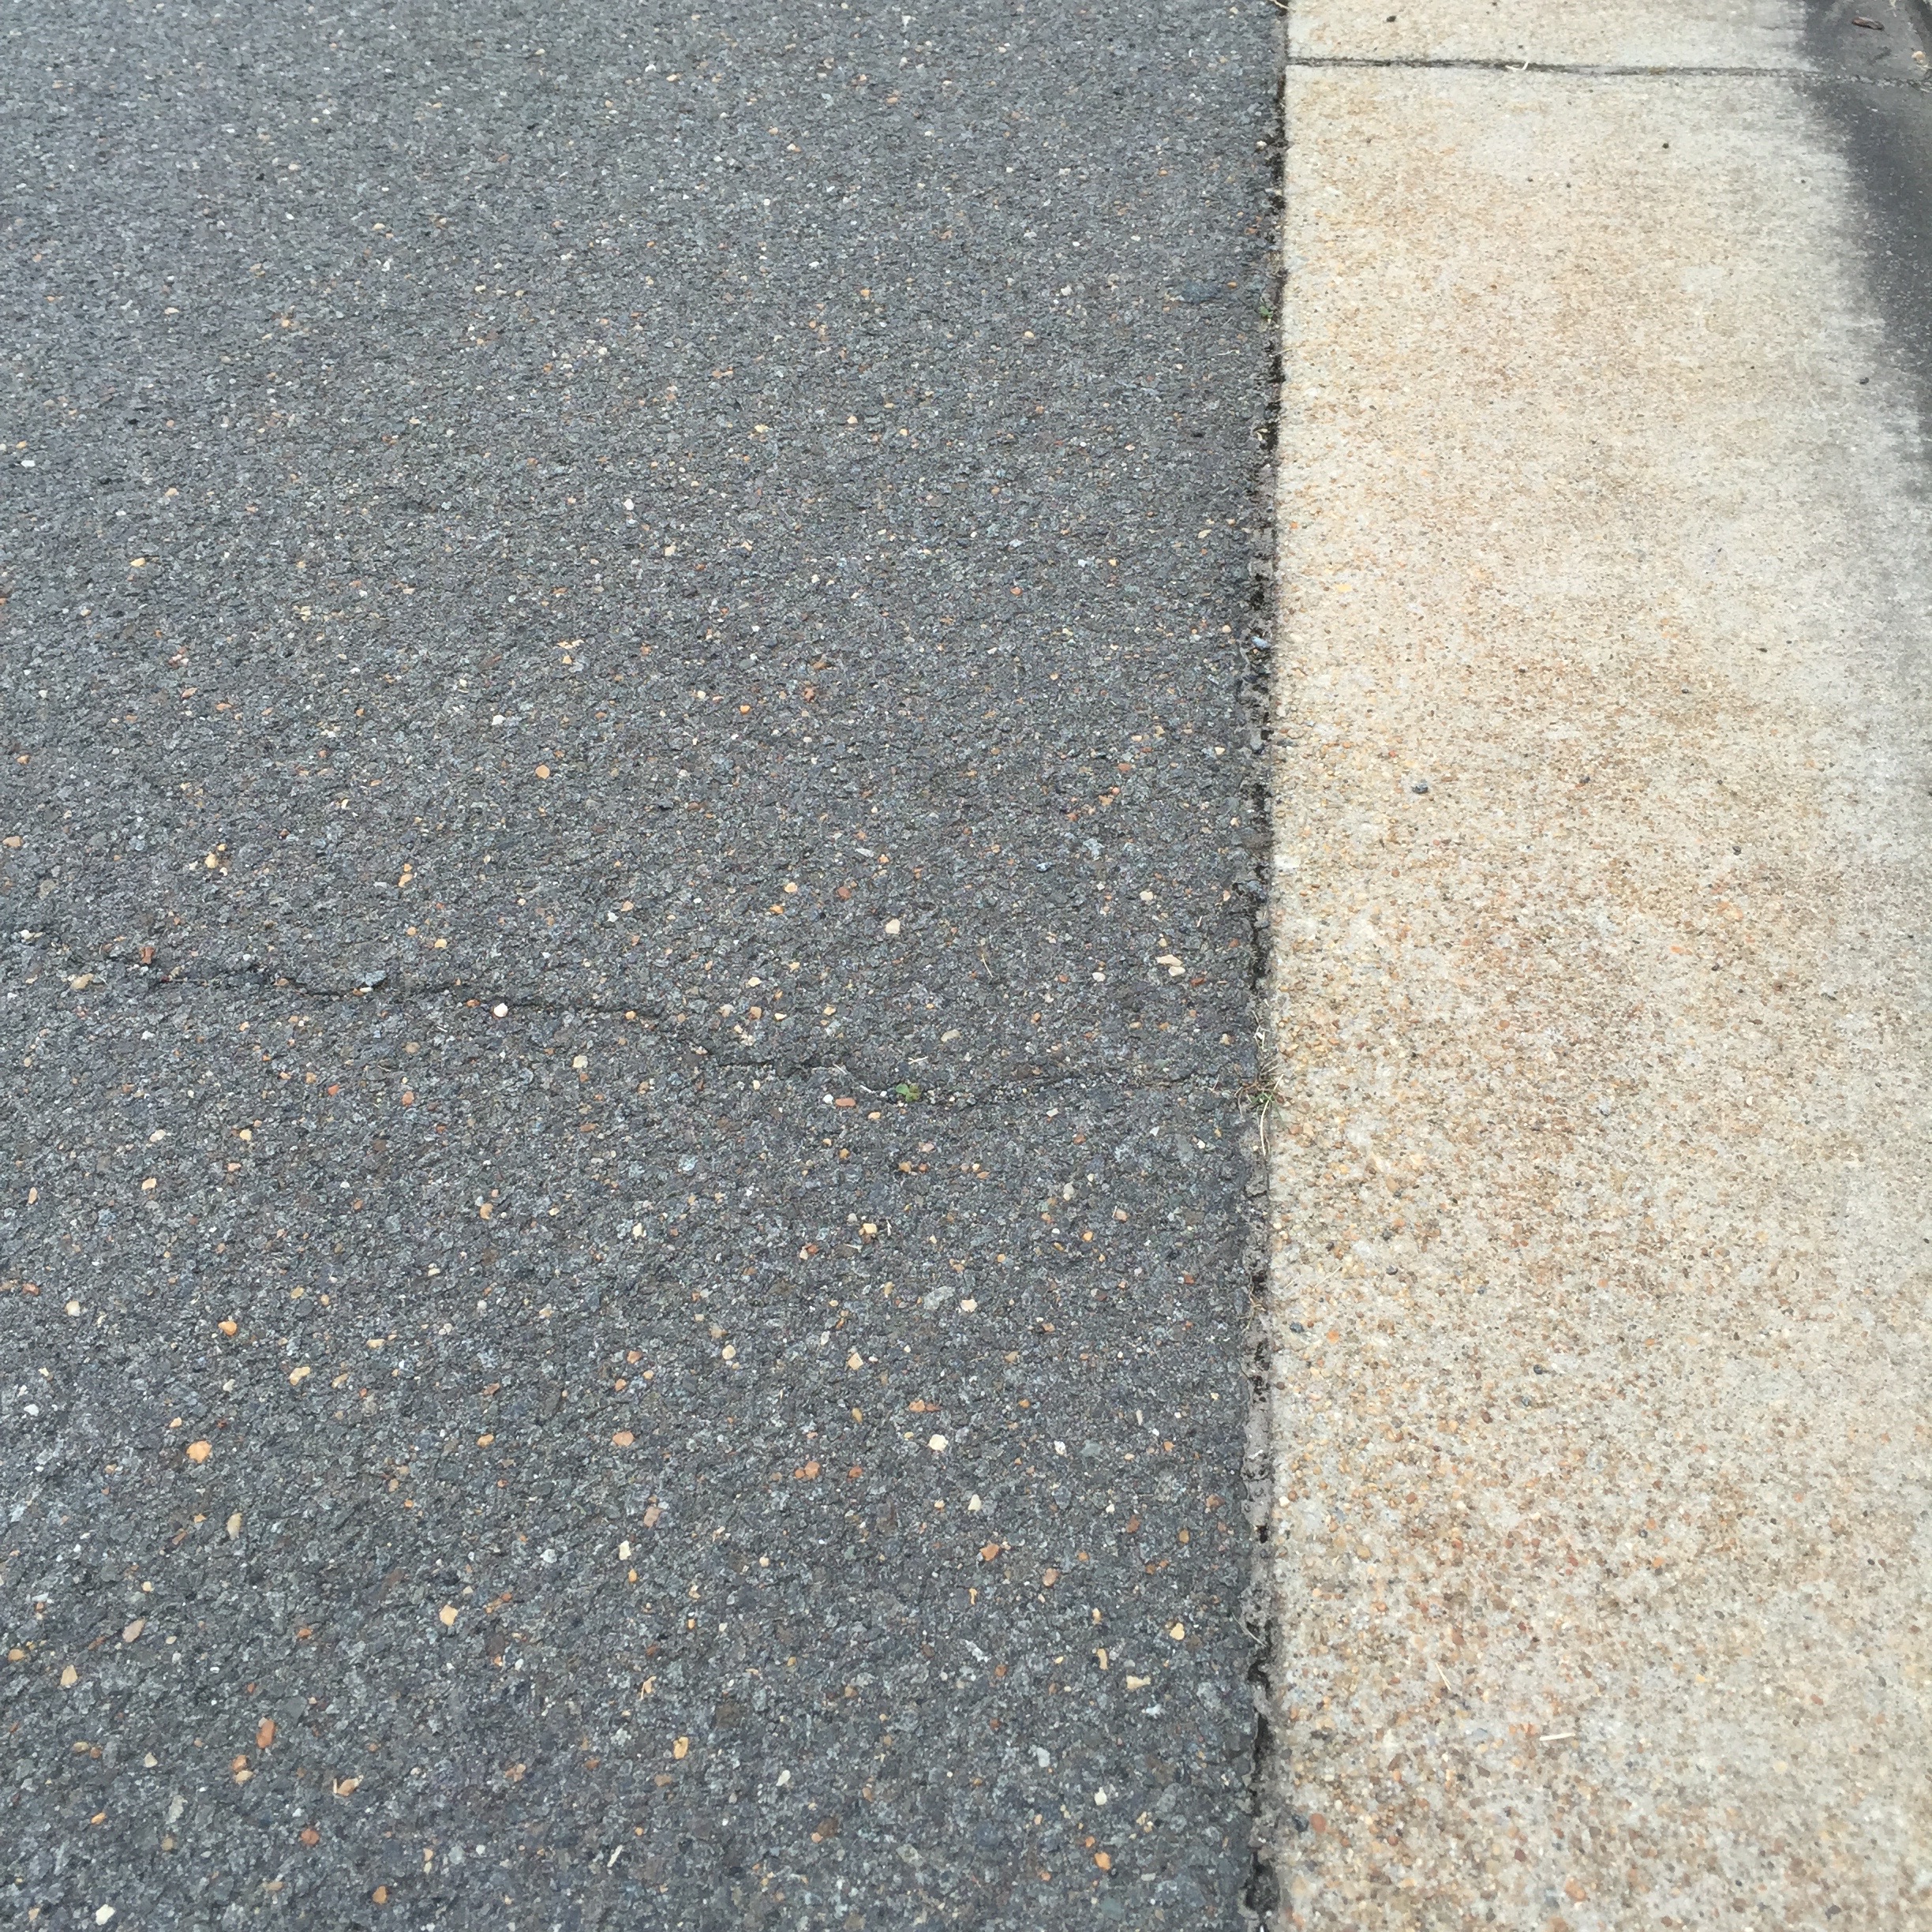
Here’s an in-process photo to see the red brick next to the lime wash. I am really happy how easy this was to apply, and the soft appearance it gives.
We hired a wonderful company — Brushes with Flair — to paint the top floor and very tall chimneys, while I painted the lower floors. The entire job took a couple of weeks to complete. The bricks are painted one at a time, carefully working the paint into all the mortar joints first, so the coverage is a very protective but breathable finish. It was time consuming, but well worth the effort. I chose not to wash it off for instant aging, but to rather let nature age it.
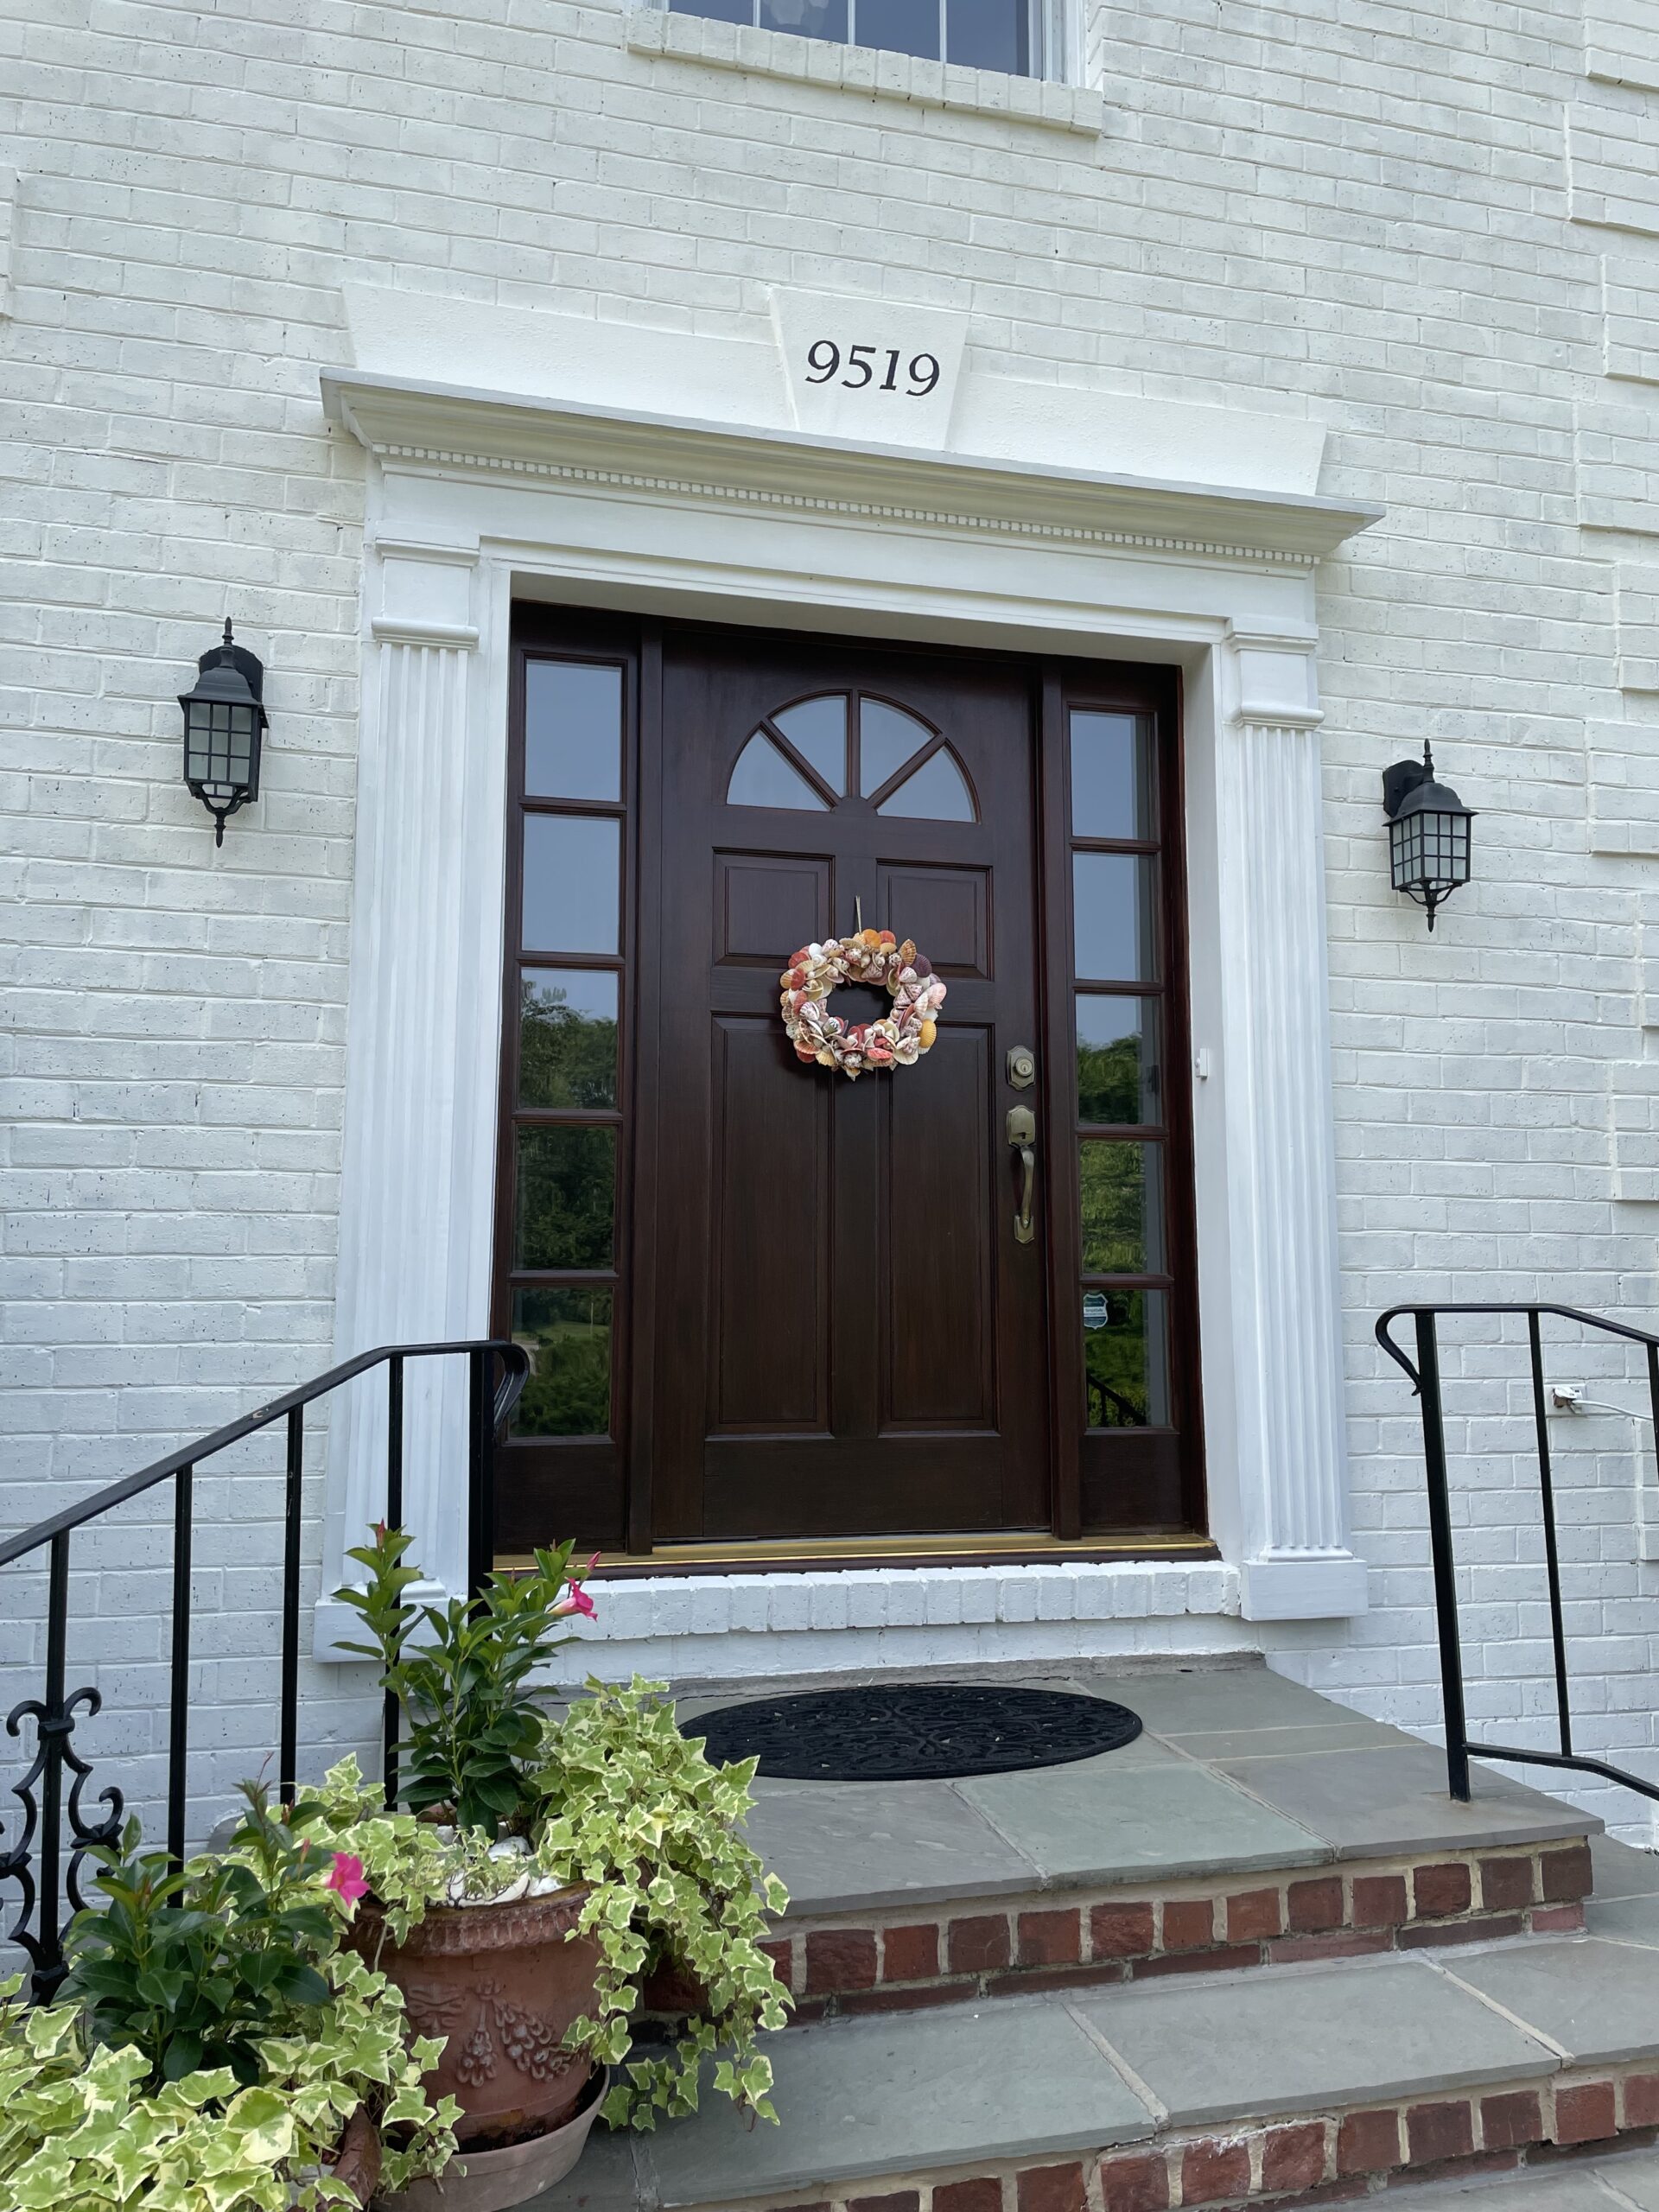
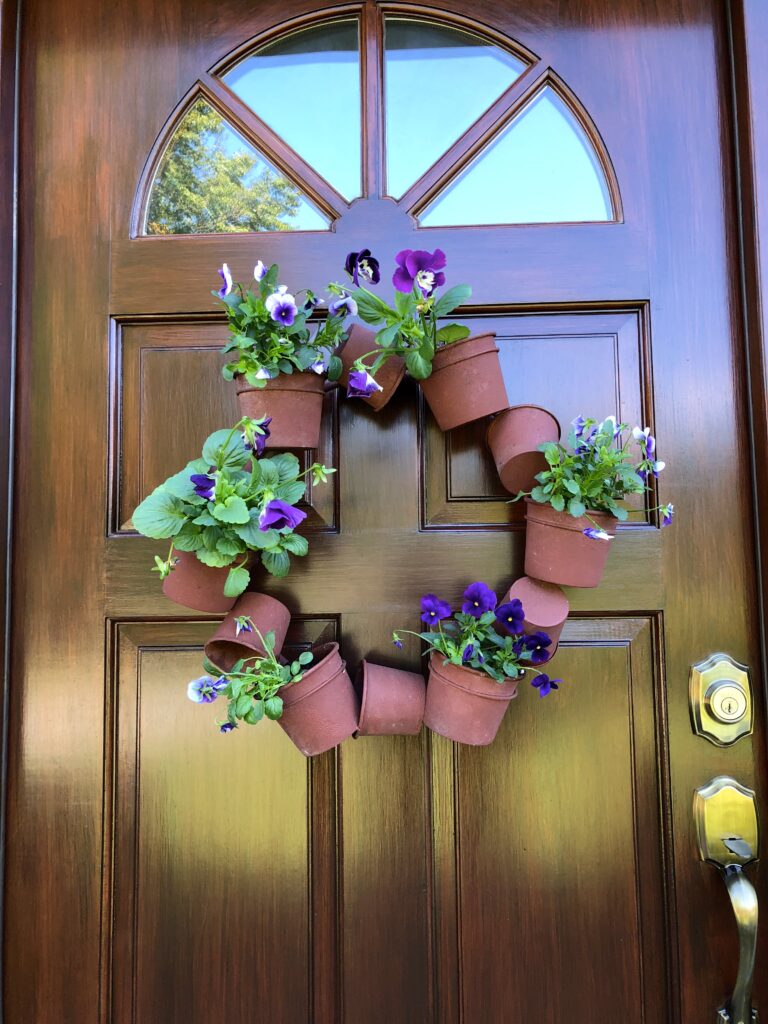
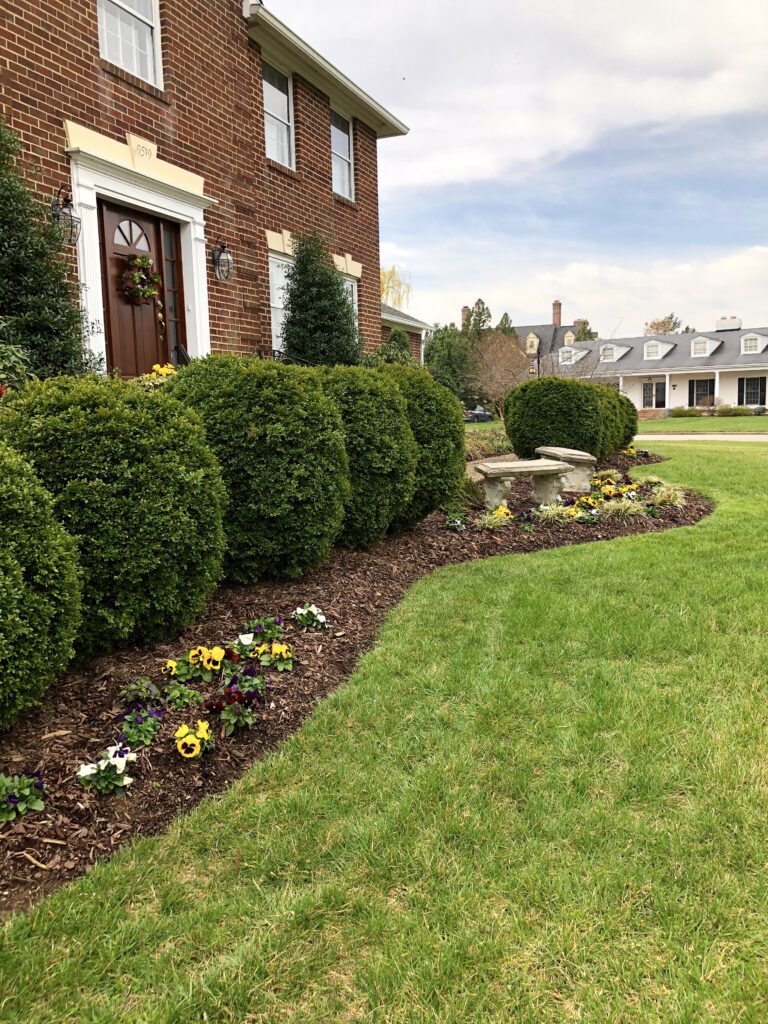
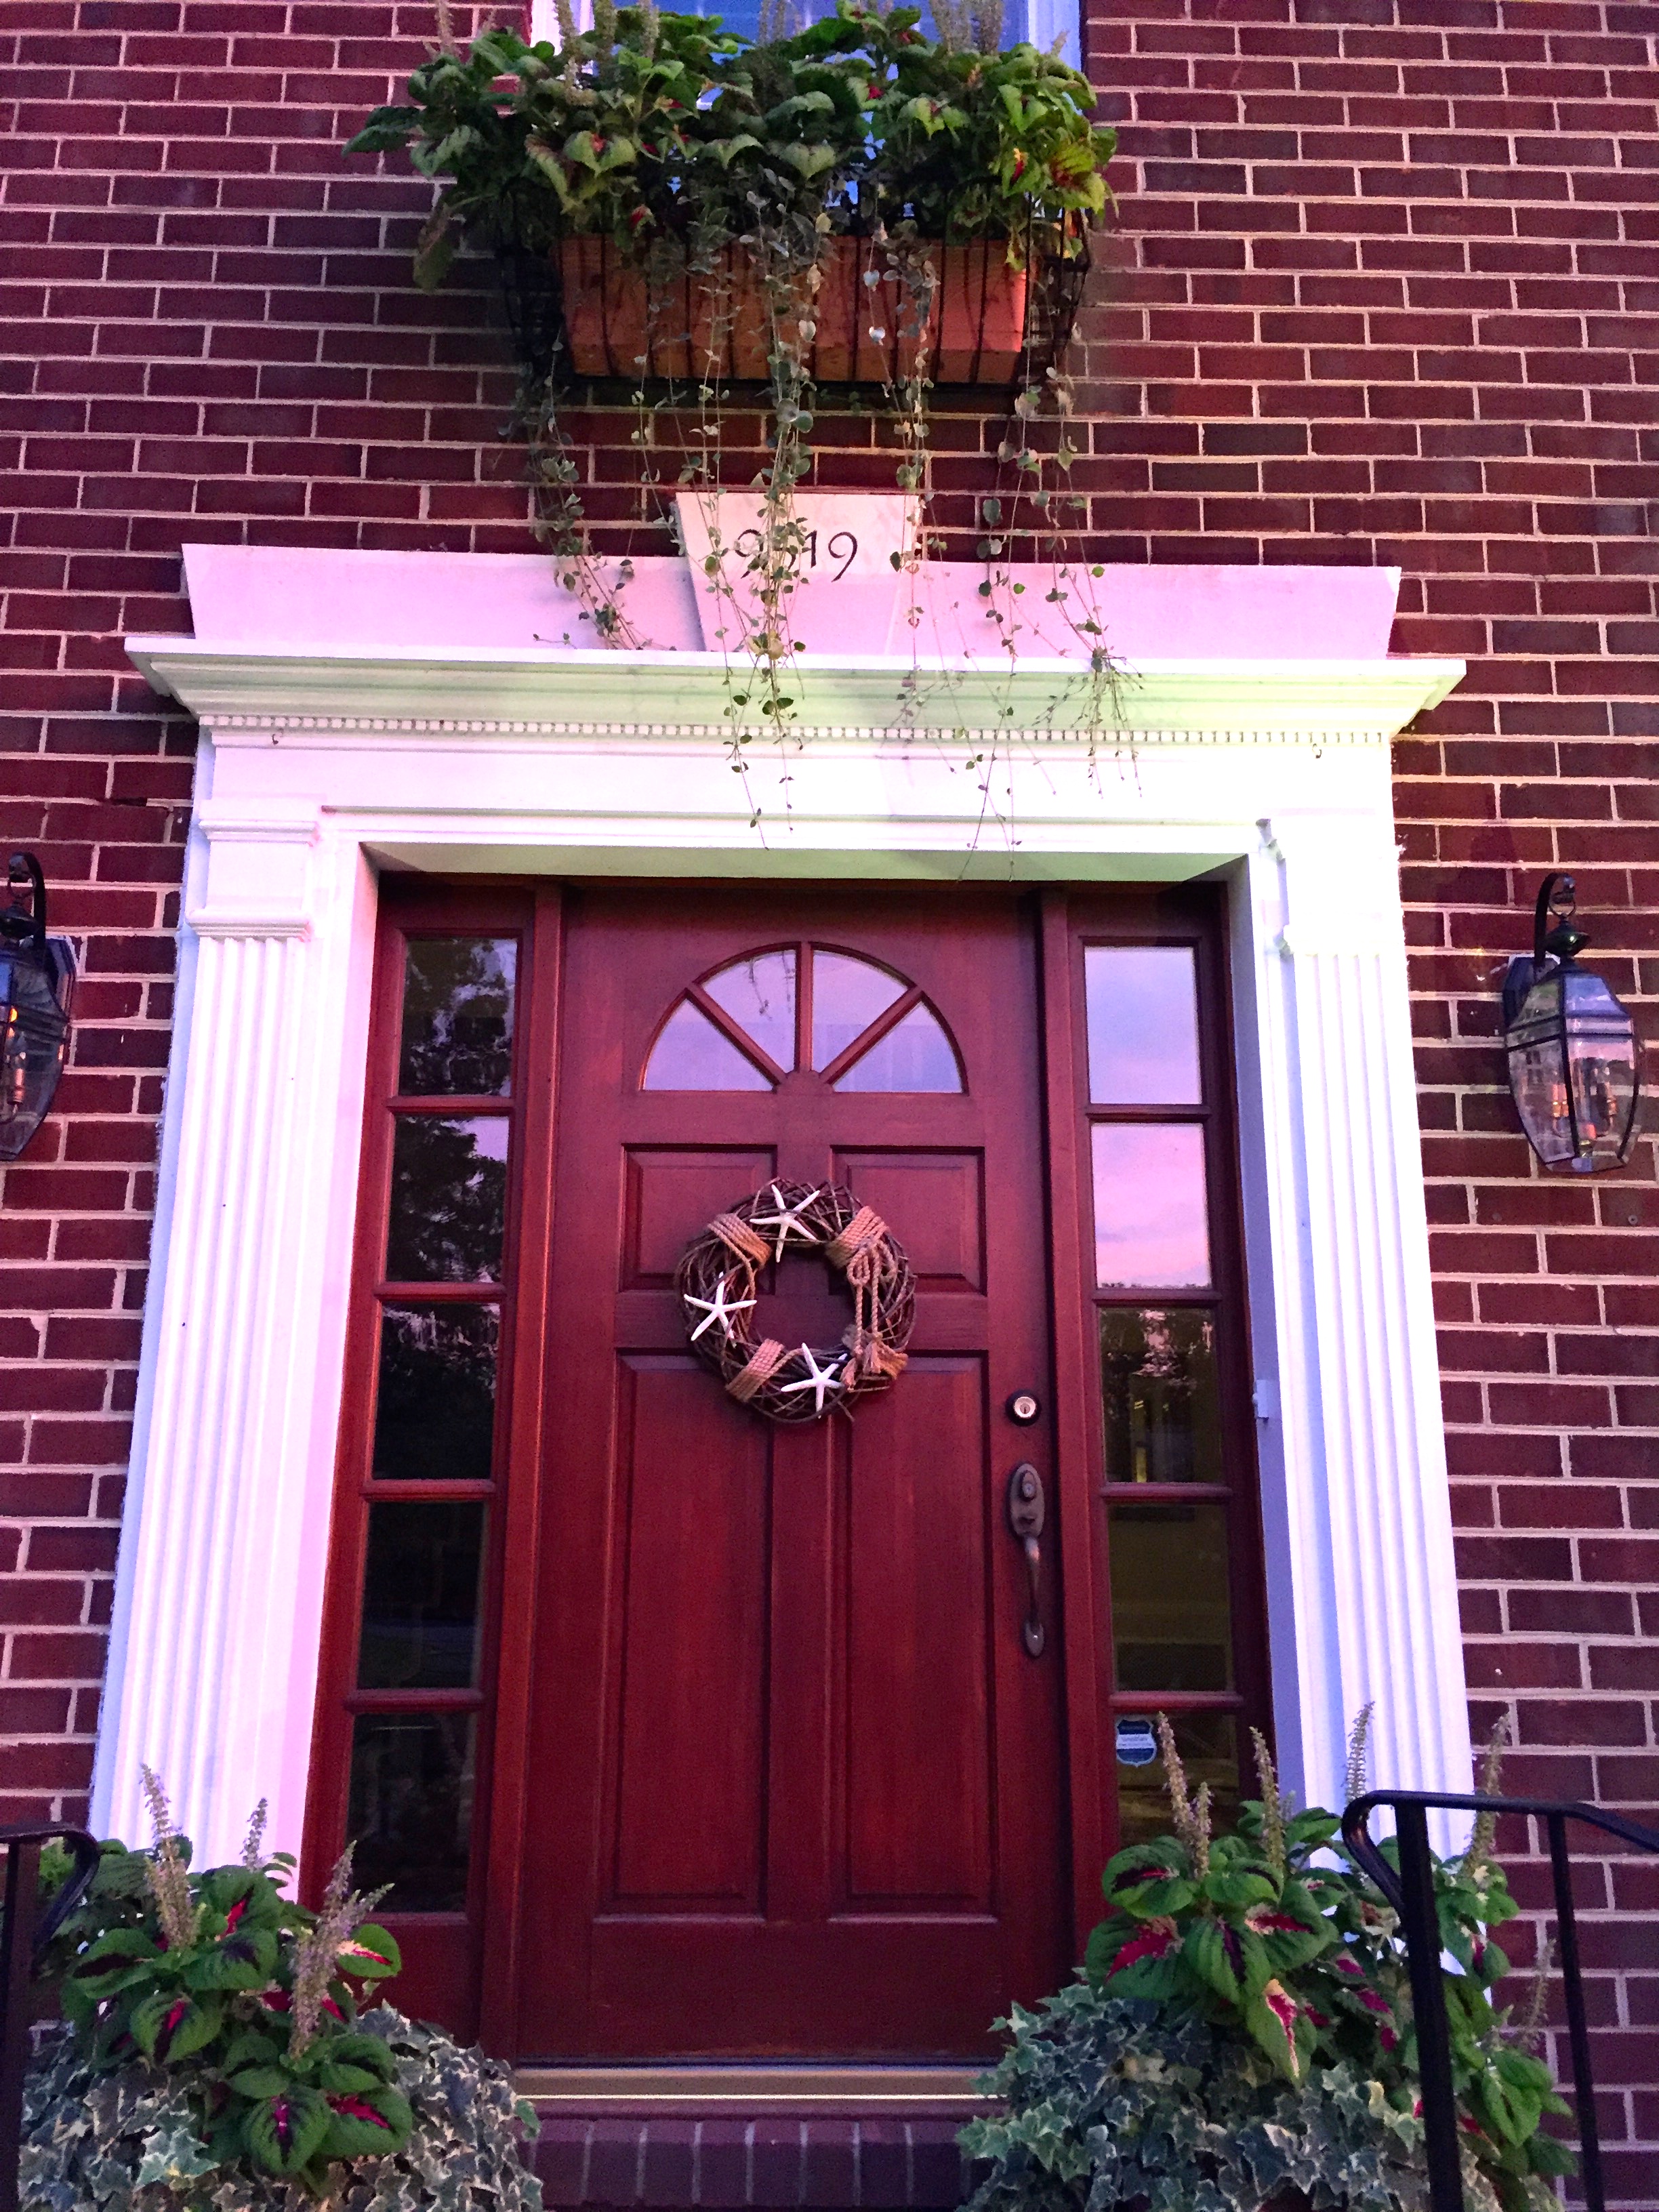
I also enlarged the stenciled numbers above the door to make it easier to read from the street.
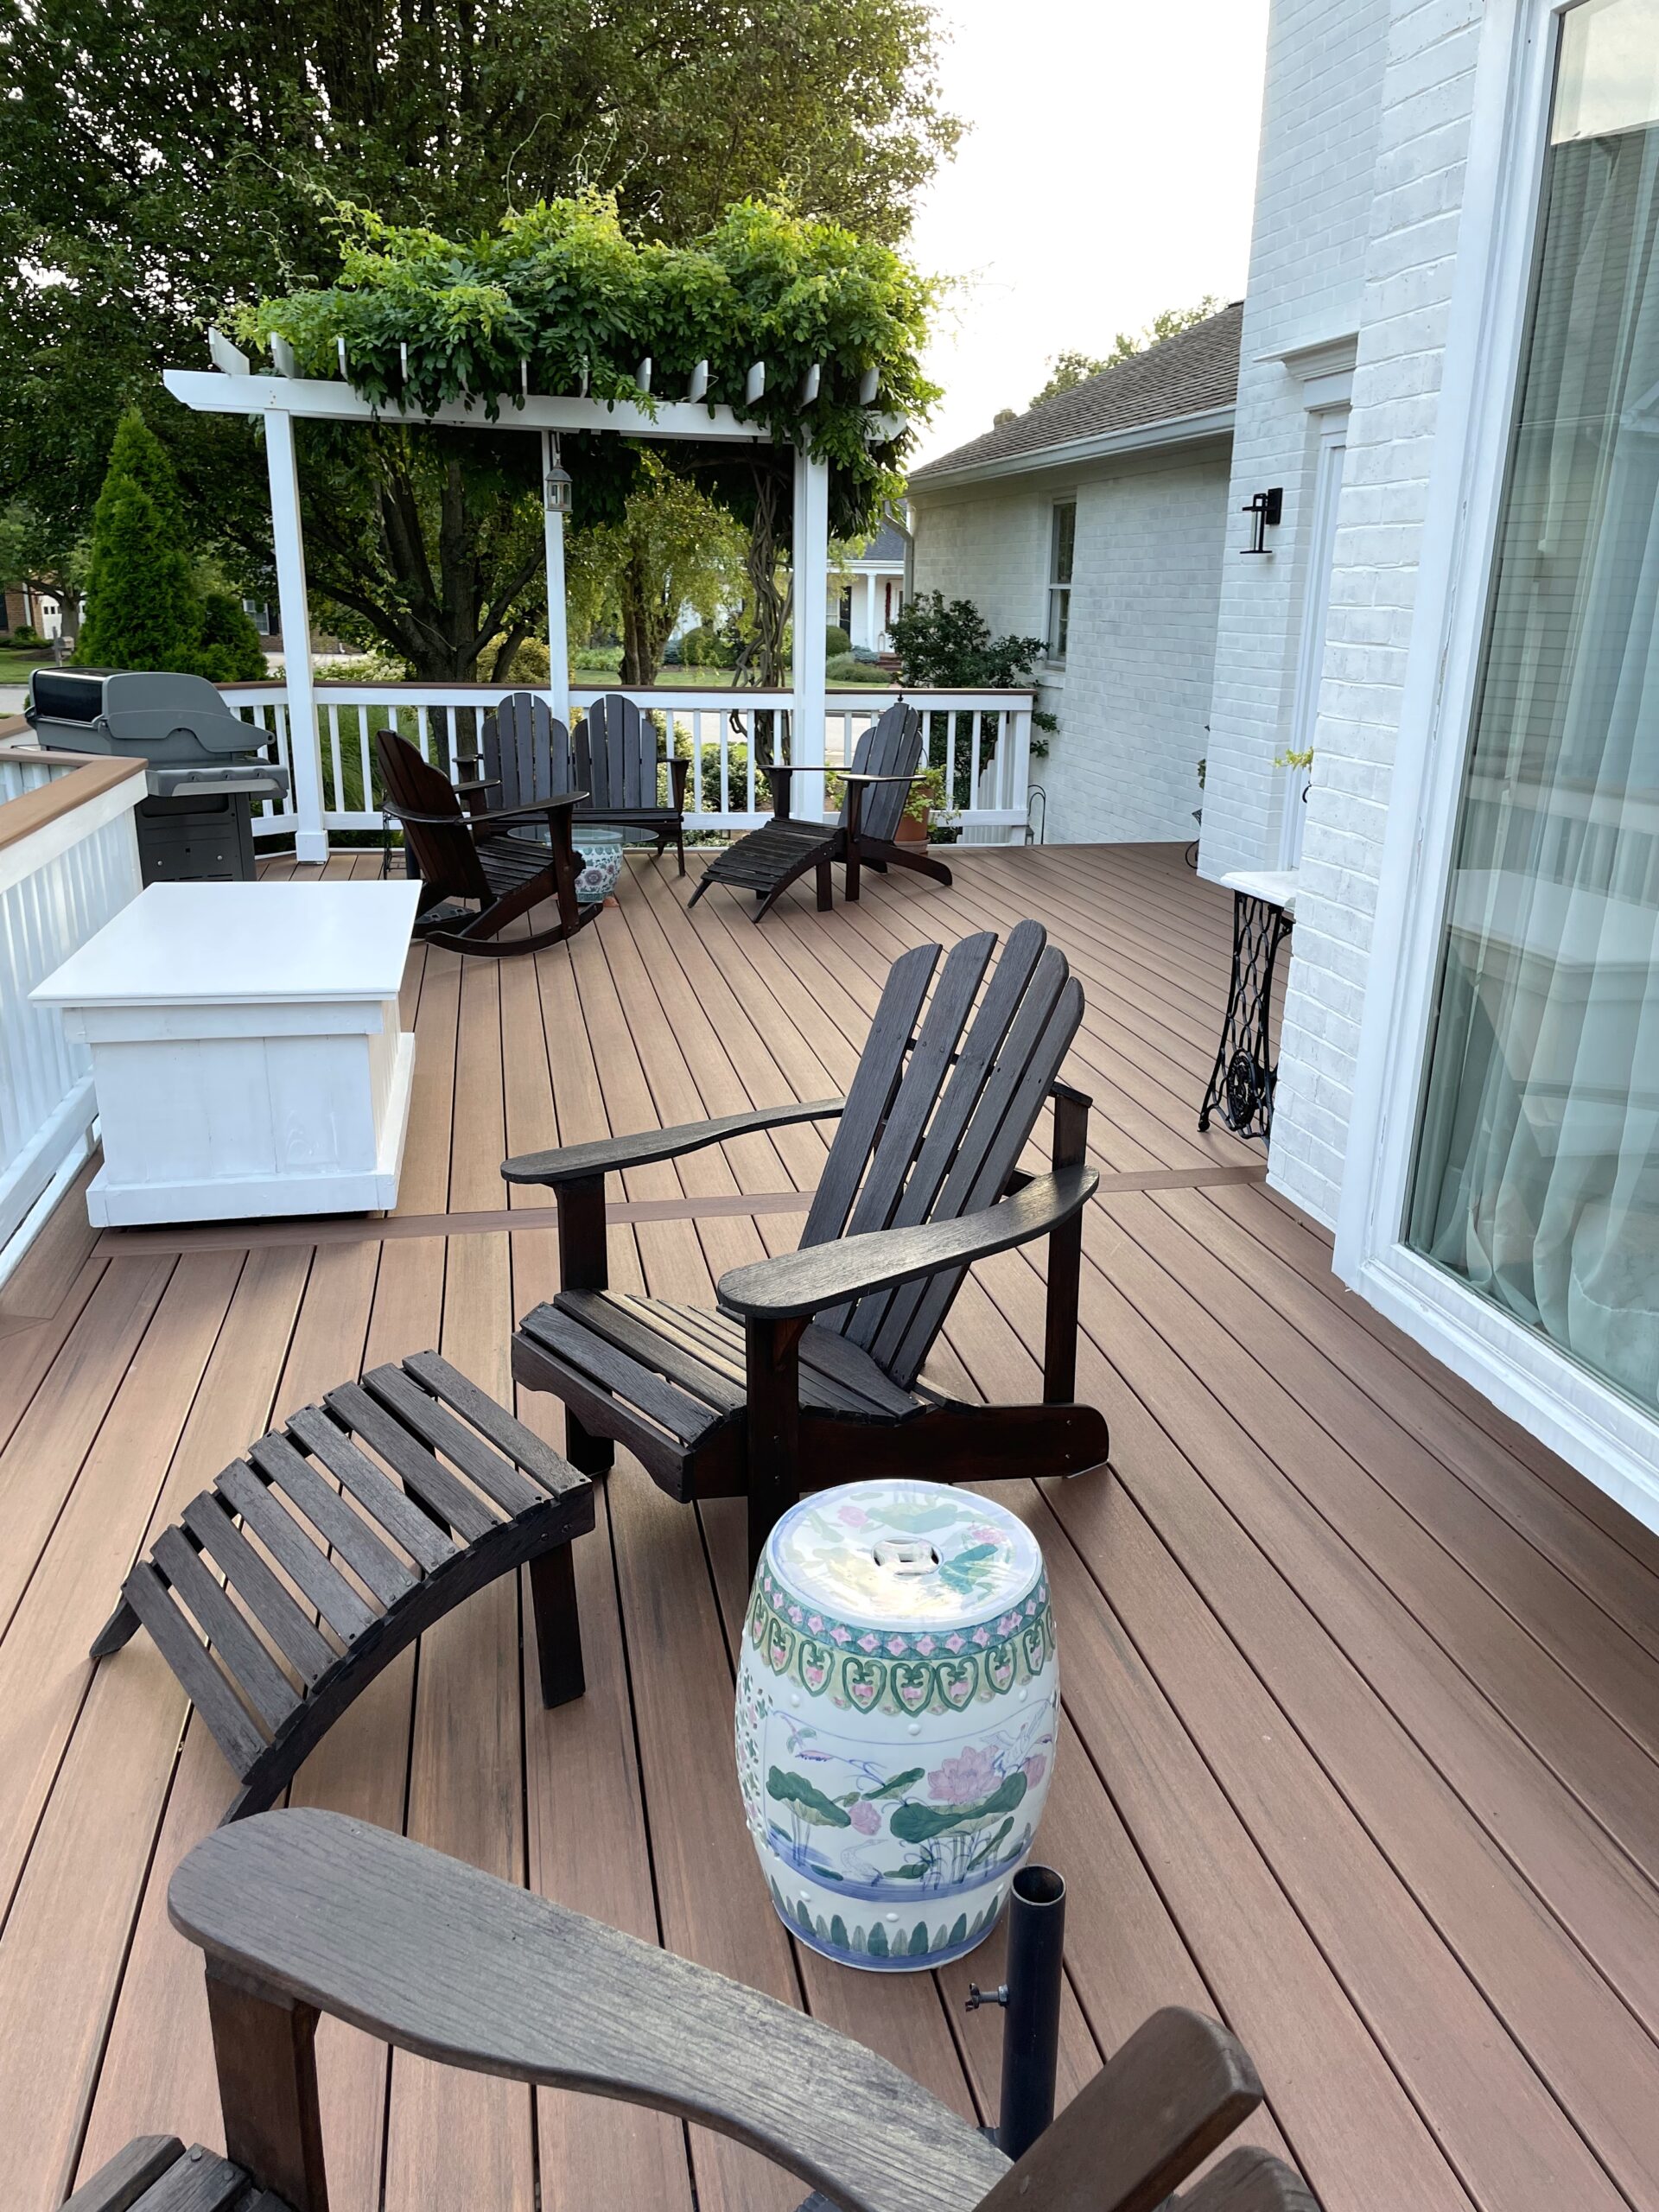
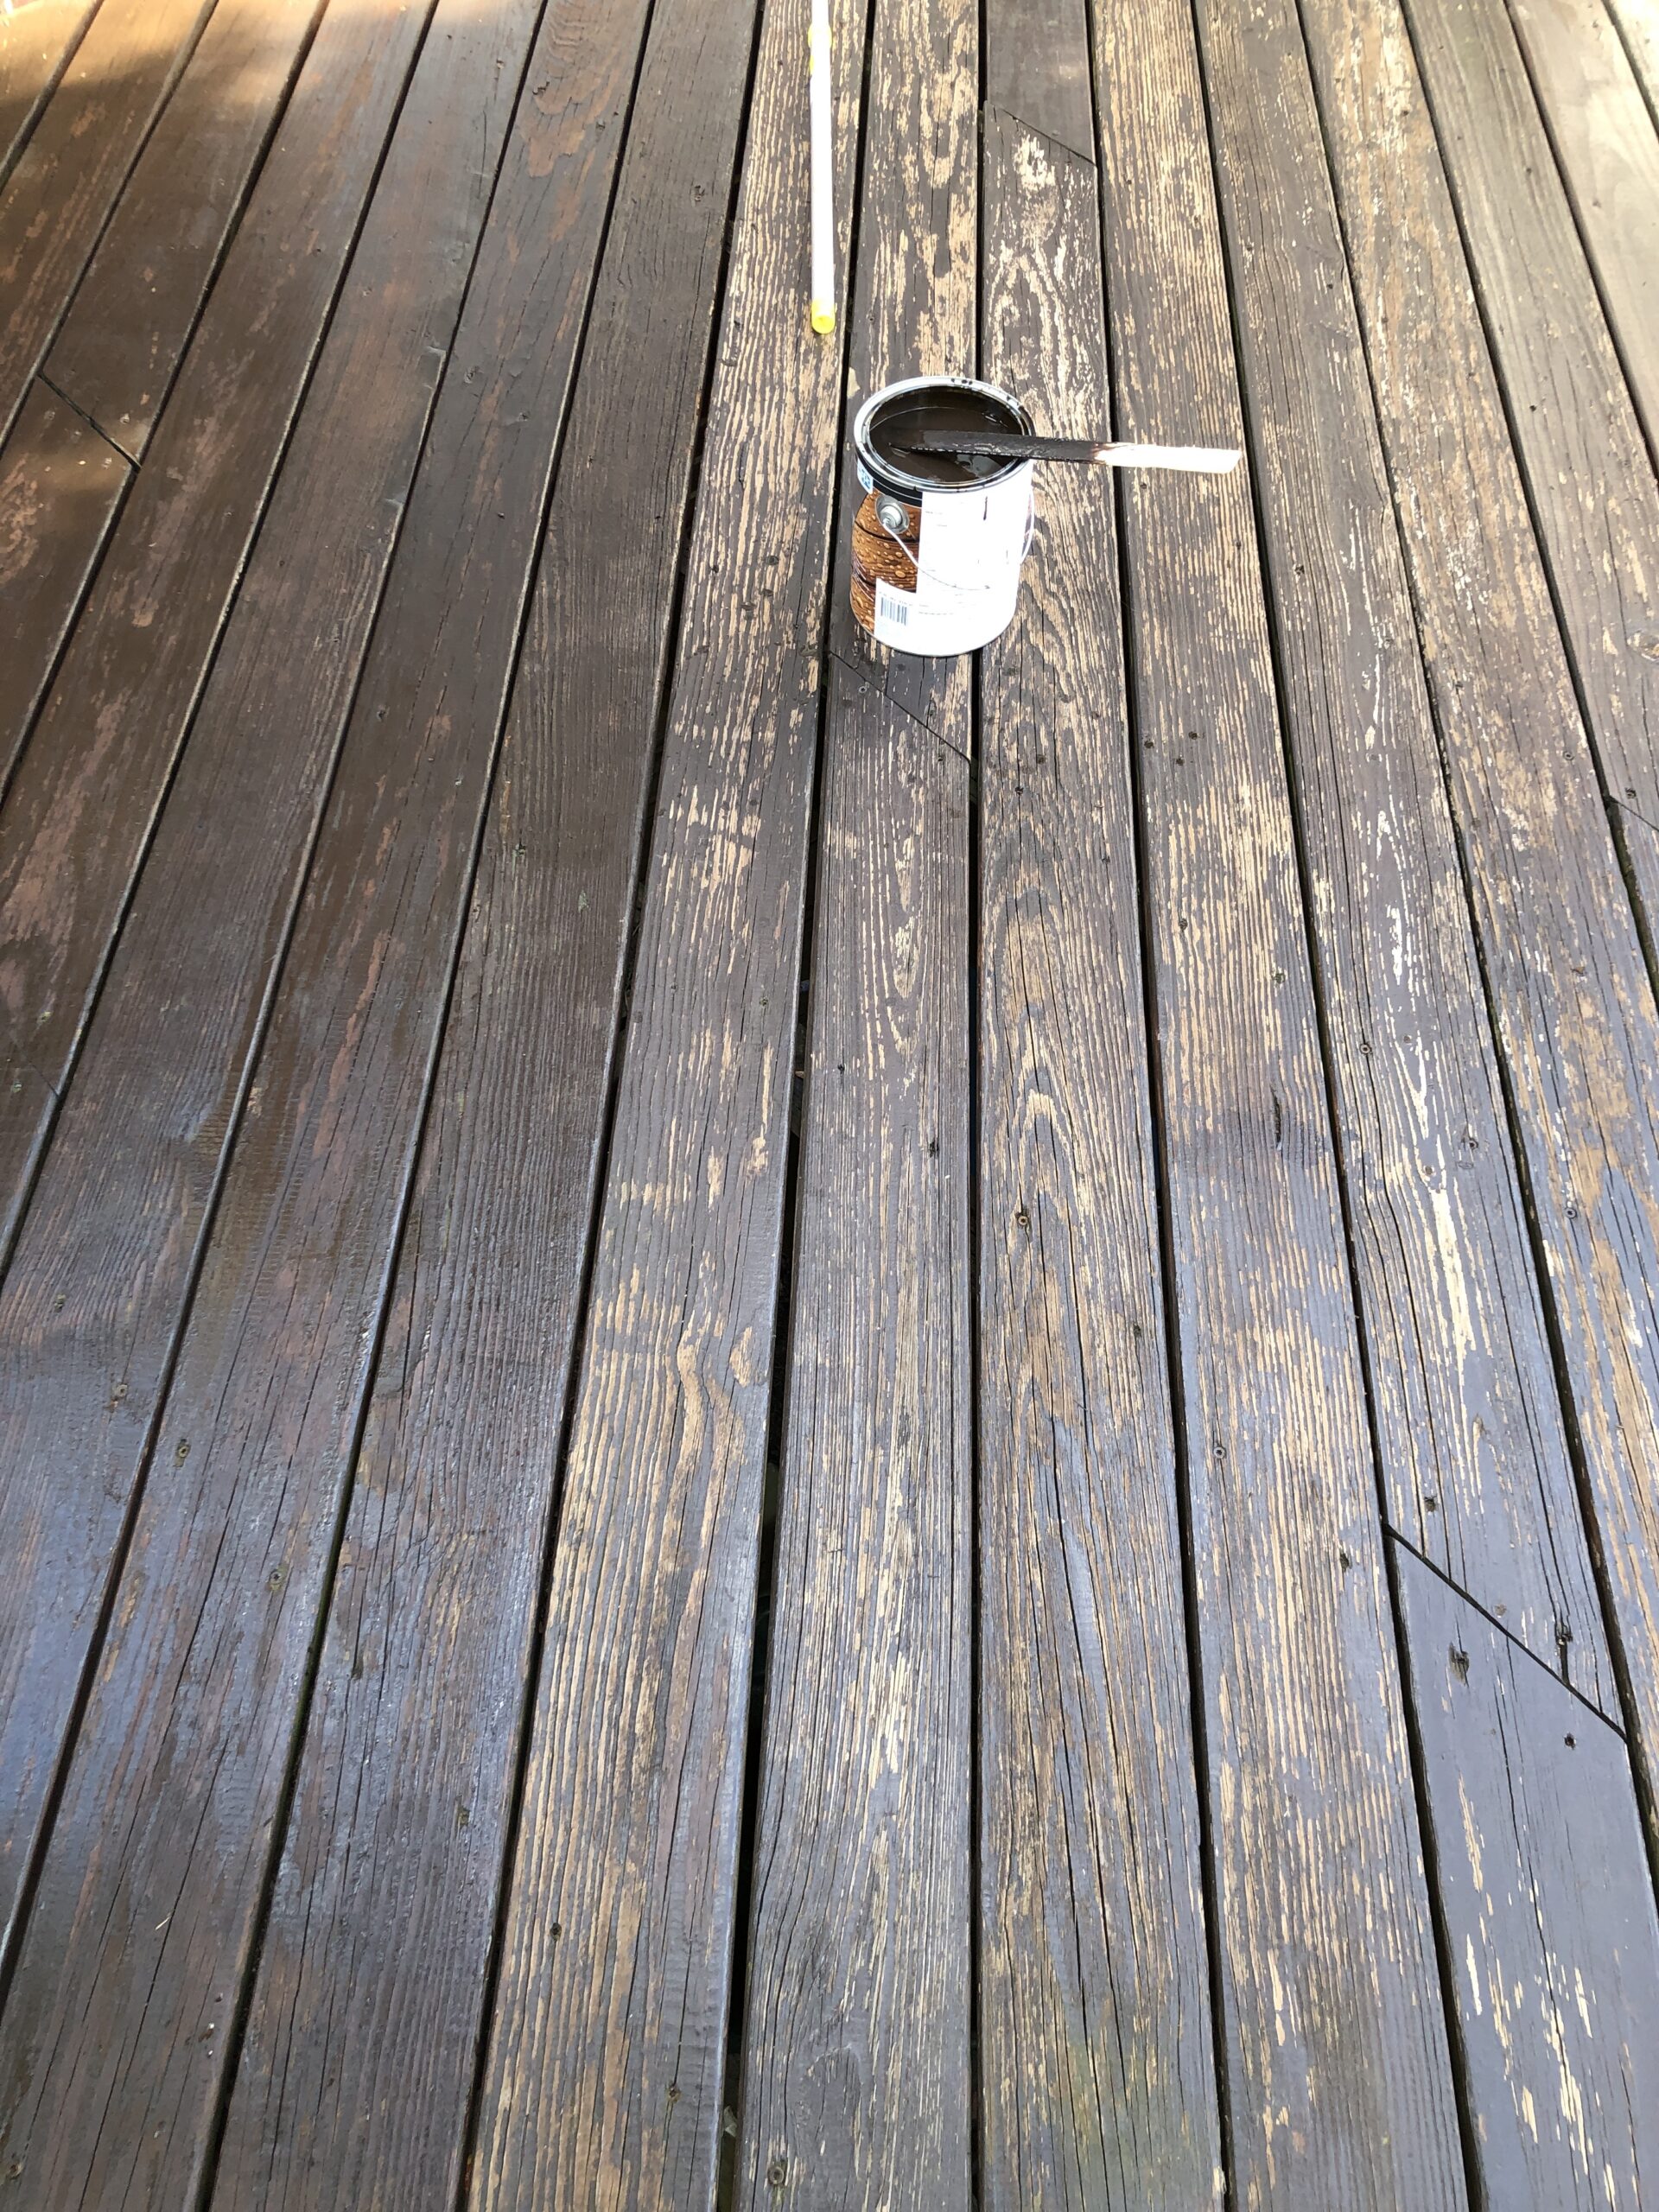
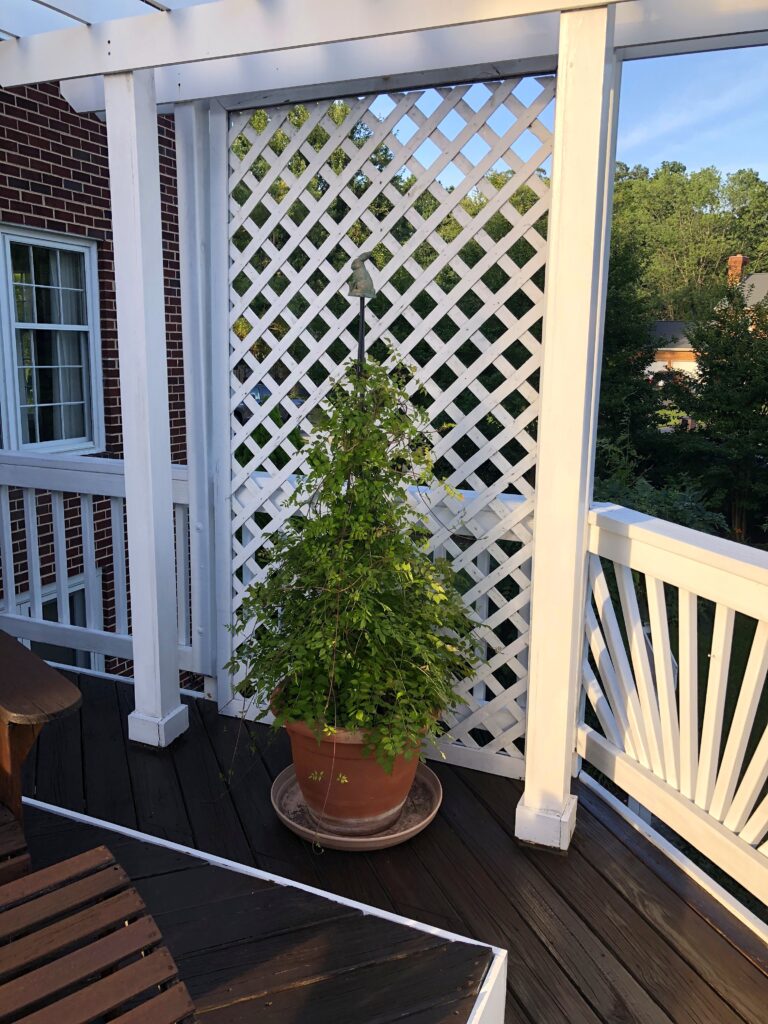
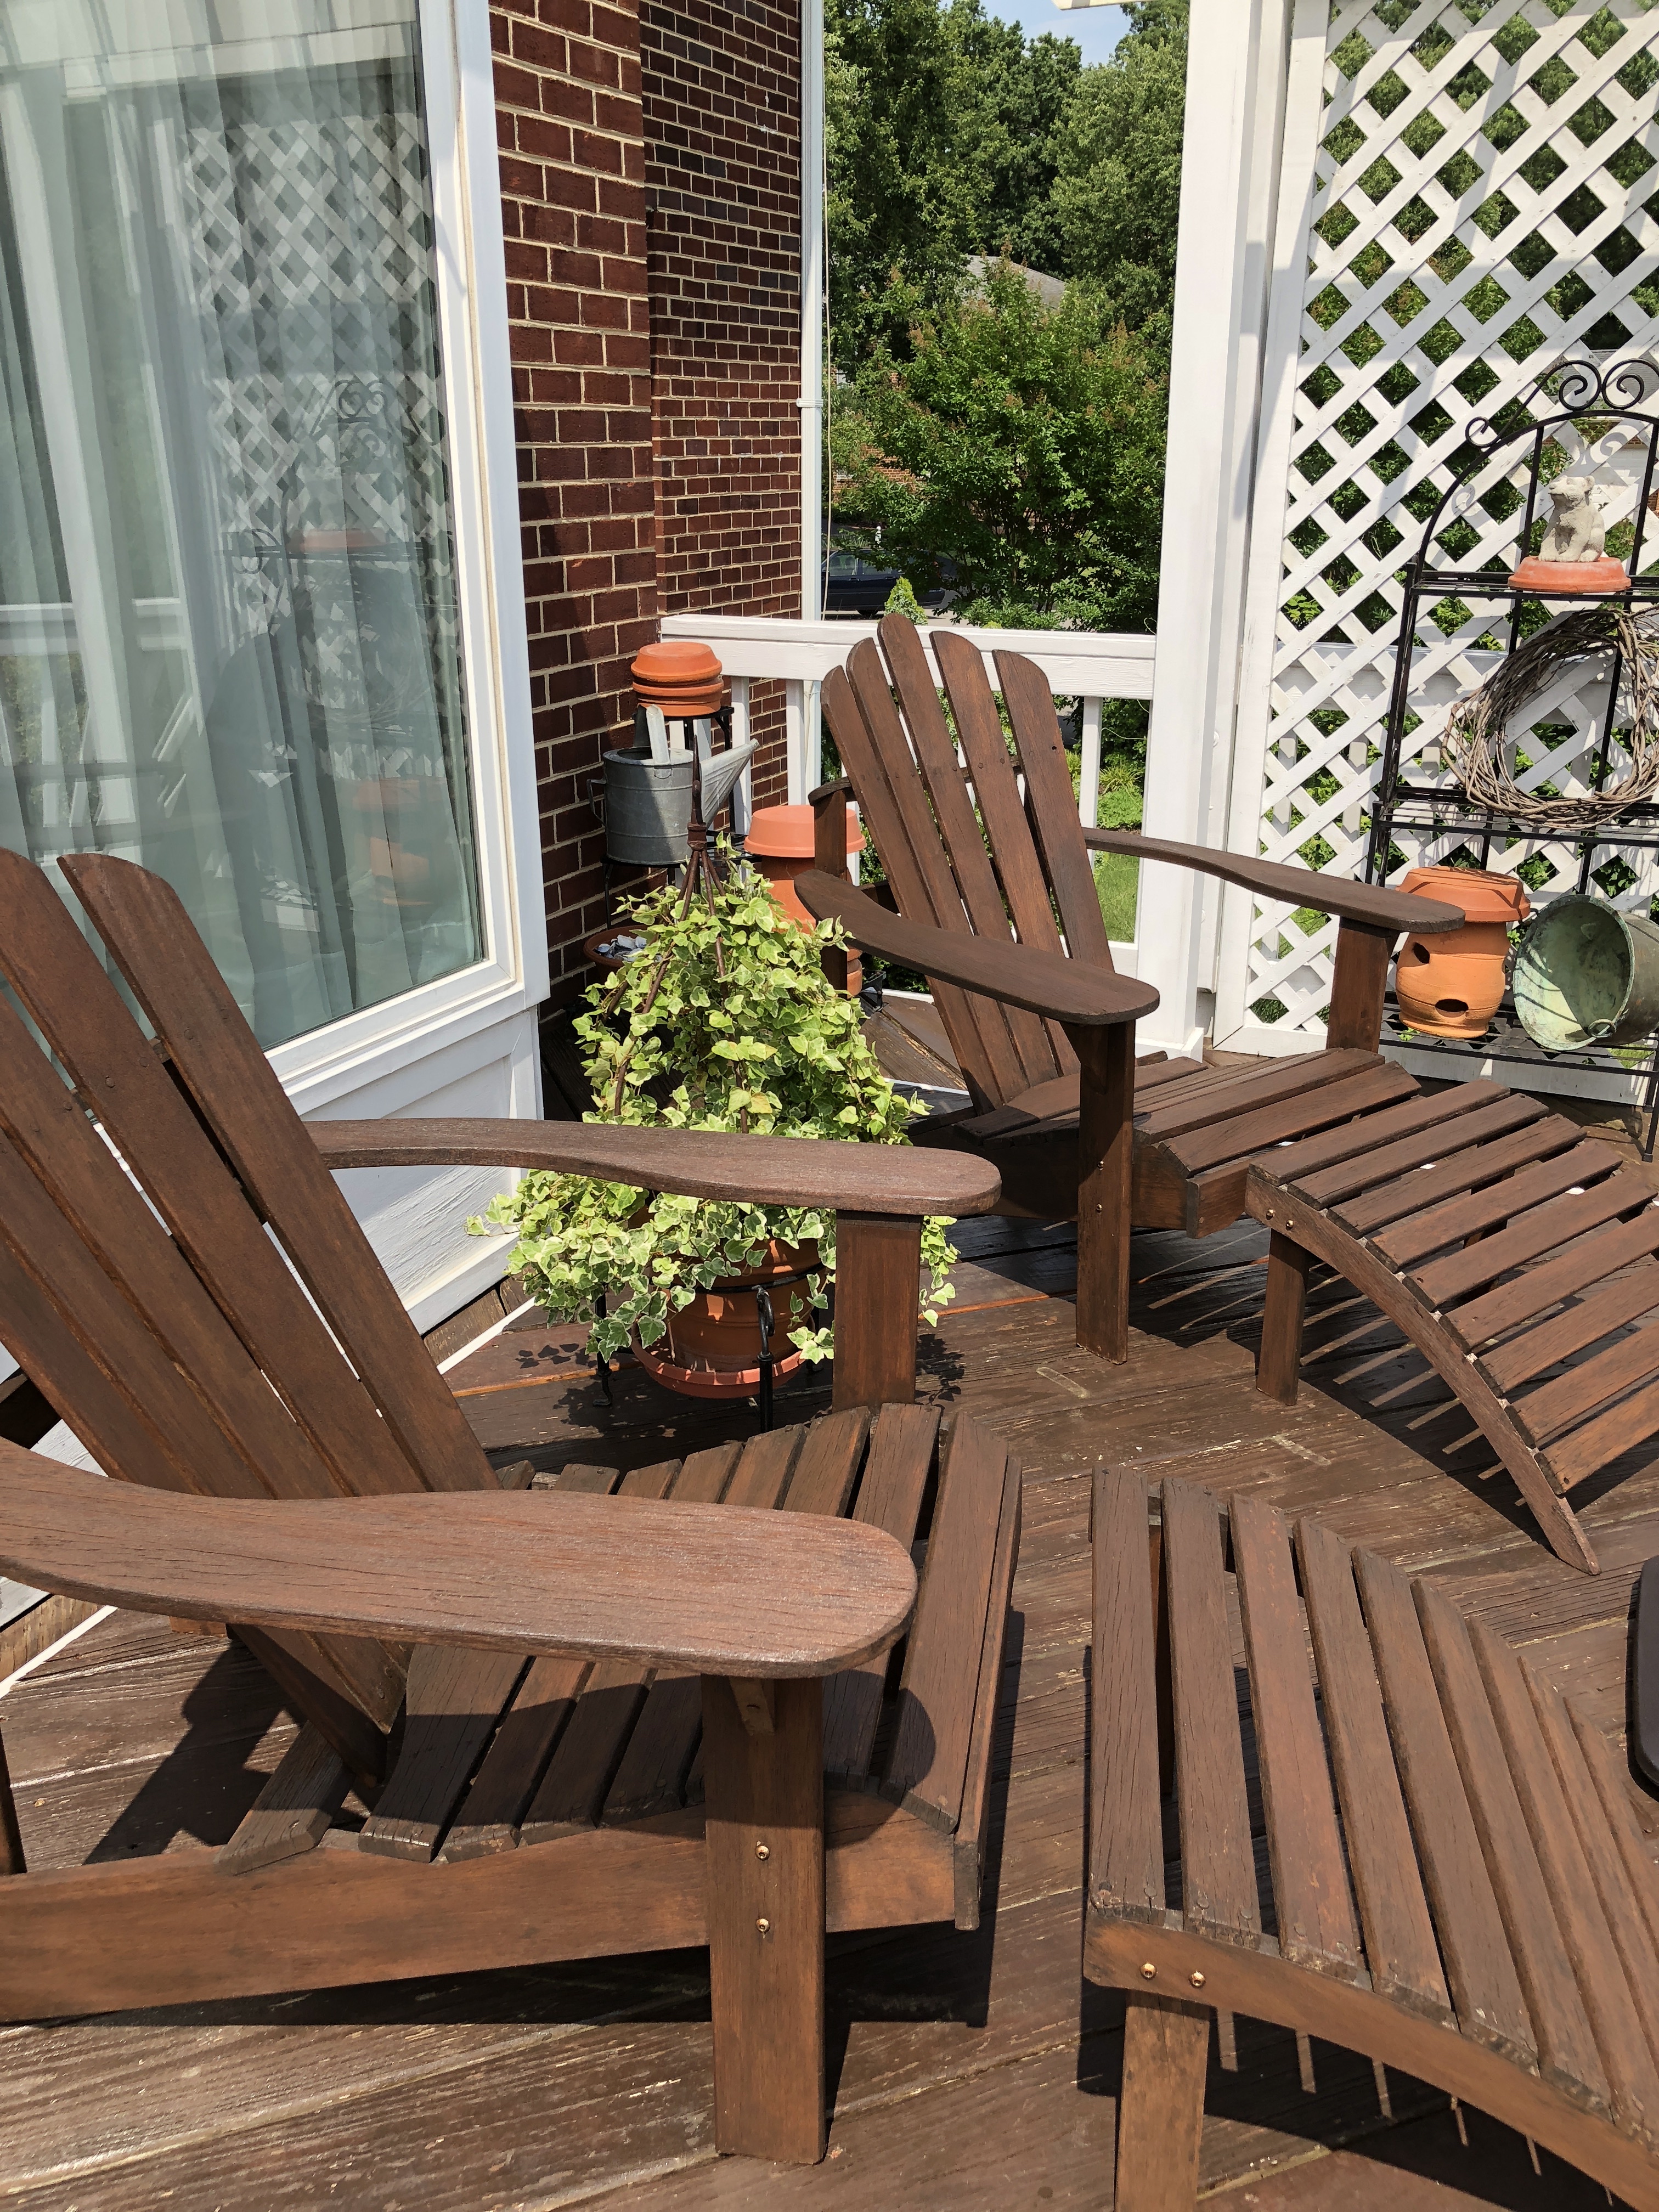
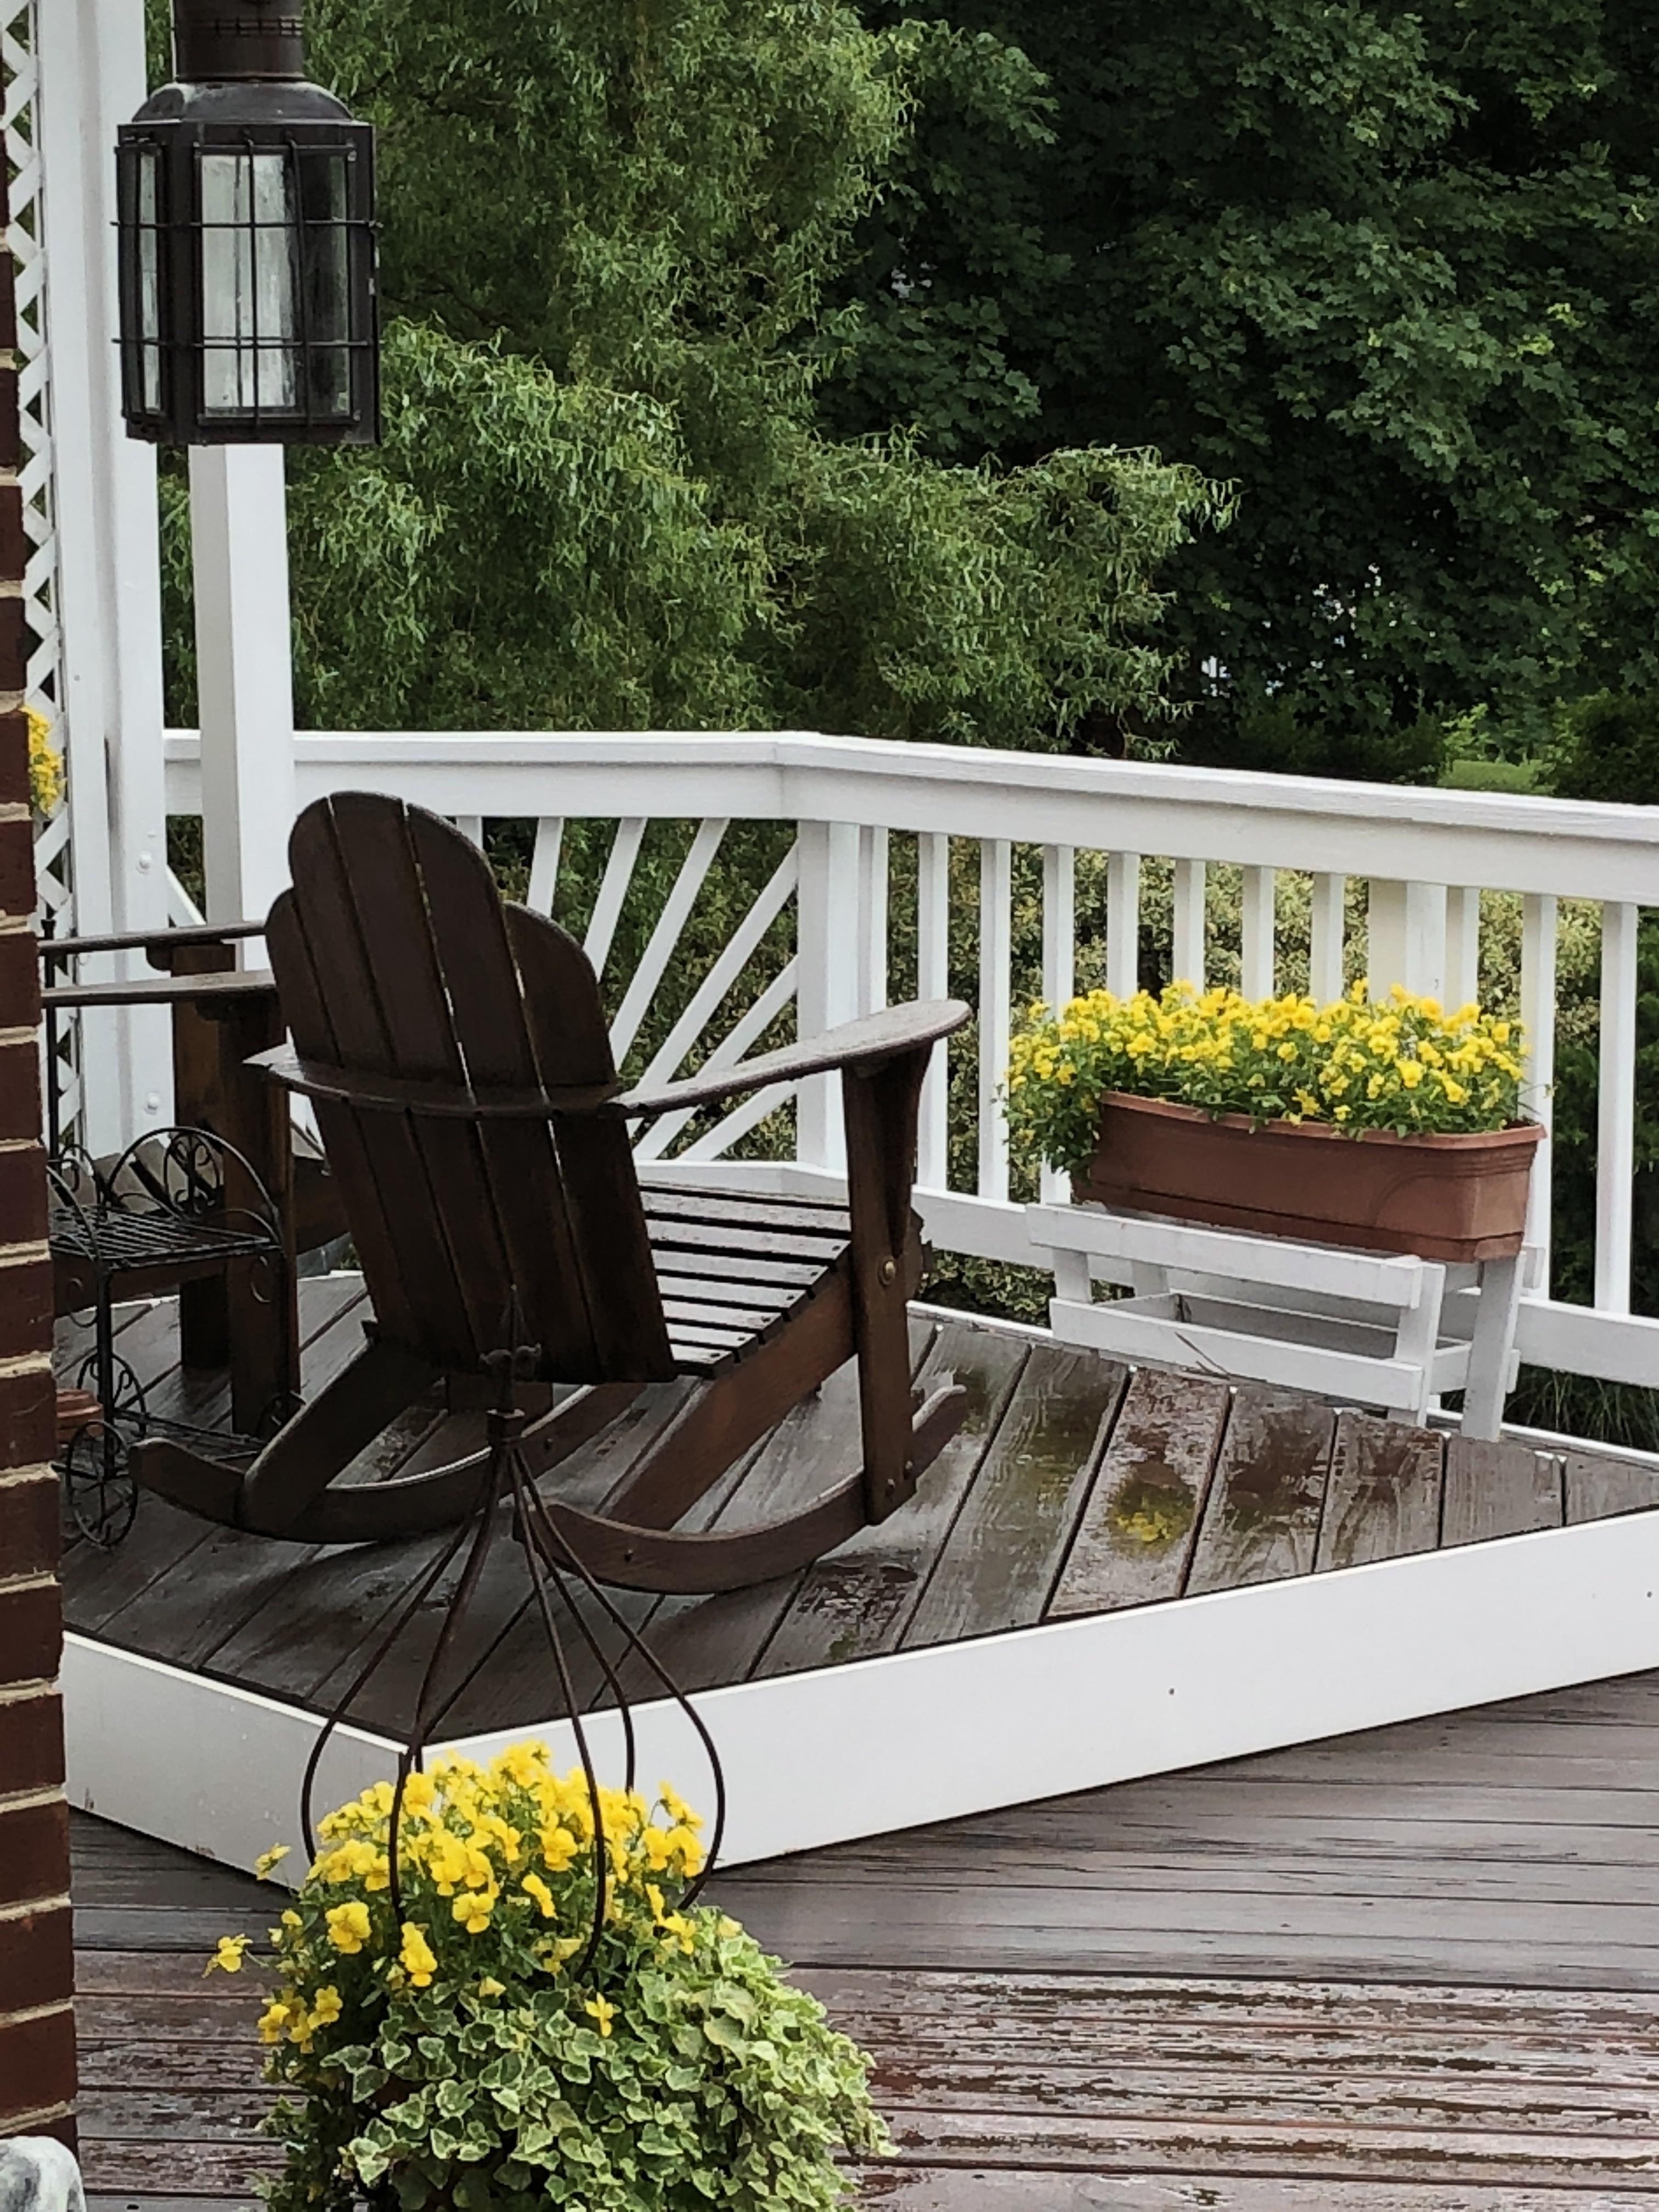
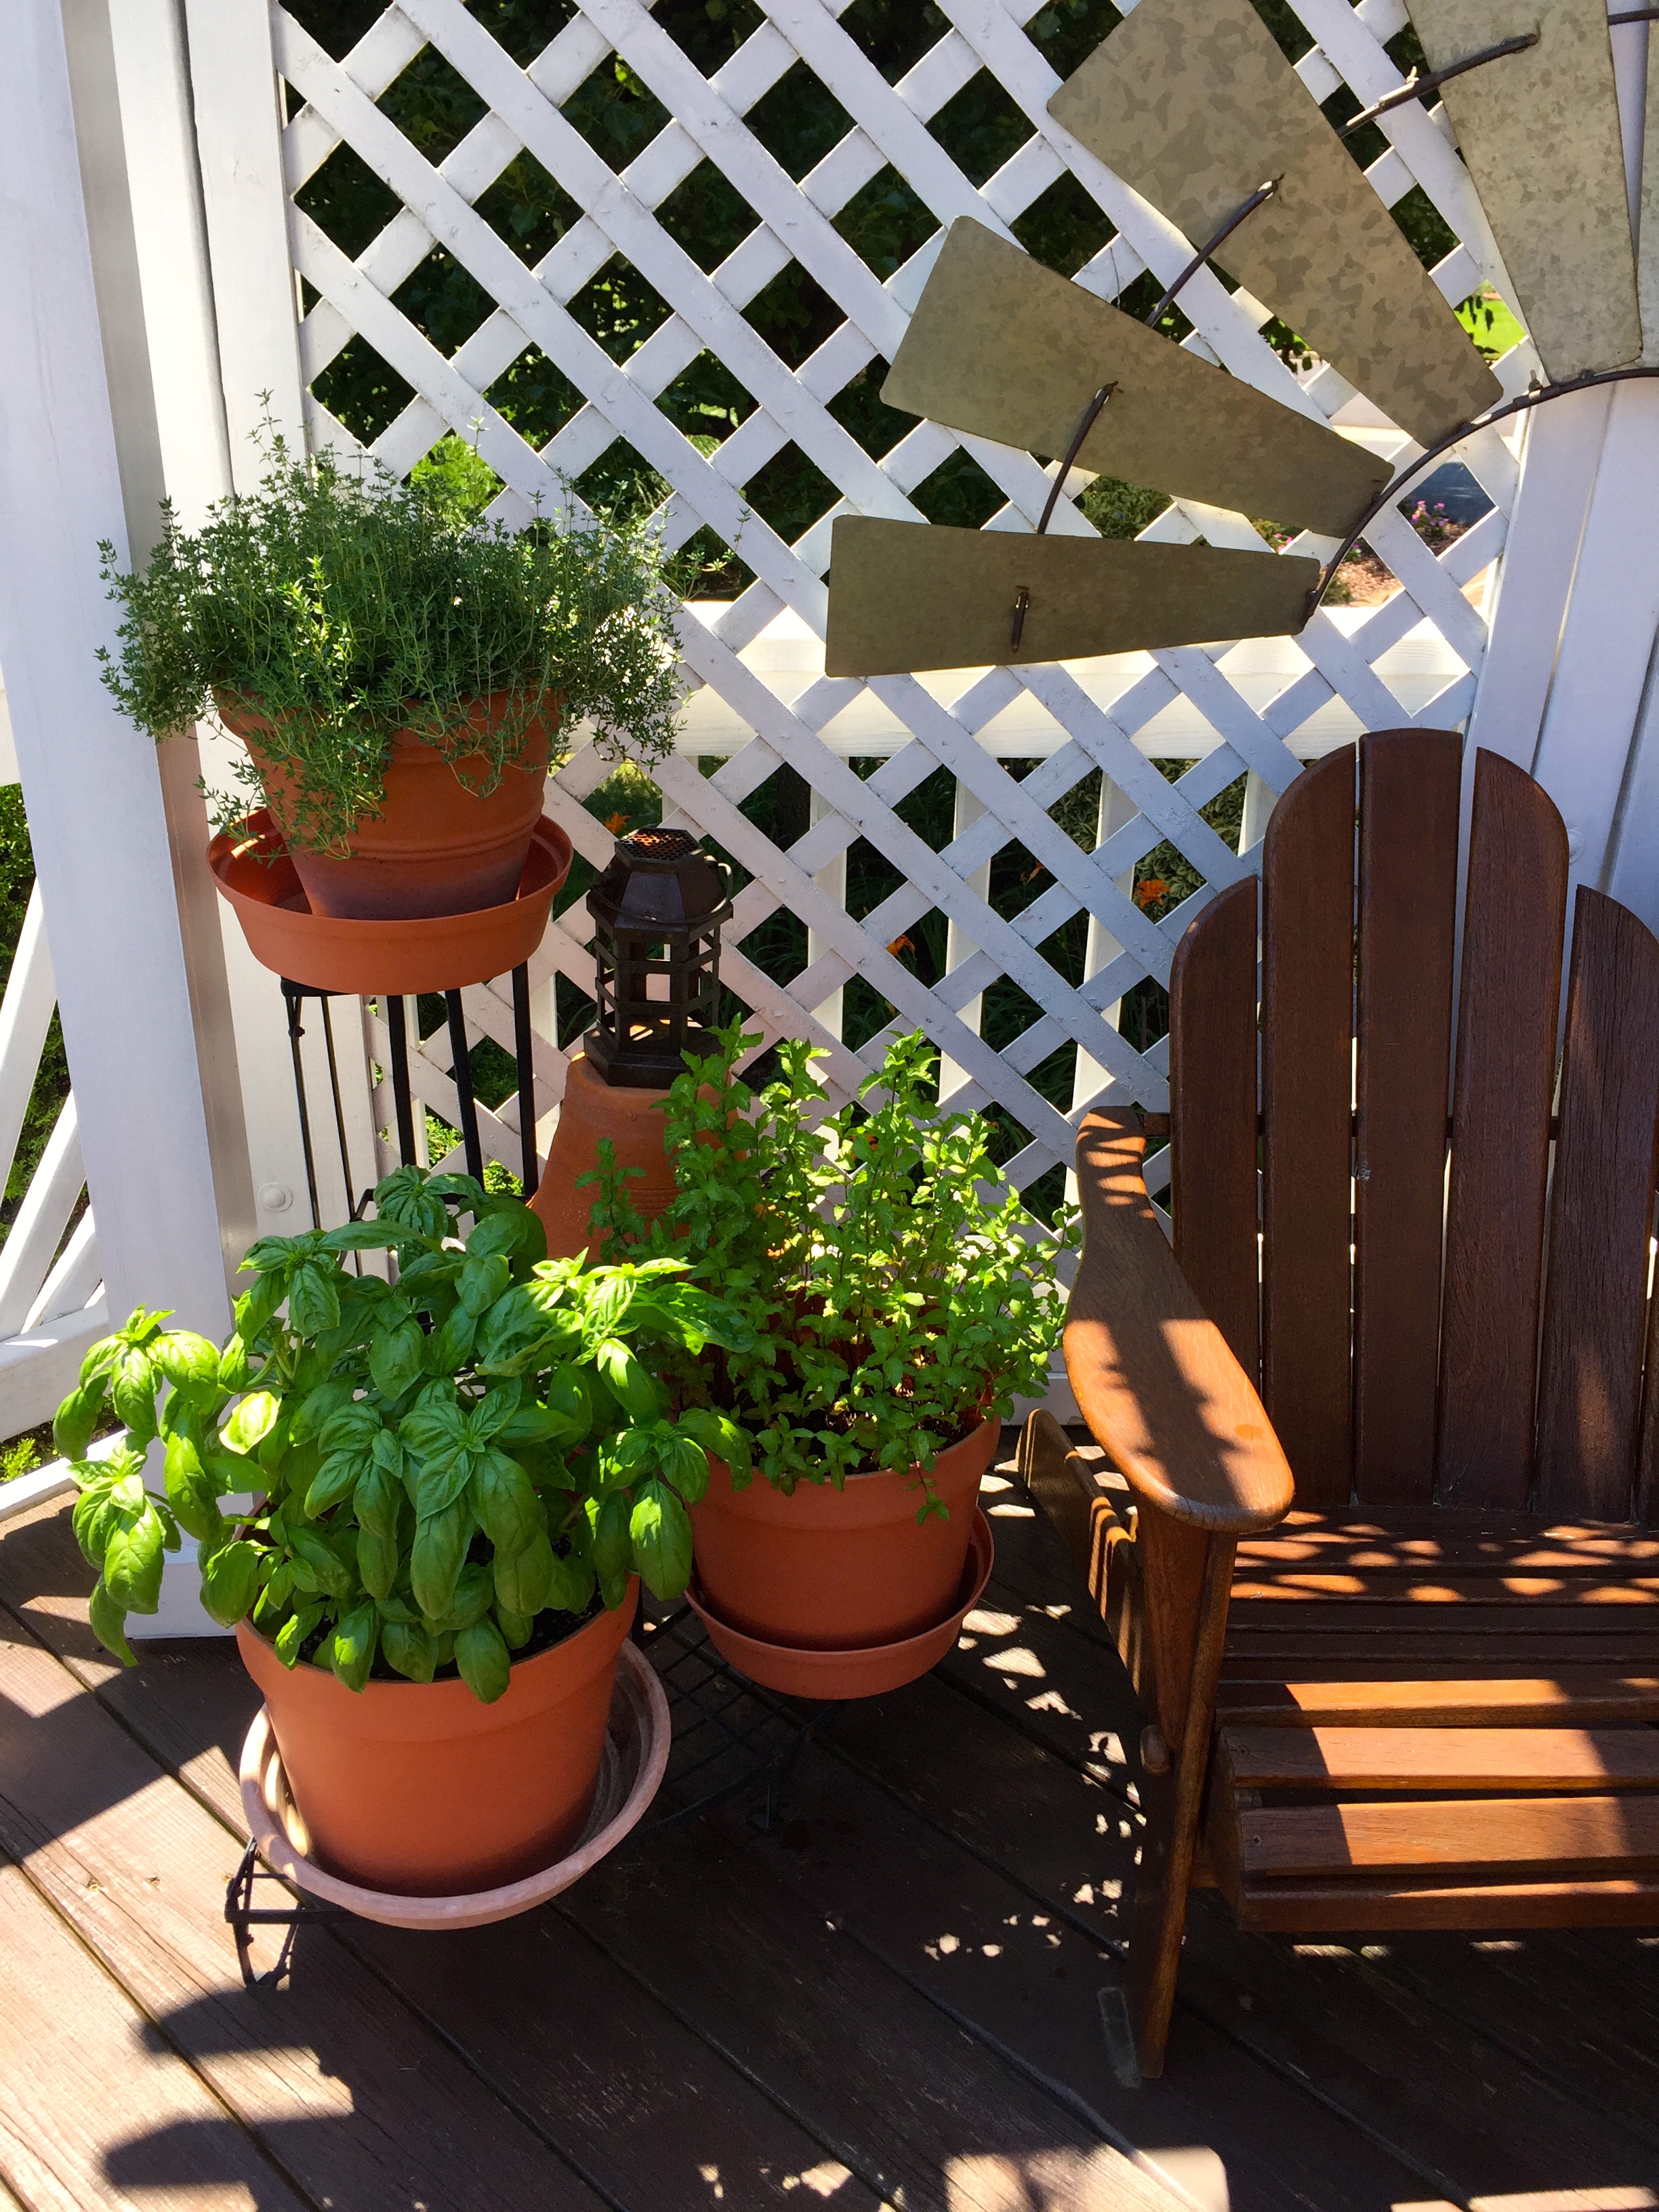
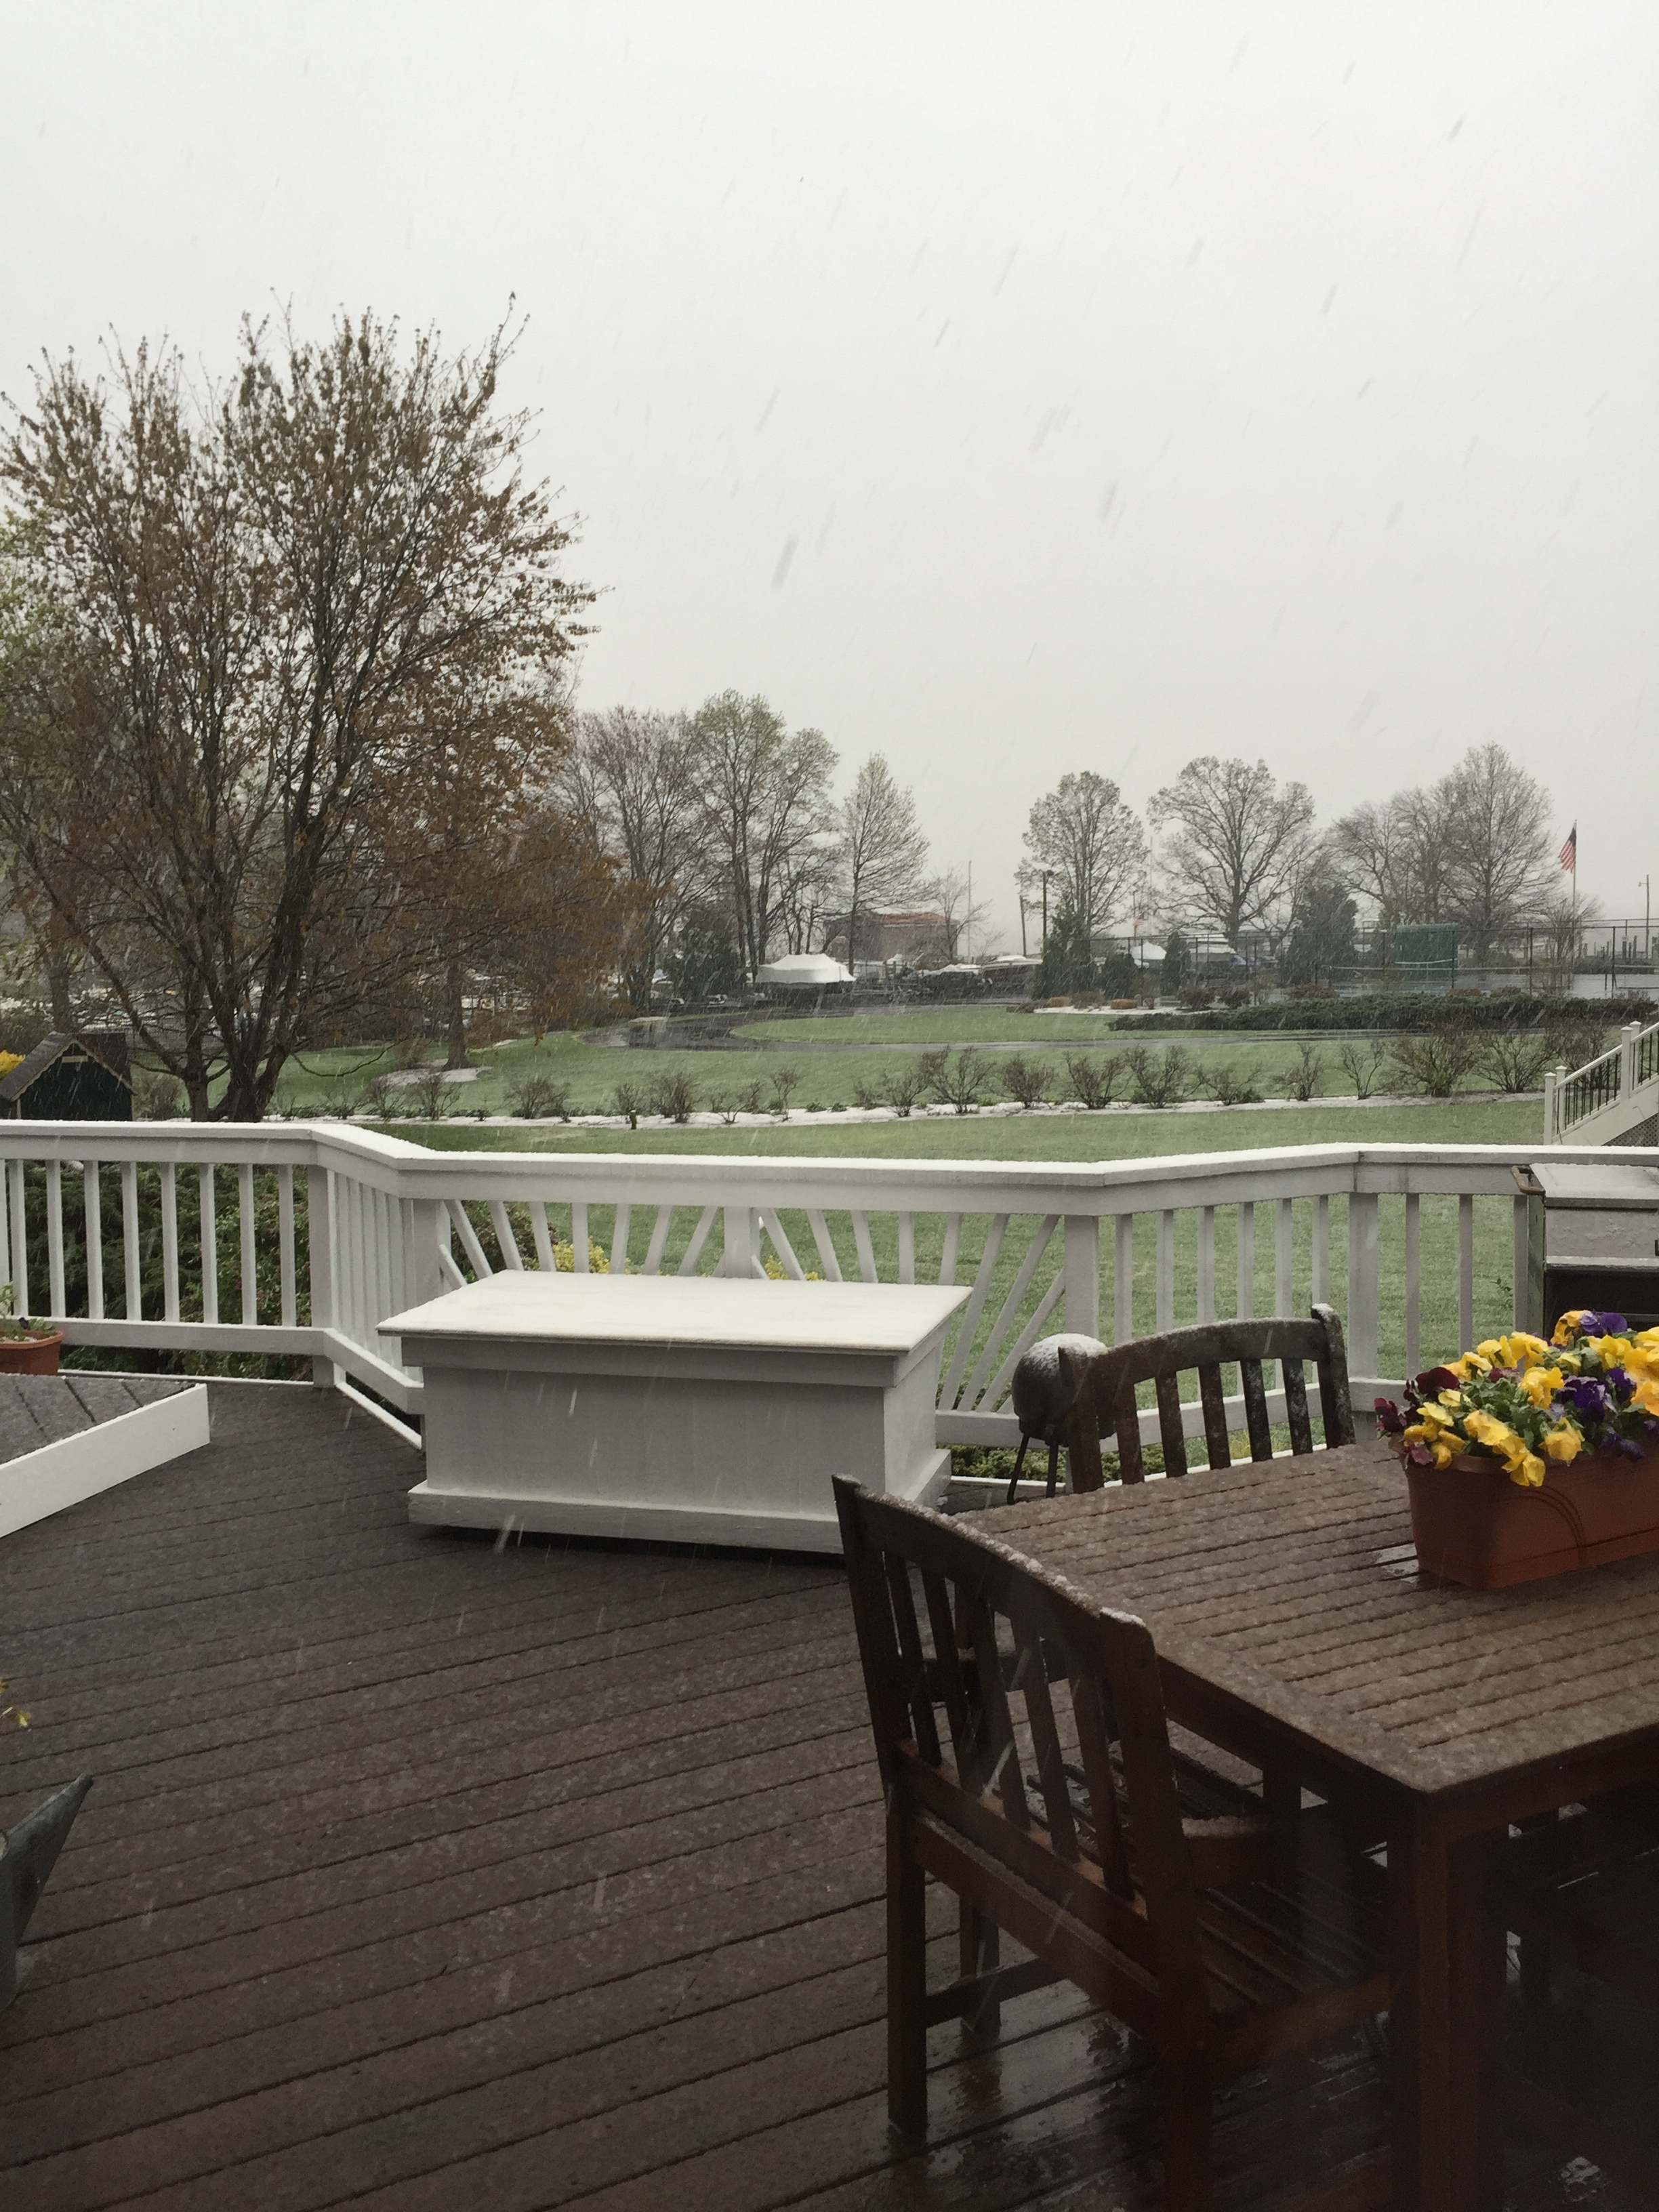
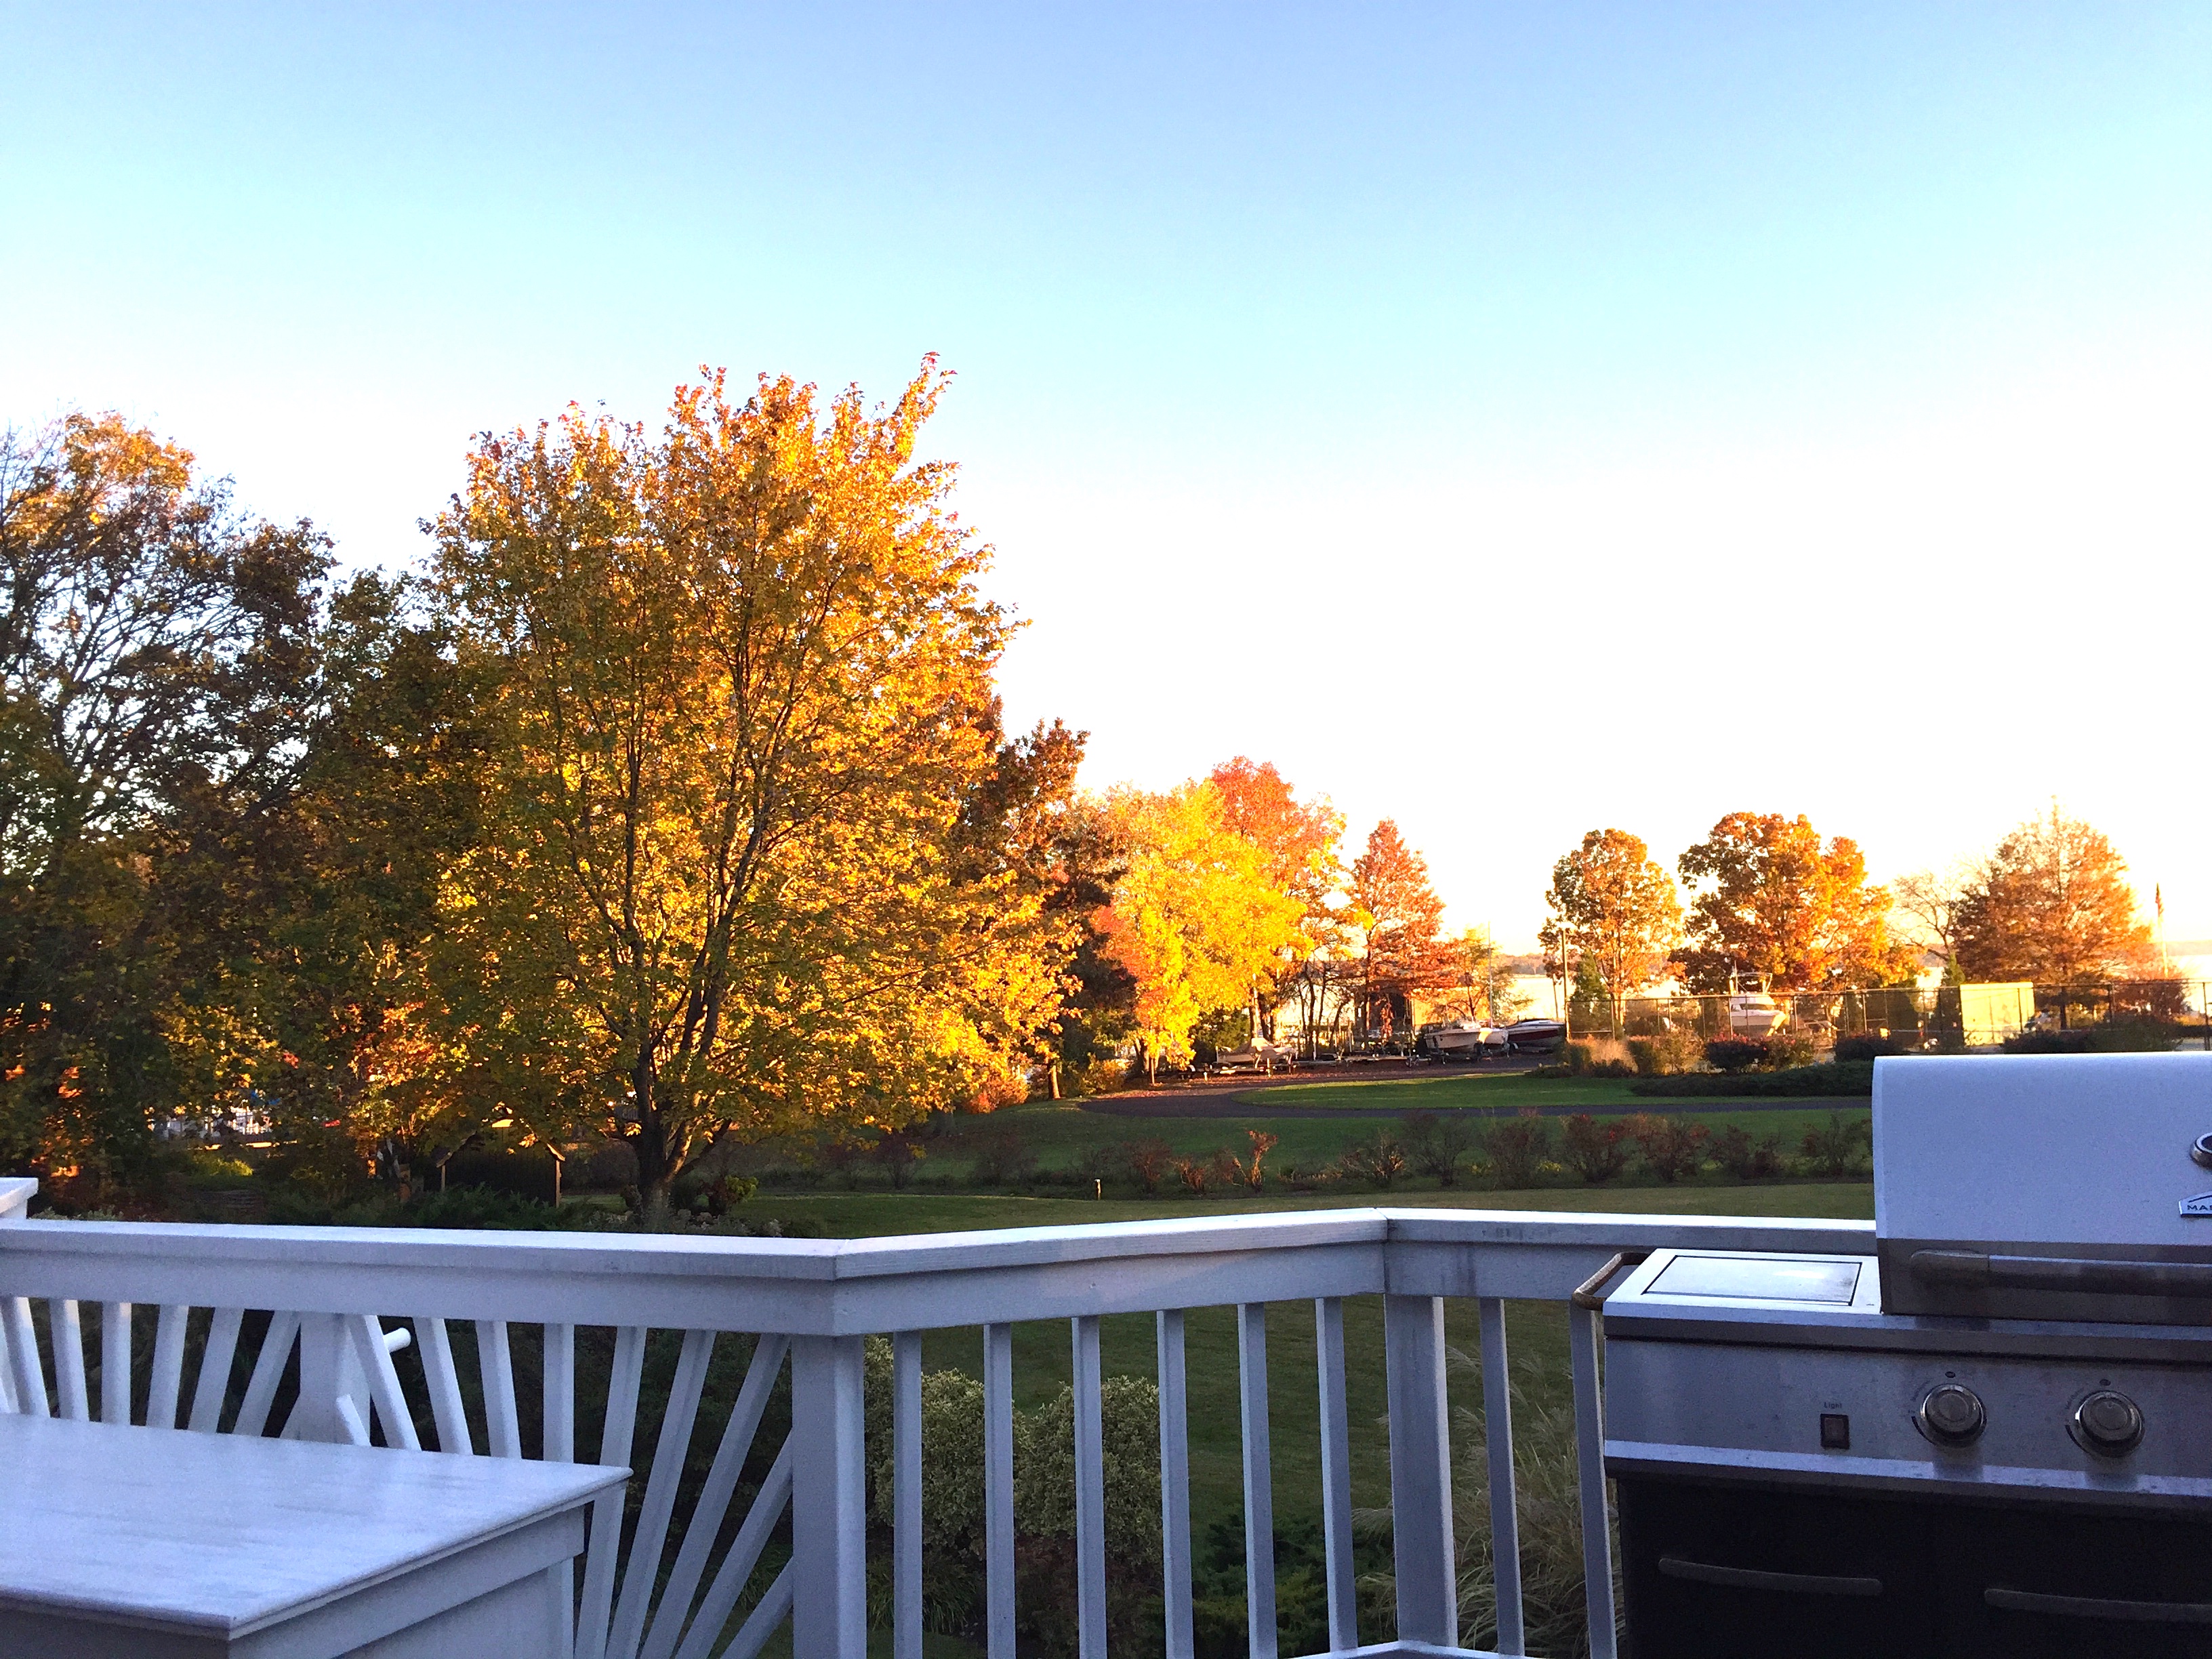
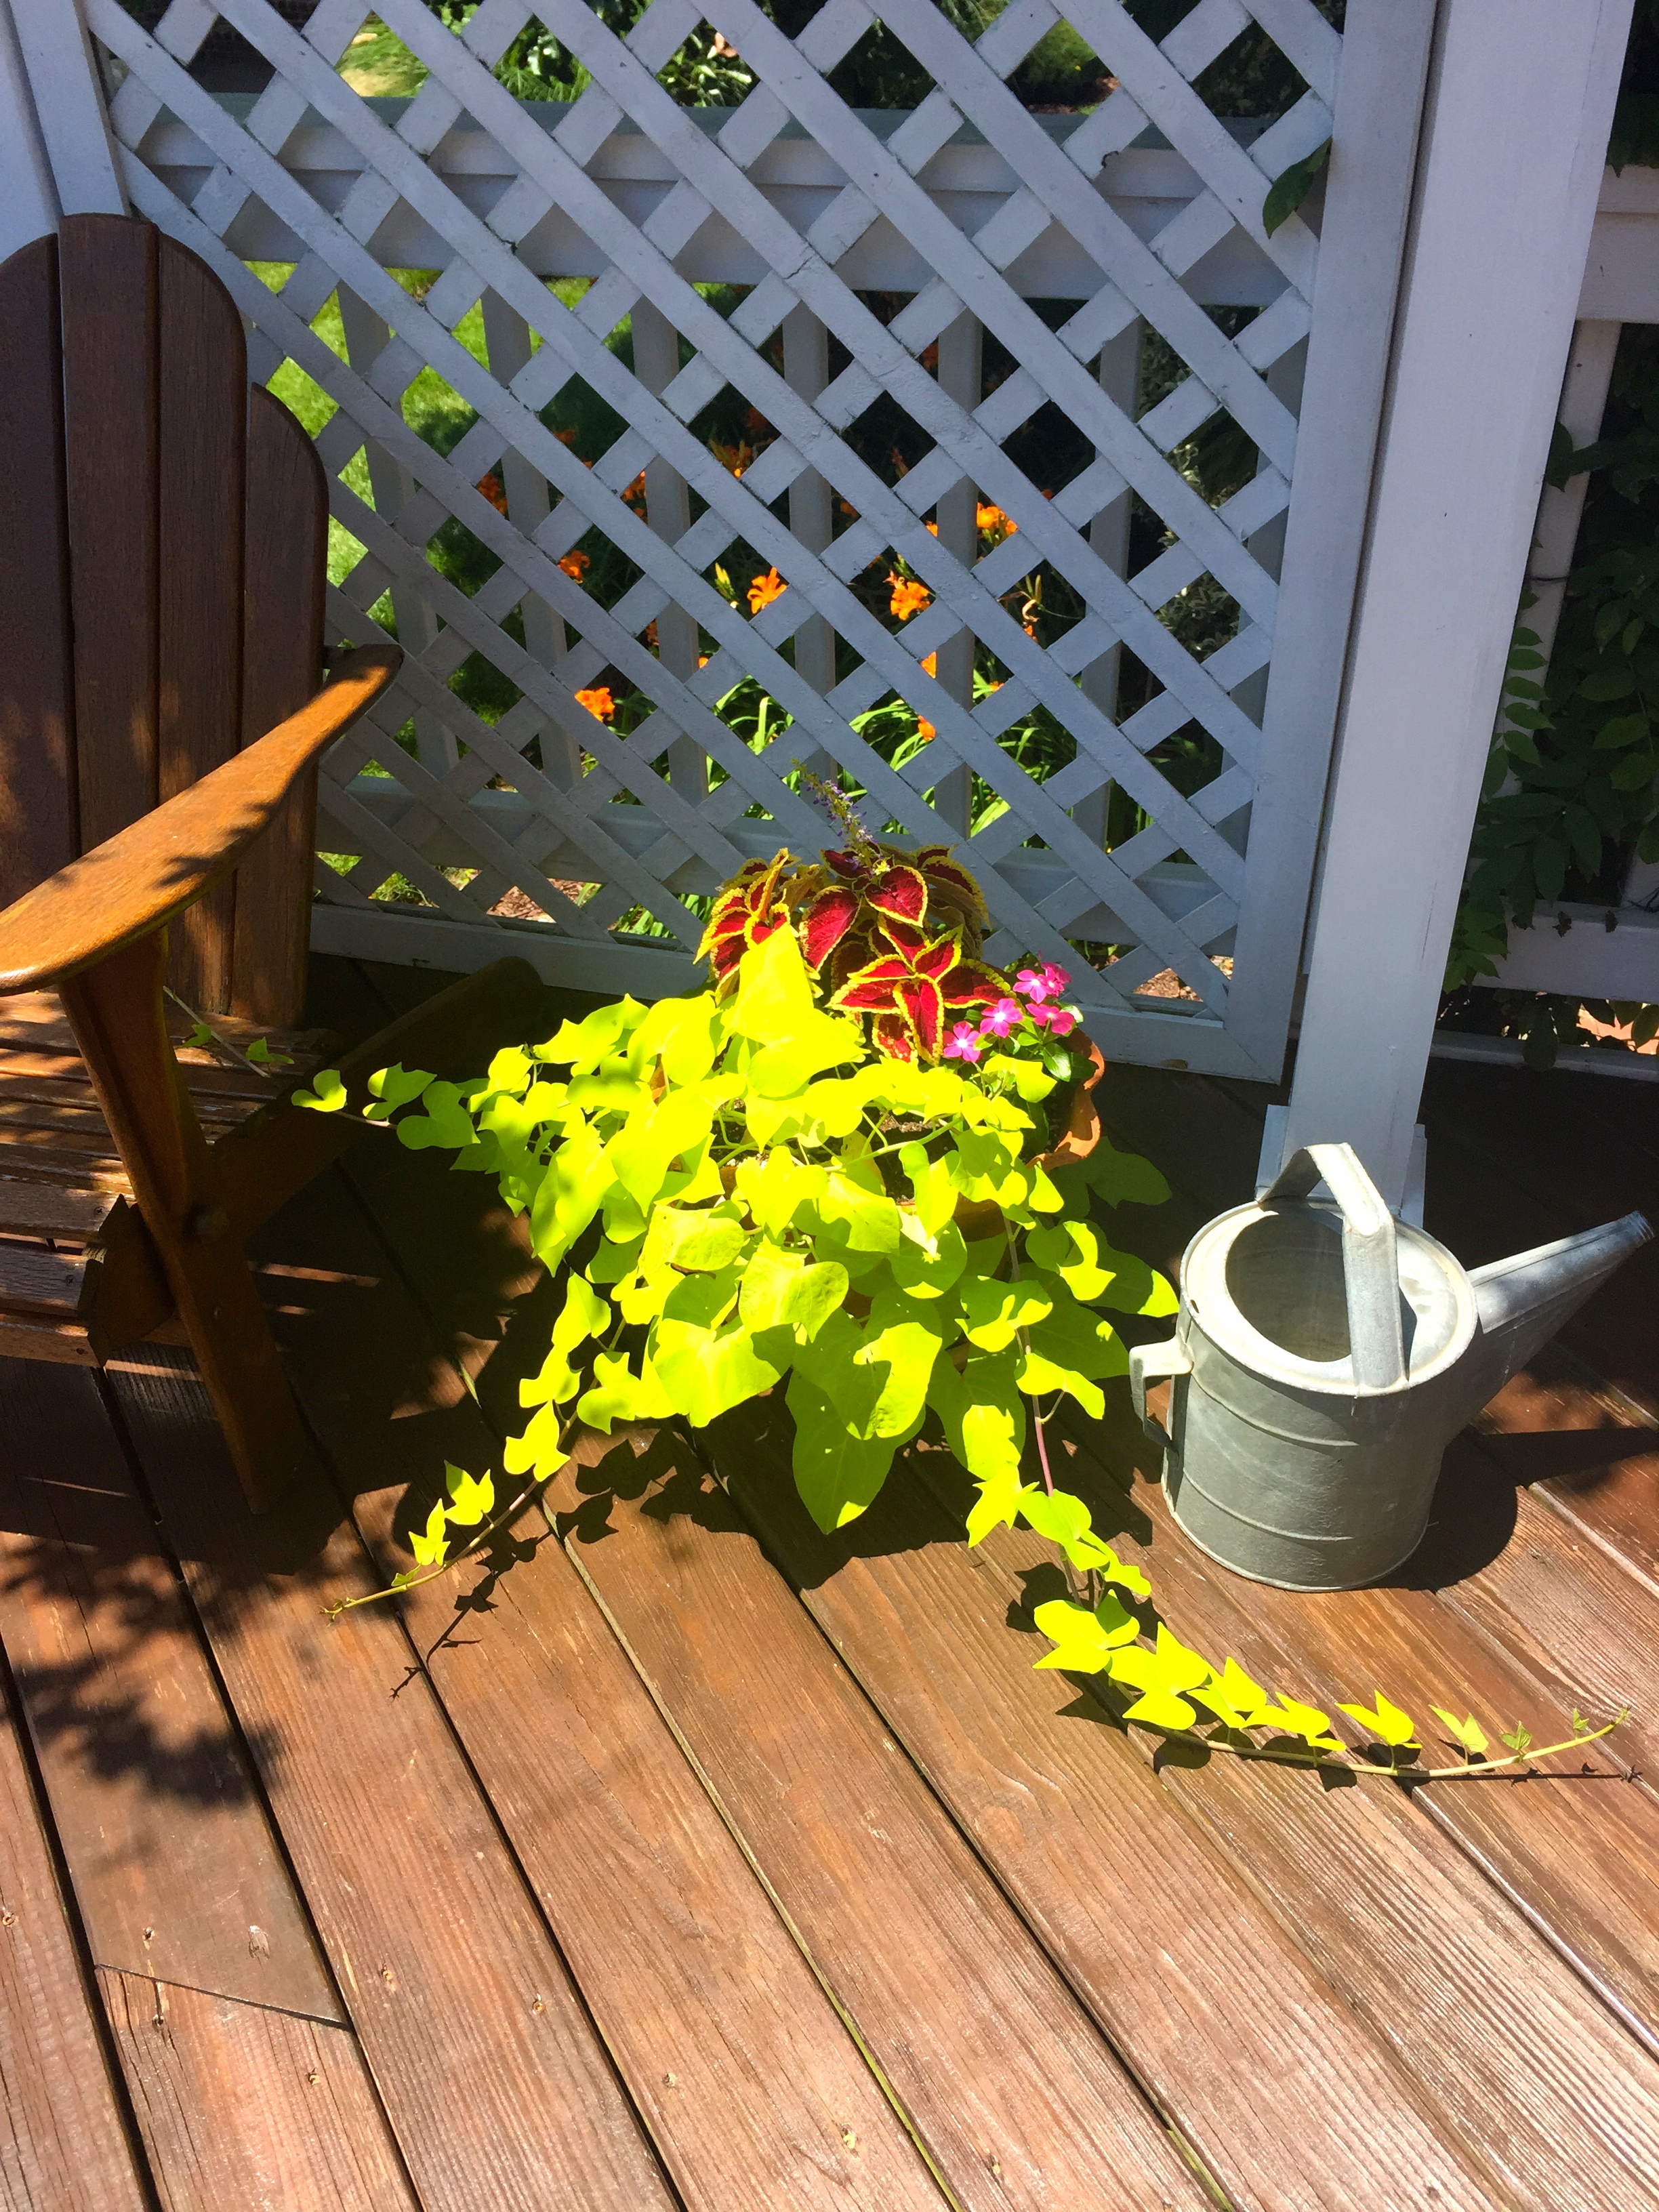
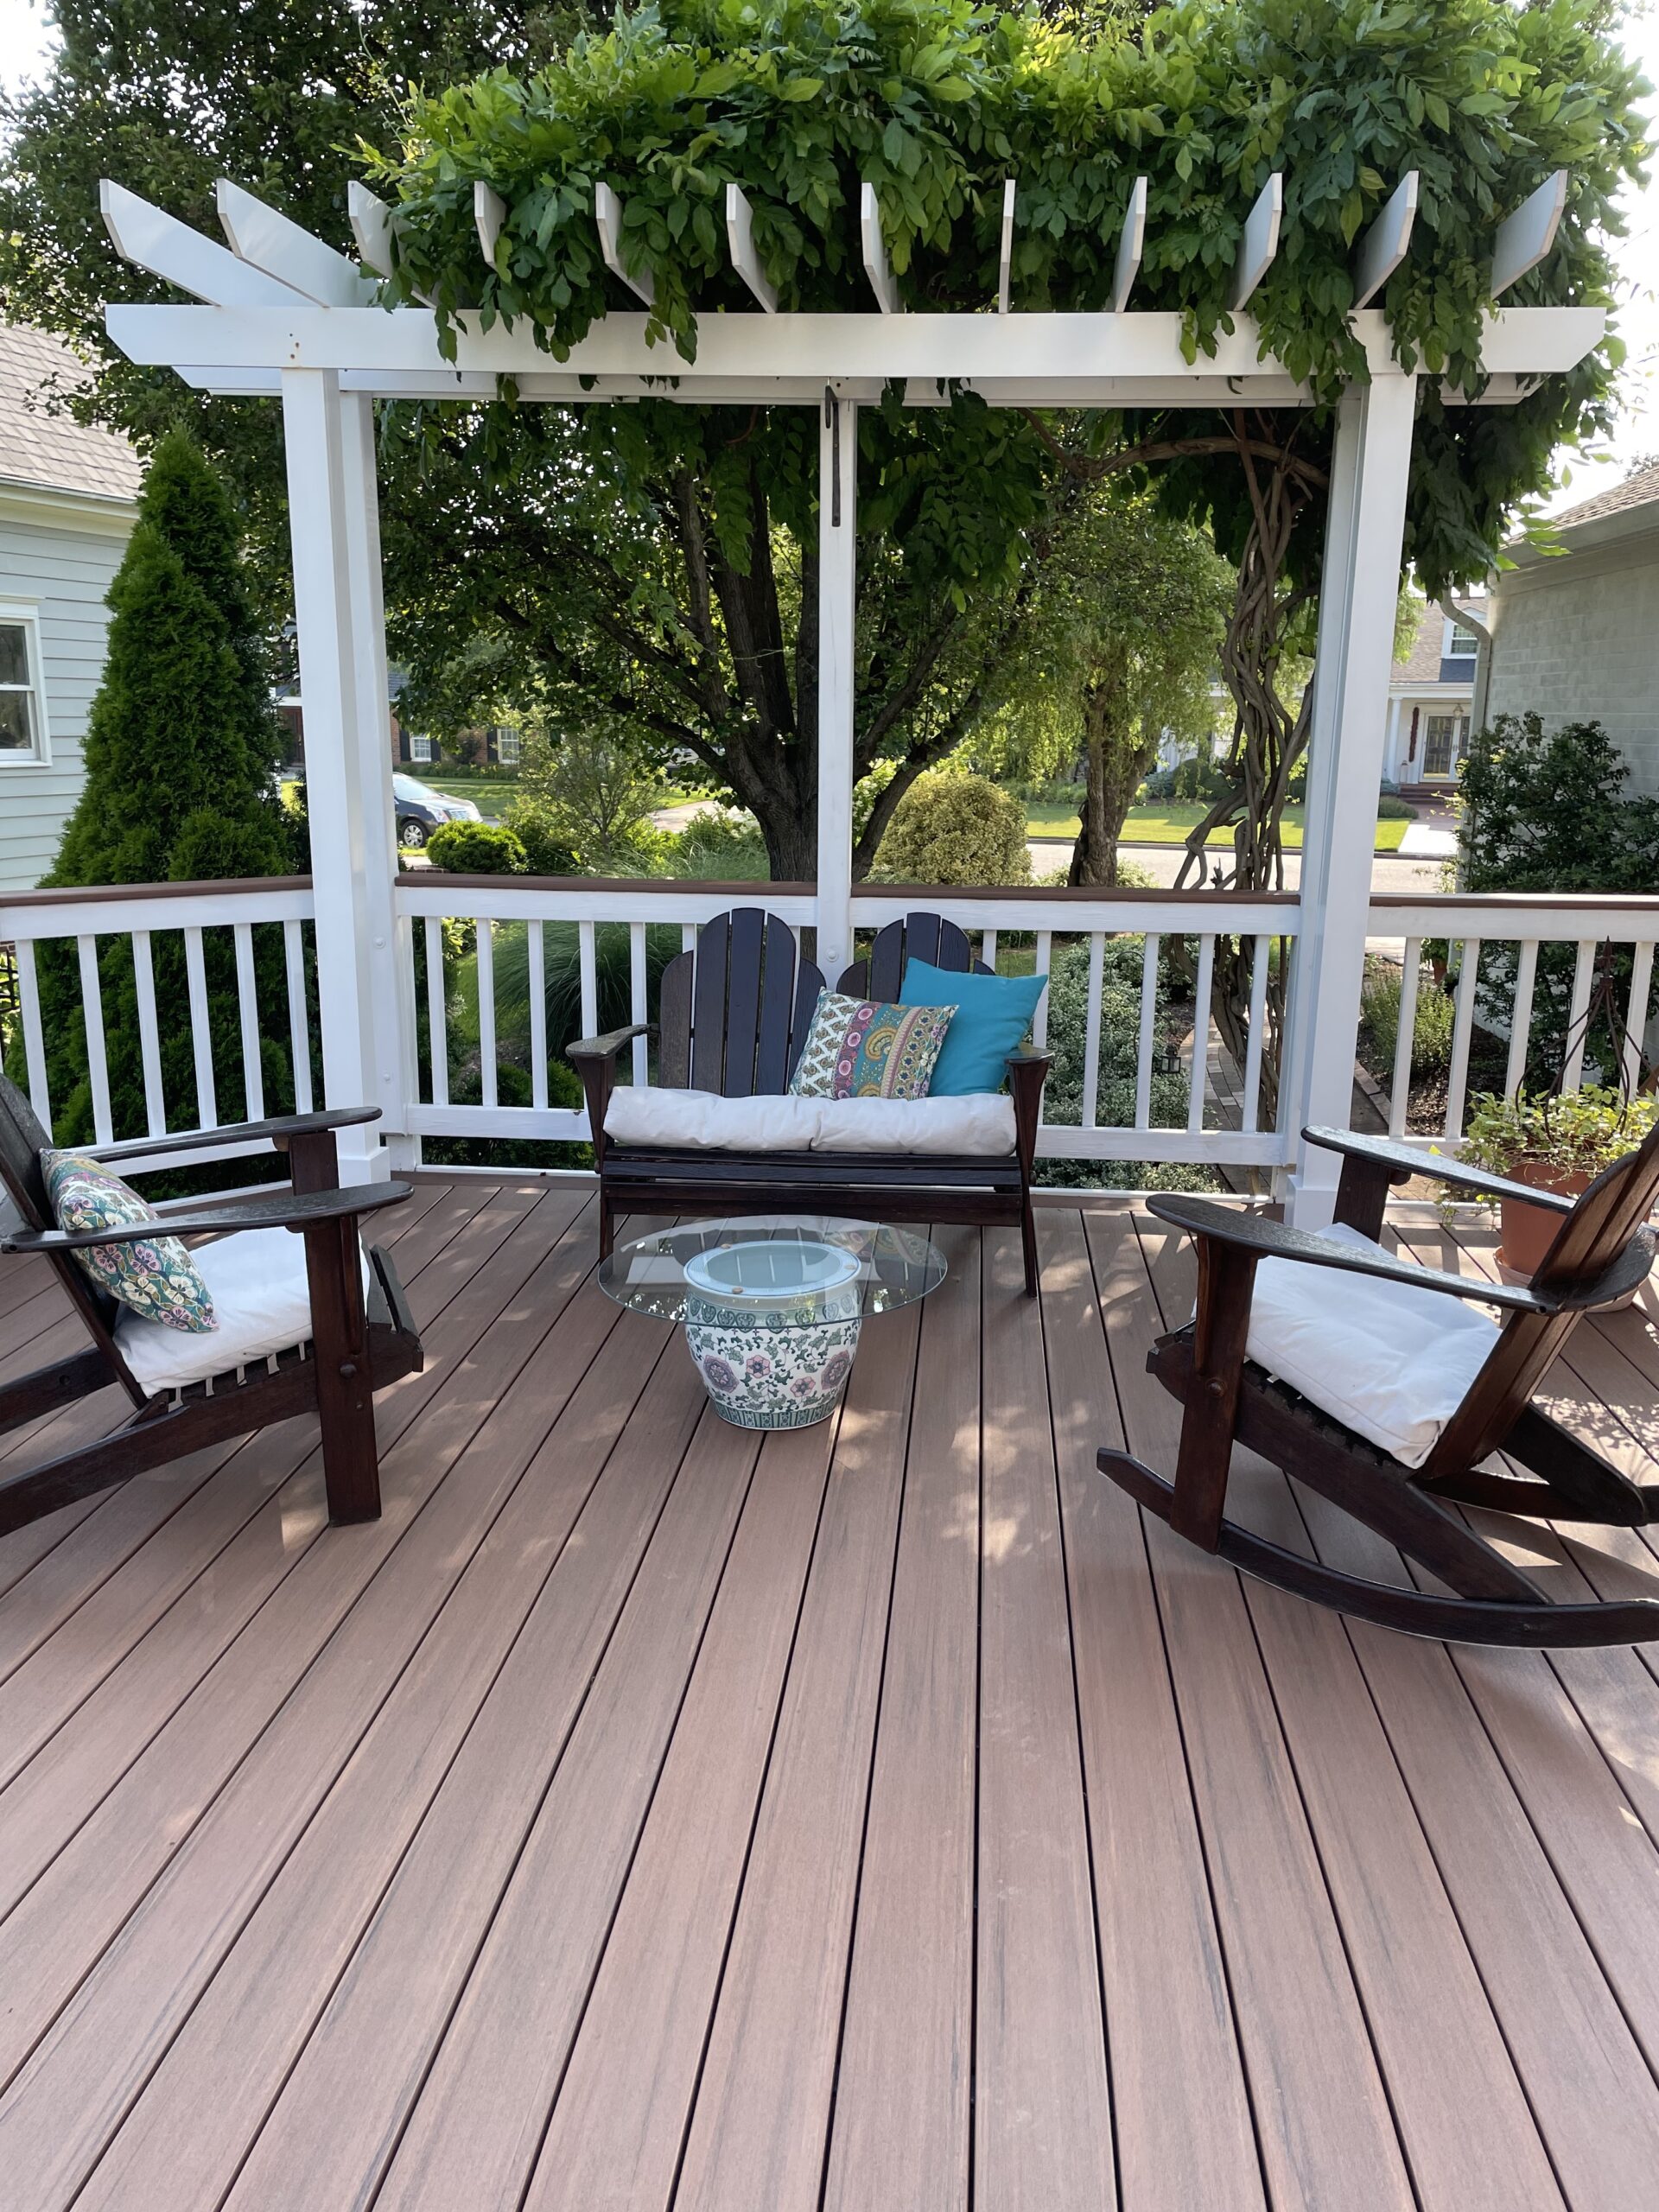
New upgraded decking in a PVC which looks like mahogany.
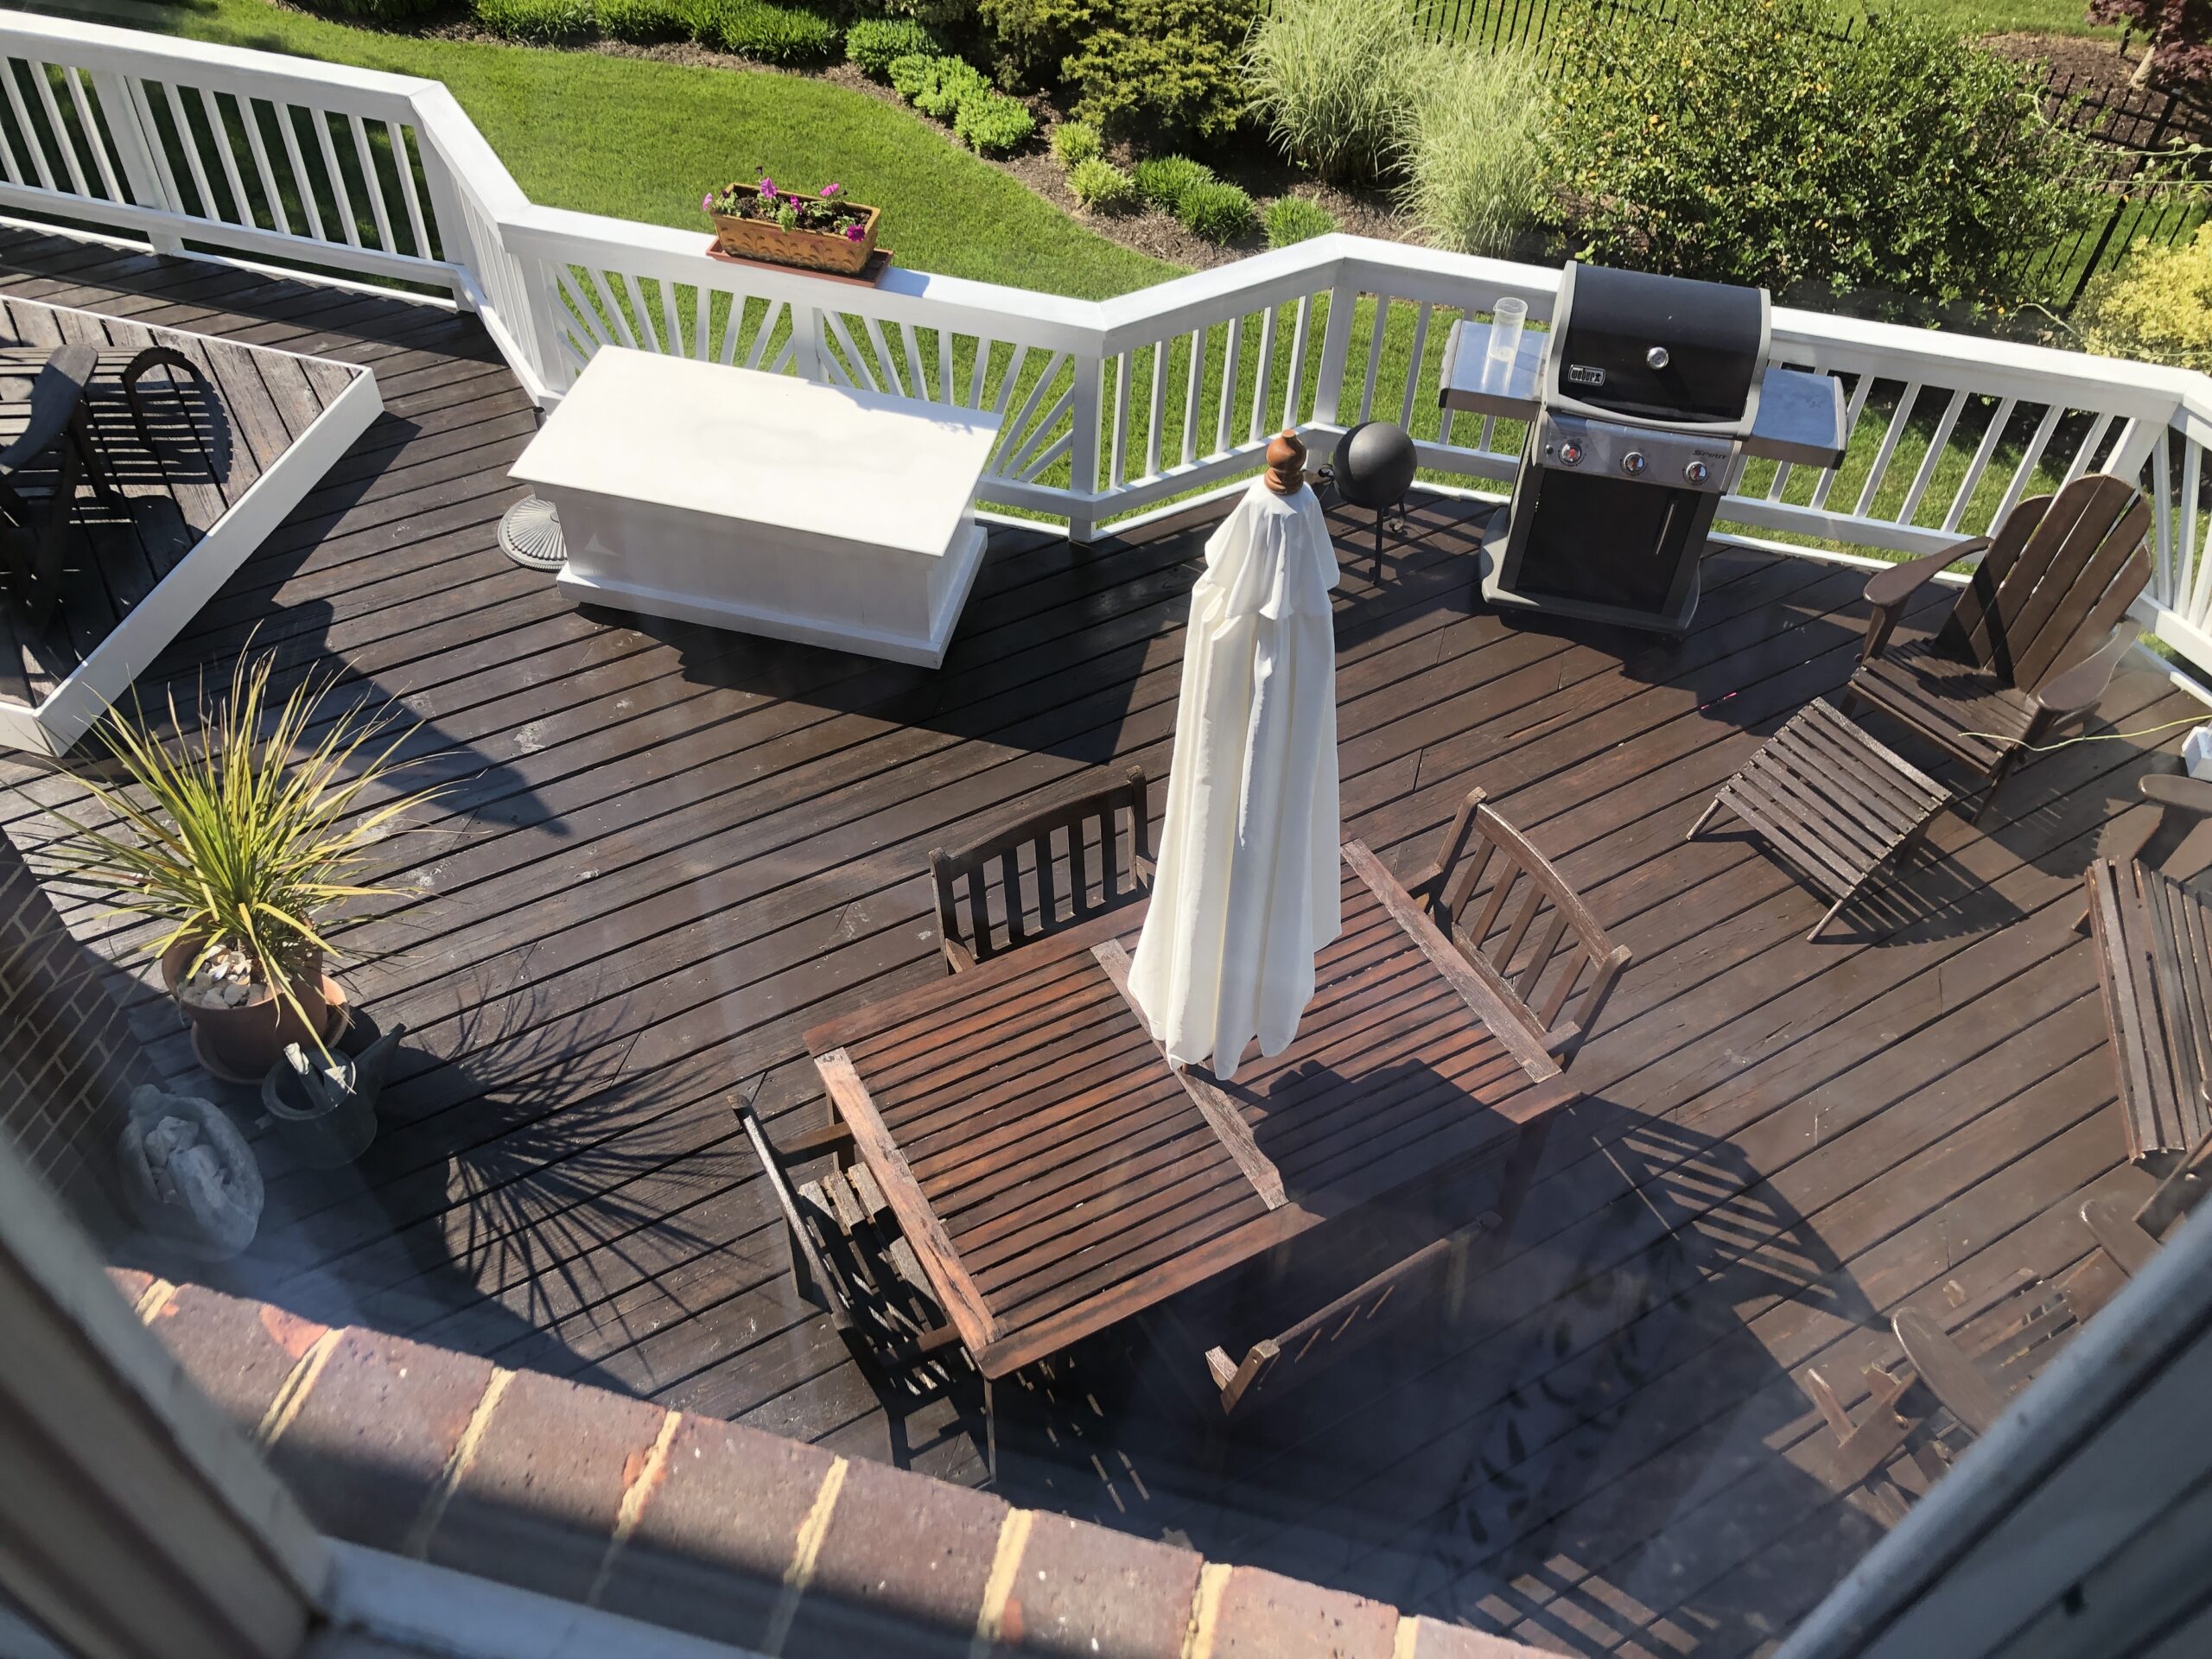
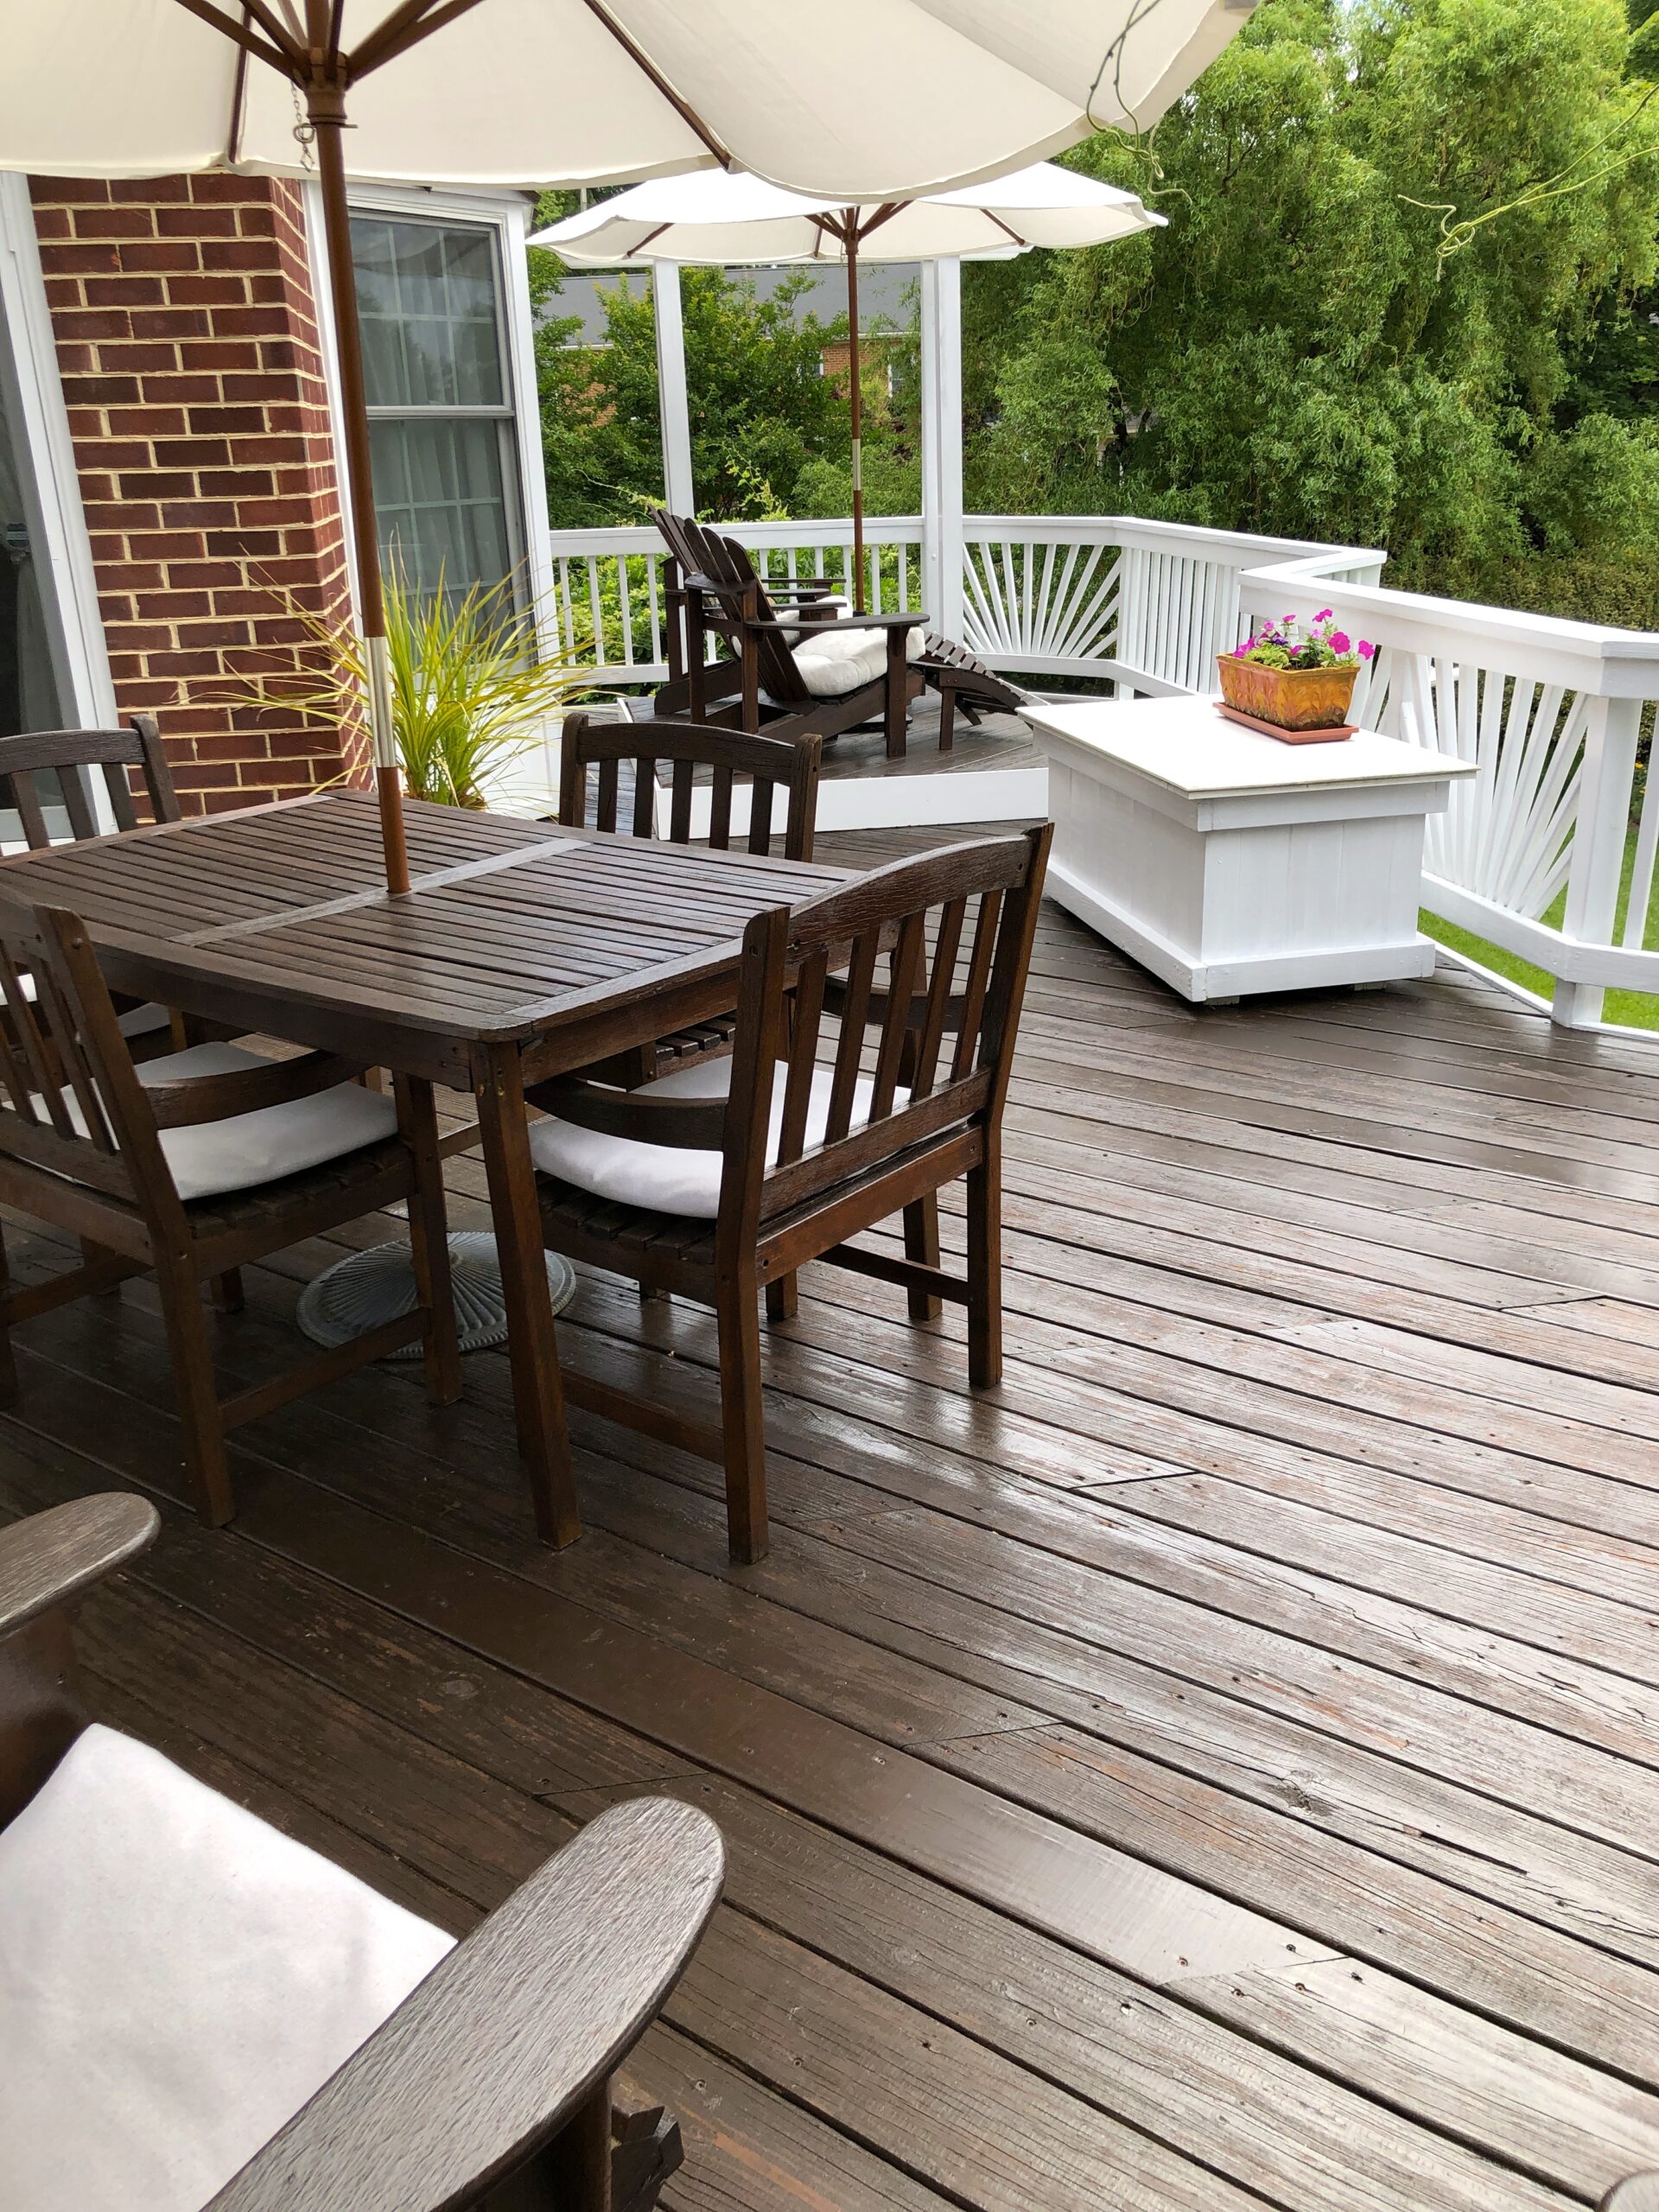
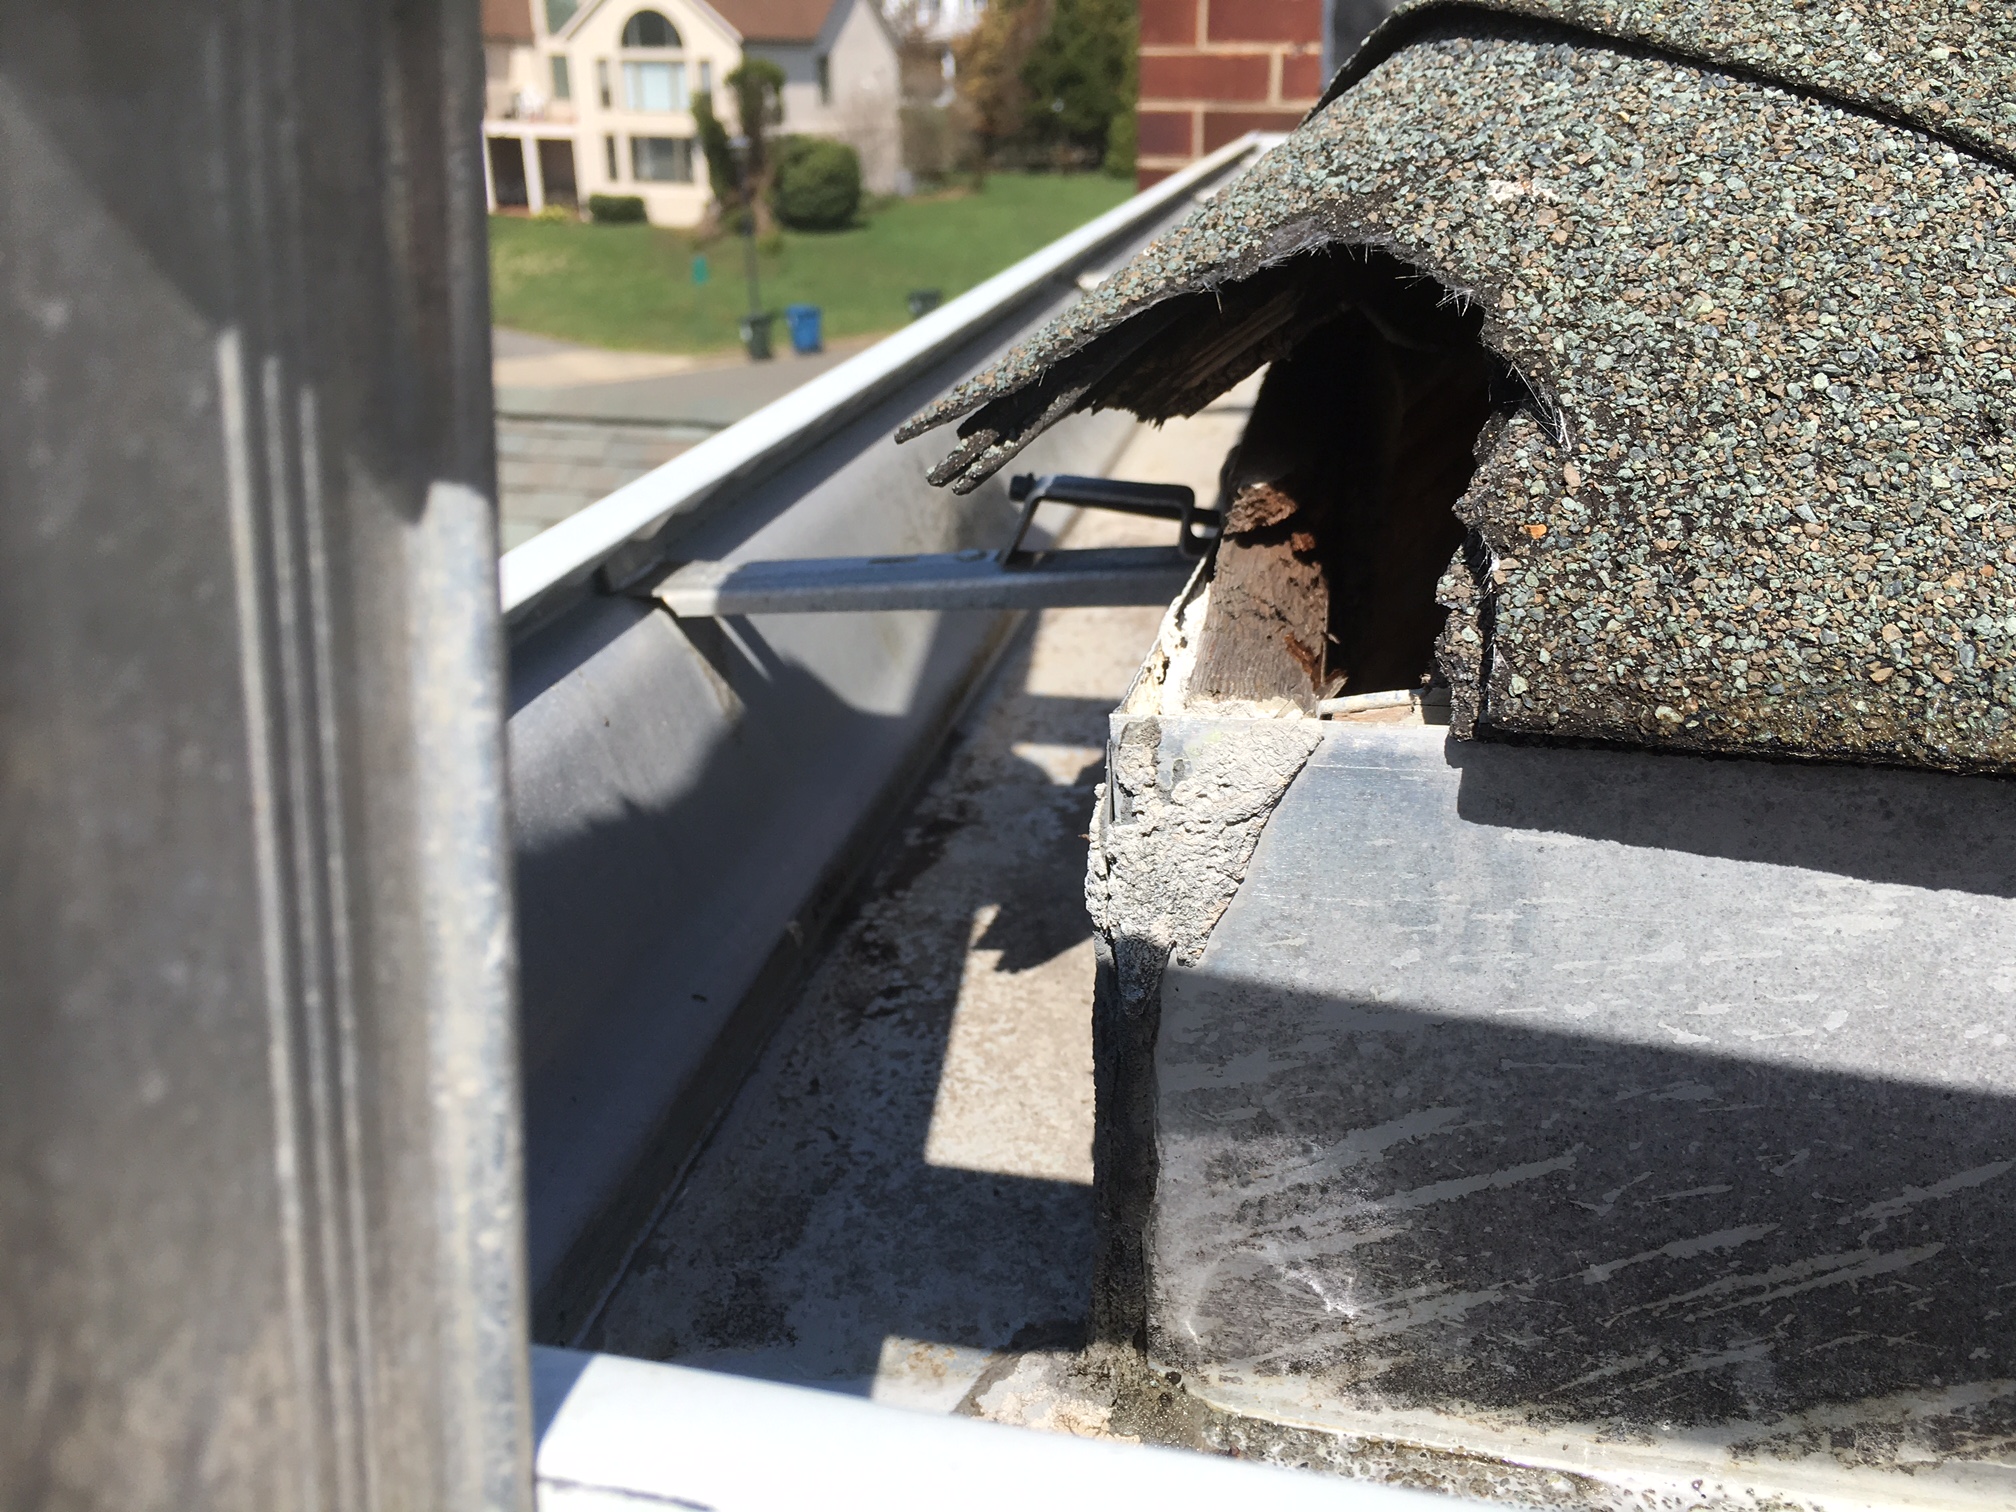
While were were at it, we also needed to deal with our deck. Until now, the deck was pressure treated wood, which I sealed each year. In the days of old, a new pressure treated deck would last a couple of decades. Although the deck here was only 13 years old, we had to replace many boards over the years due to rot, and we finally gave up on it. We chose a new product from Timbertech that is made from PVC and is warranted to last 50 years. I guess time will tell, but we are grateful not to get splinters like we had from the old decking. The joists were also replaced, and all new bracing for hurricanes underneath, so now we are good for a while! Updating the rails, which looked a bit dated before, made a big difference, and the new LED lights are our new favorites.
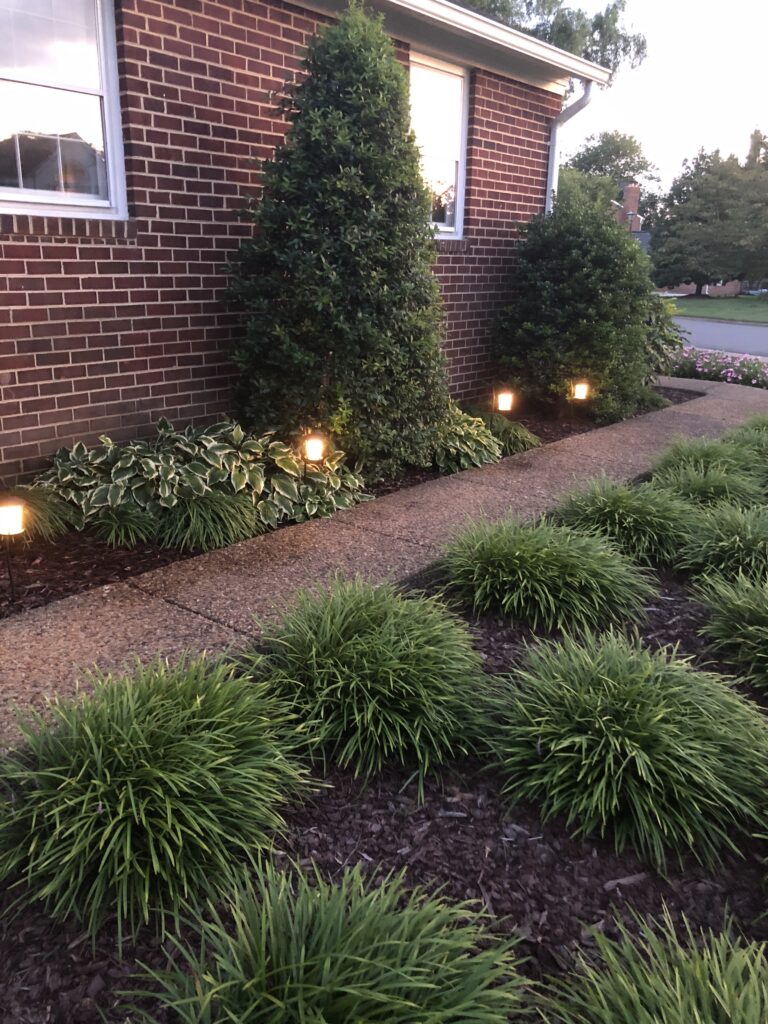
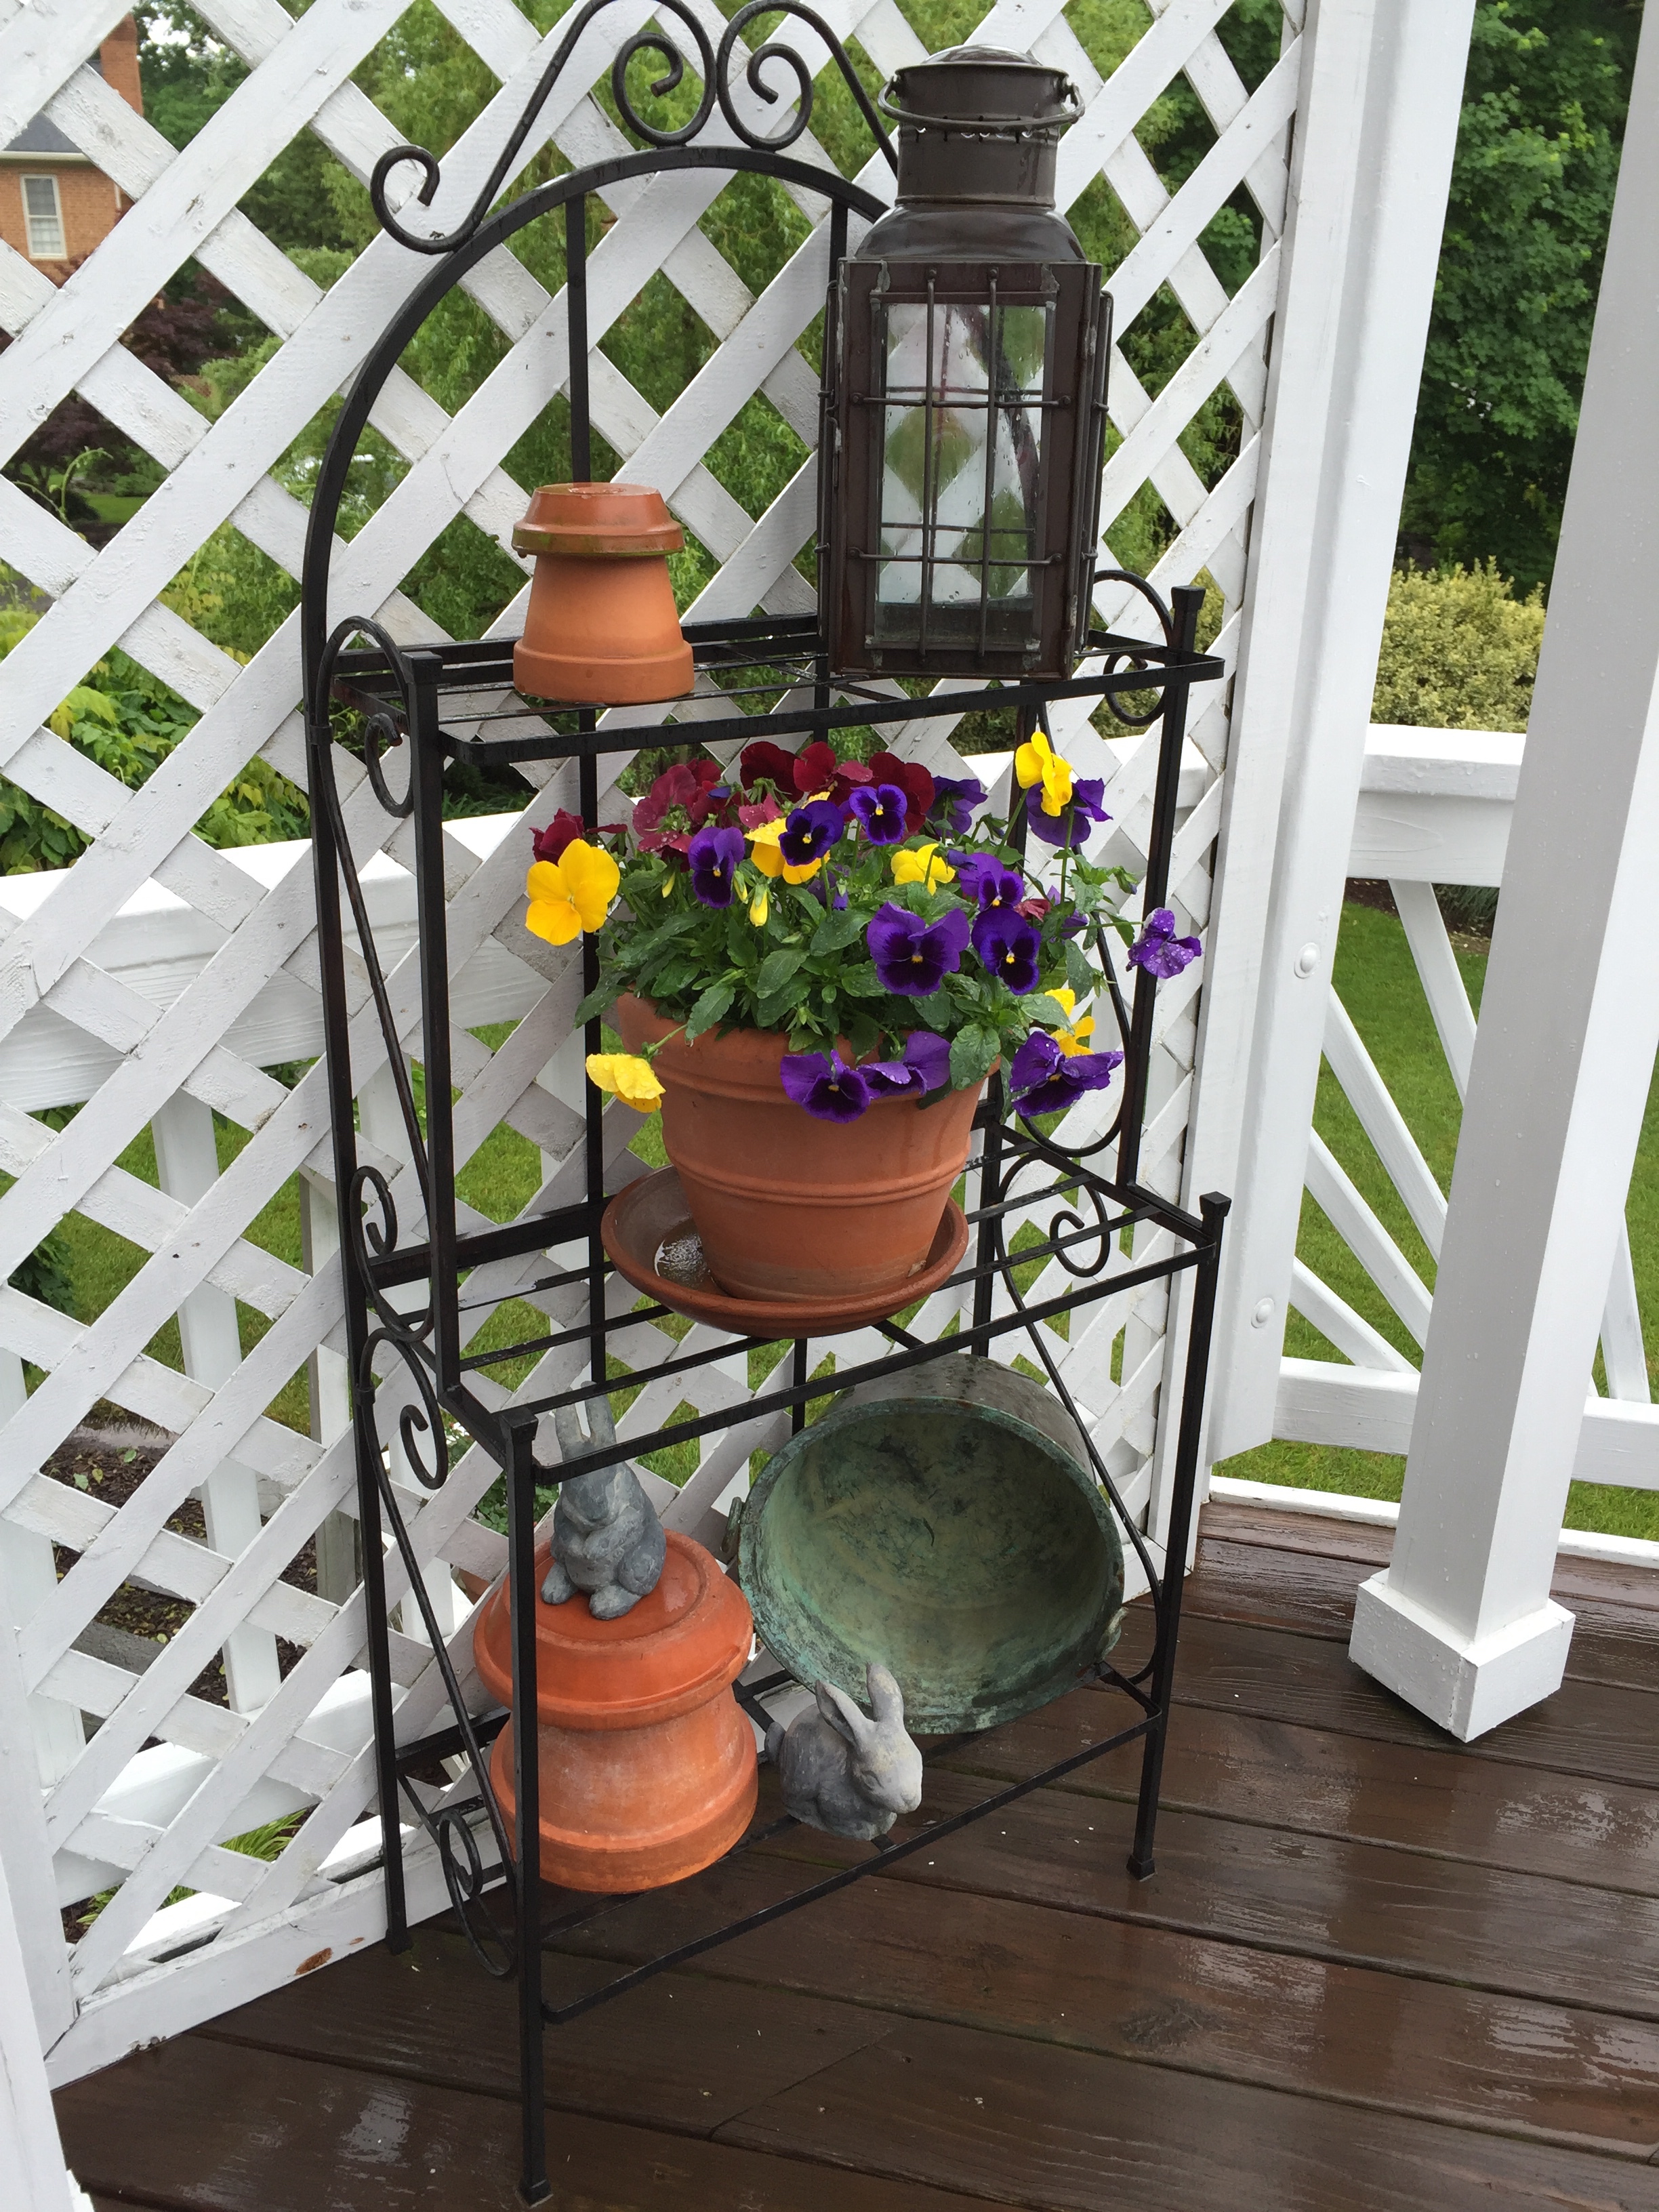
We love the new LED lighting. They are much more energy efficient, and we don’t ever have to replace a bulb again!
We are looking forward to enjoying the deck now, if only the heatwave would subside. At least we can look forward to doing so in the fall!
Hope you enjoyed the tour! Wishing everyone a happy and safe summer. Until next time!